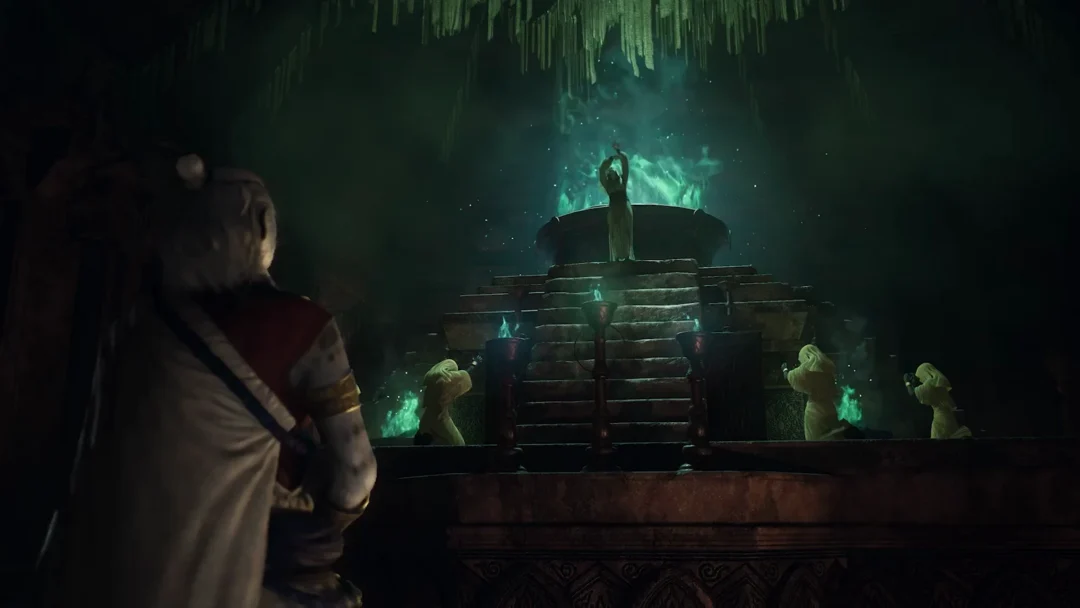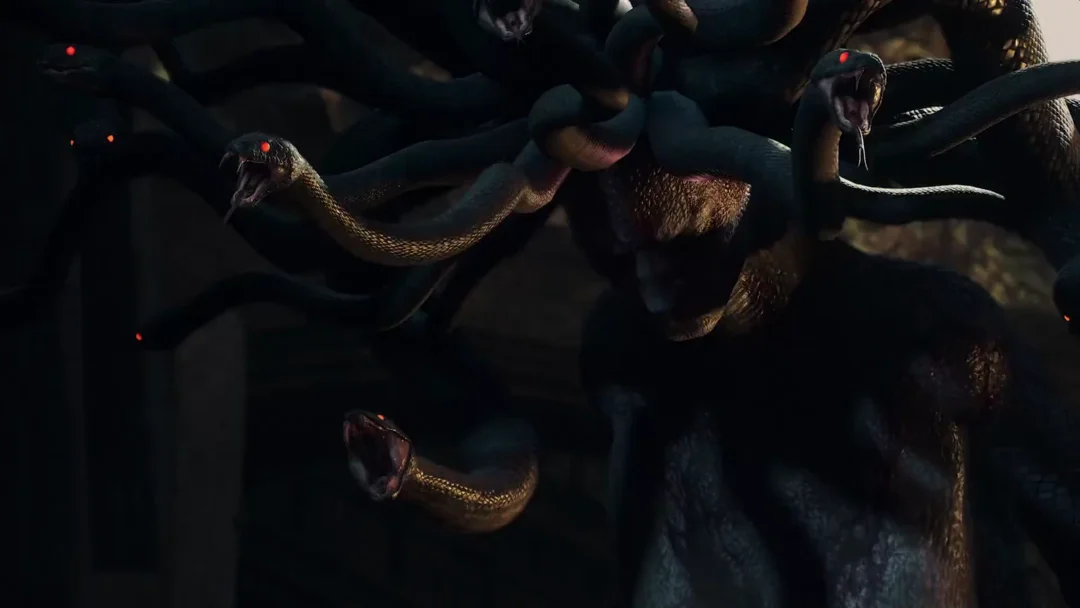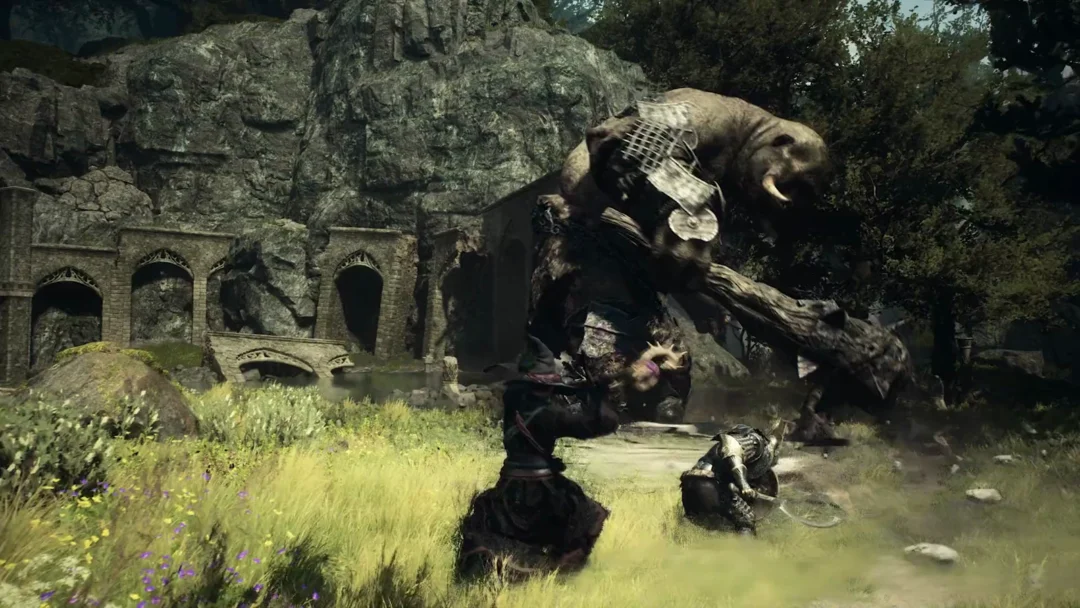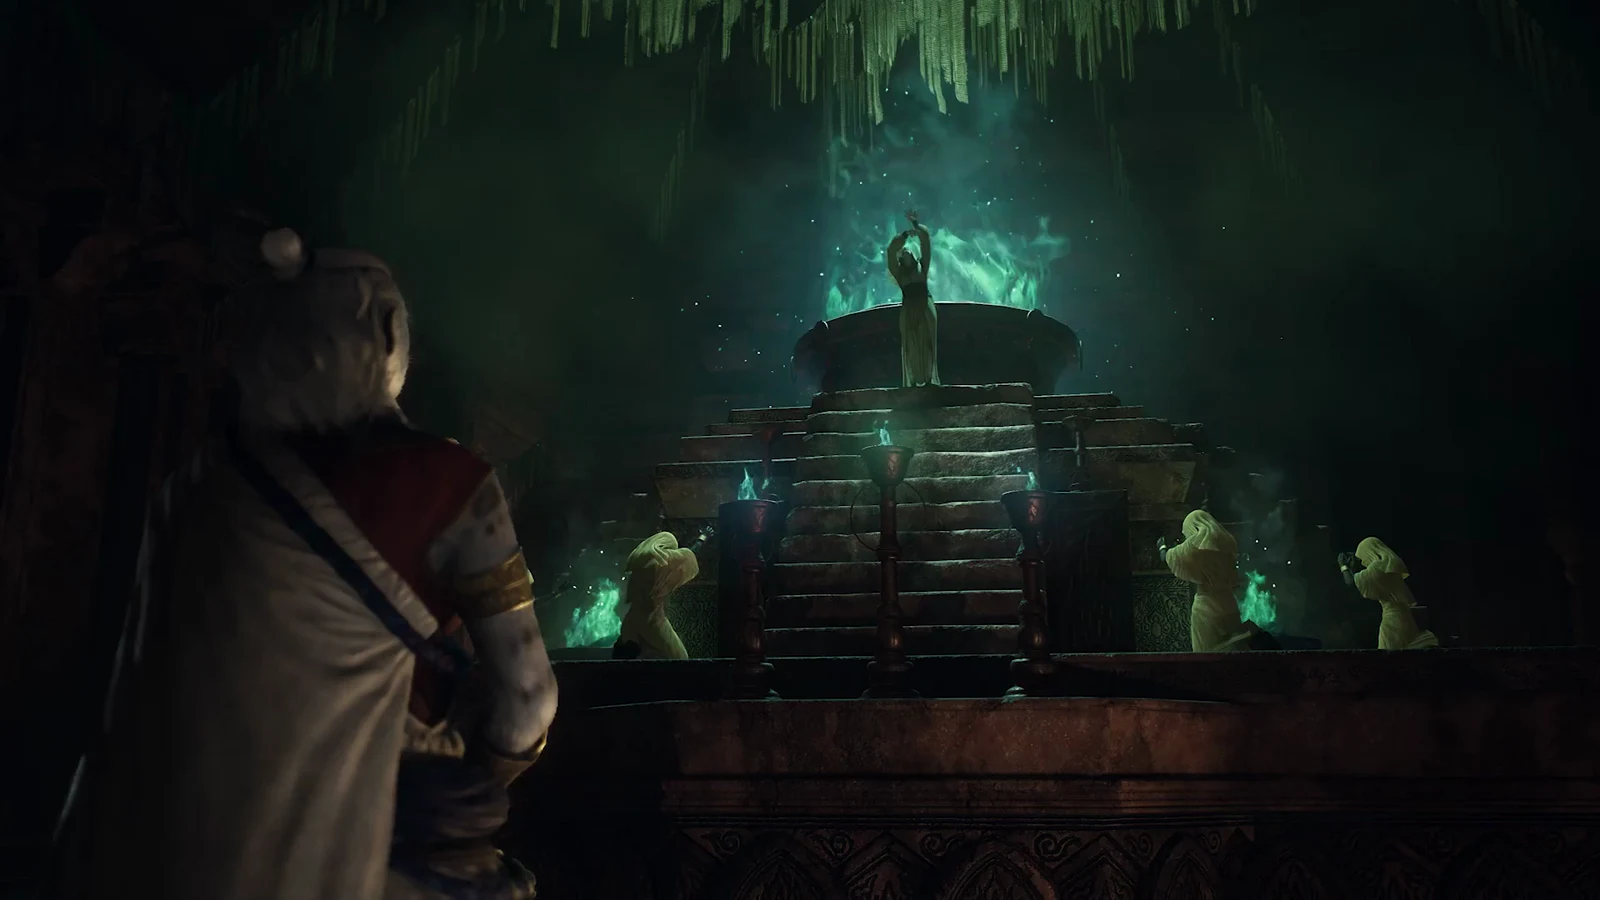
Mired Conduit is a flooded Lost Rites proving ground tucked beneath a Battahl bandit camp. It asks for a running tally of trials before it will let you in, then throws a long stretch of corrupted ruin, a crystal cavern, and an Evil Eye at you before paying out gold, Wakestones, Wyrmslife Crystals, and armor from a past Arisen.
Quick answer: Find the circular runic entrance in the shallow pool at the lowest point of Coral Snakes’ Hideout, Battahl. It becomes accessible after you have finished at least four Lost Rites trials altogether.
Where the Mired Conduit entrance is
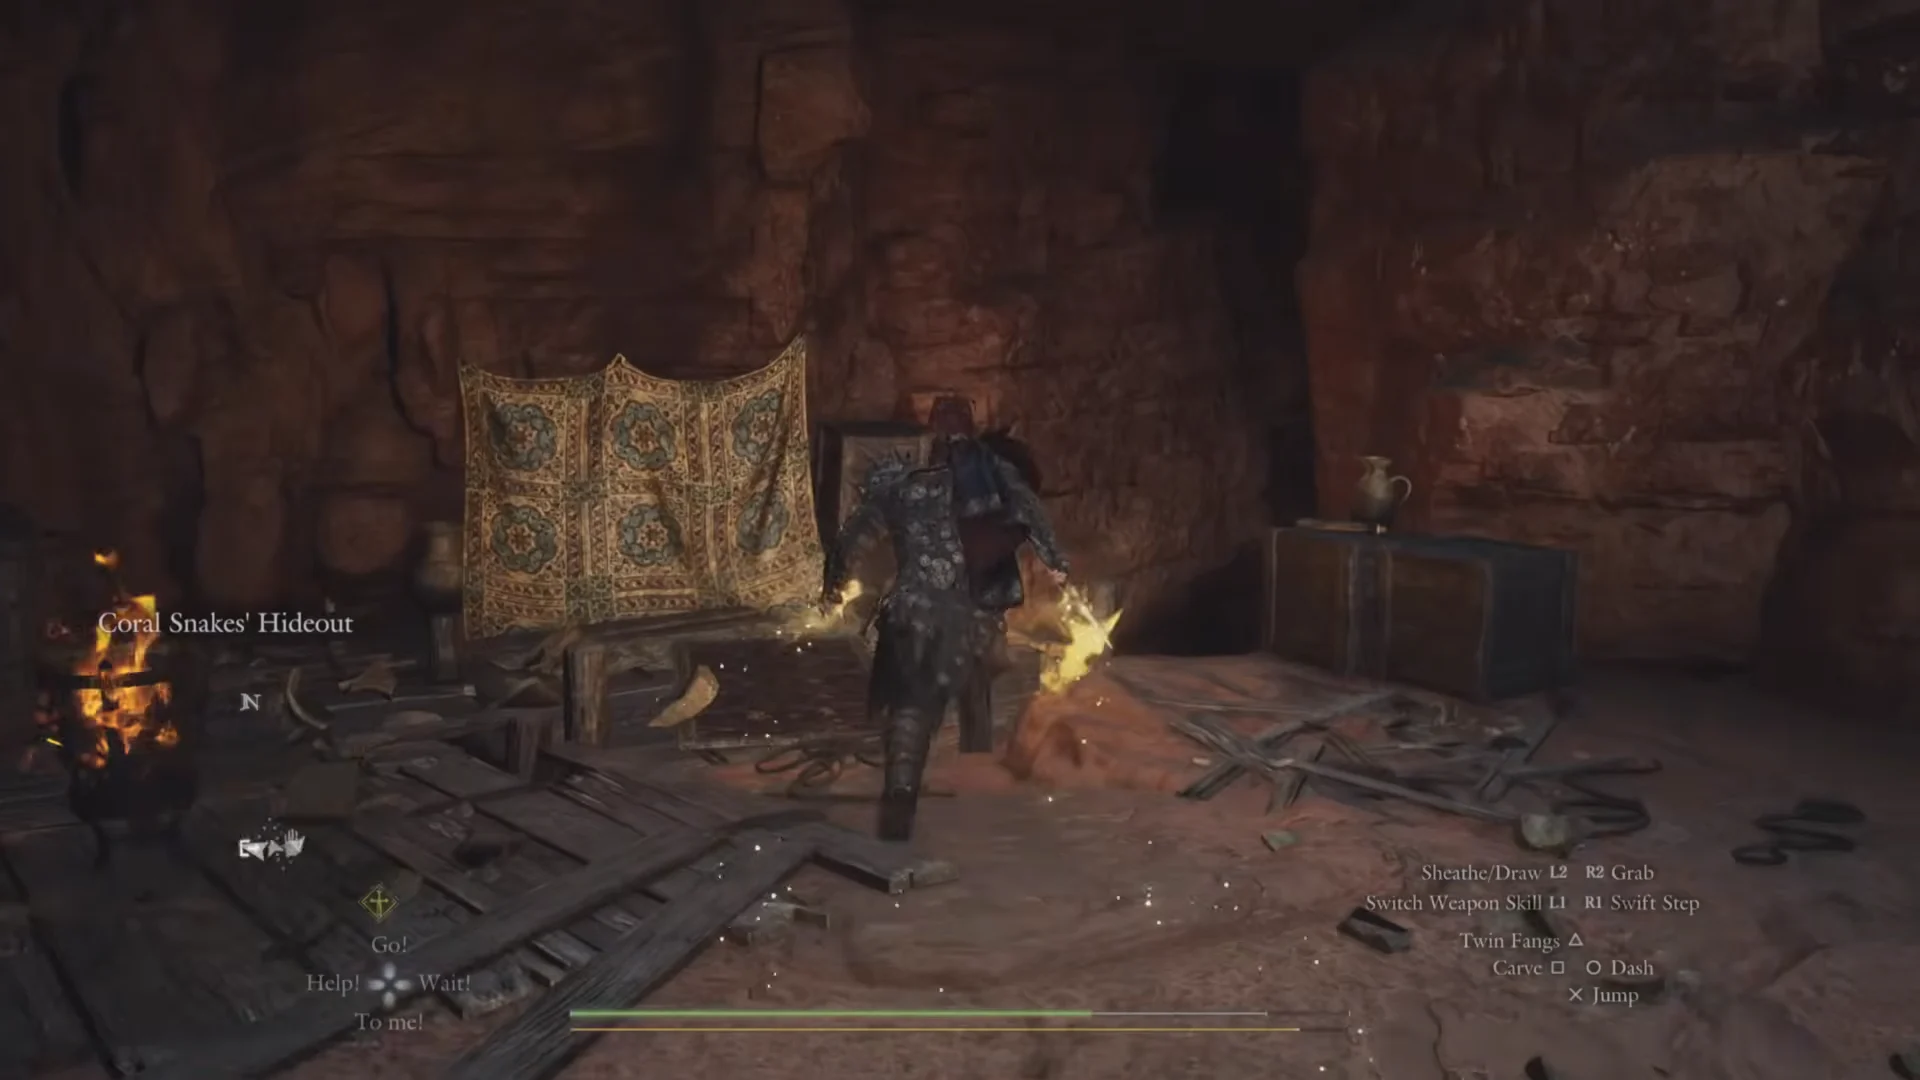
On the map, look for the Mired Conduit swirl in Battahl’s orange canyon region, immediately below the Enoa’Battahl Forest label. Coral Snakes’ Hideout is the route to it.
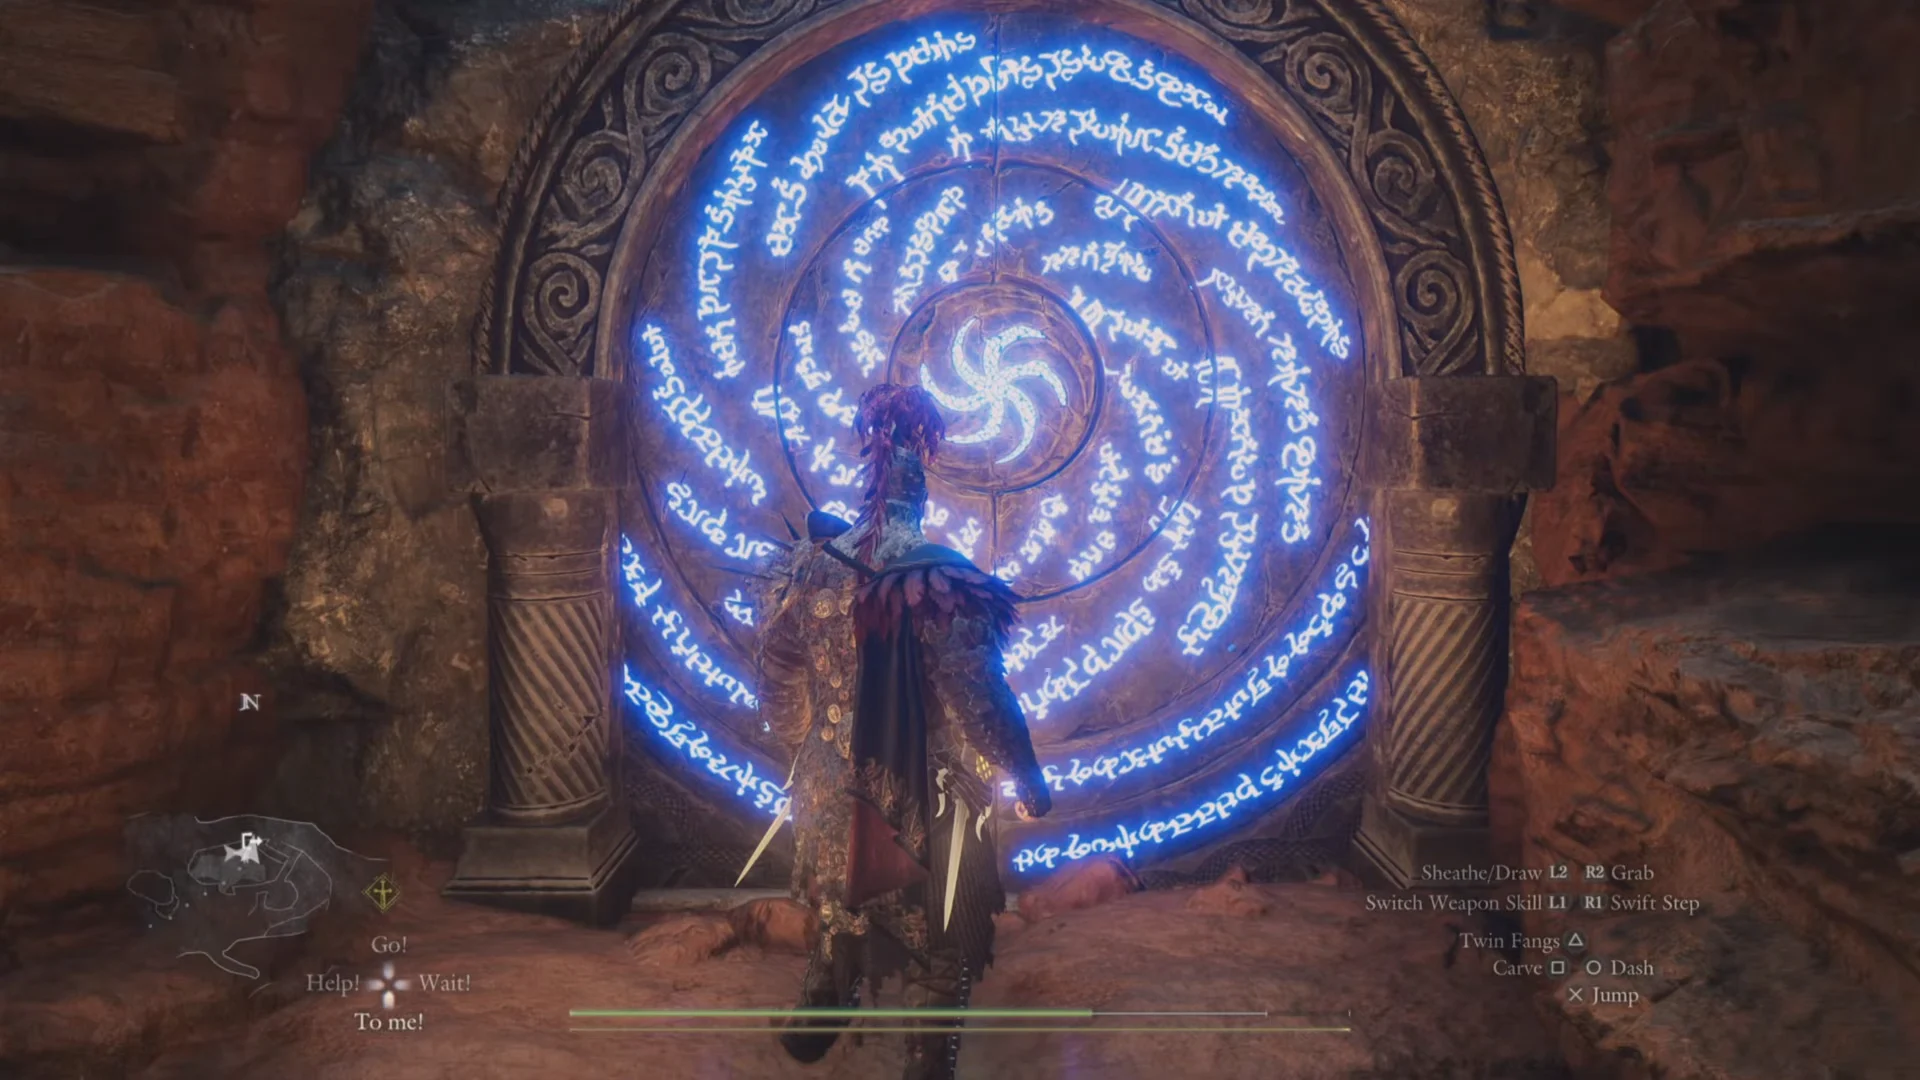
Make your way up the stepped red sandstone until you reach a cave opening. The furnished passage within is the hideout; its banner shows when you enter. Continue through the tunnel to the ledge overlooking the camp, descend to the wooden platforms, then follow the plank paths to the pool. The carved circular entrance is in the red cliff beside the water.
Entry condition and opening the door
Examine the door and the message reads “Complete four or more Lost Rites trials in total.” There is no key, lever, or quest item involved at the door itself. The count of proving grounds you have already conquered is the lock.
With four trials behind you, confirming the prompt turns the central spiral, lights the runes blue, and swings the door open. Step through and the Mired Conduit banner appears. Once you finish the Conduit, its own map entry changes to read “No conditions.”
Mired Conduit walkthrough, room by room
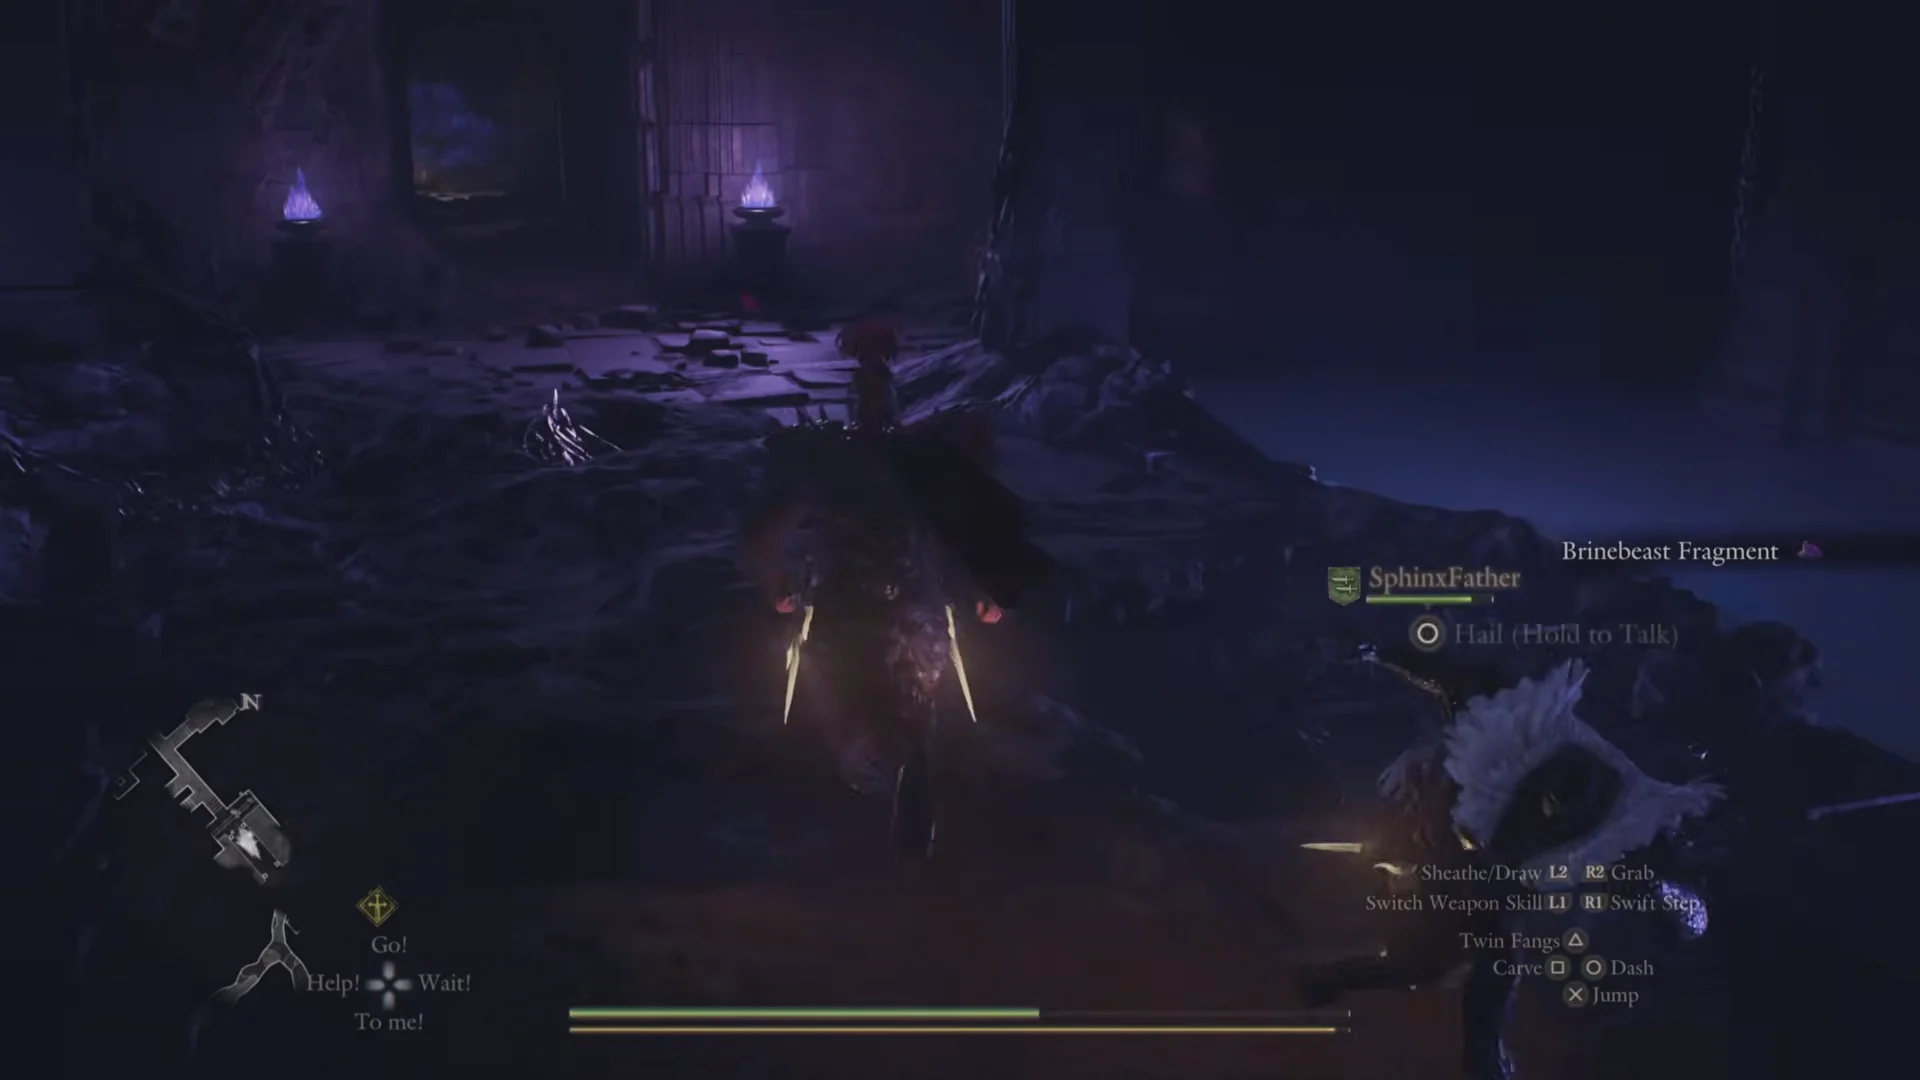
The cracked wall is easy to walk past. The 3,000 RC chest behind it is the single largest Rift Crystal payout on the route, so break the wall before you move into the final hall.
How to beat the Evil Eye
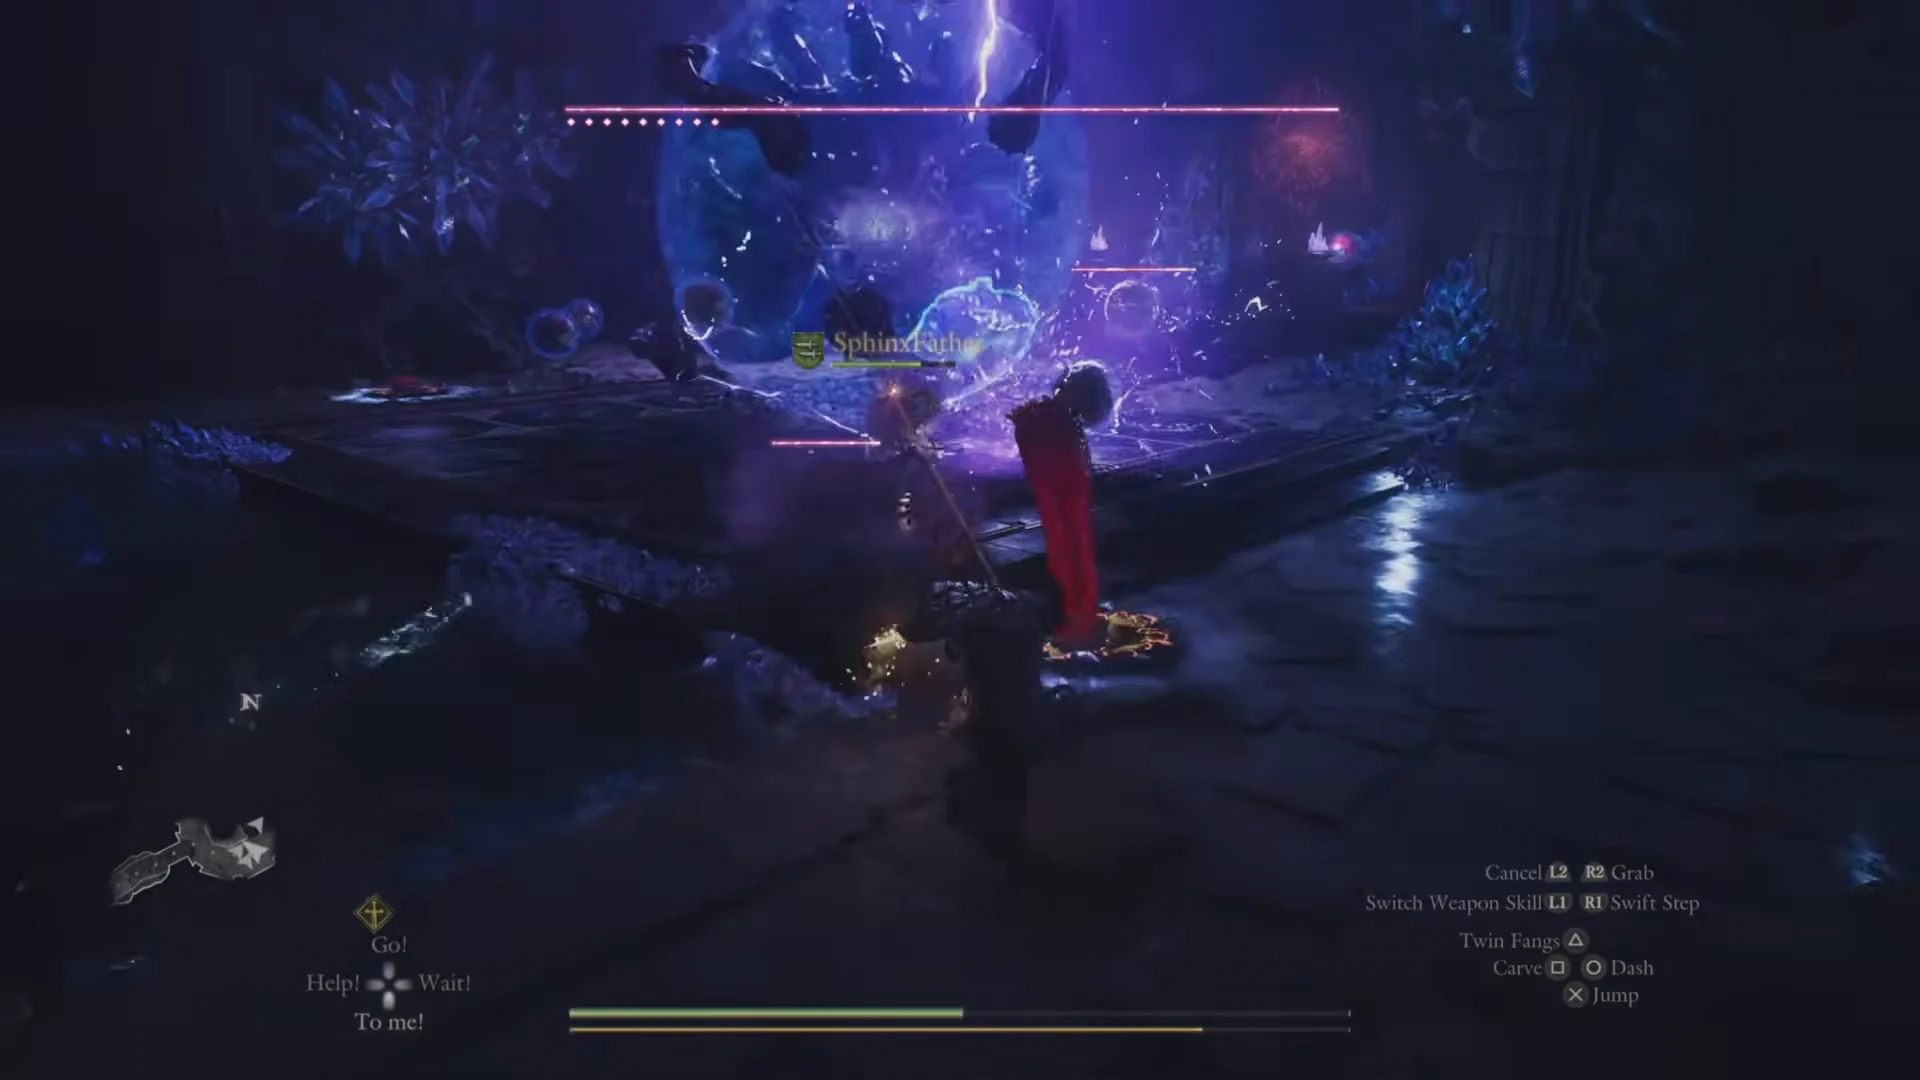
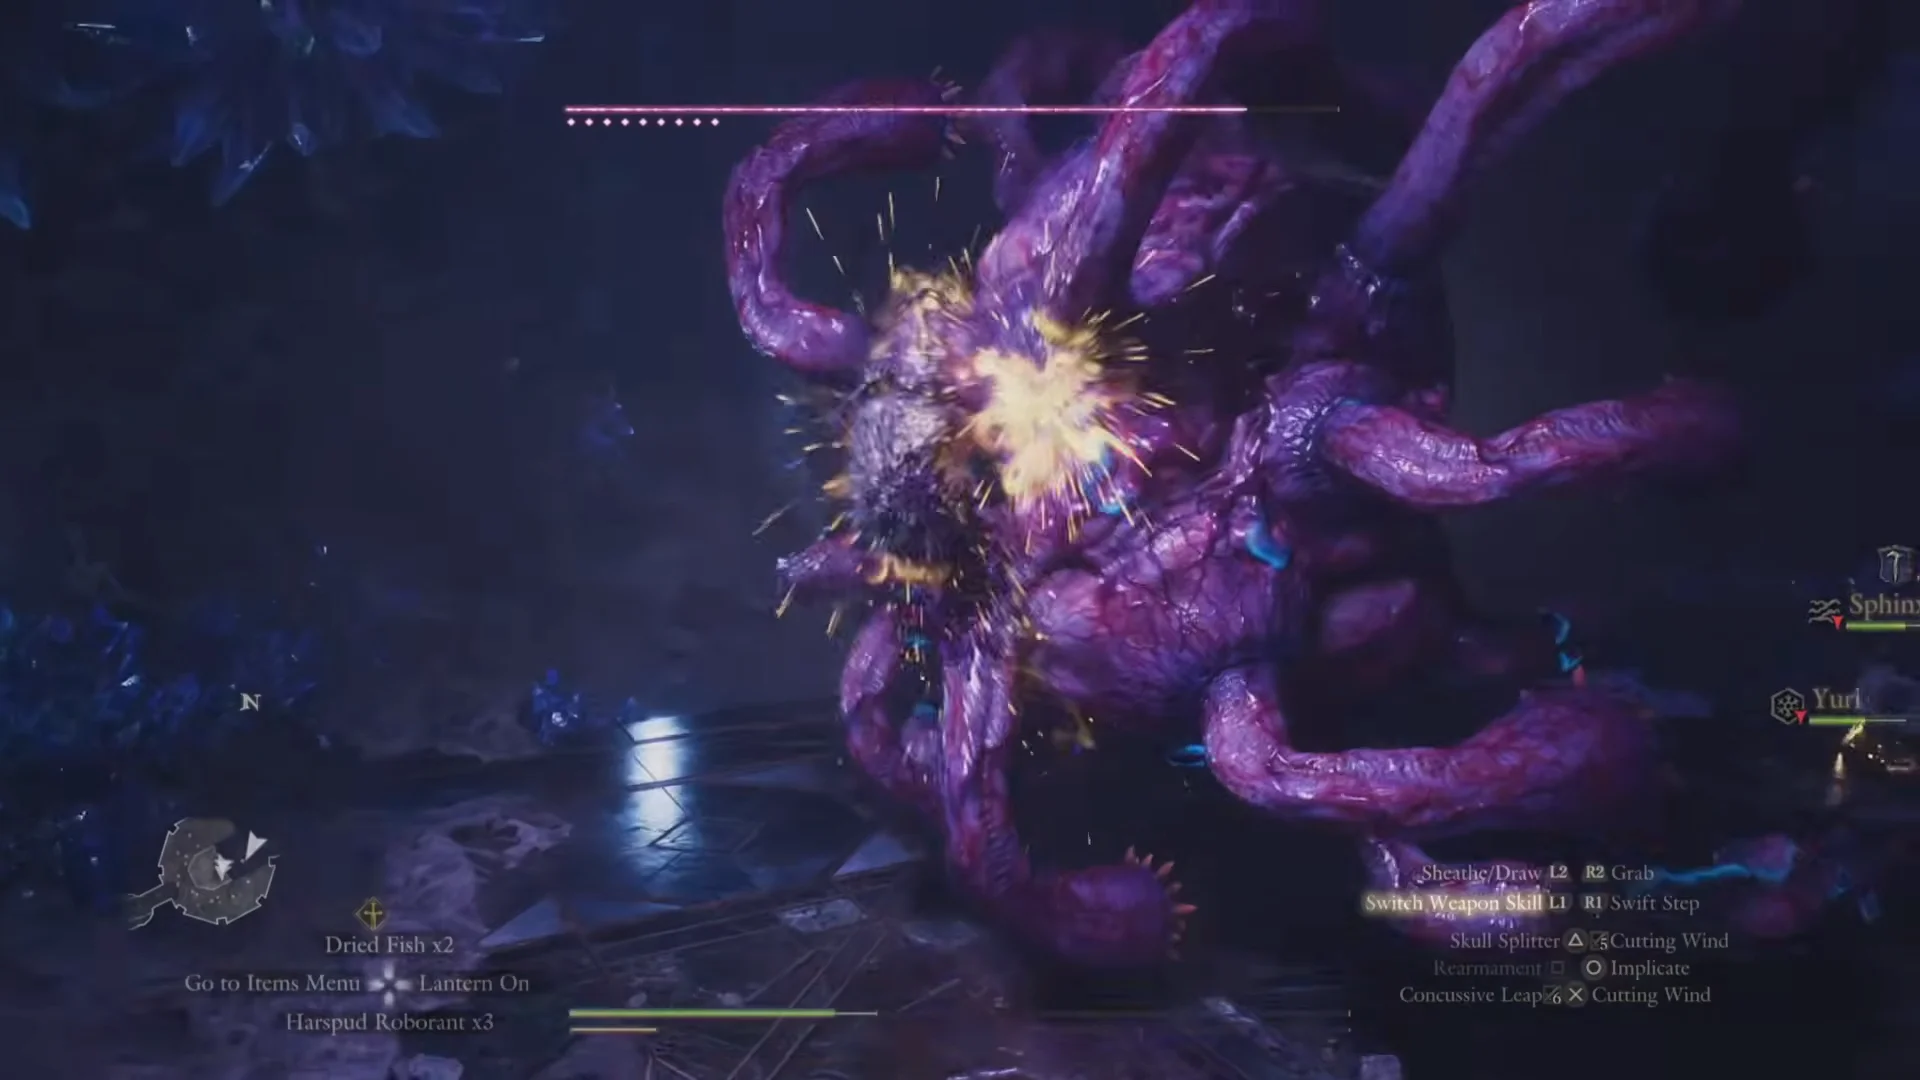
The Evil Eye waits in a flooded crystal chamber at the corridor’s far end. A cluster of thick purple tentacles encircles its single enormous eye. It has 500,000 Health, and its stronger form has 650,000 Health. None of these affect it: Sleep, Drenched, Tarred, Unconscious, and Silence.
Its possible drops are Pyrolytic Cloth, Circumventor’s Burthen, Ring of Alleviation, Malecryst Shard, and Malecryst. A Thief can pilfer a Malecryst from the creature; its tentacles may yield a Malecryst Shard if stolen from or killed.
First encounter
Second encounter
The eye comes back through that petal opening, protected once more by the blue sphere and surrounded by circling lights. It summons a column of lightning and fire, then begins charging a dark spell. You can use the earlier approach again—kill tentacles until the shield drops, then strike the eye—or fire an Unmaking Arrow into it to drain the entire bar in one shot.
Firing an Unmaking Arrow triggers an automatic save the moment it leaves the bow, so pick your shot carefully. The arrow is optional; you can defeat the eye with ordinary weapons and skills.
The battle ends when the eye writhes on the ground and bursts apart. The far wall then opens up, exposing another dais.
Boss hoards and the final chest
The first hoard is reached by climbing the stairs after the eye retreats, and contains three items. Offering Flame is a flame that remains alight in bitter cold and lets you seek boons at the Obelisks of Benediction in the forgotten north. Meteoric Cuisses are lightweight, durable leg armor made of meteoric metal. Allegoric Plate weighs 6.33 kg; this heavy body armor once belonged to an Arisen who descended into madness and offers strong defenses.
The second dais opens only after the eye is actually killed. The chest there gives 200,000 G and Wakestone x2.
All 13 fixed chest rewards
Separate from the boss hoards, the Conduit holds 13 fixed chests scattered through its rooms. Their combined contents are below.
| Reward | Quantity |
|---|---|
| Gold | 38,000 G |
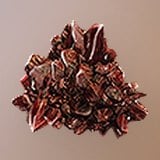 Wyrmslife Crystal Wyrmslife Crystal | 26 |
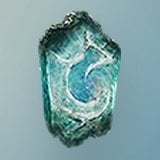 Giant Hunk of Rift Crystal Giant Hunk of Rift Crystal | 16 |
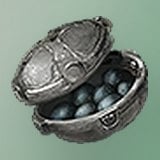 Fine Roe Roborant Fine Roe Roborant | 5 |
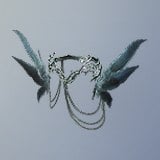 Azurequill Circlet Azurequill Circlet | 1 |
 Panacea Panacea | 1 |
 Plate of the Mad Sovran Plate of the Mad Sovran | 1 |
 Allheal Elixir Allheal Elixir | 1 |
 Creusot’s Mantle Creusot’s Mantle | 1 |
 Makeshift Gaol Key Makeshift Gaol Key | 1 |
 Wakestone Wakestone | 1 |
Three chests grant Rift Crystals as soon as they are opened instead of containing an item: the urn-room chest behind the seal gives 900 RC, the alcove chest beyond the cavern beast gives 900 RC, and the chest past the breakable wall gives 3,000 RC.
Lost Rites trials and their entry conditions
Mired Conduit is trial number 7, and its gate counts how many of the others you have finished. Since you need four trials cleared first, it helps to know which ones are free to enter and which impose their own rules. Each is found with the Proving Ground Compass.
| Trial | No. | Entry condition | Chests |
|---|---|---|---|
| Devilkin Hollow | 1 | None | 1 |
| Daemons’ Corral | 2 | None | 7 |
| Sunken Spire | 3 | None | 11 |
| Wyrmsblood Arena | 5 | Only two weapon skills set | 6 |
| Mired Conduit | 7 | Four or more trials cleared | 13 |
| Embersand Mine | 8 | No grimoires, enchanted weapons, or elemental archmagick skills | 7 |
| Shrouded Warren | 9 | Only your main pawn joins | 9 |
| Molten Gauntlet | 10 | None | 9 |
| Seafloor Sepulcher | 11 | None | 16 |
| Final Proving Ground | 12 | Clear Molten Gauntlet and Seafloor Sepulcher | 14 |
The simplest path to four clears is to run the trials with no conditions first, since Devilkin Hollow, Daemons’ Corral, and Sunken Spire all let you enter with any party and vocation. That gives you three quick wins, and one more unlocks the Mired Conduit door. Once you have conquered the Conduit itself, its map entry drops the four-trial requirement and reads “No conditions,” so you can return freely afterward.