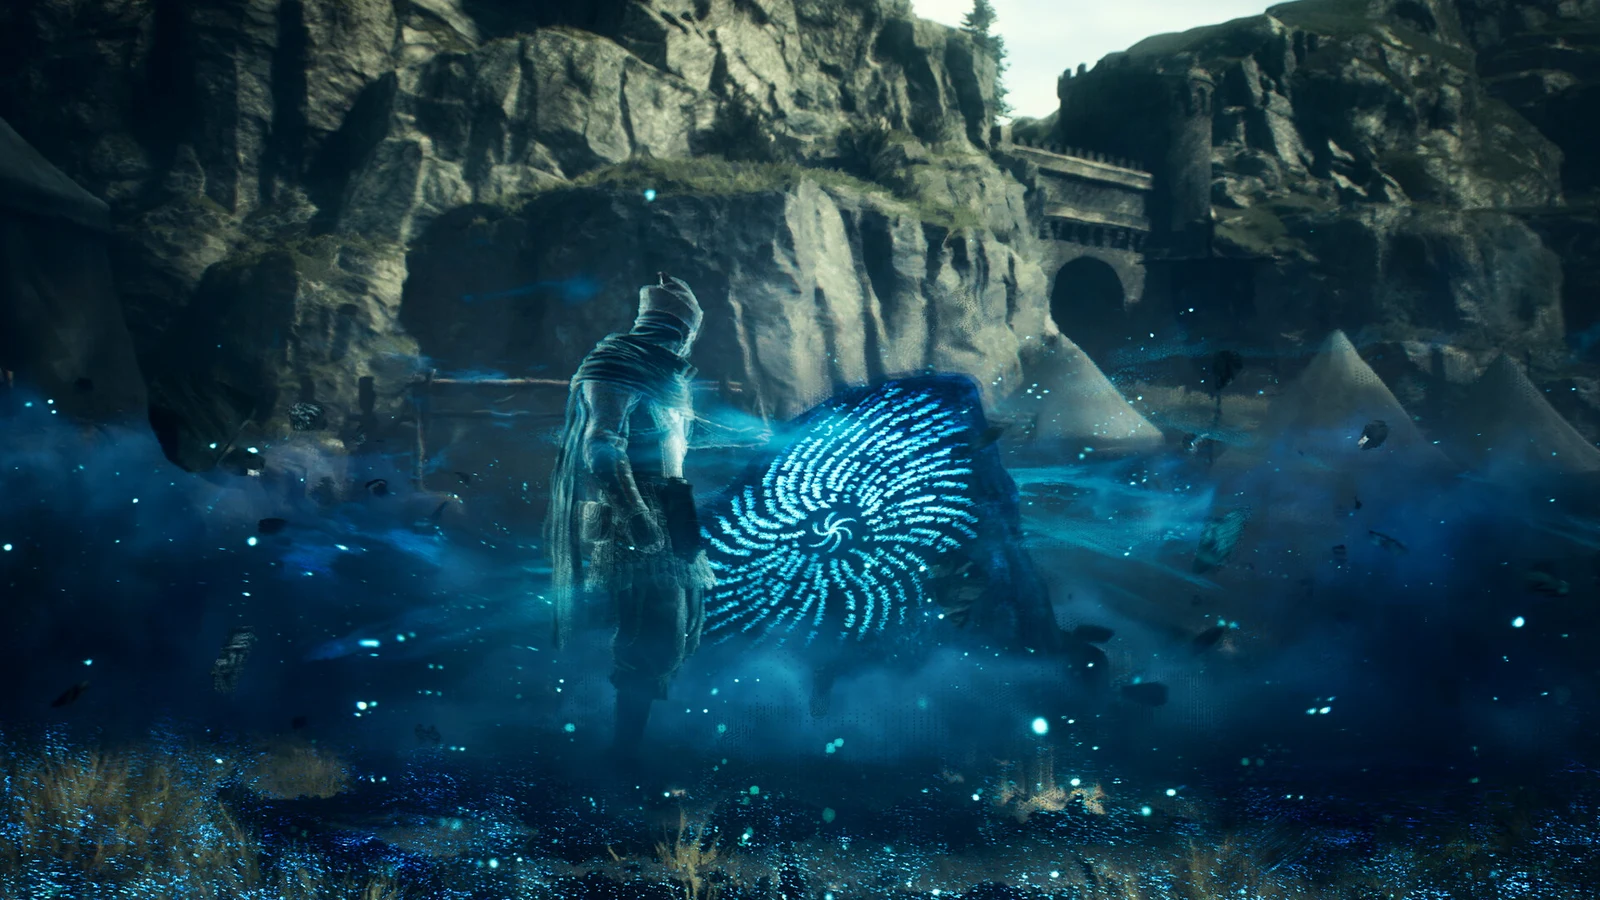
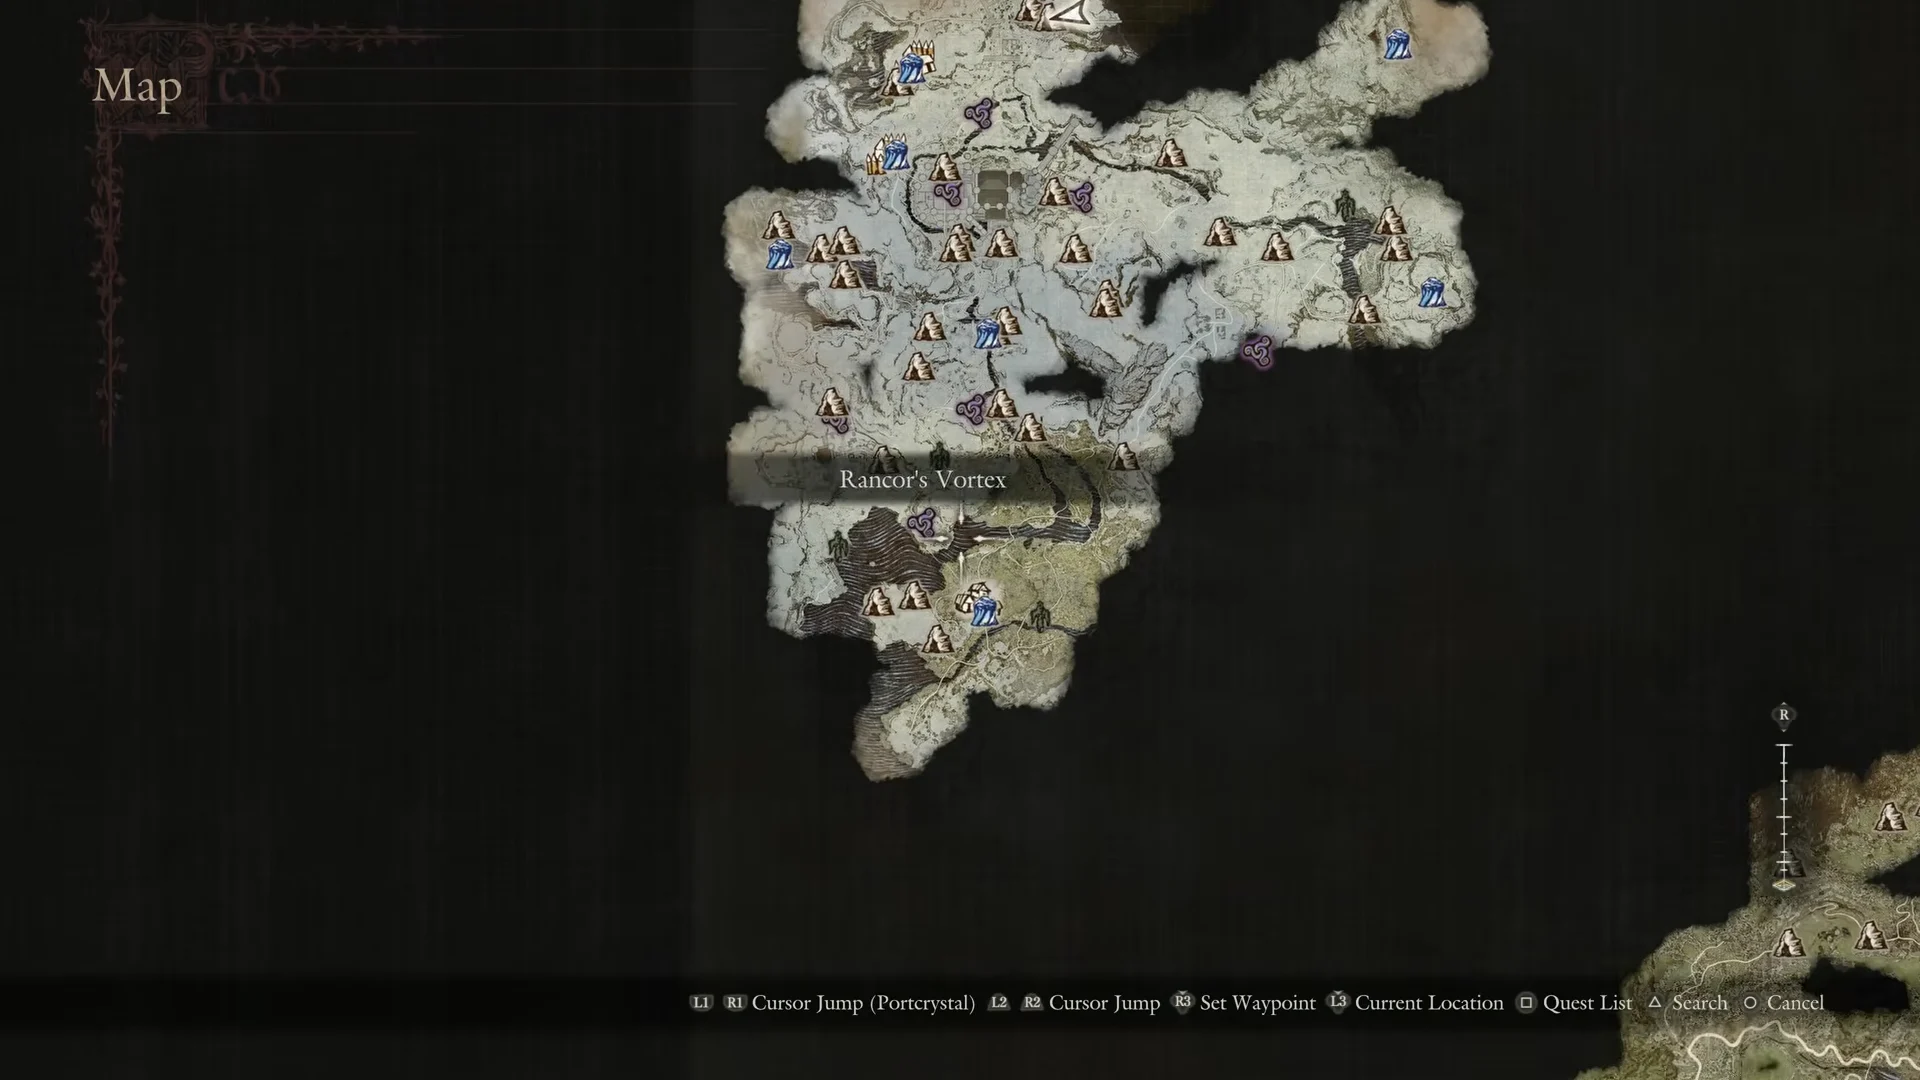
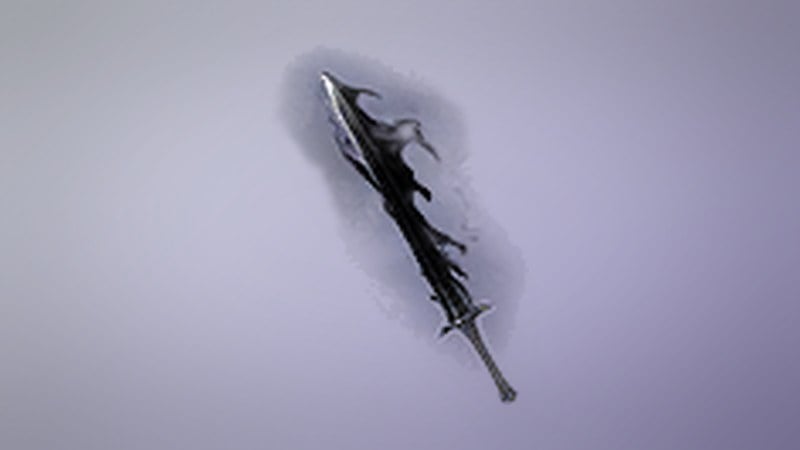
Rancor’s vortexes are the dark, smoking holes that open across Norgan once Ruin-Night begins during the main quest Into Rancor. Each one seals you into a confined arena and sends waves of enemies at you; the first three show a 999 RC payout, and each has Lv 4 spoils. Dispelling enough of them fills the Soulless Godsbane Blade and turns it into the Blade of Rancor.
Quick answer: Open Items, use the Eye of the Sphinx to mark vortexes on your map as purple swirls, travel to one, hold Examine on the hole, and defeat every wave until the purple bar at the top empties.
When Rancor’s Vortexes Appear
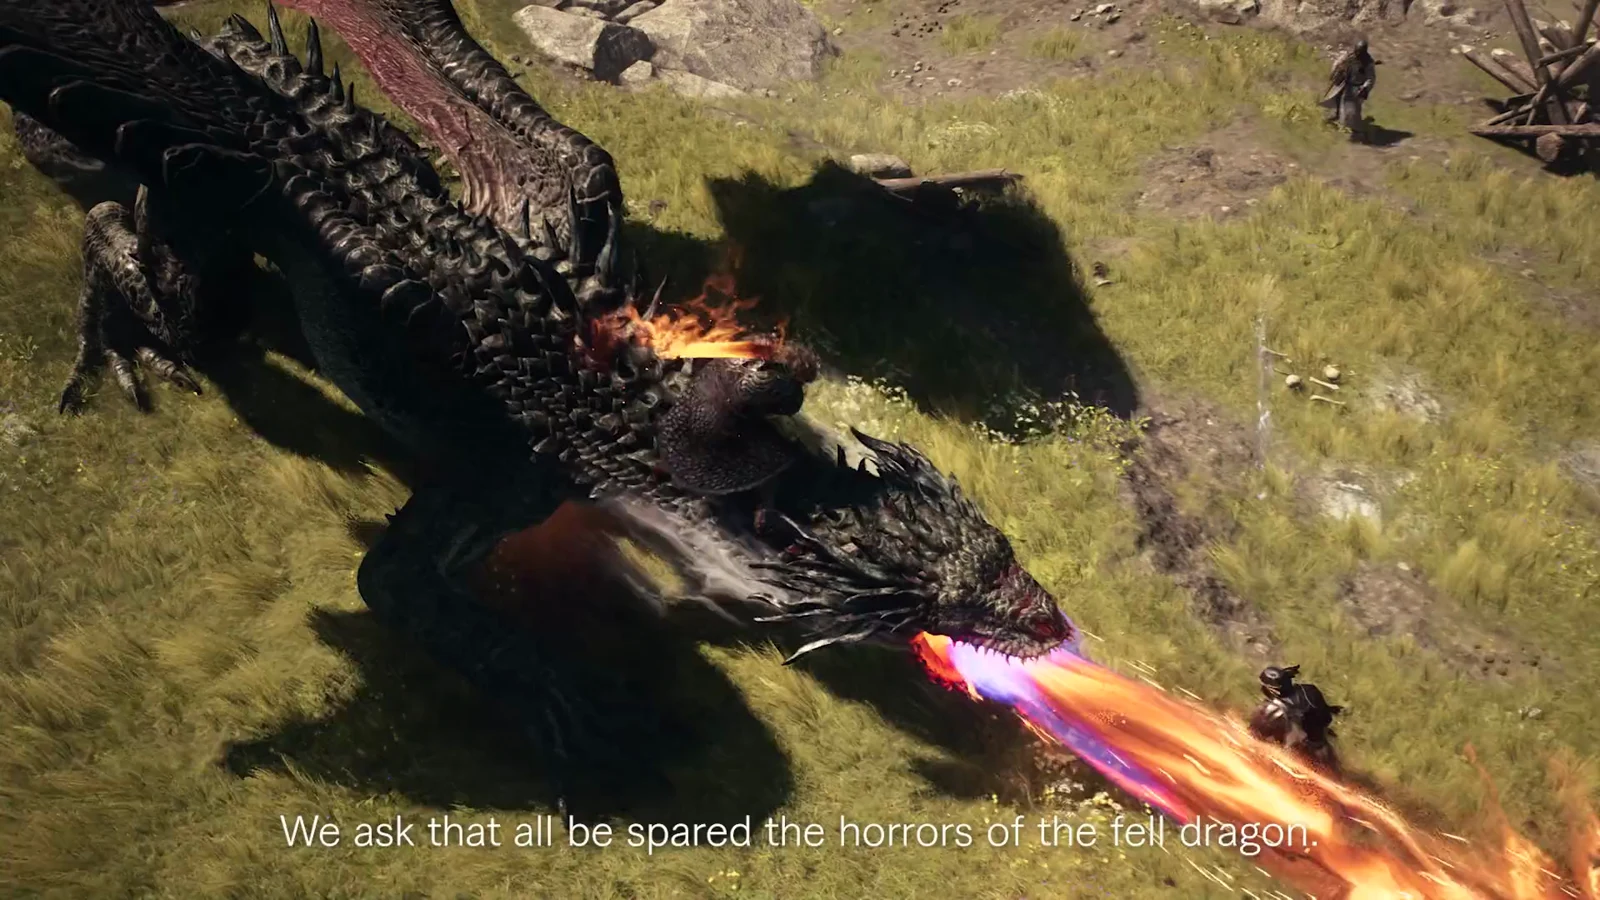
Vortexes only exist while Norgan is trapped in Ruin-Night, the endless night that starts on its own once Into Rancor begins. That quest follows the defeat of the Fallen Dragon and the completion of Reunion, so you will not see any vortexes before then.
At Abyss Ridge, you receive the objective “Dispel several rancor’s vortexes,” along with the Soulless Godsbane Blade. For this step, the quest log displays No Destination, so it gives you no marker before you take action. The wording remains “several,” and the map contains more swirl markers than the four covered here; these are not all of them.
After the quest is finished, brandishing the Blade of Rancor at Abyss Ridge plunges Norgan back into Ruin-Night and causes vortexes to reemerge, which is also how you reopen the way into Niflhel.
Mark Vortexes With the Eye of the Sphinx
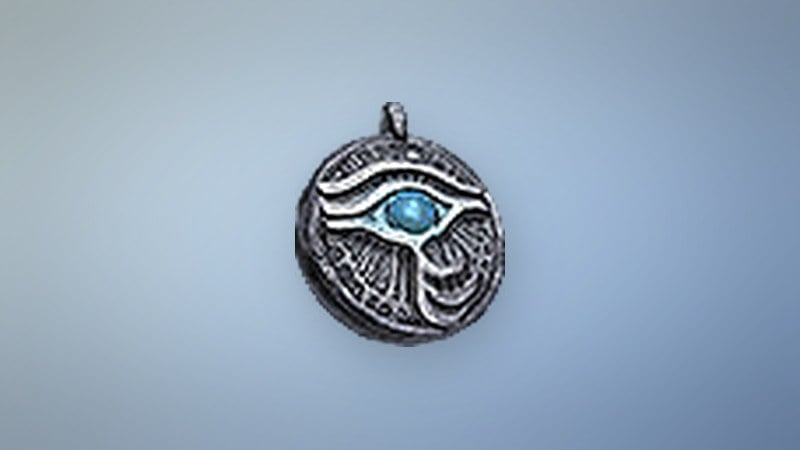
Earlier in the Norgan story, the Sphinx gives you the Eye of the Sphinx, an implement weighing 0.01 kg. Open the Items menu to use it and reveal where fearsome foes with spoils are.
How Dispelling a Vortex Works
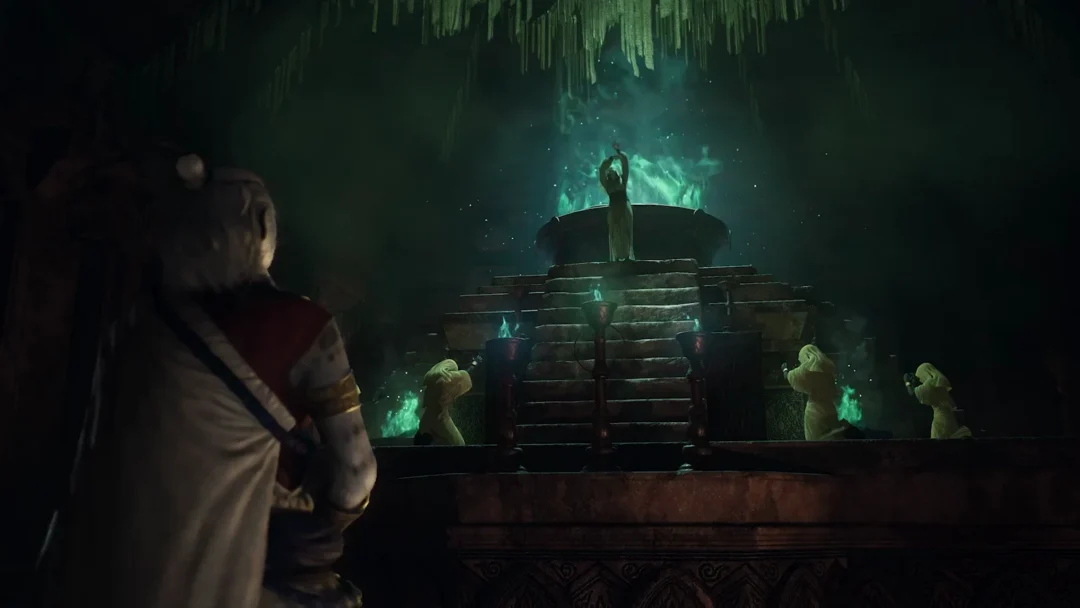
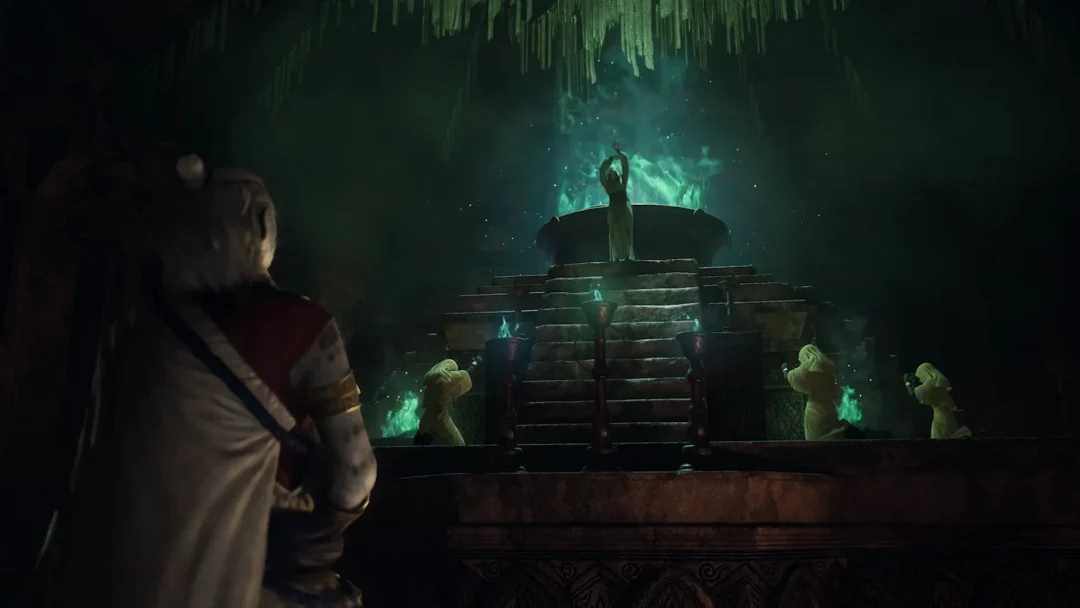
Above the snow, a dark void hovers amid wisps of pale-blue smoke. Undead are generally nearby. Fight them or pass by, then move up to the void and use the prompt Examine (Hold).
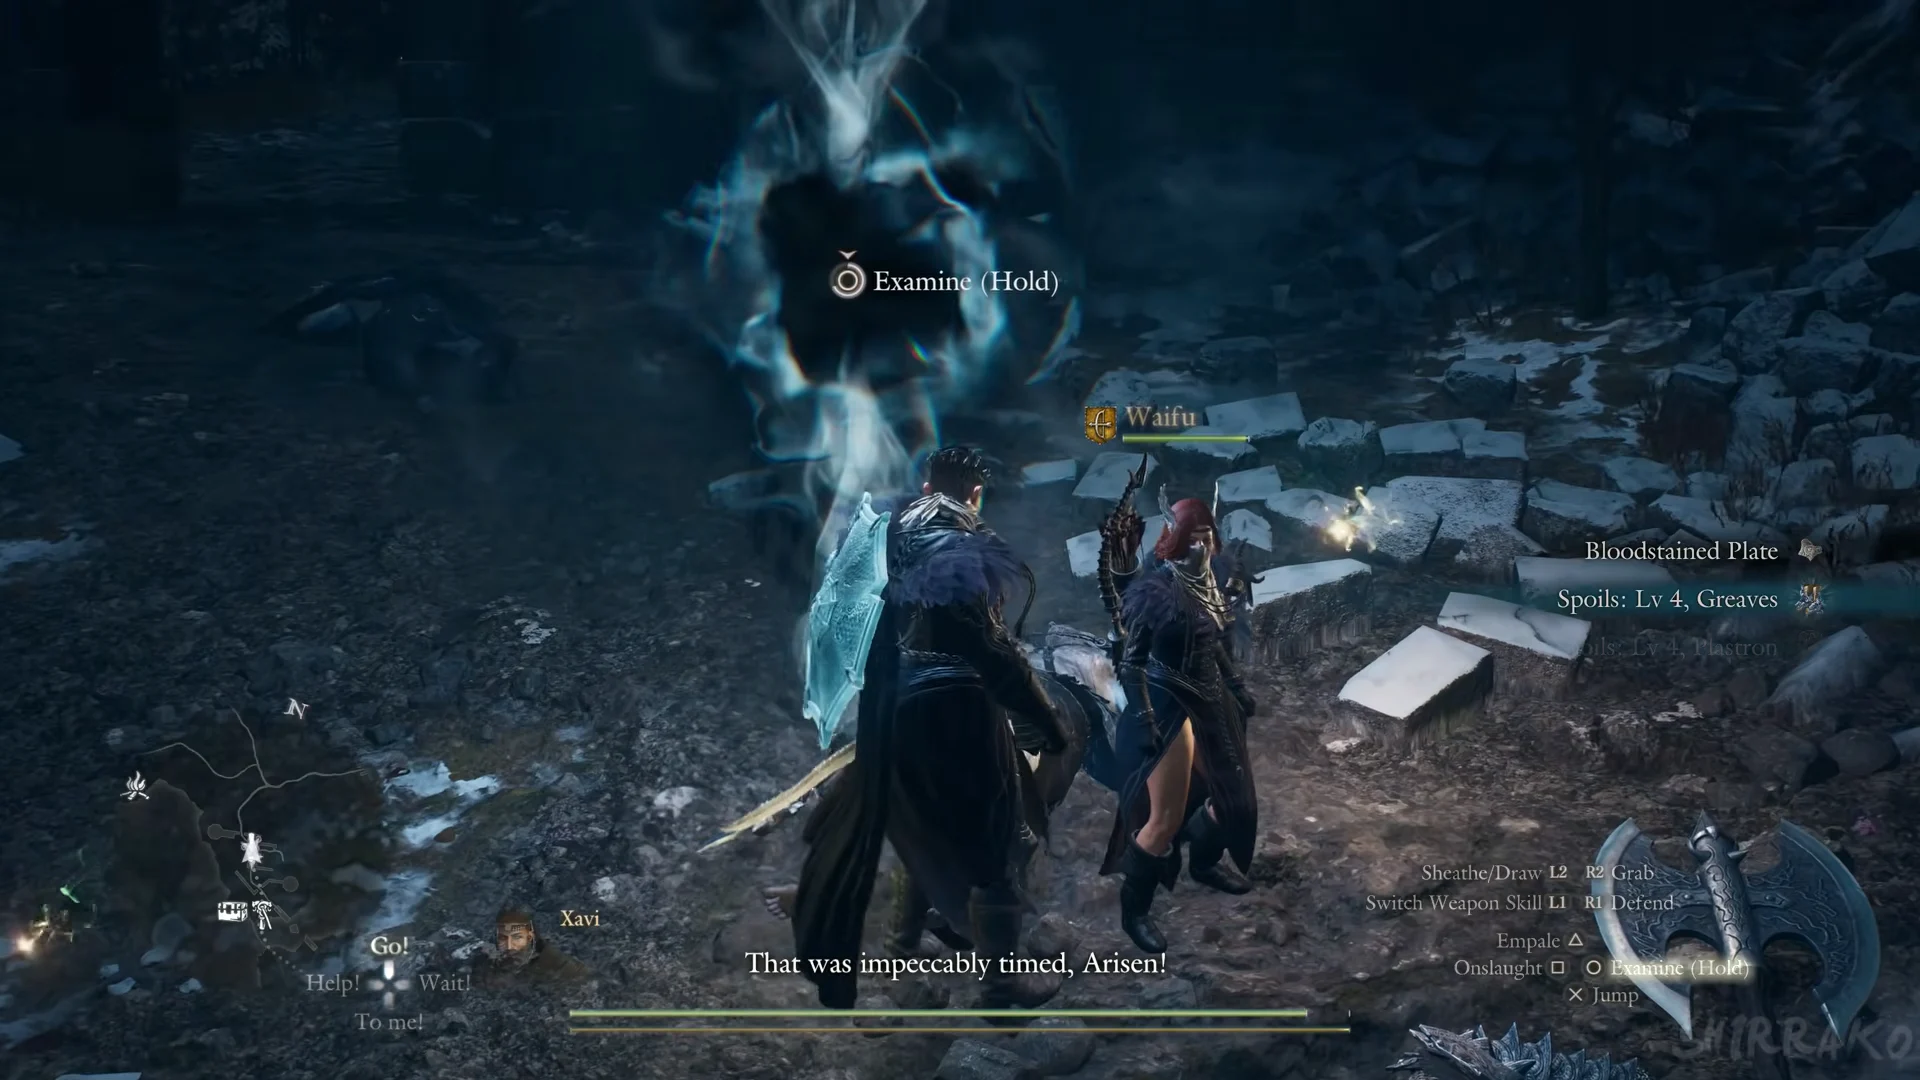
Examining the vortex closes off the surrounding area, leaving you to face successive waves of powerful enemies. The ground grows dark and misty, and a purple meter marked with pips appears at the screen’s top. It tracks the vortex overall, losing charge whenever a wave falls; large enemies drain the most. Expect mixed groups: armoured skeletons and other undead tend to appear first, followed by one to three large monsters, arriving in sequence.
Once the meter runs dry, the mist clears, loot appears, and Into Rancor records your progress. A sealed vortex has no way out on foot, so bring curatives and Wakestones before holding Examine.
Four Vortexes That Fill the Blade
Dispelling these four, in order, is enough to take the blade from empty to complete, with a quest line posted after each. Expect a large experience gain, too: an Arisen entering the first at Lv. 117 reaches Lv. 118 after it, Lv. 121 after the second, Lv. 124 after the third, and Lv. 129 when the blade is done.
Lake Norgan, in the ruin above the shore
Start at the Norgandian Settlement Portcrystal, exit through the stone gate, and head down the path. The Valgr Ravine banner comes into view before Lake Norgan’s frozen shore, roughly 35 seconds away. By the shore, locate the rope on the rock wall and climb up; a brief trail leads to a small ruin scattered with stone blocks. The vortex hovers there, flanked by armoured undead.
Armoured skeleton warriors appear first. Next, floating robed spectres hover beyond the reach of a standard sword swing and attack with magick; use jumping slashes, arrows, or magick against them. Ghouls and a larger dark beast follow, then more spectres. The reward is 999 RC and a pile of Lv 4 spoils. The quest update says rancor’s power has been absorbed by the Godsbane, and the Pathfinder appears briefly to explain that the blade must be full before Niflhel opens.
Beorcan Stronghold, in the outer ruins
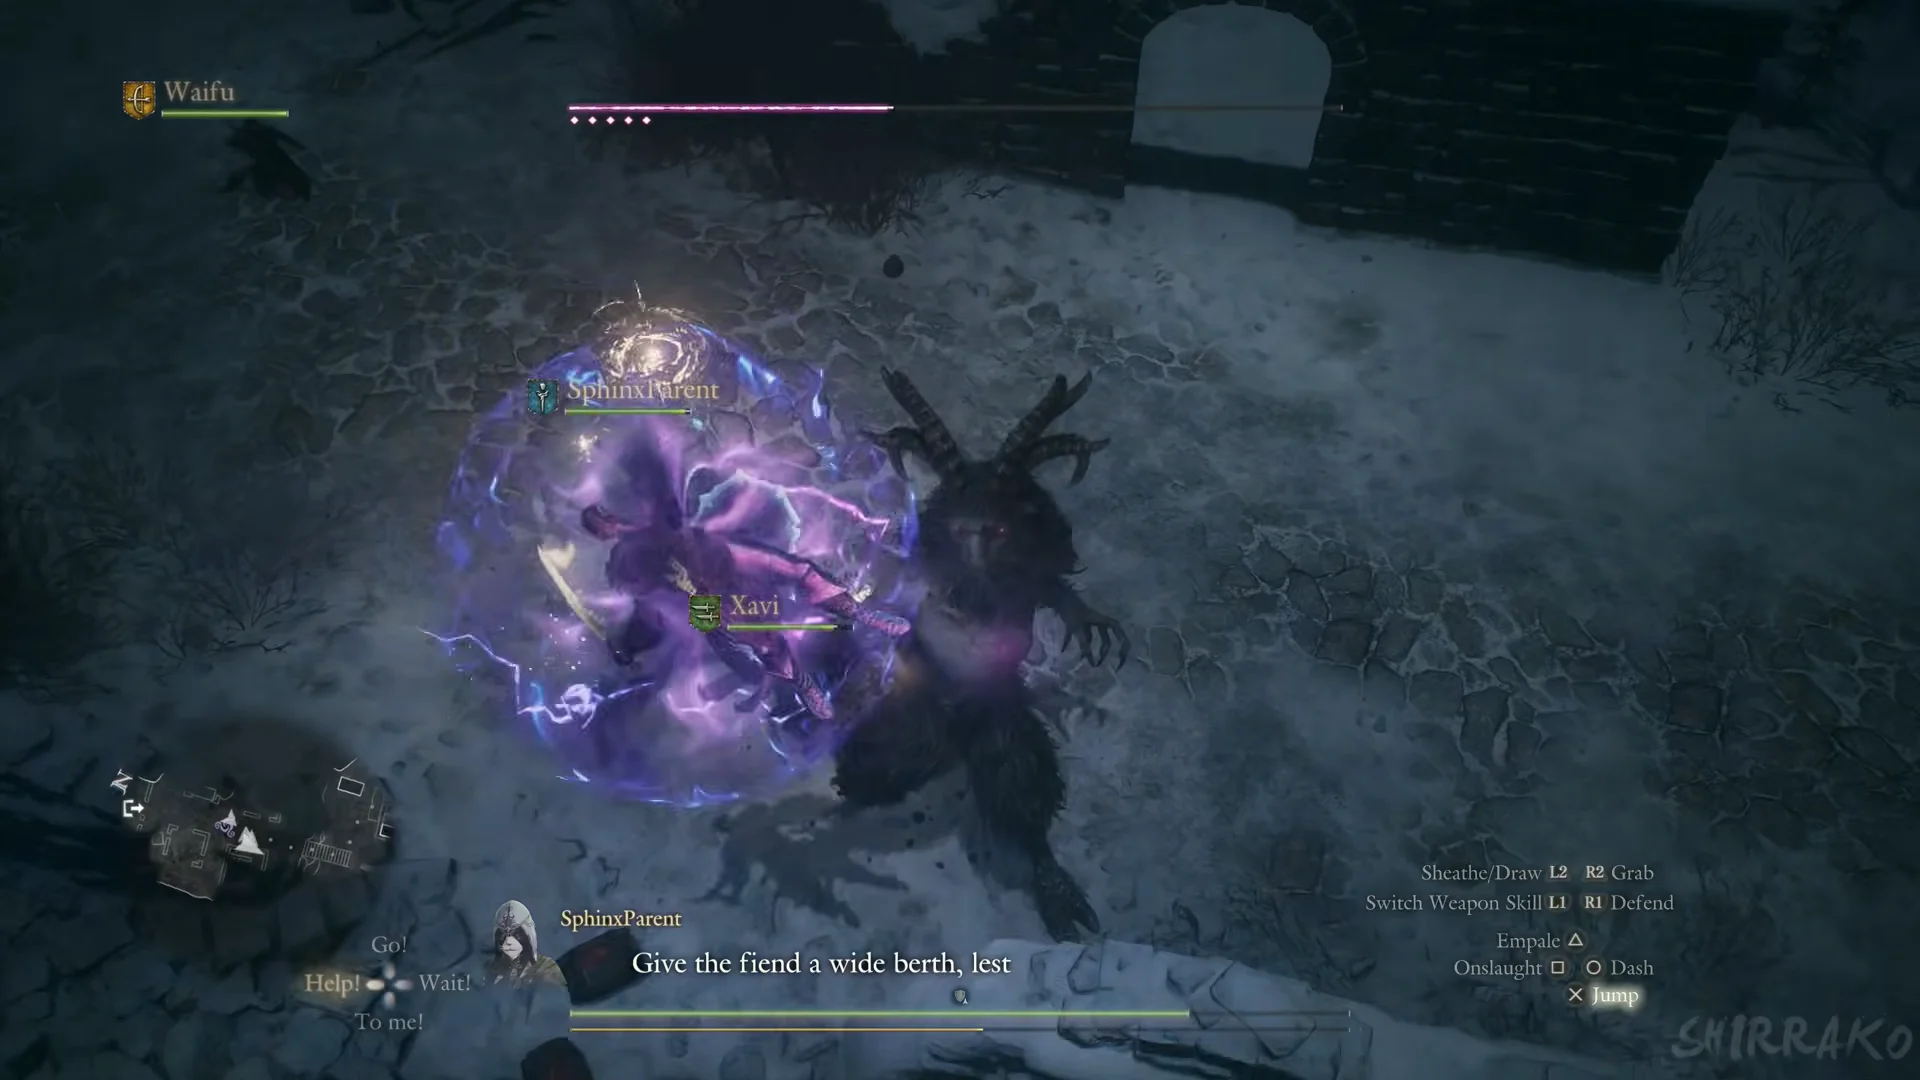
This vortex sits in the snowy, roofless ruins of Beorcan Stronghold, shown on the 1F tab of the local map, close to an Obelisk of Benediction icon on the world map. The approach on foot climbs snow-covered stone steps and passes through an arch into a walled courtyard, where an armoured skeleton knight and phantoms guard the hole.
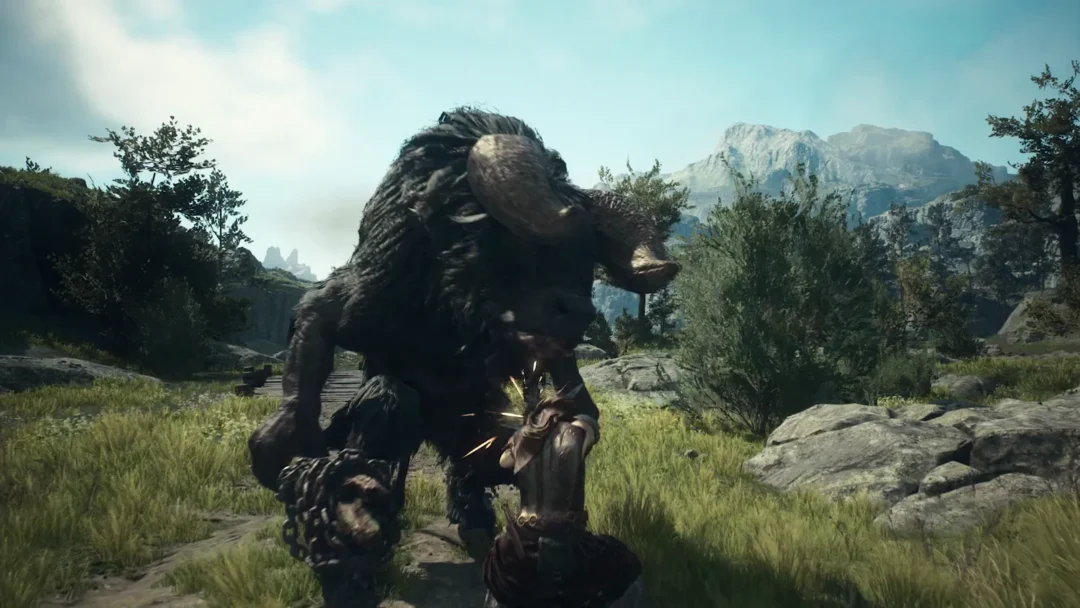
A towering, dark fiend with horns and two legs appears as the first large monster, and it forms a purple lightning sphere around itself. Retreat as soon as the sphere takes shape. More skeletons arrive before a massive, shaggy-furred pale beast drops into the courtyard. Playing a Fighter, you can cut at its legs, climb onto its back, and stab its neck. Rewards include 999 RC, Abandoned Supplies, and Lv 4 spoils; the quest update says the Godsbane is starting to fill with rancor.
Near Rivercave Campground
Fast travel to Norgan Portcrystal: Rivercave Campground, then run downhill along the snowy path. The vortex is out in the open about 30 seconds away.
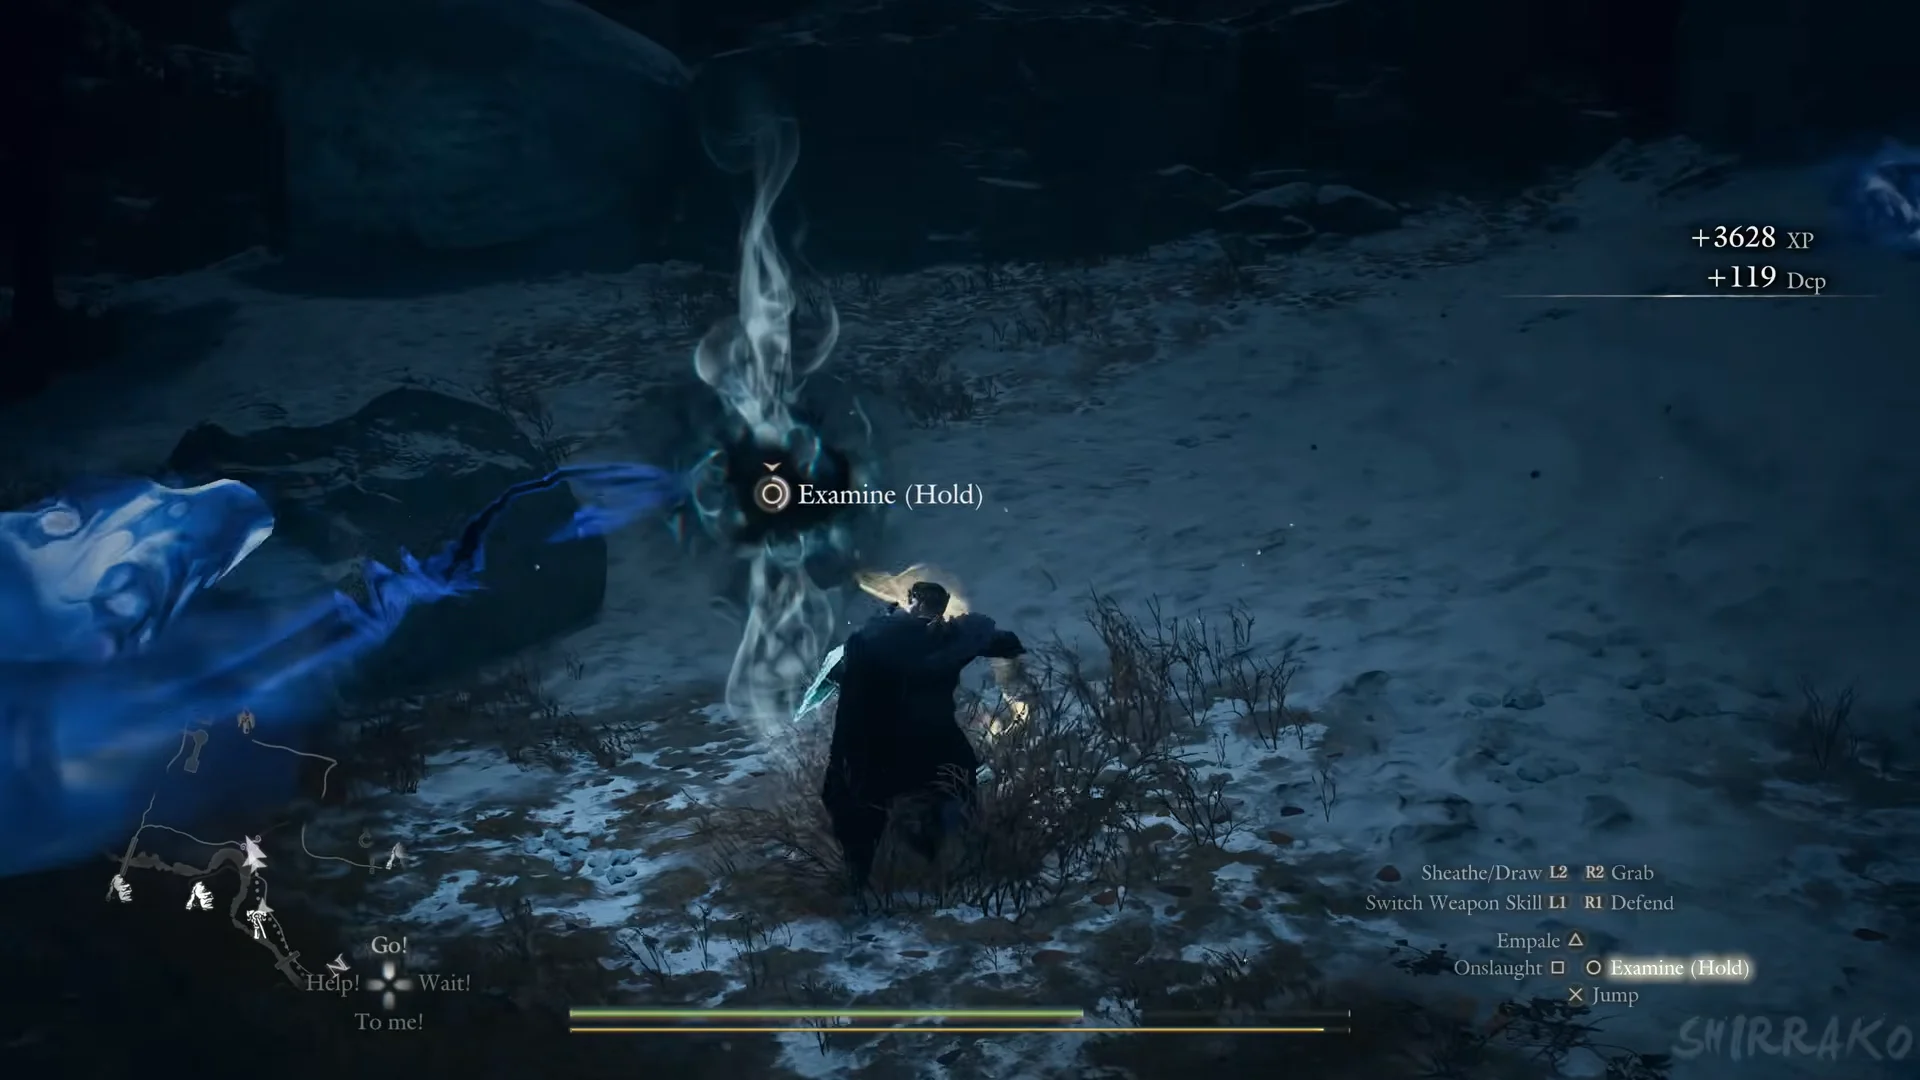
Waves of armoured skeleton warriors come first. Then the notice “The Arisen’s magicks have been sealed!” flashes up as a giant dark wolf-like beast charges in, which you can climb and stab at the neck. Last is a horned fiend with purple lightning across its arms and a four-pip bar; it leaps and slams, and its purple bursts are worth running from. That seal only punishes spell-reliant builds, so a sword-and-shield Fighter is unaffected. The payout is 999 RC, Panacea, Fine Harspud Roborant, Abandoned Supplies, and Lv 4 spoils, with the line that the Godsbane is nearly replete with rancor.
Near Northwall Campground
From Norgan Portcrystal: Northwall Campground, take the forest trail for around a minute. Winterweed is among the plants along the route, and armoured undead patrol the path. Among the trees, the vortex hangs over a snowy clearing.
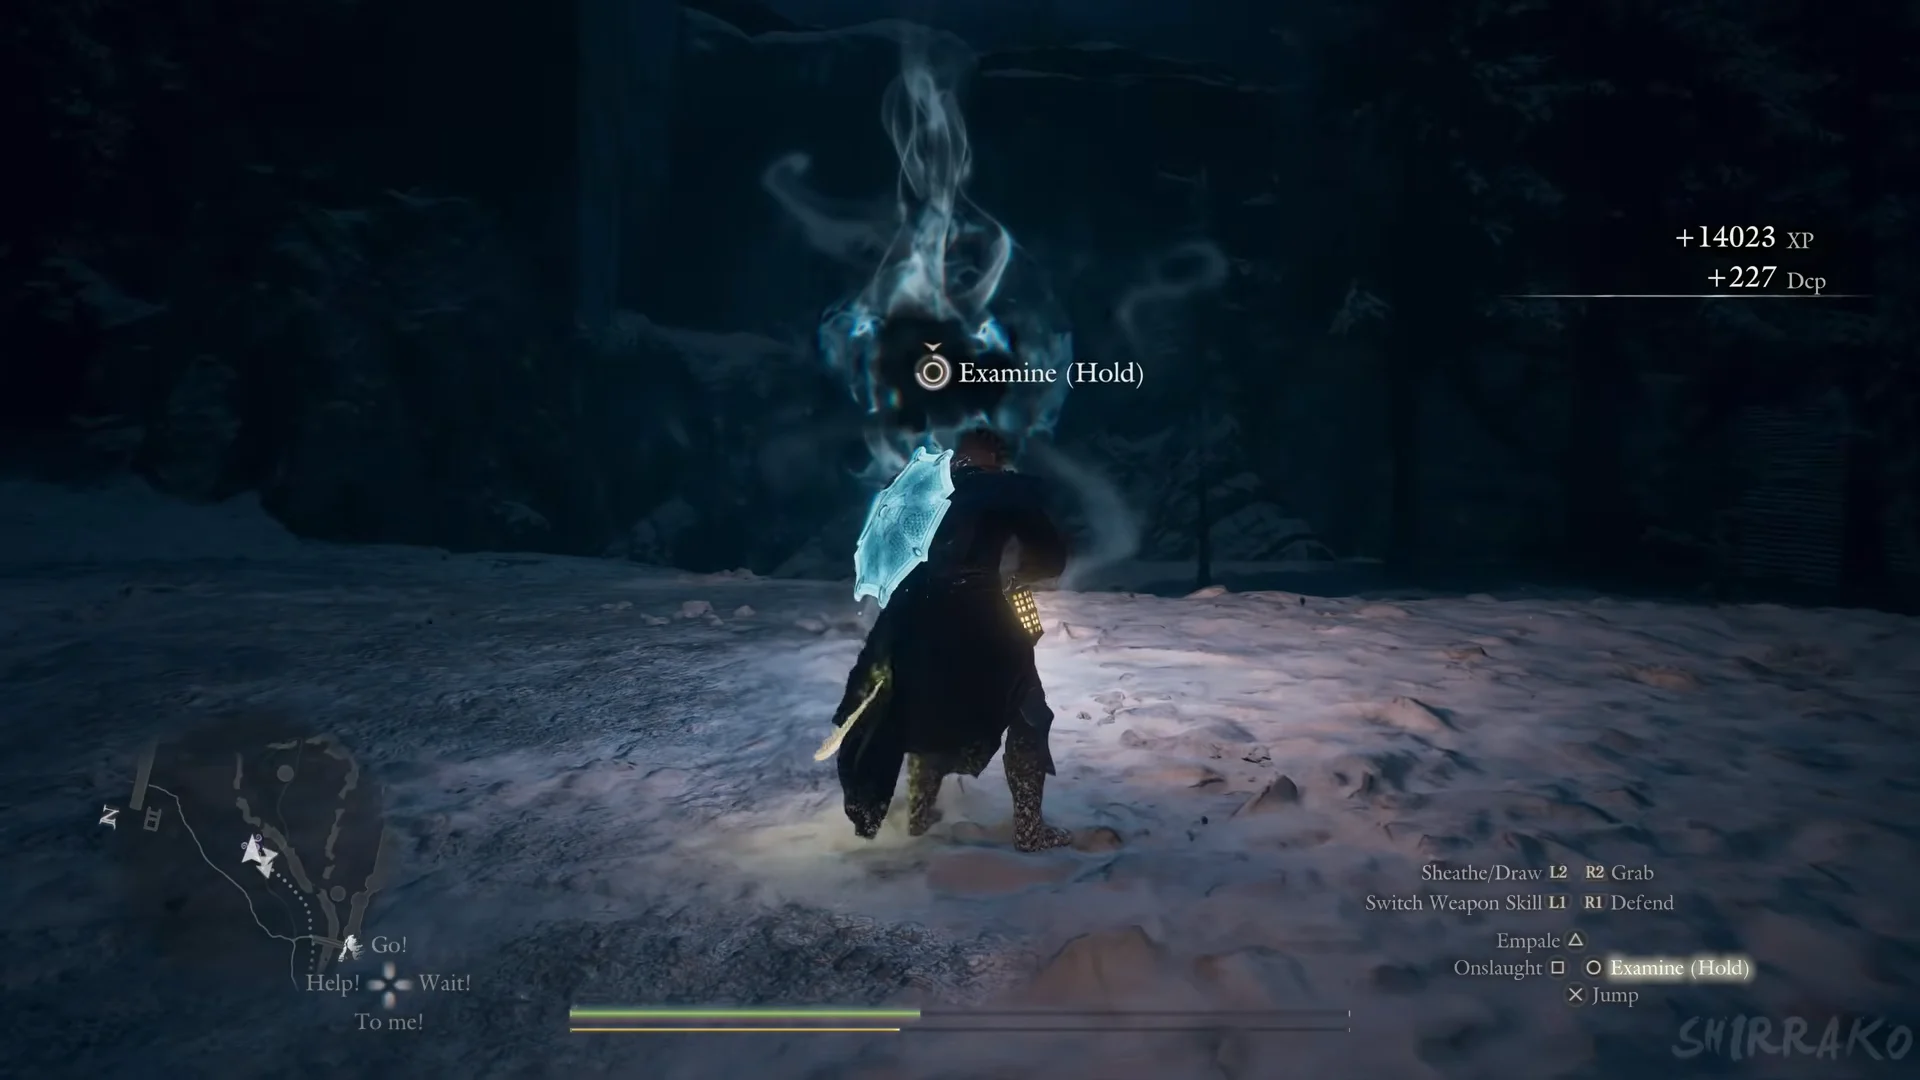
Skeletons lead off, followed by three large monsters one after another. First comes a huge, dark beast with horns; next is an upright horned brute that catches fire when enraged. The third is a horned fiend wreathed in purple flame: it saps strength with a purple sphere, then changes its attack so the ground erupts. At roughly seven minutes, this takes the longest of the four. A brief scene depicts a pillar of light hitting Abyss Ridge, then you acquire the Blade of Rancor, which takes the place of the soulless blade. The new objective is “Return to Abyss Ridge.”
What Vortexes Drop
- Rift Crystals: a 999 RC payout appears at the first three vortexes.
- Spoils: Lv 4: Each vortex yields a pile of gear, including standard Plastron, Greaves, Aegis, and Bowstaff, as well as “Ancient” items: Ancient Light Weaponry, Ancient Long Weaponry, Ancient Helm, Ancient Greaves, Ancient Plastron, and Ancient Bowstaff.
- Extras: A payout can also include Abandoned Supplies, Panacea, and Fine Harspud Roborant, and the large monsters leave Scarthe materials.
- Experience: a large amount per vortex, enough to climb several levels across the four.
Bring the spoils to Jiera at the Norgandian Settlement, where they can be appraised into usable gear.
Norgan Portcrystal Reference
Pick the icon closest to a Portcrystal you own and travel there with a Ferrystone. Besides Rivercave Campground and Northwall Campground, these are other fixed Portcrystals in the region.
| Portcrystal | Type |
|---|---|
| Norgandian Settlement | Fixed |
| Castletown Campground | Fixed |
| Gagana’s Grotto | Fixed |
| Lorade Castle | Fixed |
| Mordria Temple | Fixed |
| Sealed Study | Fixed |
| Shrine of Wisdom | Fixed |
The Norgandian Settlement Portcrystal is the launch point for the Lake Norgan vortex, while the Castletown Campground Portcrystal is the one to use later for the trip back to Abyss Ridge through Castle Barracks Ruins.
After the Blade of Rancor Is Complete
When the blade is full, take it to Abyss Ridge. At the cliff edge, choose “Proffer the blade” and jump into Niflhel. Completing Into Rancor grants 500,000 experience, 100,000 gold, and 15,000 Rift Crystals. The quest ends after you defeat Satanachia in Niflhel Depth and lift Ruin-Night.
| Into Rancor reward | Amount |
|---|---|
| Experience | 500,000 |
| Gold | 100,000 |
| Rift Crystals | 15,000 |