The Castle in the Ice becomes your priority quest once Sealed History ends. Its first objective reads “Find a path leading east through the stronghold.” What follows is a long chain of tasks. You escort Eir across the Norgan Snowfield, summon and kill a gagana for its fat, shoot a burning ballista bolt into a wall of ice, and then descend to a castle buried under the mountain, where a decision about a corpse decides whether the story continues.
Quick answer: Burn one dead snow saurian in each of the three braziers in Gagana’s Grotto, kill the gagana for Firebird Tallow, then load it into the Mountain Stronghold ballista and shoot the ice wall.
What to carry before leaving Mountain Stronghold
The snowfield drains you with cold, and a whiteout knocks out map navigation for roughly half the walk to the grotto. Pack for that before you take the elevator down.
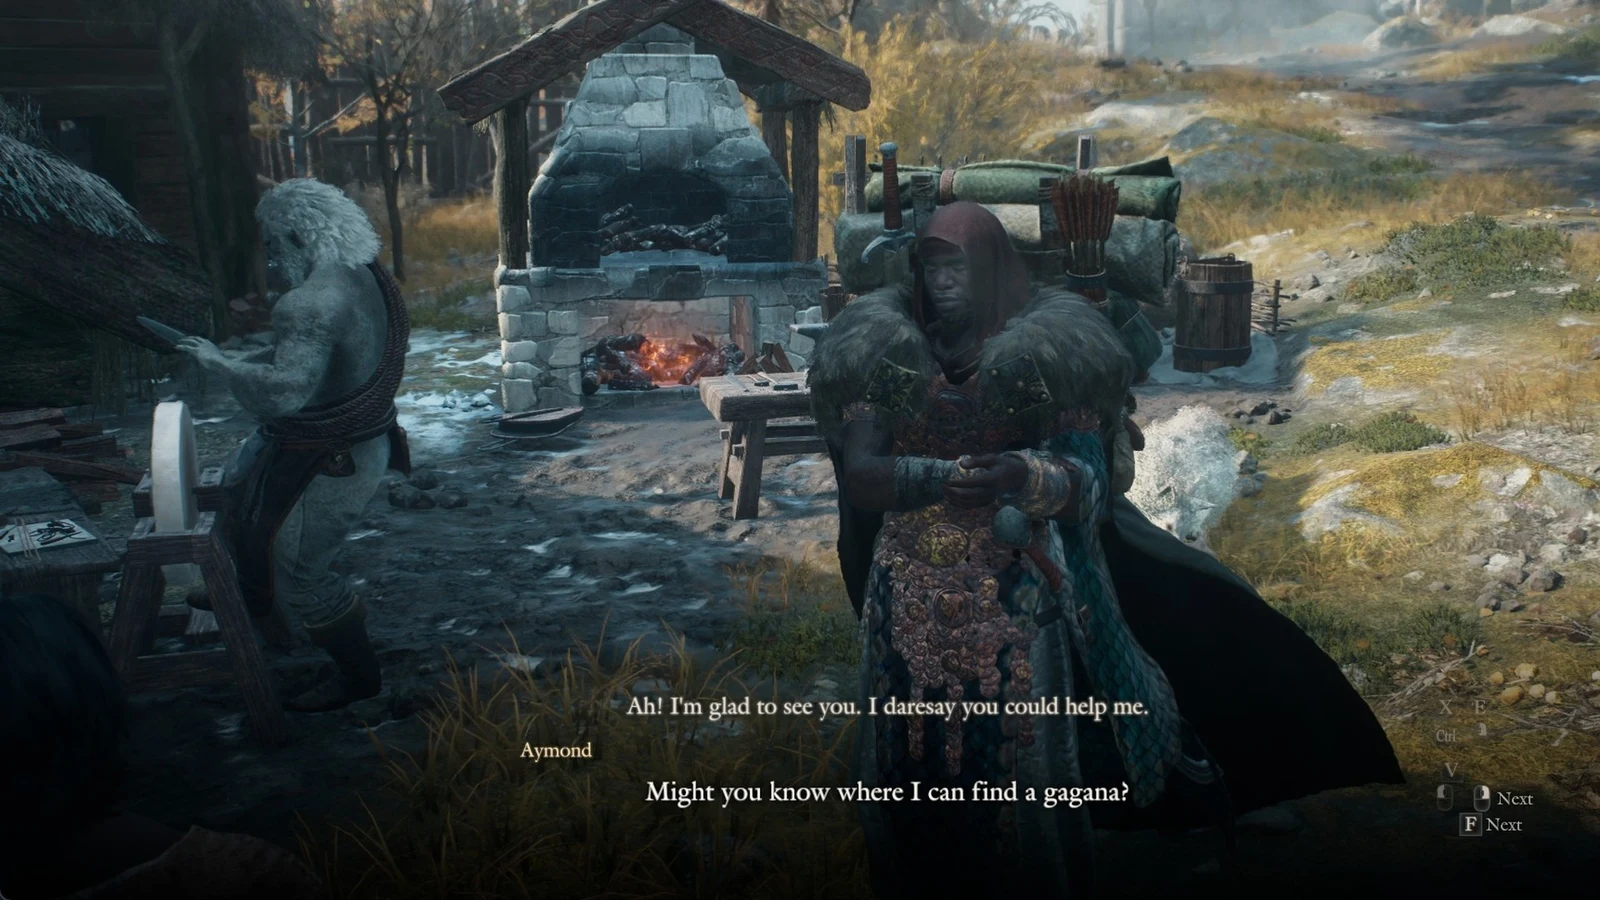
- Eir uses her gagana feather with the spirit compass you obtained during Seeking the Sage to find the bird.
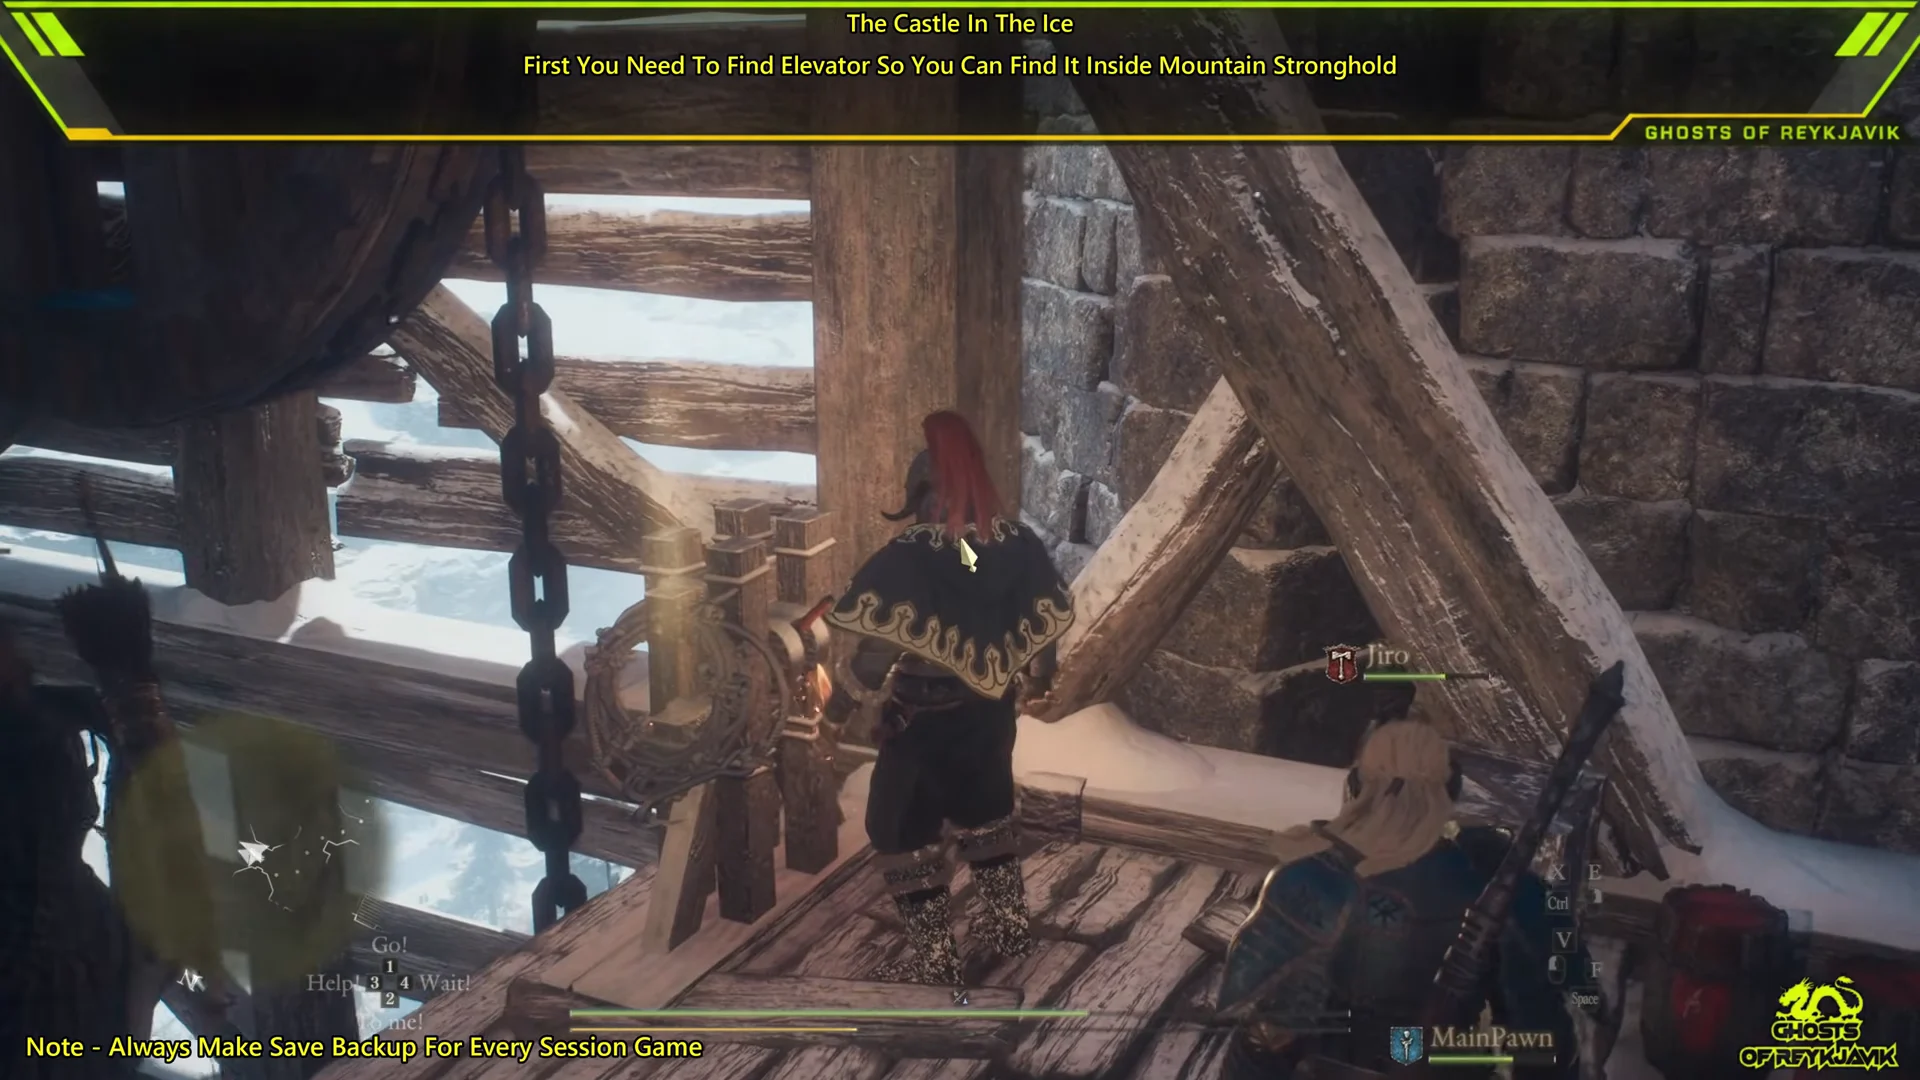
- At least one Climbing Hook for a tether post on the grotto route. A spare sits on the elevator’s winch frame (“Pick Up”).
- Heatstones or thermal armor to hold off the cold.
- Ice damage for the gagana. Fire barely hurts it.
Back up your save before you start. The throne room near the end has a choice that can end the game outright.
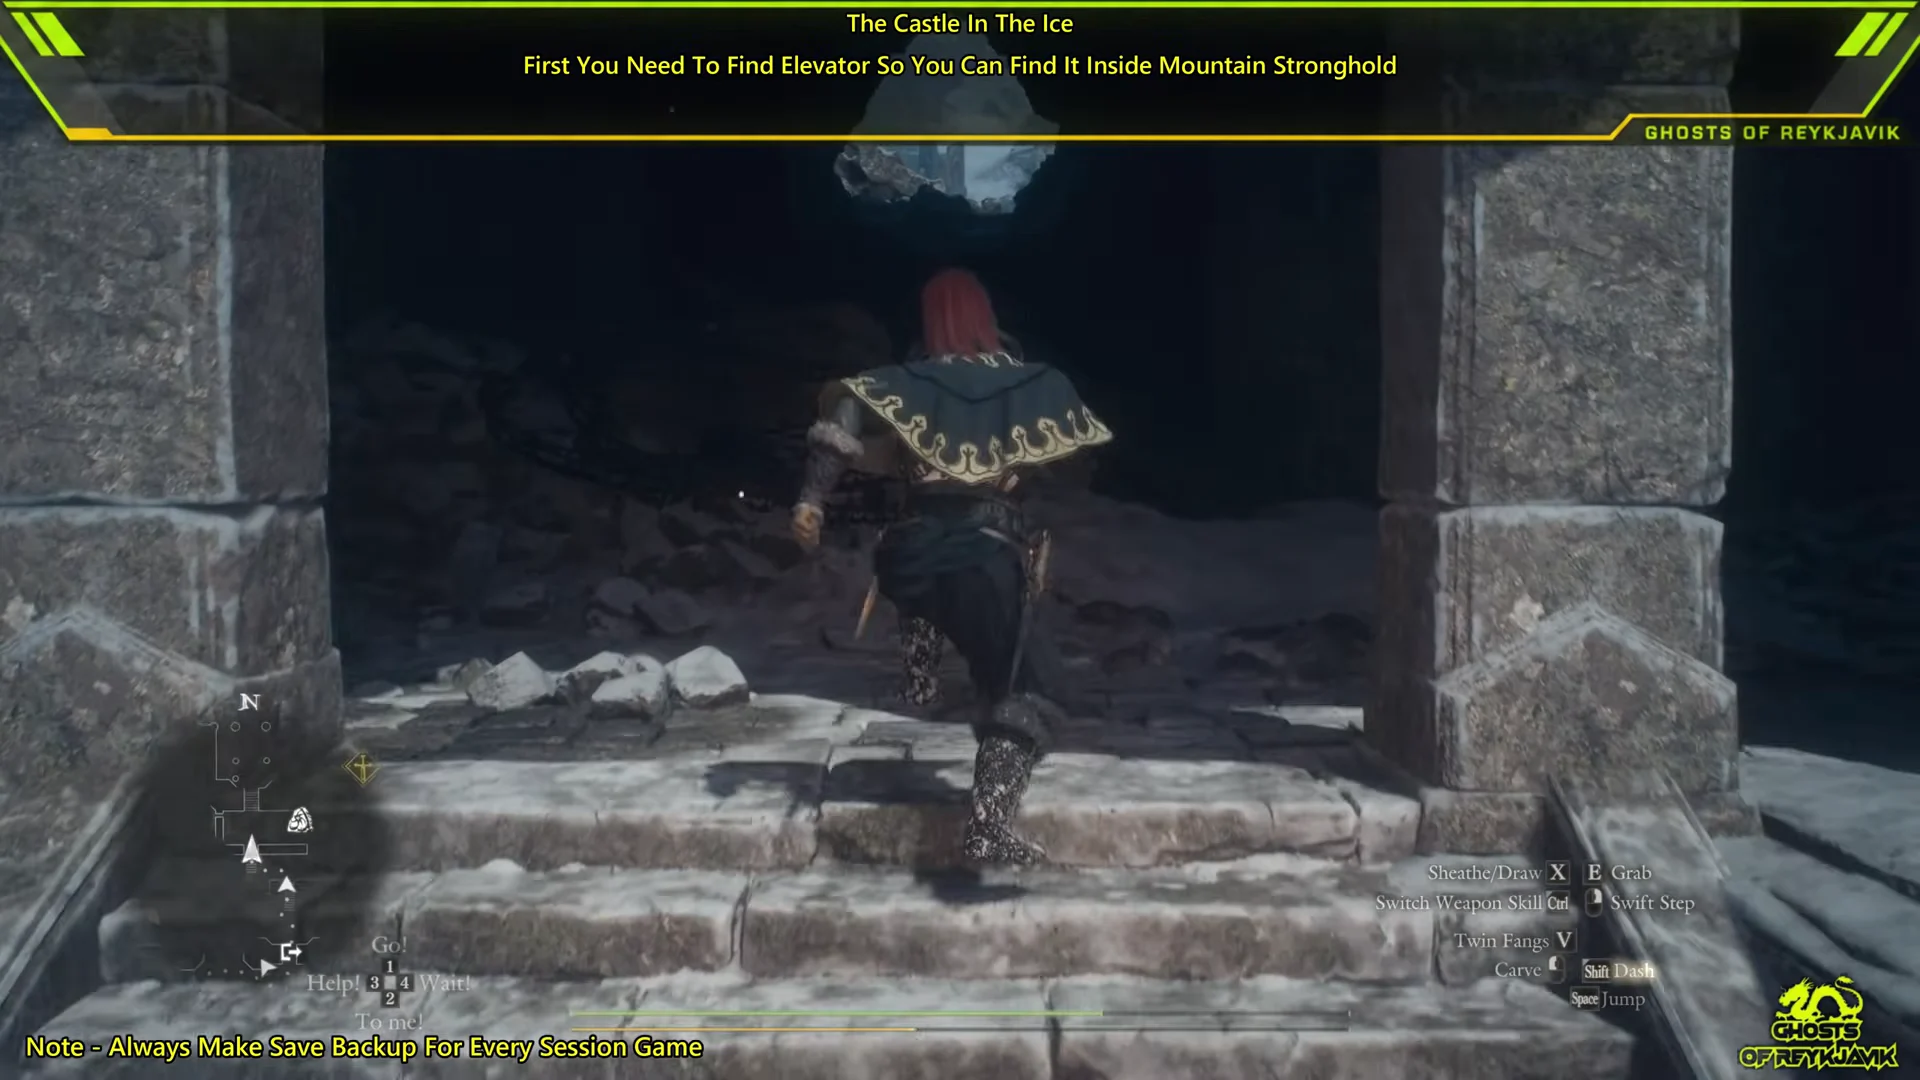
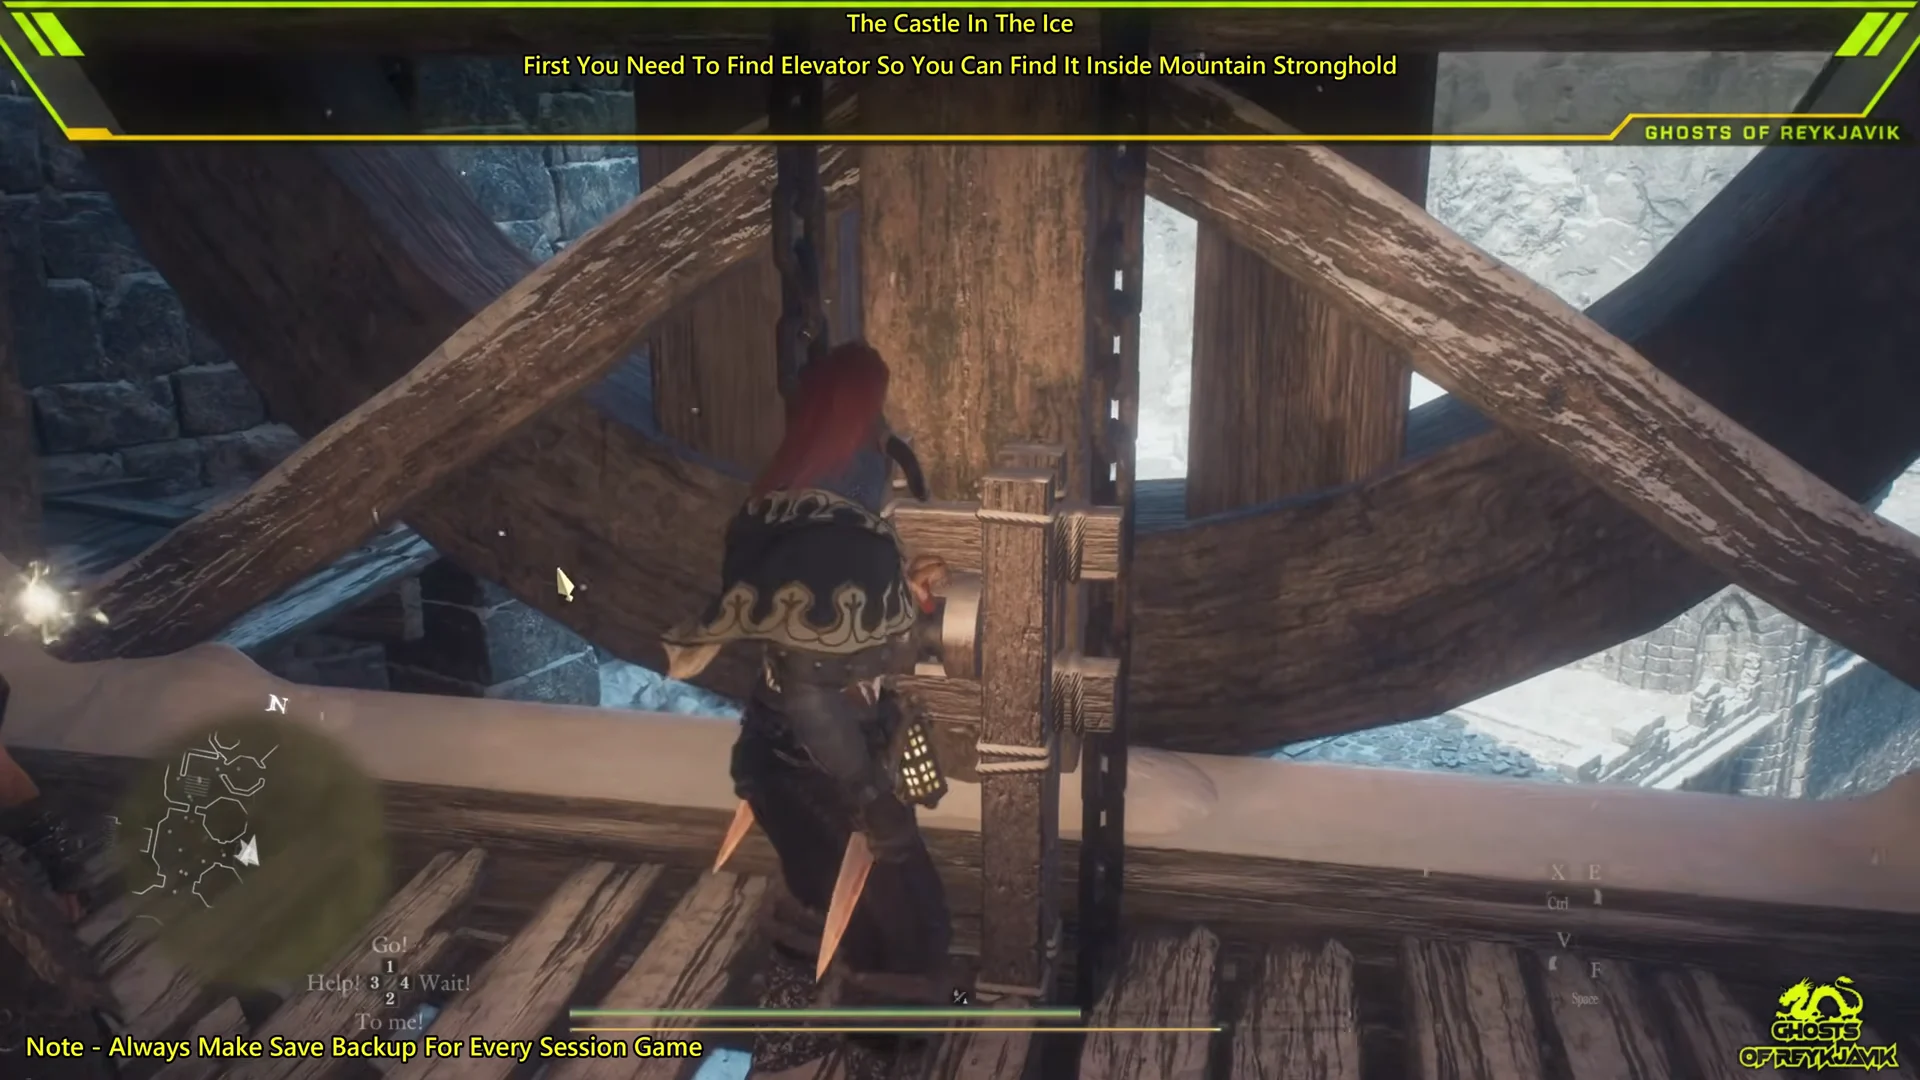
Mountain Stronghold elevator to the Norgan Snowfield
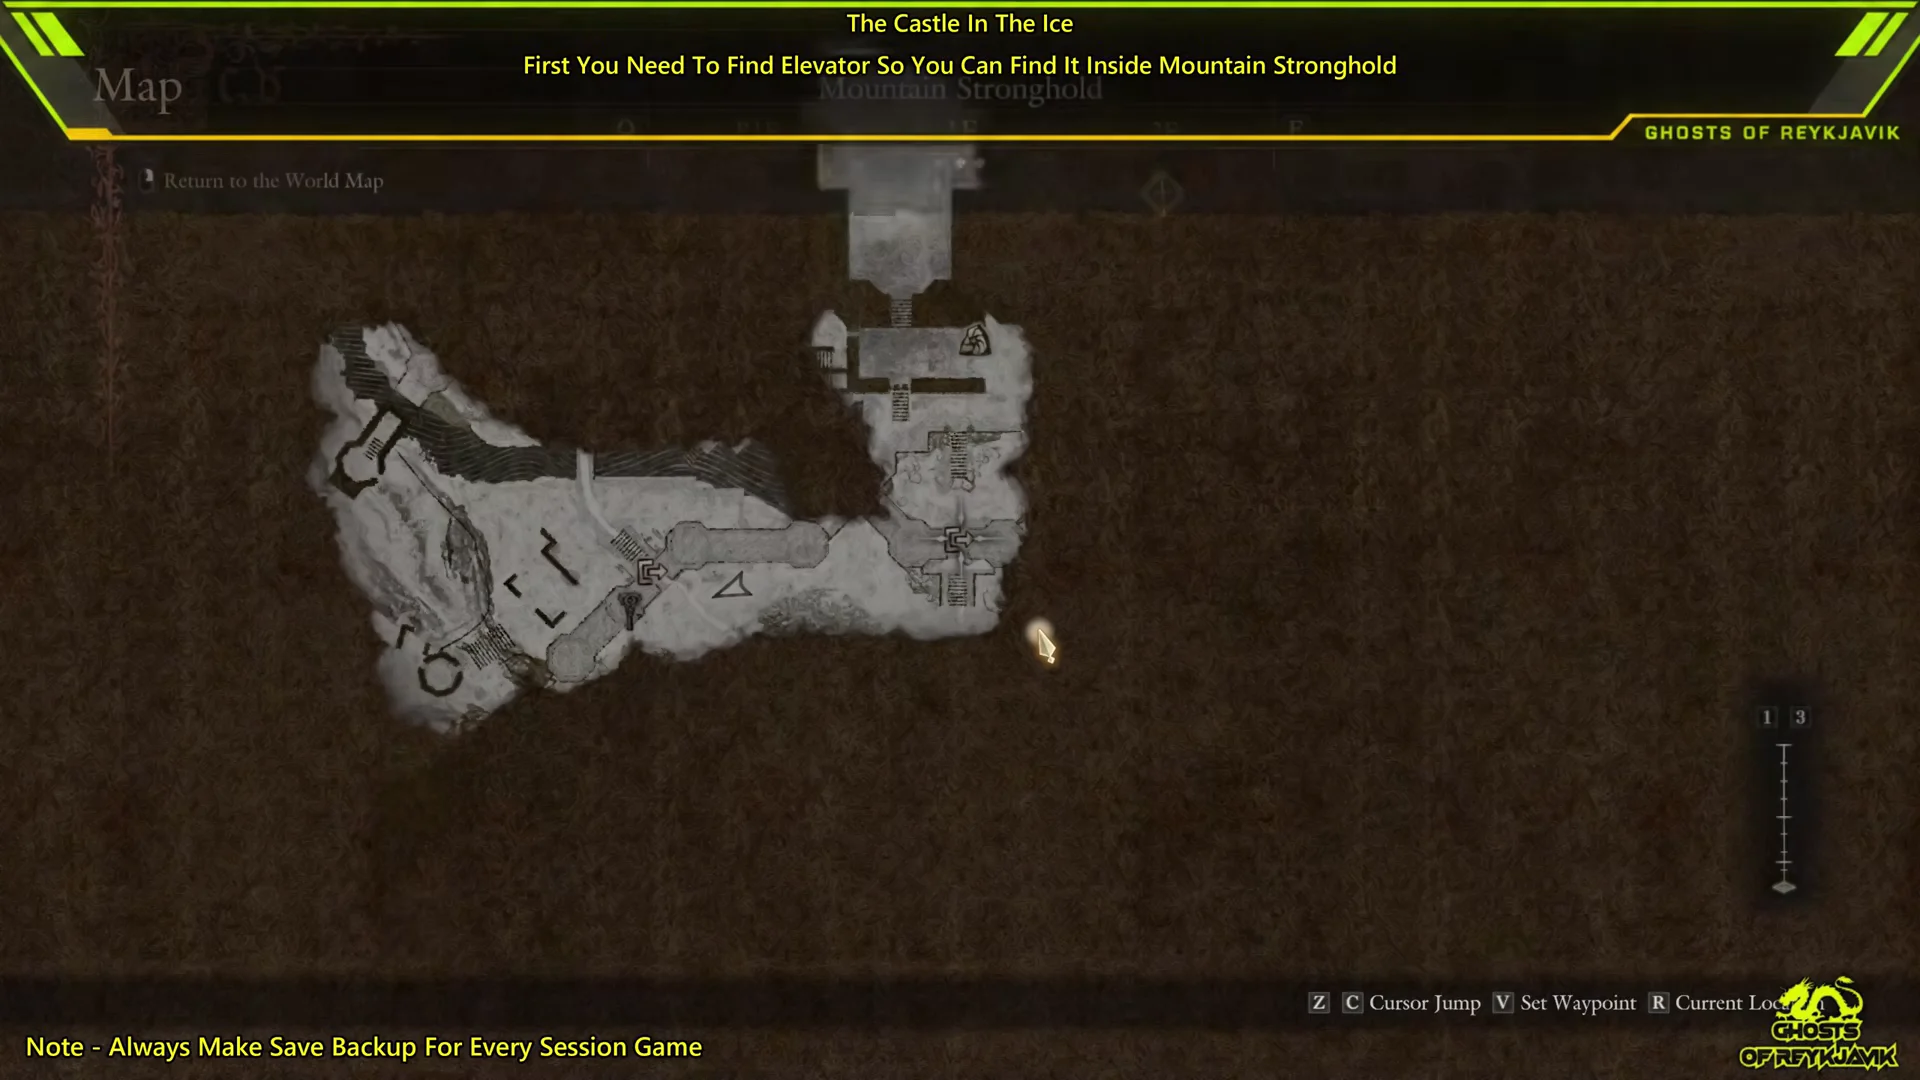
Rescue Eir and reach the ice wall
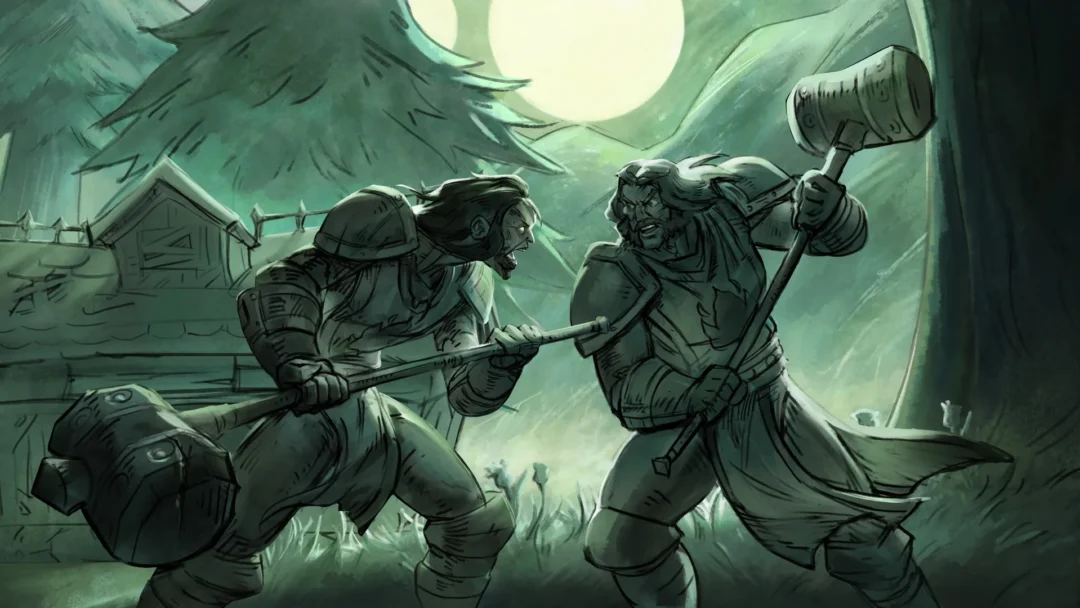
A cutscene shows a worn-out knight, Eir, fighting off monsters beside a wooden shack. The objective becomes “Aid Eir in repelling her assailants.” Kill everything, talk to her, then follow her up the snow road, through an arched stone gateway, and up ruined stairs. A second group ambushes the party on the way.
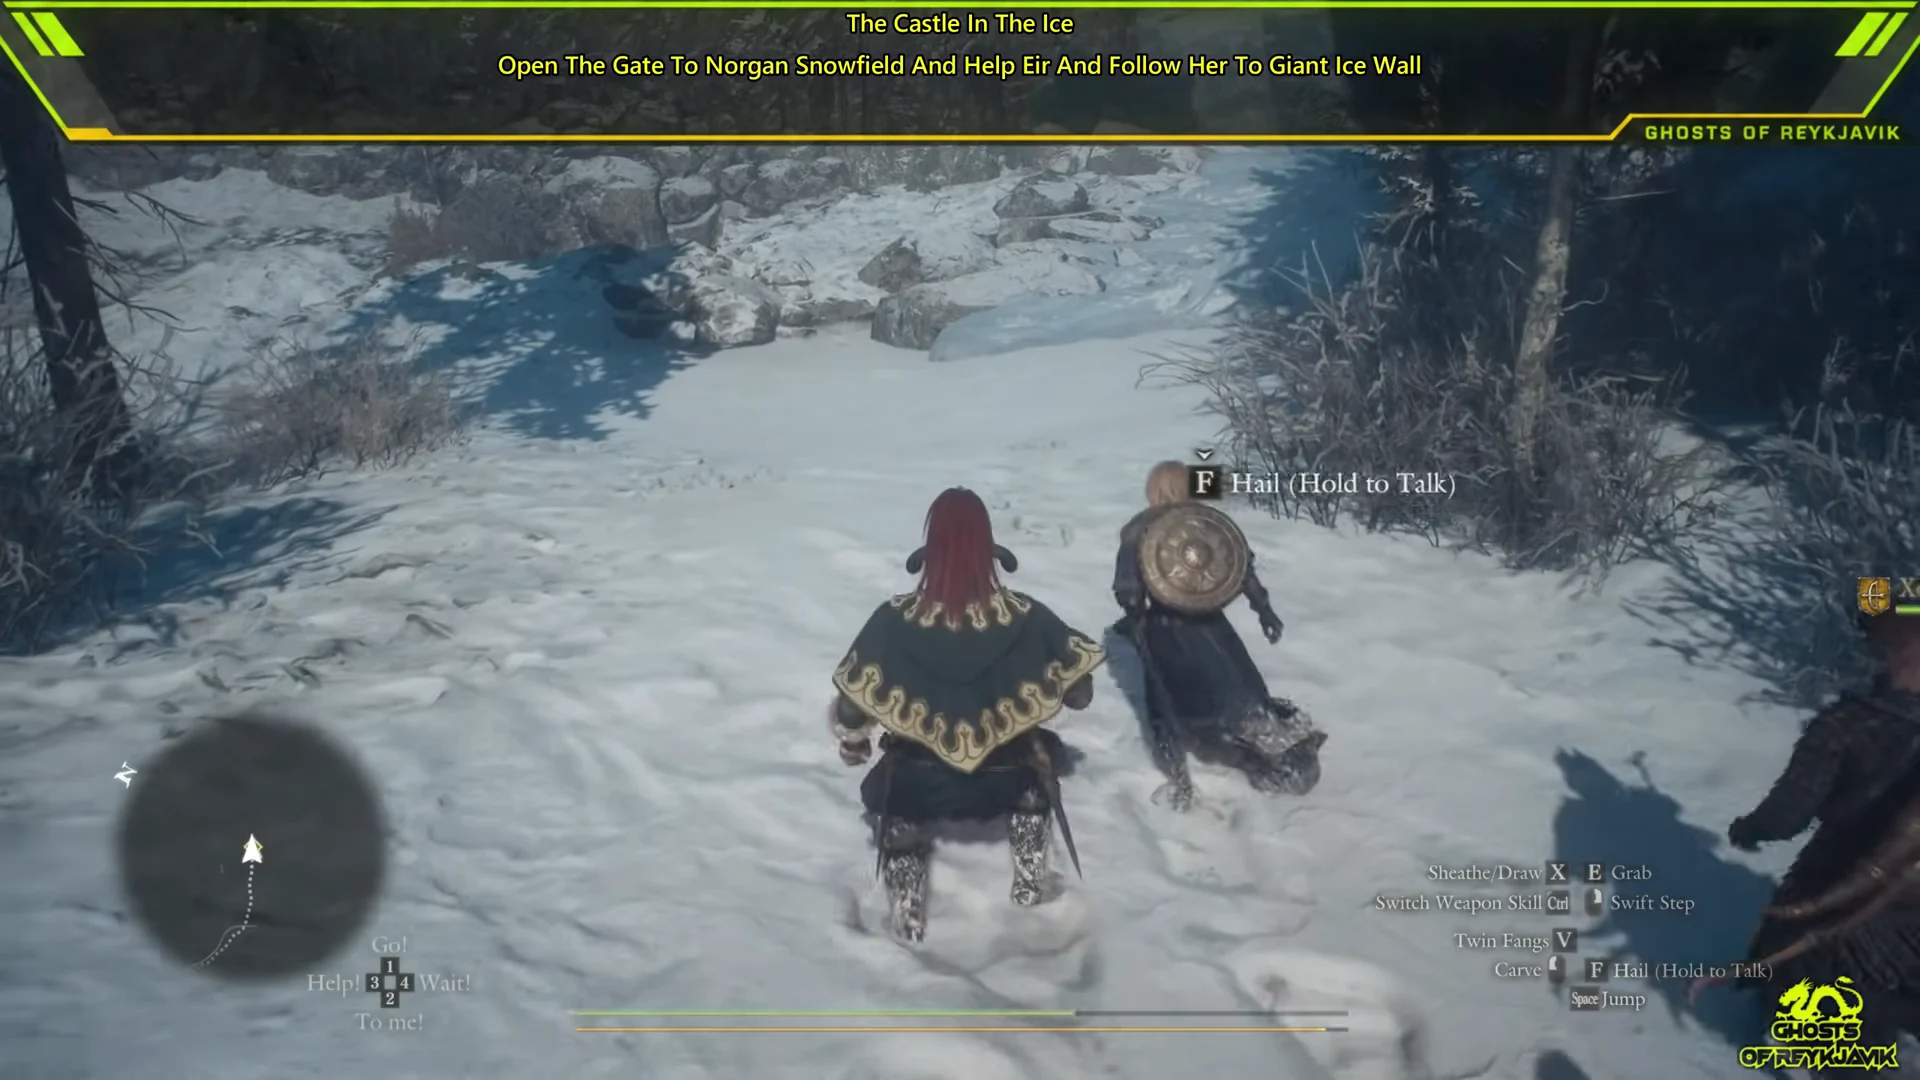
The road ends at a sheer wall of dark blue ice that blocks the way to Lorade Castle. Eir explains that only the fat of a gagana, a firebird, can melt it. She has a feather, and your spirit compass can follow it. When she asks “Are you ready now, Arisen?”, pick “I am ready.” to begin the hunt. The objective changes to “Locate a gagana with the spirit compass,” and Eir comes with you.
Drop a Norgan Portcrystal by the ice wall before you leave. You come back here after the ballista shot, and the portcrystal saves you the walk.
Route to Gagana’s Grotto
The grotto lies far to the east and southeast of the snowfield. The map shows three entrances, and the southern one is the easiest to reach. When the whiteout hides the map, follow the compass’s yellow line.
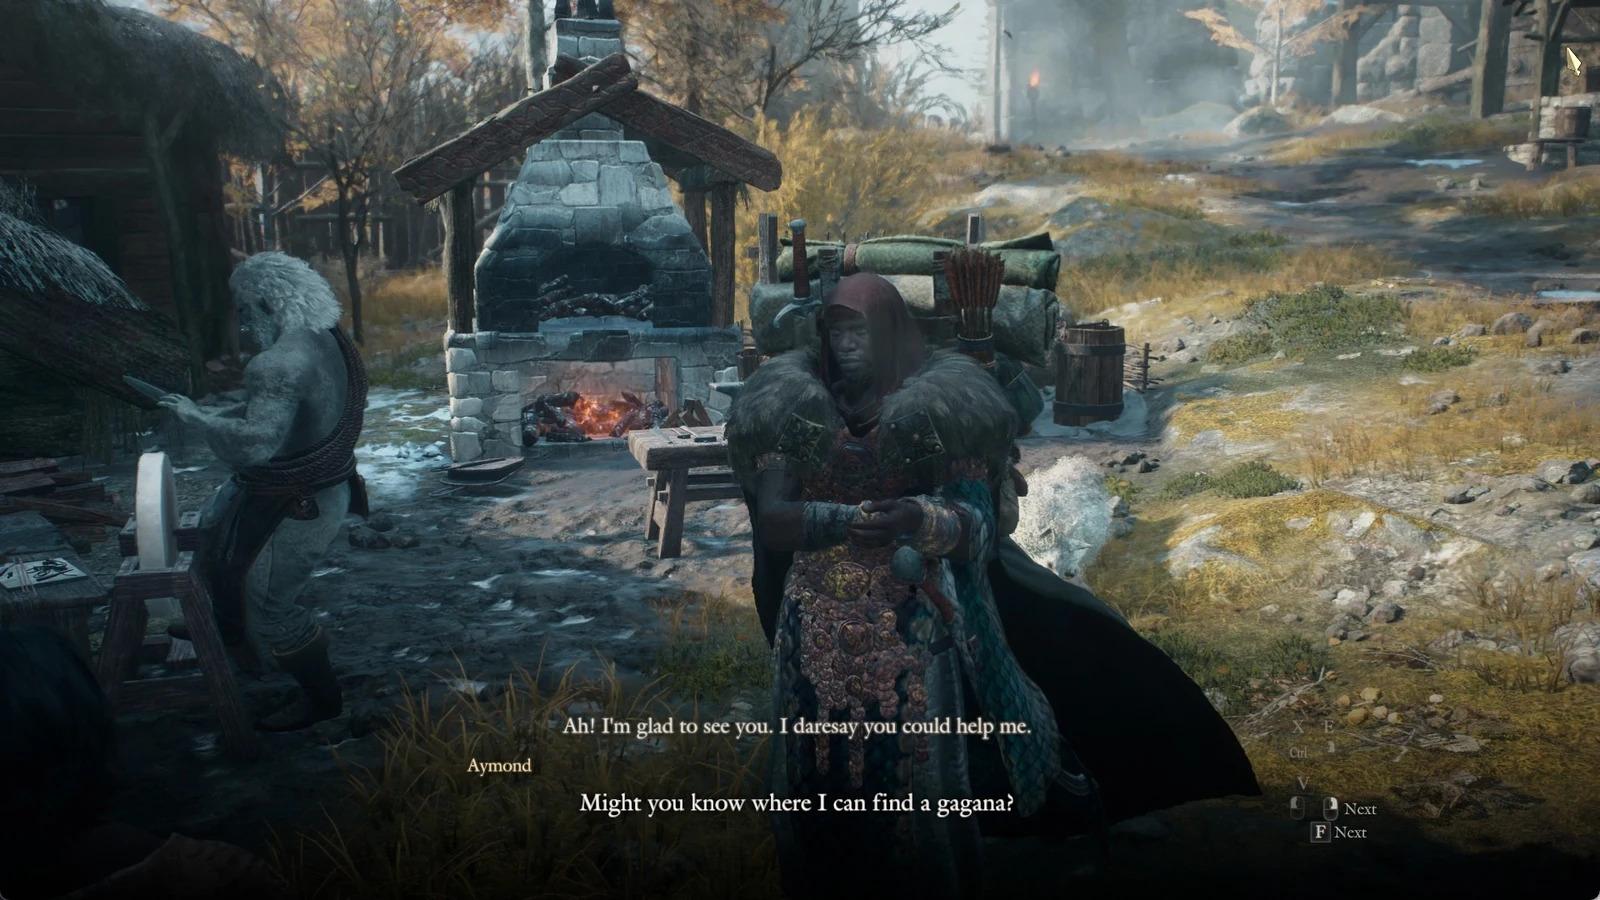
Activate the portcrystal in the grotto’s open arena. From there you can fast travel to the Norgandian Settlement, rest at the inn until morning, and cook at its campfire (Aged Beast-Steak works) for fresh food buffs. Then return. Eir stays where you left her.
Gagana’s Grotto brazier puzzle: Summoning the gagana
Go into the ruined courtyard beneath the frozen waterfall, then get onto the circular stone platform. Your objective changes to “Find a way to summon a gagana.” Three big iron braziers are set across the platform, with rib bones lying among them. Behind the braziers, a red image painted on the rock is called the Gagana’s Grotto Mural. Its instructions say to burn the snow-dwelling scaled beasts at the altar, sending smoke up to the gagana’s nest.
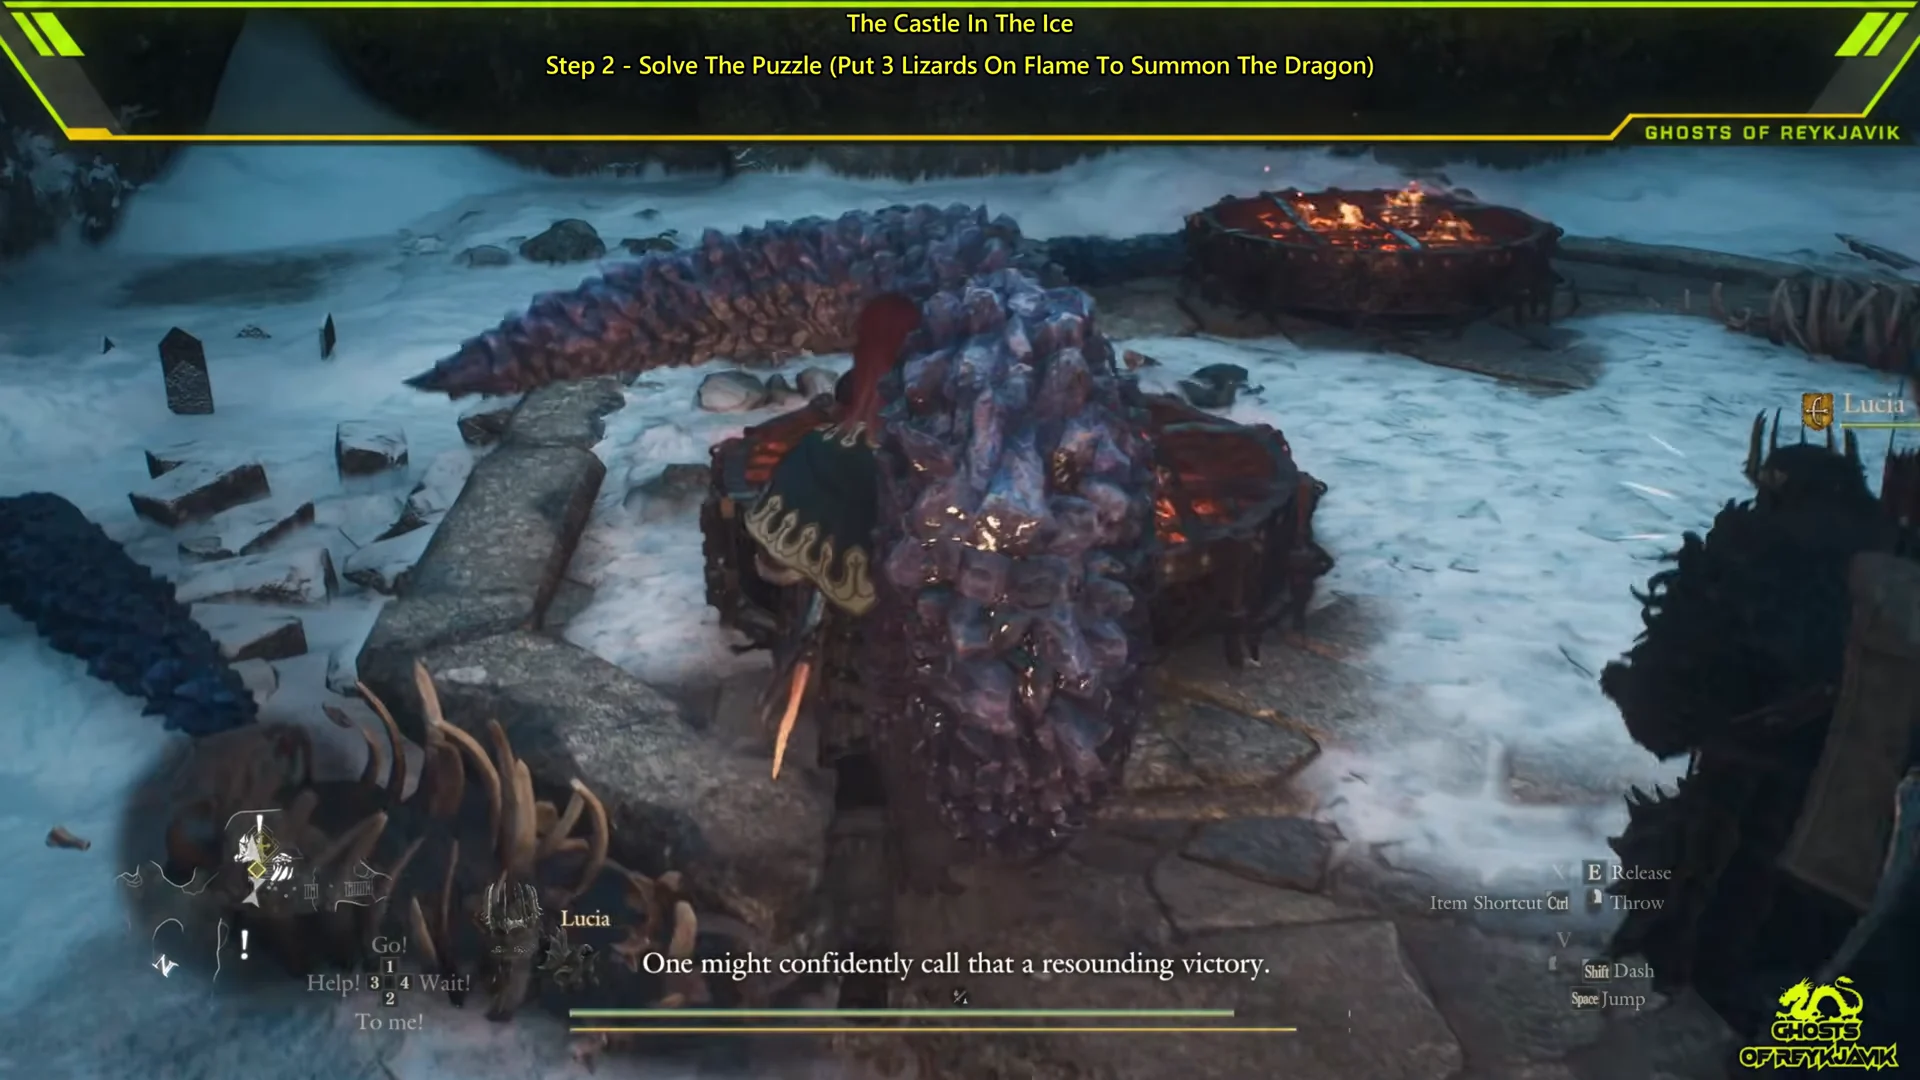
You’ll know it worked when black smoke rises toward the peaks, the mural glows, and a cutscene shows the gagana flying down. The game shows “You summoned a gagana,” and the objective becomes “Defeat the gagana and obtain some firebird tallow.”
Gagana boss fight and Firebird Tallow
The gagana is a huge feathered firebird with a glowing red sac in its throat. It sprays long streams of fire that leave the ground burning. It also stomps with talons that pawns warn are poisonous, swipes with a tail that ends in a blade-like point, stabs with its beak, beats its wings, and makes short hopping flights. Its fire breath can also melt ice lumps in the cave and uncover hidden loot.
- Ice does full damage, and even more against the head.
- Slash, strike, lightning, and holy are reduced on the body but do full damage on the head.
- Fire does almost nothing.
- It is unaffected by Blighted, Caught Fire, or Tarred.
As the gagana prepares to breathe fire, its flame sac swells; aim your attacks there. Fighters can reach it from the front with jumping sword strikes, while repeated skills like Skull Splitter work well too. Destroying the sac drops the gagana onto its side for about twenty seconds, exposing its head and neck. When it stands, attack its legs and belly from behind, staying clear of the burning ground.
After it dies, Eir removes the Firebird Tallow. Examine the body to collect additional loot: Smoldering Hide, Glacial Ore, and Lv 3 spoils are among the drops, with Norgan Ducat, Aged Scrag of Beast, Saurian Tail, Rotten Scrag of Beast, and Abandoned Supplies (Rare) also possible. The valuable tallow cannot be sold, and its fierce heat can melt ice of considerable thickness. Your next objective is “Use the stronghold’s ballista to destroy the wall.”
Firing the Mountain Stronghold ballista at the ice wall
The tallow goes into the ballista, not onto the wall. You fire it across the gorge from the stronghold battlements.
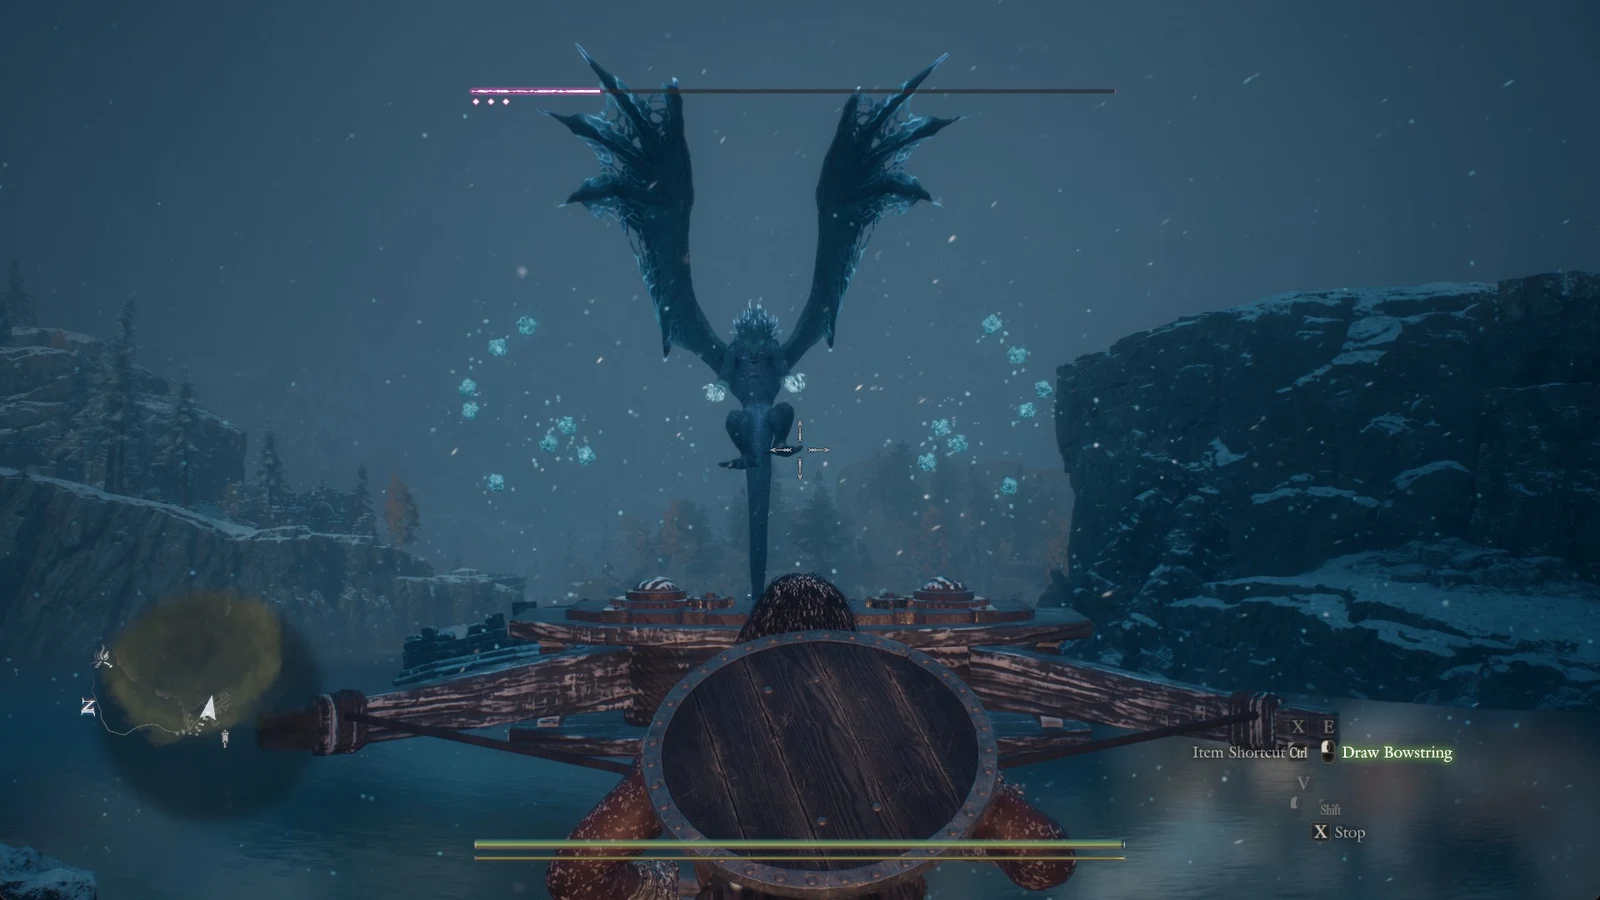
A cutscene shows the burning bolt blowing the wall apart, with Eir running straight in. You get “You destroyed the ice wall,” and the objective becomes “Seek Lorade Castle within the snowfield cavity.” As with the elevator, the ballista won’t respond while enemies are close, so kill any ghouls on the battlements first.
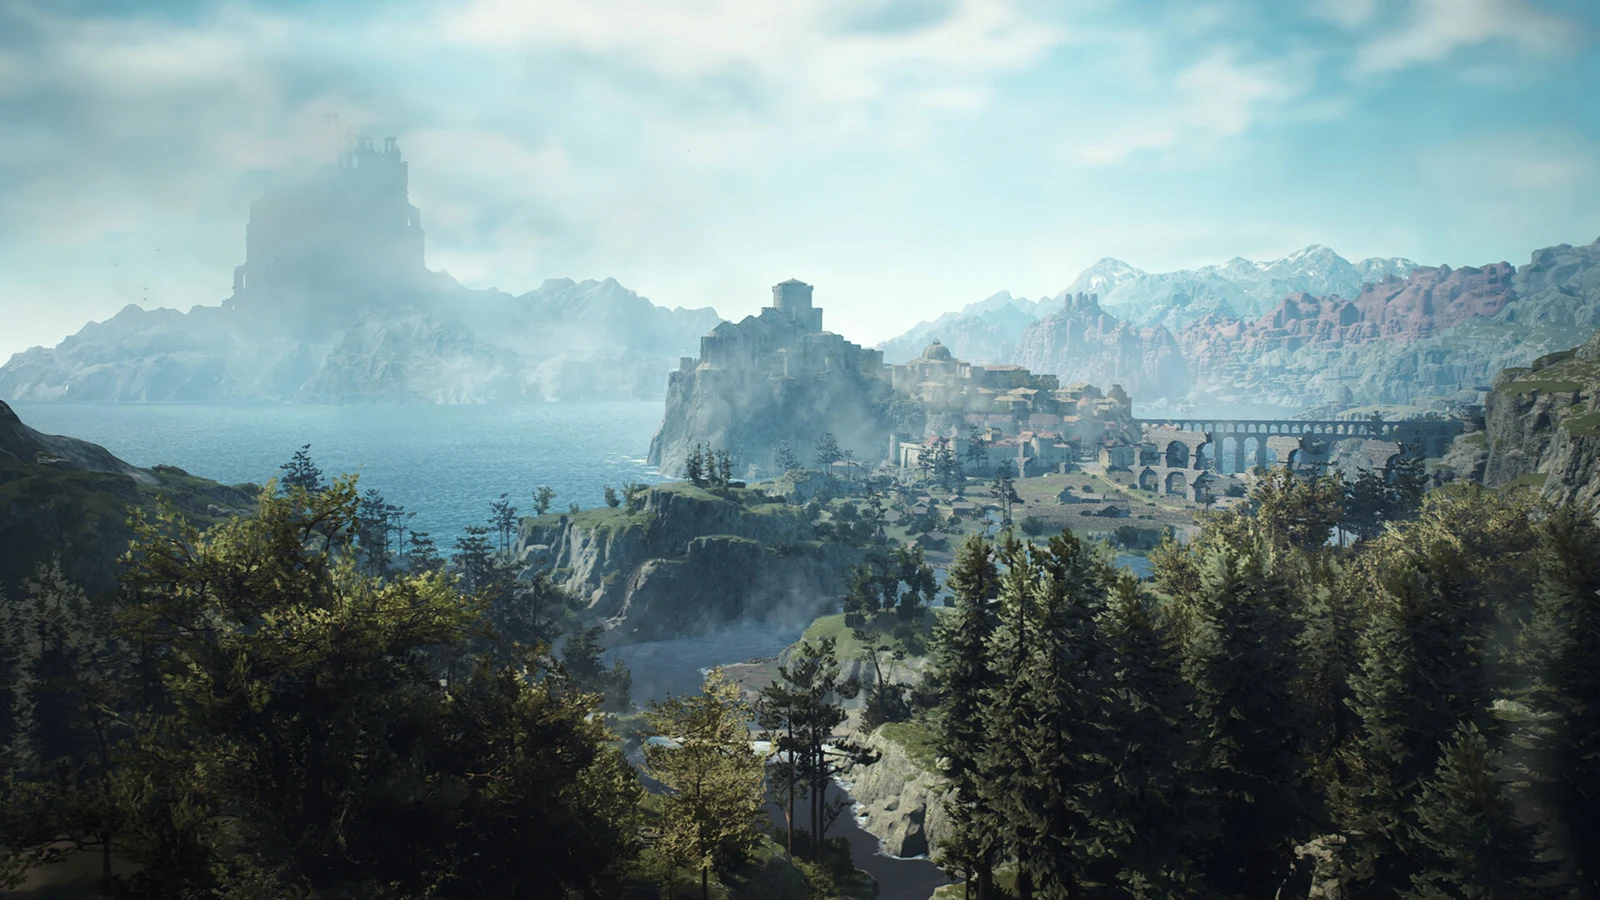
Snowfall Valley Cavity to Lorade Castle
Lorade Castle throne room: Spare the corpse
An armored corpse sits on the frozen throne with Eir kneeling in front of it. She reveals it’s the body of her master, Ser Rovall, and refuses to let it be destroyed. You receive two Abandoned Supplies (Rare), and the objective becomes “Decide whether or not to destroy the corpse.”
Walk toward the throne and Eir steps in to tell you to lower your weapon. Hold “Hail (Hold to Talk)” to speak with her and choose “Agree not to harm the corpse” over “Do nothing.” She thanks you and asks you to seek the sage’s advice on ending the Fallen Dragon without destroying the body. The objective updates to “Ask the sphinx for a means of saving Rovall,” and Eir stays to guard the throne.
Continuing to strike the corpse provokes Eir into fighting you, and the result is a bad ending that simply stops the game. To keep the story going, agree to leave the body unharmed.
Finishing at the Shrine of Wisdom
Use a Ferrystone to travel to Norgan Portcrystal: Shrine of Wisdom, then climb the paved steps to the Sphinx. Her talk prompt only shows up while you stand on the octagonal dais in front of her, and only with your weapon sheathed. You have to hold the button.
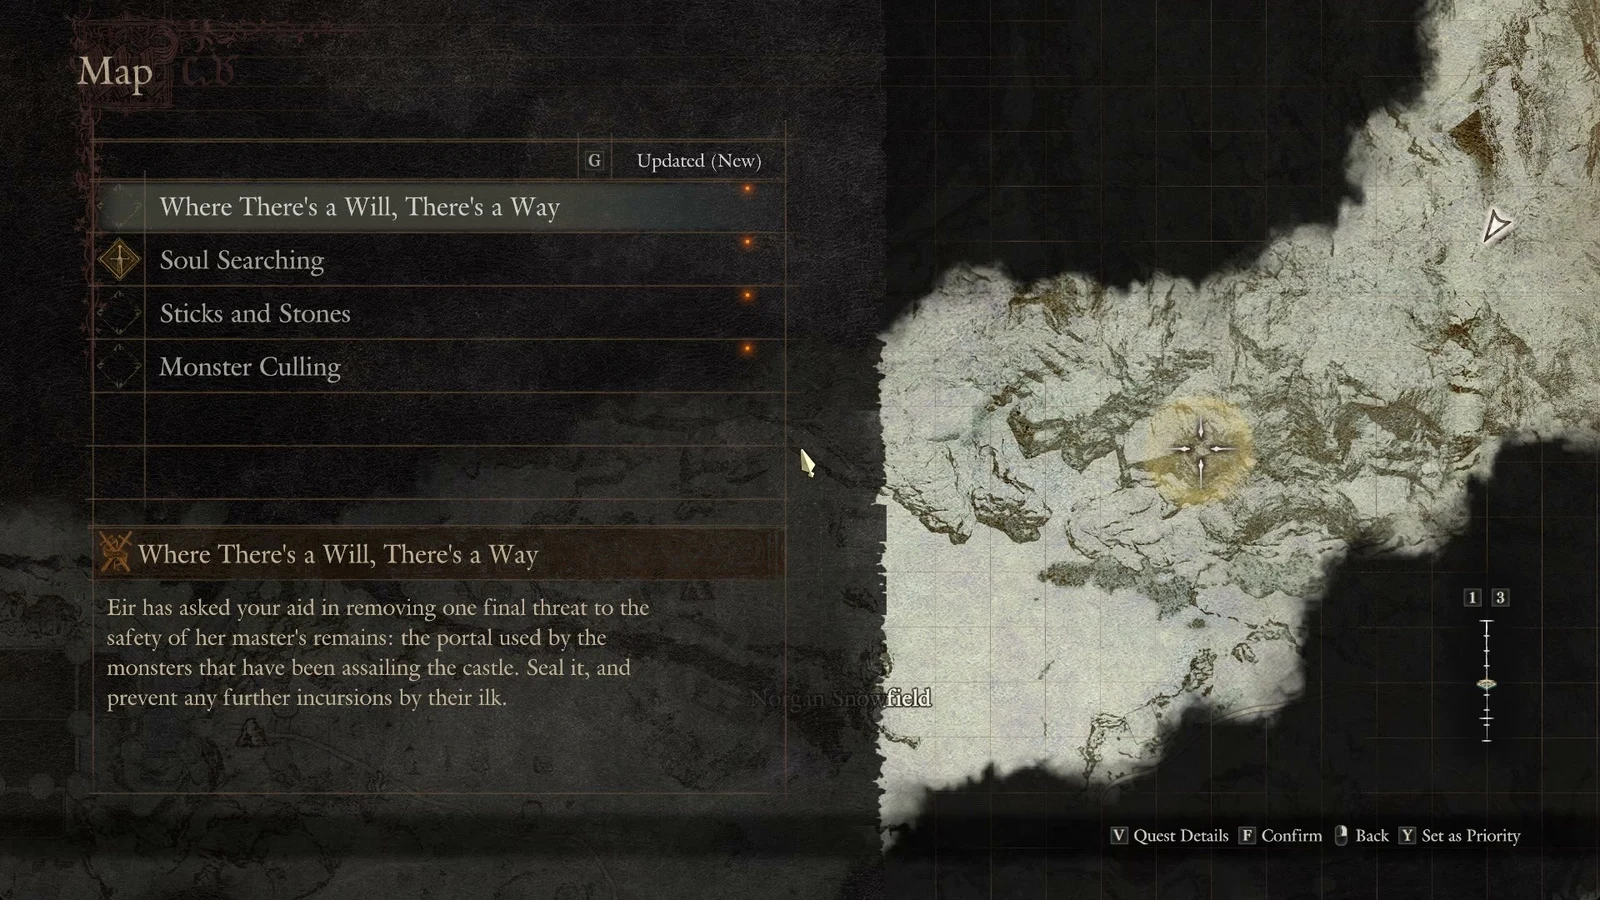
After her first answer, hold the prompt again and pick both “Ask about the soul” and “Ask about the will.” She explains how Rovall’s will and soul are tied to the Fallen Dragon and gives you a clue about the dragon’s token. “That is all” only appears after you’ve heard both answers. Choose it, and “Completed: The Castle in the Ice” appears on screen. No reward screen follows. Two quests start right away: Soul Searching (“Consult with someone who knows Norgan’s history.”), which is set as your priority automatically, and Where There’s a Will, There’s a Way (“Speak with Eir.”).
The Castle in the Ice rewards and quests it unlocks
The Castle in the Ice gives no completion reward itself. Finishing it does open three Forsaken Dominion side quests, and the main story continues through Soul Searching.
| Quest | Type | Requires | Rewards |
|---|---|---|---|
| Quilt Me Down with a Feather | Side (Aymond) | The Castle in the Ice | 50,000 XP, 20,000 G, Firebird Cloak |
| Hal’s Treasure Hunt | Side (Hal) | The Castle in the Ice | 35,000 XP, 20,000 G |
| No Spoils Get Left Behind | Side (Chrona) | The Castle in the Ice | Up to 80,000 XP, 50,000 G |
| Reunion | Main | Soul Searching | 450,000 XP, 100,000 G, 10,000 RC |
| Into Rancor | Main (post-game) | Soul Searching | 500,000 XP, 100,000 G, 15,000 RC |
Quilt Me Down with a Feather sends you back to Gagana’s Grotto to find firebird’s plumes in a nest that’s hard to reach. A completed Reunion can also award a Norgan Portcrystal, and it leads into Beyond Ruin-Night and A Keepsake, for Your Sake. Reunion is also where you finally fight the Fallen Dragon that Eir wants defeated without harming Rovall’s body.
Goreminotaur stats for the Icefall Tunnels fight
The goreminotaur on the grotto route is the toughest regular fight in the quest before the gagana. Here is how much damage each damage type does to its body and head.
| Damage type | Body multiplier | Head multiplier |
|---|---|---|
| Slash | 0.4 | 1.5 |
| Strike | 0.5 | 1.5 |
| Fire | 0.8 | 0.8 |
| Ice | 0.3 | 0.5 |
| Lightning | 0.3 | 0.5 |
| Holy | 0.3 | 0.5 |
Its standard version has 55,000 health and gives 5,500 experience. The Dark Arisen variant has 240,000 health, 800 defense, and gives 95,000 experience. Weapon hits to the head do three to four times the damage of body hits, which is why climbing onto it works so well. Fire is its listed weakness, and the same fire that does nothing to the gagana does solid damage here. It needs only 500 buildup to be Silenced and 1,000 to be Blighted or Petrified. Its drops include Brinebeast Ore, Wakestone Shard, Ring of Brawn, and Abandoned Supplies (Rare).