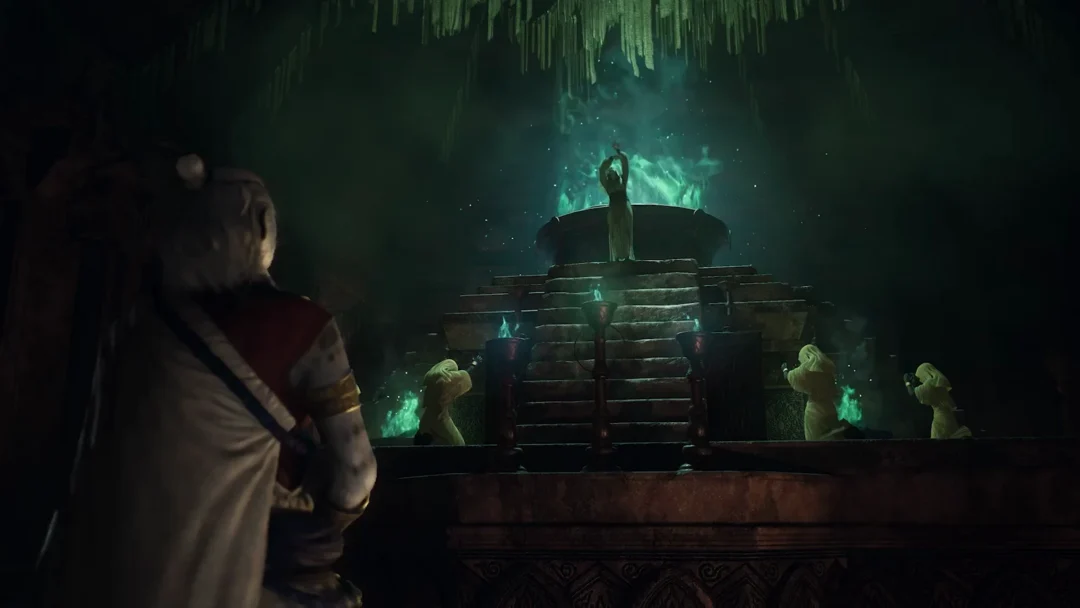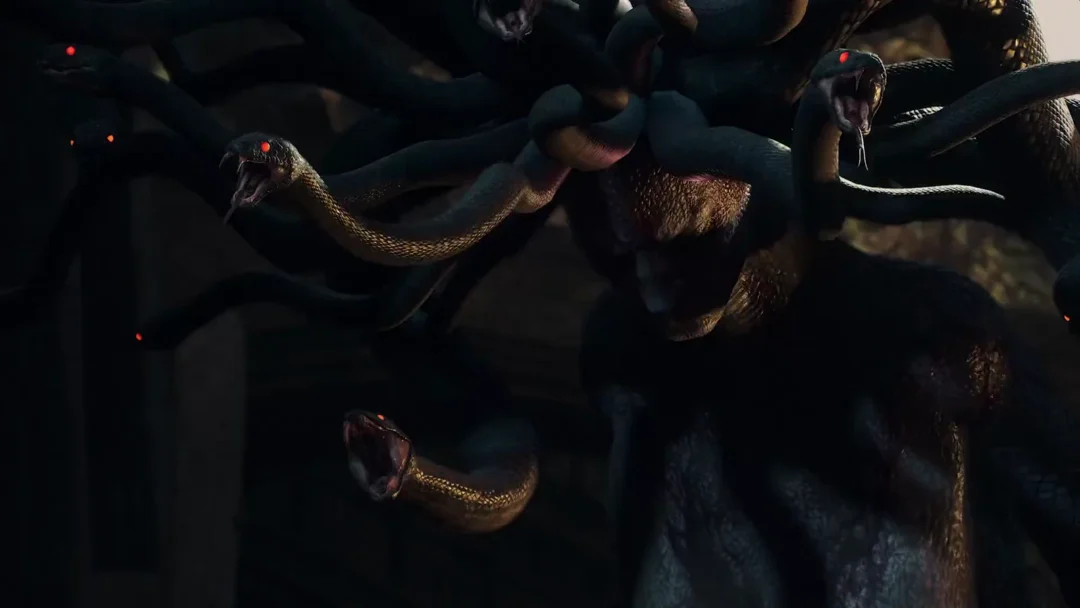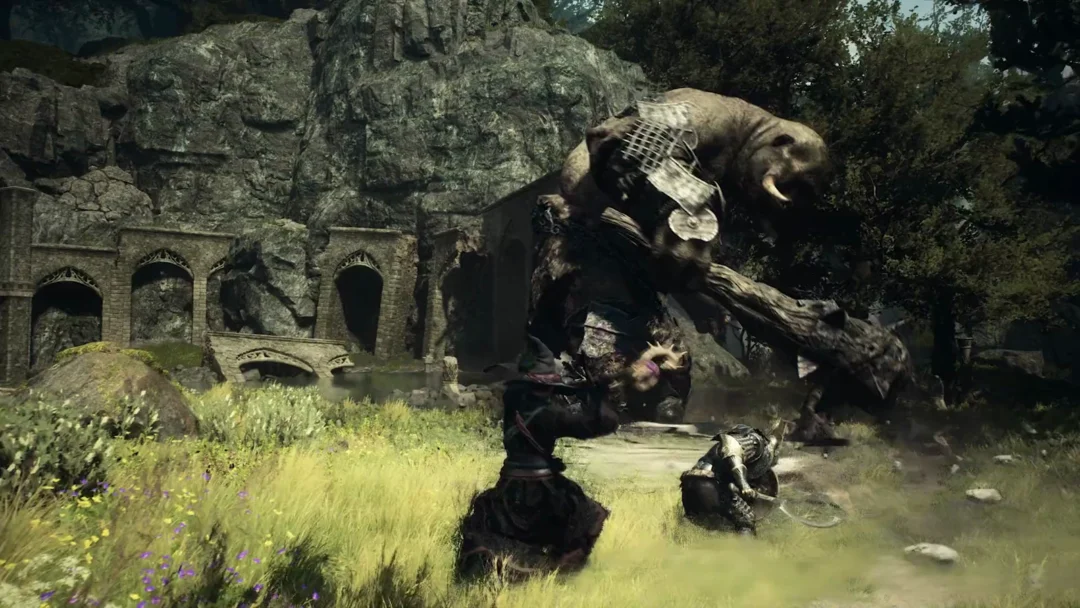
Wyrmsblood Arena is a Lost Rites proving ground tucked into the back of Sal’Battahl Cavern, in Wyrmsblood Forest on the Battahl side of the map. It is the fifth Lost Rites trial, and you must prepare before reaching the door: the Arisen may only have two weapon skills set.
Quick answer: Set the Arisen to exactly two weapon skills, open the round door at the back of Sal’Battahl Cavern in Wyrmsblood Forest, then clear three halls of corrupted beasts. The final chest holds Offering Flame, Steelsilk Sabatons, and Wyrmscale Cuirass.
Where to find Wyrmsblood Arena
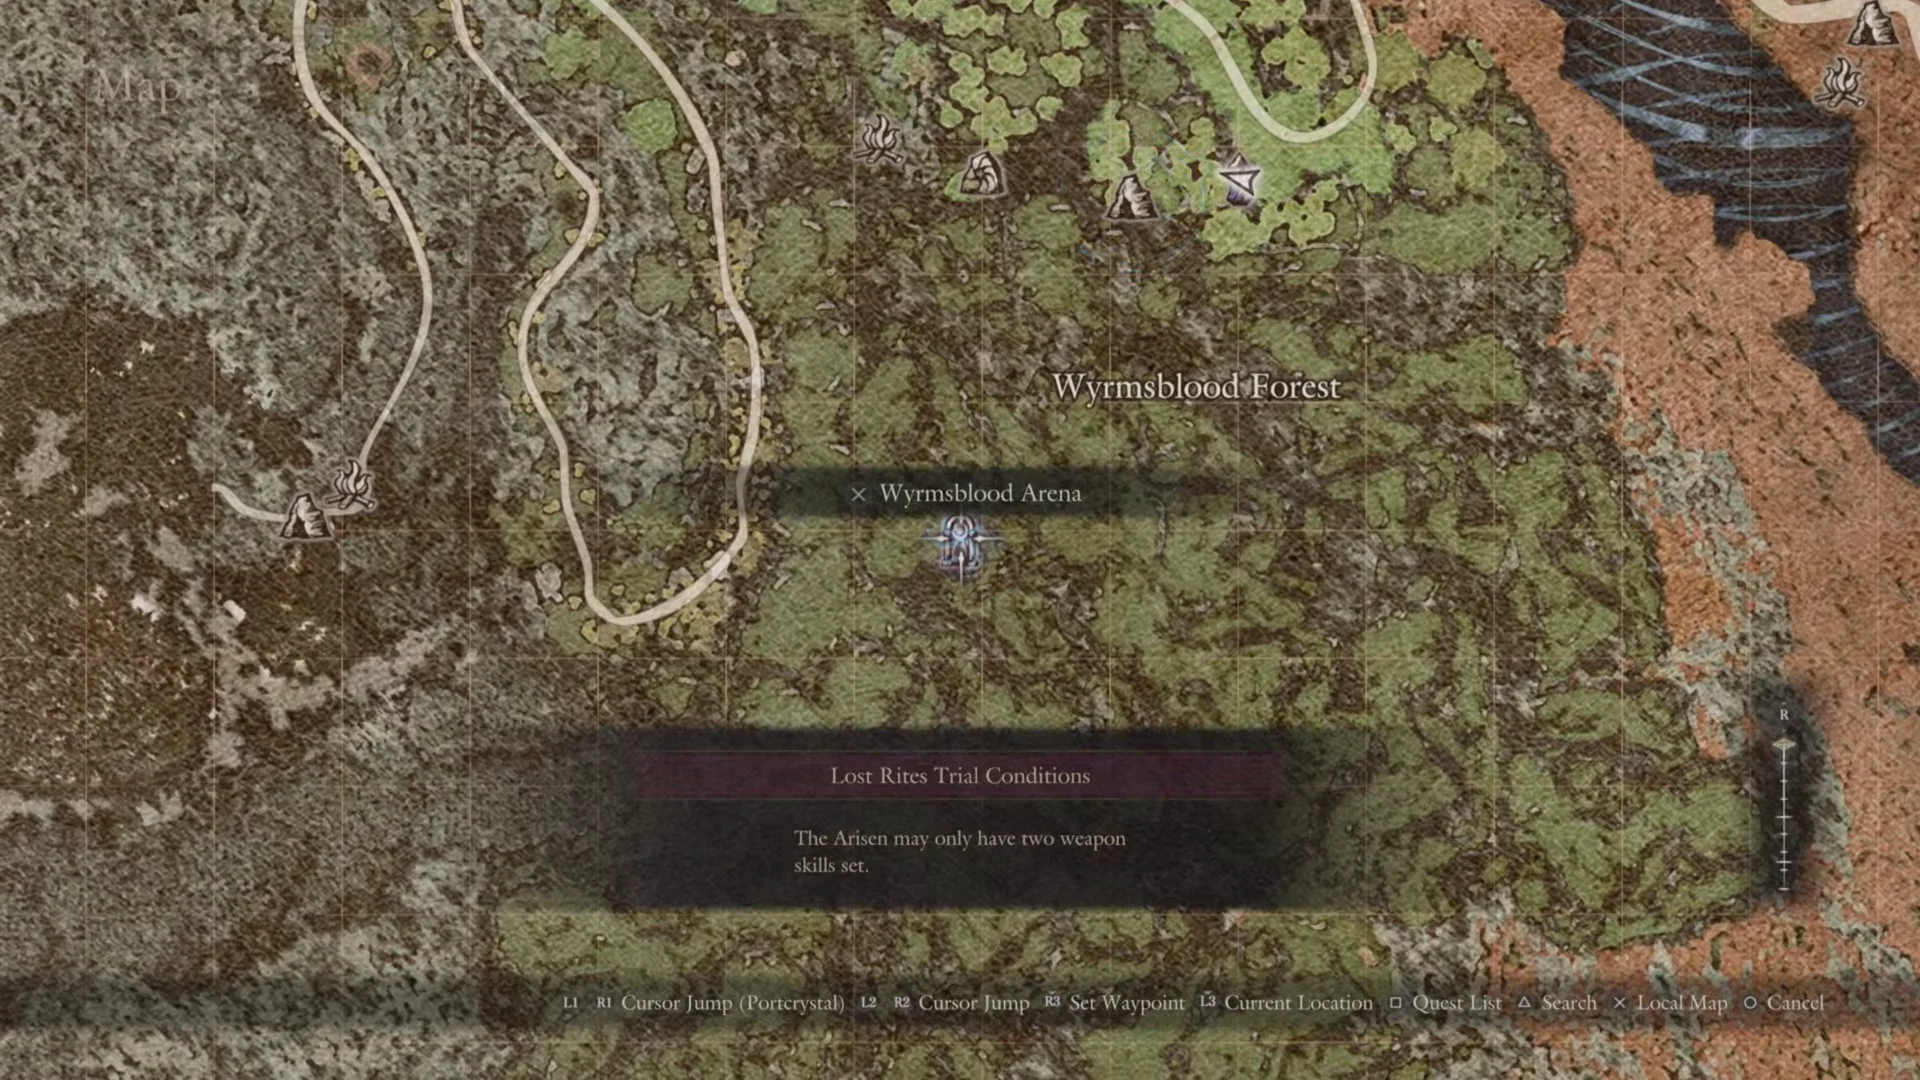
Travel to Wyrmsblood Forest, on the Battahl side of the map. The world map places the trial’s spiral icon beneath the “Wyrmsblood Forest” text. Hover over it to see Wyrmsblood Arena and a “Lost Rites Trial Conditions” box. Sal’Battahl Cavern appears beside the icon because you enter the arena through the cave.
The cave is a short, bending passage. Walk through it past a chest beside the rock face containing Crimson Teeth daggers, then use the wooden ladder near the southern tip. At the ladder’s top, you’ll find a round stone door marked by a glowing blue spiral.
Entry condition: two weapon skills on the Arisen
The door’s rule, worded exactly as the game shows it, is: “The Arisen may only have two weapon skills set.” Examine the door and the message appears with a Confirm prompt. If the rule is met, the runes light up and the stone rolls open.
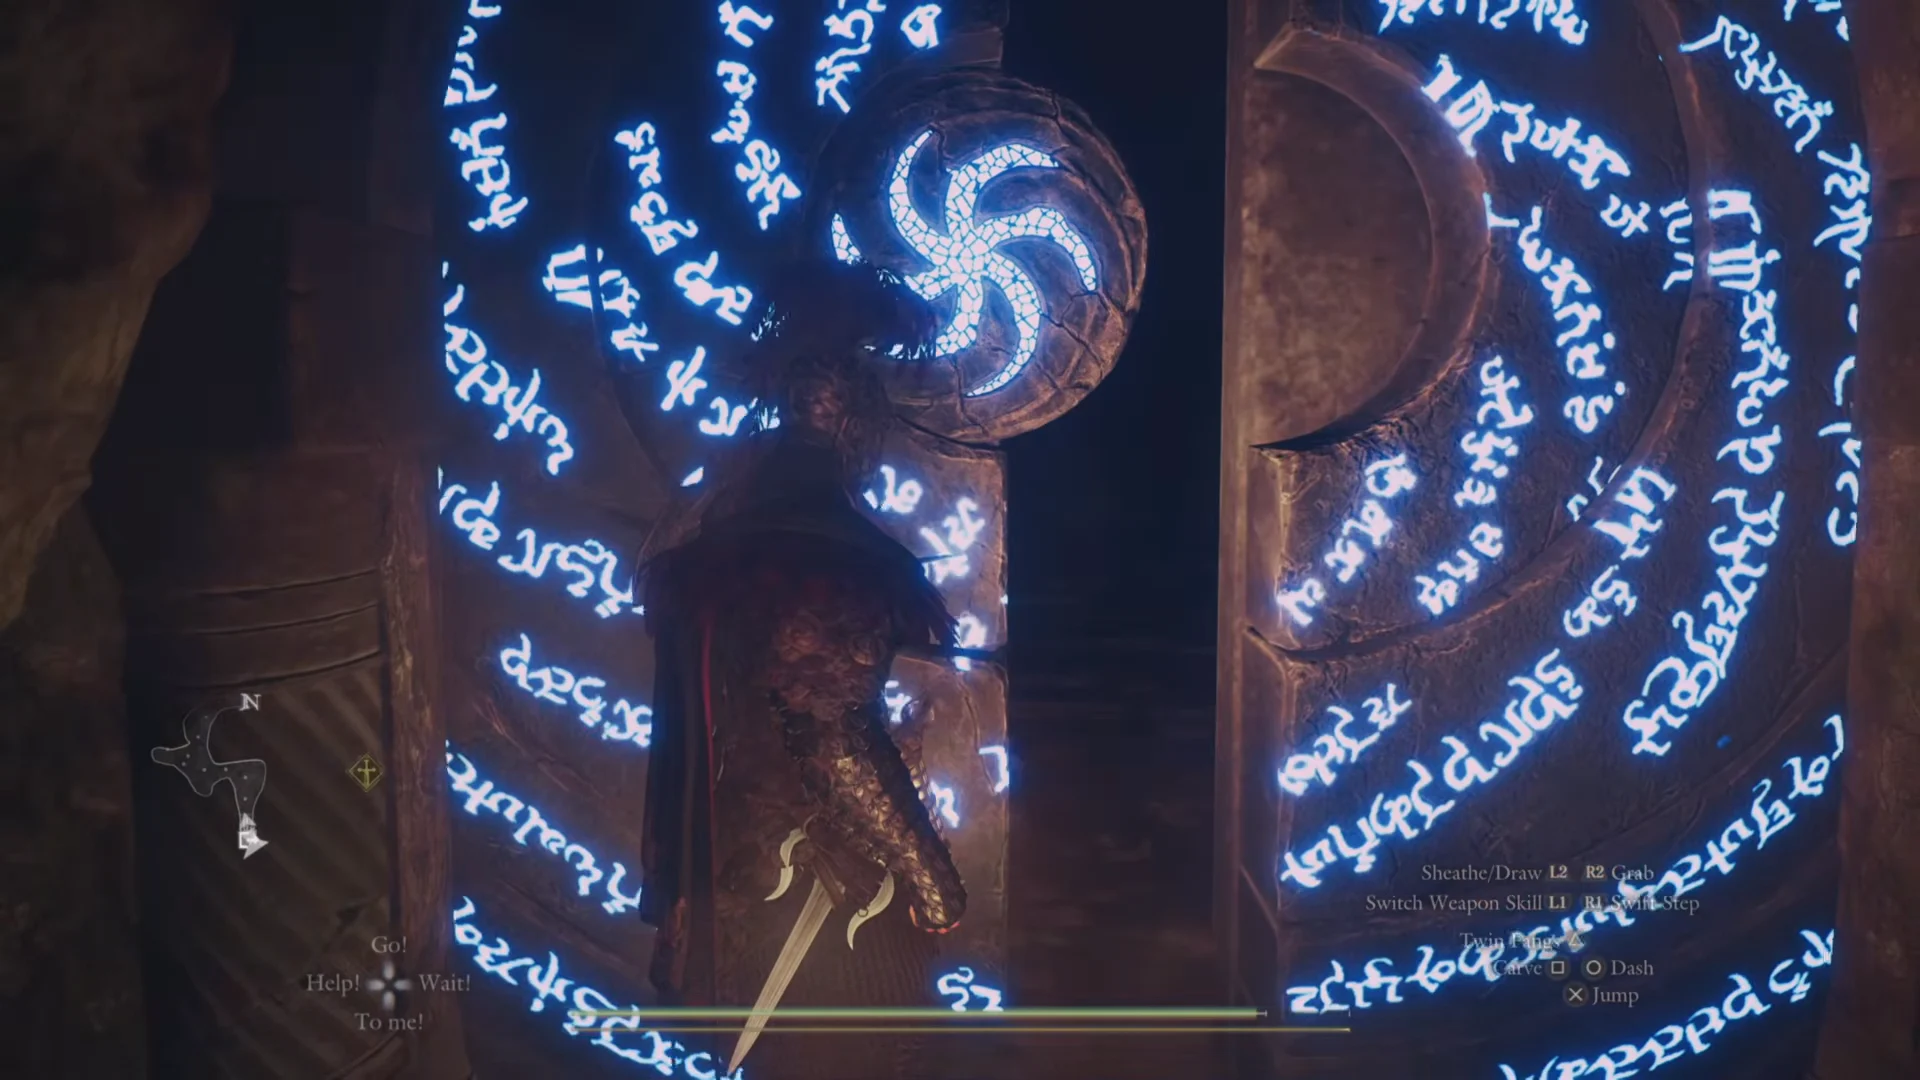
Only weapon skill slots count toward the limit. Core skills and augments do not, so open Status, then Vocation, and make sure there are exactly two entries under Weapon Skills. There is nowhere to change your loadout at the door, so unset the extra skills before you travel.
The rule applies to the Arisen alone. Your pawns can keep full skill sets and walk in without any trouble.
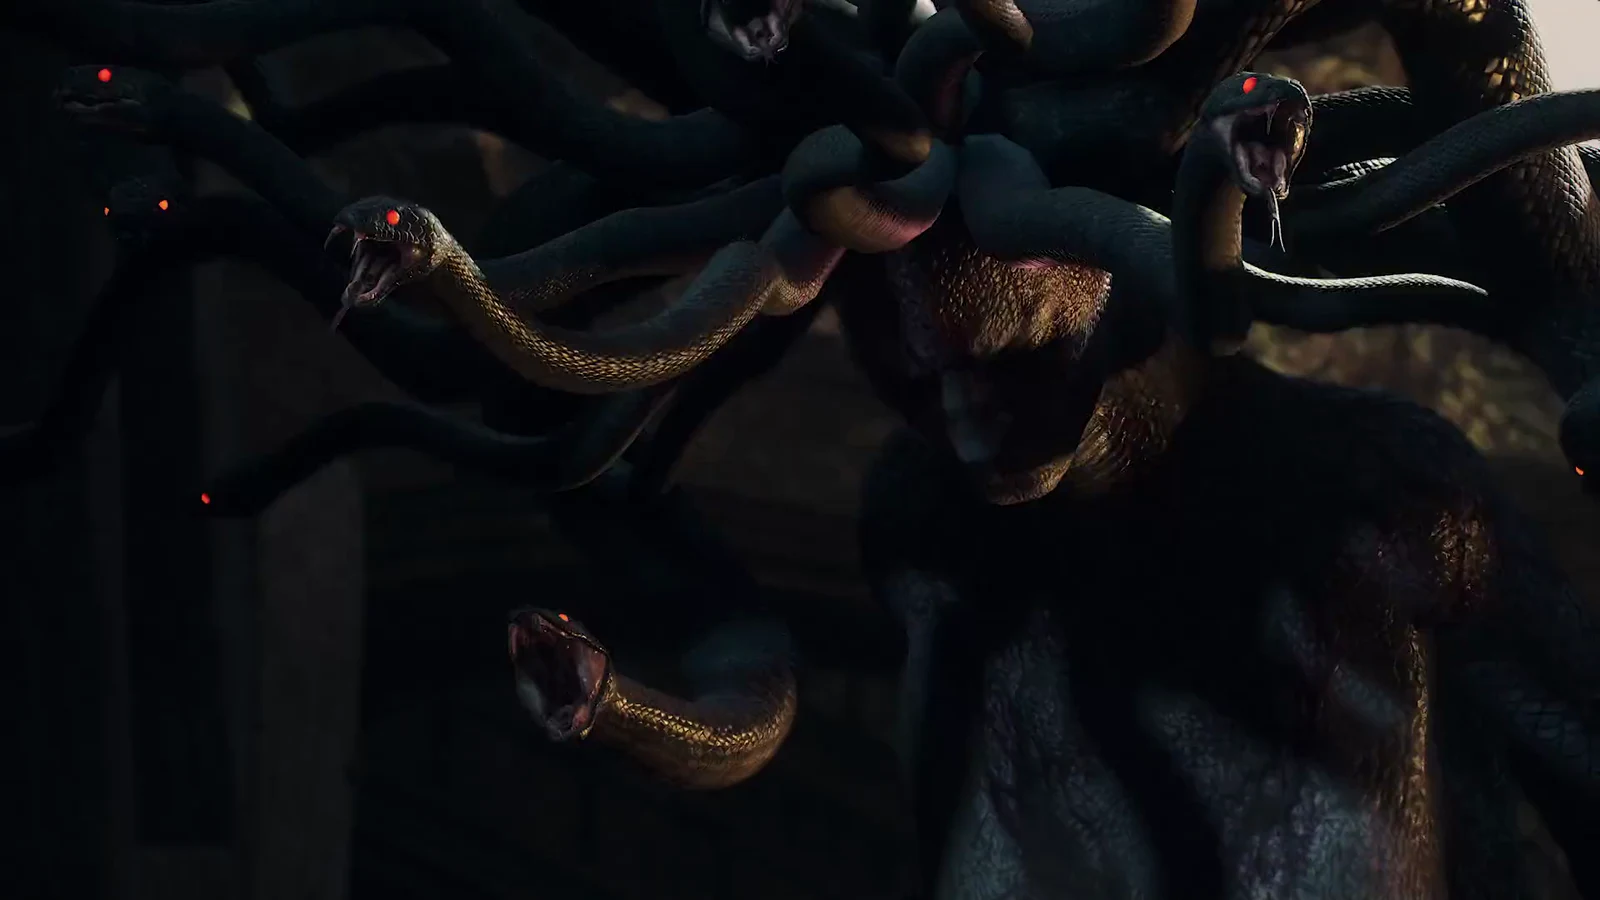
With only two slots, pick one skill that can hit flying targets and one that controls large enemies. The final fight is against a floating caster, and several rooms throw big beasts at you.
How the arena works
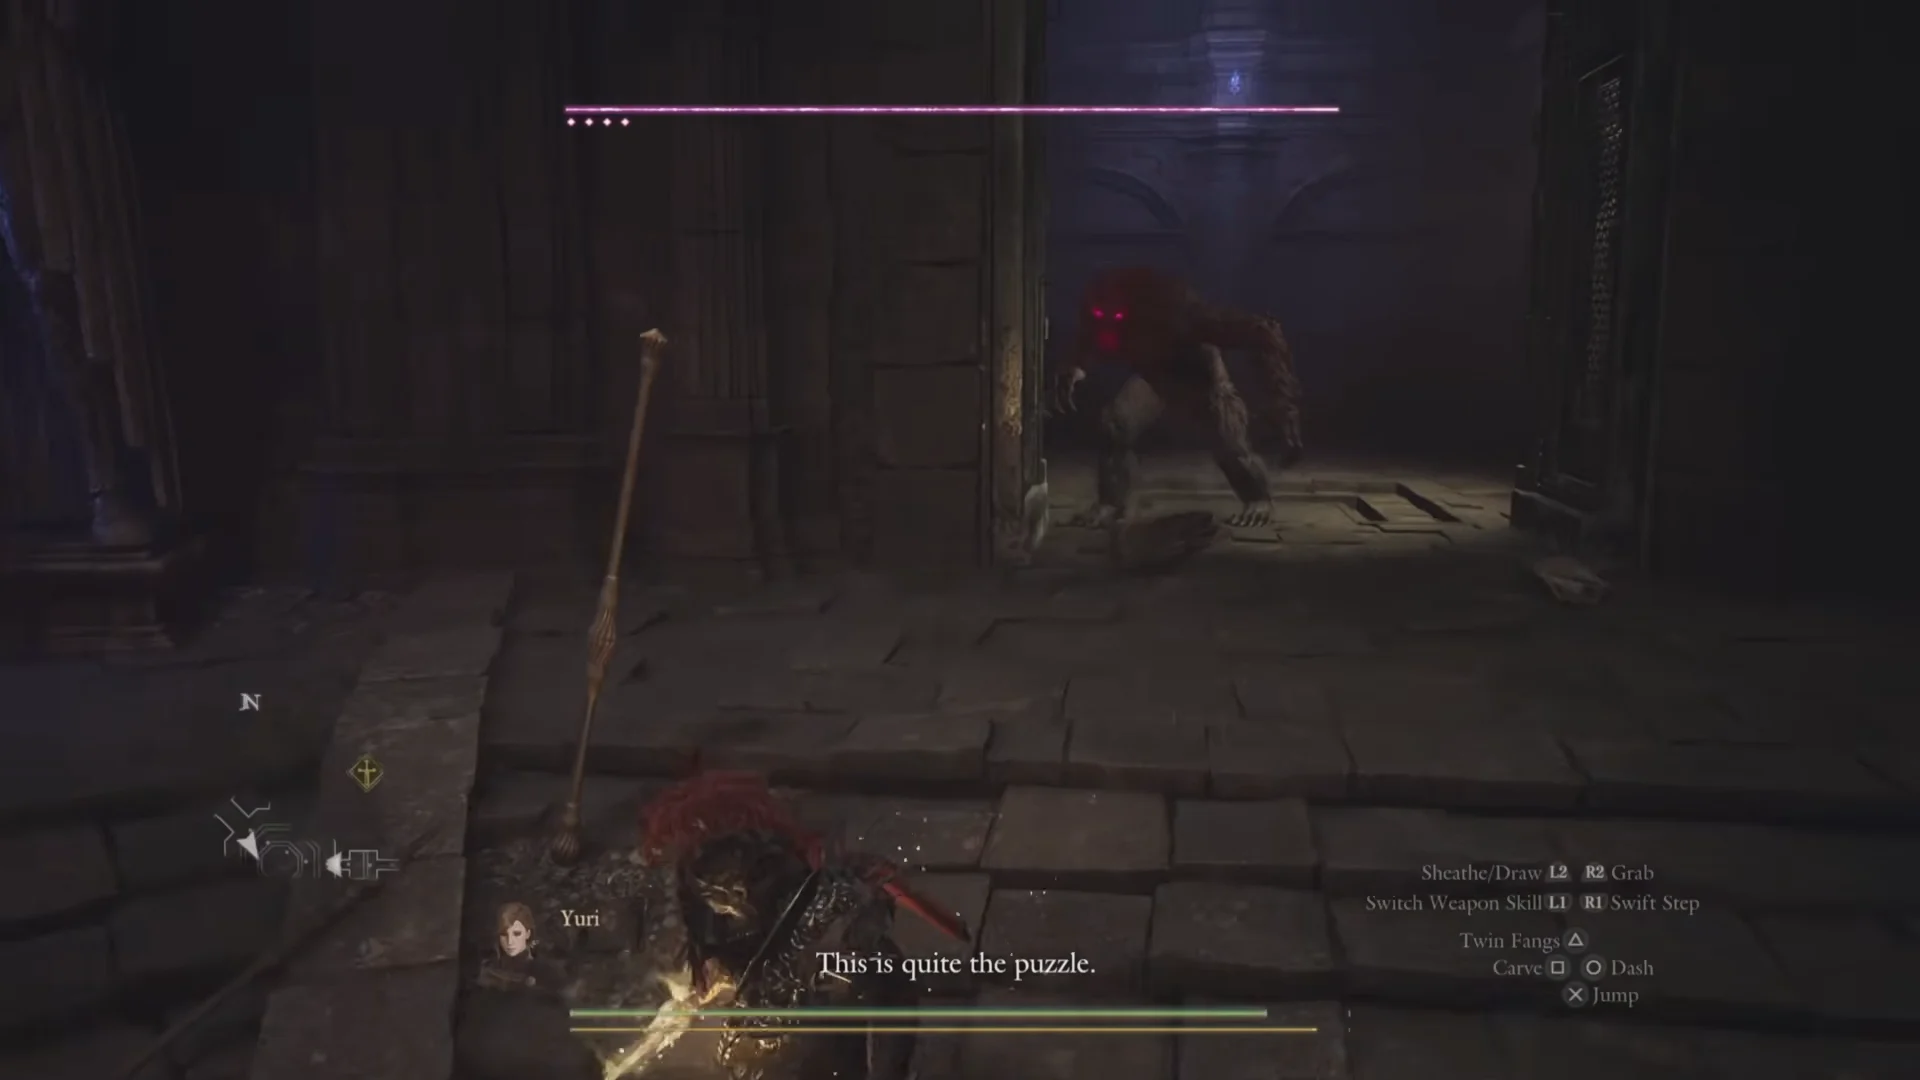
Three circular halls lie one after another. Cells line the walls, each secured with a wooden beam. Strike a beam to open a cell, then defeat whatever emerges. Once every creature in a hall is dead, the magenta seal across the route ahead vanishes.
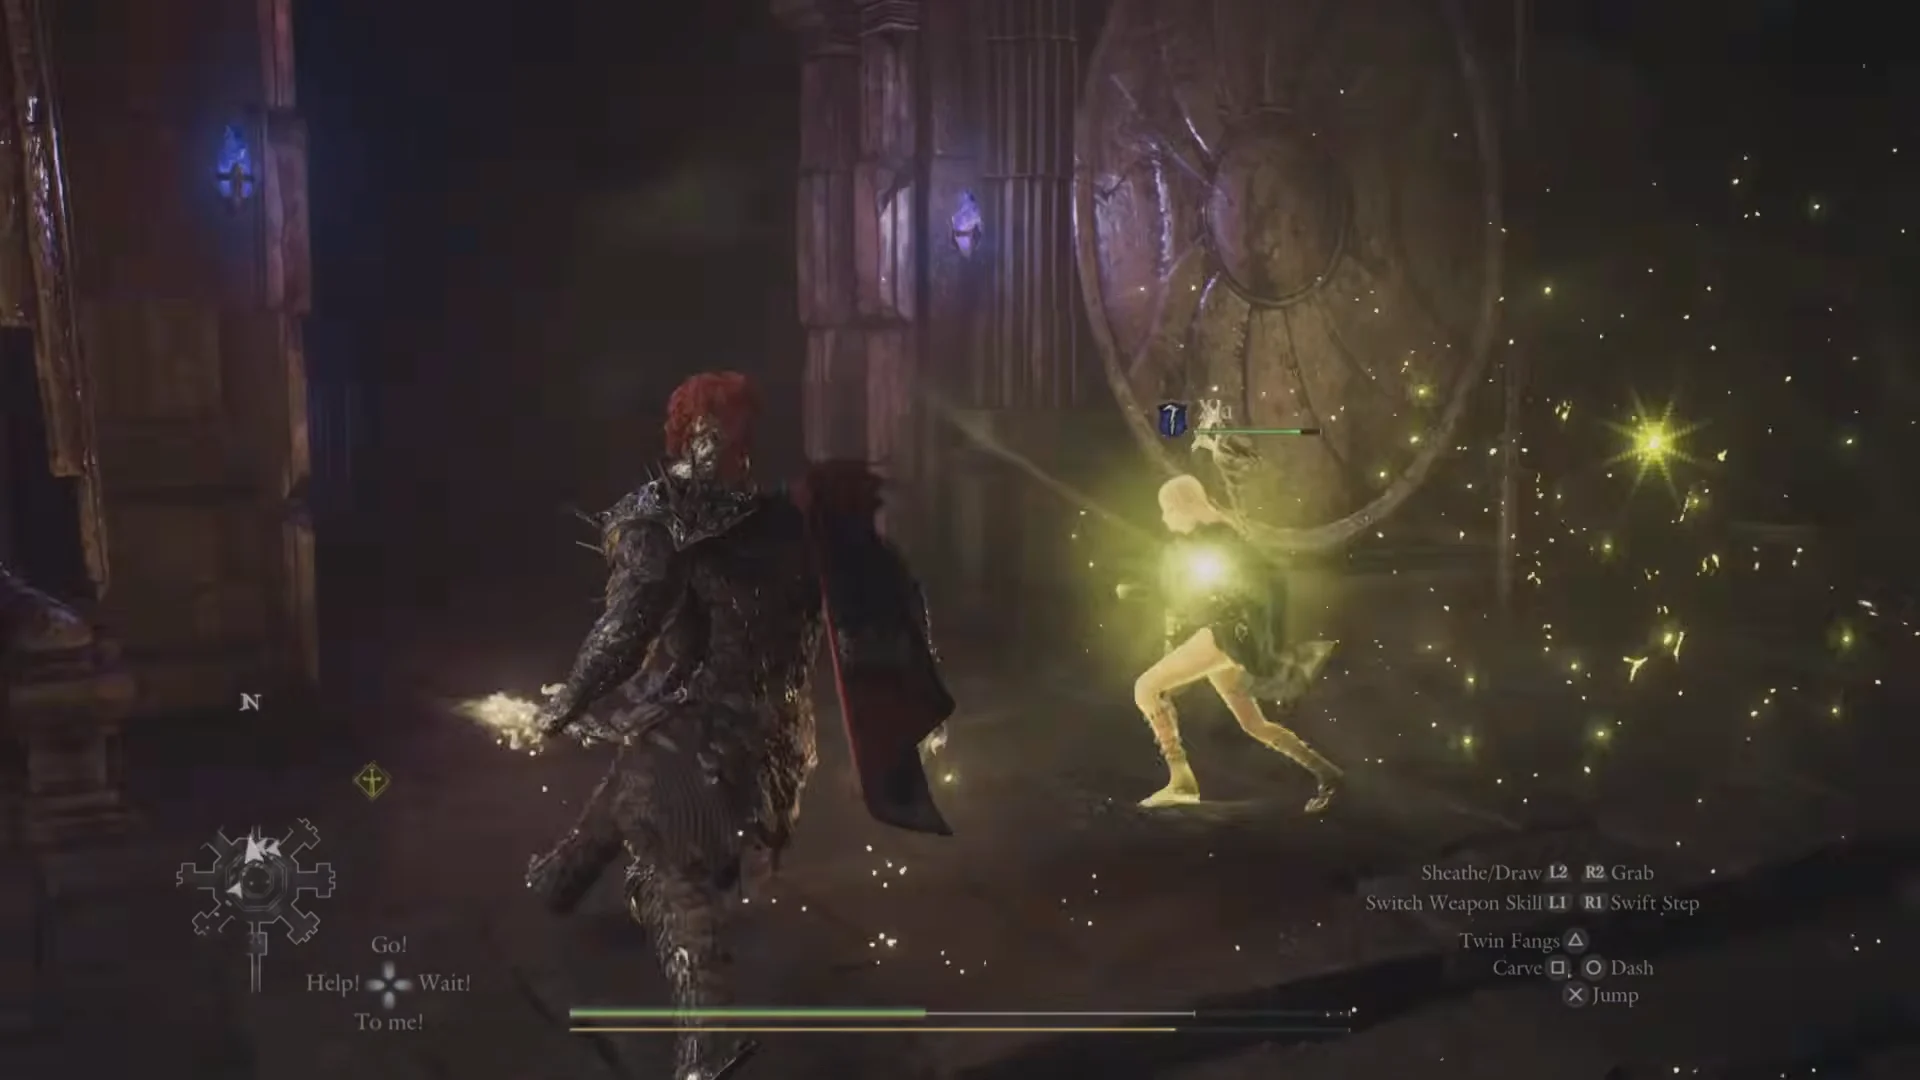
At the start of the first hall, a portcullis drops behind you, shutting your pawns outside. You fight the first brute alone, and your pawns rejoin you once it is dead. Open one cell at a time; nothing forces you to break two beams at once.
Bring healing items. The large hound-like beast in the second hall and the floating caster at the end both take big bites out of your health bar.
Walkthrough, hall by hall
First hall
Second hall
Third hall
The fixed chest rewards
Six fixed chests are spread across the three halls, holding 42,000 G in total plus three gear pieces and an Allheal Elixir. Ordinary chests also stand in the cells along the way and give extra gold, grimoires, and curatives.
| Reward | Notes |
|---|---|
| 18,000 G | Third-hall cyclops cell |
| 24,000 G | Third-hall side room |
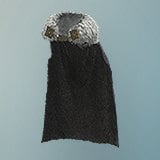 Chimeric Cloak Chimeric Cloak | 0.83 kg; made from a single gorechimera’s hide |
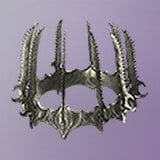 Crown of Blades Crown of Blades | 2.36 kg; crown adorned with blades |
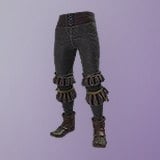 Wildskirl Breeches Wildskirl Breeches | 2.65 kg; leg armor that amplifies magick |
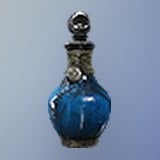 Allheal Elixir Allheal Elixir | Third-hall alcove |
Each large creature in this area yields Brinebeast Fragment, Brinebeast Ore, or both. These materials upgrade equipment, so keep them rather than selling them.
The final hoard
Pass through the final open arch into a rocky passage illuminated by hanging braziers. It leads to a pale stone chest positioned between two statues holding crossed spears. Opening it yields three items: an Offering Flame, the Steelsilk Sabatons, and the Wyrmscale Cuirass.
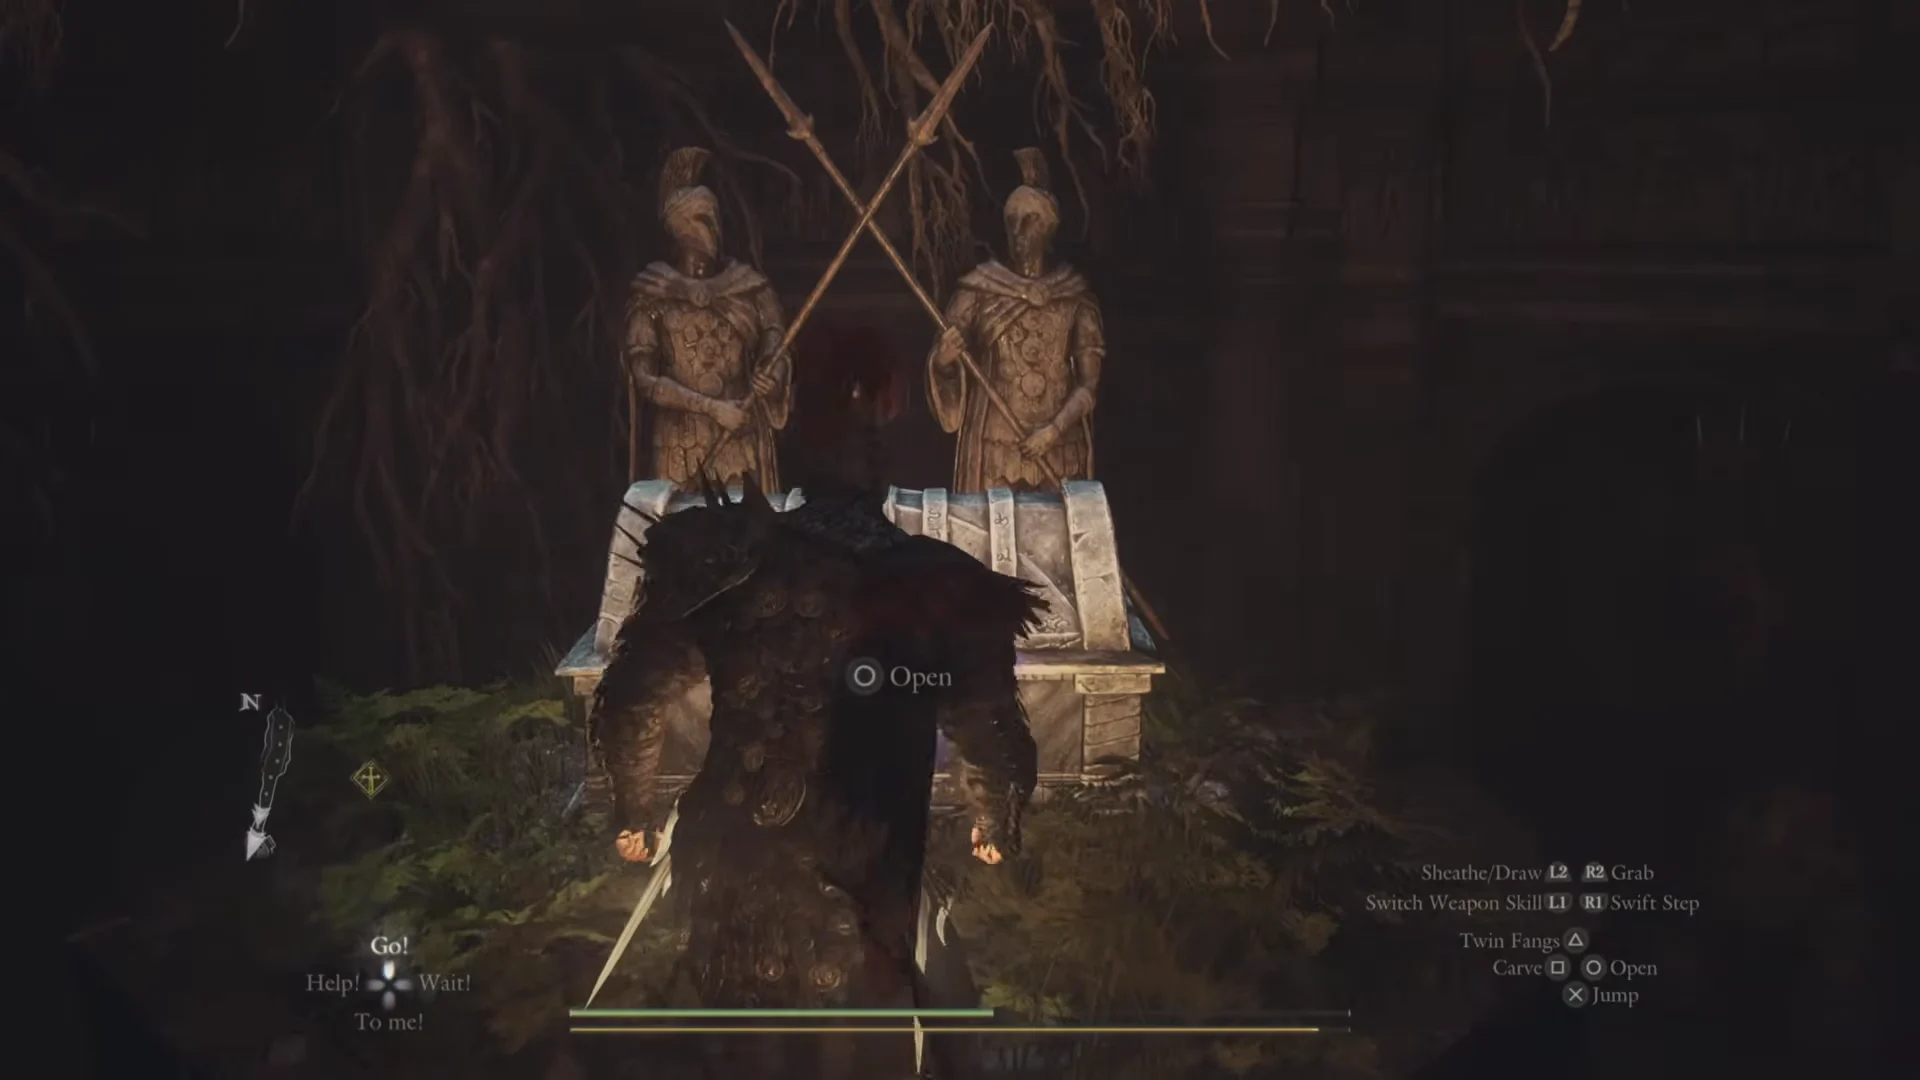
- Wyrmscale Cuirass (5.63 kg) — body armor granted defensive properties through the Lost Rites.
- Steelsilk Sabatons (2.35 kg) — leg armor combining magick-absorbing silk with wrought steel.
- Offering Flame — a flame that keeps burning through the cold, used to claim boons at Norgan’s Obelisks.
The three pieces together are heavy. Picking them up can push a lightly loaded Arisen into Heavy carry status, so hand some to a pawn before you fast travel out.
Other Lost Rites trials: chests and entry conditions
Wyrmsblood Arena is one of several Lost Rites proving grounds, each with its own chest count and entry rule. Use the list below to plan which ones you can walk straight into and which need preparation. Wyrmsblood Arena’s two-skill rule is one of the stricter gates, and Mired Conduit and the Final Proving Ground both require clearing other trials first.
| Trial | No. | Chests | Entry condition |
|---|---|---|---|
| Devilkin Hollow | 1 | 1 | None |
| Daemons’ Corral | 2 | 7 | None |
| Sunken Spire | 3 | 11 | None |
| Wyrmsblood Arena | 5 | 6 | Arisen with only two weapon skills set |
| Mired Conduit | 7 | 13 | Complete four or more Lost Rites trials |
| Embersand Mine | 8 | 7 | No grimoires, enchanted weapons, or elemental archmagick skills |
| Shrouded Warren | 9 | 9 | Only the Arisen’s main pawn may enter |
| Molten Gauntlet | 10 | 9 | None |
| Seafloor Sepulcher | 11 | 16 | None |
| Final Proving Ground | 12 | 14 | Clear Molten Gauntlet and Seafloor Sepulcher |
Once the final chest is open, you have cleared Wyrmsblood Arena. Move the heavier armor onto a pawn so your Arisen can run light again.