Dragon’s Dogma 2: Riddle of the Will Answer and How to Escape the Mountain Stronghold
Find the Decorative Brooch at the Mountain Stronghold, survive the ghoul ambush, and hand it to the Norgan Sphinx.
Find the Decorative Brooch at the Mountain Stronghold, survive the ghoul ambush, and hand it to the Norgan Sphinx.
by AllThingsHow Staff
In Dragon’s Dogma 2: Dark Arisen, Seeking the Sage—the Forsaken Dominion main quest—includes three puzzles from the Norgan Sphinx. For the Riddle of the Will, she requests an object that embodies “the will to defy ruin,” rather than a verbal response. Bringing it to her immediately triggers a fight you cannot avoid.
Quick answer: Bring the Decorative Brooch from the floor at the Mountain Stronghold, the site of your Fallen Dragon battle. Pick it up, survive the ghoul ambush, get out, and take it to the Sphinx.
What the Riddle of the Will asks for
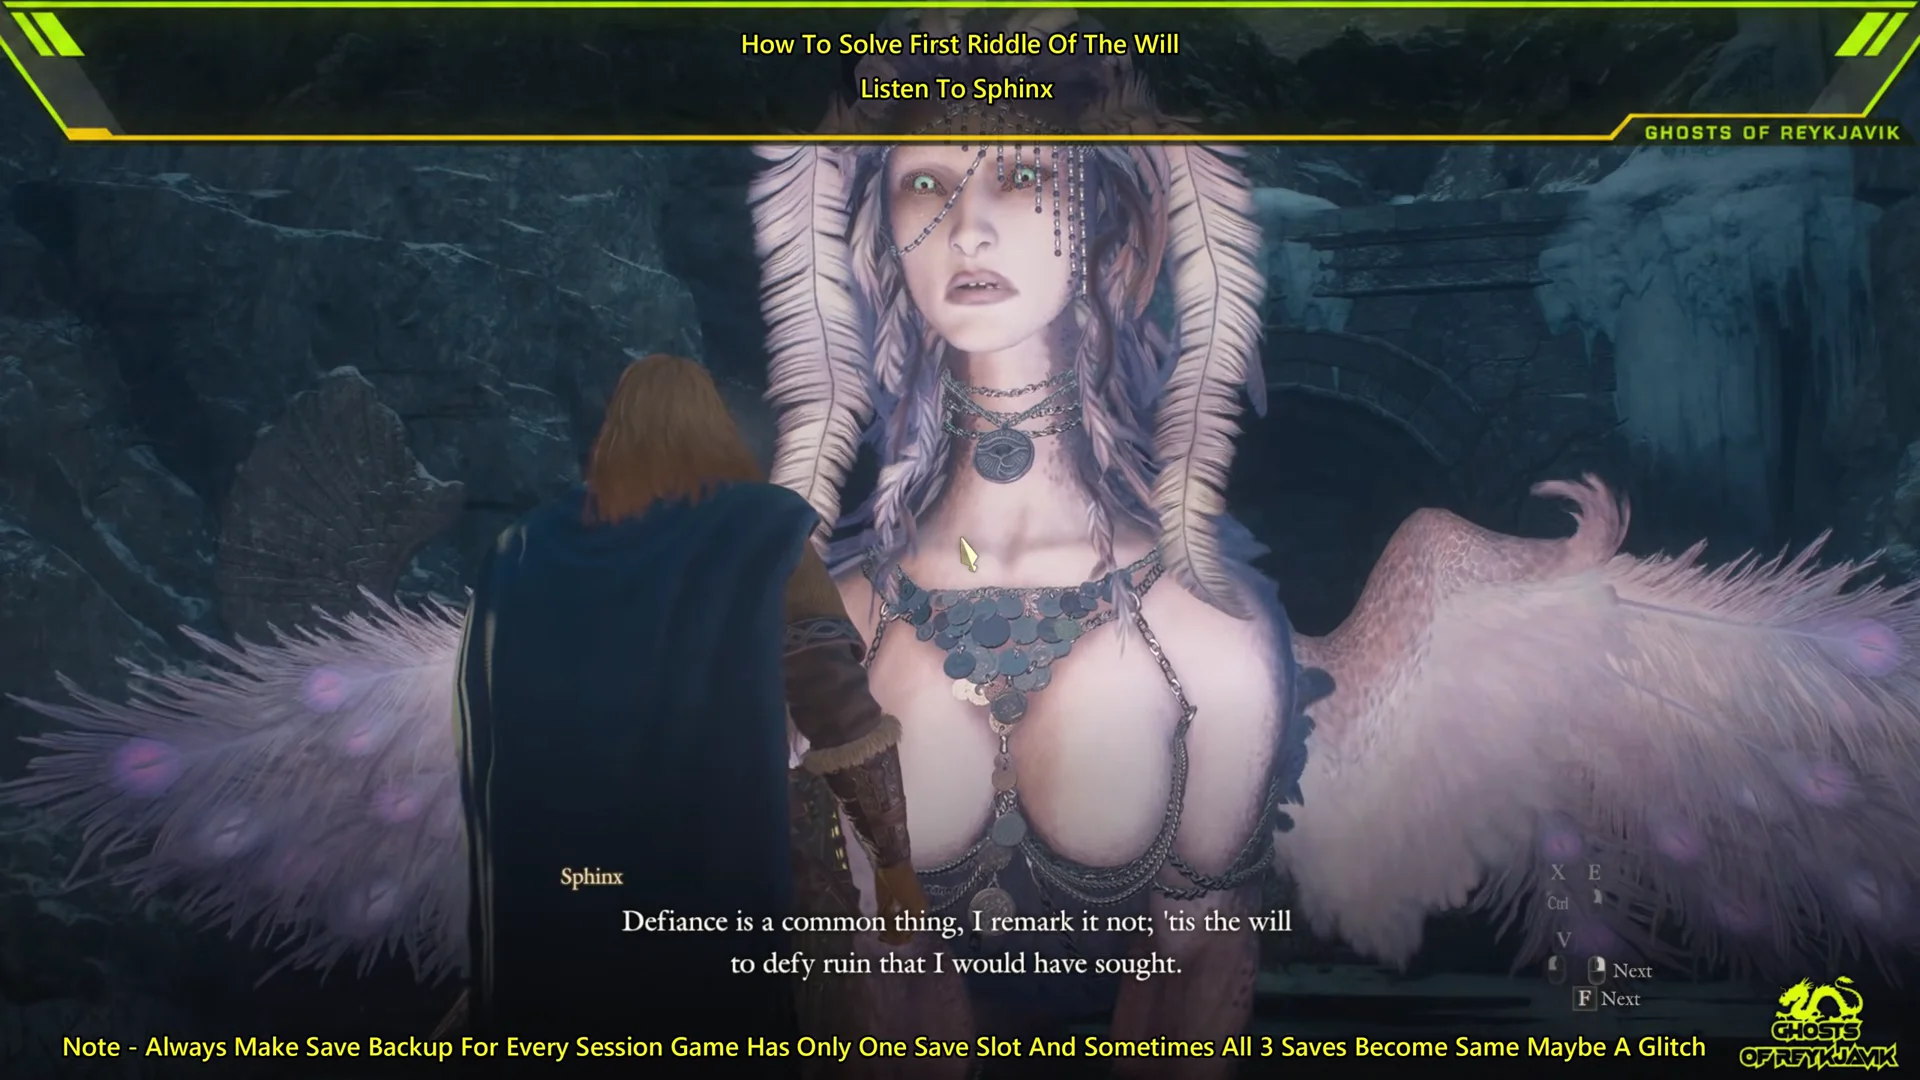
Speak to the Sphinx at the Shrine of Wisdom and pick “Hear the Riddle of the Will.” Her verse runs: “Defiance is a common thing, I remark it not; ’tis the will to defy ruin that I would have sought.” She tells you that you already know where to look and to recall everything you have witnessed in Norgan.
That memory points to your first battle with the Fallen Dragon at the Mountain Stronghold, and the stranger who stepped in to fight it in your place. The brooch left behind there is the item the Sphinx is after. It reads: “A brooch found in the mountain stronghold. Though quite old, it was clearly well-loved, and the stone has not yet lost its luster.” It cannot be sold.
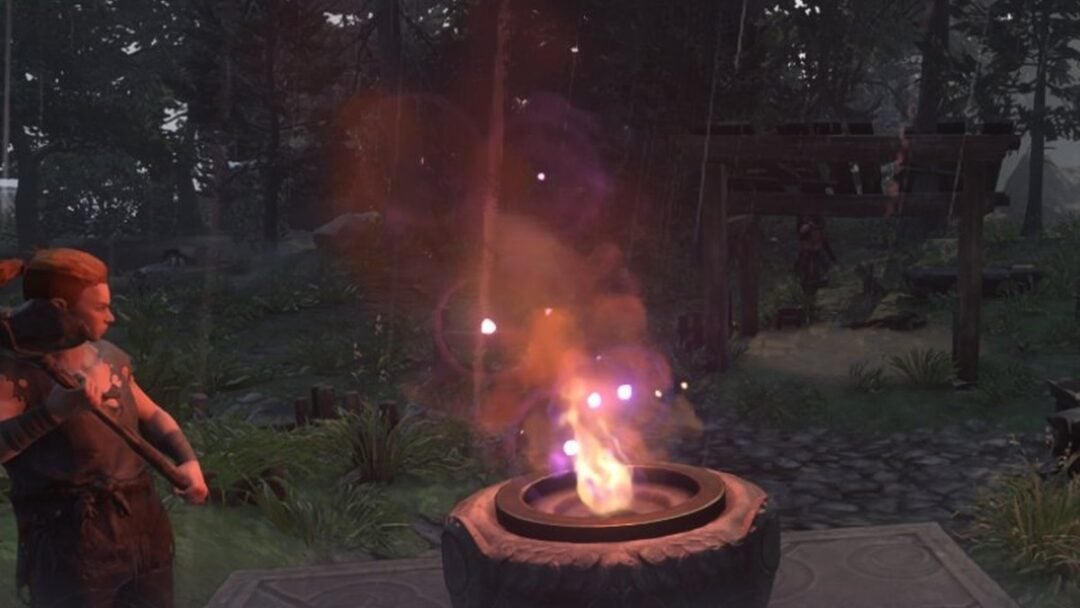
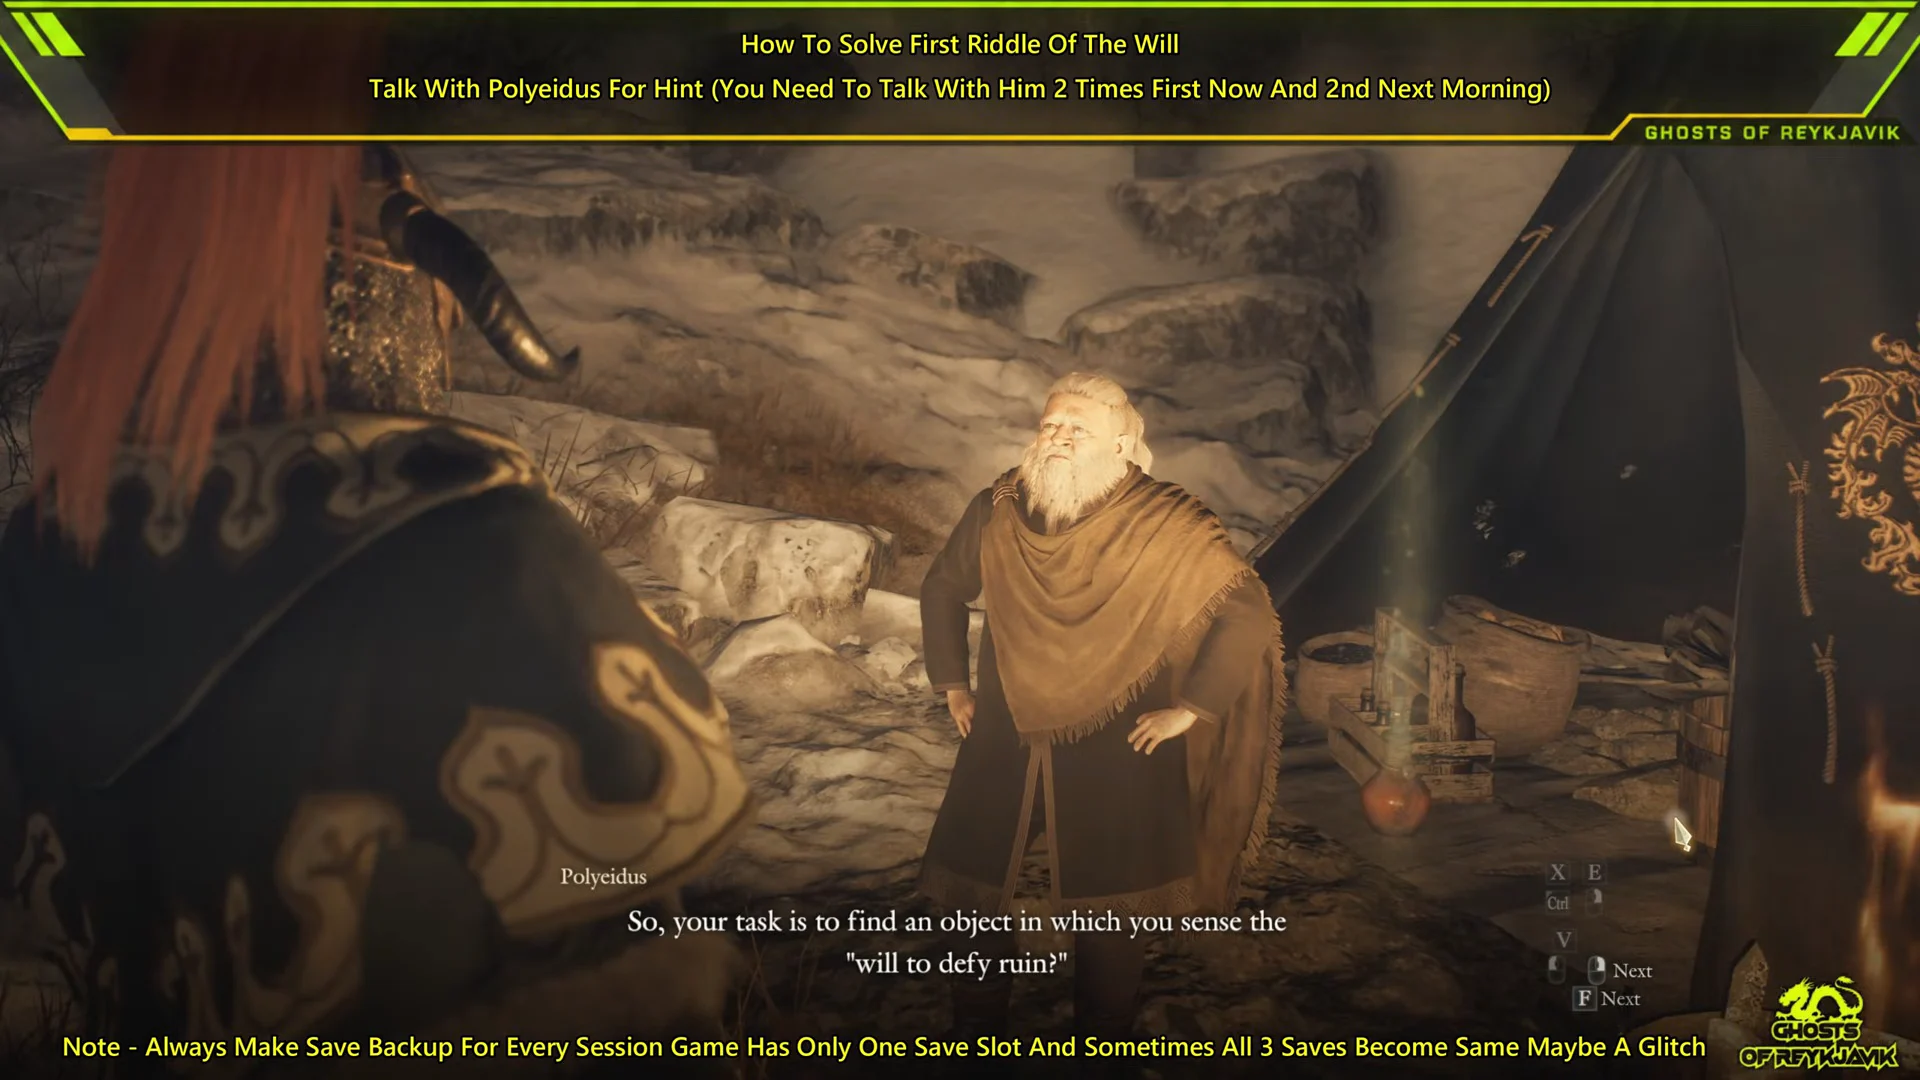
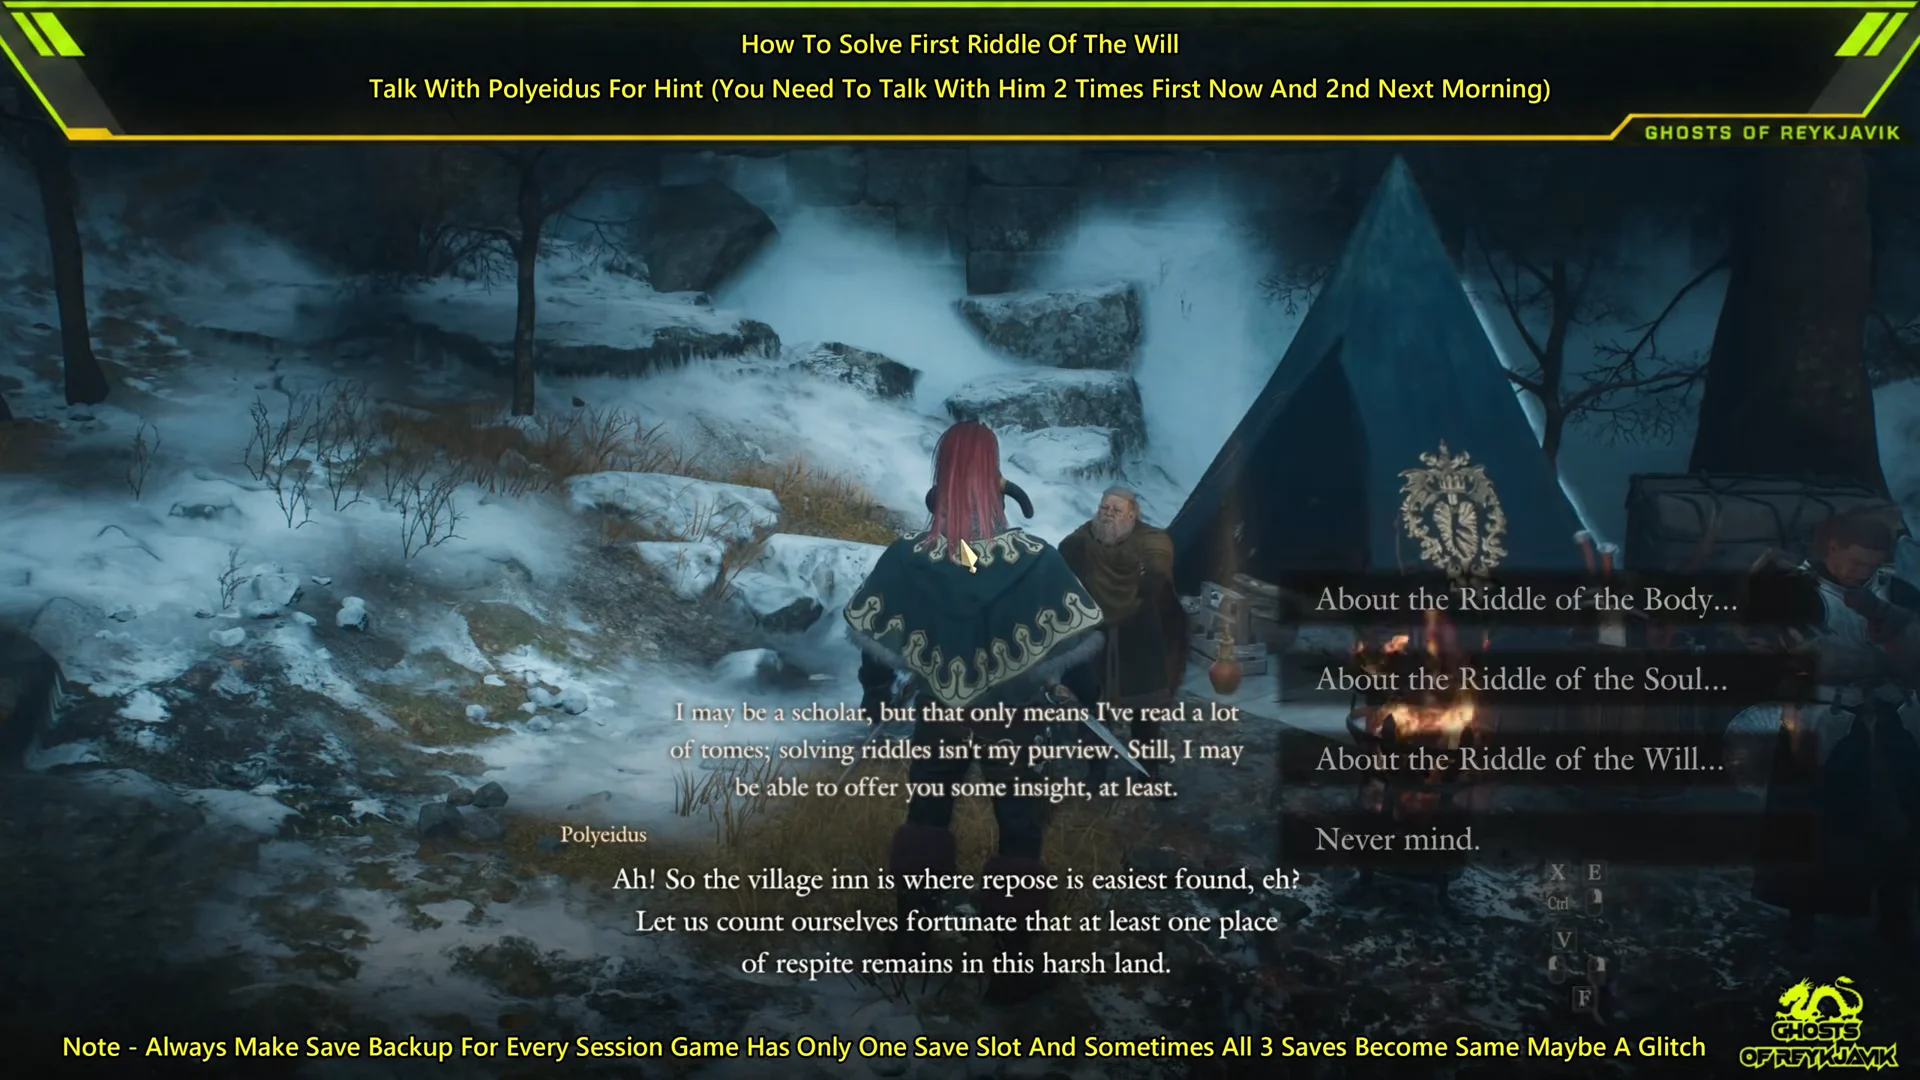
Head back to the Norgandian Settlement and find Polyeidus at his tent beside the campfire. Look for the dark tent with a circular gold emblem and a brazier outside. Ask him about the Riddle of the Will. The quest objective changes to “Hunt for clues about the Riddle of the Will.”
Rest at the settlement until morning, then speak to Polyeidus a second time. He deduces that the article lies at the Mountain Stronghold where you confronted the dragon. The log updates to “You sought further advice from Polyeidus” and then “Scour the mountain stronghold for clues.”
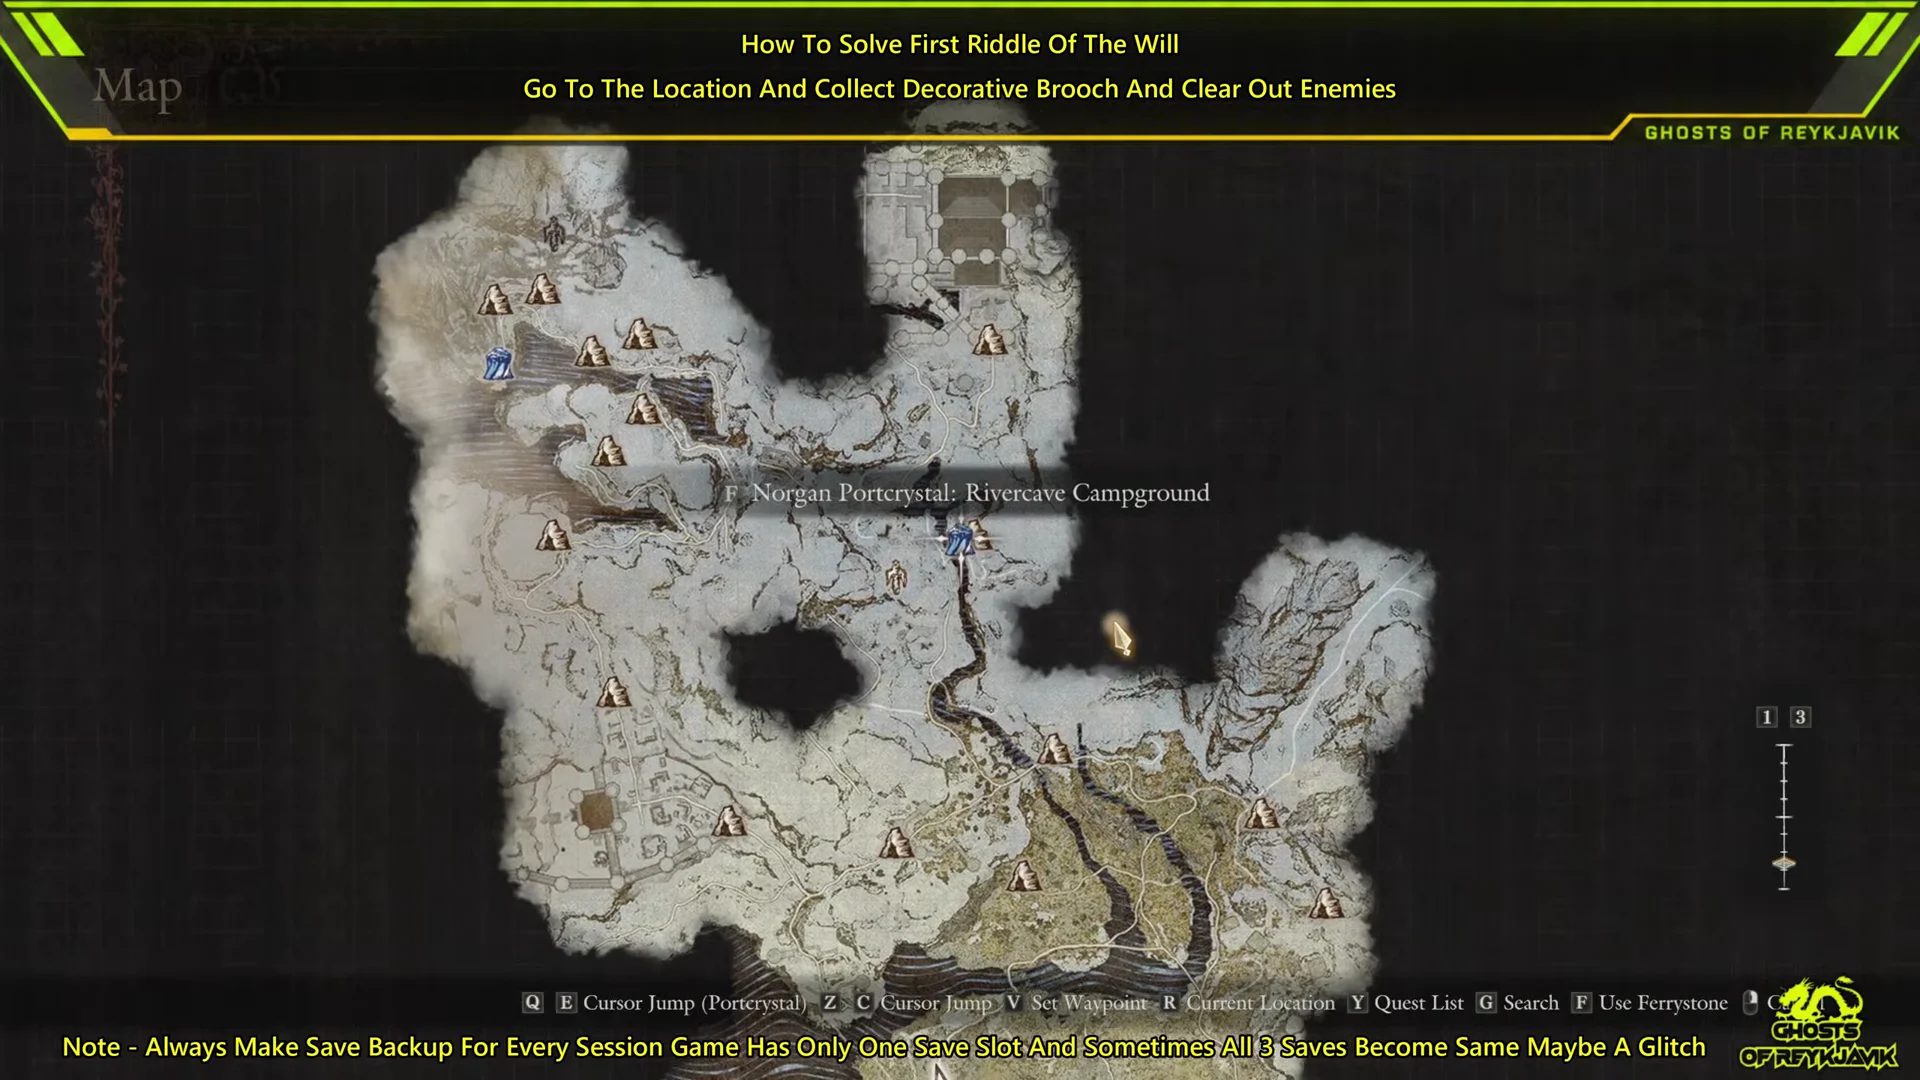
Travel to the Mountain Stronghold, north of the settlement up Valgr Ravine. If you set a Norgan Portcrystal nearby, you can use an Eternal Ferrystone to warp in and skip the trek; the Rivercave Campground Portcrystal also shortens the walk.
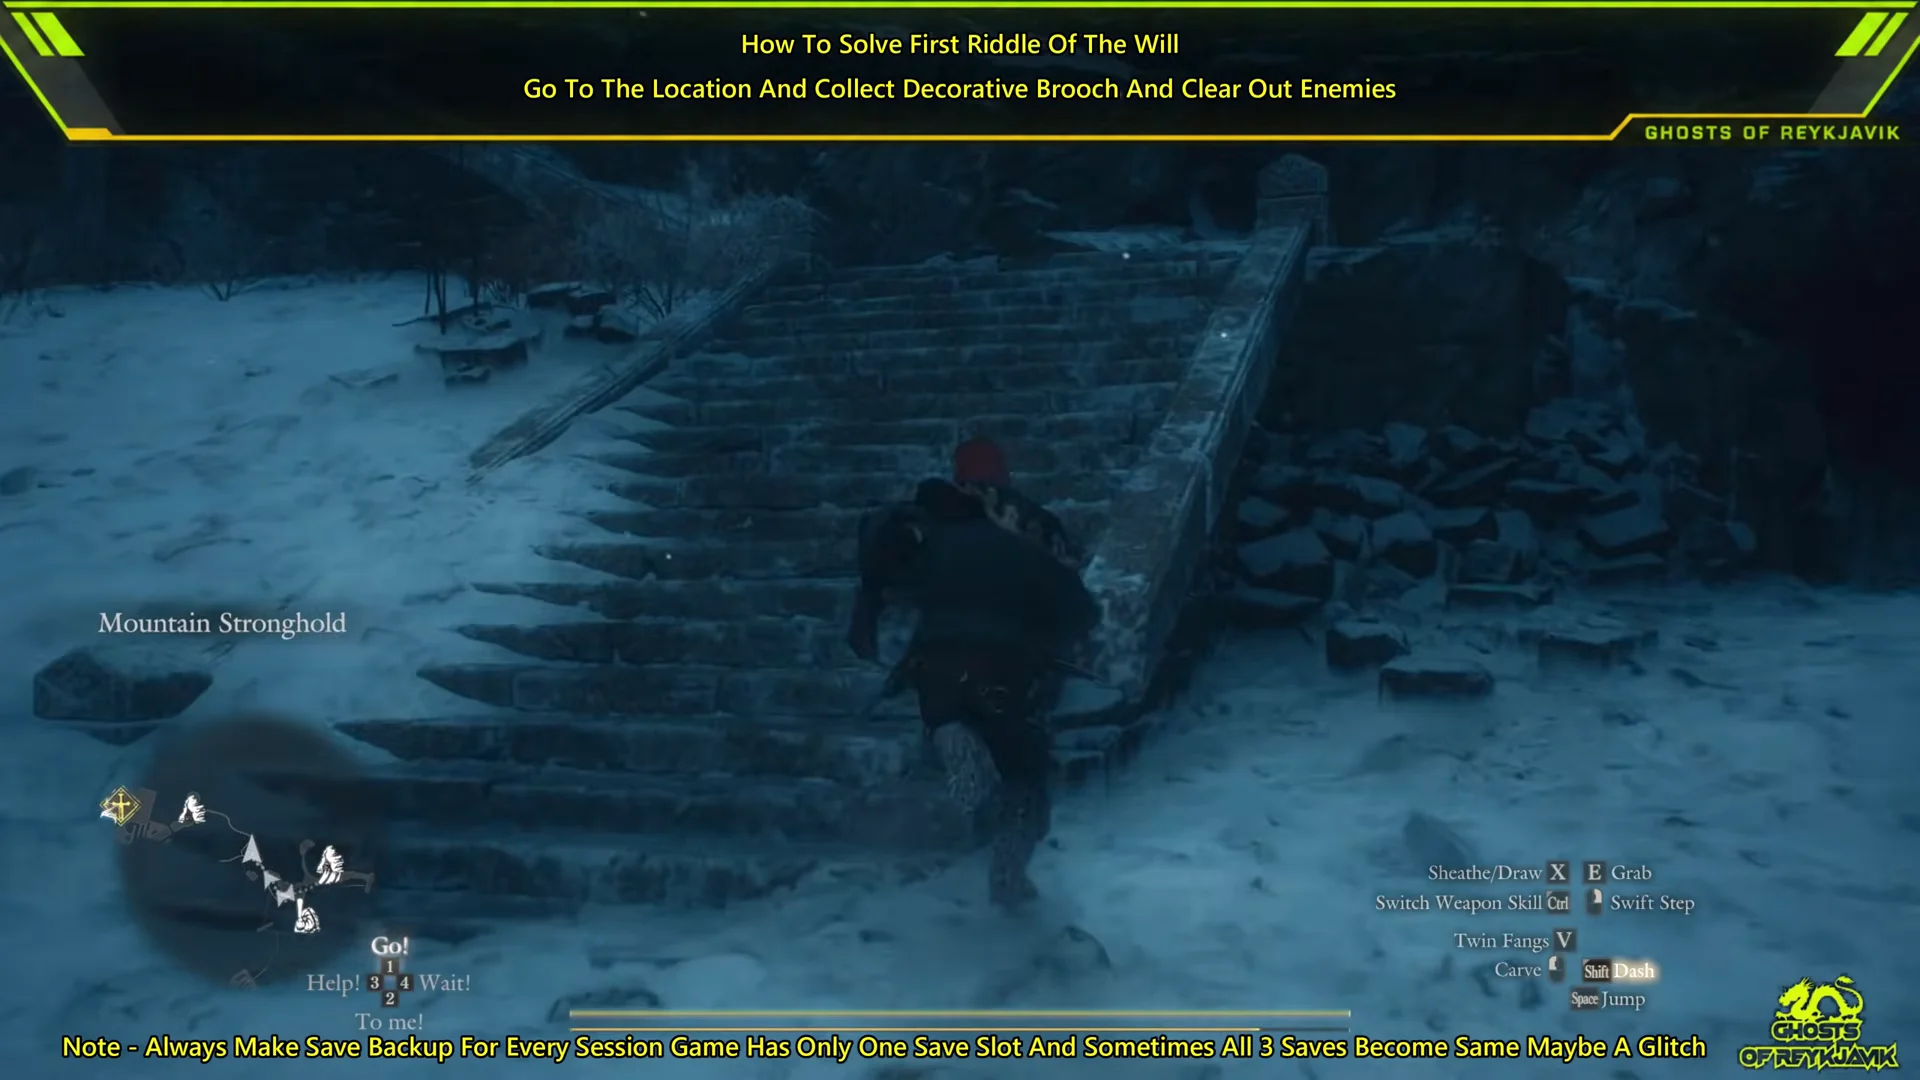
Ascend the lengthy stone steps beneath the icicles, then battle across the snowy courtyard; its enemies remain active after dark. At the base of the broad staircase, open the ornate chest for a Norgan Portcrystal, which you can place here as a fast-travel point.
At the broad staircase’s summit, pass between two square stone pillars and go up a few steps over the rubble to reach a chamber without a roof. On entry, you’ll speak with Wash, a hooded archer carrying a lantern. Head across to Chrona, the soldier with a shield, and hear all of their dialogue.
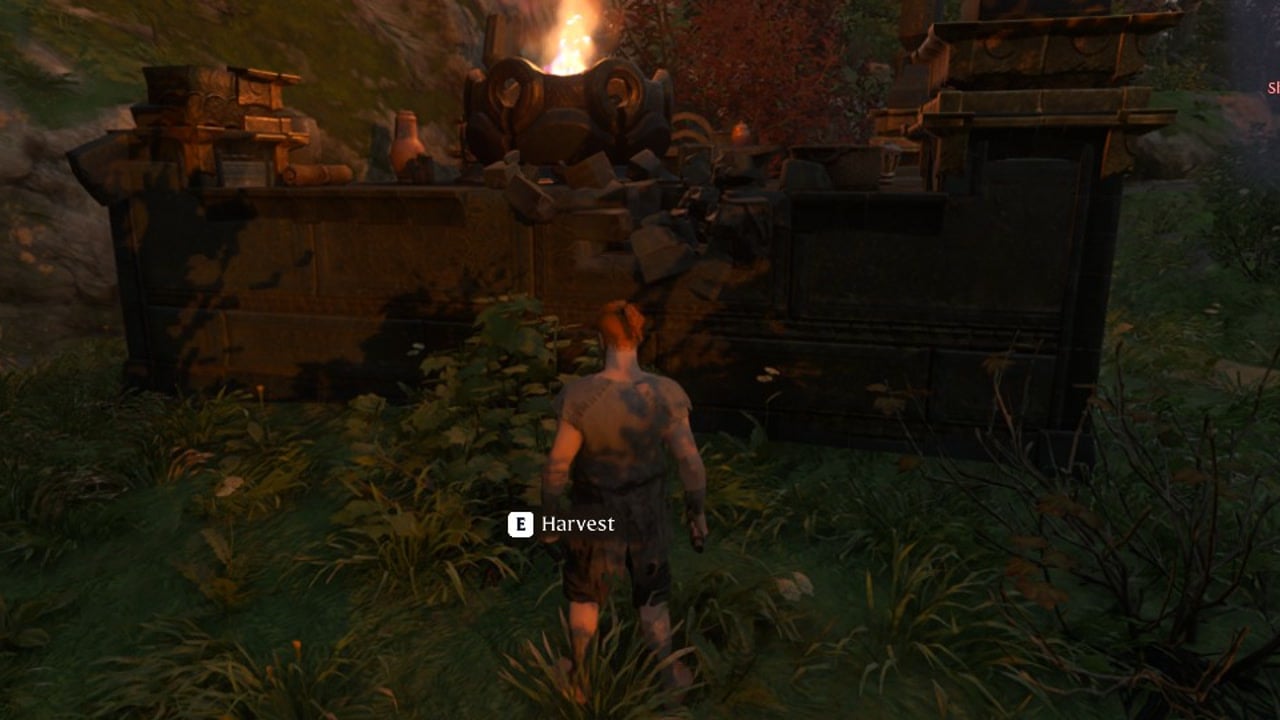
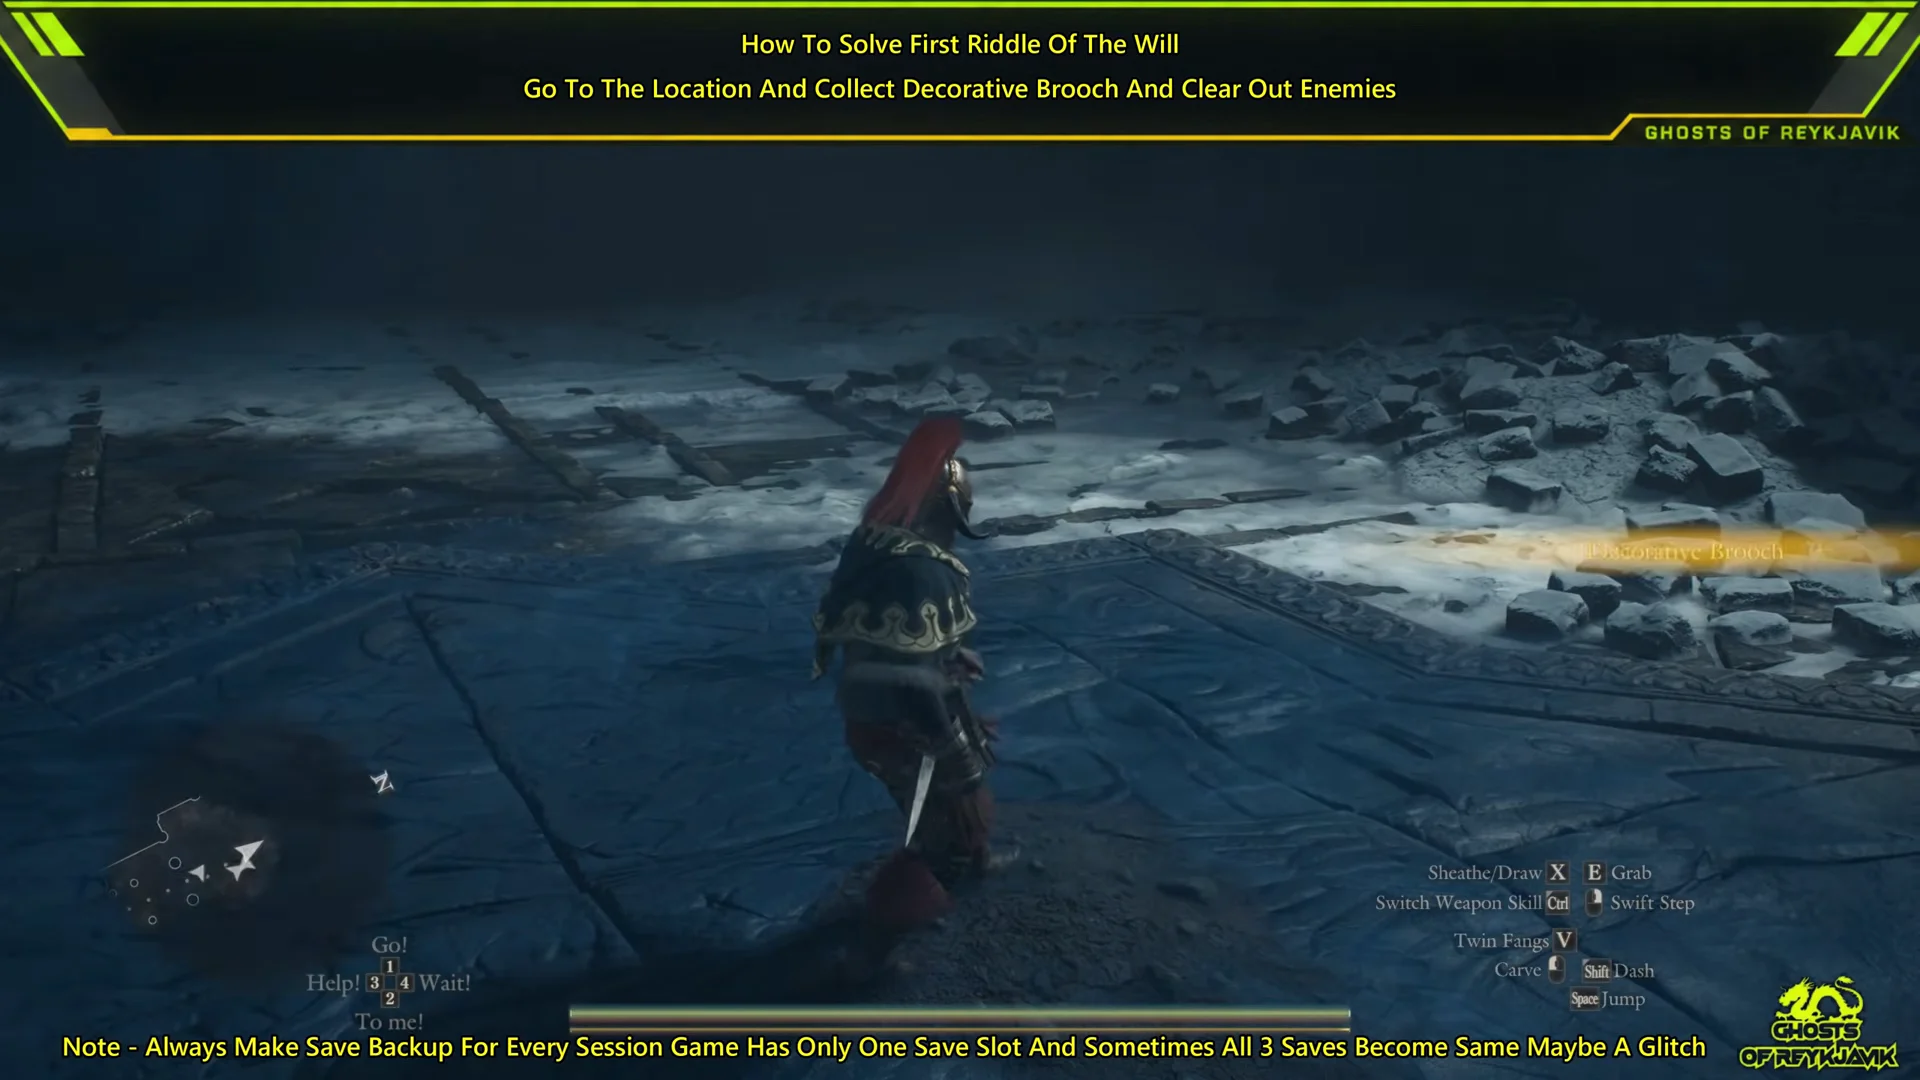
Look on the frozen stone floor near the back, below the hole in the rear wall. A thin beam of light marks the Decorative Brooch; stand over it for the “Pick Up” prompt. Taking it plays a short scene with Chrona and adds the brooch to your pack.
The moment you pick up the brooch, a horde of monsters storms the stronghold and the objective changes to “Escape the mountain stronghold.” There is no map marker, so the exit reads as “No Destination.” You have to fight your way out.
Deal with the chamber’s enemies before anything else. Ghouls rush in beneath hovering blue spectral flames, and a larger enemy is part of the opening wave. Keep to the edges and wear them down to avoid getting surrounded. Ghouls leave Pulsating Scarthe; collect any other items from the floor once the fight is over.
A collapse has sealed the archway you came through, so the broad staircase is no longer reachable. Find the big heap of blocks by the chamber wall, scramble up the stones leaning against it, and drop off the other side into the lower courtyard.
Fight through the lower courtyard and the nearby ruins lined with pillars. Ghouls emerge from the darkness singly or in pairs; lure a charging one into a wall to briefly leave it vulnerable. Continue downward through the ruins, passing the square pillars and barred iron door as you make your way toward the main entrance.
When the last ghoul falls, a scene with Wash and Chrona plays and the banner reads “You escaped the mountain stronghold,” followed by “Take the decorative brooch to the sage.” Clear every enemy, or the cutscene will not trigger.
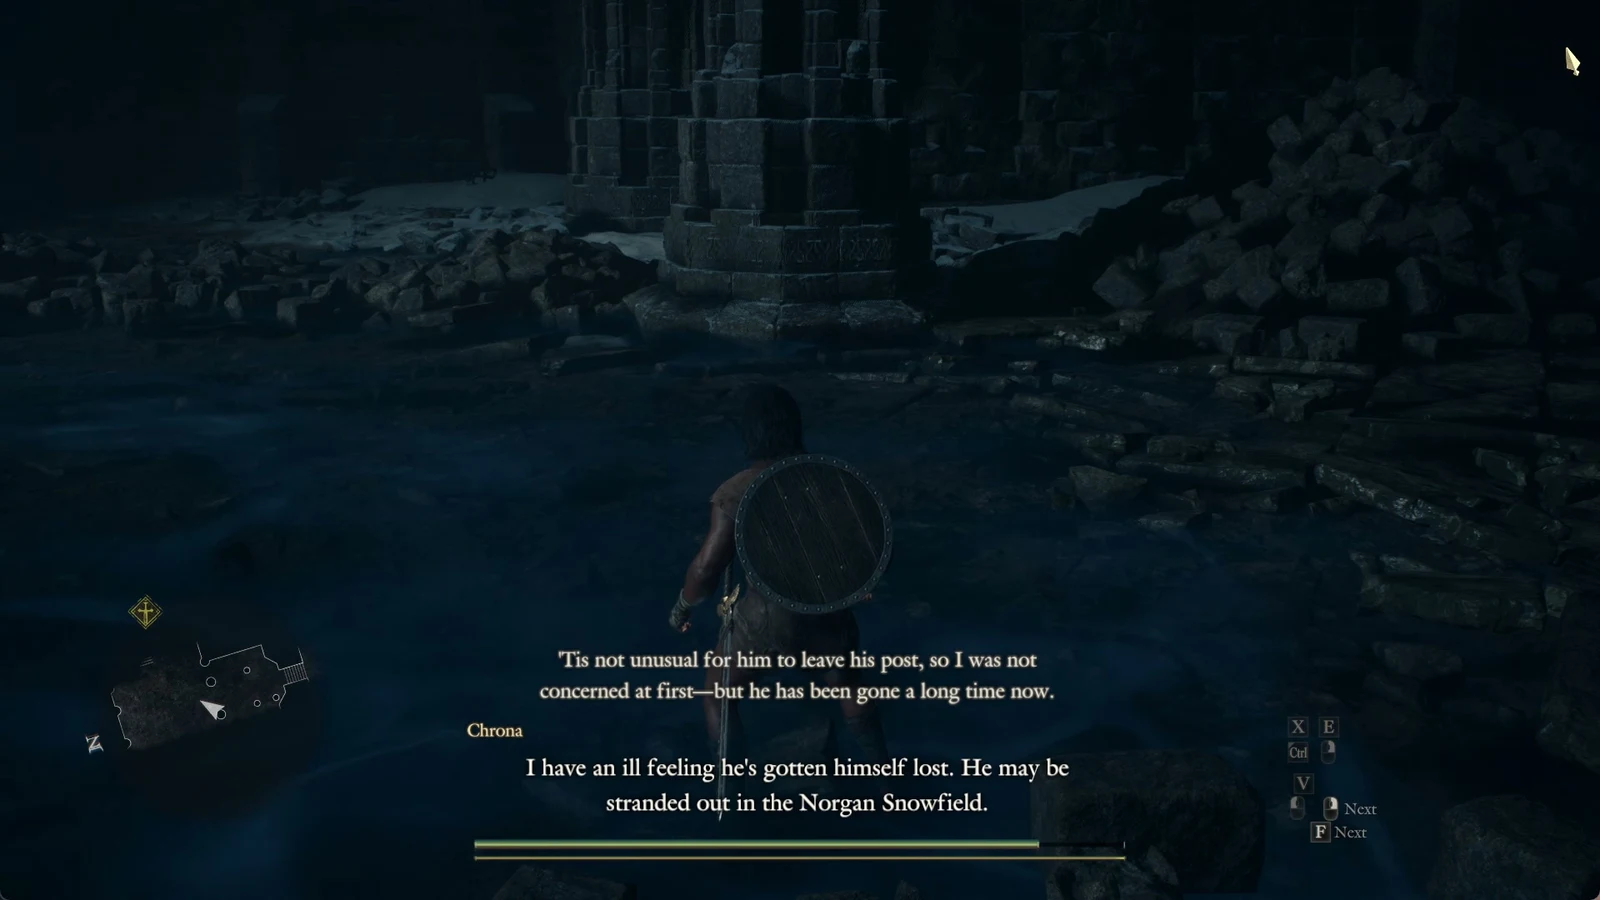
Chrona tells the player that Amos has been gone a long time and may be stranded out in the Norgan Snowfield.
Deliver the brooch and confirm the reward
Return to the Sphinx at the Shrine of Wisdom. If you placed the portcrystal there, it appears on the map as “Norgan Portcrystal: Shrine of Wisdom.” Speak to her, choose to answer the Riddle of the Will, and select the Decorative Brooch from the Valuables tab, then confirm the delivery.
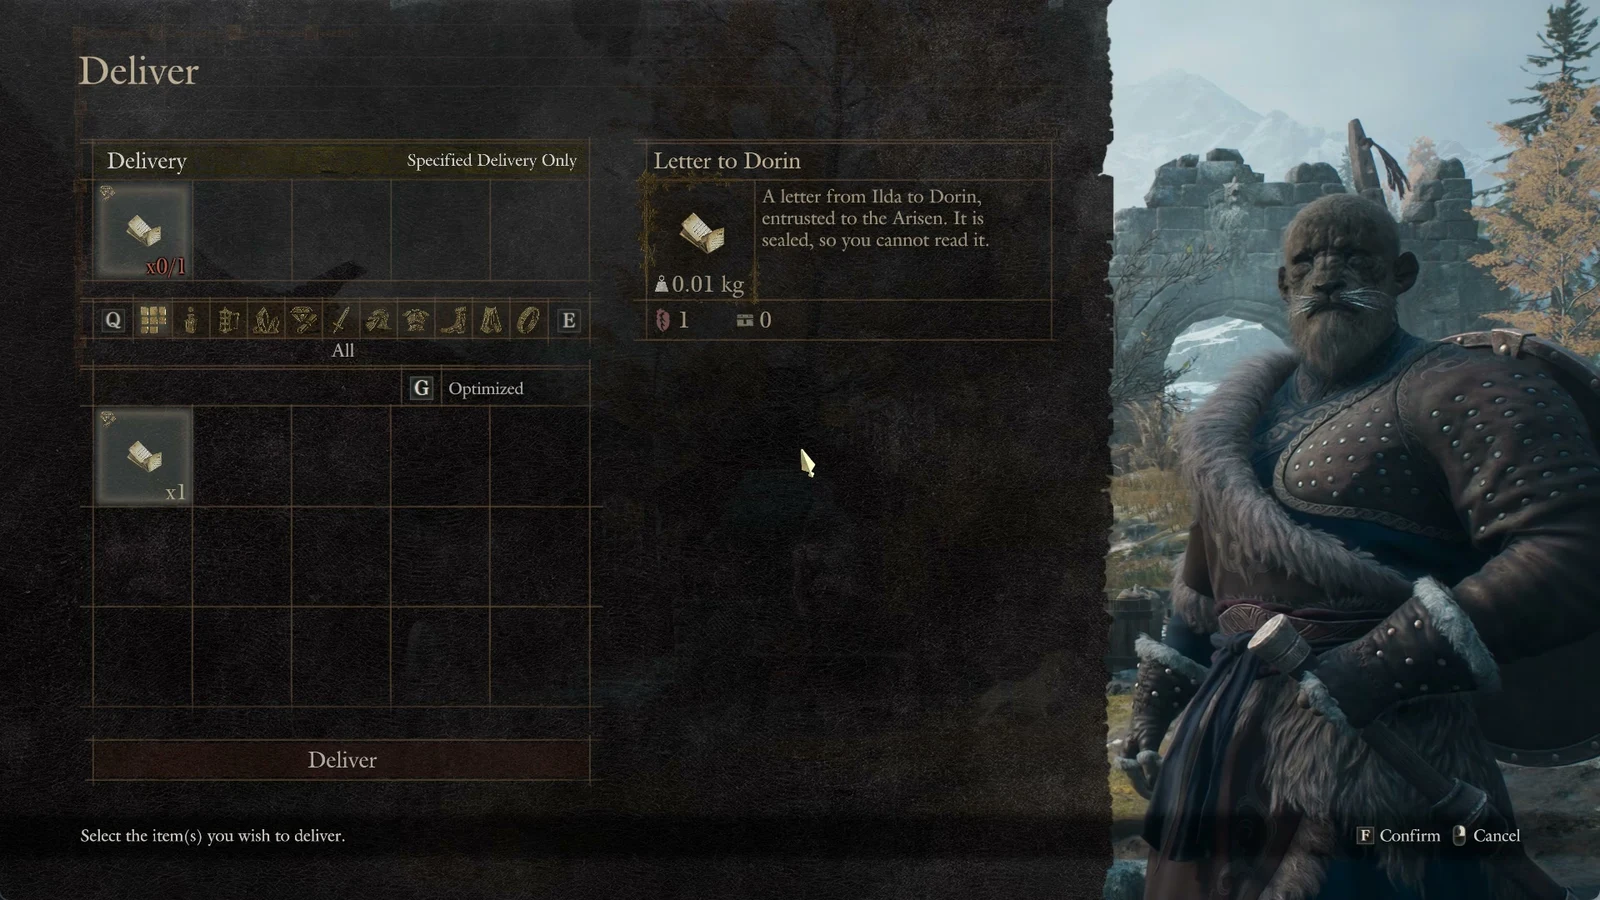
The Deliver menu lists the Letter to Dorin, a sealed letter from Ilda to Dorin, ready to be handed over.
You know it worked when the Sphinx accepts the brooch and the banner reads “Completed: Sage’s Wisdom – Riddle of the Will.” The reward is 25,000 XP and 20,000 G. Walk up behind her and open the stone chest on the terrace to collect an Eternal Wakestone.
Solving all three riddles is required before Seeking the Sage will finish. After the last one, you are prompted to return to Polyeidus at the Norgandian Settlement, which ends the quest and starts Sealed History.
All three Sage’s Wisdom riddles and their items
Each riddle wants a single object handed to the Sphinx, and each pays out the same quest reward. All three branch from Chilling Tidings. Use this to line up which item goes with which riddle before you make the return trip.
Riddle
Item to deliver
Where
Reward
Will
Decorative Brooch
Mountain Stronghold
25,000 XP / 20,000 G
Body
Mournful Giant’s Tusk
North of the settlement
25,000 XP / 20,000 G
Soul
Frozen Wyrmslife Crystal
Beorcan Stronghold
25,000 XP / 20,000 G
Completing each riddle unlocks one of the Sphinx’s chests behind her. The Will chest holds an Eternal Wakestone, the Body chest a Norgan Portcrystal, and the Soul chest Rift Crystals. Because the chest rewards are sequential, you receive the full set whether you solve the riddles one at a time or all at once.


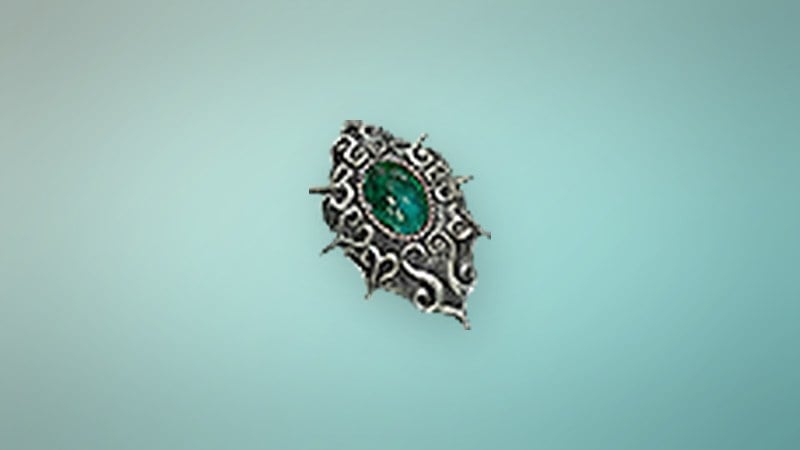
 Decorative Brooch
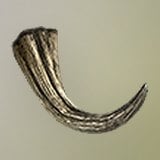 Mournful Giant’s Tusk
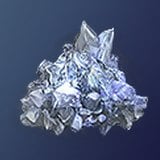 Frozen Wyrmslife Crystal