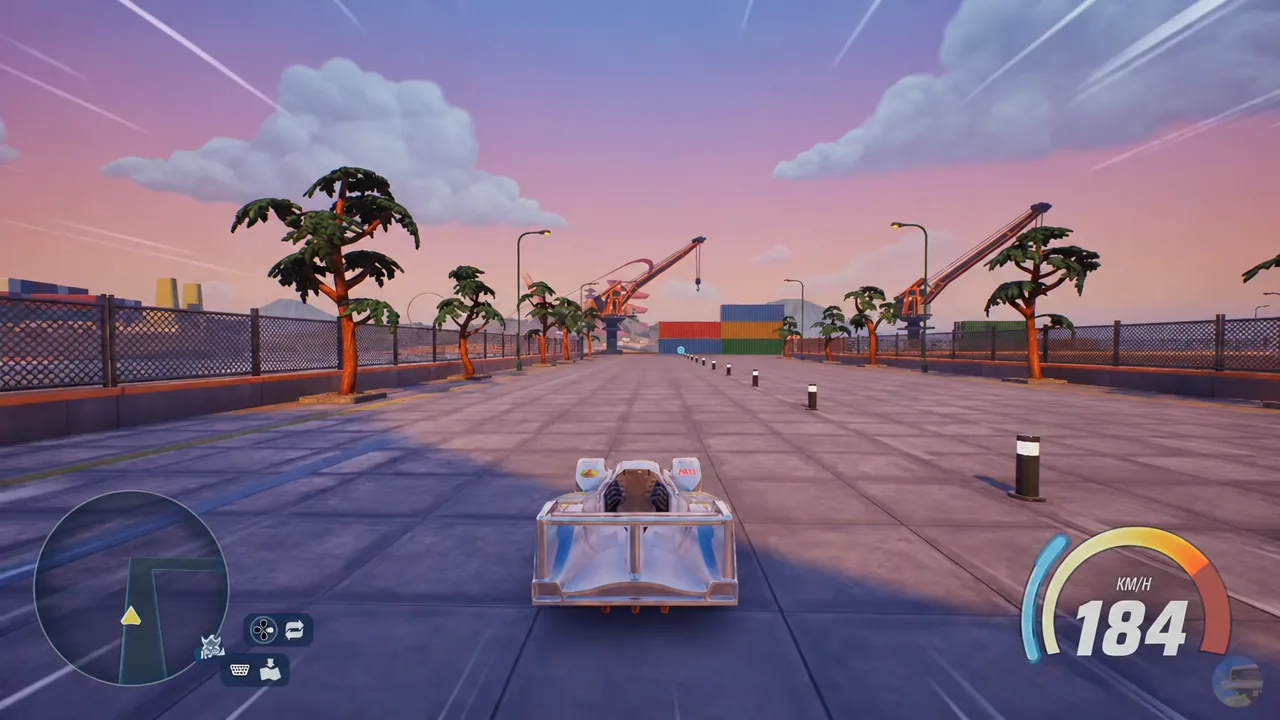
Drifty Temples is the cherry-blossom island in Hot Wheels Infinite Rush, built around ancient temple grounds, tight canal runs, and a working shipping dock. It is also the densest collectible map in the game, and a full clear means sweeping three separate pickup types plus every portal, stunt, photo spot, and rival on the island.
Quick answer: To hit 100% on Drifty Temples you need all 300 Gears, all 10 Hot Wheels Logos, and all 10 Stickers, plus every Event Portal, Tourist photo, stunt activity, and rival on the island.
Drifty Temples collectible totals
Three pickup types are scattered across the island, and each behaves differently. Gears are the bulk of the work, Logos are one-off billboards, and Stickers are the only category that needs Photo Mode instead of a drive-through.
| Collectible | Total | How it is collected |
|---|---|---|
| Gears | 300 | Drive through them; they appear in clusters of five or fewer along roads, canals, rooftops, and dock walkways |
| Hot Wheels Logos | 10 | Drive through the floating logo; usually placed on high ledges or stunt lines |
| Stickers | 10 | Park near the target, open Photo Mode, and take the shot |
Note: collected pickups do not respawn, so a partial cluster you grabbed on an earlier drive stays banked. That makes it safe to chip away at the island between Career events rather than doing one marathon lap.
Before you start the sweep
Every player begins on Wheelswood and unlocks the other three islands through Career progression, so Drifty Temples opens late enough that you should already have a decent garage. Bring a car you can steer precisely rather than your fastest one. The island’s canal sections and temple stairways punish top speed, and a Drifter or Versatile chassis with upgraded handling mods makes the tight Gear lines far easier to thread.
Races and activities also have to be found before they can be played. Unlike the older Unleashed games, you must physically drive past a route or portal to add it to the island’s list, so a slow exploratory lap of the island is never wasted time.
Gear route: docks, canals, then city streets
The cleanest order is to start at the shipping docks, follow the canal inland, then fan out into the street grid. The three zones connect, so you can run them in one continuous loop without fast travel.
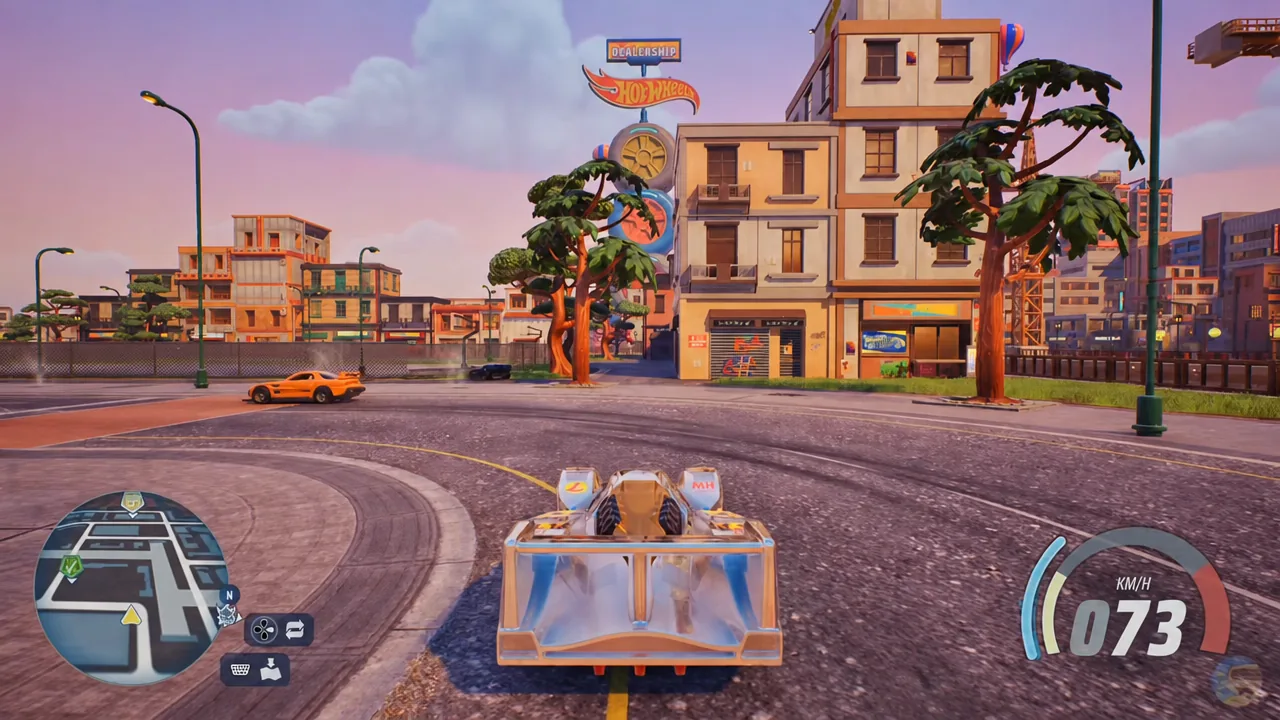
Tip: props like street lights and bushes break on contact and pay XP, so plough through them while collecting instead of steering around.
Stickers and Photo Mode captures
Stickers are the only collectible you cannot grab by driving. Each one is a spot on the map that has to be photographed. Stop at the marker, open Photo Mode, frame the subject, and take the picture. The Sticker registers the moment the capture is confirmed, not when you arrive.
Tourist activities work the same way but are tracked separately from the ten Stickers. They point you at scenic landmarks around the temples and waterfront, and they also need a Photo Mode shot to complete, so it is worth clearing both photo categories in the same pass.
Event Portals on Drifty Temples
Event Portals are grouped race hubs rather than single races. Driving up to a portal unlocks it, and opening its menu reveals a set of events to clear in order. The first portal on the island, the Launch Ramp, holds eight events, and its list tracks your progress from 1/8 through 8/8.
Portal events pull from the game’s standard modes, so expect a mix of Quick Race, Elimination, Waypoints, Smashing Wheels, Time Attack, and Drift Master depending on the hub. A portal only counts toward island completion once every event inside it is finished, not when you clear the first one.
Stunt activities and rivals to clear
Free-roam activities sit between the collectibles and the portals, and several of them are seamlessly placed on roads you will already be driving. Each type has its own completion condition.
| Activity | What it asks for |
|---|---|
| Drift Stunt | Hold a drift through a marked corridor for the target score |
| Speed Stunt | Cross the trap above a set speed |
| Boost Stunt | Chain boost through the marked line without dropping off |
| Stuntman | Cause as much environmental damage as possible before the timer ends |
| Find the Flame | Reach the flame marker within the time limit |
| Delivery Stunt | Drive a designated vehicle to its destination quickly and with minimal damage |
| Tourist | Photograph the scenic target |
| Daredevil / Rusher / Rush Master | Beat the rival head-to-head; Rush Master is the island boss |
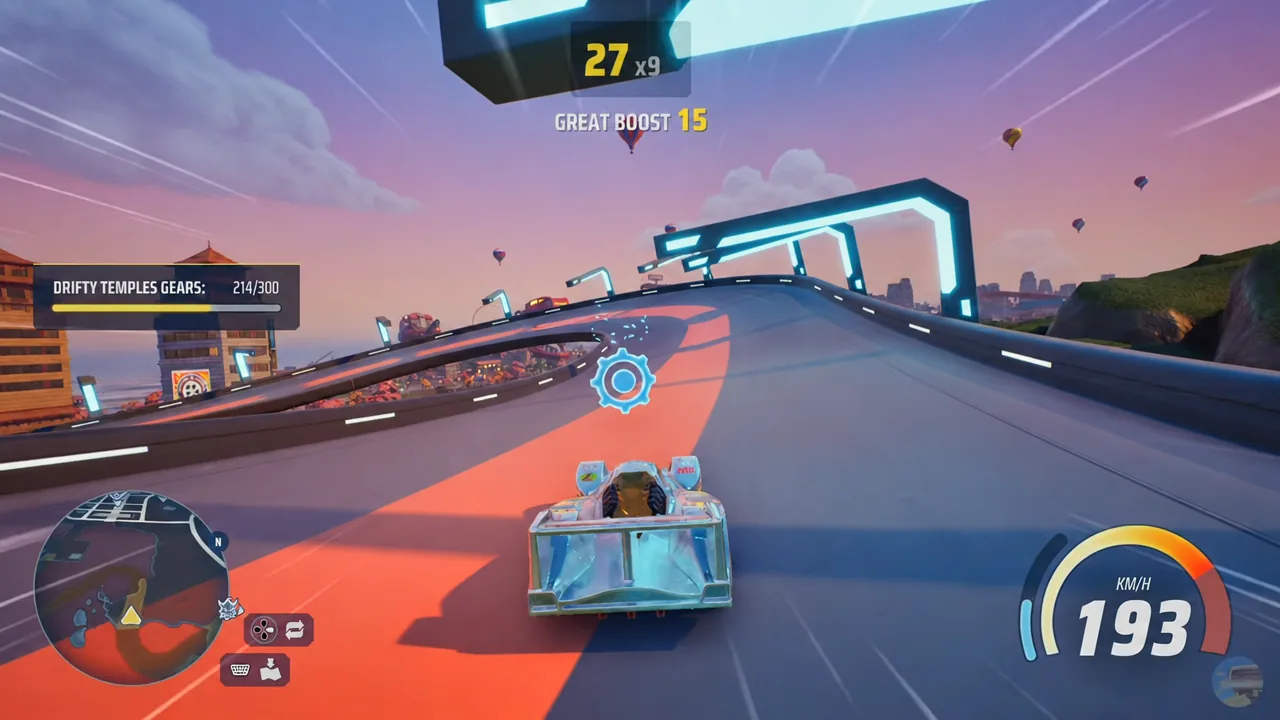
Boost Stunts are the easiest to misread. The HUD grades each boost as you go, and weak taps still break the chain even though the run looks clean, so commit to full boost pulls between markers.
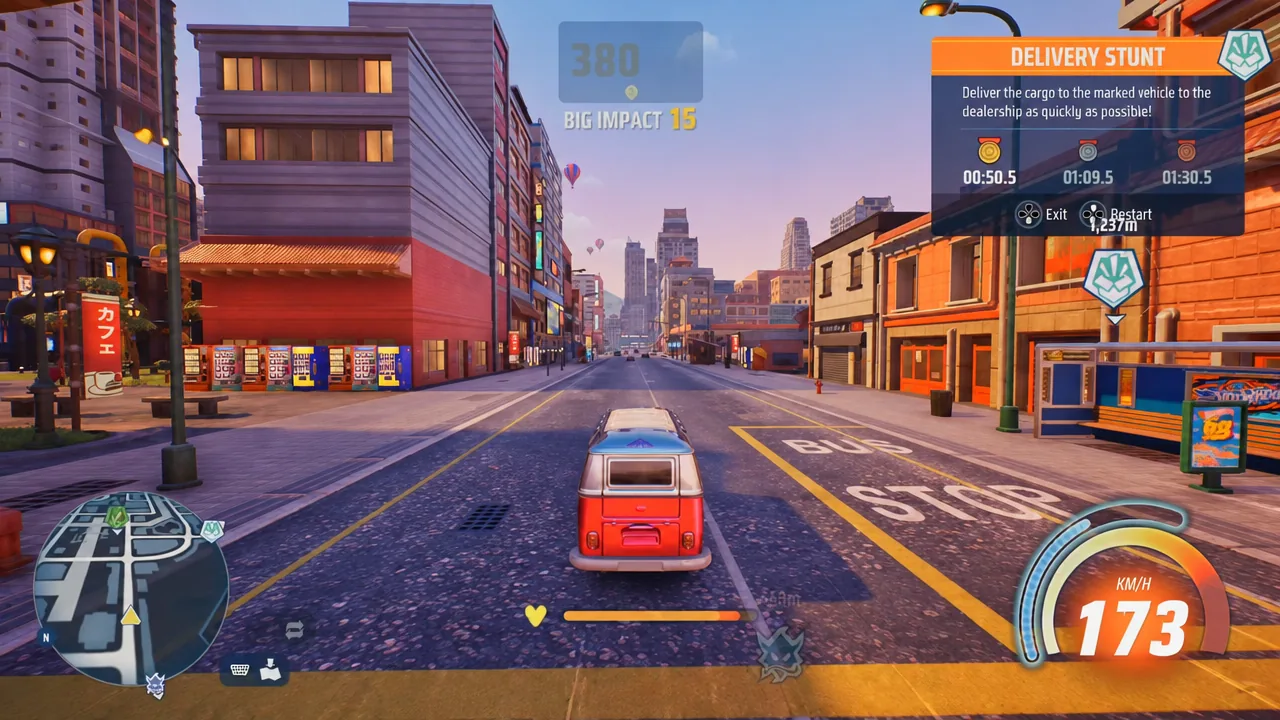
Delivery Stunts hand you a specific vehicle, usually something slow like a cargo van, and mark the drop-off. Damage counts against you, so take the wider road line rather than the temple shortcuts.
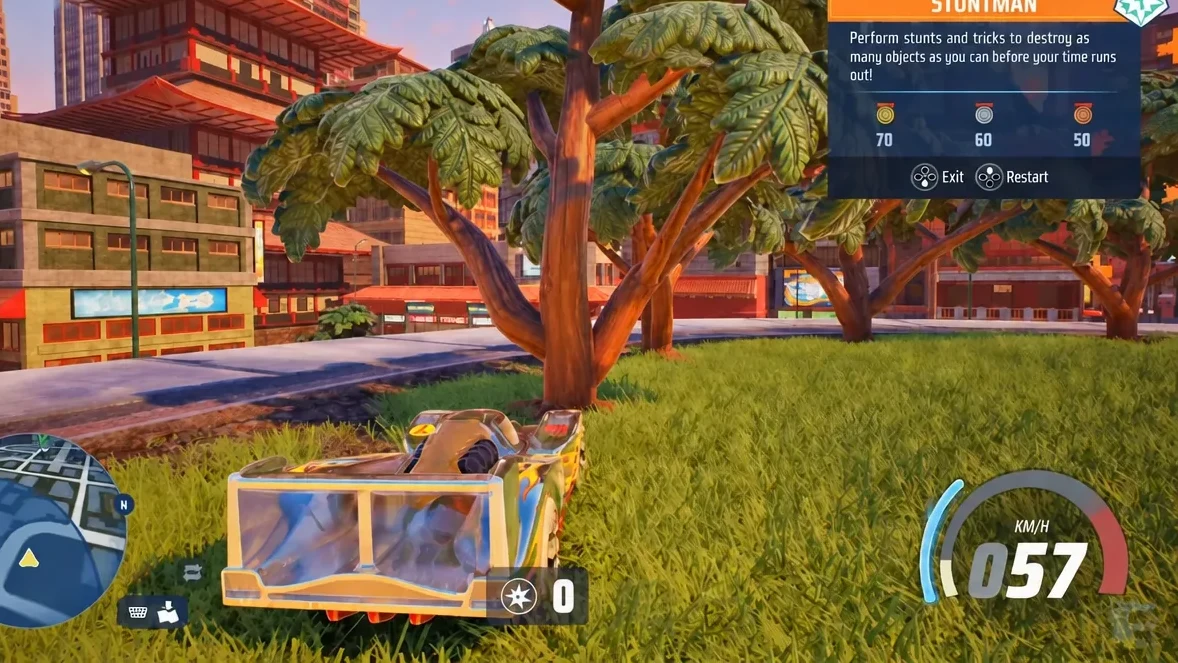
Stuntman runs are the opposite. The goal is destruction, so pick a heavy Titan if you have one and aim for dense clusters of breakable props instead of long empty stretches of road.
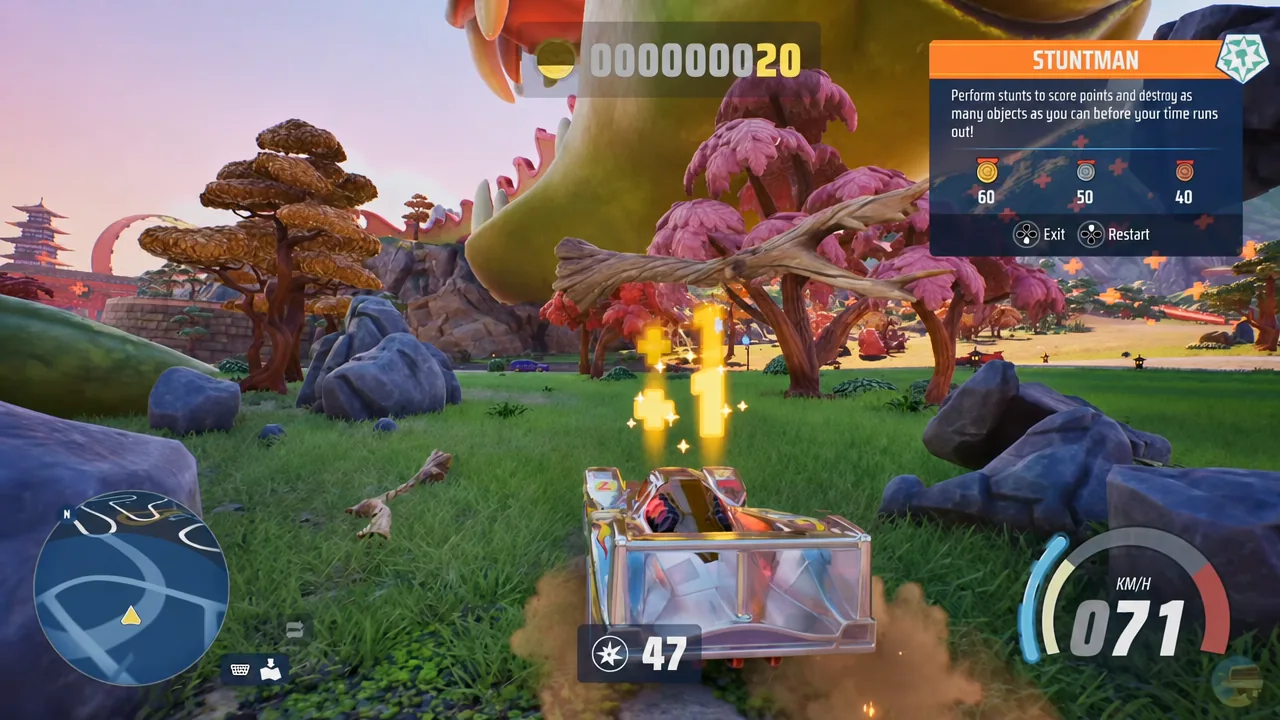
Score ticks up live while the timer runs, and you can restart from the same panel without driving back to the trigger. Use that if your opening seconds go badly rather than finishing a bad attempt.
Why Drifty Temples progress stalls short of 100%
Most incomplete runs come down to a handful of repeat causes rather than a missing Gear. Check these first before re-driving the island.
- An Event Portal was opened but not finished, leaving one event unplayed inside a hub that looks cleared on the map.
- A race route was never discovered, because routes only appear after you drive past them in free roam.
- A Sticker or Tourist spot was visited but never photographed, so nothing registered.
- Gears under bridges, inside the canal, or on temple rooftops were skipped because they are not visible from the road above.
- A Daredevil or Rusher was found but not beaten; these rivals stay on the island until you win.
Clearing the island pays out in more than a percentage figure. Activities and rivals feed unlockable vehicles into your collection, the island’s Rush Master hands over their car and title when beaten, and finishing all four islands is what crowns you the one true Rush Master. Drifty Temples is the one to save until your garage is tuned, because its canals and temple stairs reward handling far more than raw speed.