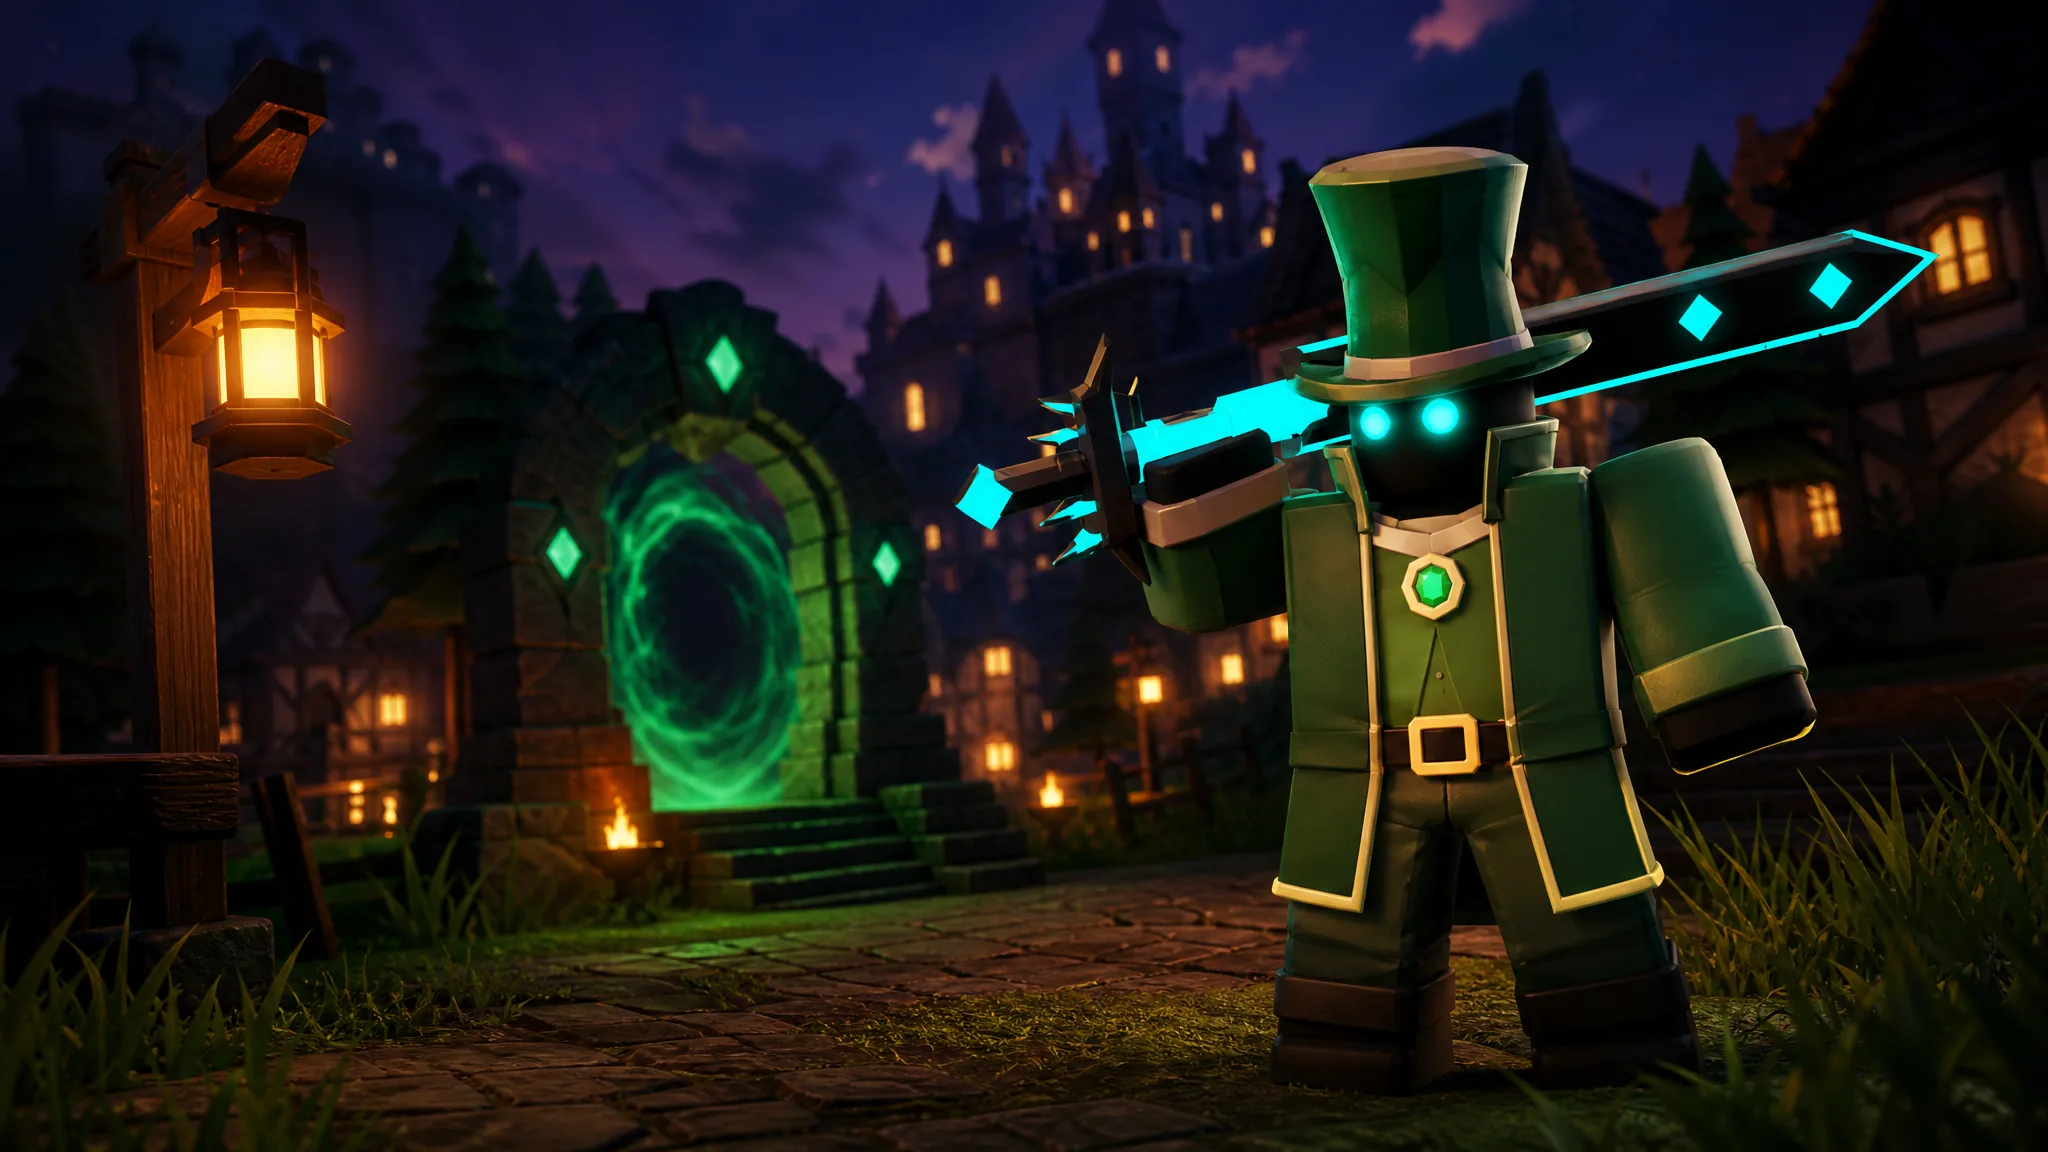
Dungeon Quest Reborn is a Roblox action RPG from Delta Quarters OG built around clearing dungeons, defeating bosses, and swapping weaker equipment for stronger drops. Progress is driven almost entirely by loot and levels, so the fastest way to climb is to keep one damage type focused, upgrade only the gear you plan to keep, and farm the highest difficulty you can beat without failing. You can play alone or with friends, and grouping up clears rooms noticeably faster.
Quick answer: To level up fast, finish the tutorial, match your weapon and armor to a single damage type (Physical or Spell), turn on Shift Lock, group enemies together to hit them with area-of-effect abilities, and repeatedly clear the highest dungeon difficulty you can complete cleanly.
Are there any Dungeon Quest Reborn codes?
There are no Dungeon Quest Reborn codes to redeem, and there is no code redemption menu in the game. The original Dungeon Quest never used a code system, and the remake follows the same approach. Every reward comes from playing rather than from promo codes.
If a code system is ever added, it would appear inside the game first. Until then, treat any code list claiming active rewards for this game as inaccurate. You can confirm the current state of the game directly on the official experience.
Finish the tutorial and set your abilities
The tutorial teaches the core system you will use for the entire game. Abilities split into two families. Spell Power abilities such as Fireball scale with your Spell Power stat, while Physical Power abilities such as Whirlwind scale with your Physical Damage. Your weapon decides which of those stats is strong, so your loadout should lean one way.
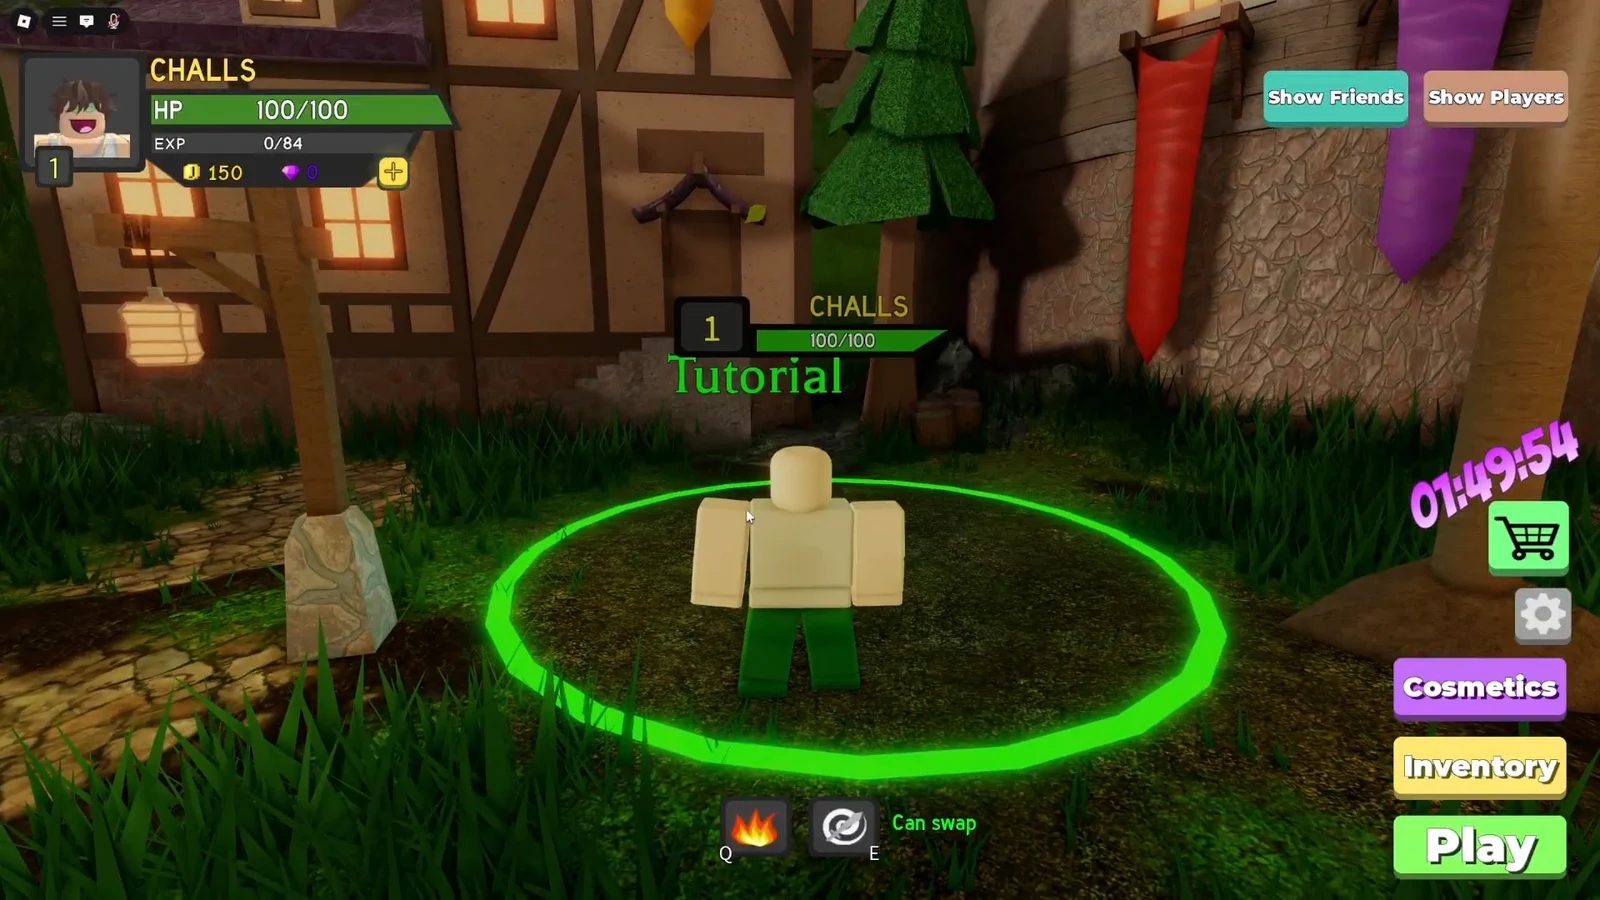
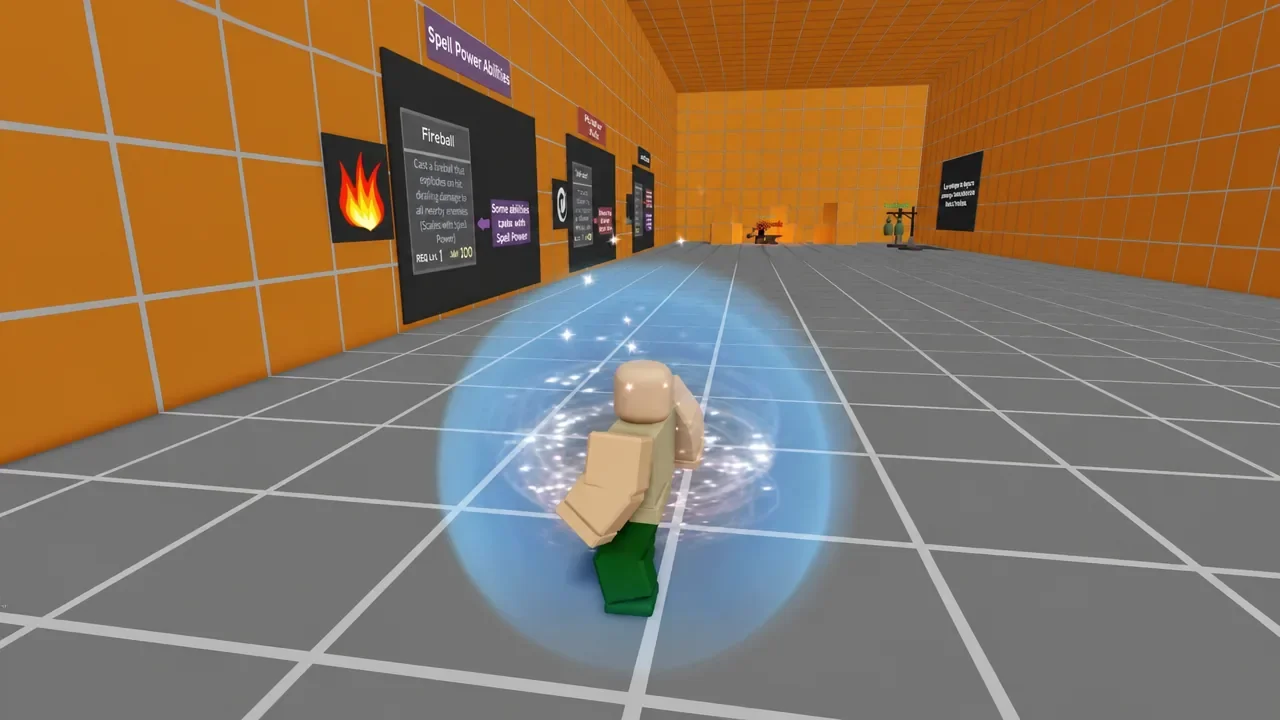
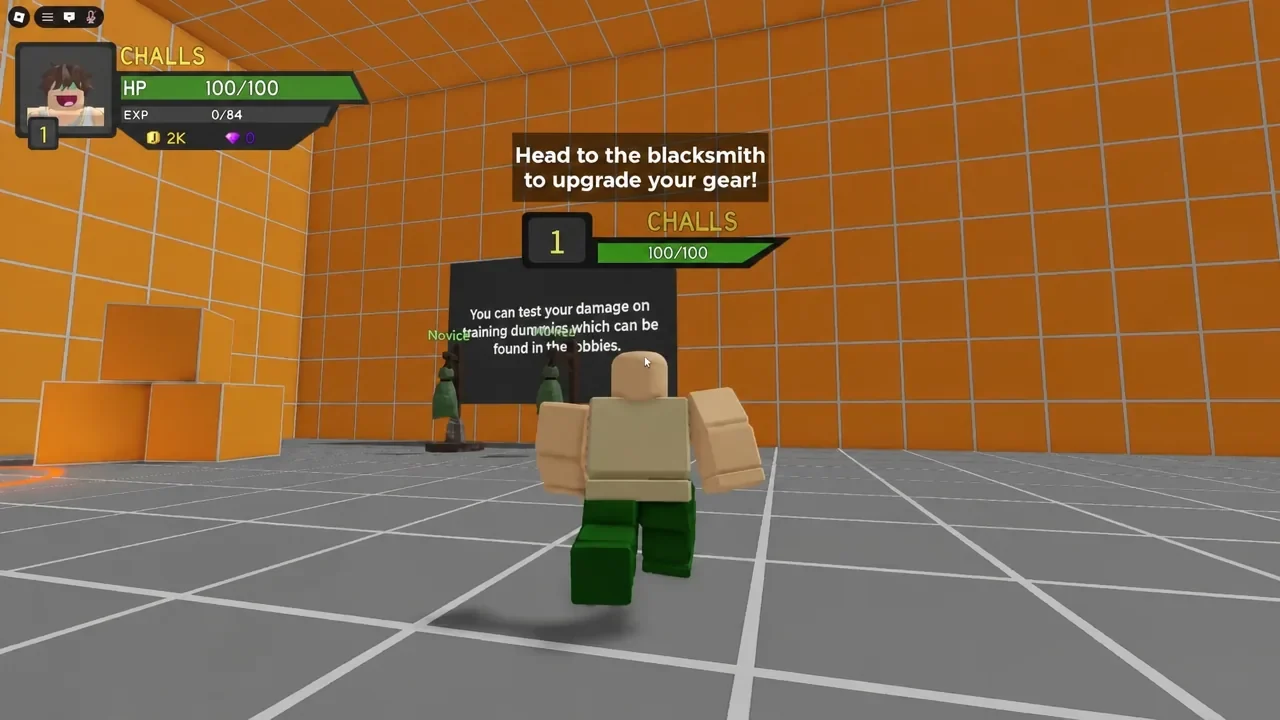
You will know the tutorial is complete when you return to the main lobby with your weapon equipped and abilities bound. Test them on the “Novice” training dummies in town before entering a real dungeon.
Turn on Shift Lock before you fight
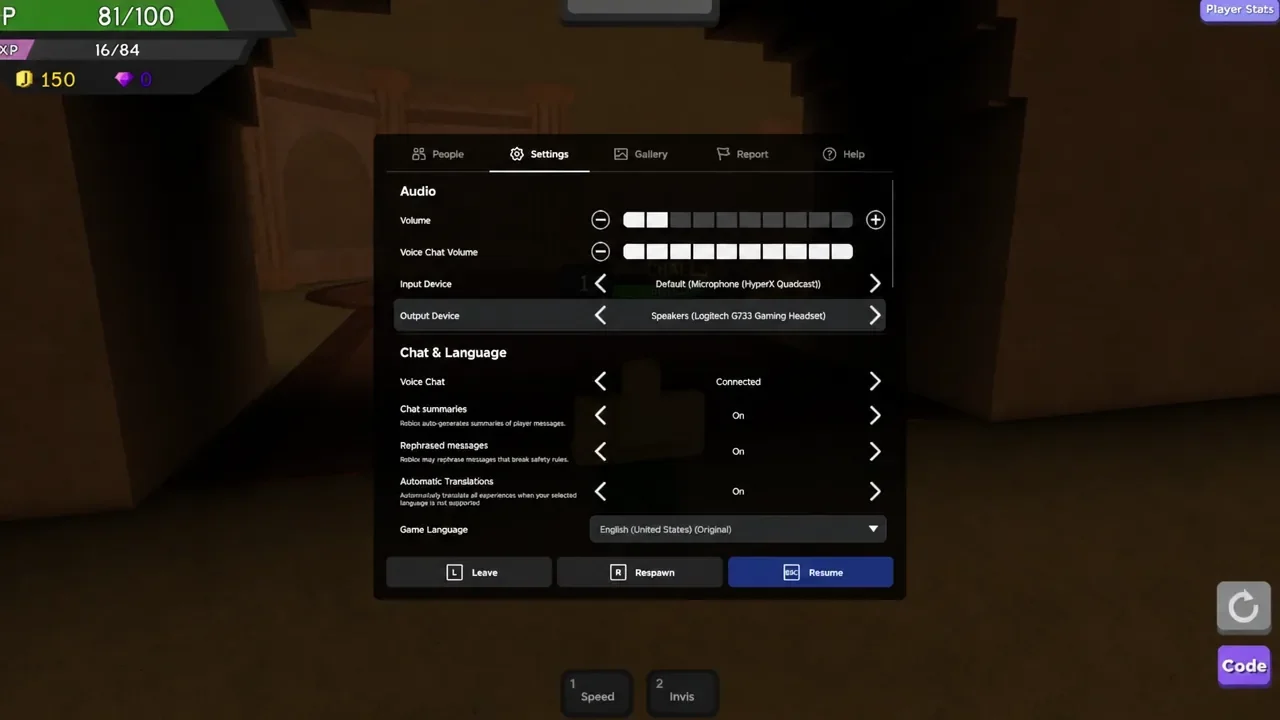
Shift Lock keeps your character facing the direction of your camera, which makes aiming abilities and dodging attacks far more reliable. Turn it on before you commit to a dungeon.
Clear dungeons faster with AOE and herding
The fastest room clears come from grouping enemies together and hitting the whole pack at once. Both Fireball and Whirlwind deal area damage, so pulling multiple enemies into a tight cluster and then firing wipes them in far fewer casts than picking them off one by one.
Beat Desert Temple and the Sand Giant
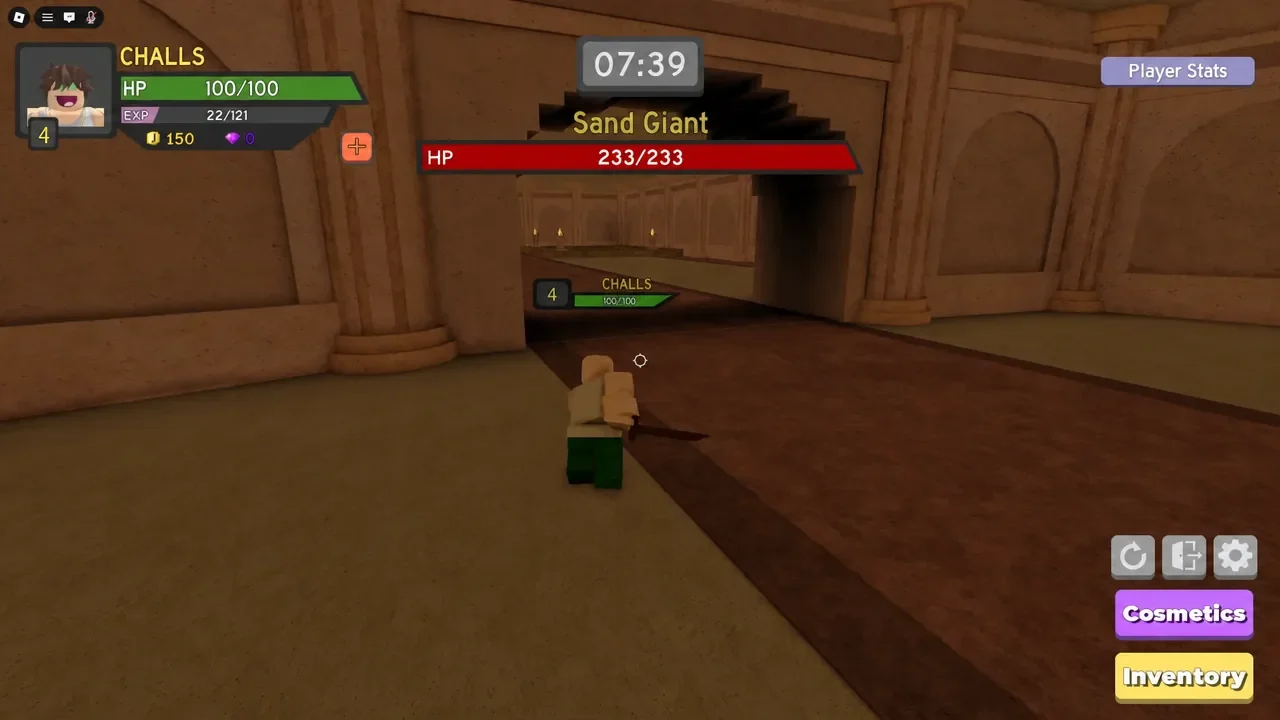
Desert Temple on Easy is a reliable first real dungeon. Clear the Sand Peasant waves with area damage, then focus the boss. The Sand Giant has 233 health and telegraphs its ground attacks with red markers. Stay mobile, walk out of every marked area, and keep dealing damage between its swings.
Defeating the Sand Giant pays out gold, experience, and gear. A single Easy clear can hand over a large gold sum plus items like a Novice Helmet, a Starter Wand, and a Bronze Dagger, and can push an early character up several levels at once.
Trading is available in the game, but it stays locked until you reach a required level. Keep progressing normally and it opens up as you climb.
How to level up fast and keep progressing
Leveling speed depends on how cleanly you clear, not how hard the dungeon looks. Repeated failed runs waste time, so pick the highest difficulty you can beat consistently and farm it until your gear is strong enough for the next tier. Keep your build focused on one damage stat, and only pour upgrade gold into weapons and armor you will use for several runs.
| Priority | What to do |
|---|---|
| Pick one damage type | Stack either Physical Power or Spell Power gear and pair it with abilities that scale off that stat. |
| Farm consistent clears | Run the hardest difficulty you finish reliably instead of failing a higher one repeatedly. |
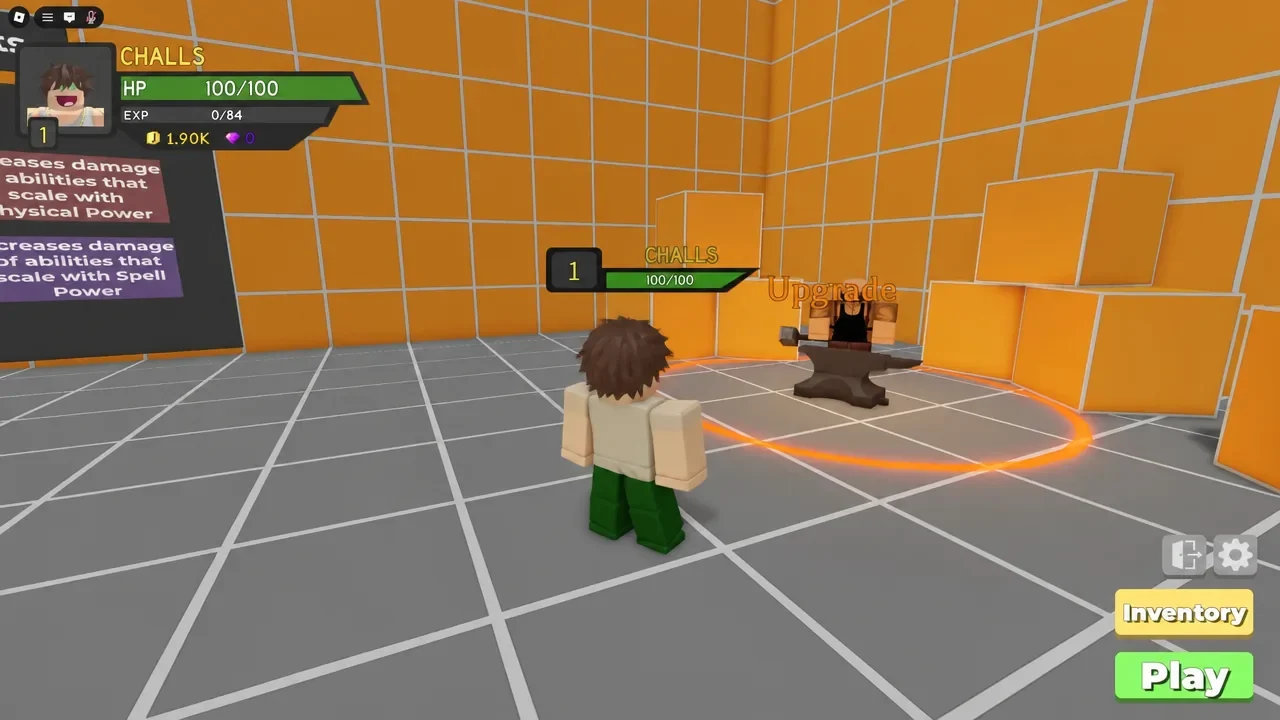
| Upgrade selectively | Spend gold at the blacksmith only on gear you plan to keep across multiple dungeons. |
| Compare stats, not rarity | A newer dungeon drop can beat an older higher-rarity item, so check the actual numbers. |
| Play co-op | Grouping clears waves and bosses faster, raising experience and loot per run. |
| Move up on time | Advance to the next dungeon once the current one stops slowing you down. |
Dungeon and difficulty progression
Each dungeon is a checkpoint for both level and gear. Learn enemy attack patterns, save your health for the boss, and keep farming a stage until its drops give you enough damage and survivability to move on. Winter Outpost, Pirate Island, and King’s Castle are the key mid-game steps where enemy patterns and boss mechanics start to matter more.
| Category | Options in order |
|---|---|
| Dungeon maps | Desert Temple, Winter Outpost, Pirate Island, King’s Castle, The Underworld, Samurai Palace |
| Difficulties | Easy, Medium, Hard, Insane, Nightmare, HARDCORE MODE |
Stick to the fundamentals and progression takes care of itself. Keep a focused build, clear the highest difficulty you can beat cleanly, group enemies for area damage, and upgrade only the gear worth keeping. Do that on each dungeon in turn and you will move from the Desert Temple all the way toward the harder late-game maps without stalling.