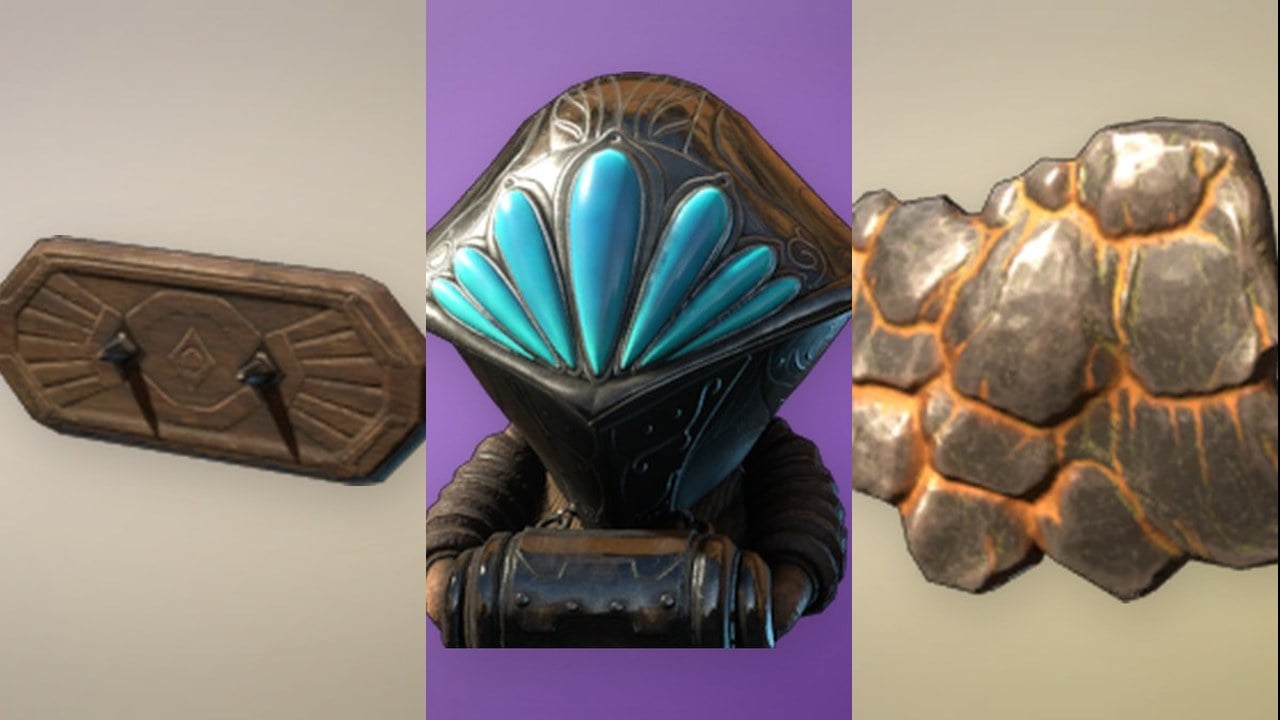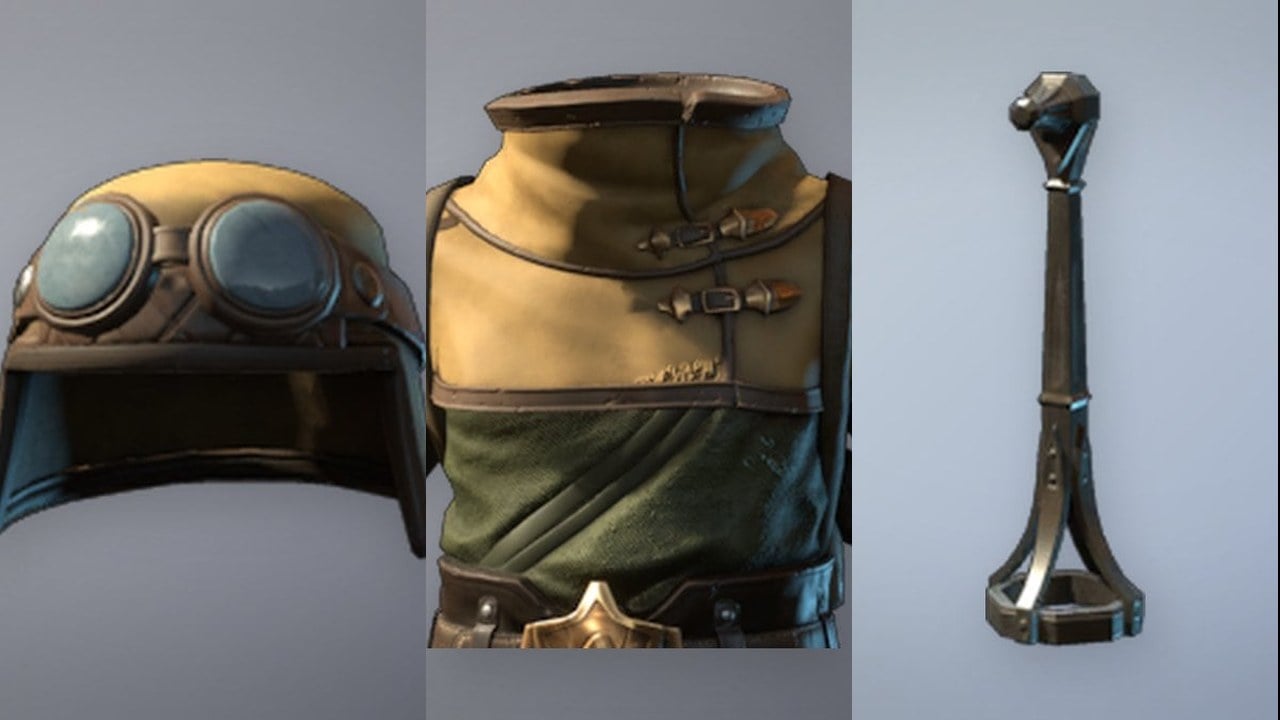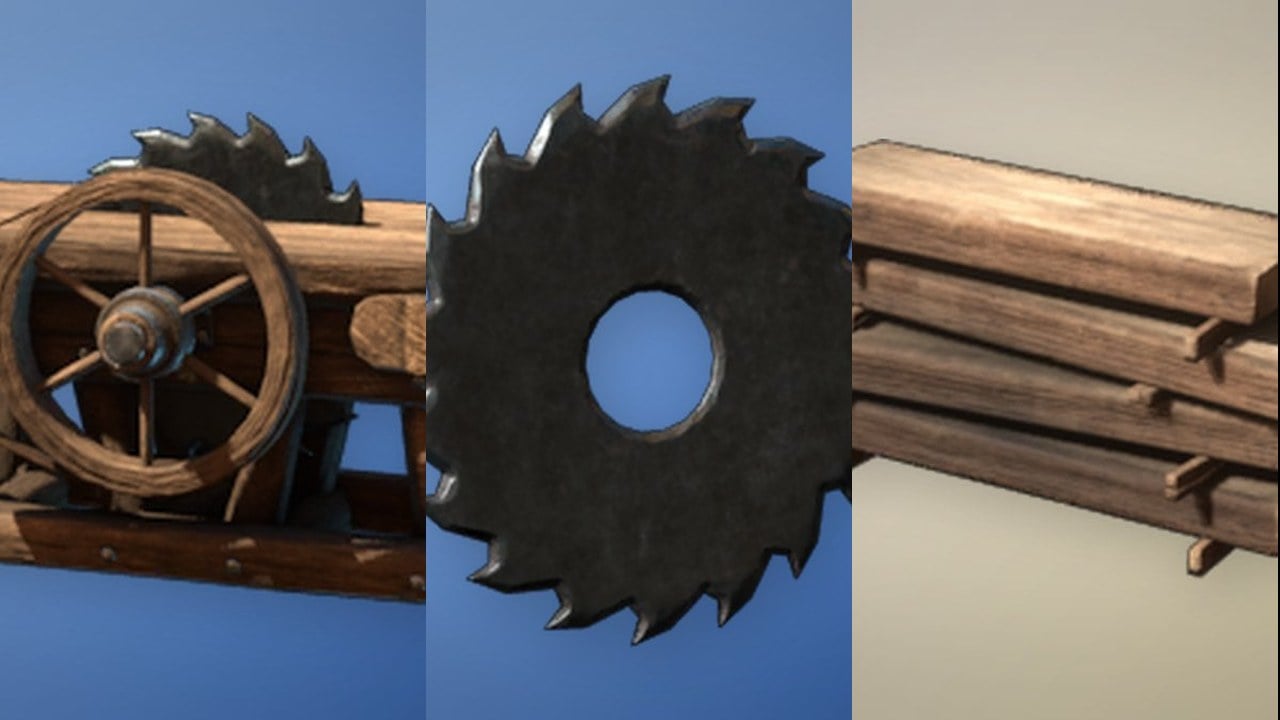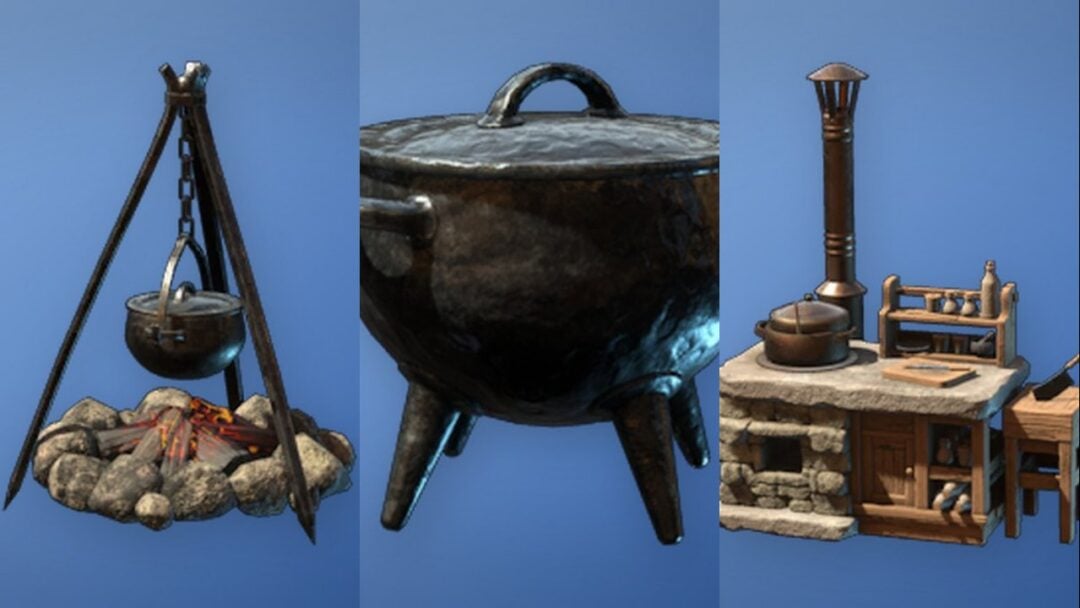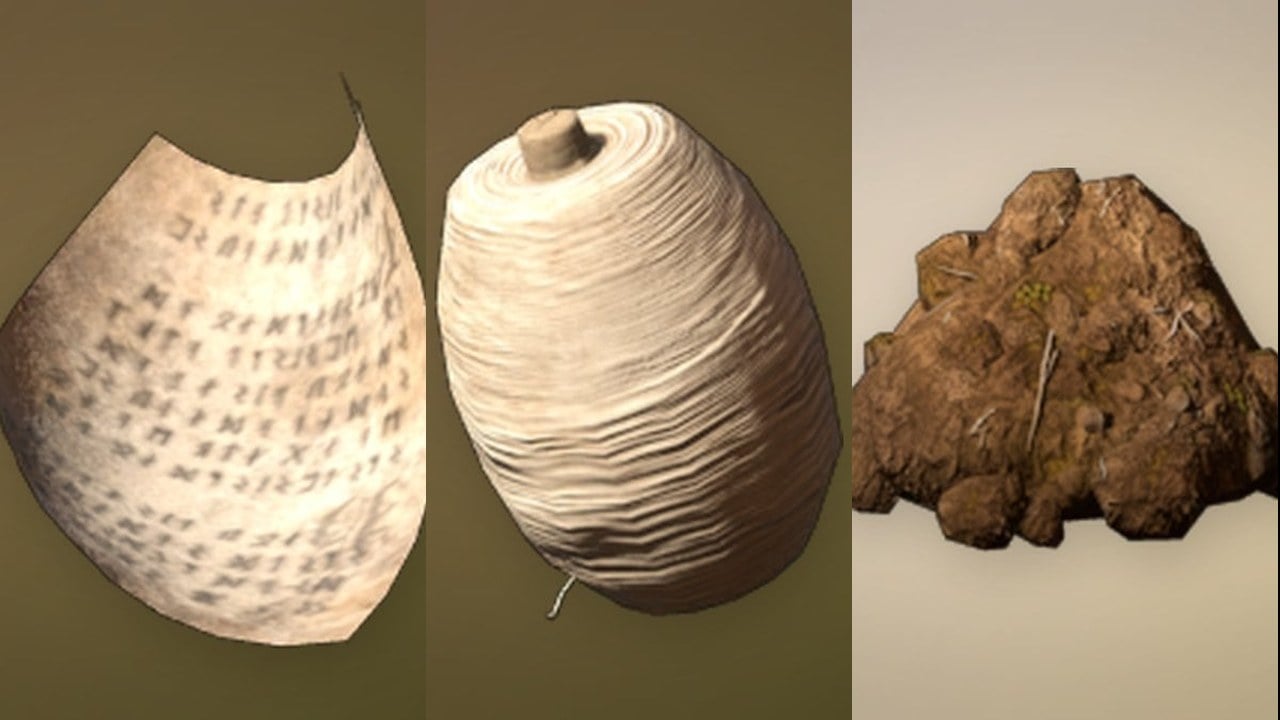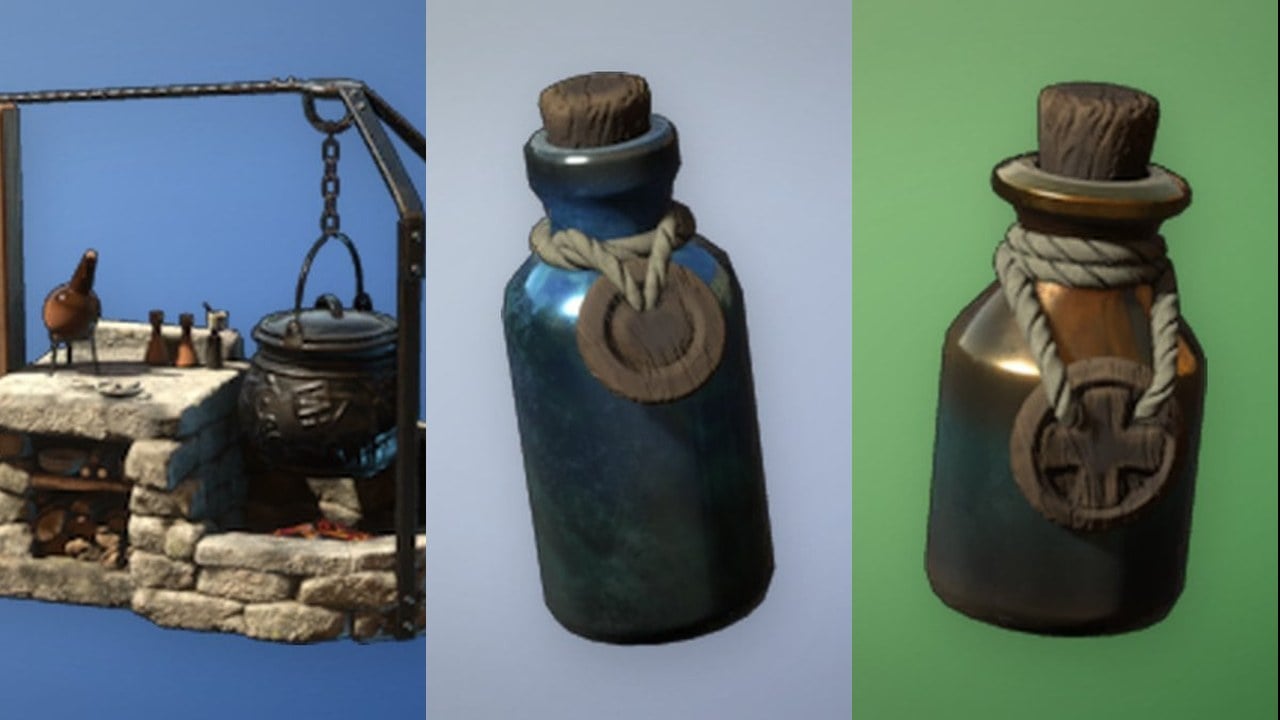
High Seas of Tamriel sends Elder Scrolls Online players off the Gold Coast to command a resurrected ghost ship, trade catapult fire with pirate vessels, and dive beneath the Abecean Sea for treasure and boss fights. The event is free, runs from September 30 through October 14, 2026, and can be played solo or in a group of up to four.
Quick answer: Grab the free “Raising the Riotous Redress” quest from the Crown Store, finish it to unlock the daily “Bounty of the Abecean Sea,” then run that daily for a Legendary Deep Plunder Box and 300 Trade Bars once per account each day.
Unlock the event with Raising the Riotous Redress
The event does not open with the daily quest. You first complete a short introductory quest that raises a sunken ship, and only then does the repeatable voyage appear. If the daily marker seems missing, the introduction is the thing you still need to finish.
Completing the introduction awards the day’s 300 Trade Bars and the Ostentatious Pirate Wig and Hat. That means if Trade Bars are all you want on a given day, the prologue alone covers it without running the full voyage.
Run the Bounty of the Abecean Sea daily quest
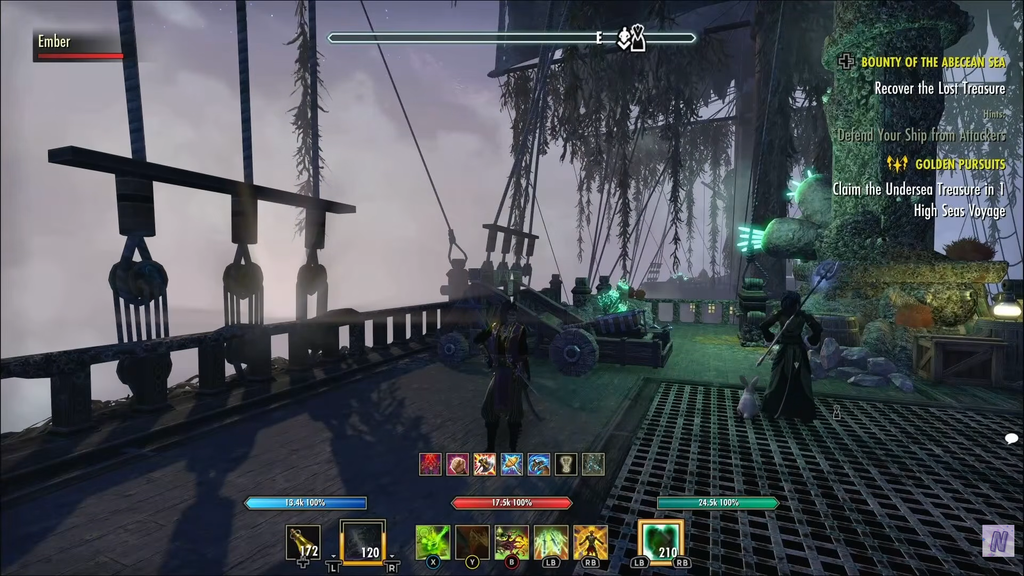
After the introduction, use the Riotous Redress Logbook on the beach to begin Bounty of the Abecean Sea. The daily splits into two phases: a ship-to-ship battle on deck, followed by an underwater run that ends with a boss fight.
Phase one: the ship battle
Once you set sail, an enemy ship pulls alongside and attacks. A catapult that glows yellow is ready, so interact with it to launch a boulder at the attacker. During a solo run it takes around 10 catapult shots to sink the enemy vessel. After firing, step out of the incoming area-of-effect, then move back just close enough to trigger the next shot.
Between shots, Louse-Whisperer boarders drop onto the deck and attack you and your ghostly crew. Glowing fireballs called Hull Breaches also appear on the top deck, and you repair them with the Repair prompt. You lose immediately if five Hull Breaches are present at once, so clear one or two before returning to the catapult.
There are two ways to win, and each pays out differently.
| Outcome | How | Reward |
|---|---|---|
| Outlast | Repair breaches and kill boarders until the ship withdraws | 1 Abecean Spoils of War chest |
| Sink | Destroy the ship with catapult fire | 2 Abecean Spoils of War chests |
After the battle, search the chests along the deck’s edge. Abecean Spoils of War may contain a Sack of Pirate Gold, unbound Antiquity Leads, random gear and crafting materials; there is also a rare chance of getting a High Seas furnishing or a High Seas Antiquity Lead. Very rarely, the pirate gold sack contains 1,000,000 gold.
Phase two: diving the Abecean Depths
Pick up the Post-Battle Flotsam, then descend to the sea floor using the Dwemer Diving Chamber at the ship’s rear. A protective bubble surrounds you underwater. When it bursts, you begin taking damage; brush against a glowing green clam to refill it. Simply touching the clam is enough—there’s no need to interact with it.
You also carry a harpoon. Use it on stalactites and Vent Blockages. Some blockages cover clams you can use to refill your bubble, while others cover hydrothermal vents. Vents will pop your own bubble if you walk into one, but they are also the trick for the first boss. Look above the diving chamber and harpoon the marked stalactite to begin the descent.
The depths run through two maps and two caves, in this order.
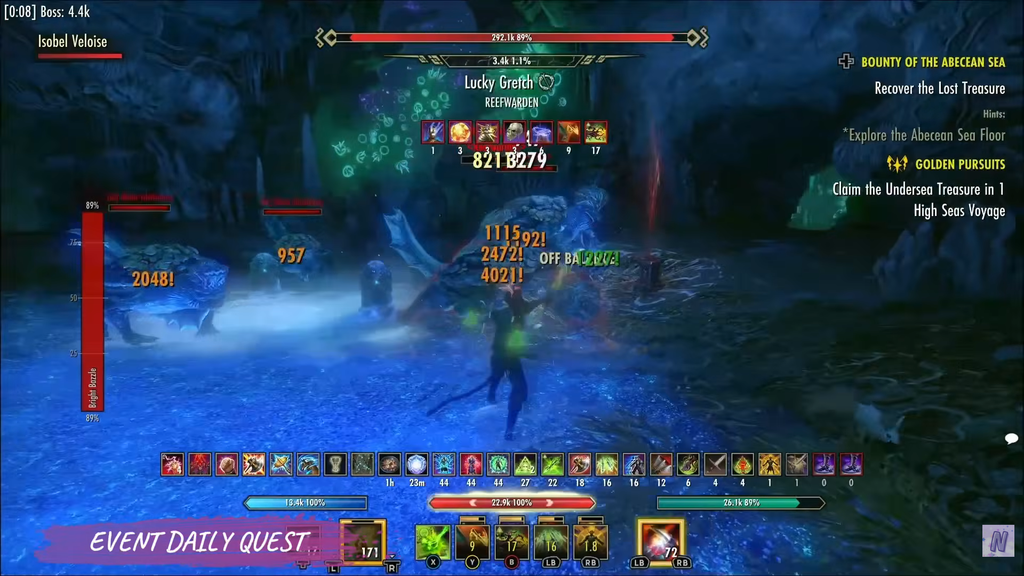
Lucky Gretch and Bright Bazzle
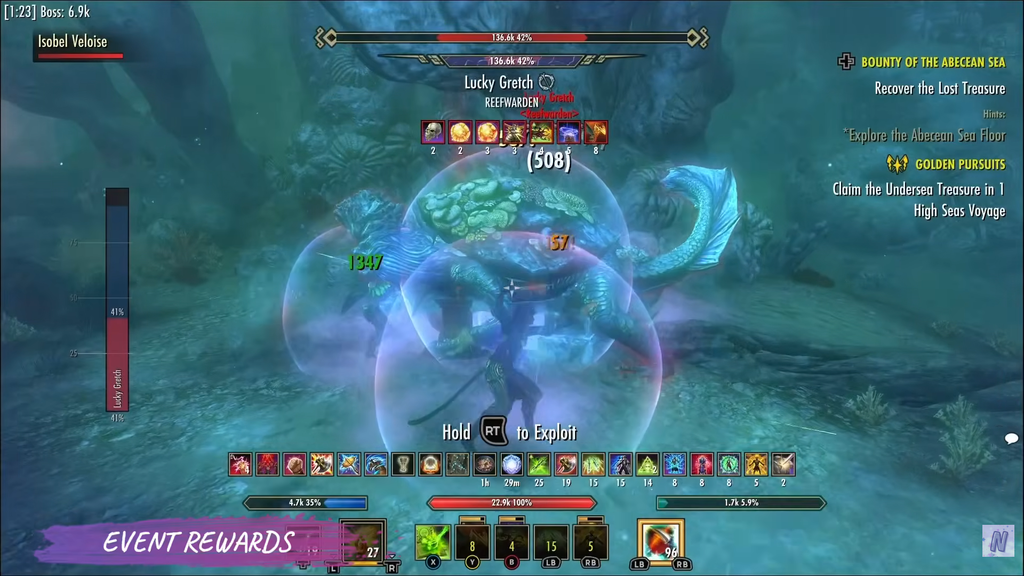
Lucky Gretch, a Haj Mota with 327.3k health, is the foe in Lucky Gretch’s Basin. She gains a Bubble Barrier, which grants immunity, by charging into clams. Harpoon a nearby Vent Blockage to open a hydrothermal vent, then draw her across the active vent to shatter the barrier and make her vulnerable again. In Leviathan’s Gullet, open vents obstruct the route; harpoon the stalactites overhead to shut them and open the way.
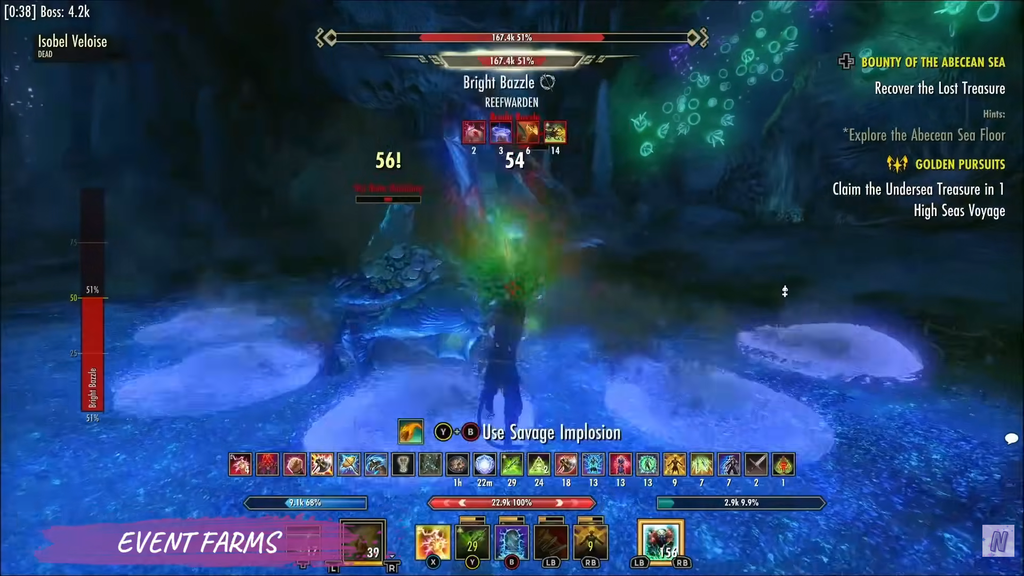
When Gretch flees, follow her into the Haj Mota cavern, where she joins Bright Bazzle, another 327.3k-health Haj Mota, plus several Haj Mota Hatchlings. Kill Bright Bazzle first. Doing so kills Gretch and the remaining hatchlings and opens the northern exit. Killing Gretch first enrages everything else.
Reef Shark Run and Krelzimar
The second map offers two routes, both of which meet again at the cave entrance to Krelzimar’s Den. Reef Shark Run is one option, patrolled by Reef Sharks: entering their outer ring triggers a charge, and contact with their inner circle bursts your bubble. Stand beside a glowing green clam and the sharks will disengage and resume patrolling. Bringing extra Soul Gems can help if your air gets low while making your way through.
Krelzimar, the final boss, has 358.5k health and turns immune at around 66% and 33% health. After each explosion phase, the immunity wears off according to a timer; killing the Yaghra that appear will not end it sooner. A toxic cloud spreads through the arena during the blast, as a geyser bursts from a glowing circle. Stand in the geyser to gain Upthrust: it sends you upward for five seconds, keeping you above the explosion. At the lowest difficulty, the blast inflicts only about 20k damage, so you can survive it without using the geyser.
Once Krelzimar is defeated, collect the Golden King’s Treasure and take the exit to return to the first area.
Deep Plunder Box rewards and Trade Bars
The main repeatable payout is the Deep Plunder Box. The first qualifying event quest you finish each day on your account gives a Legendary Deep Plunder Box containing 300 Trade Bars plus a random selection of other items. Every event quest completed after that during the day gives an Epic (purple-tier) Deep Plunder Box instead, which you can earn once per character.
A Deep Plunder Box can contain:
- Abecean Sea Privateer weapon style pages
- A fragment for the Suncleft Grotto Ornaug mount
- Nautical furnishings and collectibles, plus a rare chance at unique High Seas furnishings
- Antiquity Leads from across Tamriel and unopened Treasure Maps
- Crafting materials, style materials, provisioning and alchemy ingredients, and enchanting runestones
- Equipment and group repair kits
- Scrolls granting XP to both the Excavation and Scrying skill lines
Because the Legendary box and its 300 Trade Bars are limited to the first completion per account each day, run the daily on alternate characters afterward to stack extra Epic boxes with tradeable furnishings, materials, and antiquities.
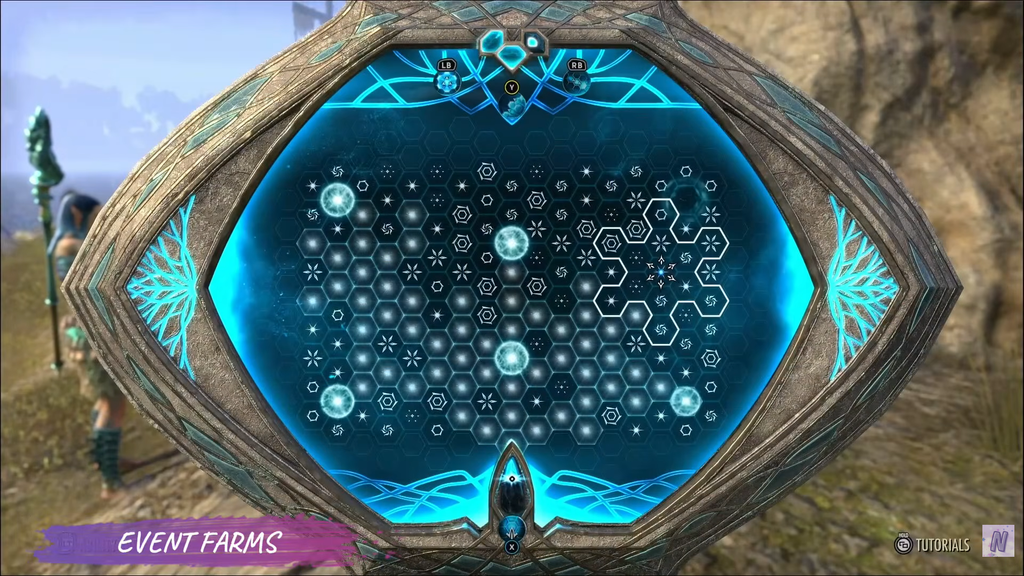
How to earn the Suncleft Grotto Ornaug mount
The event mount requires three separate fragments, each tied to a different activity, so you cannot complete it by farming one container.
| Fragment | Source |
|---|---|
| Galen Seawater | Deep Plunder Box |
| Captured Systres Zephr | Undersea bosses (dropped from Krelzimar) |
| Arcing Ornaug Energy | Flight of the Albatross achievement |
Flight of the Albatross is a meta achievement; earning it means finishing the event’s specified achievements, which typically requires around five days of participation. To pursue the mount, take part in the daily box, the underwater boss route and the broader achievement list instead of relying on one repeatable drop.
Impresario, fishing, and other collectibles
The Impresario stocks bound Abecean Sea Privateer weapon style pages alongside the Floating Desires Petal fragment for the Grotto of Desires house, plus standard event consumables. That gives you a currency route for the style on top of random drops, so track which pages you already own before spending Trade Bars on duplicates.
Abecean Saltwater Fishing Holes show up throughout the event area. Catch the one-of-a-kind deep-sea fish species at a specified Gold Coast island to earn the achievement called High Seas Master Angler. Undersea treasure chests and boss drops can provide unique nautical furnishings and furnishing recipes, making a search of the sea floor more rewarding than rushing from marker to marker.
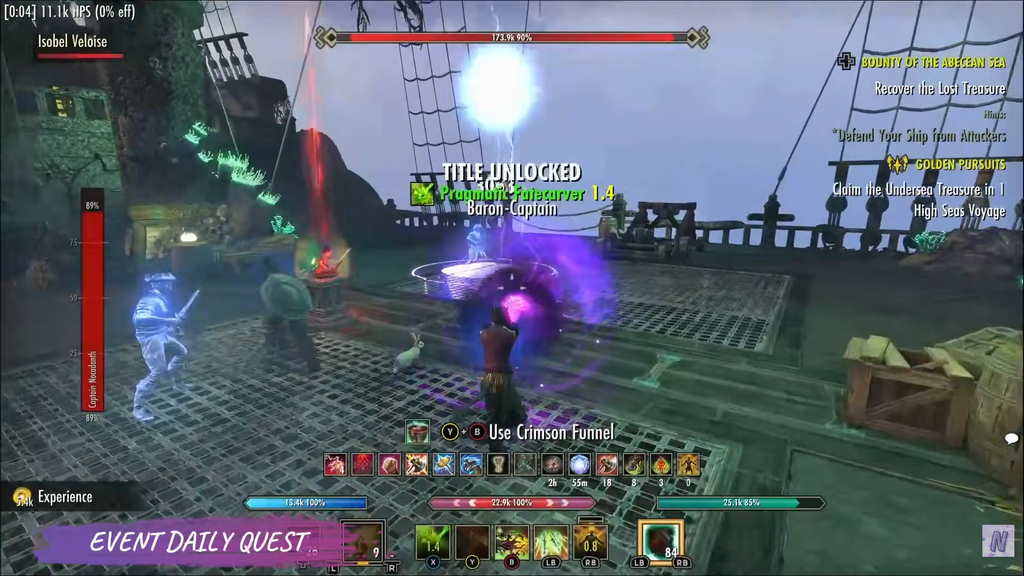
Confirming the event unlocked and the deadline
You know the event is working when the Riotous Redress has surfaced off the beach and the Riotous Redress Logbook offers the “Open the book” prompt to start Bounty of the Abecean Sea. A completed daily is confirmed when the quest finishes and the Deep Plunder Box lands in your inventory, with the first of the day appearing at Legendary quality.
Everything here is limited-time content. The event ends on October 14, 2026, so claim the one-time pirate wig and hat early, run the daily for Trade Bars and boxes, and pick a single target, whether that is the Ornaug mount, the Abecean Sea Privateer style, housing furnishings, or achievement completion, to finish before it closes.