Escape Simulator 2 Auto Fuel Walkthrough and All 8 Tokens (Apocalypse DLC)
Repair the getaway van, restore power, solve every puzzle, and collect all eight hidden tokens inside the Apocalypse DLC room.
Repair the getaway van, restore power, solve every puzzle, and collect all eight hidden tokens inside the Apocalypse DLC room.
by AllThingsHow Staff
Auto Fuel strands you at the abandoned 57th Avenue Station, an overgrown gas station and garage where the only exit is a wrecked getaway van. Getting out means restoring power, working through a chain of connected puzzles, and clearing a six-point repair list before the engine will turn over. Along the way, eight puzzle tokens are tucked around the station for the pack reward back in the lobby.
Quick answer: Restore power at the fuse box, unlock the garage with the green-chest keycard, then finish the six van repairs and drive off. Eight tokens are hidden across the station.
The van repair checklist
A chalkboard in the garage lists everything the van needs before you can escape. Every other puzzle in the room feeds into one of these six tasks.
Search the forecourt and pry the wooden planks off the convenience store door to get inside. Grab loose fuses from the ground, the store shelves, and the shattered drink cooler outside.
Adjust the counters so the bottom columns read 04, 09, and 10, matching the three targets of 4-6, 6-9, and 9-13. Flip the main power switch to bring the station back online.
Rotate the brass bars on the green chest’s padlock until they recreate the stylized Arcadia “A” printed on the coaster. The chest opens to give you a Garage Access Keycard and a brass key.
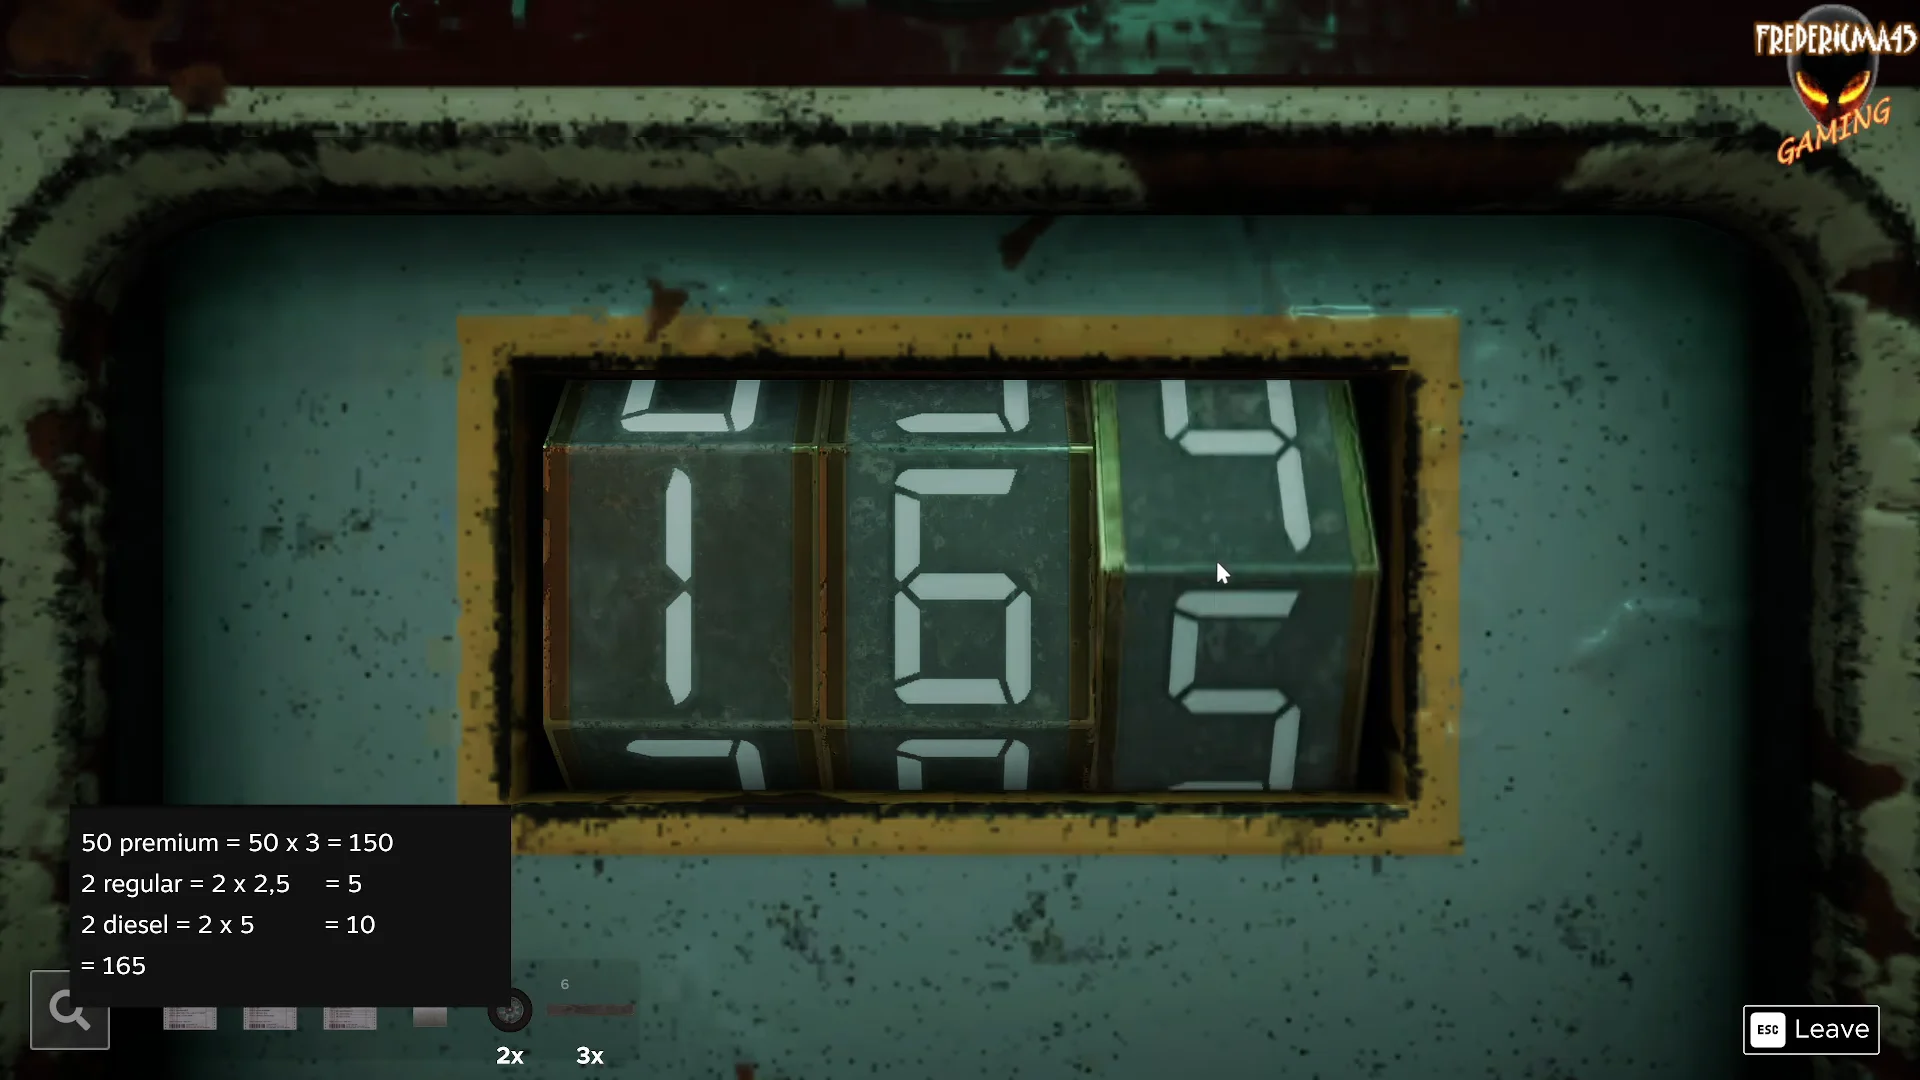
Dial 223-555 on the red emergency wall phone and ask for the canister compartment code. The receipt lists 50 gallons of Premium, 2 gallons of Regular, and 2 gallons of Diesel.
Combine the values using the price board. Premium is $3.00 (50 × $3 = $150), Regular is $2.50 (2 × $2.50 = $5), and Diesel is $5.00 (2 × $5 = $10), which adds up to 165.
Unlock the outside restroom marked WC. Collect the mirror shards on the floor and around the sink, plus another shard from the dumpster, then fit them all into the mirror frame.
The reconstructed mirror reveals a numbered order for five hidden red buttons. Press them in sequence: the hand dryer interior, the toilet paper roller, the high wall conduit near the ceiling, the paper towel dispenser interior, and the overhead cistern pull chain. This releases a Key Handle.
Use the handle to open the wall-mounted CCTV box, then rotate its four dials to align the shop’s decorative helm mechanism. Return to the store and grab the freed Ship Wheel.
Open the garage, mount the wheels, and find the van key
Mount the wheels you have collected onto the van’s hubs, and search the drawers and storage units for tools, spark plugs, and the engine repair manual.
Sit in the van, slot the Van Key, and run the dashboard sequence shown on the clipboard diagram. Trigger the hazard button, shift the gears forward and back, turn the radio volume knob, and set the three slider switches to pop the glovebox.
Pick up the UV flashlight and follow the glowing purple footprints to a loose brick wall. Crowbar the bricks to reveal the Motor Oil, then pour it into the engine reservoir.
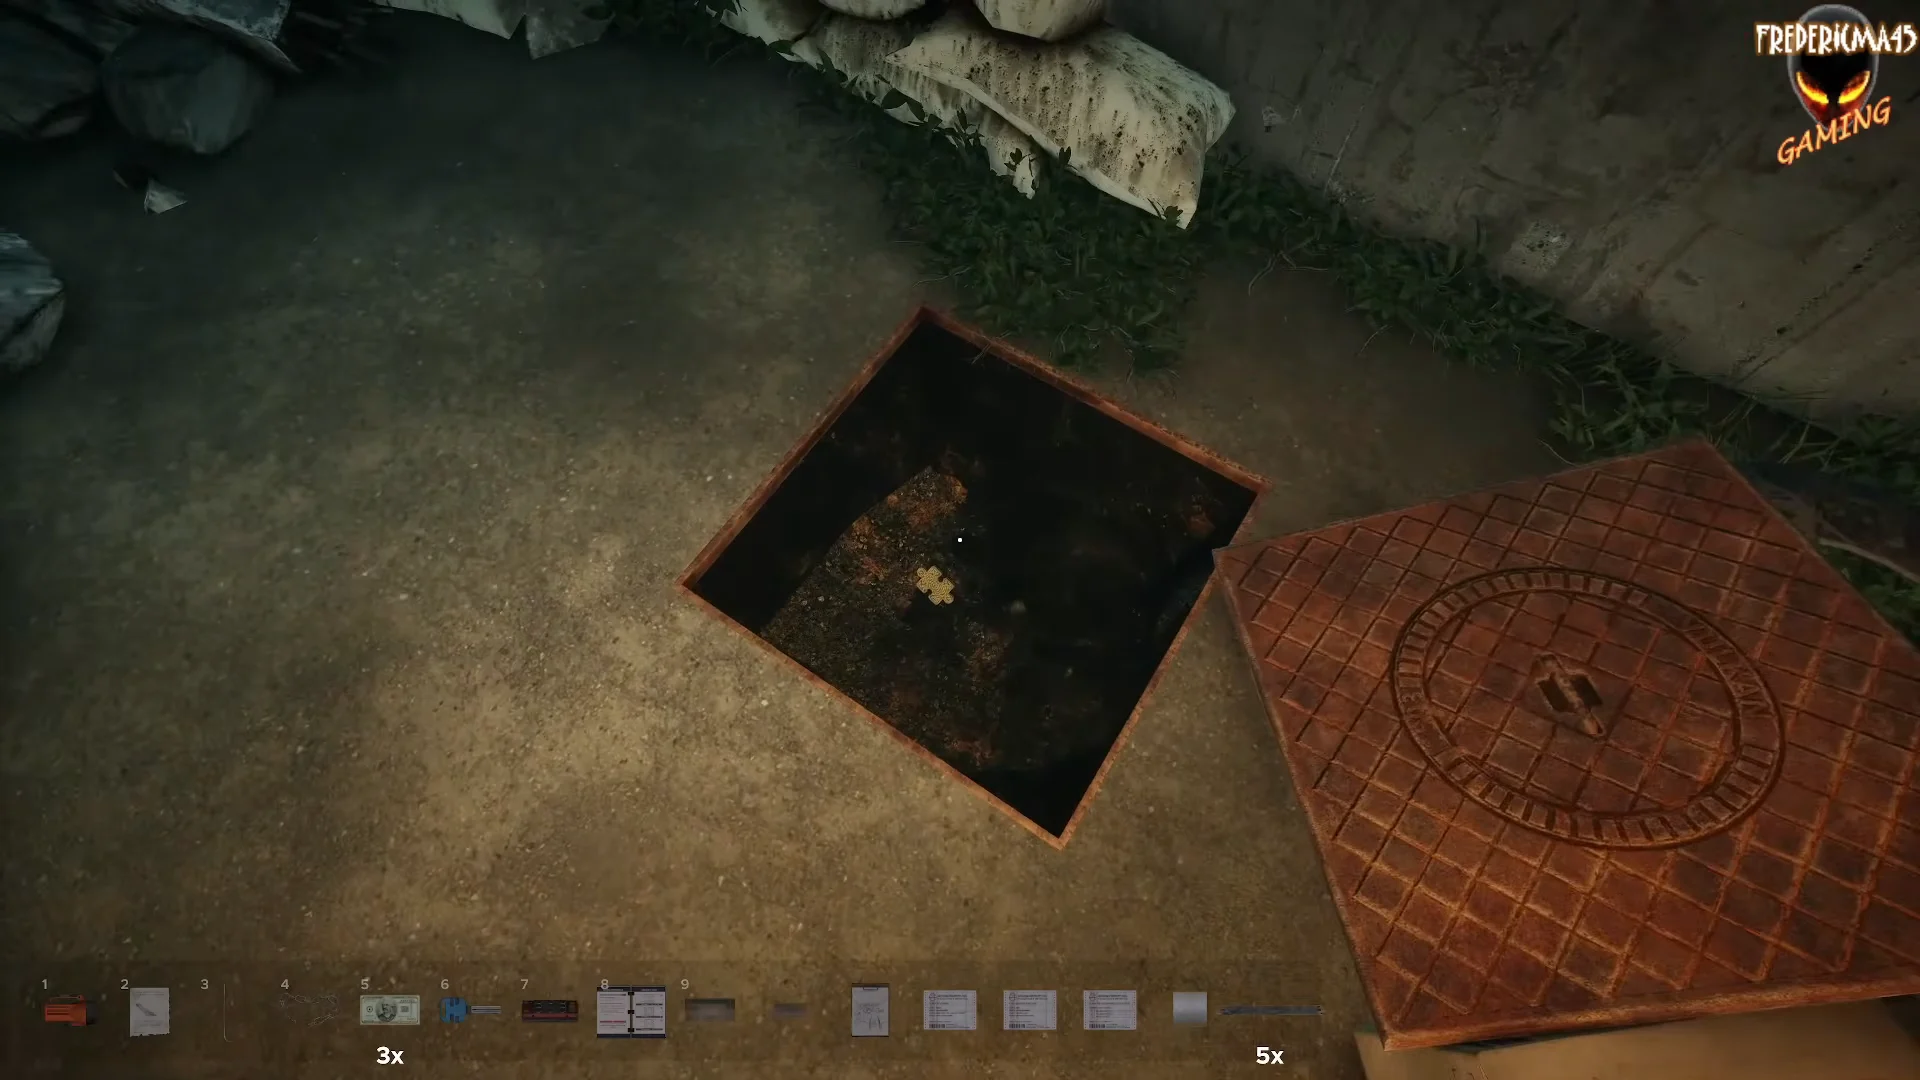
Recover the final wheel by crowbarring open the alley manhole, and pry a spark plug from a crashed car’s trunk. Mount the last wheel to finish the wheels task.
Using the engine repair manual for polarity and wiring, place the spark plugs and arrange the wiring order correctly so the engine will start.
Check the chalkboard between tasks. Every box gets ticked as you complete a repair, so it confirms exactly what still remains.
Drive away and confirm the escape
Once all six checklist boxes are ticked, get into the driver’s seat and take off. The van crashes through the debris blocking the exit and the room ends on the “Congratulations, you escaped!” screen, followed by a completion photo. If the engine still won’t start, one of the six tasks is not yet marked on the chalkboard.
All 8 token locations
Auto Fuel hides eight puzzle tokens. Collecting every token in the pack lets you assemble the picture in the lobby for a reward. Two of them sit behind objects that need the crowbar you pick up during the escape.
Token
Location
1
Lower shelf of the garage workbench
2
Inside the smashed TV above the store’s emergency phone
3
Sewer drain in the dumpster alley (crowbar)
4
Loose-brick wall compartment (crowbar)
5
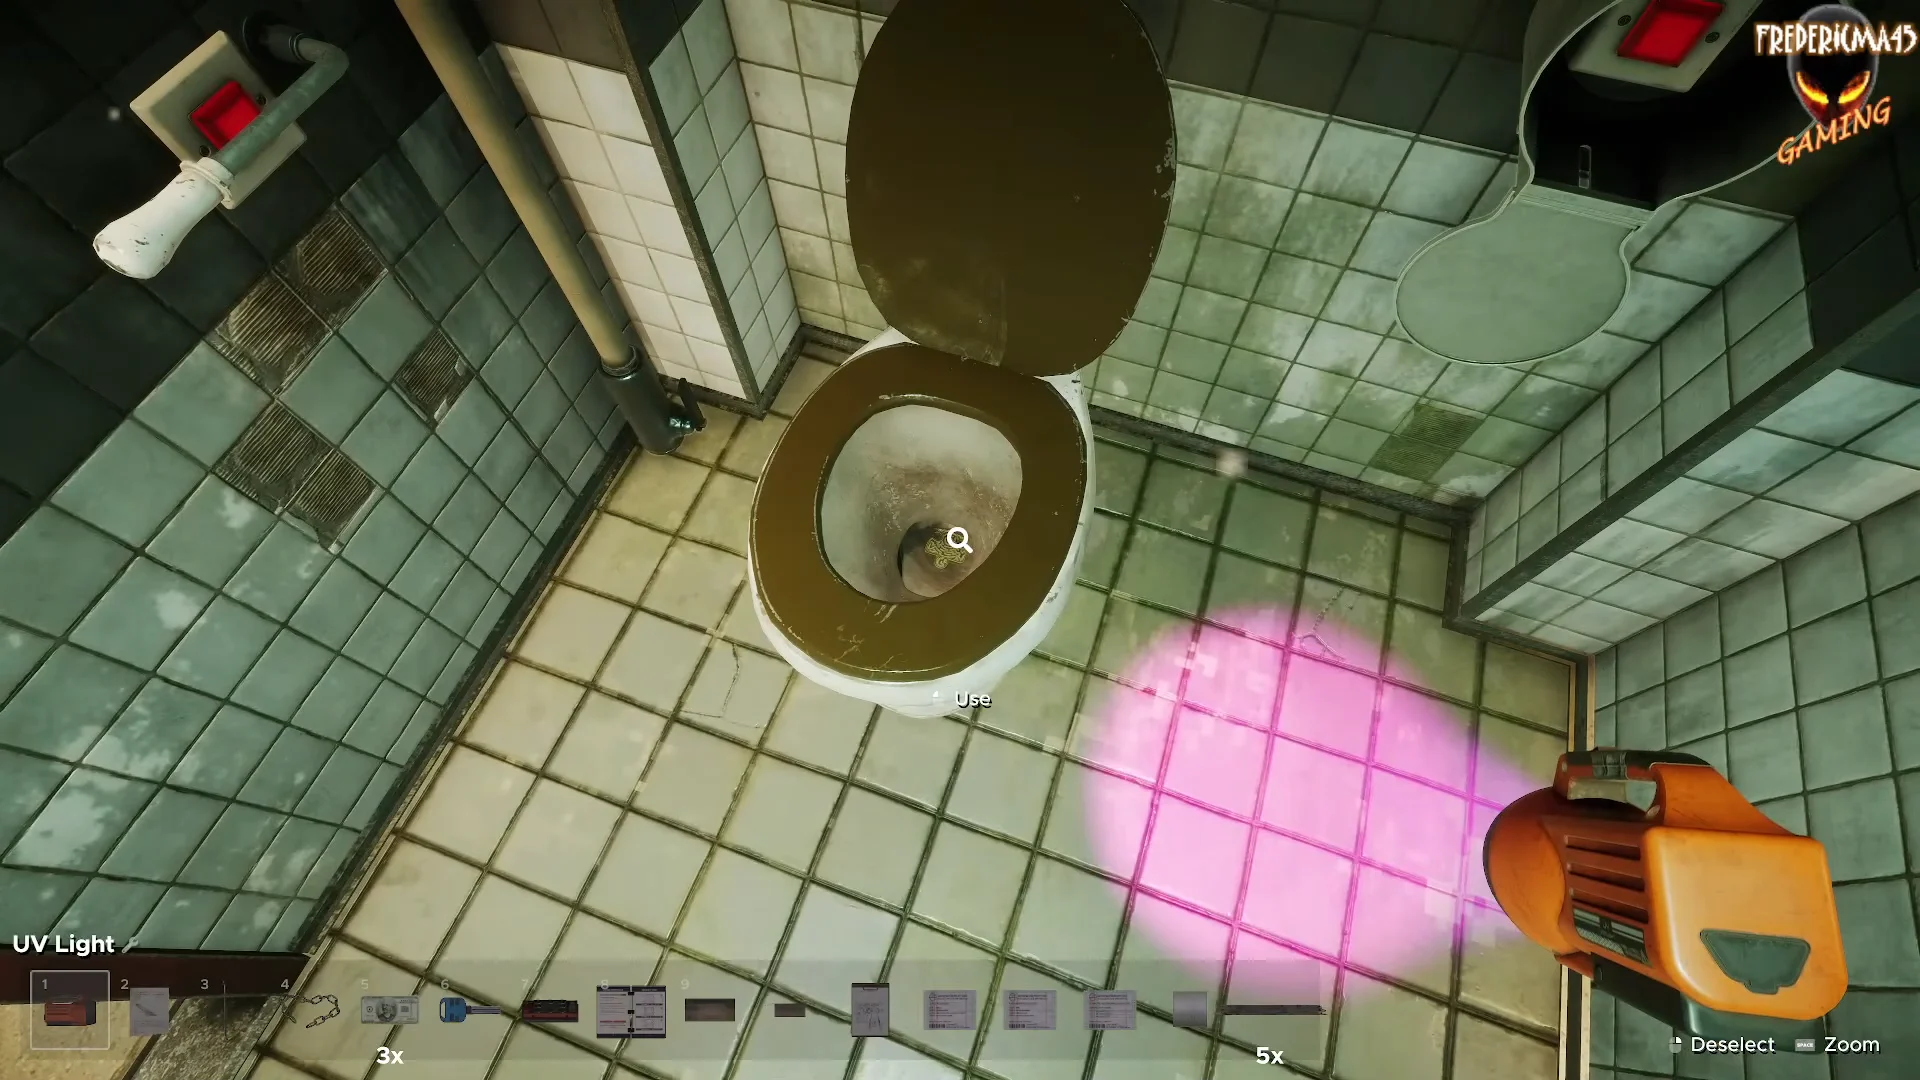
Inside the toilet bowl
6
Behind a tin can on the outdoor drink cooler’s bottom shelf
7
In the foliage next to the wooden crate by the crashed red car
8
Lower outer corner of the green dumpster (slide it aside)
Each pickup shows a “found a token” message, and the lobby picture fills in one more piece. When all eight are collected, the pack’s picture is complete and the reward becomes available.
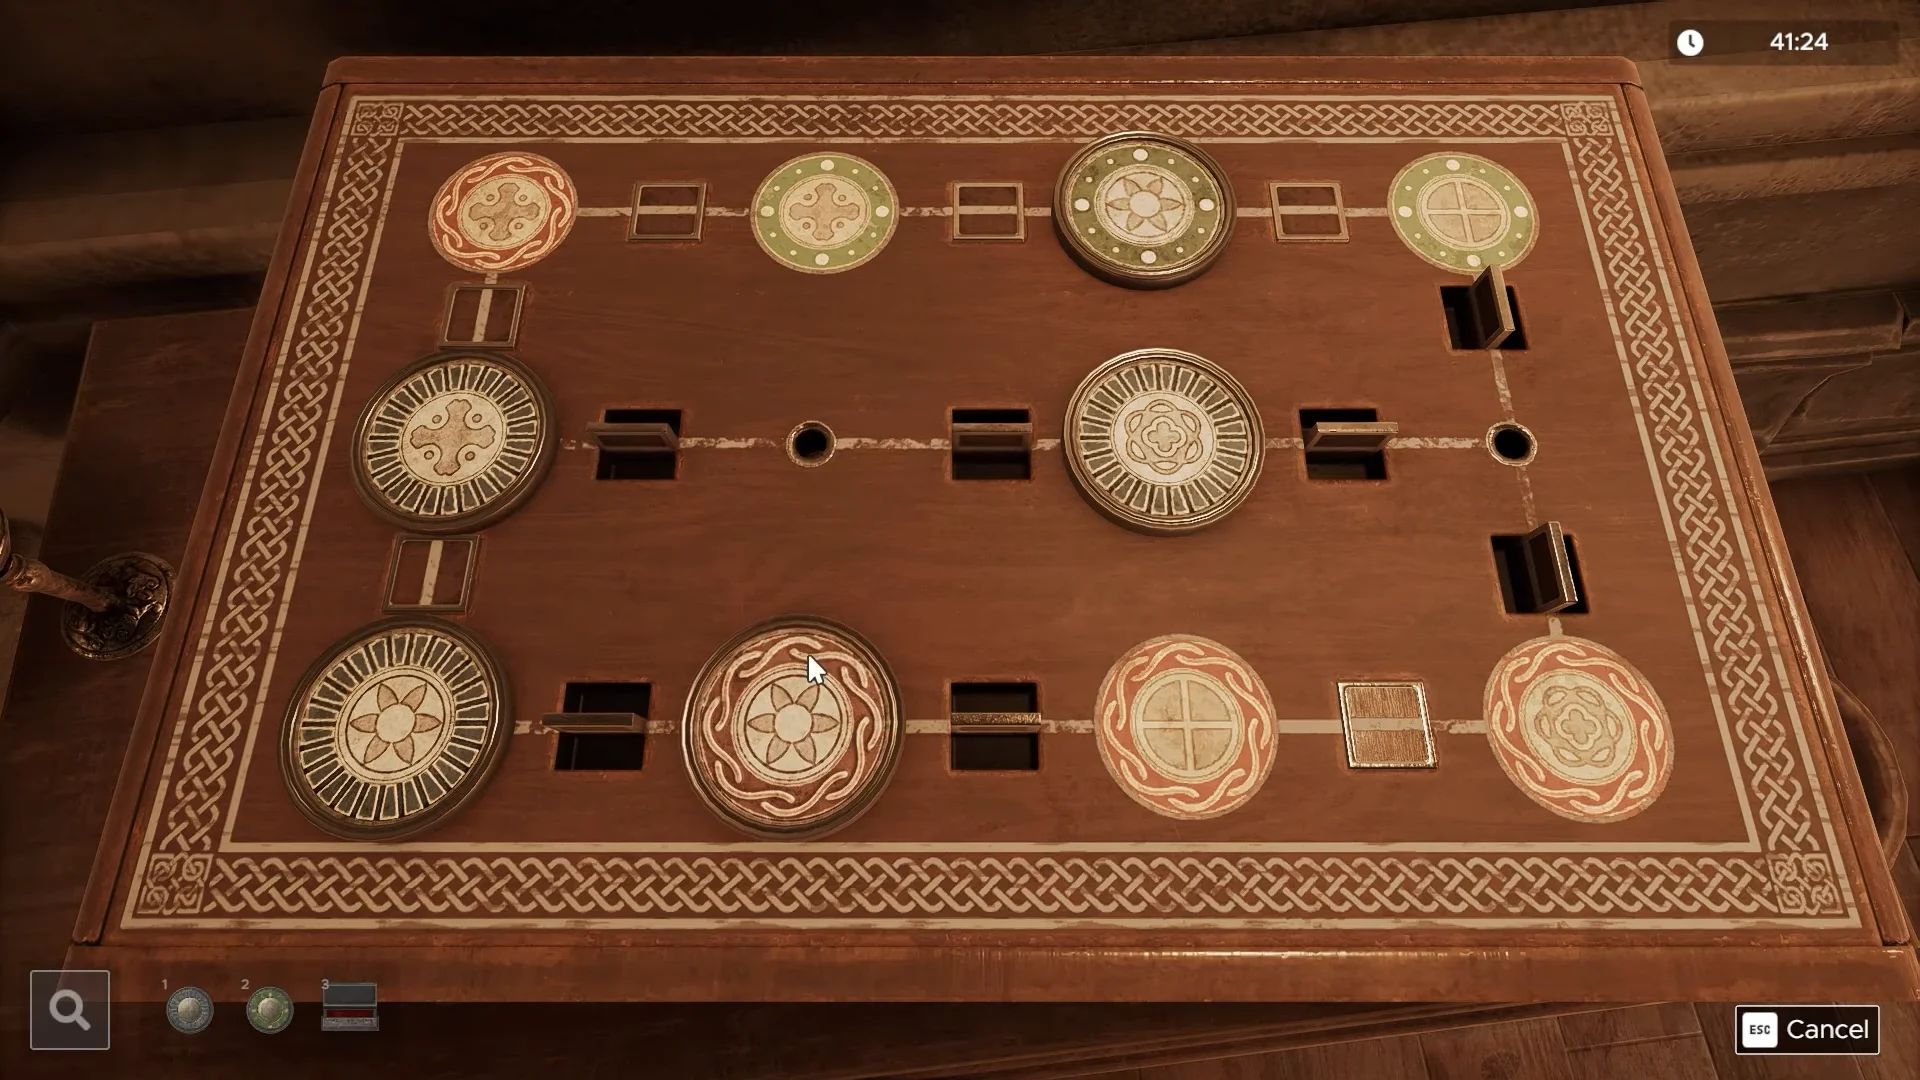
Beyond the main escape, the room ties into optional Darkest Puzzle challenges accessed from the obelisk menu. These are separate board puzzles that test a different mechanic once you have cleared the room.