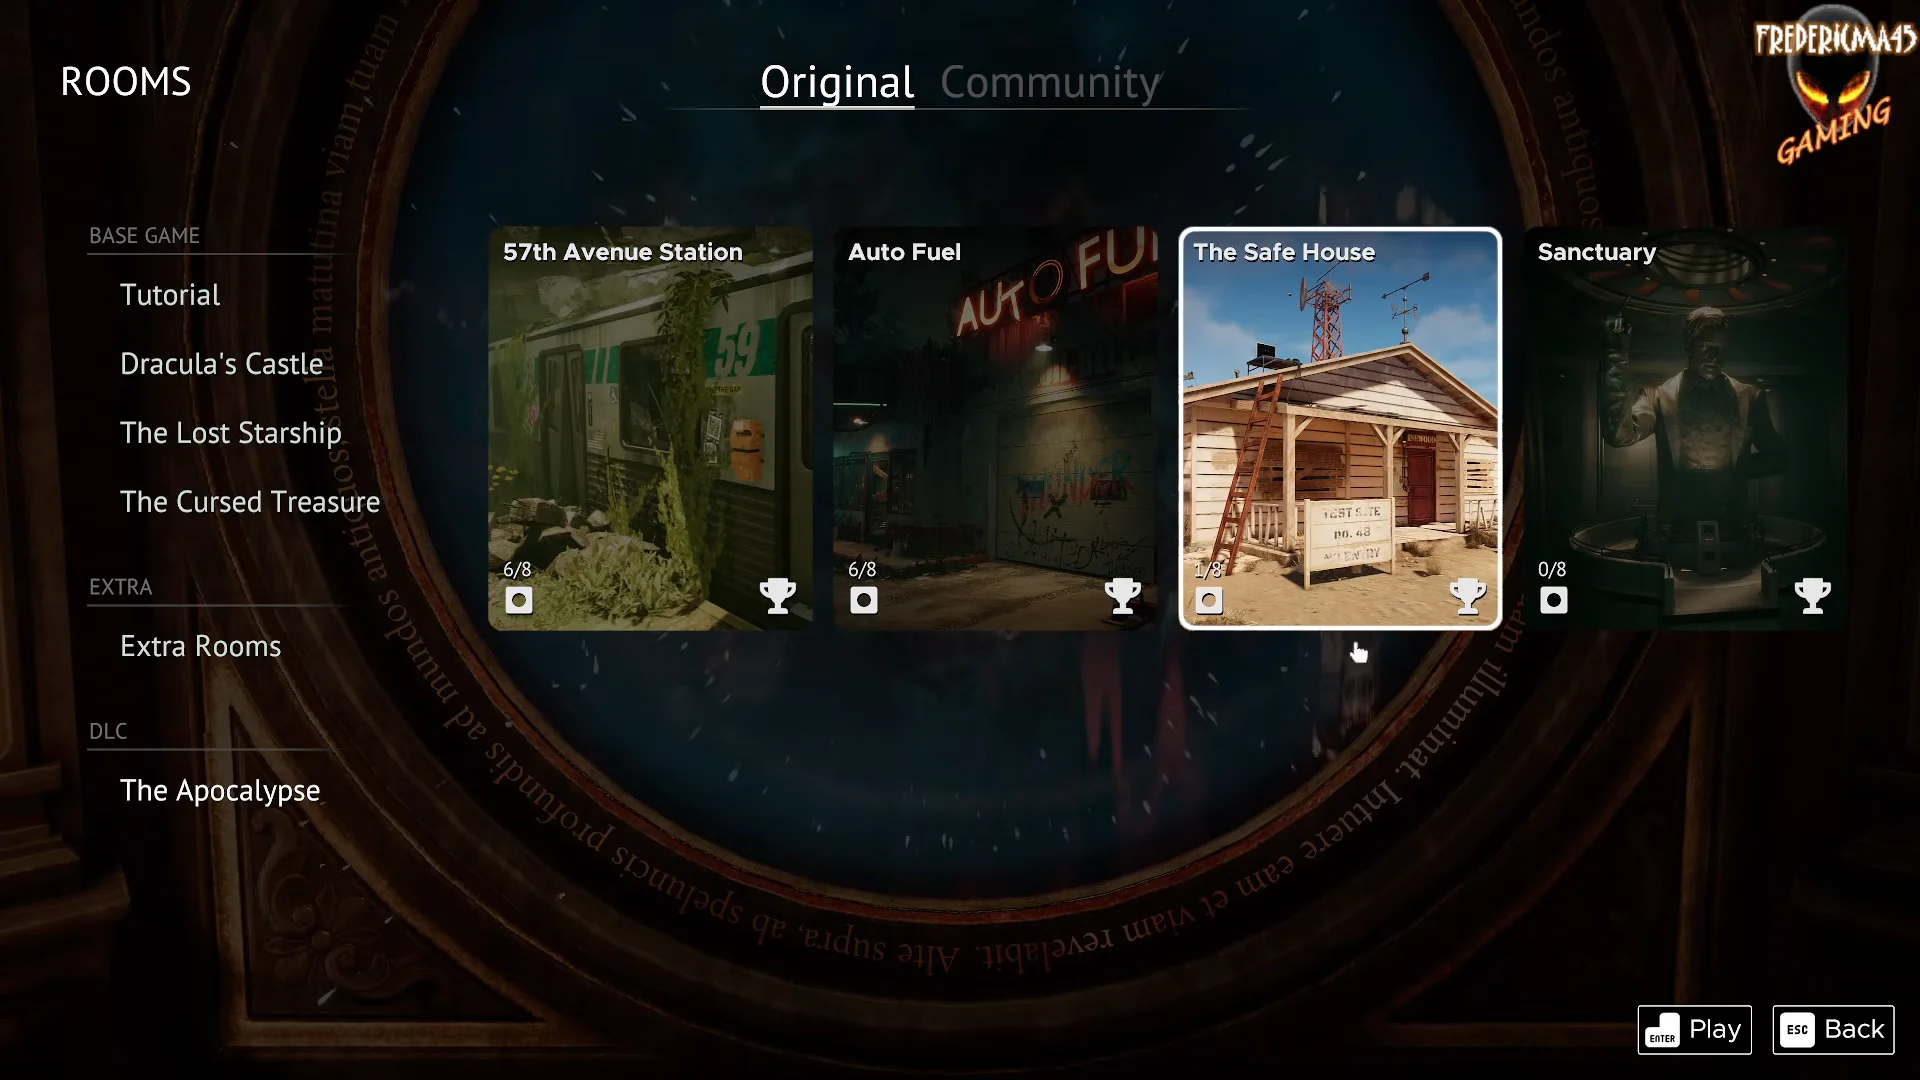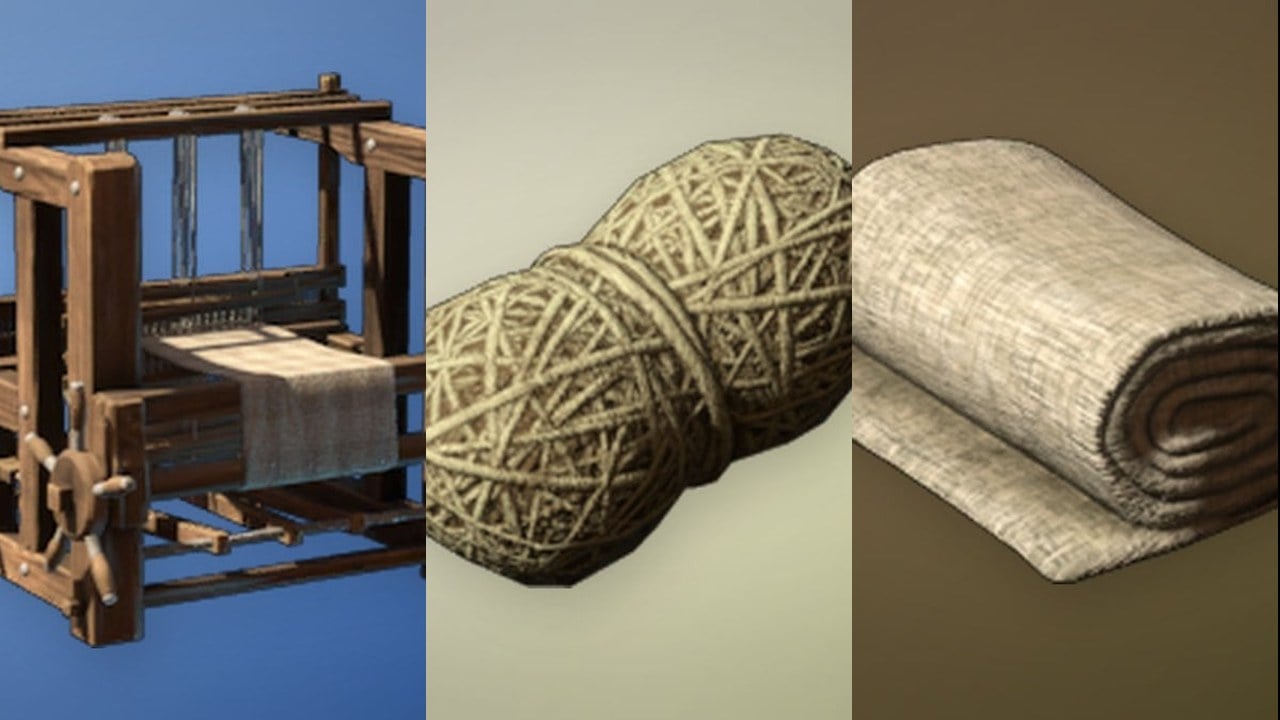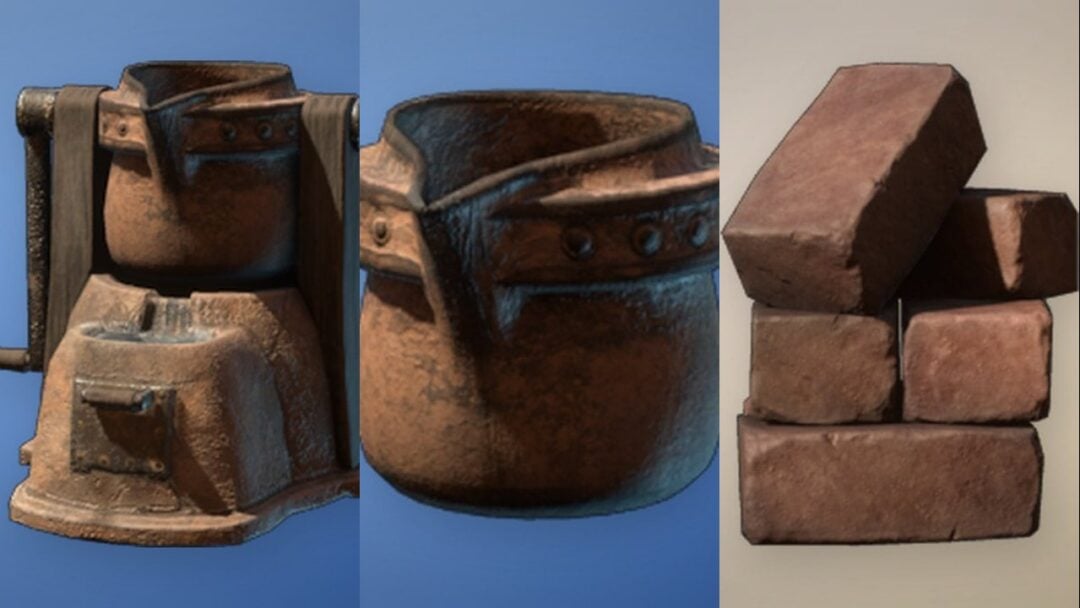
The Safe House is the third map in the Apocalypse DLC for Escape Simulator 2, following 57th Avenue Station and Auto Fuel. You start locked outside a desert house and work through power, mannequin, laser, roof and radar puzzles before breaching an underground vault called Sanctuary. After the escape you can choose to stay and hunt down all eight hidden tokens scattered across the property.
Quick answer: Finish the map by opening the Sanctuary vault with slider codes 1-5-3 and 8-9-8, then inserting the keycard. The eight tokens sit on and around the house, roof, bunker and signs.
Open the front door
Breach the barricaded room
One room is boarded up from the inside, so the only way in is to blow the wall open. A wall note points you to channel 4, which reveals the buried shed key.
Collect the three bunker keys
The outdoor Bunker Access pedestal needs three keys before the hatch opens. Each comes from a different puzzle.
- Key 1: On the round table beside the TV inside the breached room.
- Key 2: Inside the bathroom cabinet, opened with the directional sequence below.
- Key 3: Inside the laptop case on the roof, reached after the ladder is fully powered.
For Key 2, inspect the porch compass rose, then reorder the sliding direction plates on the “The Road to Sanctuary” box to follow its route from the front porch to the bunker. Enter the resulting sequence into the bathroom cabinet’s arrow padlock: Right, Up, Right, Up, Left, Down. The cabinet opens to reveal the second key.
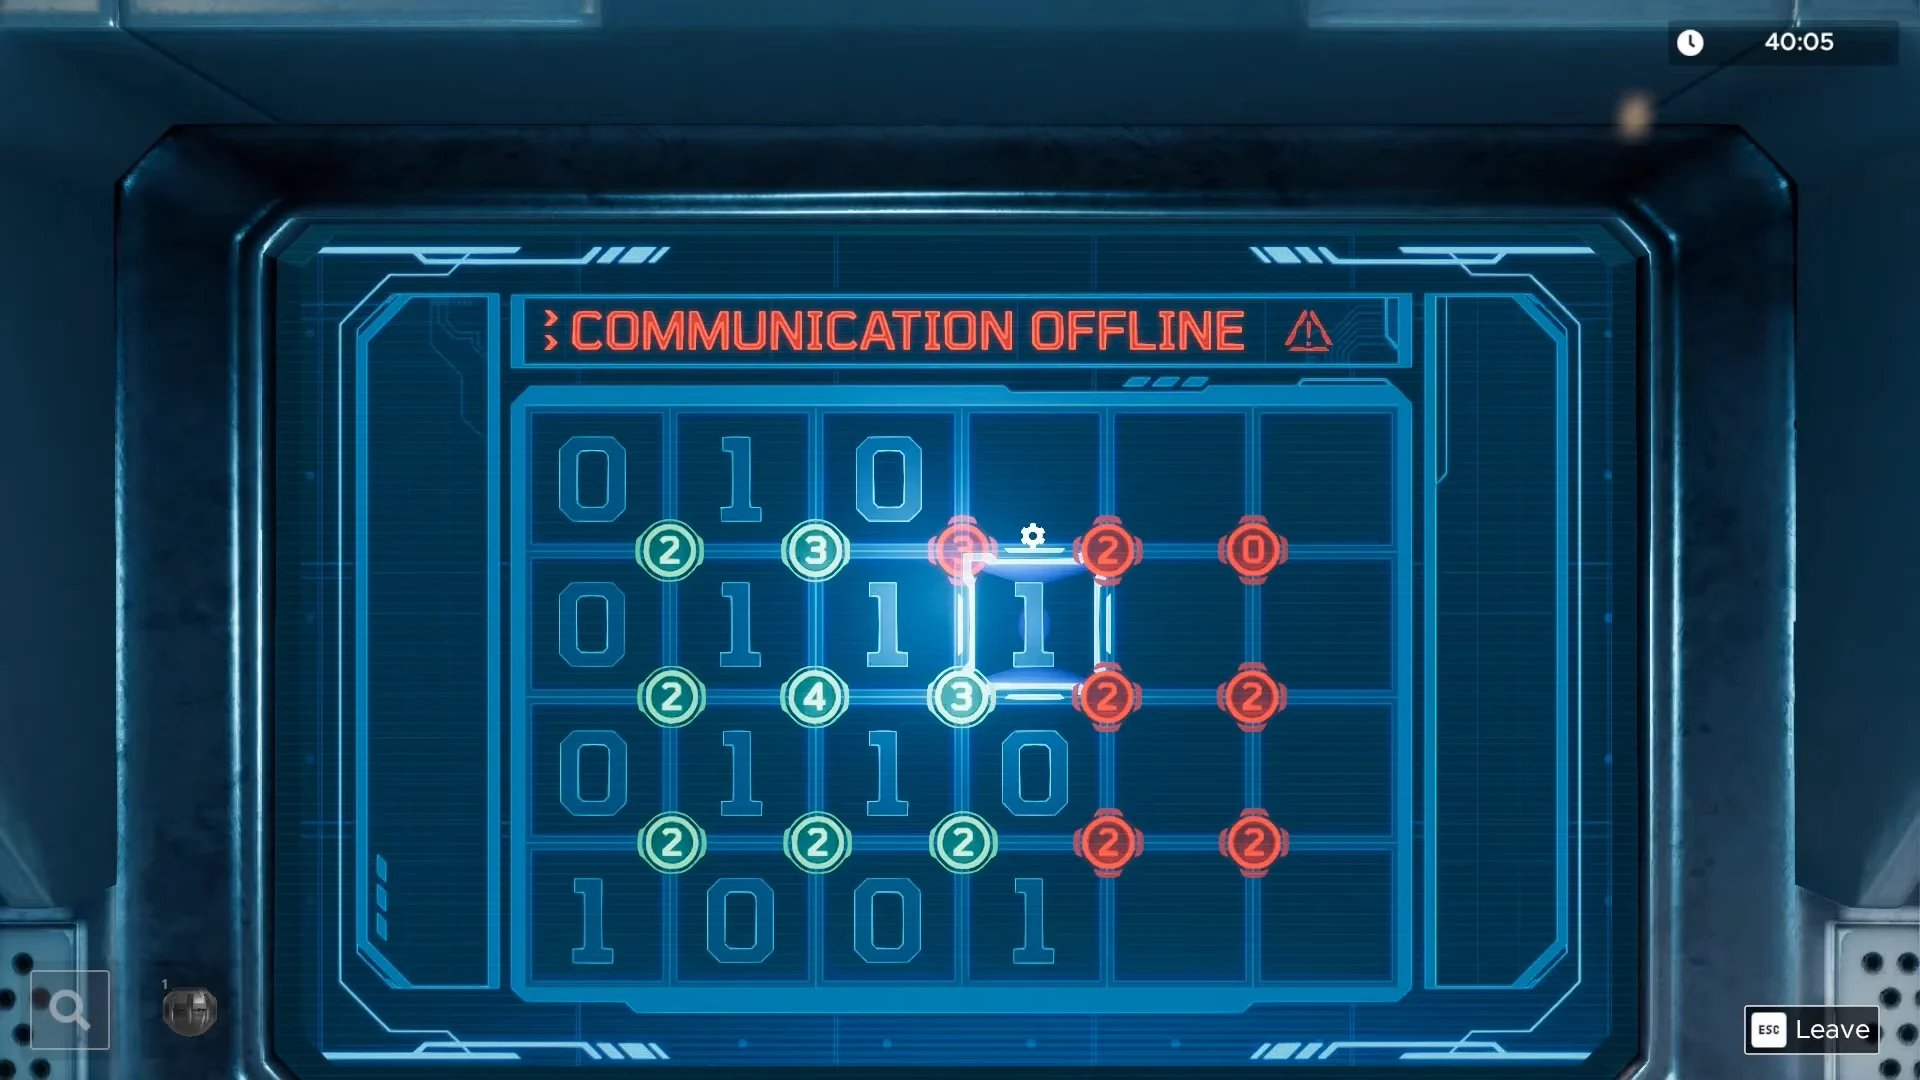
Insert the first two keys into the Bunker Access pedestal now. The third is added after you power the roof.
Power the roof ladder with three fuses
The Roof Access panel on the porch wall has three empty fuse slots. Fill all three to lower the ladder to the roof.
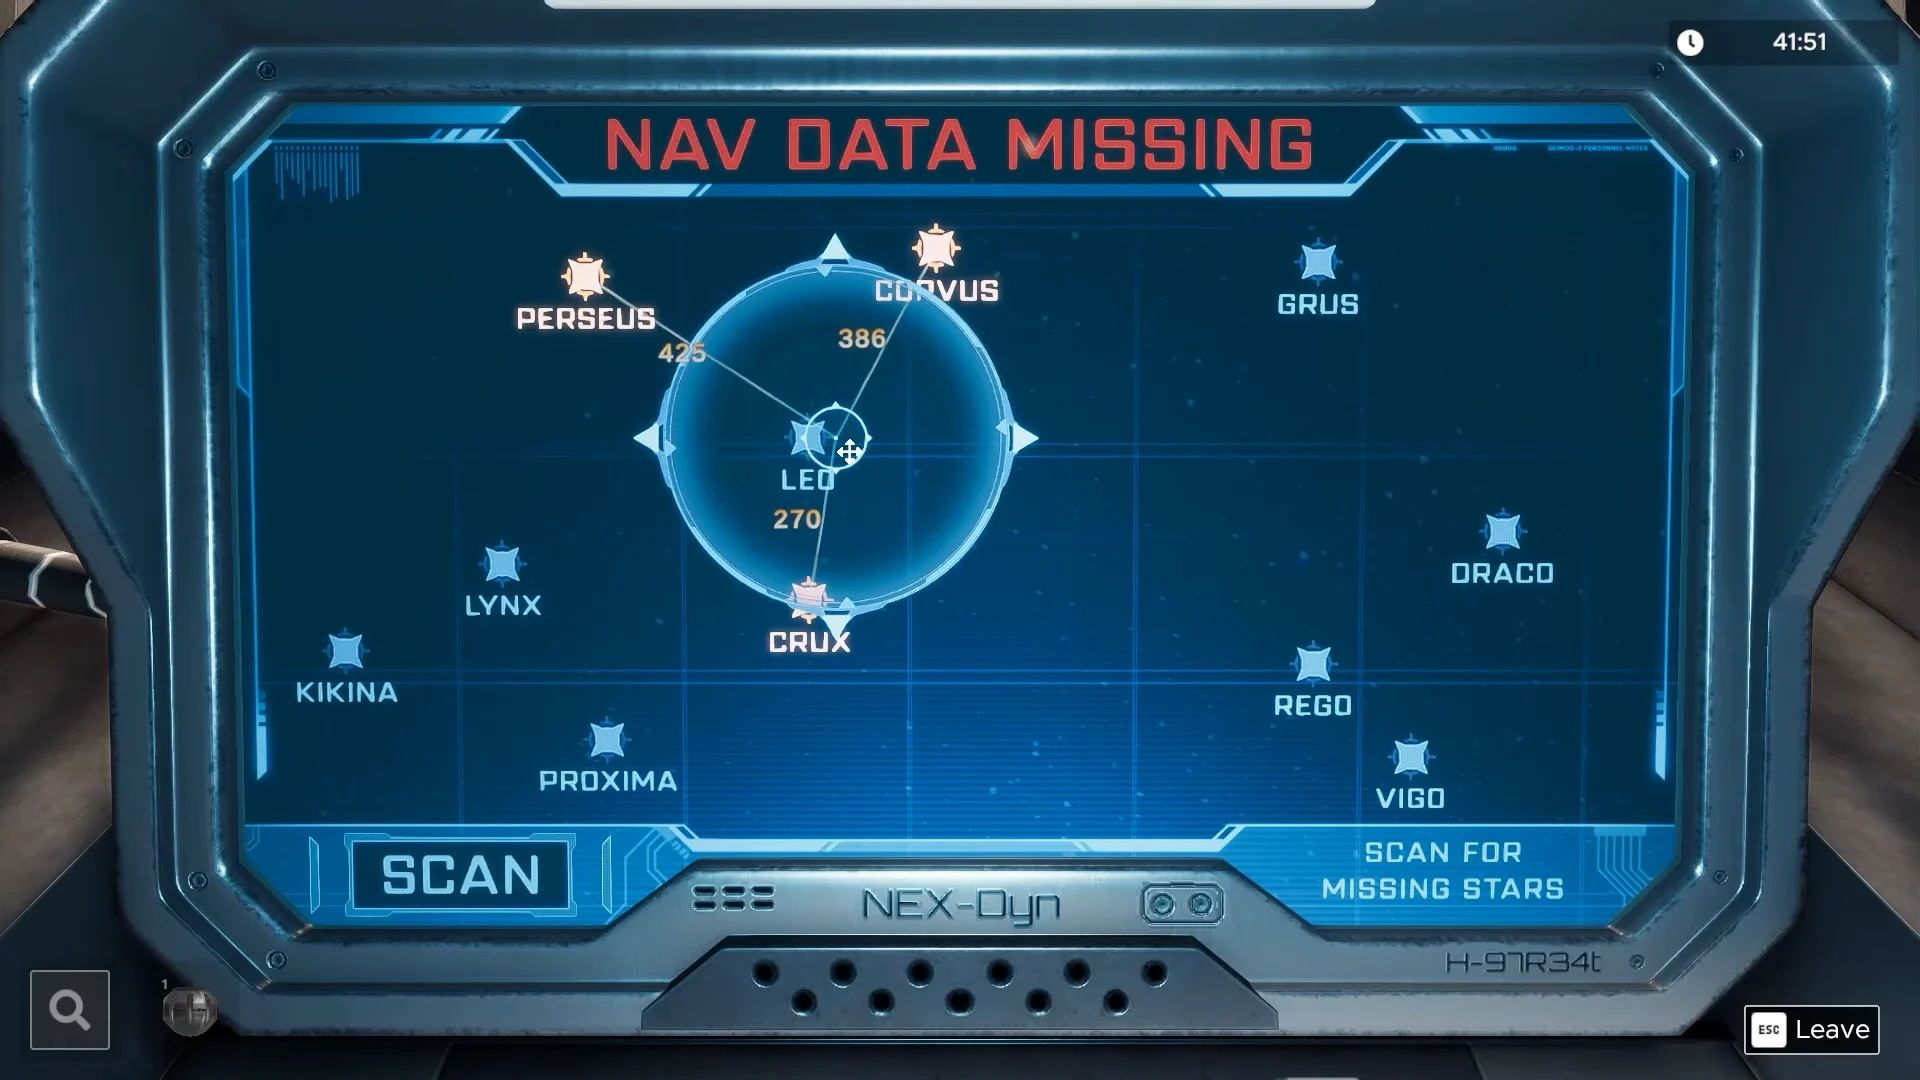
Solar panels and radar station codes
Inside the bunker, collect the Geocache Locator and any notes and tools. The locator points you to buried solar panels needed to power the surveillance laptop.
| Order | Station code |
|---|---|
| 1 | 893 |
| 2 | 785 |
| 3 | 256 |
| 4 | 775 |
| 5 | 243 |
| 6 | 898 |
| 7 | 644 |
| 8 | 153 |
The two codes that unlock the vault are 153 and 898, which you carry down to the bunker door control.
Open the Sanctuary vault
When the escaped photo appears, choose to stay in the level so you can gather any tokens you still need before exiting through the Sanctuary door.
All 8 token locations
Eight tokens are hidden across the property. Most are attached to the back of signs or fixtures, and one has to be dug up. A system notification confirms each pickup.
| Token | Location |
|---|---|
| 1 | Beneath the hatch door at the bunker entrance |
| 2 | Under the roof overhang near the laptop desk |
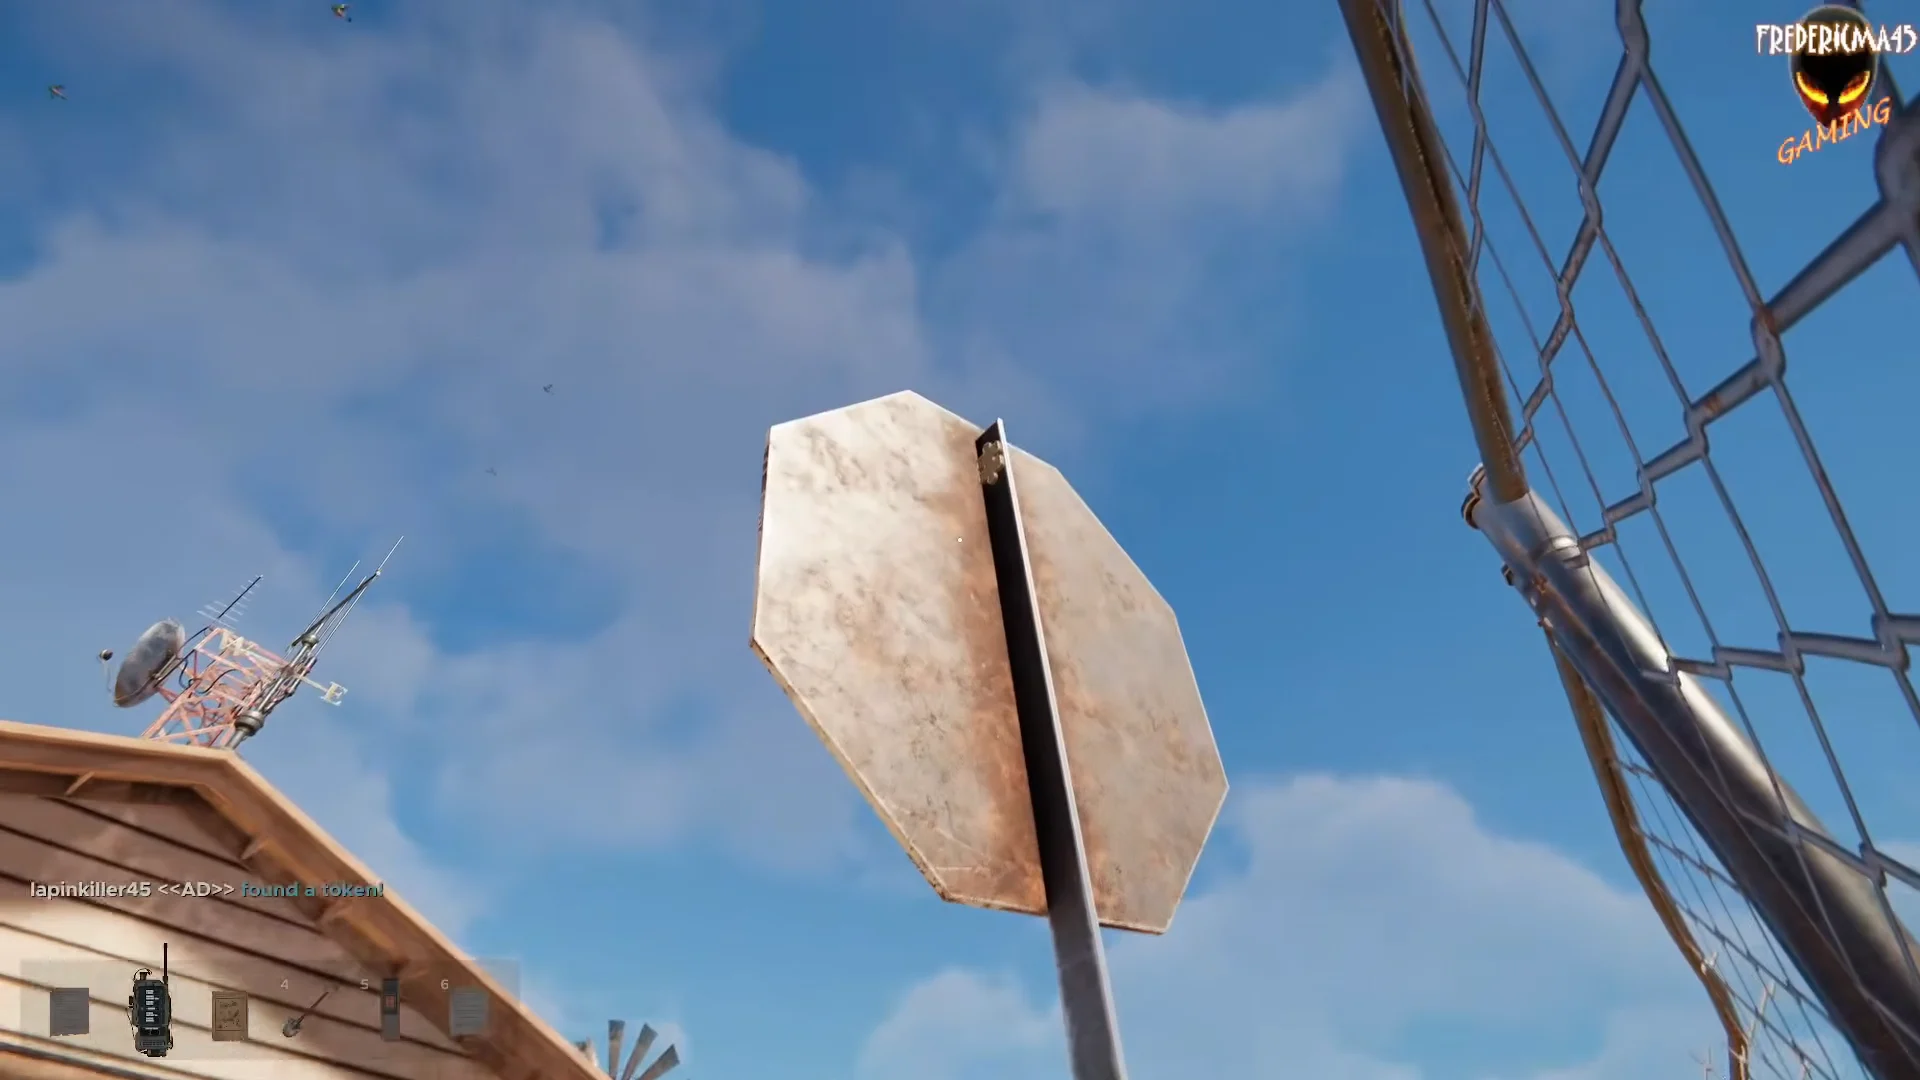
| 3 | Back of the octagonal STOP sign |
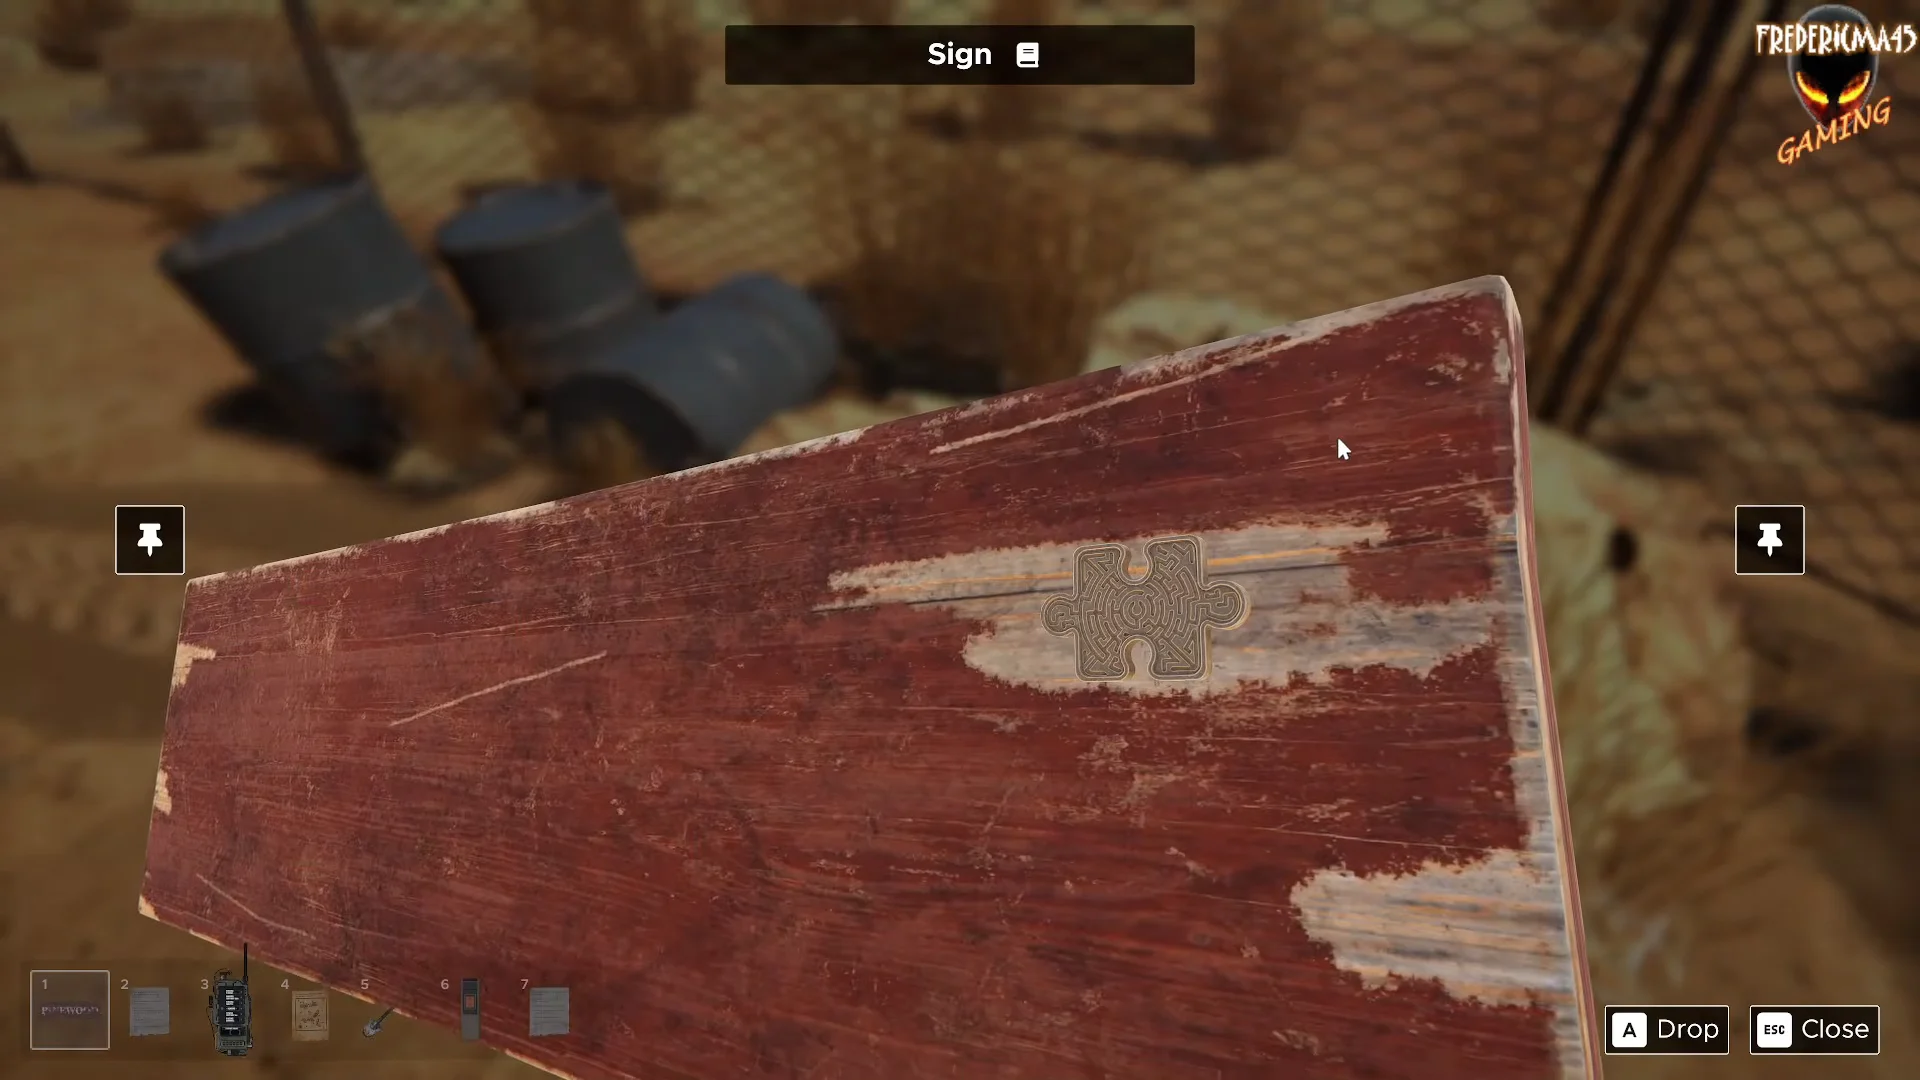
| 4 | Back of the fallen PINEWOOD sign by the barrels |
| 5 | Inside the lower corner kitchen cabinet drawer |
| 6 | On top of the bathroom light fixture |
| 7 | Under the plastic cover on the blasted room armchair |
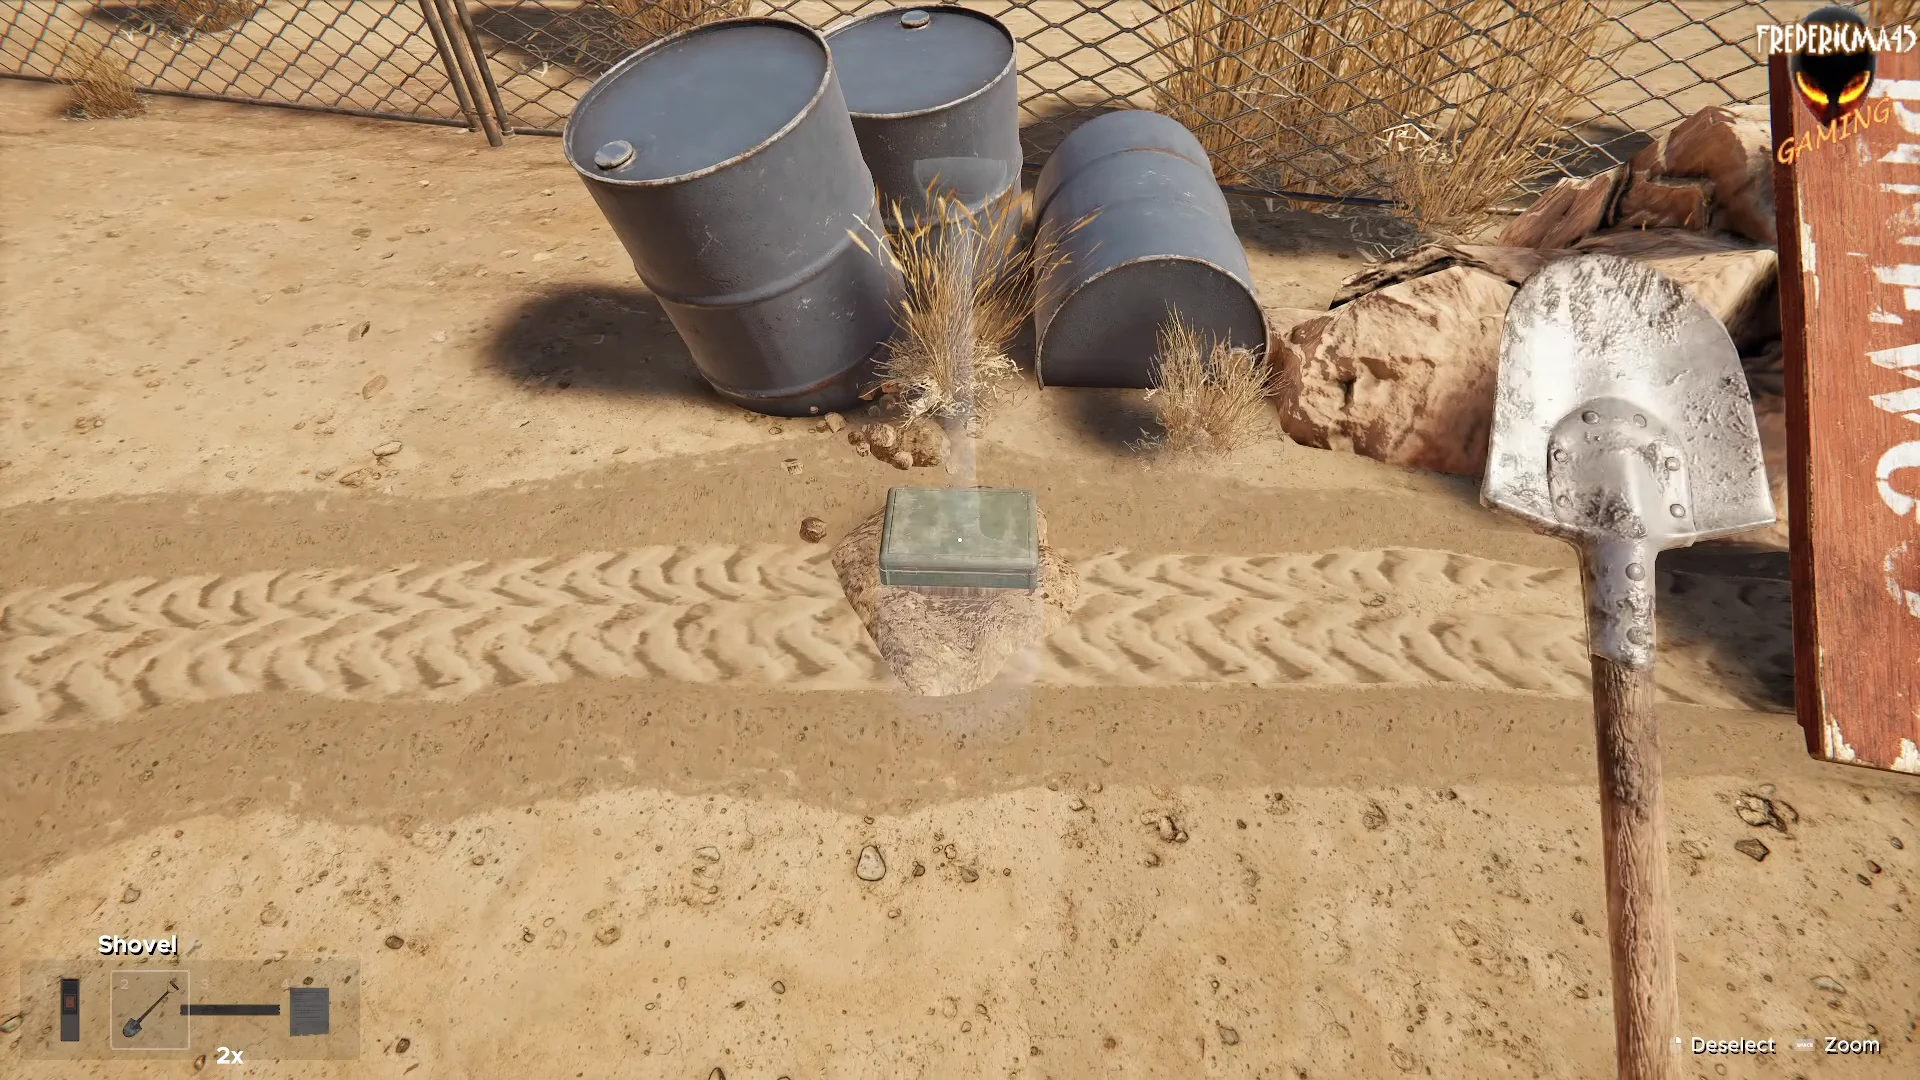
| 8 | Buried metal container close to the sandbags and rocks by the fence |
Sign tokens (3 and 4)
The STOP sign stands beside the chain-link fence. Move to its back to spot the token on the pole. The PINEWOOD sign lies fallen near the oil barrels; interact with it, flip it over, and take the token from the reverse side.
Interior tokens (5, 6 and 7)
In the kitchen, open the lower drawer of the corner cabinet beside the fridge; the token is attached to its side panel. In the bathroom, find a token atop the fluorescent light fixture, above the wall cabinet. In the blasted room, lift the clear plastic sheet covering the armchair to collect the token from the seat.
Roof, bunker and buried tokens (1, 2 and 8)
On the roof, check under the eave timber next to the solar panel array for the overhang token. Once the bunker hatch is open, look at the underside of the entry steps for the hatch token. For the last one, use the Geocache Locator to pinpoint the cache near the sandbags and fence rocks, then dig up the buried metal box and take the token inside.
With all eight tokens collected and the vault open, head down into the bunker and leave through the Sanctuary door to finish The Safe House at 100%.