Crimson Desert’s armor system spans more than 25 distinct sets spread across three playable characters. Each set is composed of up to five pieces — helm, chest armor, cloak, gloves, and boots — though not every set includes all five. Kliff has access to the vast majority of armor sets, while Damiane and Oongka each have a smaller, more focused selection. Notably, equipping a full set does not grant any additional set bonus; the value comes entirely from individual piece stats and their pre-slotted Abyss Gear effects.
Quick answer: There are roughly 27 named Kliff armor sets, at least 7 Damiane sets, and 2–3 Oongka sets currently known. Most are found in hidden treasure chests behind waterfalls, inside Sanctums and ruins, or earned from boss fights and faction quests. A few can be purchased from shops or crafted after collecting equipment manuals.
How Armor Works in Crimson Desert
Every armor piece carries a base defense rating and may also boost movement speed, elemental resistances, attack power, or critical rate. Cloaks tend to provide the highest elemental resistance values, while gloves and boots often carry attack stats. Armor can be temporarily enhanced at an Anvil or permanently refined at a blacksmith up to level 10 — though refining past level 4 requires an Abyss Artifact for each upgrade.
Many unique armor pieces come with pre-filled Abyss Gear Slots. These sockets contain bonuses like Stamina Regen, Damage Reduction, or special abilities such as Volcanic Eruption or Shattering Frost. You can also insert or swap Abyss Gear bonuses at any Witch NPC found throughout the world. Mixing and matching pieces from different sets to stack resistances or specific Abyss effects is a legitimate strategy, since there’s no penalty for breaking up a set.
All Kliff Armor Sets
Kliff has the largest wardrobe by far. His sets range from early-game shop purchases to endgame exploration rewards hidden deep in the Crimson Desert region. Below is every known Kliff armor set, how to obtain it, and what makes it worth pursuing.
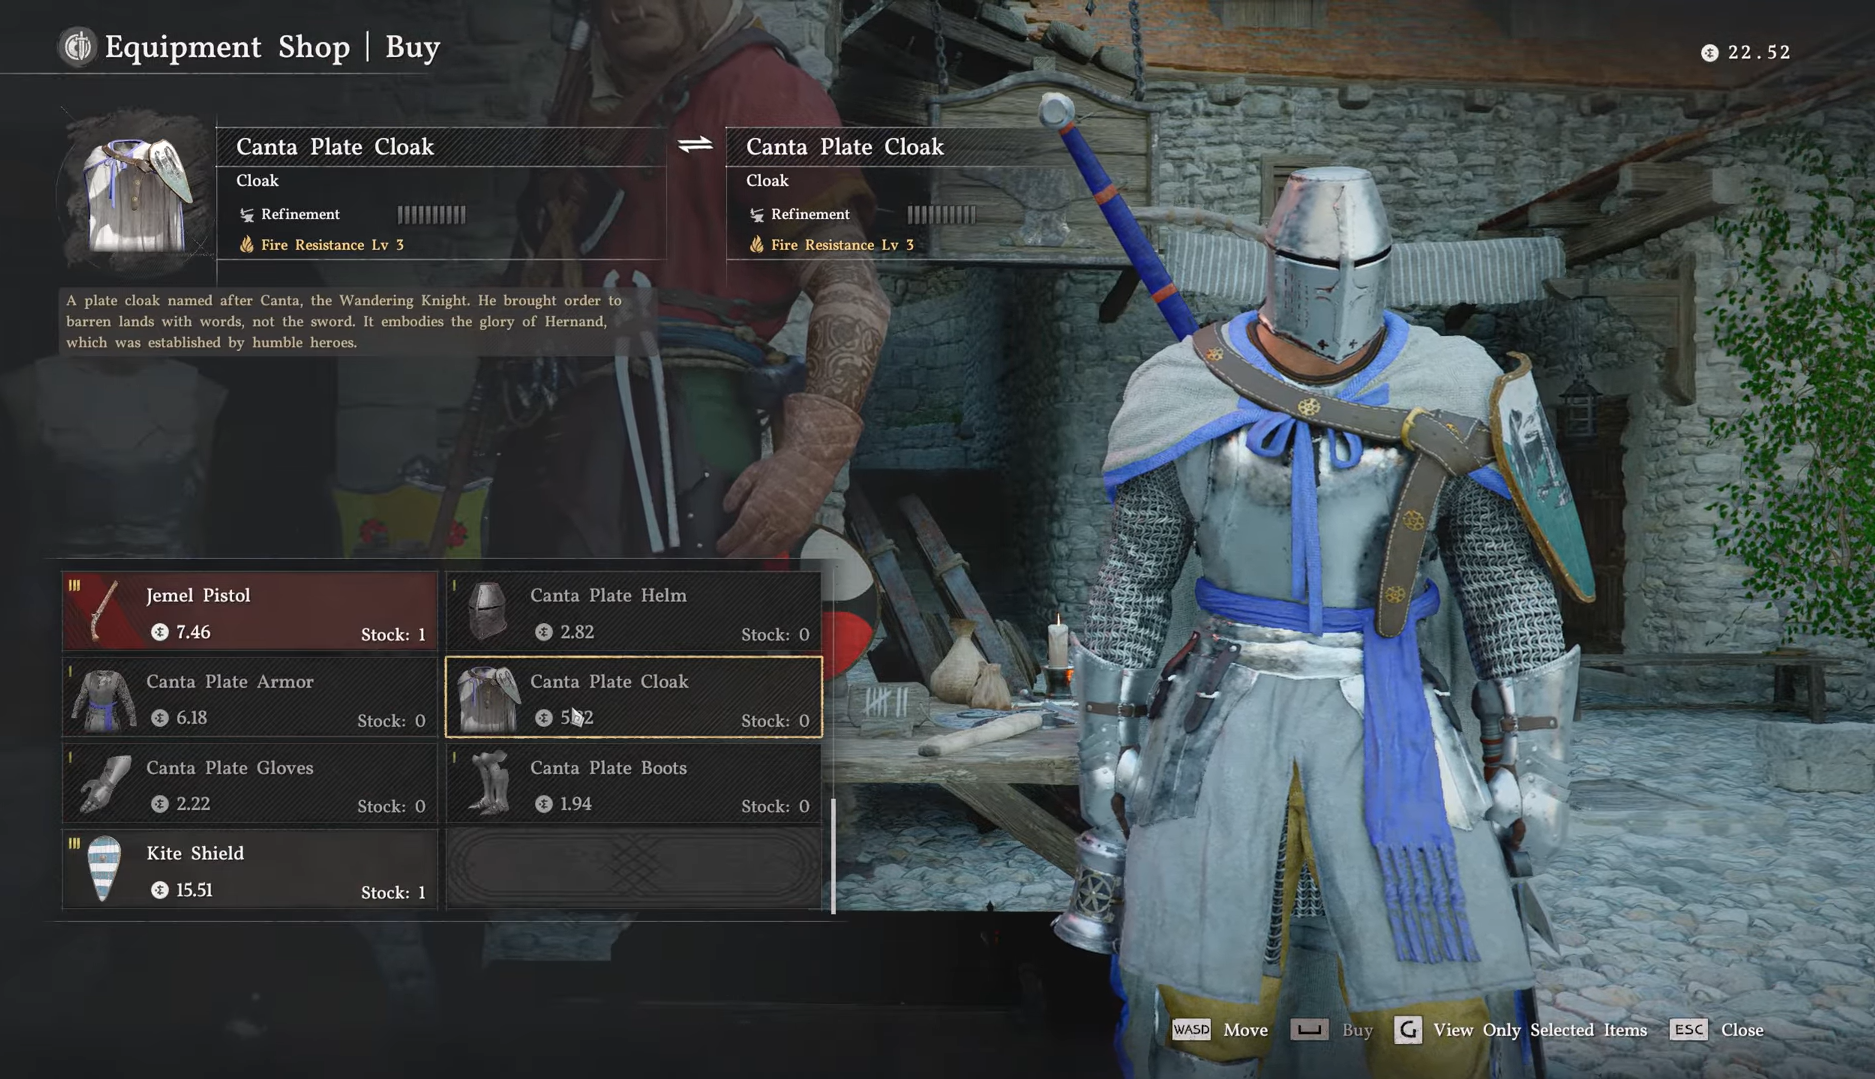
Canta Plate Set (Starter)
The Canta set is the first full armor set most players will equip. It provides a balanced spread of defense, attack, and attack speed, making it a reliable foundation for the opening chapters. You can buy the complete set from Rhett’s Equipment Shop in Hernand Town right at the start of the game.
| Piece | DEF | ATK | ATK SPD | Special |
|---|---|---|---|---|
| Canta Plate Helm | 3 | — | — | Tinnitus Immunity |
| Canta Plate Armor | 6 | — | — | — |
| Canta Plate Gloves | 3 | 13 | +1 | — |
| Canta Plate Boots | 3 | 13 | +1 | — |
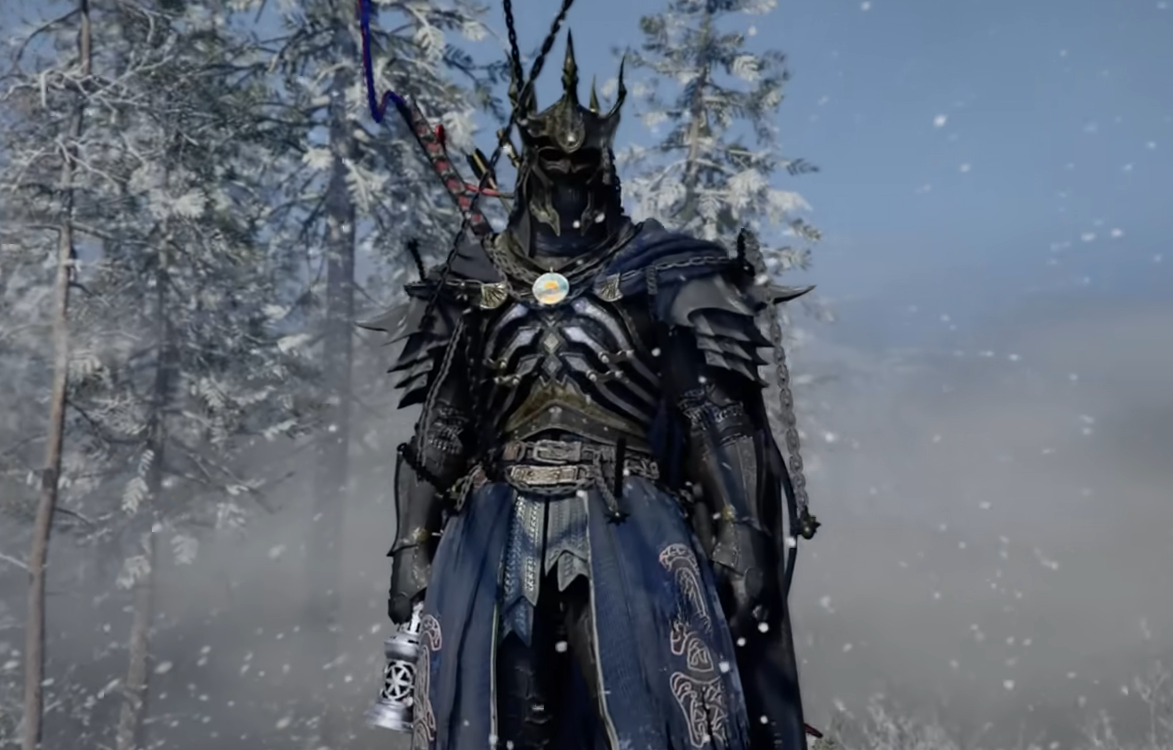
Frostcursed Plate Set
Widely considered the best all-around armor set in the game, the Frostcursed set delivers 32 total defense, 34 attack, and a staggering Level 13 Ice Resistance when fully assembled. It also grants Daze Immunity, health regeneration, XP gain bonuses, and climb speed increases through its Abyss Gear slots. The set can be reinforced through the Kuku System, making it viable from mid-game straight through to the endgame.
| Piece | DEF | ATK | Other Stats | Location |
|---|---|---|---|---|
| Frostcursed Plate Helm | 5 | — | Daze Immunity | Chattering Rocks, northwestern Demeniss |
| Frostcursed Plate Armor | 14 | — | Move Spd +2, Ice Res 7 | Mistshard Cave (behind waterfall), north Demeniss |
| Frostcursed Plate Cloak | 3 | — | Ice Res 3 | Sanctum of Expiation, northwestern Demeniss |
| Frostcursed Plate Gloves | 5 | 17 | — | Lunar Spirit Grotto, Denn River area |
| Frostcursed Plate Boots | 5 | 17 | — | Well of Tragedy cave, Denn River area |
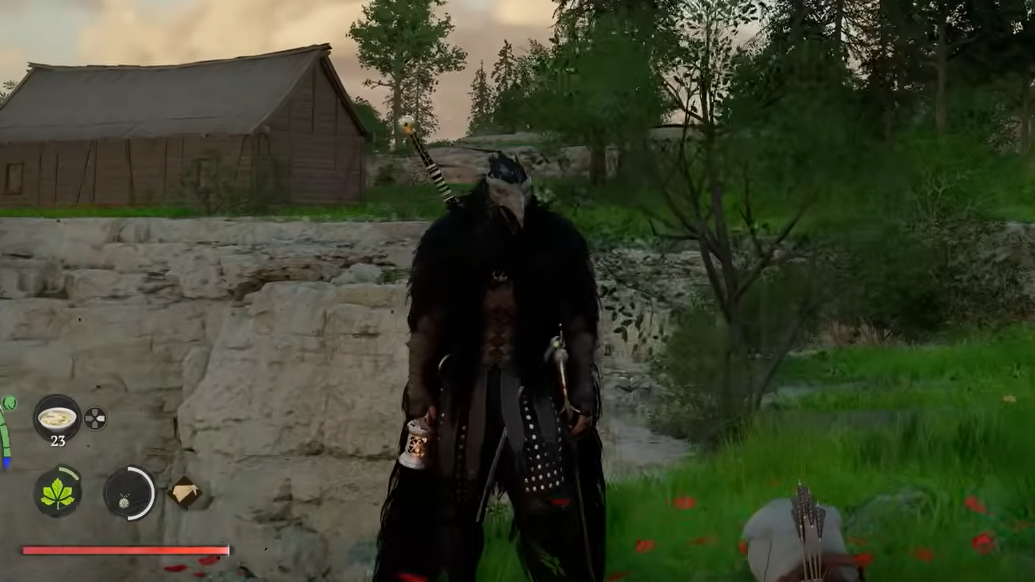
Blackwing Leather Set
A fast, crit-focused leather set that excels in aggressive and unarmed builds. The Blackwing set trades raw durability for mobility and critical bonuses, totaling 28 defense, 25 attack, 3 CRIT, and Level 6 Lightning Resistance. The mask and chest armor drop from the Crowcaller boss during Chapter 5’s “Black and White” sub-chapter in Hernand.
| Piece | DEF | ATK | Other Stats | Location |
|---|---|---|---|---|
| Blackwing Mask | 4 | — | Move Spd +1 | Defeat Crowcaller (Chapter 5) |
| Blackwing Leather Armor | 12 | — | Move Spd +1, Lightning Res 1 | Defeat Crowcaller (Chapter 5) |
| Blackwing Leather Cloak | 1 | — | Lightning Res 2 | Pororin Village shed |
| Blackwing Leather Gloves | 3 | 13 | CRIT 2, Lightning Res 1 | Sanctum of Penitence (upper floor, hidden room) |
| Blackwing Leather Boots | 2 | 12 | CRIT 1, Lightning Res 1 | House of Healing tower (breakable floor) |
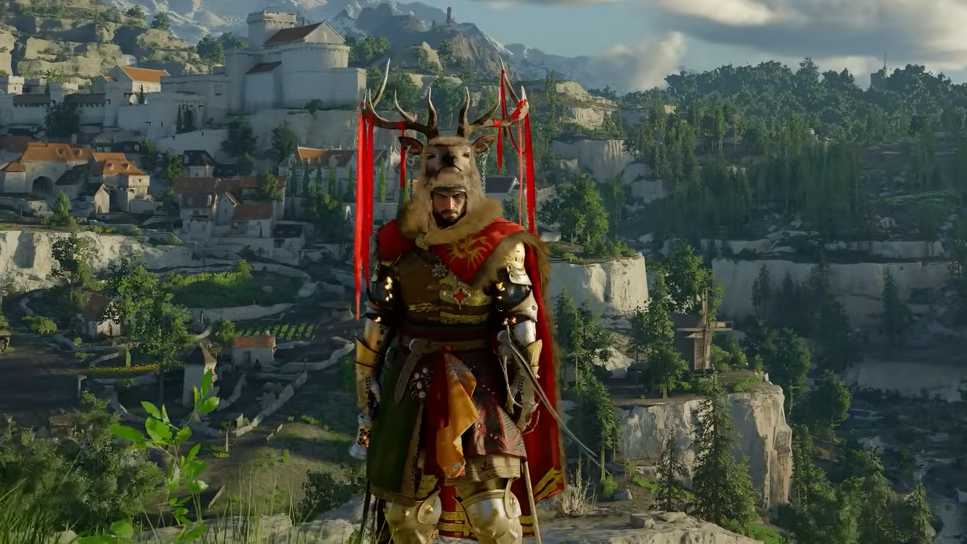
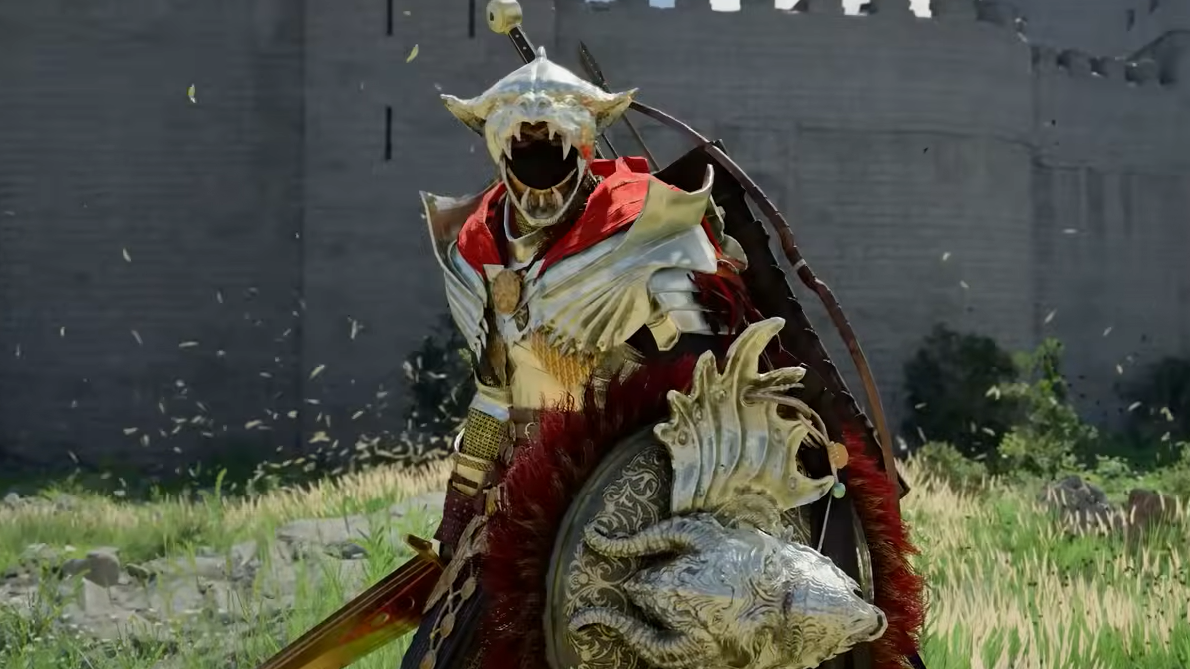
Fallen Kingdom Set
One of the earliest strong sets you can collect, the Fallen Kingdom armor is scattered across central and western Hernand. Its standout feature is the elk-horned helmet, matching the look of Saigord the Staglord. The Leather Helm comes with a pre-slotted Abyss Gear that boosts Turning Slash damage by 35%, making this set particularly appealing for sword-focused builds.
| Piece | Location |
|---|---|
| Leather Helm of the Fallen Kingdom | Sanctum of Benediction |
| Leather Armor of the Fallen Kingdom | Frozen Soul Cave (waterfall in Hernand) |
| Leather Cloak of the Fallen Kingdom | Icemoor Castle Ruins |
| Plate Gloves of the Fallen Kingdom | Abyss Nexus waterfall south of Sanctum of Atonement |
| Plate Boots of the Fallen Kingdom | Nightstorm Cave (behind waterfall) |
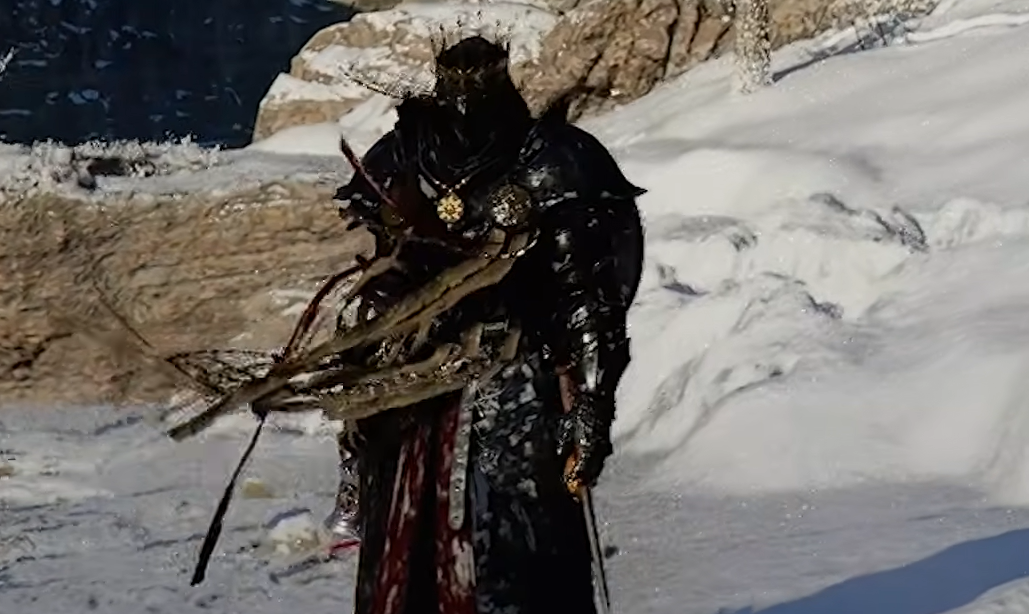
Of the Shadows Plate Set
A late-game powerhouse with 34 defense, 34 attack, and Level 7 Fire Resistance. The Plate Helm of the Shadows grants the Glacial Domain ability, which sprays an ice cloud that deals continuous damage and freezes water surfaces — effectively letting you walk on water for a few seconds. You’ll need to defeat Beloth the Darksworn in Hoenmark Ruins during Chapters 6–7 to get the helm, but the other pieces can be found through exploration in western Hernand.
| Piece | Location |
|---|---|
| Plate Helm of the Shadows | Defeat Beloth the Darksworn, Hoenmark Ruins |
| Plate Armor of the Shadows | Everfrost Watchtower, northwest Hernand |
| Plate Cloak of the Shadows | Hoenmark Ruins |
| Plate Gloves of the Shadows | Everfrost Cave |
| Plate Boots of the Shadows | Frostclaw Cave |
Scorchflame Plate Set
The fire-themed counterpart to Frostcursed, originally worn by Tristan the Flaming Knight. The chest armor alone provides Level 7 Fire Resistance and CRIT 2. None of the armor pieces require boss fights, so you can collect them through pure exploration if you know the locations.
| Piece | Location |
|---|---|
| Scorchflame Plate Helm | Stonewall Farm attic |
| Scorchflame Plate Armor | Golden Trading Post, Demeniss |
| Scorchflame Plate Cloak | SilentFalls Hideout (trapdoor) |
| Scorchflame Plate Gloves | Twilight Grotto waterfall cave |
| Scorchflame Boots | Cascade Grotto, northwest of Reventine Winery |
Remaining Kliff Armor Sets
| Set Name | How to Get |
|---|---|
| Shadowleaf | Complete “Getting Closer to Nature” research at Pororin Research Institute |
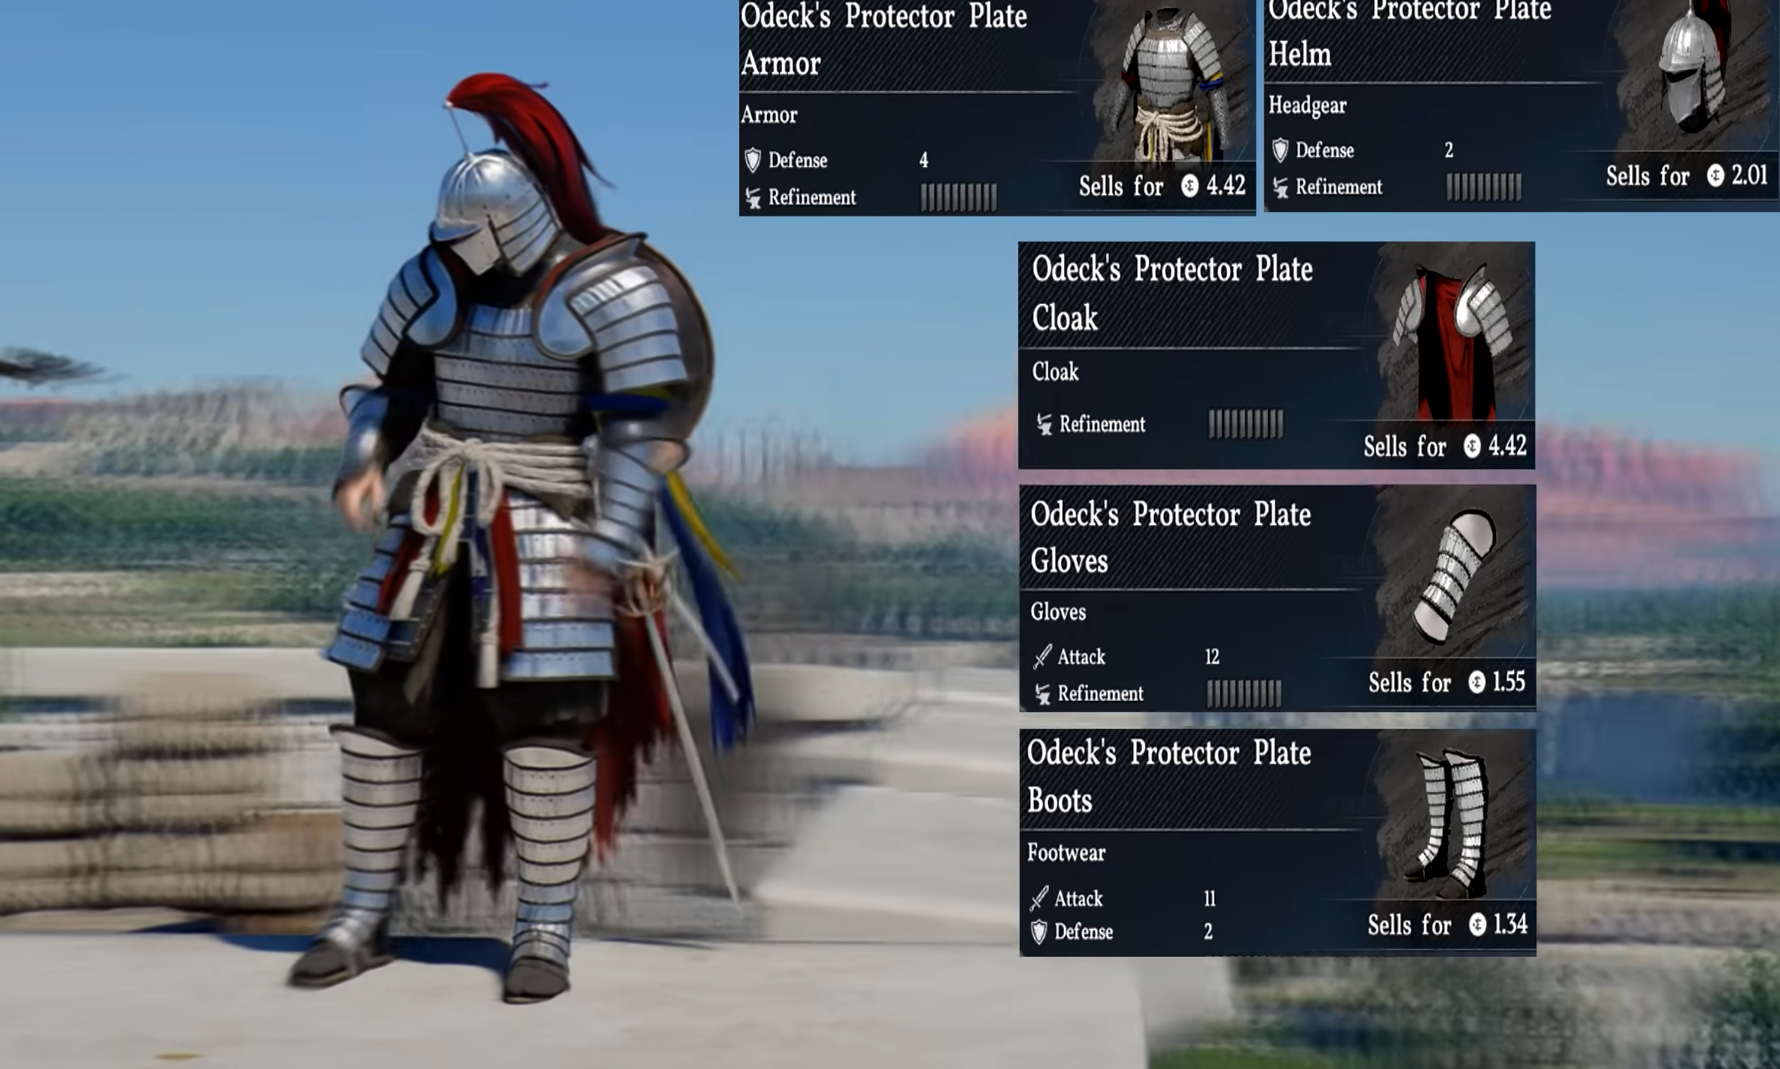
| Odeck’s Plate | Treasure chests across Hernand/Pailune; also Chapter 8 story reward |
| Frozen Heart Plate | Delesyia Castle, Marni’s Laboratorium area, faction quests |
| Skyblazer | Serpent Scale Cave, Fort Windridge, Wyvern’s Nest area (Delesyia) |
| Golden Greed Plate | Gale of Judgement Cave, Sanctum of Renunciation, Bursada Castle Ruins, Arehaza Cave, Venomblade Grotto |
| Lightning Bolt Plate | Fallen God faction quest (Pailune), Sanctum of Exaltation, Forest Hearth cavern |
| Northern Fighter’s | Craft after collecting Plate/Leather Armors of the World manuals (Vol. I–III) |
| Jester Leather | Craft after collecting all Leather Armors of the World manuals (Vol. I–IV) |
| Pailune Cloth | Purchase from Brenner’s Contribution Shop in Pailune |
| Riding | Purchase from Fiona’s Saddlery in Demeniss City |
| Rabbit Leather | Craft after collecting Leather Armors of the World (Vol. I–IV) |
| Grey Wolf Leather | Reach 100 Trust with Lola (tailor in Pailune City) |
| Hungering Fang Leather | Ancient Mine Site Ruins IV, Pailune City cave, defeat Ludvig |
| Helfryn Leather | Hidden rooms and towers throughout Demeniss City |
| Weasel Leather | Purchase from Adrina at the Calphadean Costume Shop |
| Plate Armor of Cursed Soul | Windrift Cave, Shadowwolf Cave, Demenissian Ruins, Anvil Hill Gust Cave |
| Bolton Plate | Purchase from Hernand Contribution Shop |
| Unyielding Warrior’s Plate | Purchase from Tranan (Greymane Camp) or Temir (Thalwynd) |
| Sahazhad Plate | Purchase from Rickmore (Contribution Shop in Varnia) |
| Icewing Plate | Cave of Ancients, Wayward Woods Witch’s Hideout, Claggy Chasm, Sanctum of Solace; chest piece from The Eldertree quest |
| Sunset Reed | Castlewood Ruins, Echoing Waves Cave, Chapter 3 boss reward, Sanctum of Absolution |
| Dark Ringleader’s | Shadowheart Grotto, Blade Cave, Echoing Tunnel, Cloudmist Cave (Hernand) |
| Dark Marksman’s | Fort Musket, Warrior’s Soul Cave, Forgotten Watchtower, Flooded Watchtower Depths |
| Masked Liberator’s | Fort Manub, Sandshift Basin, Firesand Helmhole, Gearmelt Confectionary |
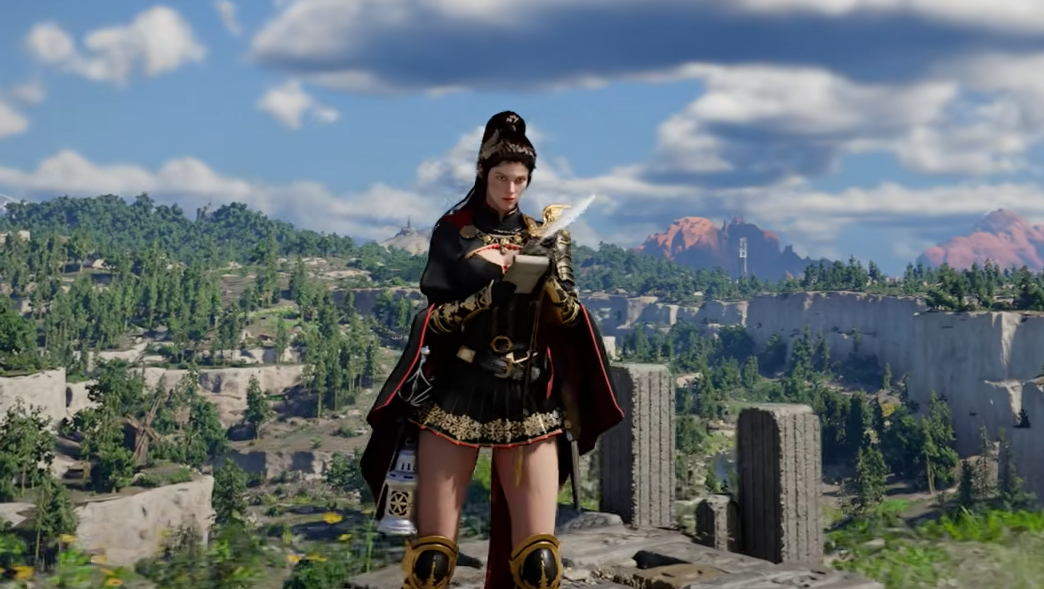
All Damiane Armor Sets
Damiane has a smaller but focused selection of armor, with several sets tuned toward either defensive stacking or offensive crit builds.
| Set Name | Standout Feature | How to Get |
|---|---|---|
| Light of the Battlefield | Highest defense for Damiane; Fortification, Aegis, and Vitality Abyss Gears | Howlsands Camp, Sun’s Gate Cave, Varnia Sewers, Desert Shipwreck (Crimson Desert region) |
| Official Knight’s | Critical rate bonuses; good for unarmed builds | Reward for defeating Awakened Lucian Bastier |
| Elegant Carmine | Easy to obtain; crafted at Smithy from blueprints found in Delesyia | Collect blueprints, craft at Smithy |
| White Bloodwind | Clean aesthetic; Lightning and Ice resistance | Reach 100 Trust with Olanelle, Rulupee, Polan, Chief Monk, and Stefan Lanford |
| Autumn Banquet | Lightning Resistance and gathering bonuses | Kingshield Mountains ruins, Sanctum of Mortification, Church of West Demeniss, Crescent Cave |
| Wanderer of Faith | Kinetic Burst Abyss Gear; consecutive attack damage boost | Silvermoon Tradehouse, Crystal Crown Cave, Starlight Cave, Horseshoe Lake Perch (Demeniss) |
| Goldlight Plate | Daze Immunity; Fire Resistance | Mirror Chasm, Dawnreach, Hidden Redrock Cave, Well of Enlightenment |
All Oongka Armor Sets
Oongka’s options are the most limited, but both available sets lean heavily into defense and stamina recovery, fitting his grappling-focused combat style.
| Set Name | Standout Feature | How to Get |
|---|---|---|
| Valortread | Stacked defensive Abyss Gears (Gourmet, Aegis, Fortification); high ATK on gloves | Various locations (details still being confirmed by the community) |
| Ashad Plate | Stamina regen; grappling attack efficiency via Abyss Gear on gloves | Vat’nholl Fortress (helm), Silver Wolf Mountain Northern Cave (armor), Snowhaven Hearth (cloak), Burnhand Quarry (gloves), Frostpierce Cave (boots) |
Oongka also has access to the Alpha Wolf Helm, found in the Sanctum of Deliverance in Hernand, which grants a Wolf Disguise ability.

Unique Standalone Armor Pieces
Beyond full sets, Crimson Desert is packed with individual unique armor pieces that don’t belong to any named set but carry powerful special effects. These are worth hunting down regardless of what set you’re wearing.
| Piece | Special Effect | Location | Worn By |
|---|---|---|---|
| Boss Bear Hat | Bear Disguise | Firefly Haven Cave, Hernand | Kliff |
| Pirate King Hat | Treasure Sense | The Singing Catfish (pirate ship) | Kliff |
| Helm of Knowledge | Acquire Knowledge, Daze Immunity | Scholastone, Hernand | Kliff |
| Helm of Ignition | Ignite, Daze Immunity | Torchlight Beacon, Hernand | Kliff |
| Great Thief’s Gloves | Steal Without Detection | Fort Anvil, Hernand | Kliff |
| Marni Laser Helm | Laser, Daze Immunity | Marni’s Masterium, Delesyia | Kliff |
| Master Du’s Circlet | Multi-Flash Cannon | Throne of Truth, Abyss Islands | Kliff |
| Tidebreaker Boots | Tidebreaker | Guardian’s Cave, Delesyia | Kliff |
| Reindeer Cloak | Deer Disguise, Ice Res 5 | Kharonso, Hernand | Kliff |
The armor landscape in Crimson Desert rewards thorough exploration more than anything else. Waterfalls, Sanctums, and hidden cave entrances are the most reliable sources of powerful, unique gear. If you’re just starting out, grab the Canta set from Hernand and work toward the Frostcursed set in Demeniss — it will carry you comfortably through the rest of the game. For players chasing specific resistances or build synergies, mixing individual pieces from different sets is not only viable but often optimal, since there are no set completion bonuses to worry about.