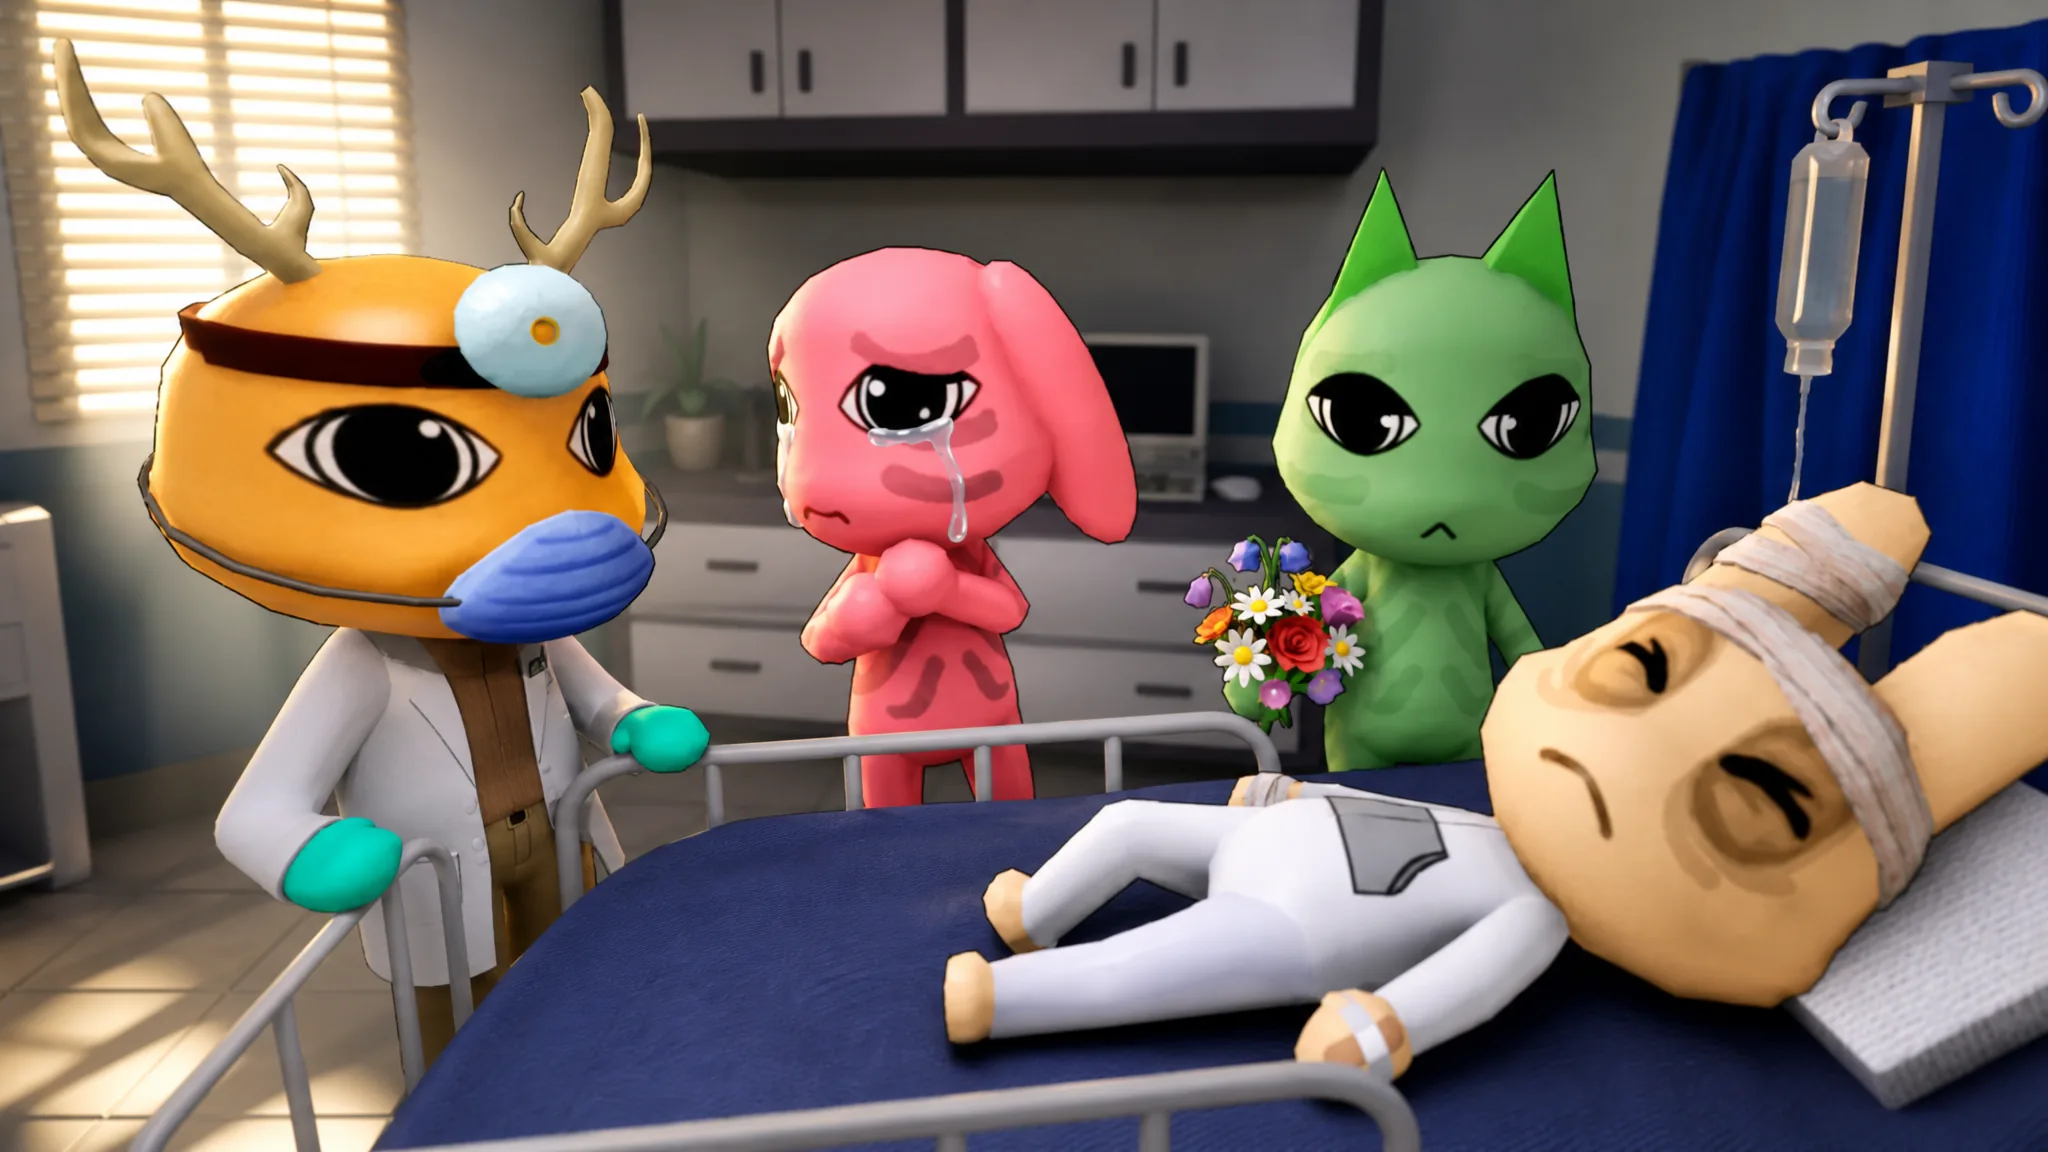
The patients rolling through the front desk in Animal Hospital are only half the cast. Between treatments you meet a recurring set of named animals, and each one either unlocks a feature, hands you a quest, drops a piece of lore, or simply sits in the lobby to fill the silence. Knowing who is who matters, because a couple of these faces get copied later by anomalies trying to slip past you.
Quick answer: There are nine core named NPCs (Dr. Harlow, Barney, Ratthew, Ron from Accounting, Officer Duckman, Shopkeeper Nurse, Lobby Cat, Lobby Bunny, and News Bunny), plus later additions Rattina, Liz, Sam, and the Hazmat Suit NPCs. Learn how each normally looks and behaves early on, so anything off-model reads as a threat.
Every Animal Hospital character at a reference
Here is the full roster in one place, with what each character does and when you first run into them. Use it as a lookup, then read the sections below for the ones that actually affect how your shift plays out.
| Character | Image | Role and behavior |
|---|---|---|
| Dr. Harlow | 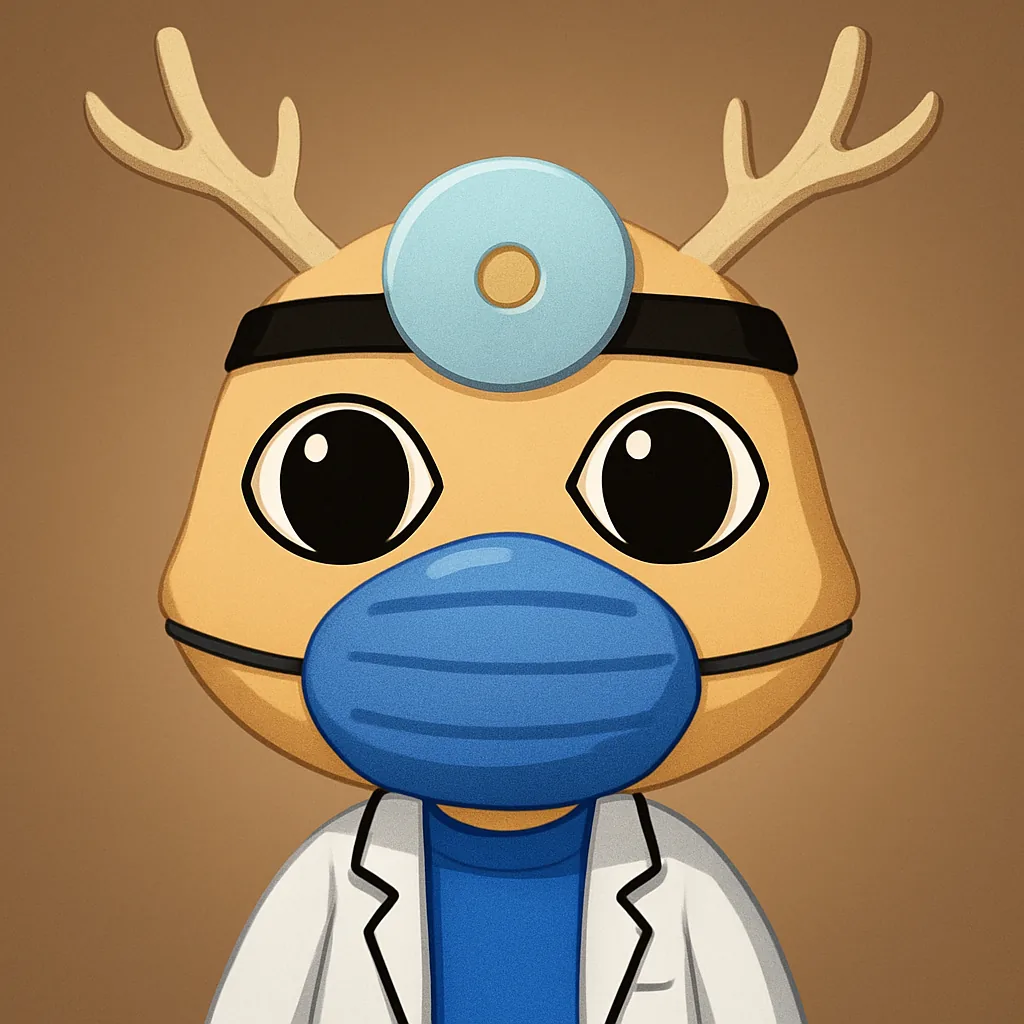 | The doctor who guides you and unlocks shutters, cameras, the shop, emergency rooms, and the taser as you progress. |
| Barney | 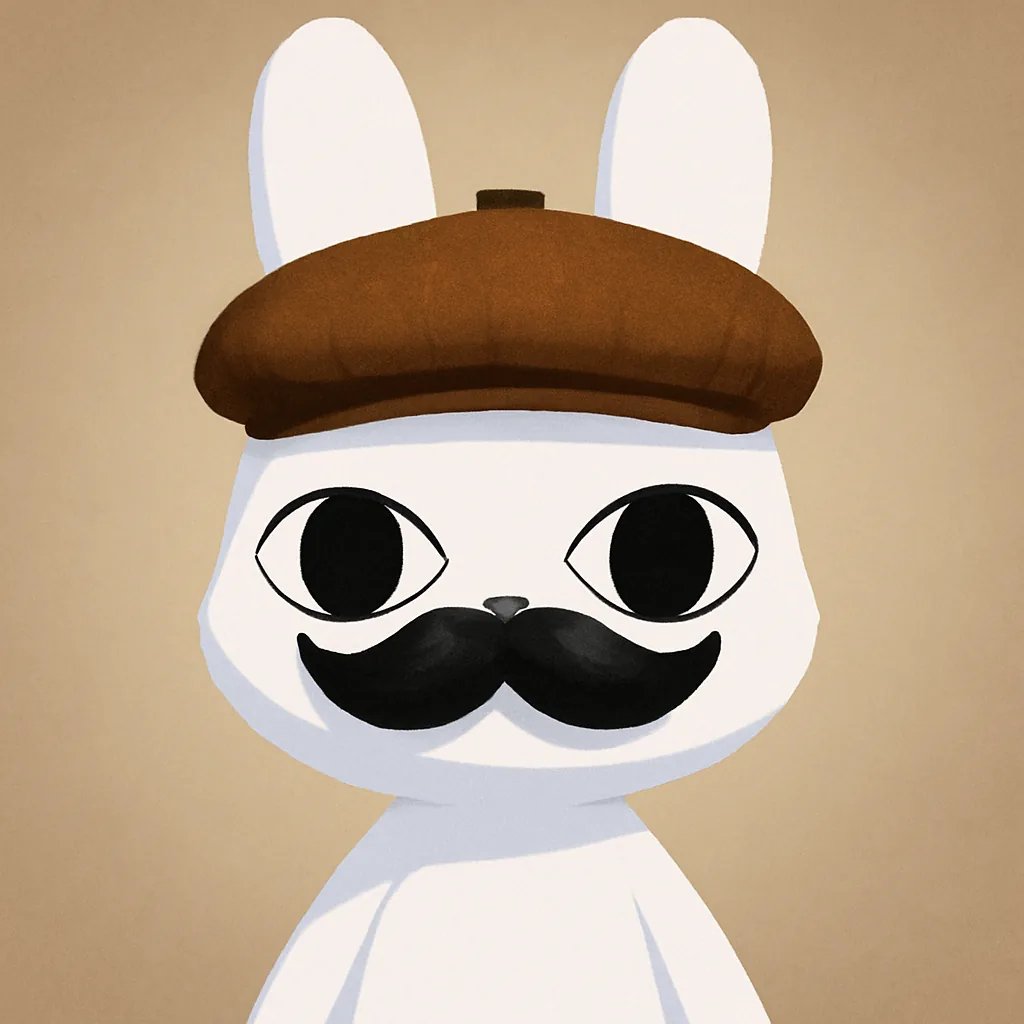 | An anomaly and serial killer who demands coffee and threatens you if you refuse or stall. |
| Ratthew | 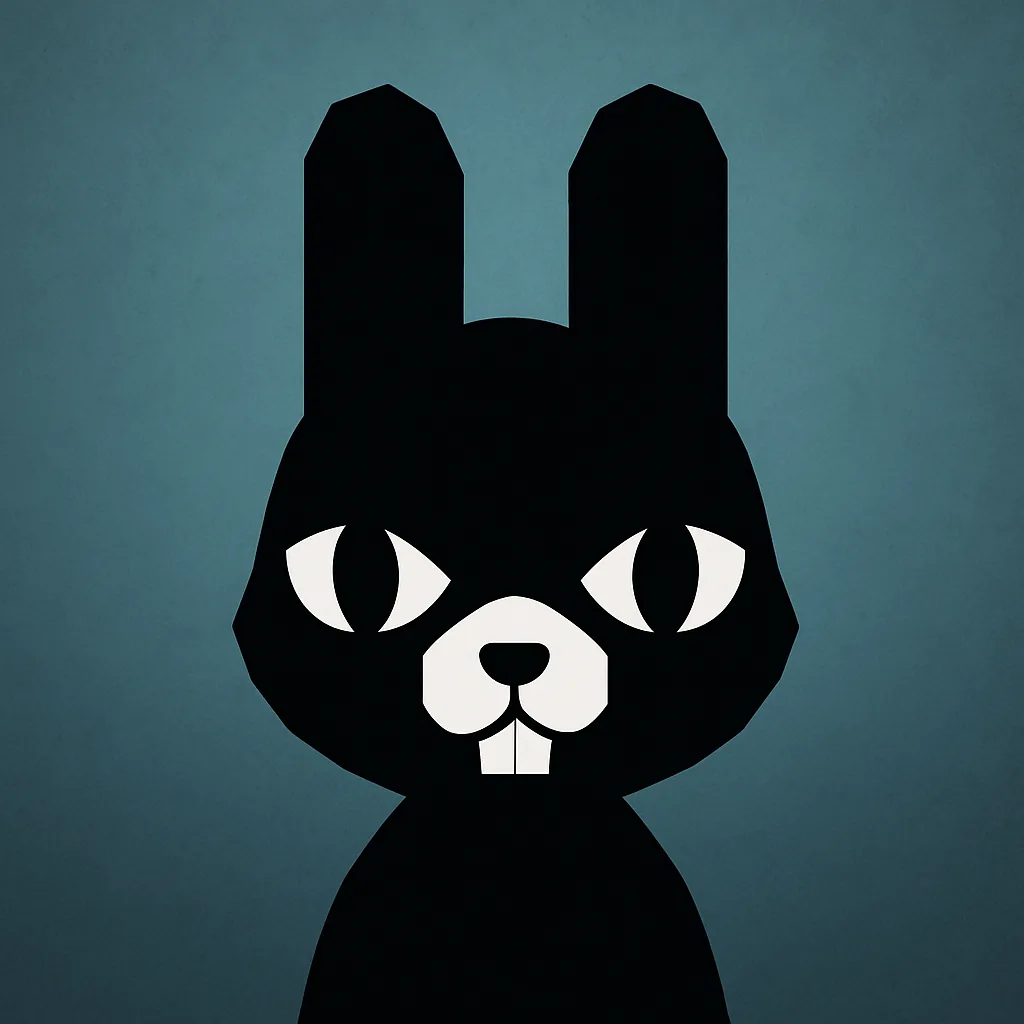 | A paranoid but harmless patient who hides his identity at first. Carries the game’s biggest lore quest. |
| Rattina | Ratthew’s twin sister who worked for Animal Corporation and disappeared. Lore only, no in-game appearance. | |
| Ron from Accounting | 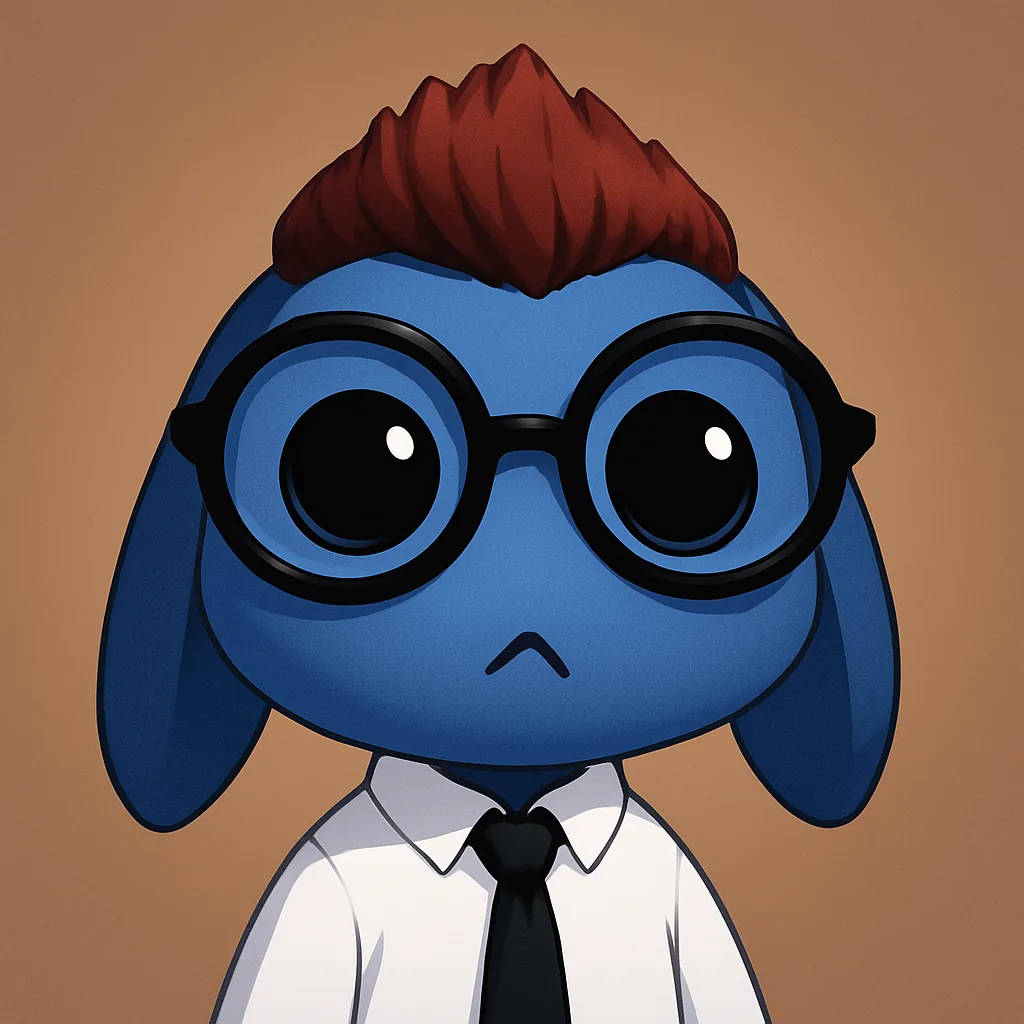 | A staff member who knows the anomalies and explains how to handle them, without softening the danger. |
| Officer Duckman | 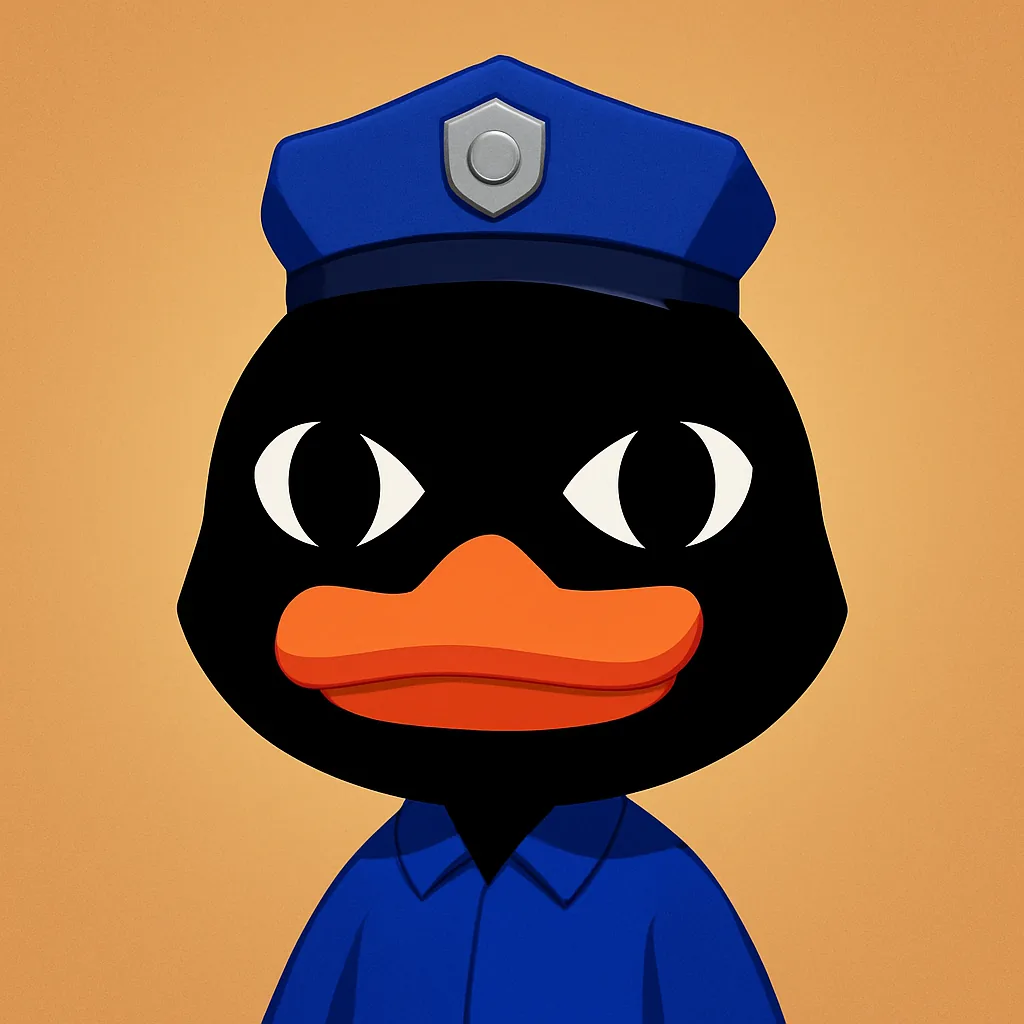 | A police officer hunting Barney. His outcome depends on whether you turn Barney in. |
| Shopkeeper Nurse | 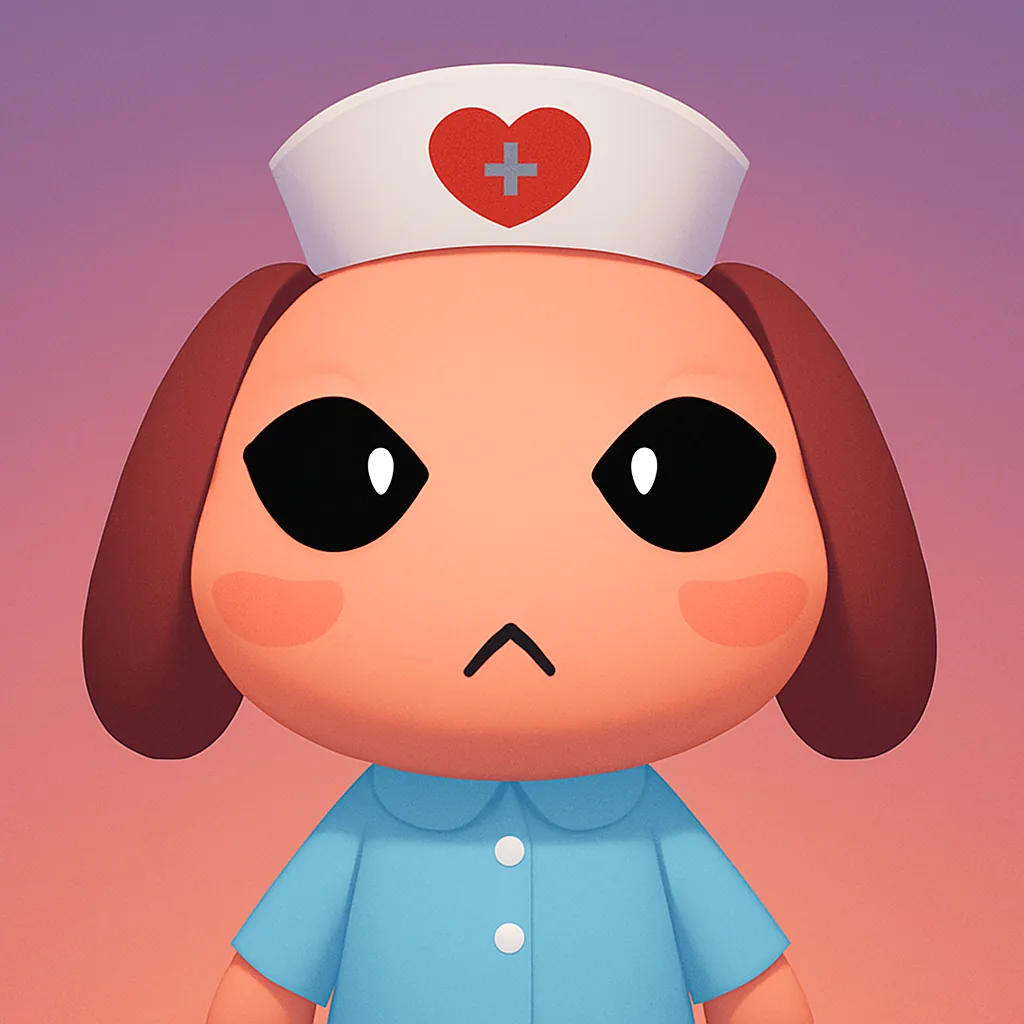 | Runs the shop that unlocks during Shift 3. |
| Lobby Cat |  | An ambient character in the hospital lobby. |
| Lobby Bunny |  | Sits on a lobby bench and chats about random goings-on. |
| News Bunny | 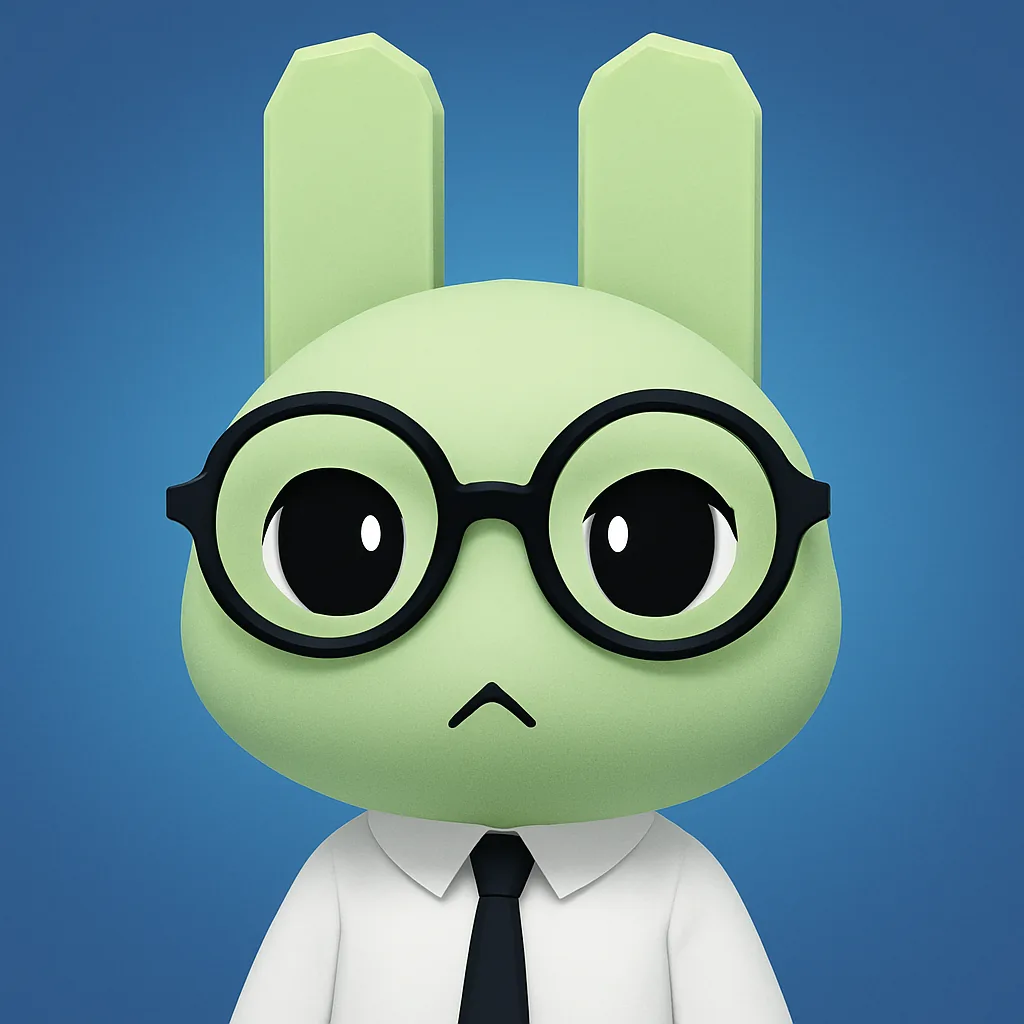 | A reporter who appears on the hospital TV during the Ambulance event. |
| Liz | 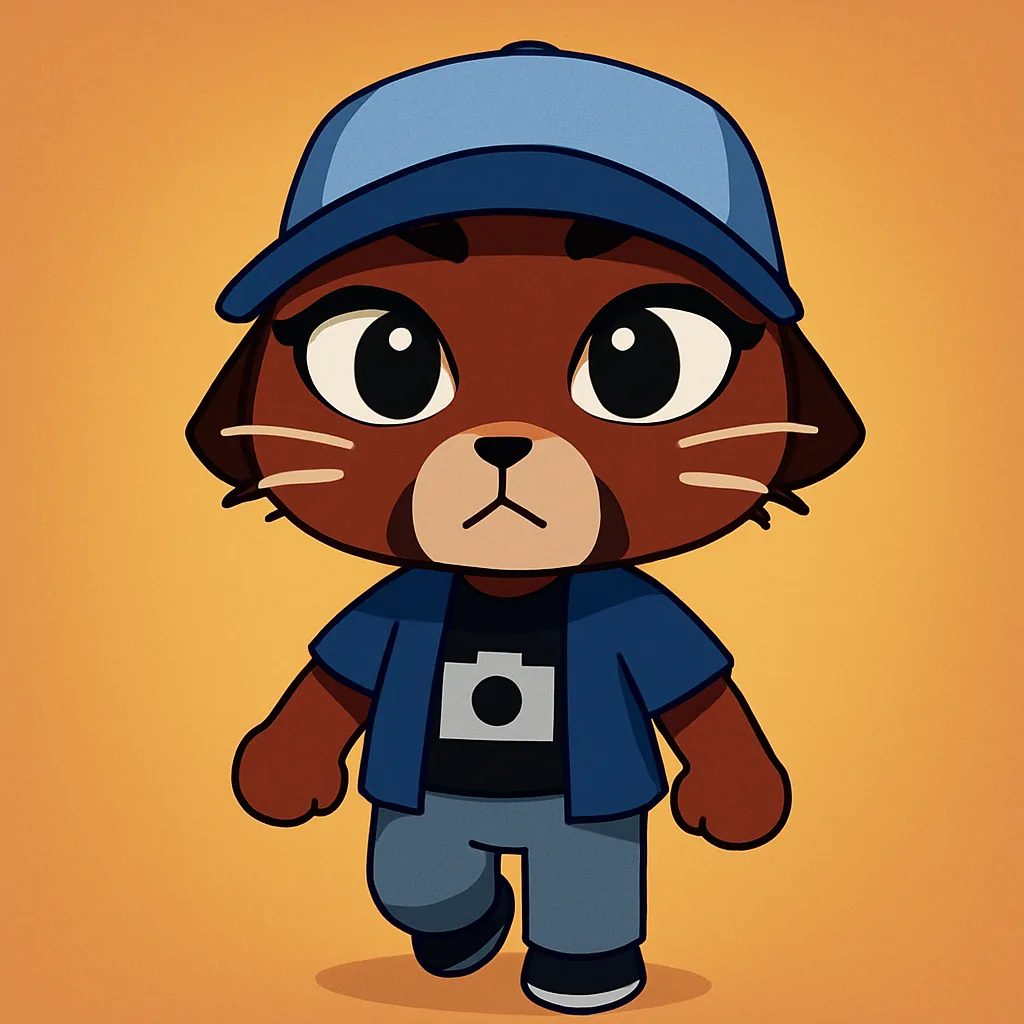 | Appears in Shifts 11–12, hands you a UV Camera, and gives late-game lore. |
| Sam | 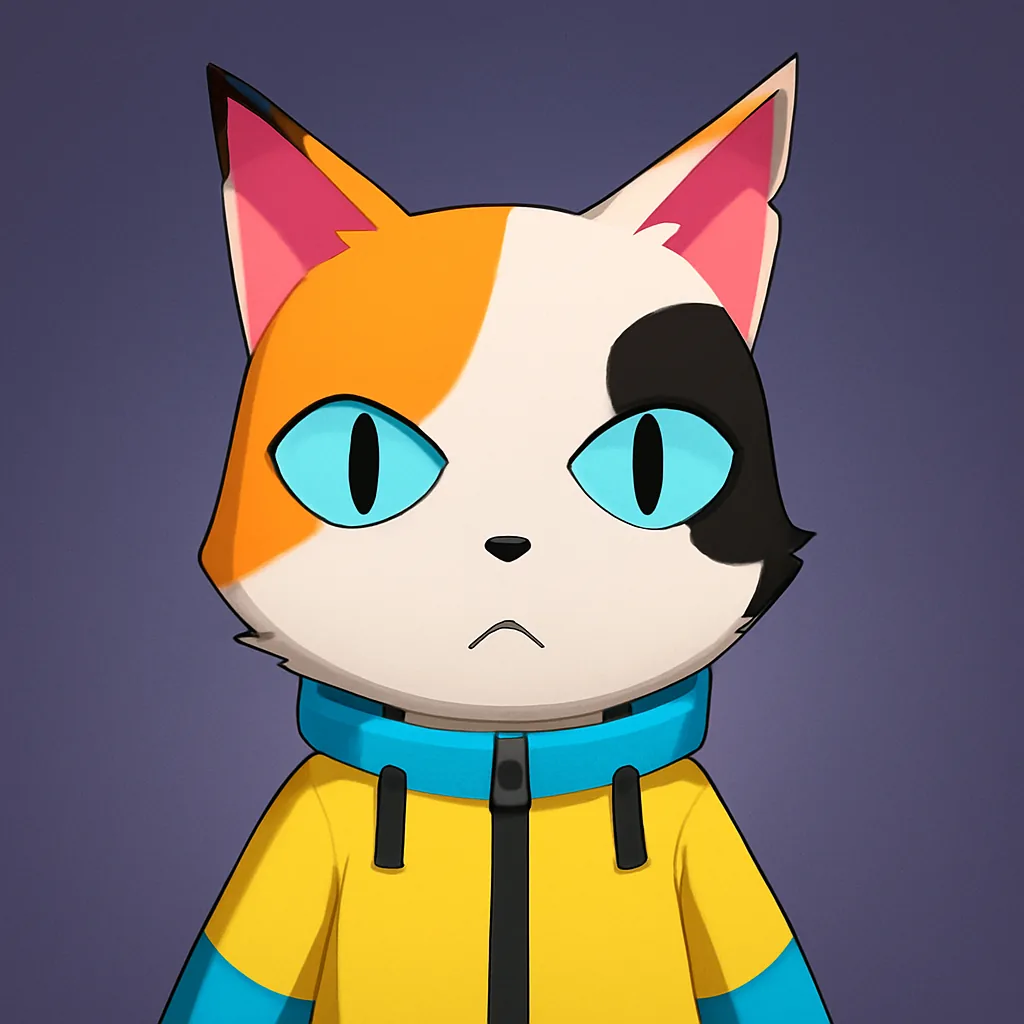 | Appears in Shifts 12–23 after your first Slime Shift. Hire for $250 to clean slime, clear Hiders, and stop room fires. |
| Hazmat Suit NPC |  | Multiple hazmat workers near the van outside the hospital. They work for Animal Corporation. |
The characters who unlock tools and features
Dr. Harlow is the first authority figure you meet, showing up after you treat your first three patients of a shift. He fixes your CCTV cameras and shutters, which are your two main defenses against letting an anomaly reach the front desk. As shifts continue, he unlocks the shop, opens emergency rooms 6 through 8, and eventually gives you a taser for dealing with stalkers, hiders, and skinwalkers. He also grades your performance at the end of each shift.
The Shopkeeper Nurse takes over once the shop opens during Shift 3. She sells the essentials you rely on to survive, including coffee to keep sanity up, medkits, and camera upgrades. She has no dialogue of her own and simply stands ready when you need to spend in-game currency.
Sam arrives later, appearing across Shifts 12 to 23 once you clear your first Slime Shift. You can hire him for $250, and he earns it by cleaning slime from the corridors, clearing out Hiders, and putting out room fires. He is a paid safety net for the harder toxic shifts rather than a story character.
Barney and Officer Duckman: the choice that matters
Barney is a white, rabbit-like visitor in a hat and mustache who looks harmless and asks politely for coffee. He is the most dangerous character in the game, a serial killer who can appear up to twice per shift between Shifts 2 and 7. His requests escalate across your interactions. Over time he asks for four coffees total, wants you to hold his red briefcase, requests a photo that briefly exposes his anomaly form, and finally asks you to hide him from the police. Shooting or tasing him does nothing.
Officer Duckman is the detective chasing Barney, and his arrival triggers Barney’s biggest request. Turning Barney in does not end the threat, because Barney knocks Duckman out and escapes anyway. If you protect Barney through every request instead, you unlock a second coffee machine as a reward, which takes 300 seconds to brew. The choice is about what you value, not a guaranteed safe route.
The lore carriers: Ratthew, Rattina, Ron, and Liz
Ratthew shows up early, usually around Shifts 2 to 3, as a small rat-like patient with buck teeth. New players often mistake him for an anomaly because he stares directly into the CCTV camera, but he is completely harmless. The key detail to memorize is how far his head turns. Real anomalies twist their heads at impossible angles, and Ratthew does not. That baseline becomes important later when a Mimic Skinwalker copies his appearance to sneak past you.
His storyline is the deepest thread in the game. After you finish all of his dialogue exchanges, he hands you a key. Take it to Room 5 and break the poster on the back wall to reveal a hidden safe. Inside is a photo of his missing twin sister, Rattina, and a note reading that the “Shadow” now sees everything.
Rattina herself never appears as an NPC. She worked for Animal Corporation before she vanished, and her photo in the Room 5 safe is the only trace of her in the game. Her backstory continues to expand with content updates, so she remains a lore-only figure for now.
Ron from Accounting is the character to talk to whenever the anomalies confuse you. He has run into the Stalker, the Mass of Eyes, the Bed Monster, and more, and he explains what each one looks like and how to survive it. Between tips he leaks small pieces of company lore, including the claim that the hospital’s patients are not sick but “infected.”
Liz enters much later, around Shifts 11 to 12, and delivers late-game story. She is a former reporter fired from Animal Corporation’s news station for covering the anomaly infection. She asks for your help and lends you a UV Camera for a four-photo assignment. Burn a shot on the wrong target and she leaves, so aim it only at the patients she specifies.
Ambient and background NPCs
A few characters exist purely for atmosphere. The Lobby Cat sits in the lobby and offers a short line of dialogue if you talk to it. The Lobby Bunny sits on a bench nearby and chats about random happenings around the hospital. Neither is tied to a mechanic, but they add texture to an otherwise tense environment.
The News Bunny only appears during the Ambulance event, reporting live from the hospital TV while the chaos unfolds. The Hazmat Suit NPCs stand near a van outside the building and work for Animal Corporation, arriving to harvest slime from the corridors during toxic shifts. They point at the wider story rather than giving you tasks.
Why learning the cast keeps you alive
Every named character here is confirmed safe in normal play, but that does not mean they cannot be imitated. Ratthew in particular gets copied by a Mimic-type Skinwalker in later shifts, and Barney’s true form only surfaces during a specific photo interaction. The safest habit is to learn each character’s normal look and behavior during your early shifts, so anything that deviates from that baseline stands out as a red flag once the harder shifts start throwing curveballs.
Recognizing Ron’s dialogue, Barney’s escalating requests, or Ratthew’s camera stare instantly separates a genuine story beat from an anomaly wearing a familiar face. That recognition is worth more than any single tool the hospital hands you. New characters continue to appear with updates, so the roster is likely to keep growing.