Palworld 1.0 splits its boss fights into three clear types. Nine Tower Bosses gate the main story and hand out Ancient Technology Points, four Raid Bosses are summoned on demand at an altar, and dozens of Alpha Pals sit at fixed spots across the map for you to fight or capture.
Quick answer: Beat the eight faction Tower Bosses in level order (10 to 68), then progress the main story to unlock the final World Tree fight against Zenara and Astralym at Level 80. Raid Bosses need a crafted Slab placed on a Summoning Altar, and Alpha Pals respawn, so defeating one never locks you out of a later attempt.
Tower Bosses in 1.0: levels, weaknesses, and locations
Tower Bosses are Pal Tamers riding a powerful Pal inside a themed arena. Each fight now runs on a five-minute timer, down from ten in Early Access, so bringing a counter-element team matters more than playing safe. You can queue up to four players at the door before anyone interacts with it. The table below lists all nine in progression order.
| Boss | Level (Normal / Hard) | Weakness | Tower and coordinates |
|---|---|---|---|
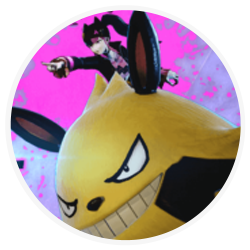 Zoe and Grizzbolt Zoe and Grizzbolt | 10 / 72 | Ground | Tower of the Rayne Syndicate, Windswept Hills (111, -431) |
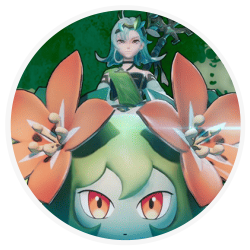 Lily and Lyleen Lily and Lyleen | 20 / 80 | Fire | Free Pal Alliance Tower, north of the Small Settlement (36, -311) |
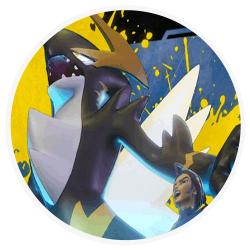 Axel and Orserk Axel and Orserk | 30 / 80 | Ice, Ground | Eternal Pyre Tower, Mount Obsidian (-588, -518) |
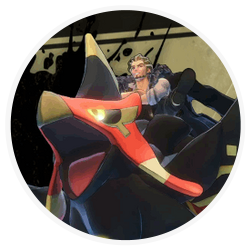 Marcus and Faleris Marcus and Faleris | 40 / 80 | Water | Tower of the PIDF, Desiccated Desert (556, 336) |
 Victor and Shadowbeak Victor and Shadowbeak | 50 / 80 | Dragon | PAL Genetic Research Unit Tower, Astral Mountains (-149, 447) |
 Saya and Selyne Saya and Selyne | 55 / 80 | Dragon, Dark | Center of Sakurajima (-597, 206) |
 Bjorn and Bastigor Bjorn and Bastigor | 60 / 80 | Fire | Feybreak region (-1294, -1669) |
 Auri and Shaolong Auri and Shaolong | 68 / 80 | Electric, Ice | The Azure Tapestry, Sunreach (-419, -1431) |
 Zenara and Astralym Zenara and Astralym | 80 / 100 | None | Sealed Sanctum at the World Tree |
Clearing a tower for the first time turns the entrance into a permanent fast-travel point and awards Ancient Technology Points. A post-fight quest can also let you recruit the boss Pal you just beat, so Pals such as Grizzbolt, Faleris, Orserk, and Shadowbeak can join your team.
Zoe and Grizzbolt (Rayne Syndicate)
The first tower sits in the starting Windswept Hills. Grizzbolt is pure Electric at Level 10, so any level-matched Ground Pal like Gumoss, Rushoar, or Fuddler clears it well inside the timer. Use the arena pillars to block its lightning, and recall your Pal before its triple ground slam lands.
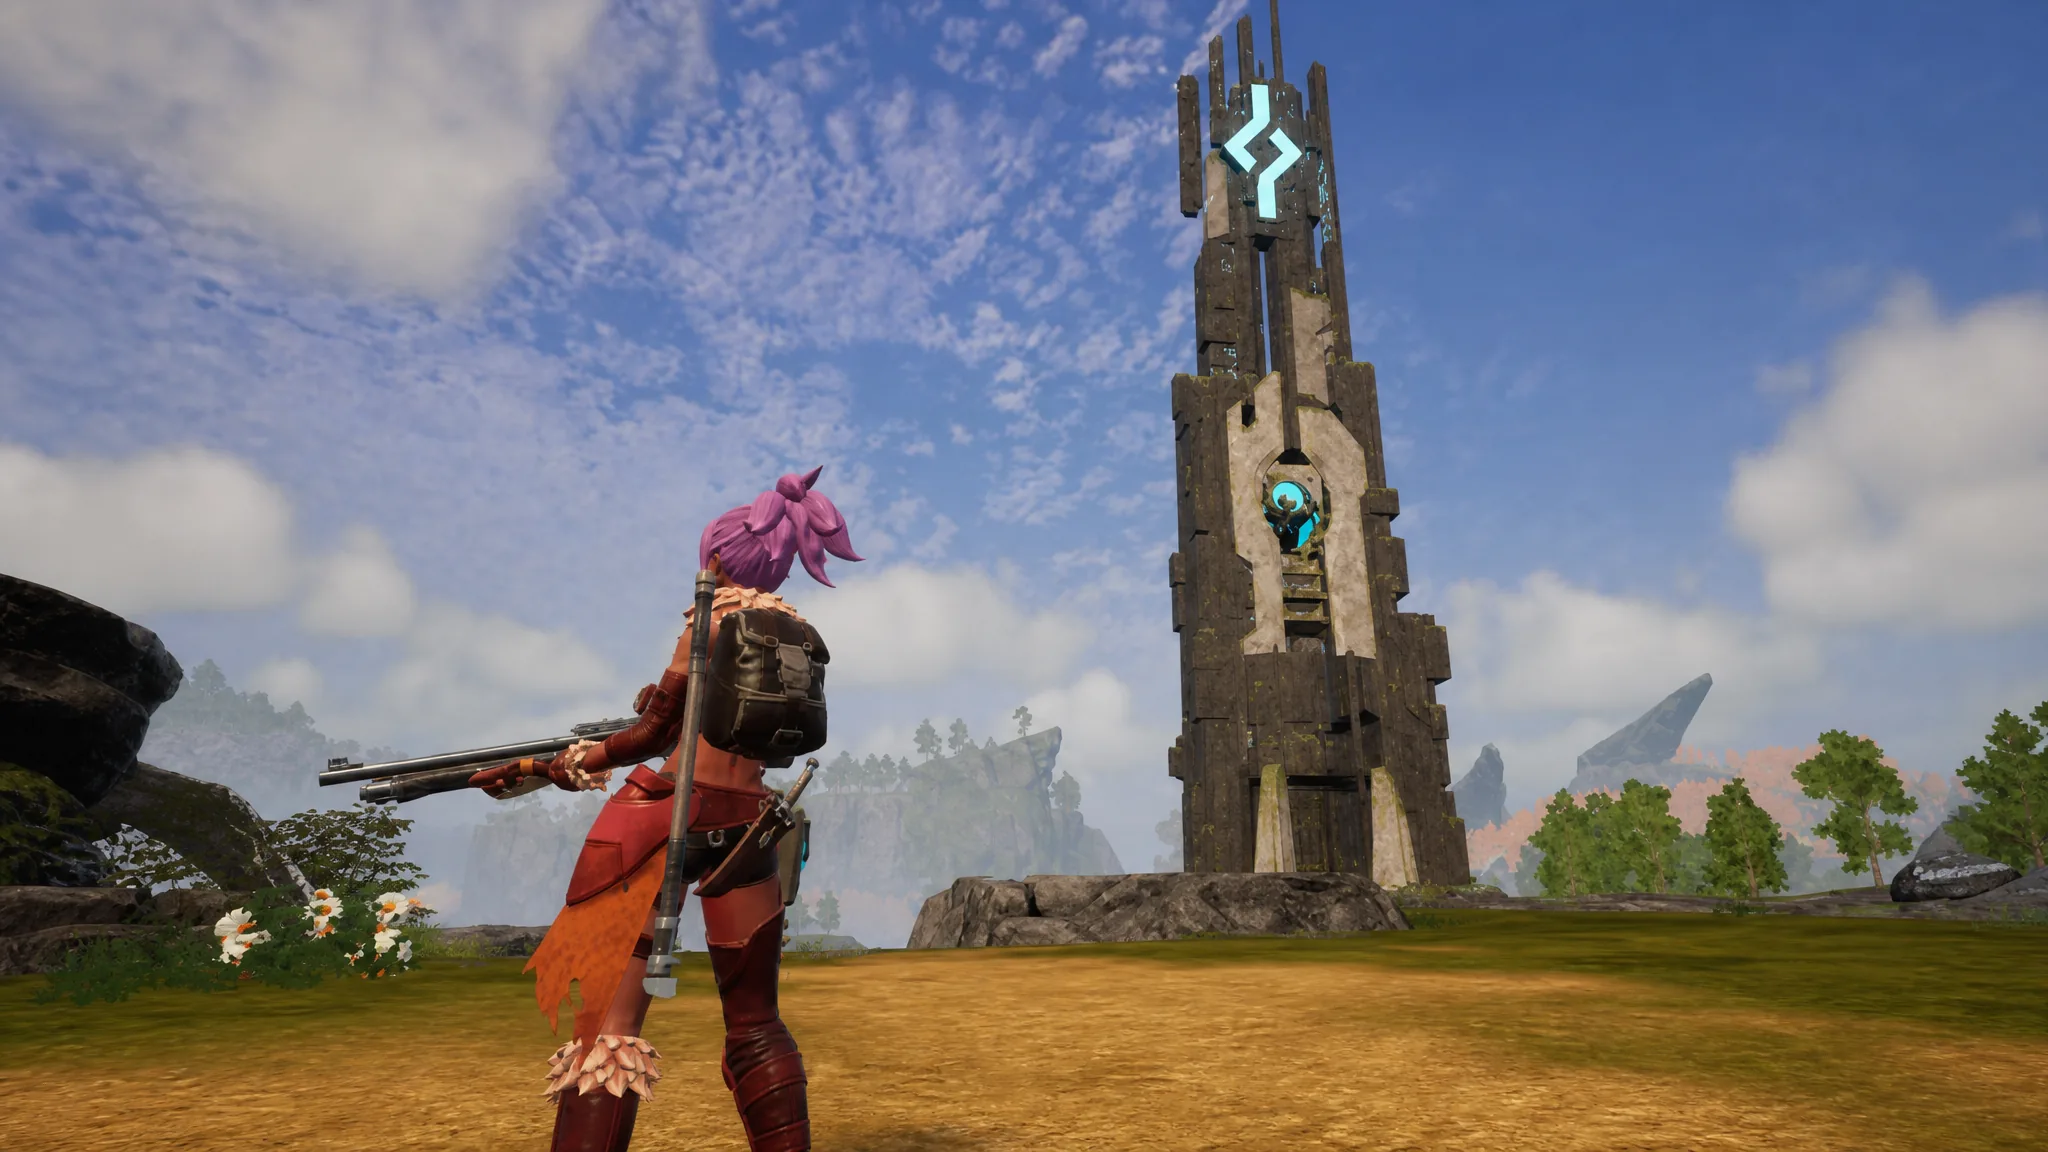
Lily and Lyleen (Free Pal Alliance)
Lyleen is a Grass Pal at Level 20 that heals over the fight, so open with a Fire Pal and stack burn to outpace the regen. A Foxparks with its flamethrower Partner Skill is enough early on. Stay at range, aim for Lyleen’s head, and dodge its homing bubbles and seed grenades.
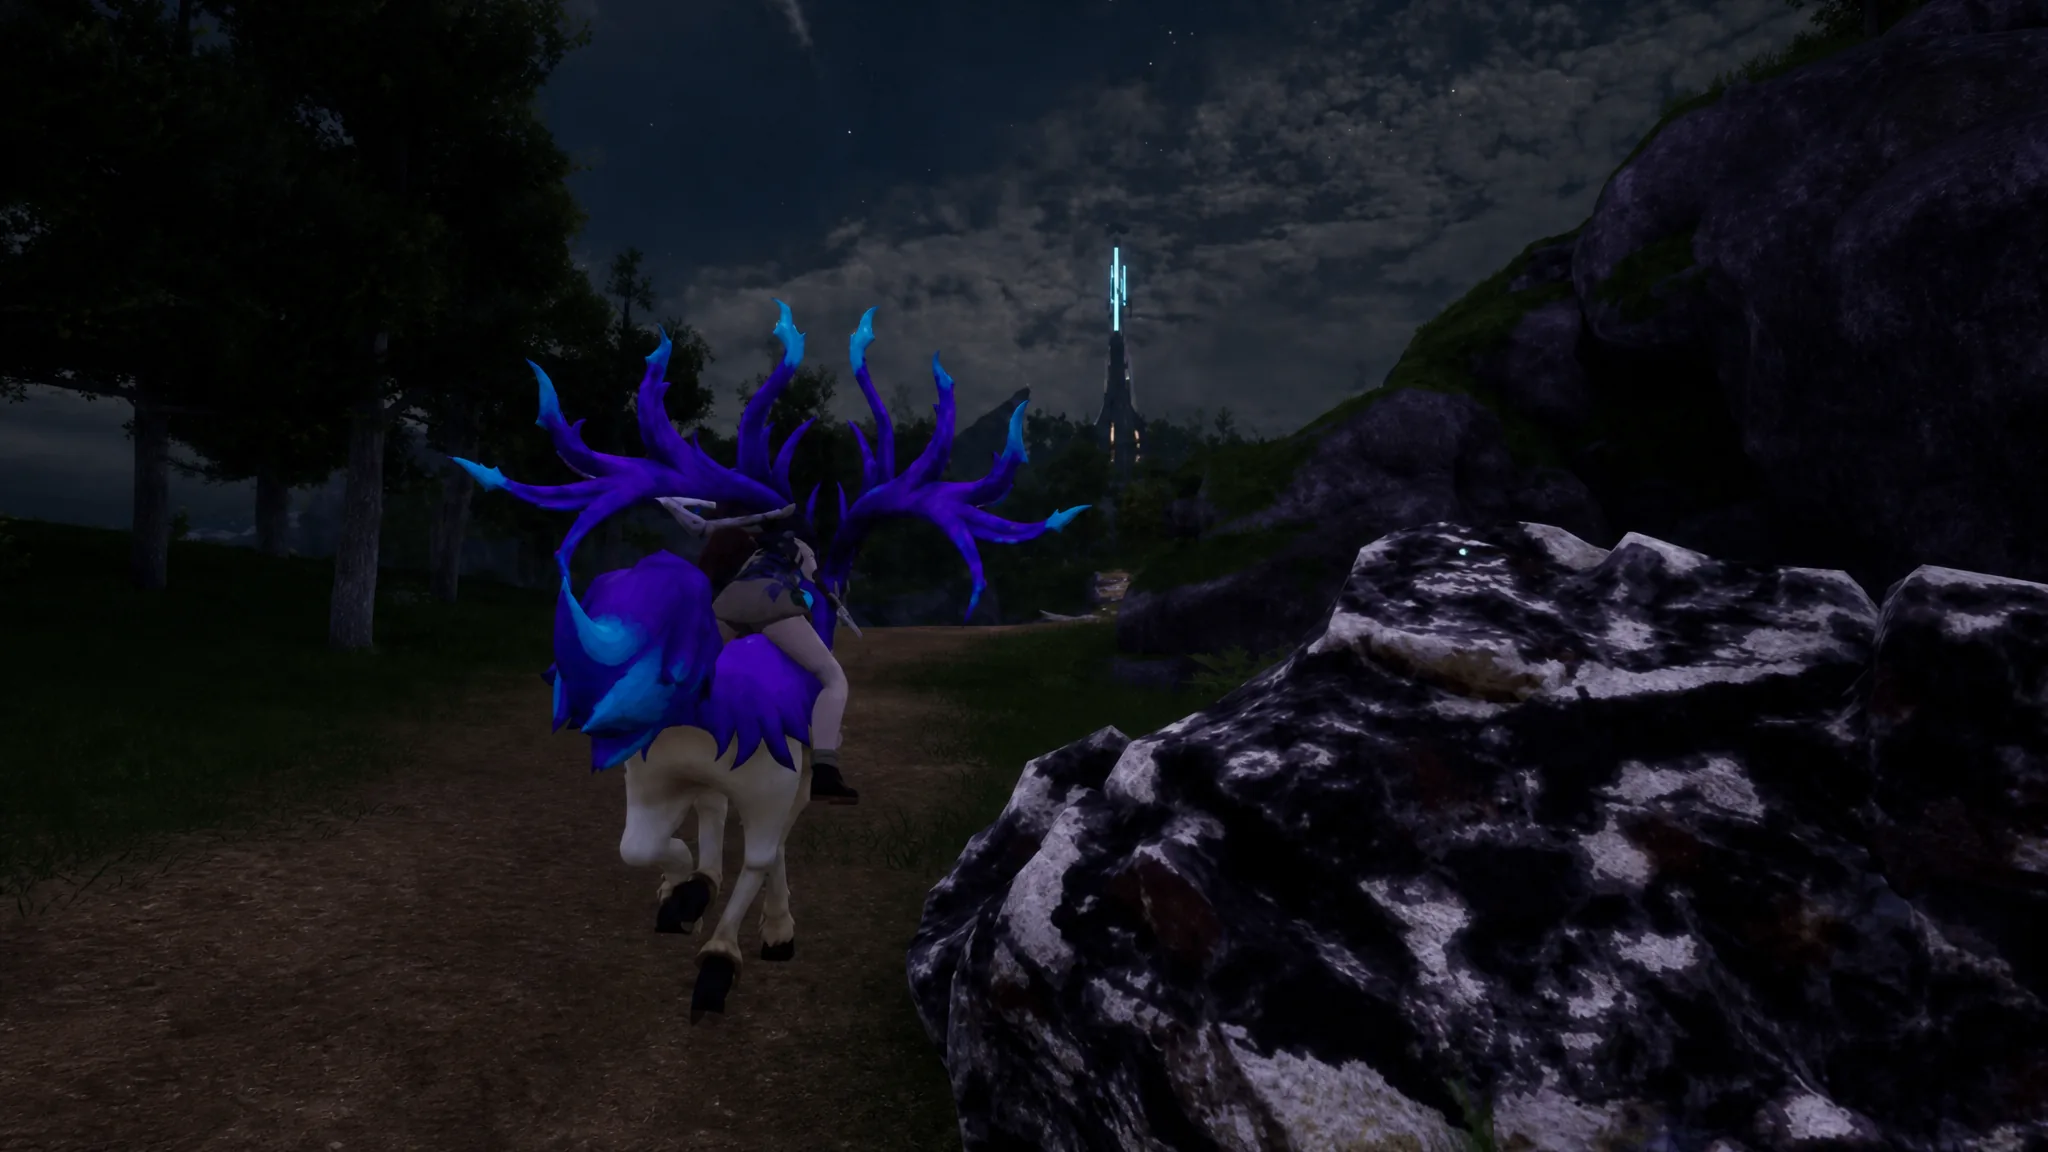
Axel and Orserk (Brothers of the Eternal Pyre)
This tower crowns the volcano on Mount Obsidian, so equip heat-resistant armor before the climb. Orserk is Electric and Dragon at Level 30, weak to both Ice and Ground. Ice Pals add a freeze chance that buys breathing room. Keep out of its melee range and punish the openings after its big casts.
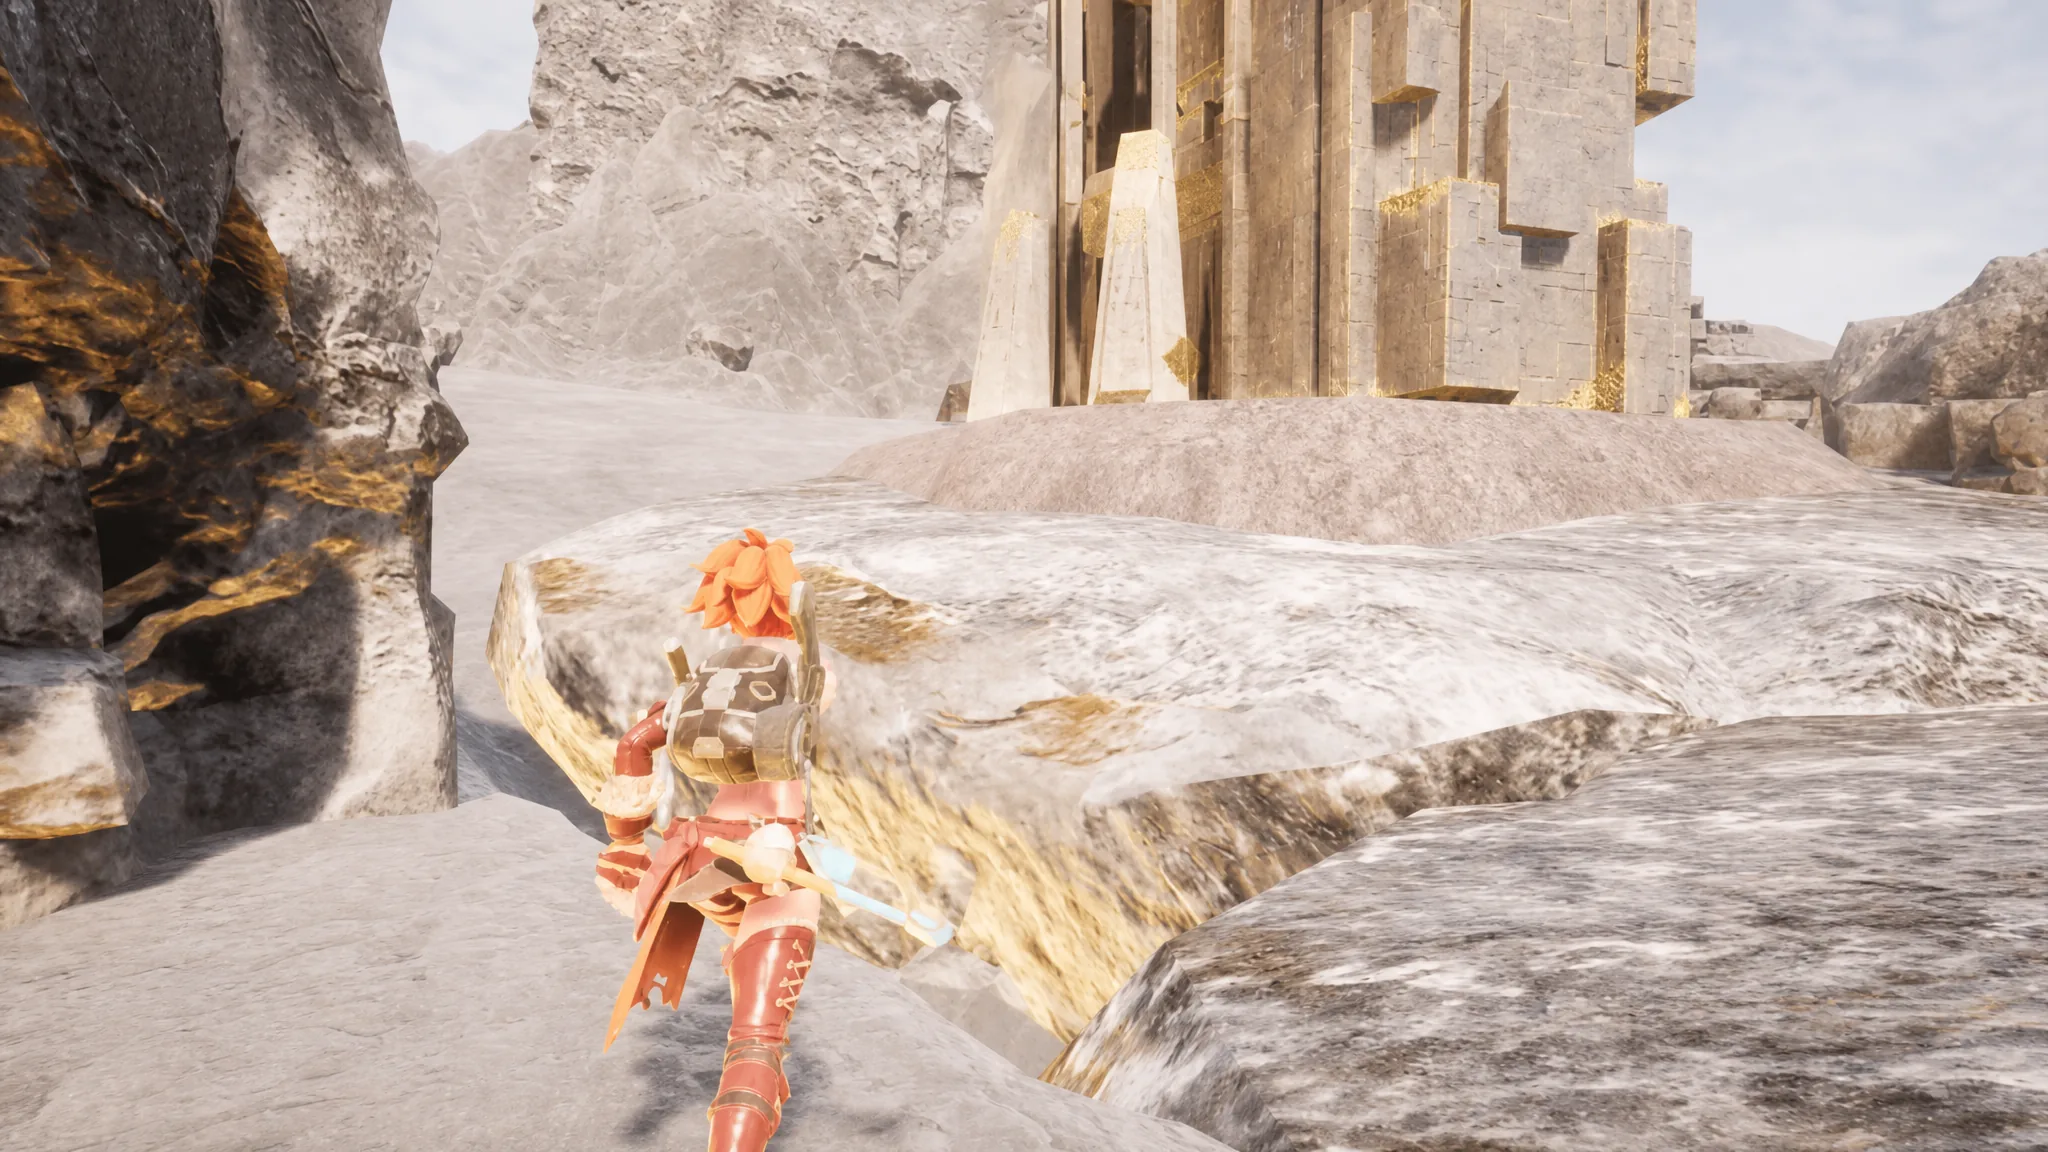
Marcus and Faleris (PIDF)
Out in the Desiccated Desert, Faleris is a Level 40 Fire bird that spends the fight airborne, so bring Water Pals with ranged or flying attacks. Jormuntide and Azurobe work well. Wear heat-resistant armor, keep a pillar between you and its fire tornadoes, and be ready to recall your Pal out of its stun.
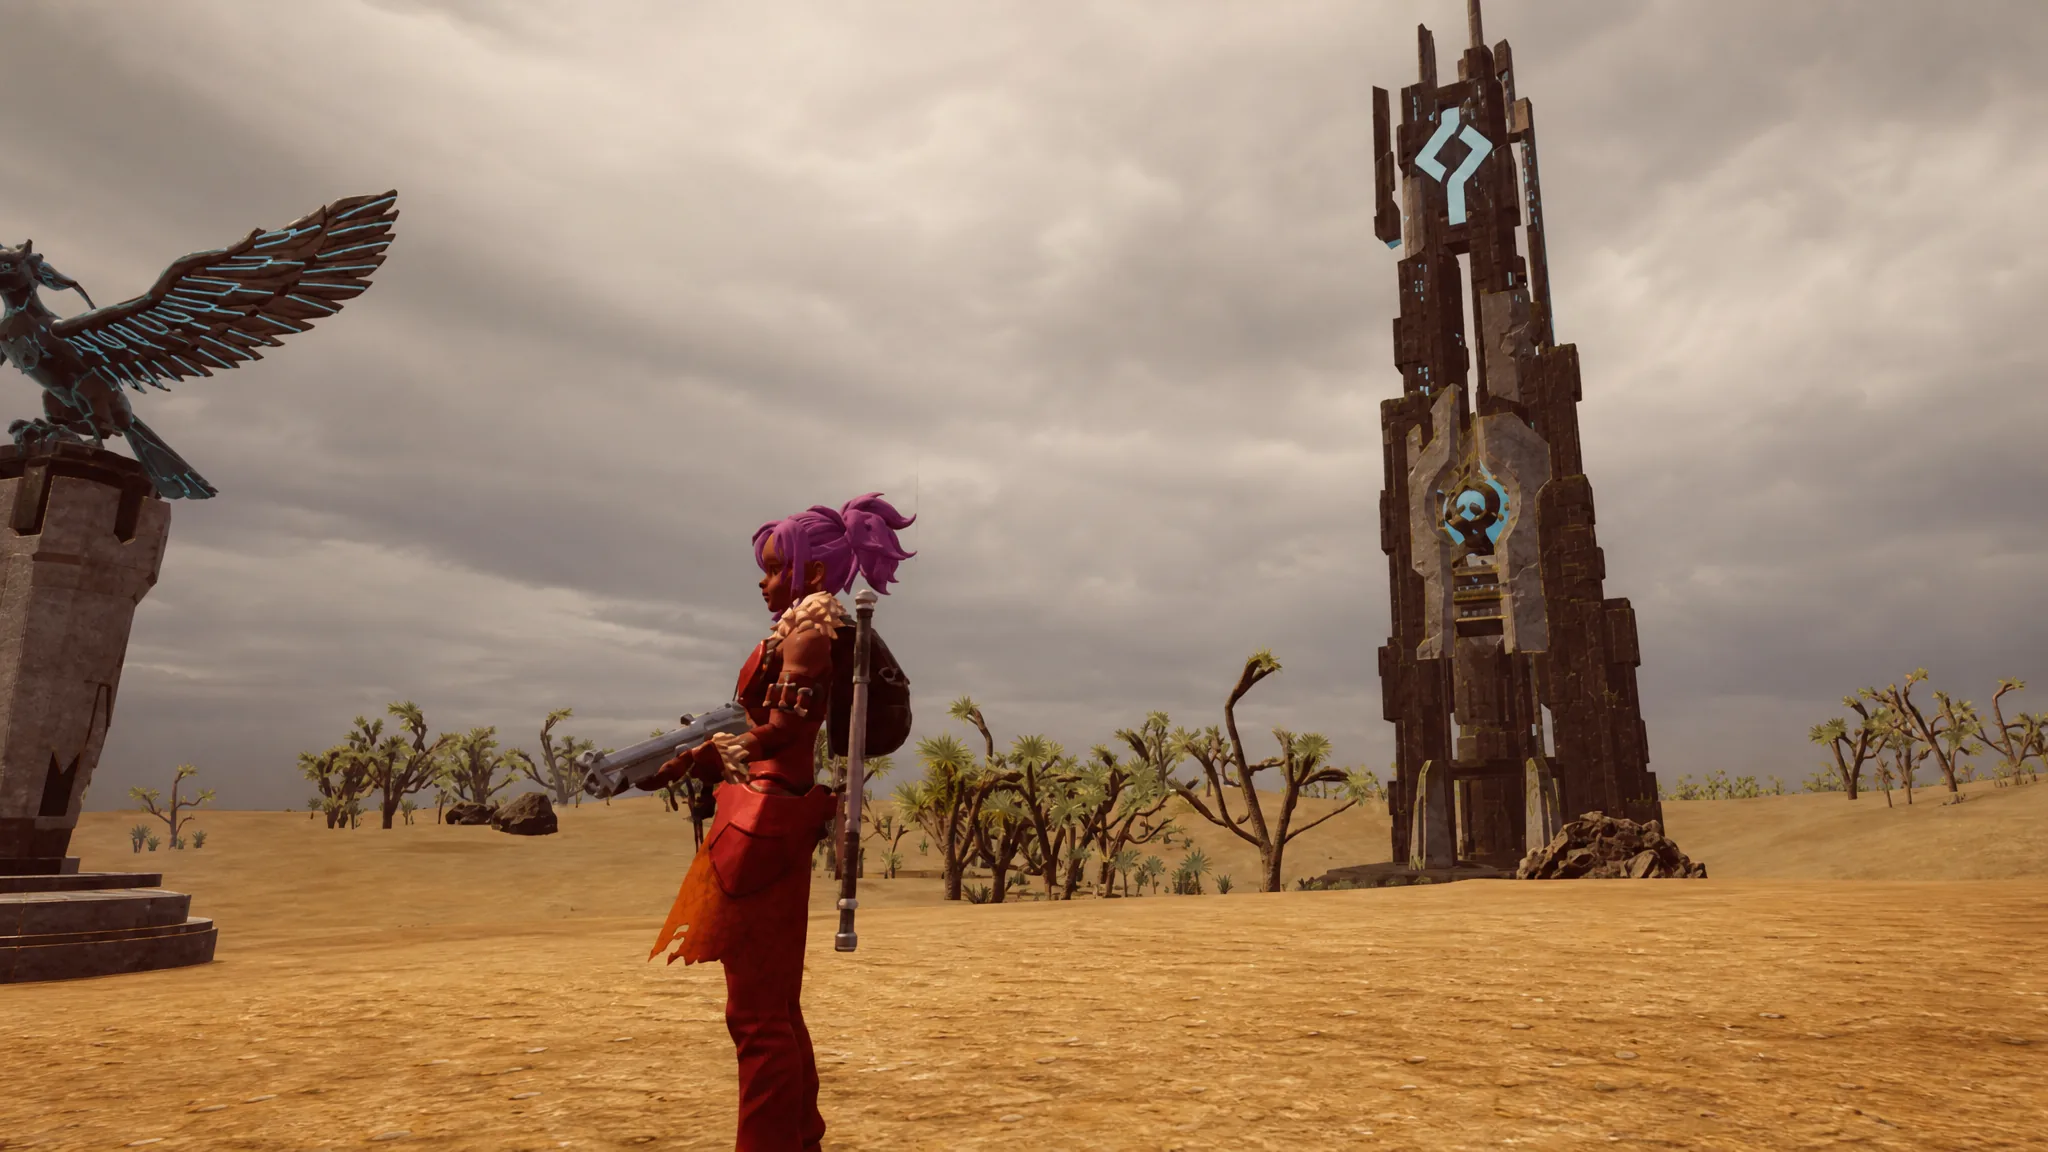
Victor and Shadowbeak (PAL Genetic Research Unit)
Atop the snowy Astral Mountains, Shadowbeak is a Level 50 Dark Pal with a large health pool, so Dragon Pals such as Jetragon or a bred Jormuntide are the counter. Cold-resistant armor helps outside and inside the room. Dodge behind pillars for its Dark and Ice beams, and bring a high-damage weapon for burst.
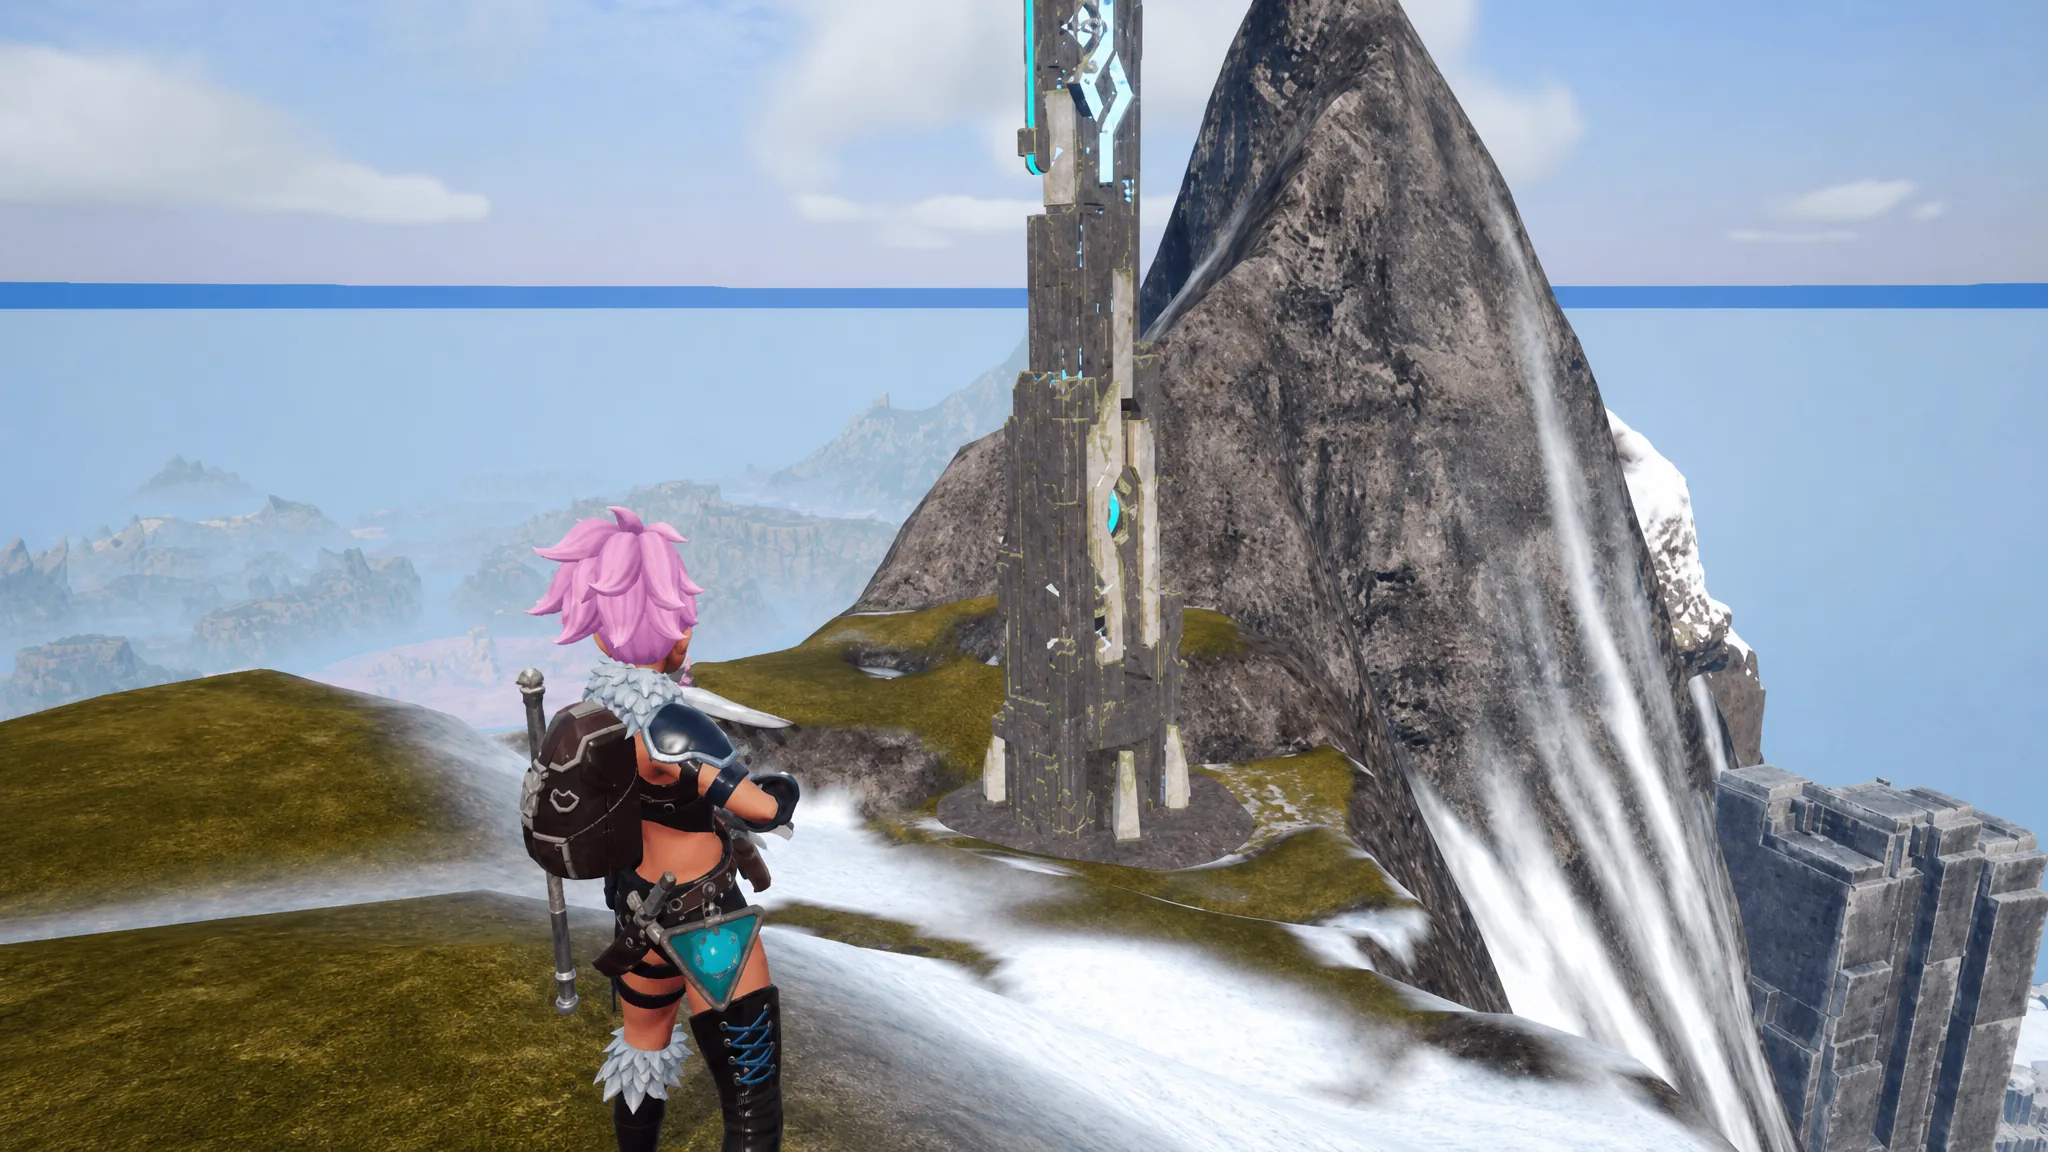
Saya and Selyne (Sakurajima)
Found in the center of Sakurajima, Selyne is a Level 55 Dark Pal, the second Dark boss in a row, so the same Dragon team carries over. Watch for the light circles that telegraph its long-range attacks and dodge the Moonlight Beam behind a pillar. A prepared team can often clear this right after Victor.
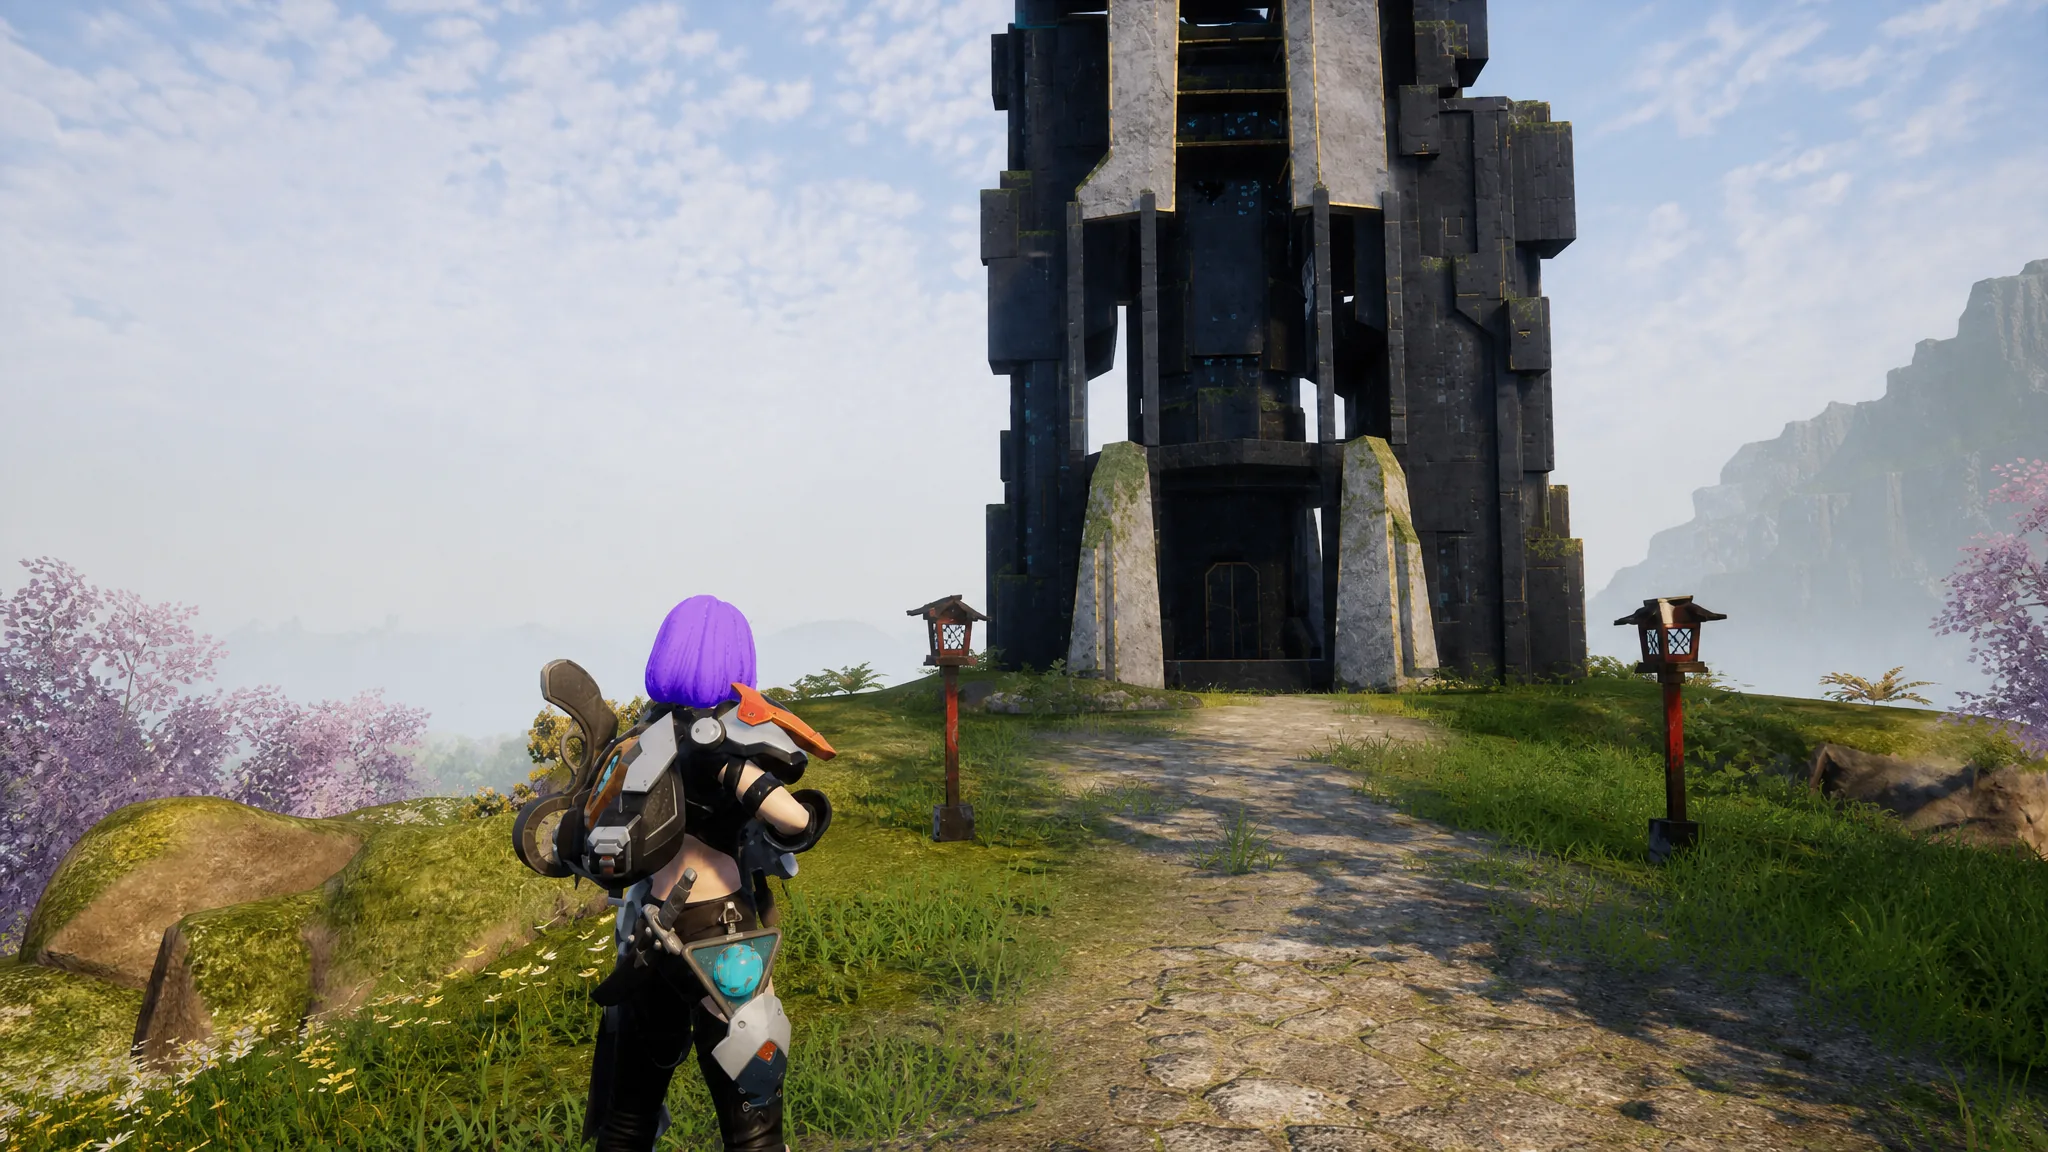
Bjorn and Bastigor (Feybreak)
In the Feybreak region, Bastigor is a hulking Level 60 Ice Pal with a huge health bar that melts to Fire. Bring cold-resistant armor for the trek and a strong Fire Pal with a damage passive. Keep moving to avoid its heavy Ice attacks and take care not to get cornered by its freeze effect.
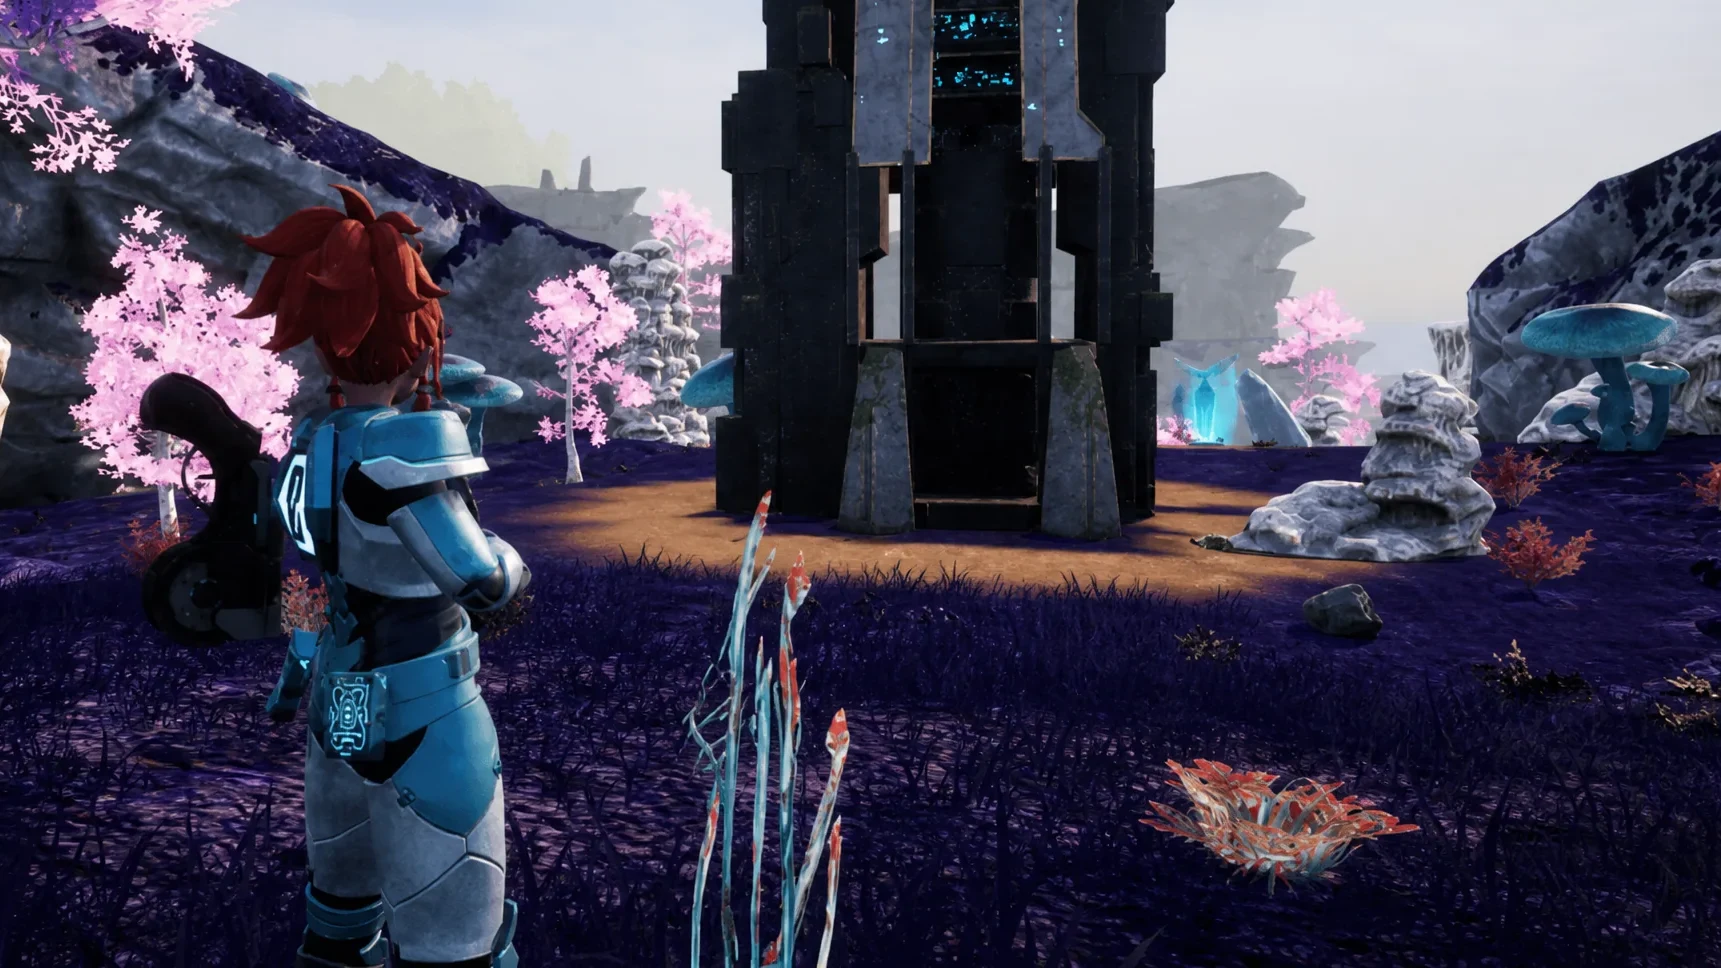
Auri and Shaolong (Azure Tapestry, Sunreach)
The first of the new 1.0 bosses sits in the sky region of Sunreach, reached through the portal that appears after clearing the Feybreak tower. Auri is hidden inside a whirlwind, so disable the six Defense Modules to open the path. Auri and Shaolong are a Level 68 Water and Dragon duo weak to Electric and Ice.
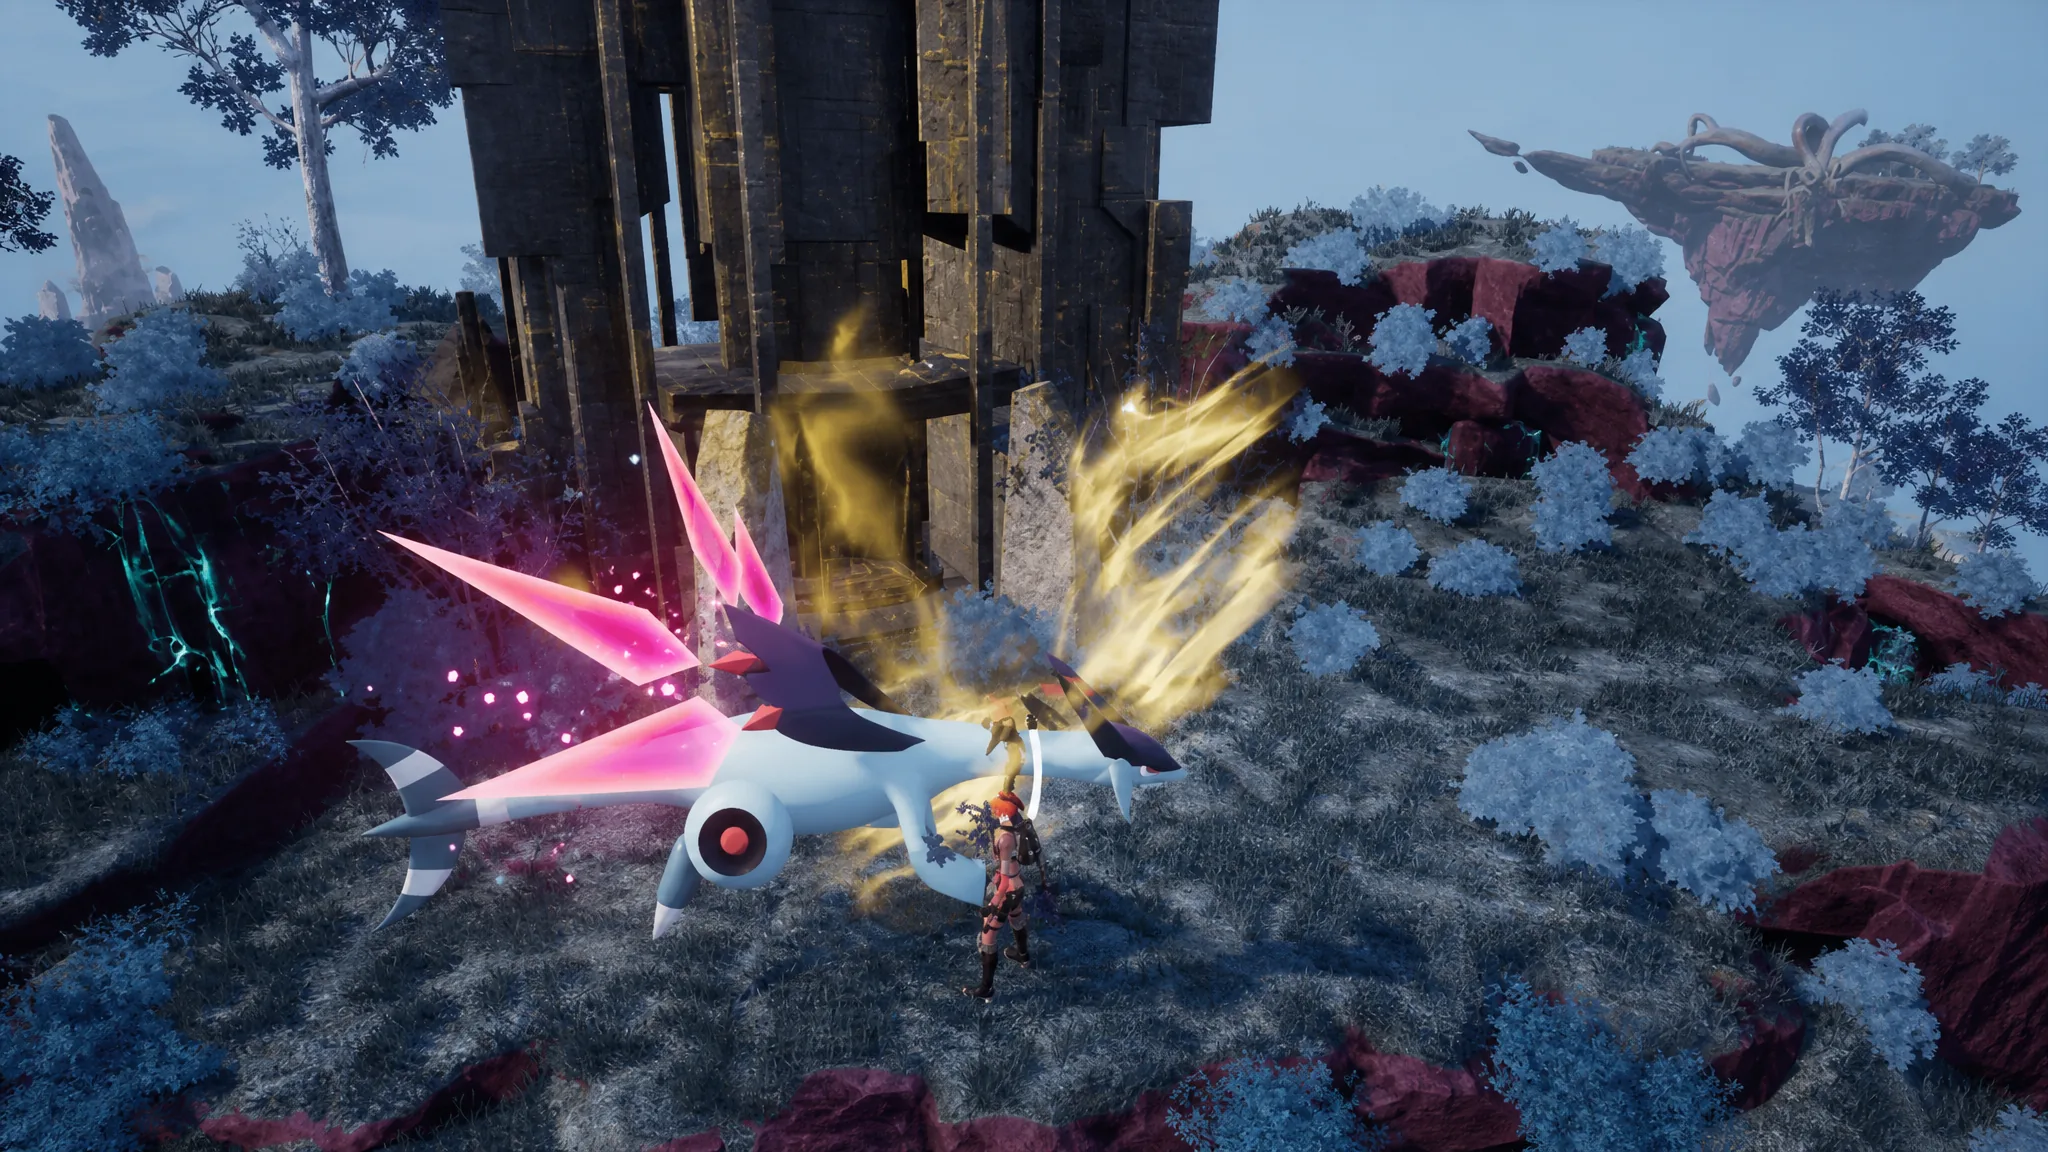
Zenara and Astralym (World Tree, final boss)
The final fight waits inside the Sealed Sanctum at the World Tree. You must defeat all previous Tower Bosses and progress the main story to unlock it. Zenara fuses with the six-winged dragon Astralym at the Level 80 cap and is completely typeless, so there is no weakness to exploit. This is a pure gear-and-skill check: bring your strongest Awakened Pals, top-tier weapons, and full endgame armor.
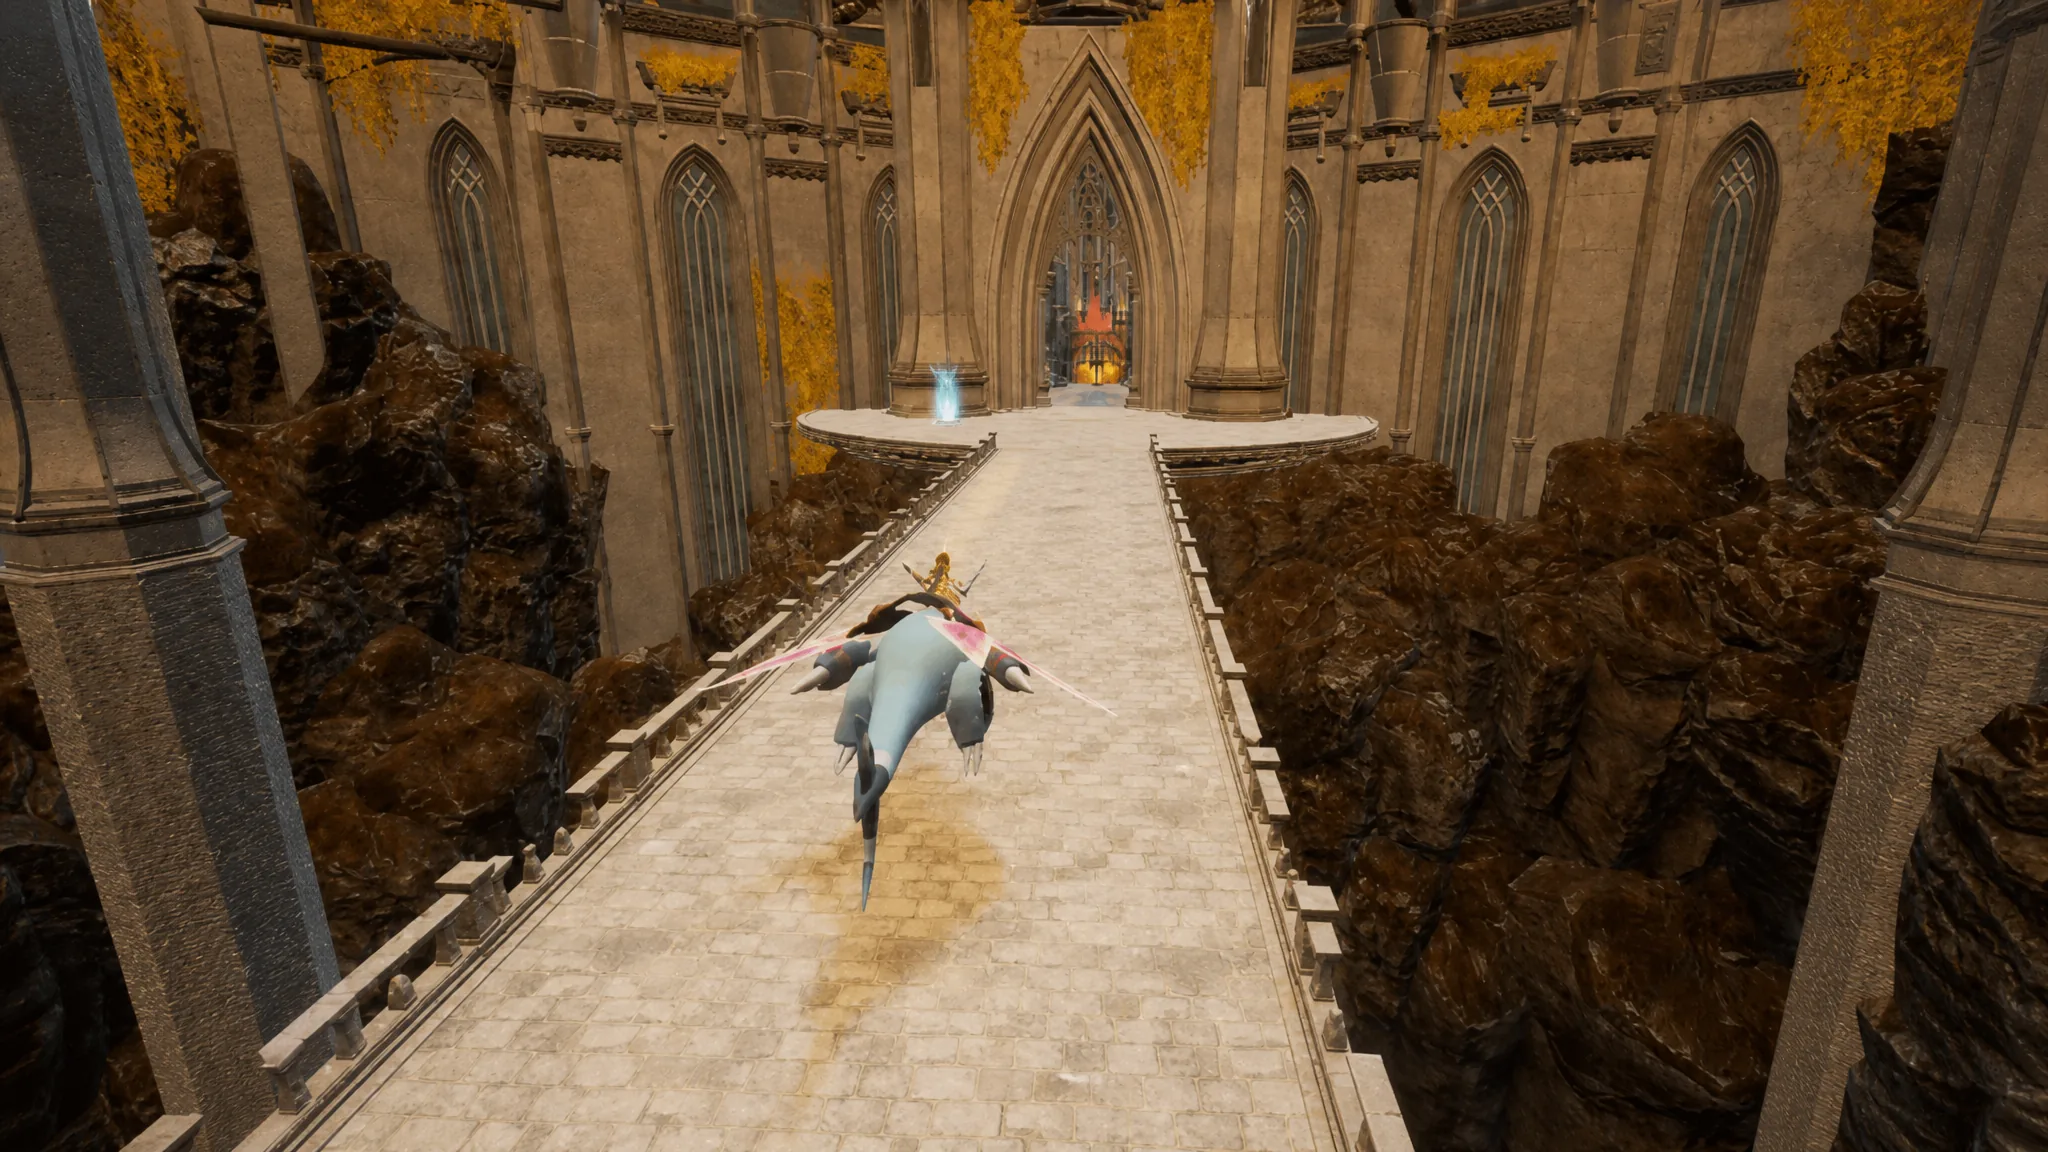
How to unlock Hard Mode towers
Hard Mode Tower Bosses unlock after you defeat every Tower Boss in Normal Mode, with the exception of Zenara. This requirement applies across all difficulty settings. In Hard Mode most towers scale to Level 80, while Zenara and Astralym push to Level 100. The rewards are a cosmetic hat modeled on the boss, so most players save Hard Mode for after they have endgame gear.
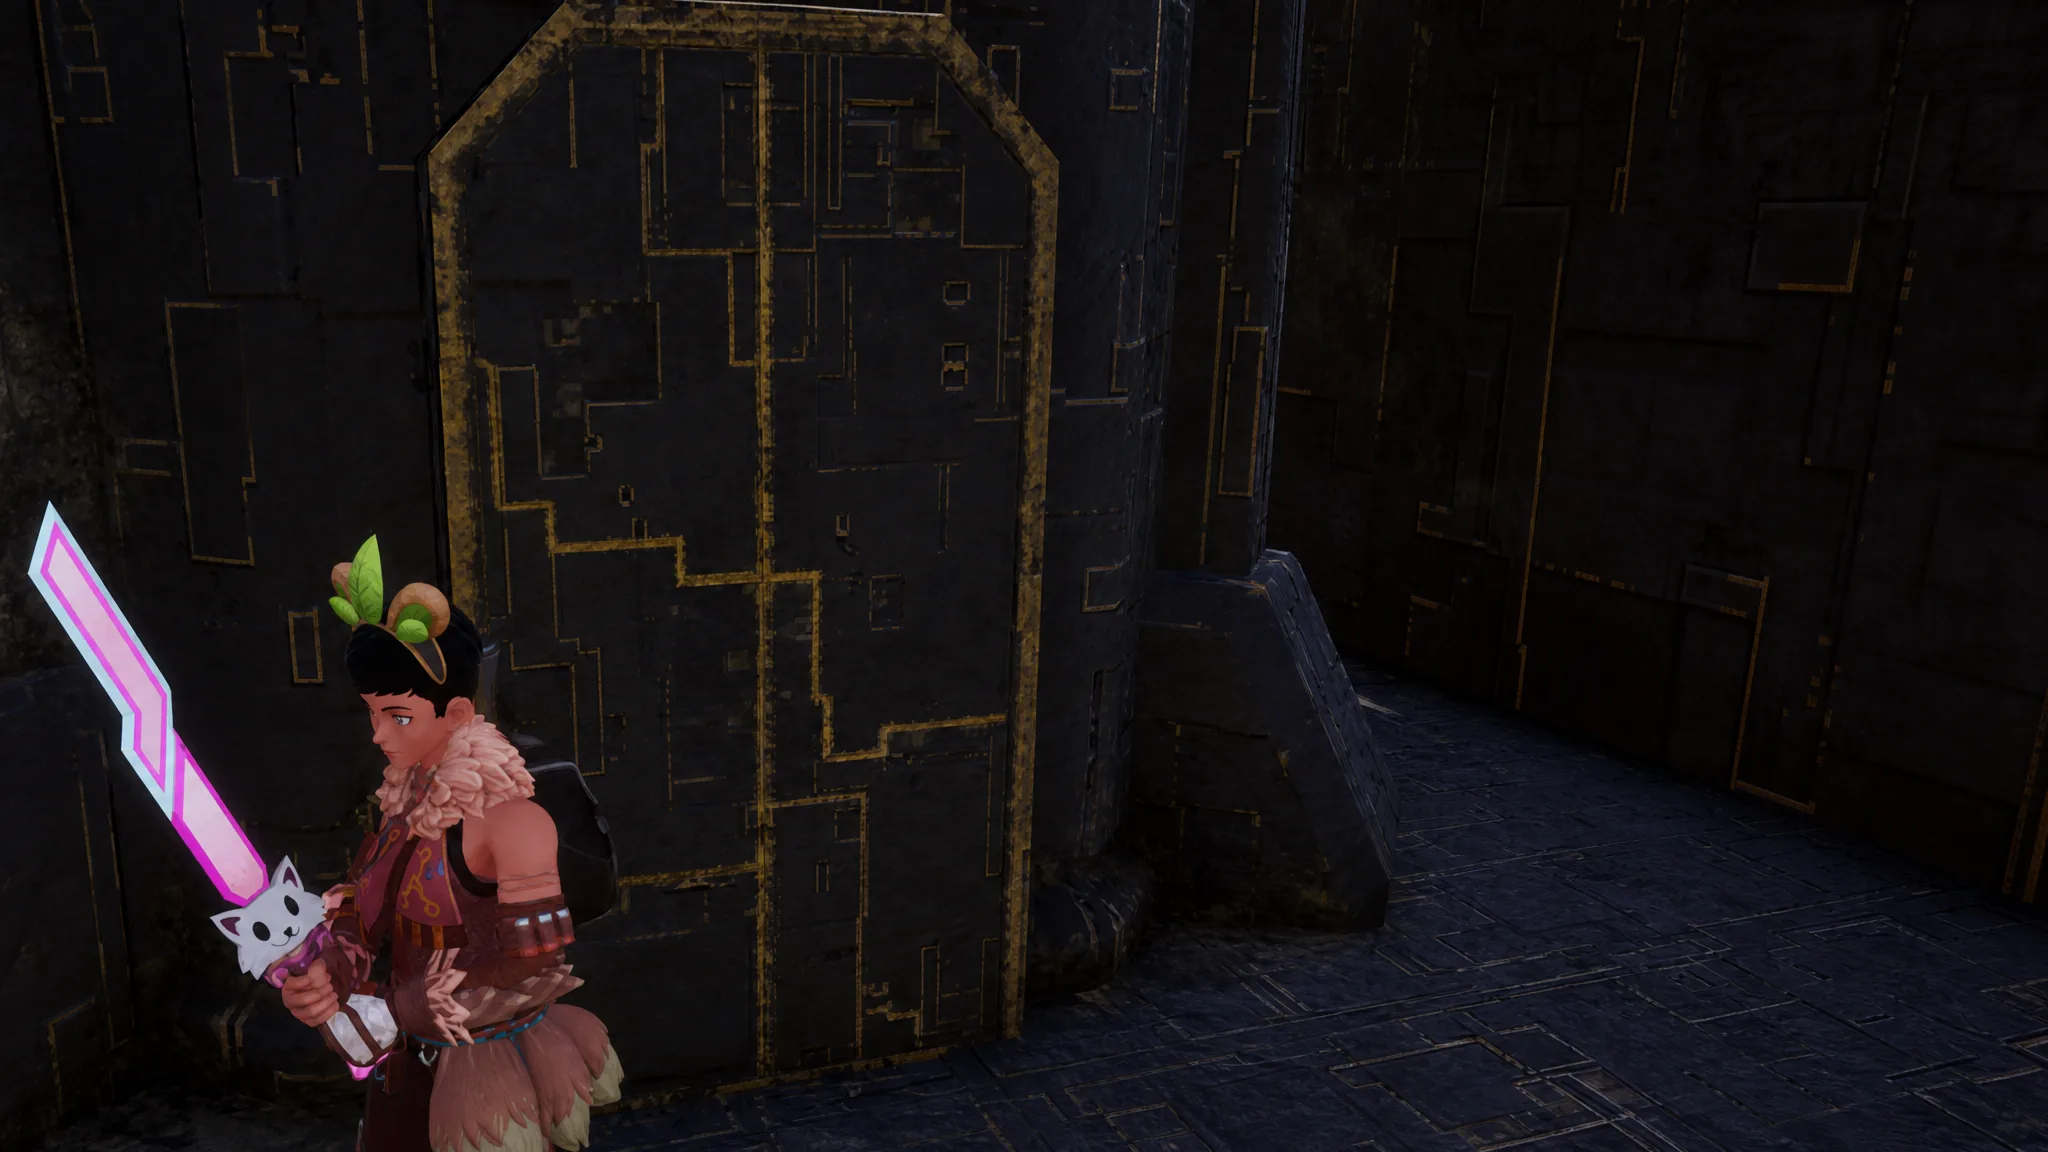
Raid Bosses and Slab requirements
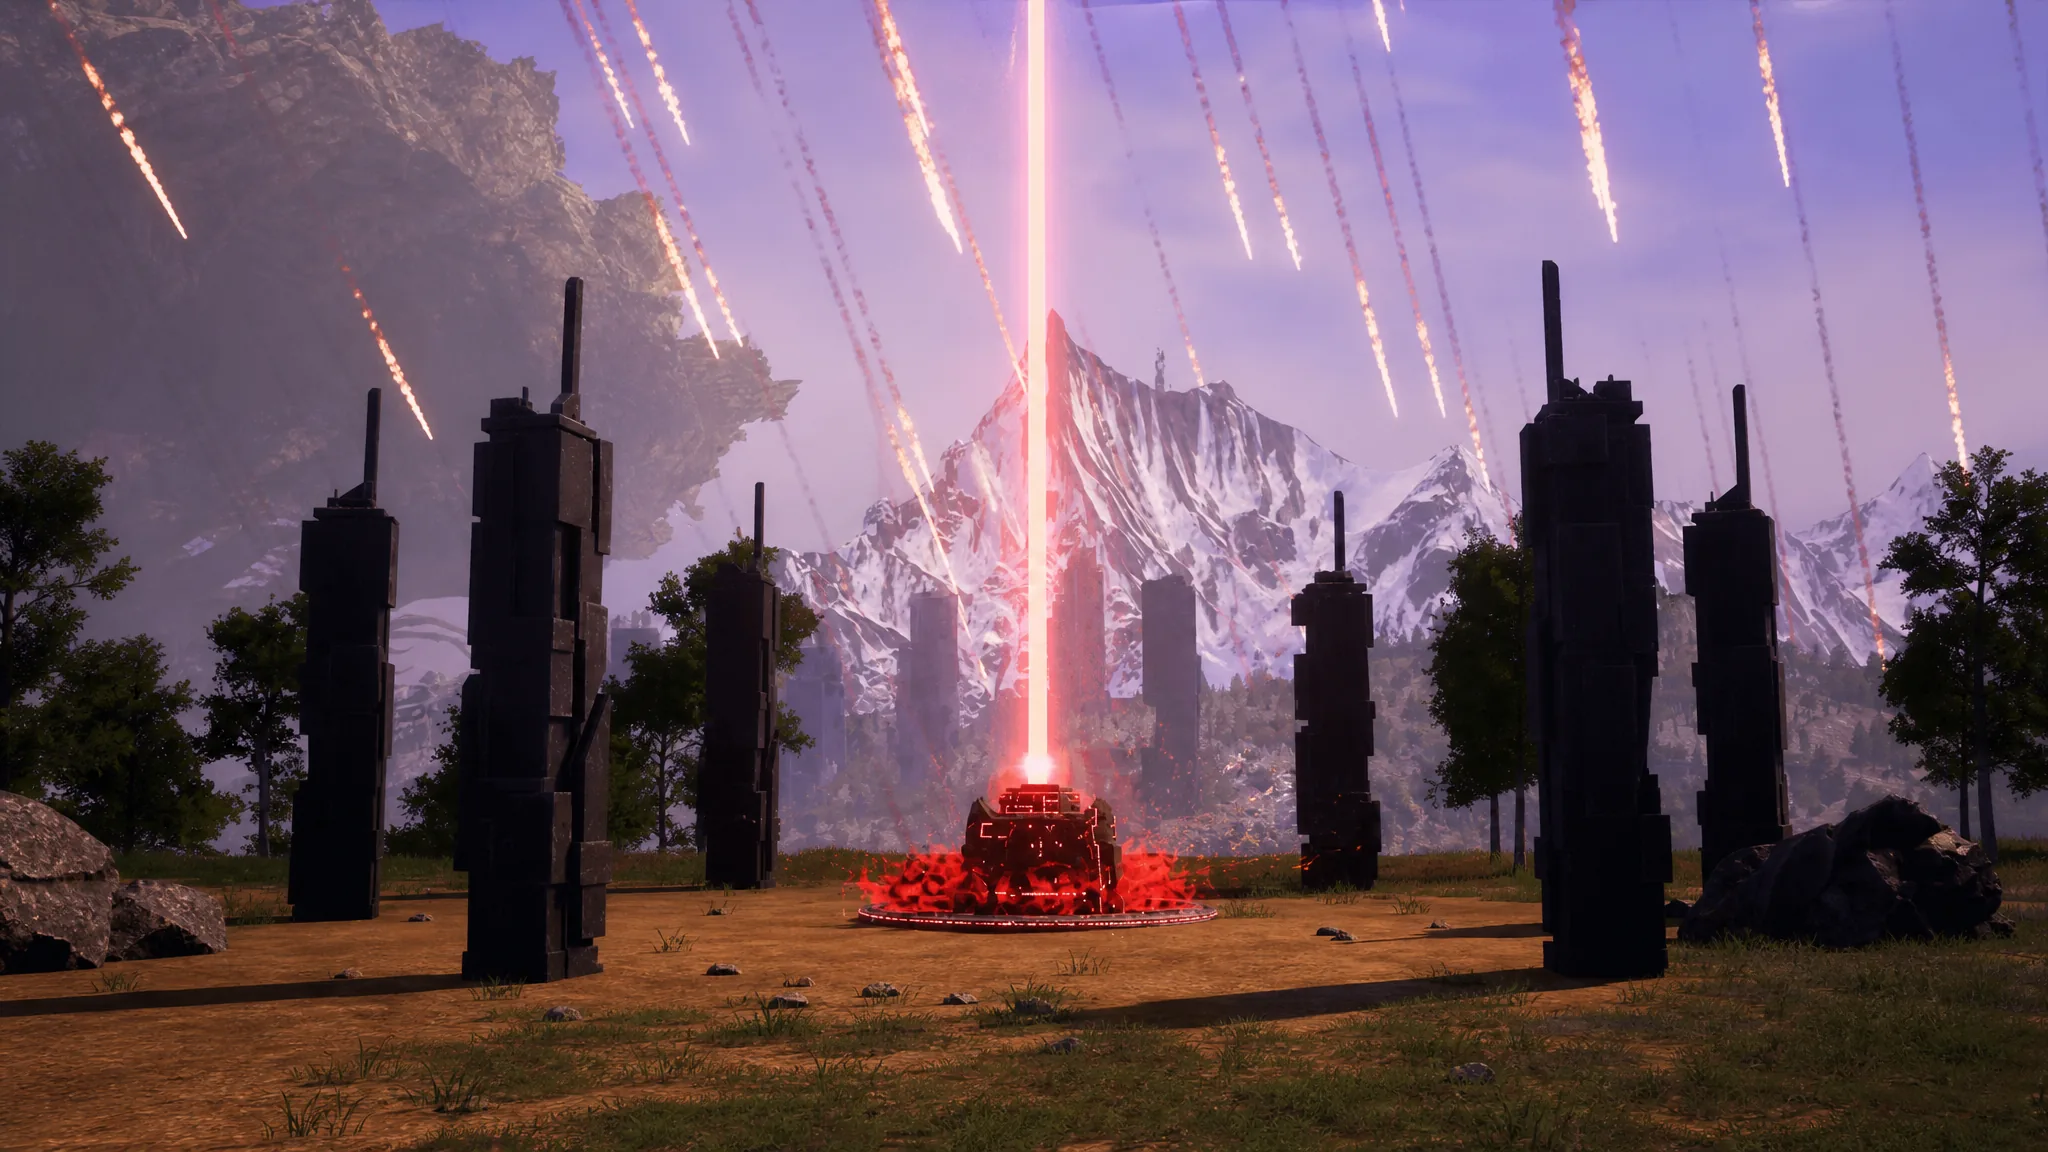
Raid Bosses are not fixed on the map. You craft the matching Slab, place it on a Summoning Altar, and fight the boss against a timer that lasts about ten minutes. Defeating the standard version of a raid boss drops its Ultra Slab, which summons the tougher variant.
| Raid Boss | Slab | Material requirement |
|---|---|---|
 Bellanoir Bellanoir | Bellanoir’s Slab | Bellanoir’s Slab Fragment x4 |
 Bellanoir Libero Bellanoir Libero | Bellanoir Libero’s Slab / Ultra Slab | Bellanoir Libero’s Slab Fragment x4 (Ultra drops after the win) |
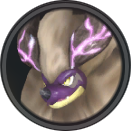 Blazamut Ryu Blazamut Ryu | Blazamut Ryu Slab / Ultra Slab | Blazamut Ryu Slab Fragment x4 (Ultra drops after the win) |
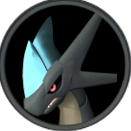 Xenolord Xenolord | Xenolord Slab / Ultra Slab | Xenolord Slab Fragment x4 (Ultra drops after the win) |
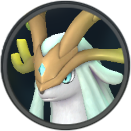 Hartalis Hartalis | Hartalis Slab / Ultra Slab | Hartalis Slab Fragment x4 (Ultra drops after the win) |
Alpha Bosses and their fixed locations
Alpha Bosses are powered-up Pals marked on the map with a boss icon once you get close to their settlement. They hold fixed spots, and they respawn after defeat, so you can return to fight or capture them later. The table below lists each Alpha Pal, its element, and where to find it.
| Alpha Pal | Type | Location |
|---|---|---|
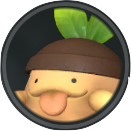 Gumoss Gumoss | Grass / Ground | -112, -626, near Sea Breeze Archipelago Watchtower |
 Penking Penking | Water / Ice | 114, -354, near Sealed Realm of the Frozen Wings |
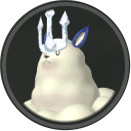 Kingpaca Cryst Kingpaca Cryst | Ice | -385, 357, northwest of Pristine Snow Field |
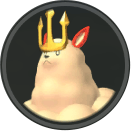 Kingpaca Kingpaca | Neutral | 49, -460, near Small Settlement |
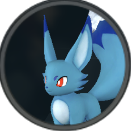 Foxparks Cryst Foxparks Cryst | Ice | -411, -56, near Kelpsea Hill |
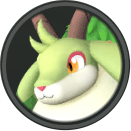 Caprity Caprity | Grass | -146, -660, near Sea Breeze Archipelago Watchtower |
 Sweepa Sweepa | Ice | -227, -594, near Small Cove |
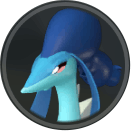 Azurobe Azurobe | Water / Dragon | -176, -267, near Whisperwind Cliffs |
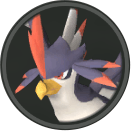 Nitewing Nitewing | Neutral | -275, -70, near Isle of Murmurs Beach |
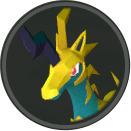 Univolt Univolt | Electric | -116, -542, near Sea Breeze Archipelago Church |
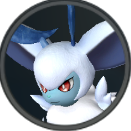 Loupmoon Cryst Loupmoon Cryst | Ice | -1147, -1414, northwest of Frozen Coral Hill Watchtower |
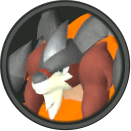 Arsox Arsox | Fire | -116, 491, near Sealed Realm of the Ardent |
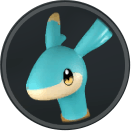 Elphidran Elphidran | Dragon | 44, -283, near Free Pal Alliance Tower Entrance |
| Vaelet | Grass | -18, -267, near Ancient Ritual Site |
| Elizabee | Grass | 163, -84, near Verdant Stream Watchtower |
| Tarantriss | Dark | -343, -251, near Deep Bamboo Thicket |
| Grintale | Neutral | 356, -244, near Natural Bridge |
| Wixen | Fire | 163, -218, near Gobfin’s Turf |
| Lunaris | Neutral | 129, -51, near Sealed Realm of the Mystic |
| Fenglope Lux | Electric | -858, -1146, southwest of Burning Fault Watchtower |
| Fenglope | Neutral | -256, -455, near Ascetic Falls |
| Bushi | Fire | -201, -348, near Sealed Realm of the Swordmaster |
| Dinossom Lux | Electric / Dragon | 315, 168, near Sand Dunes Entrance |
| Mammorest | Grass / Ground | 189, -479, near Grassy Behemoth Hills |
| Dazzi Noct | Electric / Dark | -1201, -855, south of Curved Redrock |
| Foxcicle | Ice | 241, -333, near Islandhopper Coast |
| Beakon | Electric | 96, 23, near Snowy Mountain Crossroads |
| Menasting Terra | Ground | -581, 316, southwest of Sakurajima Northern Rock Field |
| Menasting | Ground / Dark | 350, 539, inside The Furthest Mineshaft (south of Seaward Passage) |
| Needoll | Grass | 434, -711, west of Scouring Islet |
| Mossanda Lux | Electric | 448, -181, near Eastern Wild Island Watchtower |
| Chillet | Ice / Dragon | 178, -414, near Fort Ruins |
| Moldron | Fire / Ground | -1126, -1981, south of Bicornis Islet |
| Moldron Cryst | Ice / Ground | -1942, 1516, northwest of Gilded City Ruins |
| Broncherry | Grass | -222, -670, near Sea Breeze Archipelago Watchtower |
| Dumud | Ground | -310, 4, near Isle of Murmurs Beach |
| Kitsun Noct | Dark | -847, -1307, east of Wildlands Floodgate |
| Blazehowl | Fire | -254, -131, near Sealed Realm of the Myriad Flames |
| Warsect Terra | Ground | -1019, -1236, northeast of Hidden Passage to the Oculus Gate |
| Sibelyx | Ice | 253, 69, near Sealed Realm of the Swift |
| Jormuntide | Water / Dragon | 351, -86, near Altar of the Windcaller |
| Anubis | Ground | -134, -93, near Anubis Dunes |
| Suzaku | Fire | 324, 483, near Sandstone Plateau Watchtower |
| Reptyro | Fire / Ground | -548, -435, west of Mount Obsidian Midpoint |
| Starryon | Dark | -893, -1293, west of Wildlands Floodgate |
| Pierdon | Ground | 820, 466, northeast of Flamepulse Islet |
| Cryolinx Terra | Ground | -1285, -1303, east of Oilfield Overlook |
| Wumpo Botan | Grass | 449, -52, near Dustview Coast |
| Blazamut | Fire | -736, -333, east of Mount Obsidian Trail |
| Dualith | Grass / Ground | 909, -99, southwest of Islet of Circular Ruins; also -1710, 1398 east of Gilded City Ruins |
| Dualith Noct | Ground / Dark | -1693, -947, west of Glacial Memento Islet |
| Prixter Lux | Electric / Ground | -1313, -612, north of Sandstone Islet |
| Tetroise Primo | Neutral | -1082, -1320, northeast of Hidden Passage to the Oculus Gate |
| Tetroise | Neutral | 435, 379, northeast of Duneshelter |
| Nyafia | Dark | -1285, -1303, east of Oilfield Overlook |
| Prunelia | Grass / Dark | -1355, -967, northeast of Deserted Ash Plateau |
| Nitemary | Dark | -924, -1014, west of Stone Pillar Cave Entrance |
| Smokie | Dark | -877, -1469, southeast of Loess Plains |
| Omascul | Dark | -707, -929, north of Crimson Cliffs |
| Whalaska | Water / Ice | -178, 841, northwest of Isle of the Glacial Core |
| Whalaska Ignis | Fire / Ice | -1611, 1417, west of Whimsical Wisteria Grove |
| Verdash | Grass | 284, 12, near Sealed Realm of the Swift |
| Splatterina | Dark | -1079, -1455, southeast of Frozen Coral Hill Watchtower |
| Gildane | Ground | -940, -1413, northwest of Loess Plains |
| Celesdir Noct | Dark | -1928, 1403, northwest of Gilded City Ruins Watchtower |
| Celesdir | Neutral | -965, -1172, south of Crystallized Great Tree |
| Astegon | Dark / Dragon | 55, -697, east of Sea Breeze Archipelago Watchtower |
| Knocklem | Ground | -585, -253, near Ruined Fortress City |
| Silvegis | Dragon | -985, -1023, south of Shield Dragon Tunnel |
| Azurmane | Electric | -1131, -1669, south of Azure Cliffs |
| Snock | Electric | -367, -1417, west of Farcry Marsh |
| Slowatt | Electric | -367, -1359, northwest of Farcry Marsh |
| Eidrolon | Dark / Dragon | -491, -1521, southeast of Waterlily Gorge |
| Dynamoff | Electric | -306, -1526, south of Sunreach Watchtower |
| Flaracle | Fire | -243, -1520, west of Enchanted Firmament |
| Ophydia | Water / Grass | -590, -1477, west of Waterlily Gorge |
| Mycora | Grass | -1857, 1265, southeast of Lacrymal Shoal |
| Wistella | Dark | -230, -1417, east of Farcry Marsh |
| Renjishi | Fire | -1590, 1579, east of Corroded Hollow |
| Aegidron | Ground / Dragon | -1925, 1341, north of Lacrymal Shoal |
| Grizzbolt | Electric | 55, -697, east of Sea Breeze Archipelago Watchtower |
| Lyleen | Grass | -631, 302, northeast of Secluded Cemetary |
| Lyleen Noct | Dark | -627, 305, northeast of Secluded Cemetary |
| Faleris Aqua | Water | -1306, -1620, northwest of Feybreak Tower Entrance |
| Silvance | Grass | -1935, 1152, near Shinespore Root |
| Dandilord | Grass / Dark | -1679, 1644, near Rotmist Root |
| Paladius | Neutral | 440, 679, near The Furthest Flats |
| Frostallion | Ice | -357, 508, east of Garden Beneath the Astral Mountains |
| Frostallion Noct | Dark | 55, -697, east of Sea Breeze Archipelago Watchtower |
| Neptilius | Water | 140, 653, near Isle of the Glacial Core |
| Jetragon | Dragon | -554, -1332, northwest of Azure Tapestry |
Bounties: human targets on the map
Bounties work much like Alpha Bosses, except the targets are human. You can find clues to their whereabouts by talking to Intel Dealers, or spot them yourself while exploring. Bounty levels run from 10 up to 59, spread from the starting islands out to the Feybreak coordinates. A few examples give a sense of the range: Scoot (-20, -462) at Bounty Level 10, Whip (320, 370) at Level 40, and Ram (-1237, -1183) at Level 59.
Taken together, the tower, raid, and alpha systems cover every combat milestone in Palworld 1.0. Clear the towers in level order to open the road to the World Tree, farm Slab Fragments when you want a raid on demand, and revisit Alpha Pals freely since they always respawn.