

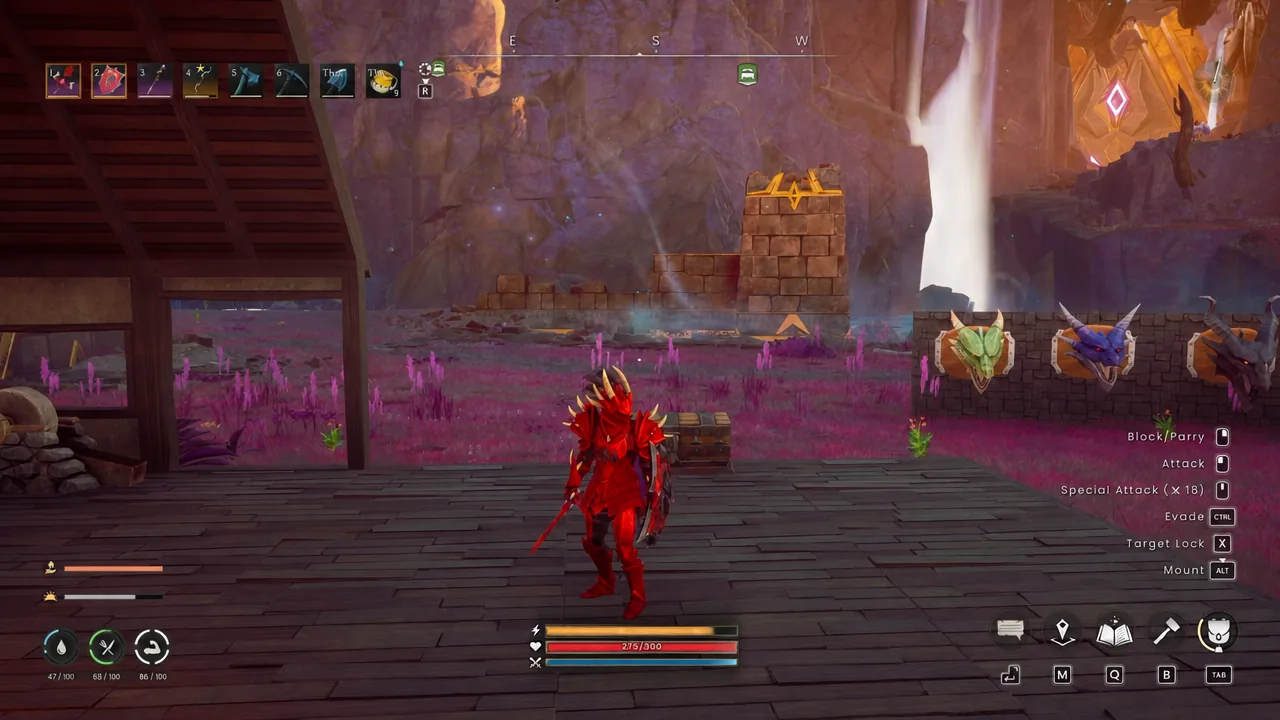
The red Dragon set is the top of the equipment ladder in RuneScape: Dragonwilds 1.0, and none of it is craftable. Every piece comes out of the Scorned Wilderness raid, dropped by Queen Kuldra, the five-headed Dragon Queen who closes out Kuldra’s Saga. The armour sits at Power Level 9, one full step above Rune, and it arrives in fragments rather than all at once.
Quick answer: Kill Kuldra in the Scorned Wilderness raid. Your first clear guarantees the Dragon Kiteshield and a cape, and repeat clears fill in the rest of the Power Level 9 Dragon set.
Every Dragon gear piece Kuldra drops
The loot pool covers a complete melee kit plus two alternate weapon options, so a single clear will not finish the collection. Two head slots exist, and they are cosmetic alternatives rather than separate upgrade steps.
| Item | Slot | Notes |
|---|---|---|
| Dragon Full Helm | Head | Standard plumed helm |
| Dragon Med Helm | Head | Classic design, same stats |
| Dragon Platebody | Chest | Melee class armour |
| Dragon Platelegs | Legs | Melee class armour |
| Dragon Kiteshield | Shield | Guaranteed on first kill |
| Dragon Shield | Shield | Upgrade on earlier dragon shields |
| Dragonslayer’s Cape | Back | Awarded with the first clear |
| Dragon Scimitar | Weapon | Melee |
| Dragon Crossbow | Weapon | Ranged |
| Kuldra’s Wrath | Weapon | Magic |
Jagex kept parts of the loot table unannounced before launch, so additional rare drops exist beyond the named Dragon pieces. Treat the list above as the confirmed core of the set.

Dragon armour stats and the melee set bonus
Every Dragon armour piece is Power Level 9, the highest tier currently in the game, and each one carries melee, ranged and magic defence values alongside a Class Bonus line. Armour in Dragonwilds is sorted into three classes that mirror the combat triangle, and Dragon plate falls on the melee side.
Wearing multiple pieces of the same class stacks a set bonus, so mixing Dragon plate with leftover ranged or magic gear costs you real damage and stamina economy:
- 1/3 pieces: block stamina cost reduced by 33%
- 2/3 pieces: +50% crit chance after blocking
- 3/3 pieces: +25% damage against staggered targets
The three pieces that count toward that bonus are the helm, platebody and platelegs. The cape and shield sit in their own slots and do not change the count.
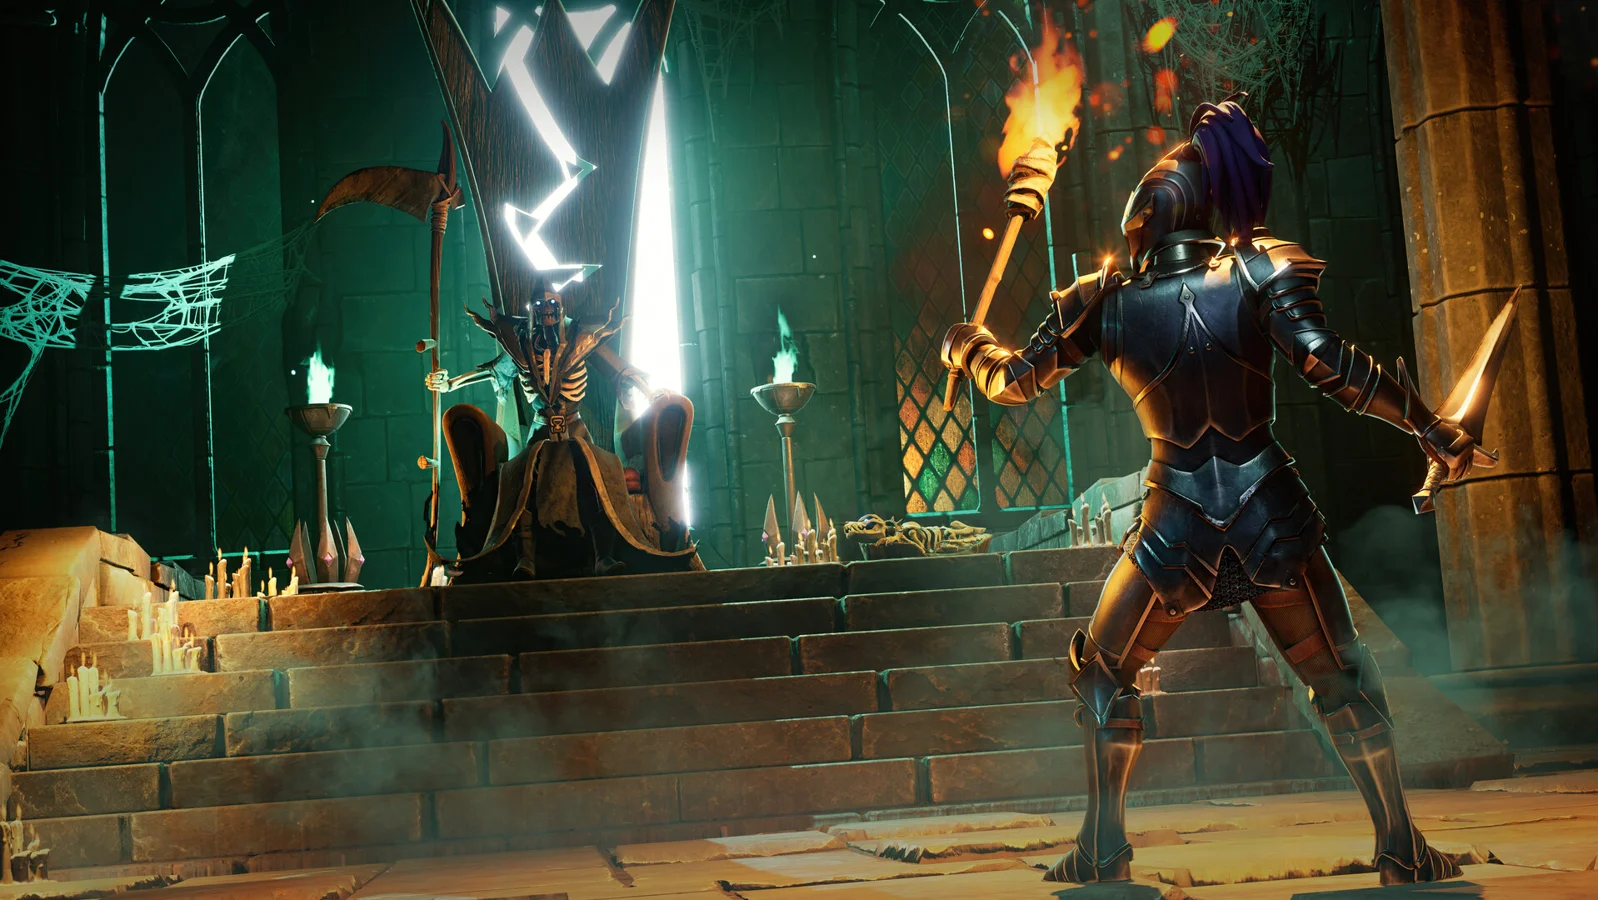
Dragon Med Helm: same stats, different look
The Dragon Med Helm is a straight cosmetic alternative to the Full Helm. Its defence numbers and class bonus are identical, and it uses the older, open-faced classic silhouette instead of the plumed full helm. Picking one over the other has no effect on the set bonus.
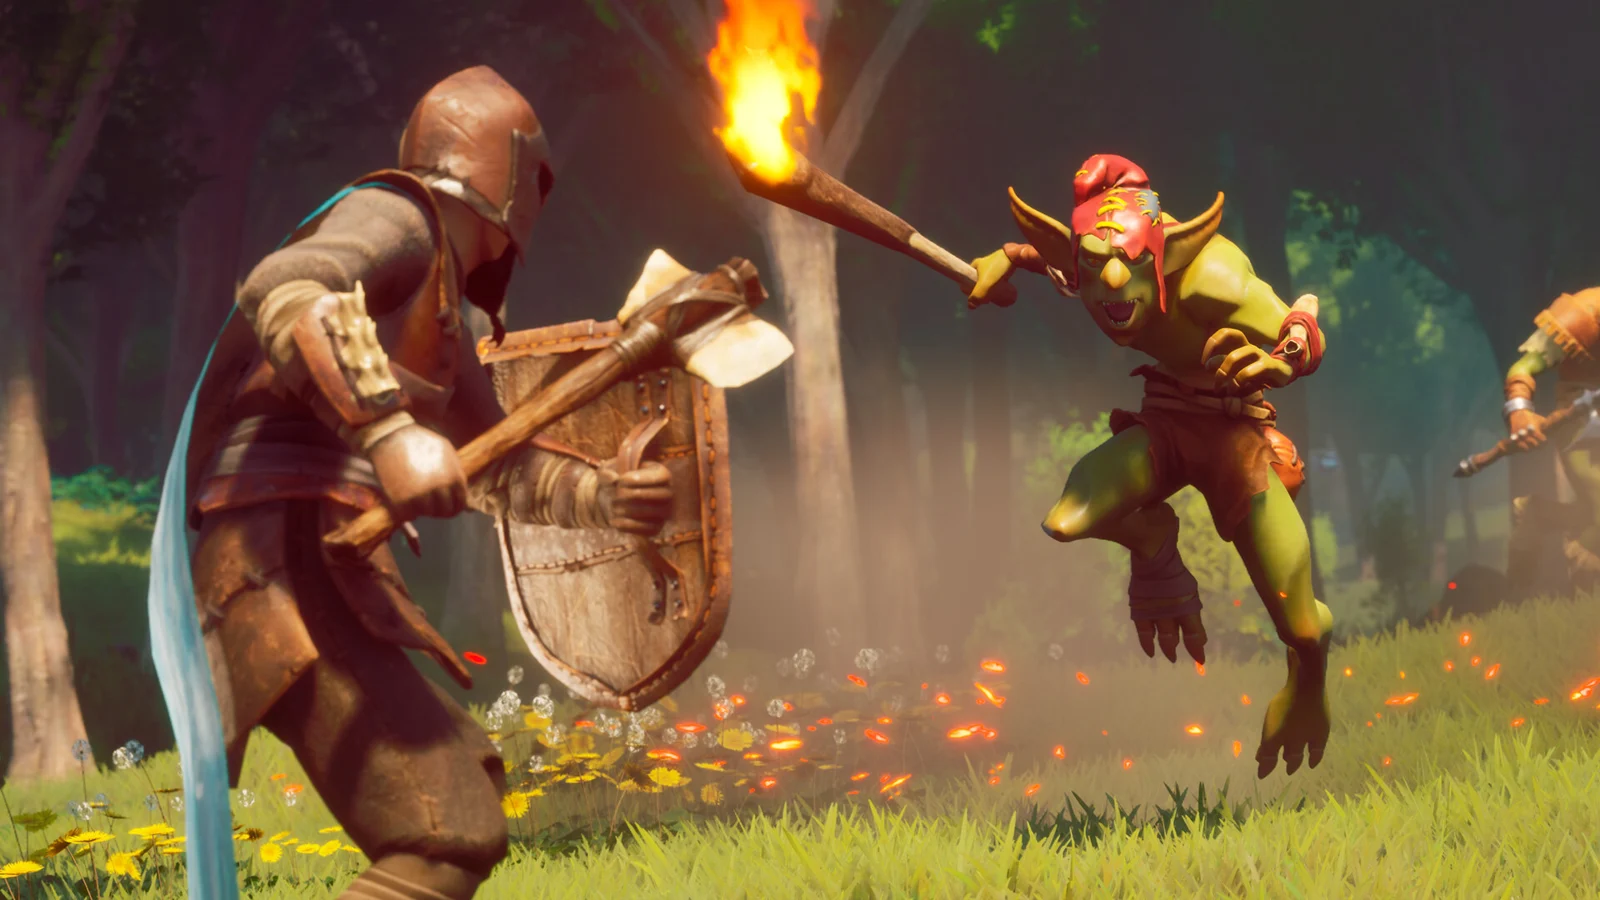
Dragon weapons: Scimitar, Kiteshield and Kuldra’s Wrath
The Dragon Scimitar is the melee centrepiece of the drop table and pairs with the Dragon Kiteshield for the block-and-counter loop the melee set bonus rewards. Blocking with the kiteshield feeds the crit chance bonus, and staggering an enemy afterwards feeds the damage bonus, so the shield is not an optional slot if you are running the full three-piece plate.
Kuldra’s Wrath covers the magic side of the same loot pool, which matters if your party already has melee covered. Dragonwilds encourages swapping combat styles between encounters rather than committing to whichever piece has the biggest armour number, so keeping a second damage option from the drop table is worth the extra clears.

Dragon Crossbow compared to Rune and Dorgeshuun
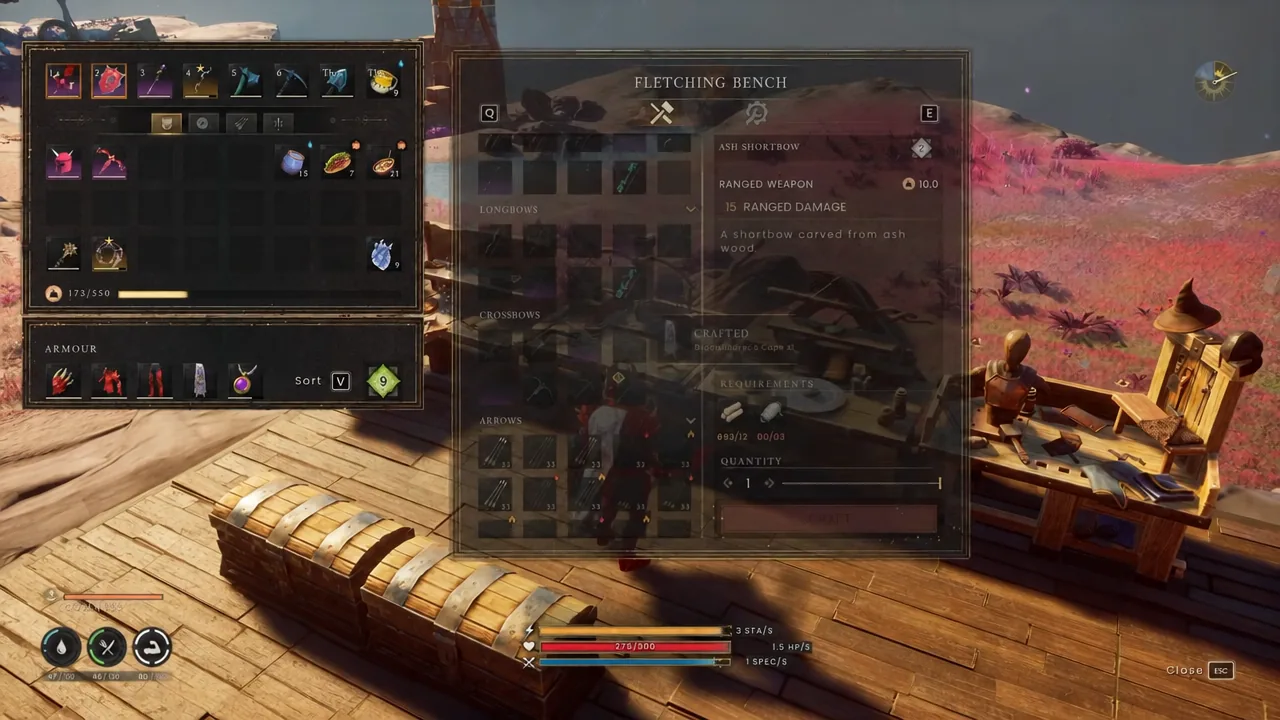
The Dragon Crossbow is the ranged drop, and it is worth checking its damage against what you already own before you retire an older bow. The Rune Crossbow recipe is visible at the Fletching Bench, which makes side-by-side comparison straightforward, and the Dorgeshuun Crossbow remains competitive on raw ranged damage despite sitting below Dragon in the metal ladder.
Open the Fletching Bench and read the crafting entries next to your equipped weapon’s tooltip rather than assuming the higher tier automatically wins on damage.
How to reach Kuldra and farm the full set
You know a run paid out when the Dragon Kiteshield and Dragonslayer’s Cape land in your loot after the first kill, and when new Dragon pieces appear at Power Level 9 in the inventory on later runs. Be careful with pre-launch phase timers and damage figures circulating from test builds, since Jagex deliberately withheld the raid’s mechanics before release and those numbers were never confirmed against the live version.





