Balor waits at the end of Part III: Salvation in the stage “Balor’s Last Stand,” fought inside the Temple of Balor. Victory requires defeating Balor, and the run ends if Eshmel falls in battle. The fight is long and can run close to two hours, but it is built around one repeatable loop rather than raw stat checks.
Quick answer: Destroy two Underworld Gates in the same turn to drop Balor’s barrier, then hit his 160 HP with long-range magic. Repeat each time the shield regenerates until he dies.
How Balor’s barrier works
Balor starts the battle wrapped in a purple energy barrier that makes him invulnerable. You cannot chip it down with normal attacks. The only way to turn it off is to destroy two Underworld Gates during the same phase.
Each Underworld Gate has 50 Armor. Gates also despawn on their own if you fail to clear them within their active window, so the breaking has to be fast and coordinated. The moment two gates fall in one turn, the barrier switches off and Balor becomes open to damage for that phase.
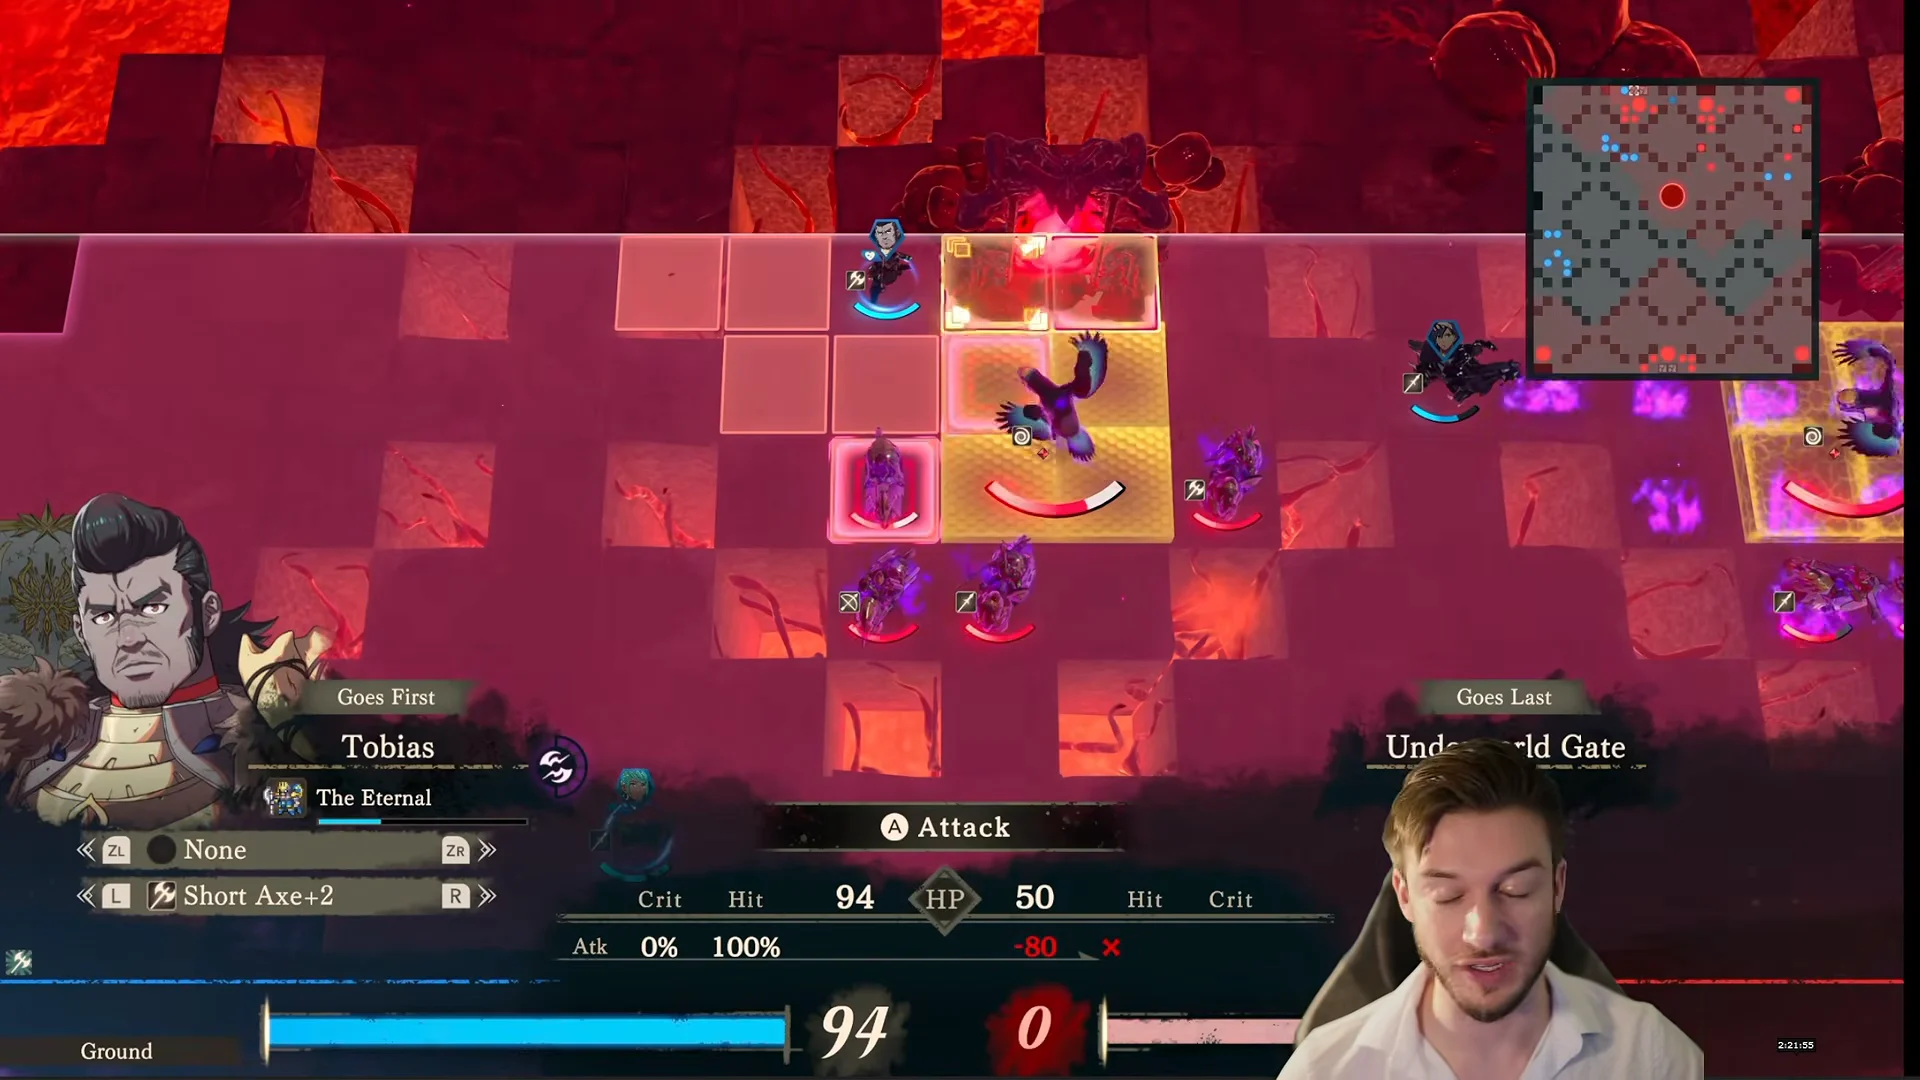
Once the shield drops, it does not stay down. The barrier regenerates after you deplete a segment of Balor’s health bar, so expect to run the gate-breaking loop several times across the fight.
Read the red telegraphs before gates spawn
Incoming gates are not a surprise. At the start of a turn, glowing red swirling glyphs appear on the grid to mark where new Underworld Gates will open. Treat those circles as movement orders and march units toward them before the gate even exists.
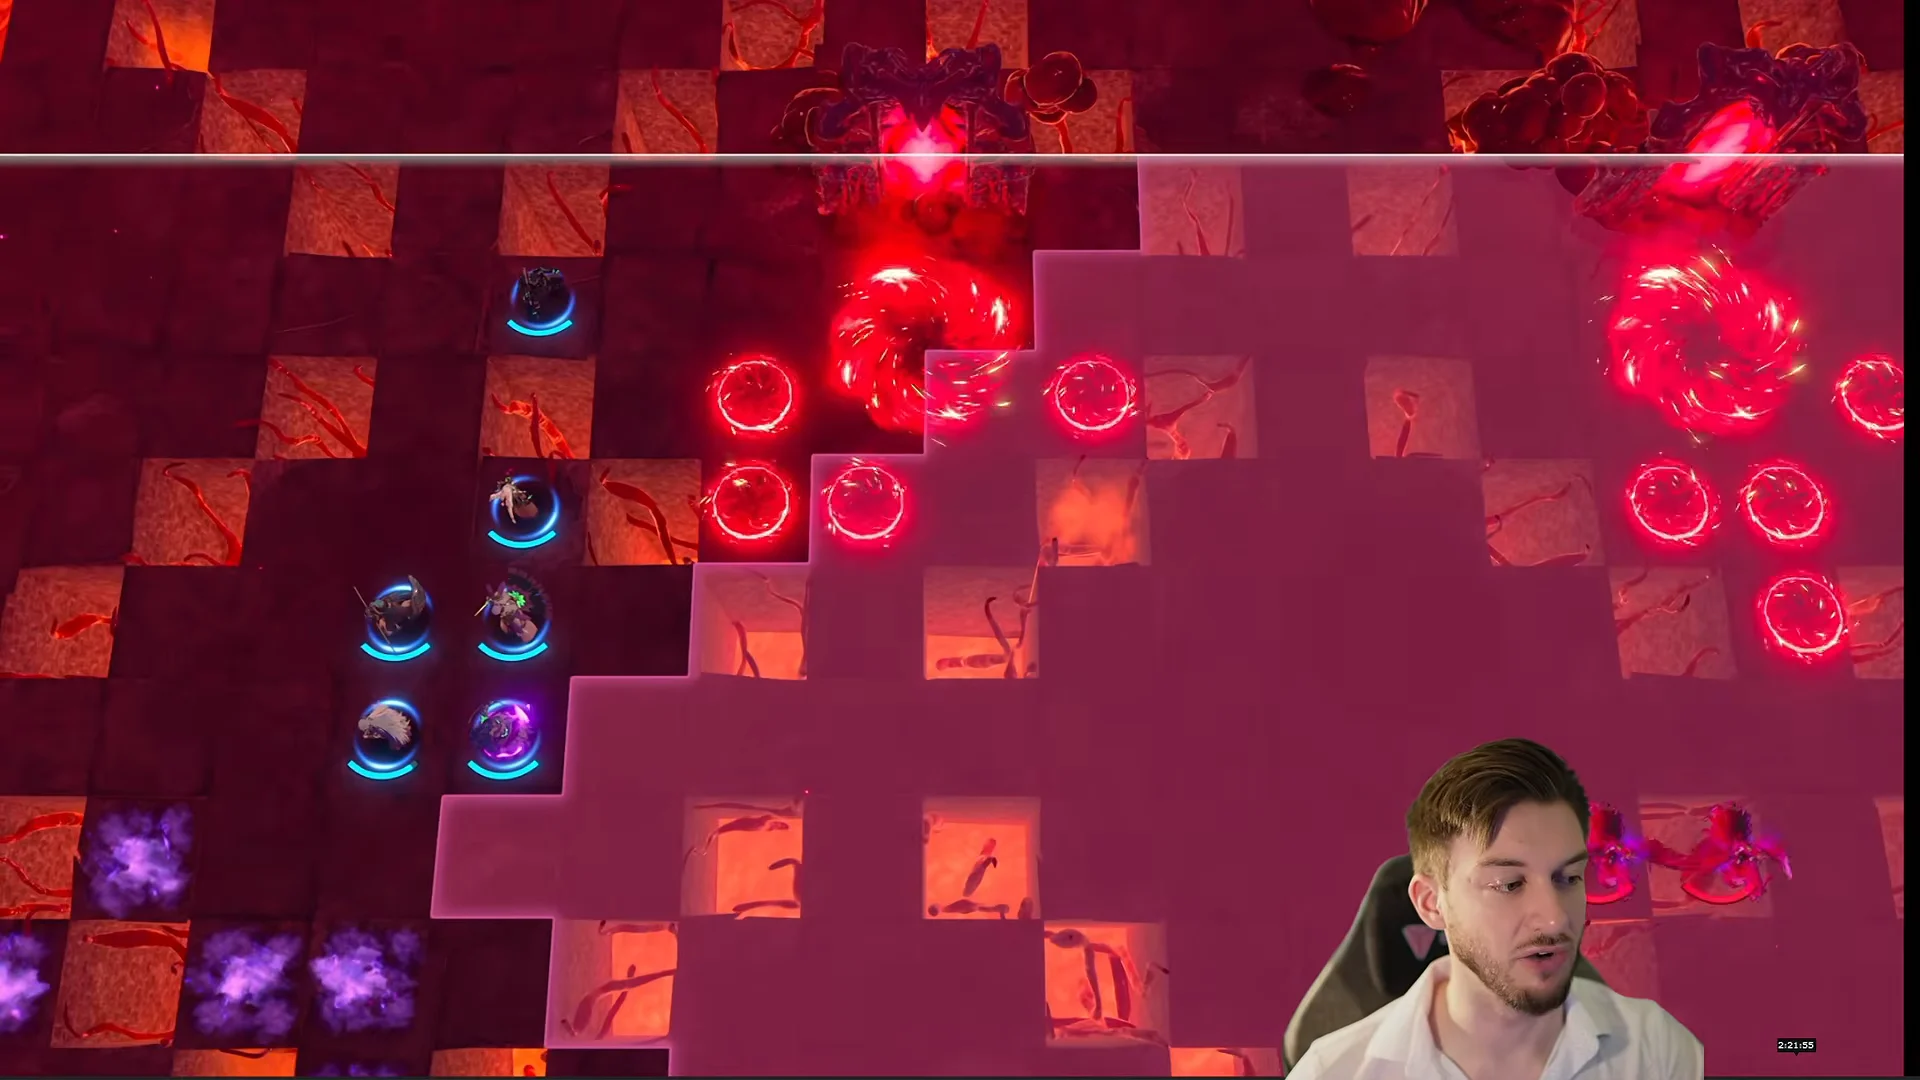
Positioning early is the difference between breaking both gates in one turn and watching the barrier reset. If you wait for a gate to fully appear before reacting, your units often cannot reach it in time.
Split into three teams and protect your mages
Divide your army into three groups spread across the map so you can reach gates wherever they open. Put your strongest units on the left flank, and keep fragile damage dealers screened by defensive bodies like Orchel.
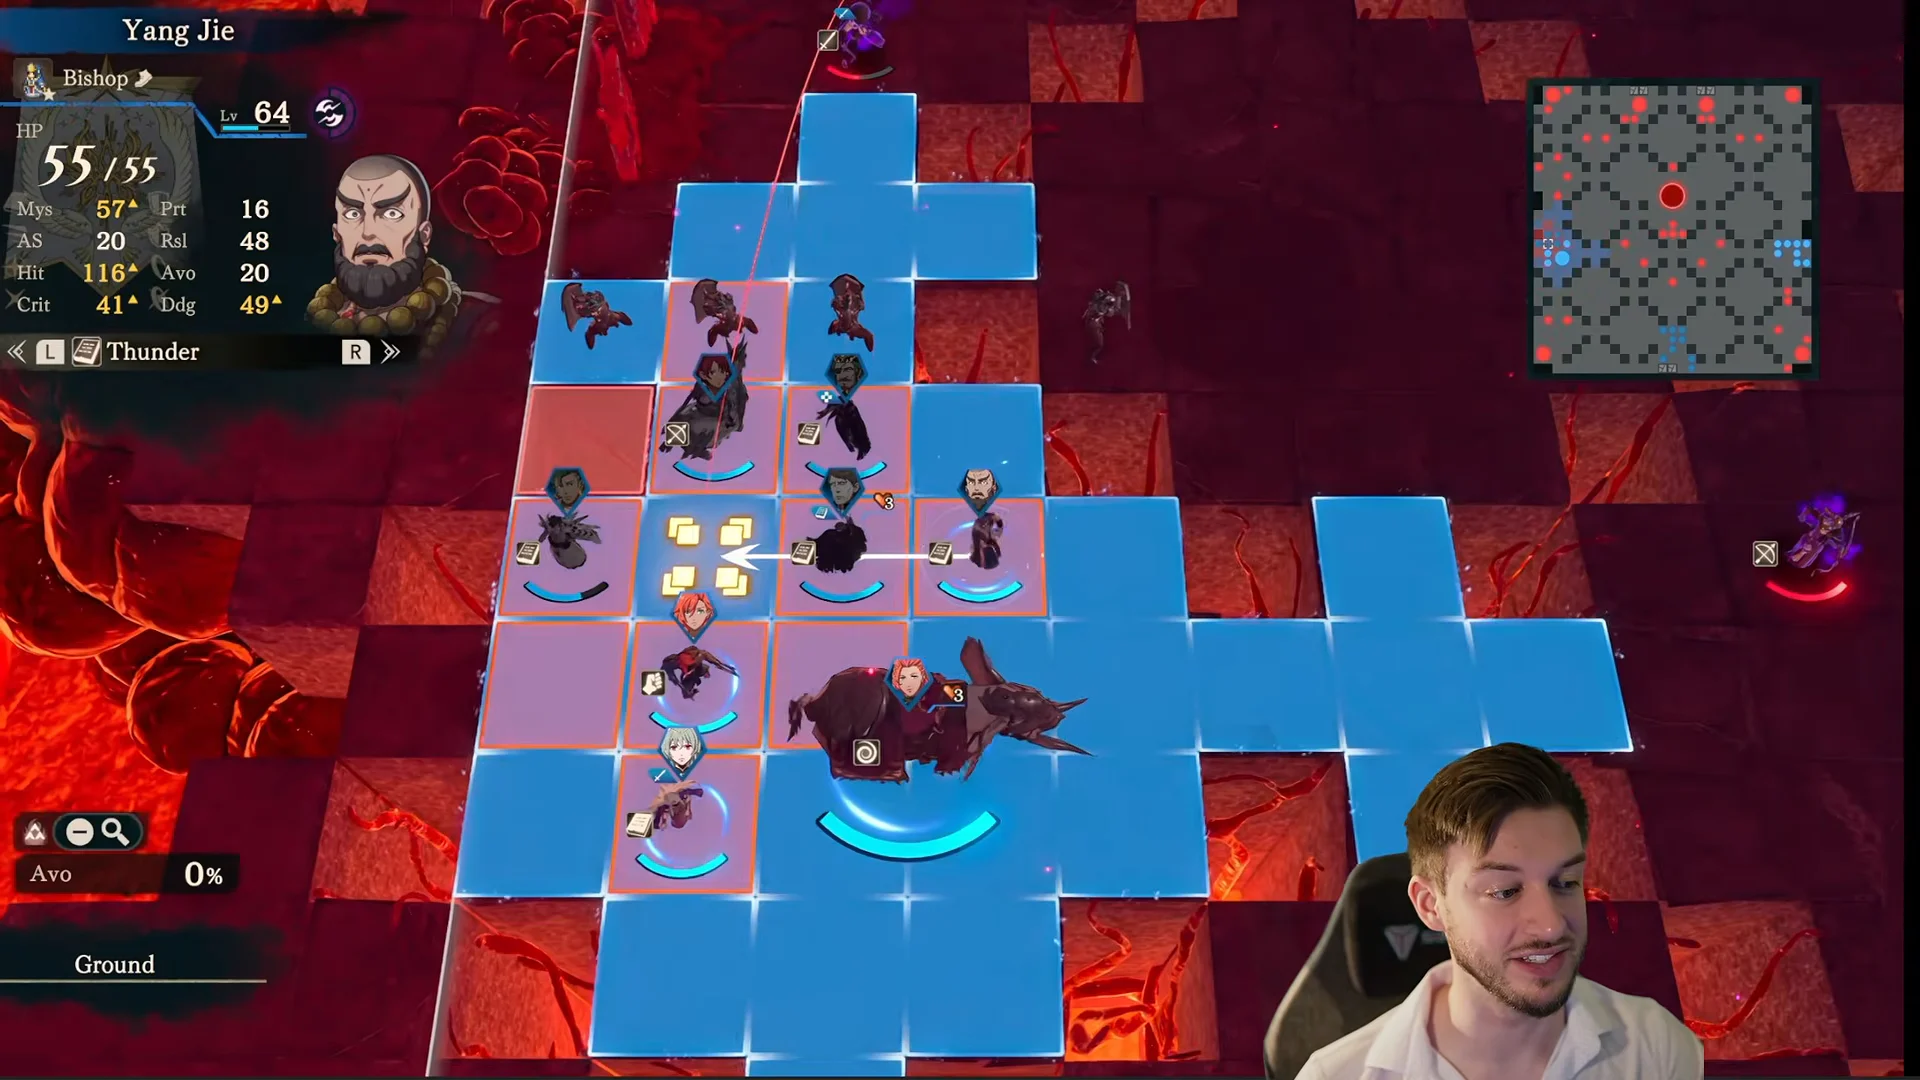
Flame Lords and Sub-Lords carry stat-manipulating Blaze Arts that soften the field. High-movement mounted units matter most here, since a rider like Cai using a strong Blaze Art such as Underworld Inferno or Blackfire can erase a gate in a single strike. Keep archers like Inyoni on hand to shoot down flying and fast-moving Underworld Soldiers before they reach your backline.
Clear the Sundown Miasma
Sundown Miasma tiles blanket parts of the map and punish units that move through them. You do not have to route around every one of them. Fire-based Blaze Arts burn the hazard away, so Hong Hua’s Encircling Flames can carve a clean path straight toward a distant gate.
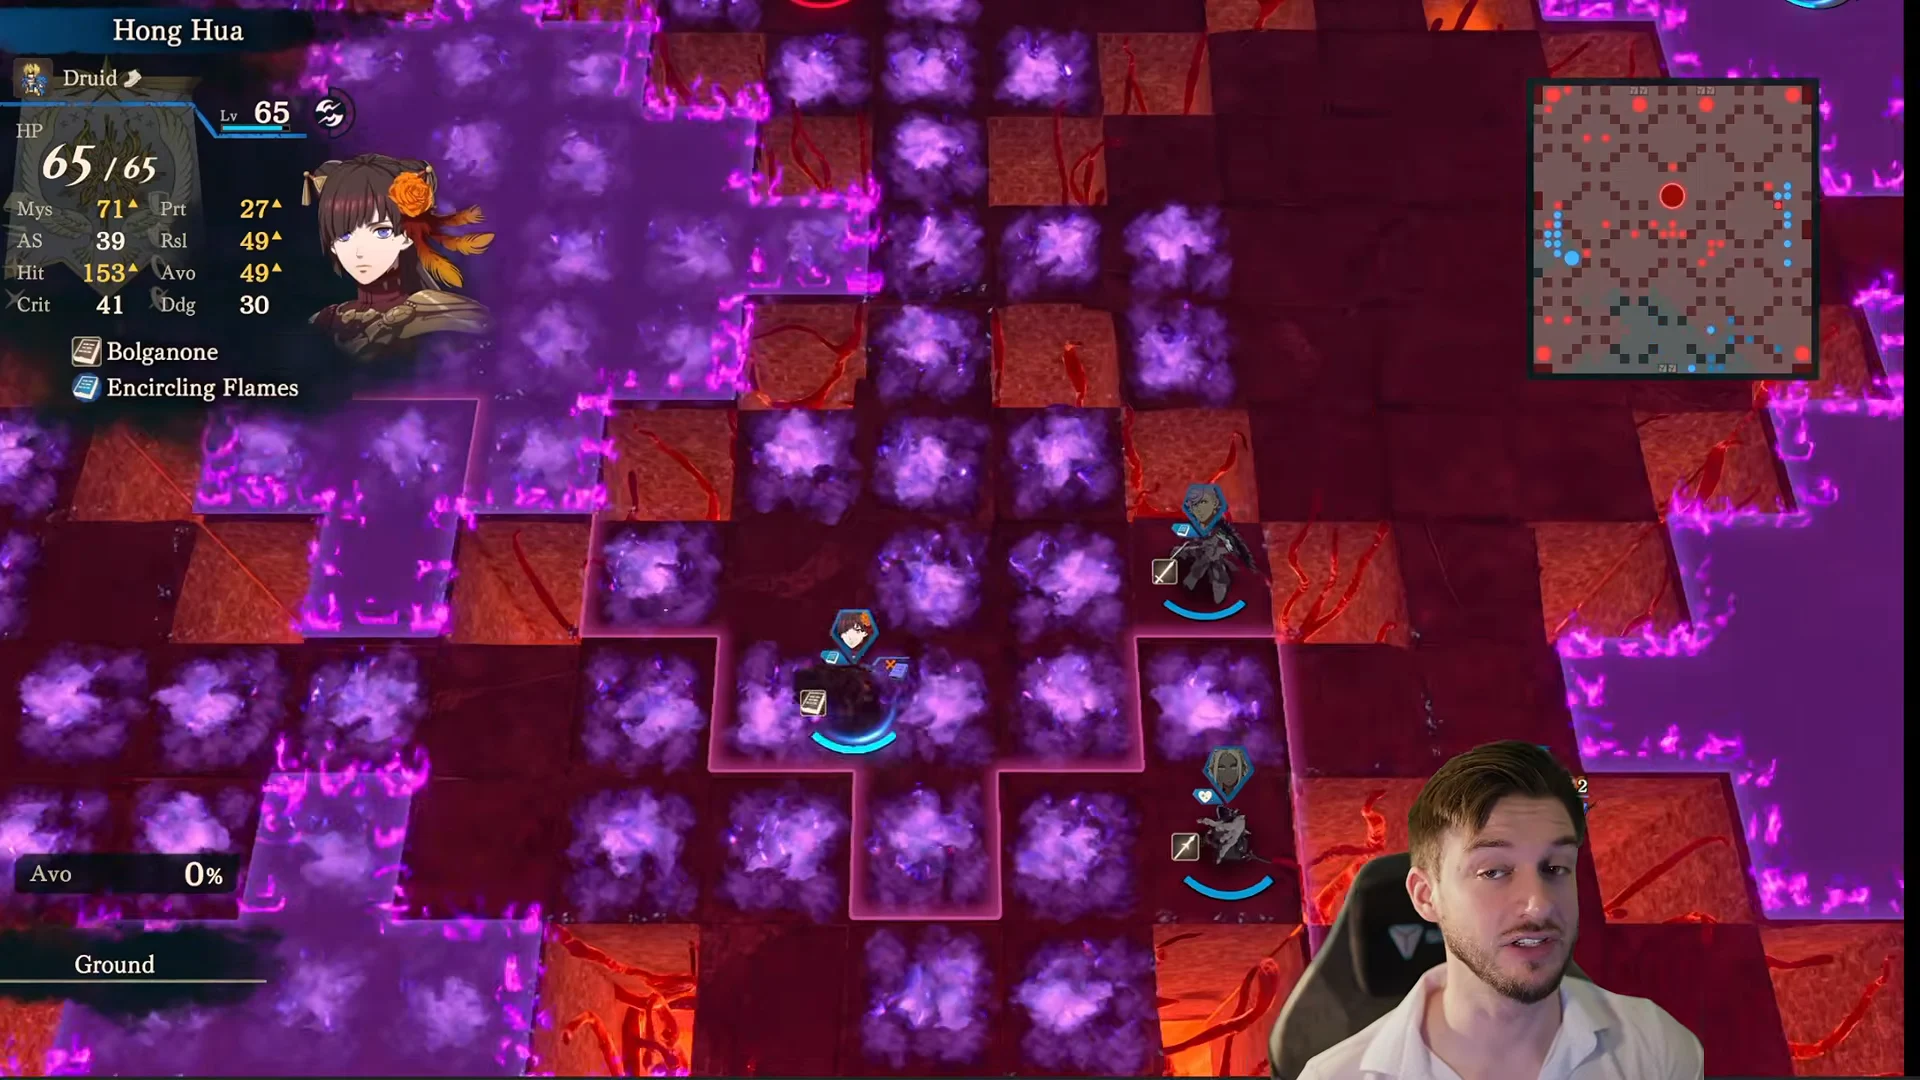
Break two gates in one turn
Use Kalla’s Blessing to reach distant gates
When a gate opens across the map, a mobility buff gets your unit there in a single turn. Kalla’s Blessing is activated with Divine Sand and grants +2 Mov, +5 Spd, and +50 Avo for one turn. The extra dodge is a bonus, since it also helps that unit survive Balor’s counterattacks on the way in.
| Blessing | Cost | Effect (1 turn) |
|---|---|---|
| Kalla’s Blessing | 20 Divine Sand | +50 Avo, +5 Spd, +2 Mov |
Burst Balor down while the barrier is off
Balor has 160 HP, and the window to damage him is short. The moment the barrier drops, pile on long-range magic. Sirocco with Thoron deals heavy crit-based lightning damage, and Theodora using Earthen Throw adds another ranged hit from safety. A Levin Sword also works for ranged pokes.
Balor’s retaliation spreads in a plus shape centered on him, also striking units beside his chosen target. Keep your remaining attackers clear of that area so one counter cannot hit several units.
Double your damage with Dancers and Apsaras
A single damage phase often is not enough to clear a health segment before the shield returns. Leda’s Dance and the Apsara mechanic grant extra actions, so your heaviest casters can strike twice in the same turn. Refreshing Sirocco or Theodora lets one mage land two full magic hits on Balor back to back.
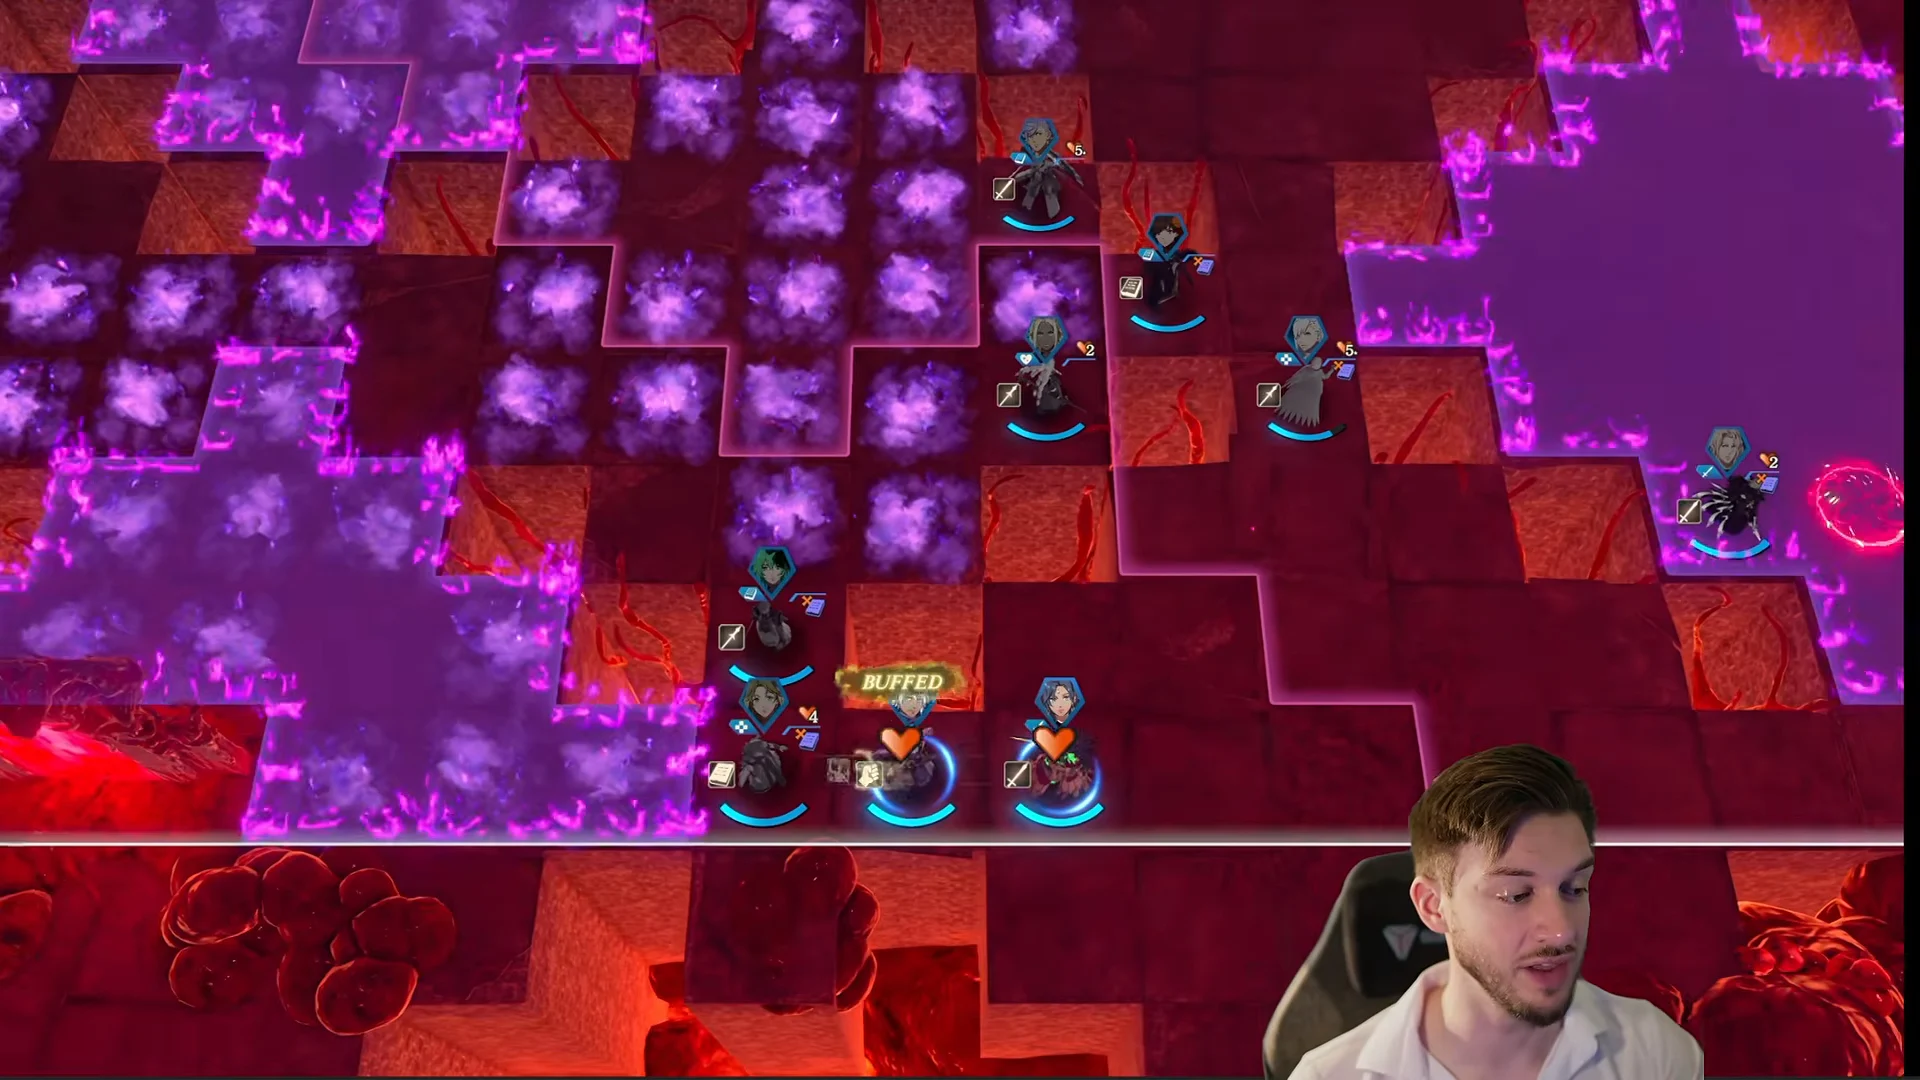
The three-gate phase and the finish
Later in the fight, Balor summons three Underworld Gates at once. The rule does not change. You still only need to destroy two of them to lower the barrier, so pick the two easiest to reach and ignore the third. A board-wiping Blaze Art like Cai’s Underworld Inferno can clear surrounding guards and break a gate in the same action.
For the last health segment, line up a dance refresh with a long-range hitter such as Theodora to land the finishing blow once the barrier is down. When Balor’s HP hits zero, the fight ends and the victory cutscene plays. That cutscene is your confirmation that Balor is beaten and Part III is complete.