Nate’s Blade is a reward rod handed out at the end of Nate’s Quest in Fisch, a long rescue storyline that starts in a hidden cave on Sunstone Island. You crack a computer PIN, rebuild the weapon from two scattered parts, clear three fishing trials and a big collection list, then track Nate through Desolate Deep to free him. The route never changes once you know it, so the only real cost is time.
Quick answer: At Sunstone Island, speak with Miso inside Nate’s Cave, crack the four-symbol PIN, retrieve the Crimson Centerpiece and Broken Blade, and reforge the weapon. Then complete the fishing trials and collection goals before saving Nate in Desolate Deep.
Before you start the quest
Expect a lengthy grind rather than a quick errand. Make room in your inventory, pack extra bait, and equip a rod that offers ample line strength and precise control; later trials require perfect catches on difficult fish. Two items are needed to open a gate you can’t bypass, so collecting them ahead of time avoids another trip.
- A Hexed Enchant Relic and an Abyssal Enchant Relic for the Depths Maze gate.
- The Crimson Guard’s Quest finished, which is required to enter Crimson Cavern.
- A Traveler’s Whistle or Magic Mirror to speed up travel between zones.
Reach Nate’s Cave and talk to Miso
Sail to Sunstone Island, then make your way to the little cliff behind the Merlin Witch NPC. The entrance is up on the cliff at about -914, 207, -1028, rather than down on the beach. Use the ladder to climb, or hop up the rocks with a Coil if you have one. The cave interior is a furnished home: a car stands by the entrance, with a sofa, bedroom, and upstairs desk.
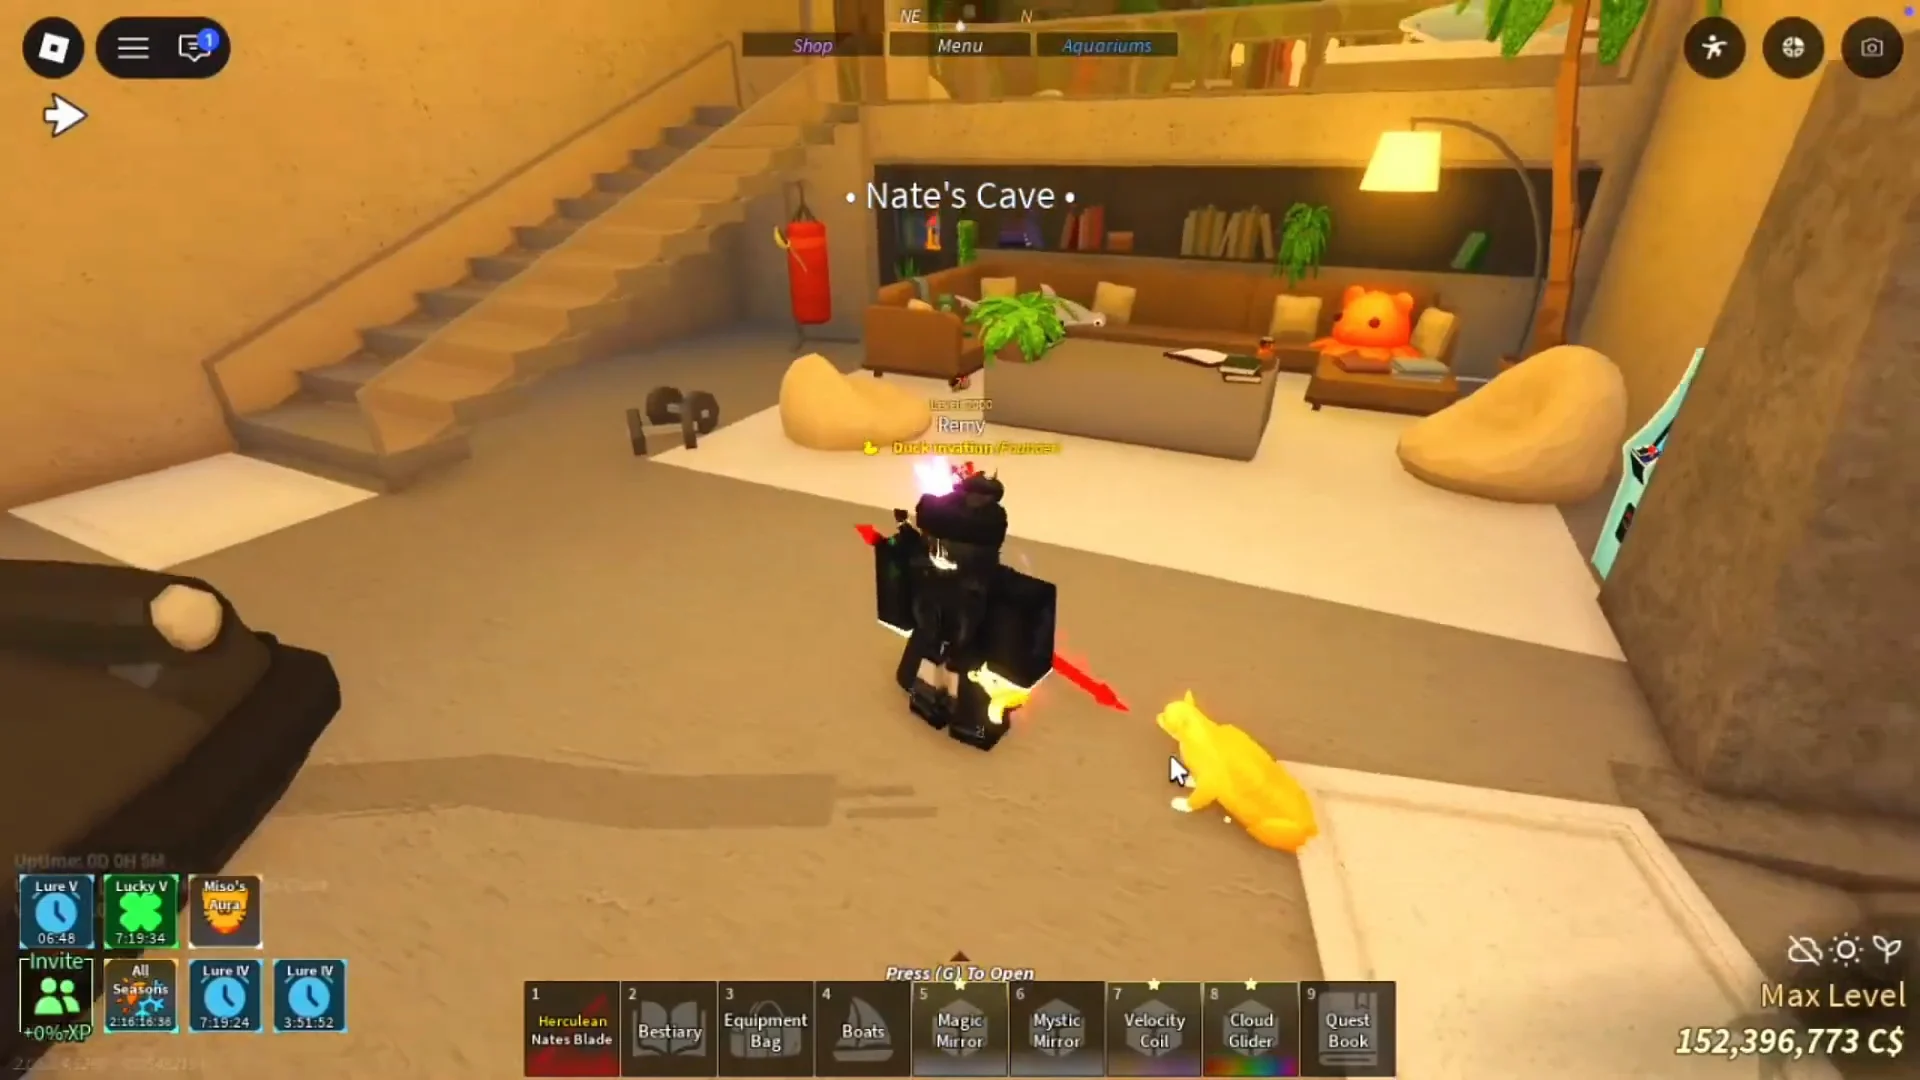
Nate’s cat, Miso, is resting close to the desk. Interact with Miso to bring up the dialogue and launch the investigation. The cat directs you to Nate’s computer, which requires a PIN.
Solve the four-symbol computer PIN
Enter the terminal’s four symbols in the correct sequence. Each one combines a color and a letter, and your code is randomized, so another player’s combination won’t open it. All clues are in the cave; there’s no reason to search the sand outside.
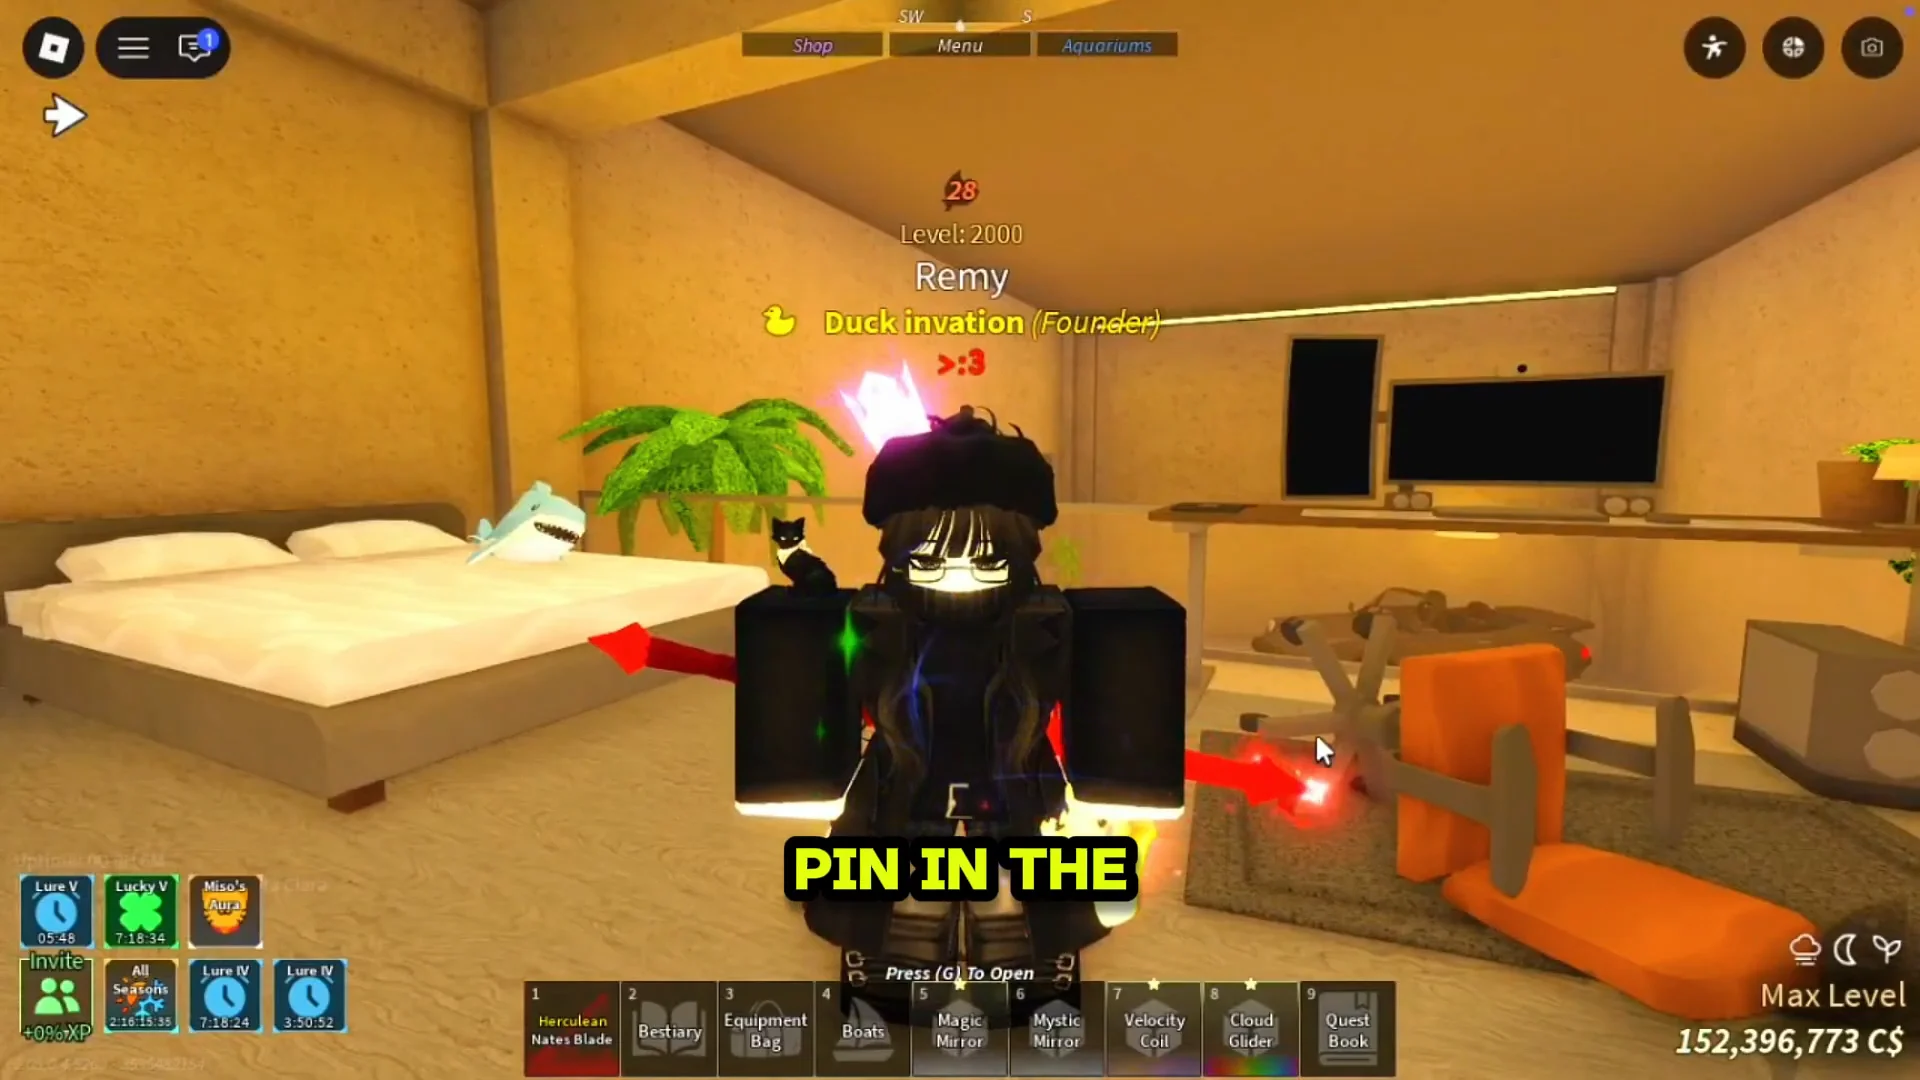
Check these four spots for your symbols, then enter them at the terminal in the order given below.
| Symbol | Location |
|---|---|
| 1 | On the stool or bedside table next to the bedroom, left of the computer |
| 2 | On the bookshelf behind the sofa |
| 3 | On the car’s front seat near the cave entrance |
| 4 | On the left side of the computer desk |
Finding only three symbols is enough to try: rotate through the options in the terminal’s last slot until the PIN goes through. Once accepted, the code triggers a video log that shows Nate being kidnapped and moves the quest on to blade repairs.
Recover the two blade parts
The weapon needs two components to be rebuilt: the Crimson Centerpiece and the Broken Blade. One comes from fishing, while the other is picked up directly, making this a mix of grinding and exploration.
Crimson Centerpiece in Crimson Cavern
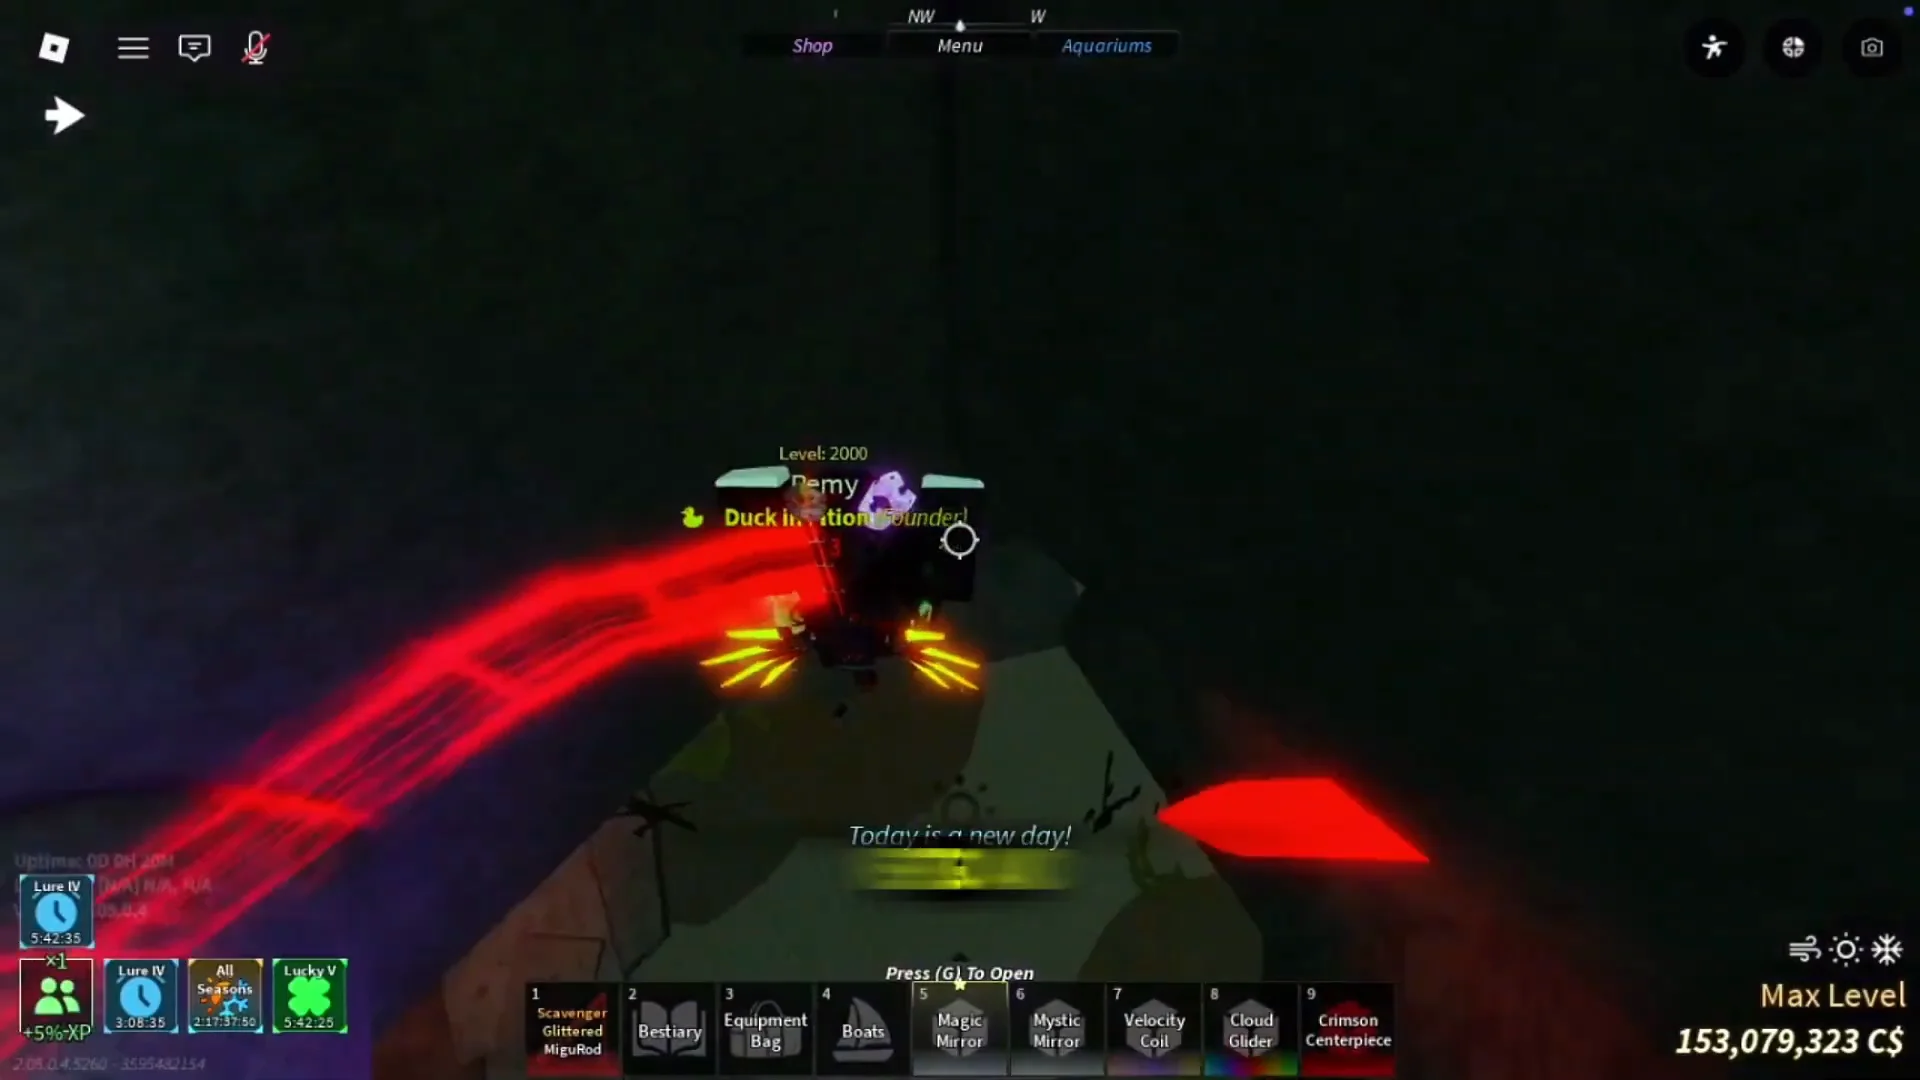
Broken Blade in the Depths Maze
Forge the restricted blade
Bring the two components to Nate’s Cave and use the coffee table before the sofa to place the Broken Blade and Crimson Centerpiece. This reforges Nate’s Blade and puts it in your hotbar, still labeled Restricted; in this state, it can fish only in original locations until you finish the remaining quest. Forging the blade also opens the next quest line.
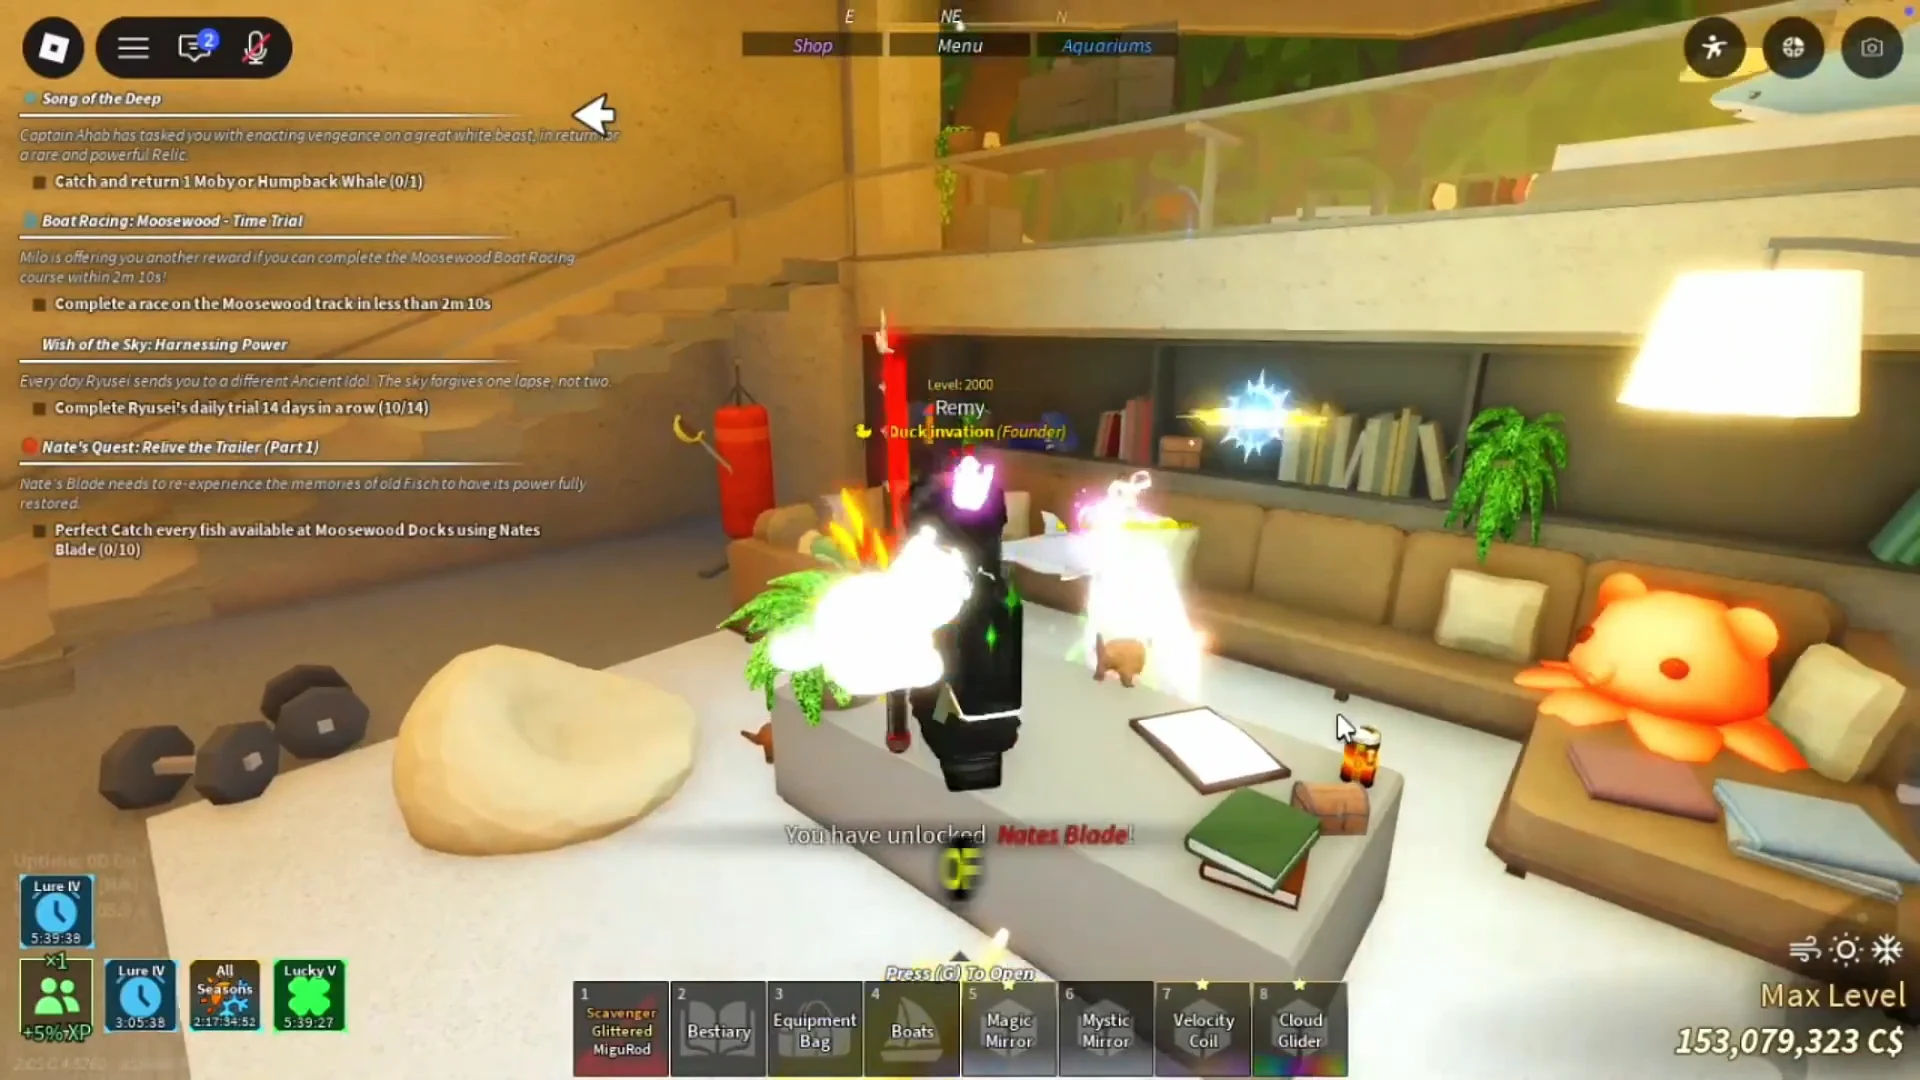
If you owned Nate’s Blade before update 2.05, reassembling it hands back its old enchantments as Imprinted Relics, each of which can reapply its enchantment to a rod at the Keeper’s Altar.
Clear the three fishing trials
To remove the restriction, complete three catch trials, keeping Nate’s Blade equipped for every one. Perfect catches are required, and the small bars make control important. Take care with your clicks when a Mythical fish bites, or your line may snap.
Moosewood Dock: perfect-catch all 10 fish
| Fish (rarity) | Bait | Time | Weather |
|---|---|---|---|
| Anchovy (Common) | Any | Day | Clear |
| Largemouth Bass (Common) | Worm | Any | Rain |
| Red Snapper (Common) | Any | Any | Any |
| Sockeye Salmon (Common) | Bagel | Any | Rain |
| Trout (Common) | Insect | Any | Clear |
| Yellowfin Tuna (Uncommon) | Any | Any | Any |
| Eel (Unusual) | Any | Night | Any |
| Flounder (Unusual) | Squid | Night | Windy |
| Snook (Unusual) | Shrimp | Any | Clear, Foggy |
| Whiptail Catfish (Legendary) | Seaweed | Night | Any |
Roslit Volcano: perfect-catch all 10 Mythical and below
Certain targets register as Trash or items instead of regular fish, so use the Quest Menu to verify that each counts as a perfect catch. Completing this trial unlocks Nate’s Blade’s Slash ability.
| Catch (rarity) | Bait | Time | Weather |
|---|---|---|---|
| Basalt (Trash) | Magnet | Any | Any |
| Rock (Trash) | Any | Any | Any |
| Magma Tang (Uncommon) | Coal | Day | Any |
| Ember Perch (Unusual) | Coal | Any | Clear |
| Ember Snapper (Unusual) | Coal | Any | Any |
| Pyrogrub (Rare) | Coal | Any | Any |
| Quality Bait Crate (Rare) | Any | Any | Any |
| Volcanic Geode (Rare) | Magnet | Any | Any |
| Obsidian Salmon (Legendary) | Coal | Night | Any |
| Obsidian Swordfish (Mythical) | Minnow | Any | Windy, Clear |
Snowcap Cave: perfect-catch 20 Colossal Squid
Go into Snowcap Cave on Snowcap Island and fish in its exclusive pool for the Colossal Squid. This Mythical catch appears at night in foggy weather and accepts any bait, although Night Shrimp is its listed bait. Complete 20 perfect catches to finish this stage.
Finish the collection goals (A Nostalgia Trip)
This final stage takes the longest and removes the blade’s restriction completely. All targets are listed together in the Quest Menu. Begin with goals that have set counts—boats, lanterns, titles, and badges—then tackle the other objectives. Catching with Nate’s Blade is required only for the first goal.
| Goal | Total |
|---|---|
| Catch every original fish with Nate’s Blade | 126 fish |
| Catch 5 fish using each original Fishing Rod | 15 rods |
| Obtain every free and obtainable original Title | 45 titles |
| Obtain every original Boat | 10 boats |
| Obtain every original Lantern | 11 lanterns |
| Unlock every original Badge | 30 badges |
| Enchant a set number of times | 21 enchants |
| Witness every original Weather and Modifier | 8 |
Once every goal is checked off, return to Miso in Nate’s Cave to confirm the blade is fully unrestricted. The Restricted tag disappears from the rod when this is done.
Track Nate through Desolate Deep
Once the blade is unlocked, go into Desolate Deep and track down Nate’s belongings. Collect them in sequence instead of searching randomly across the open water.
- Nate’s Crown is on the Desolate Deep Buoy’s uppermost point.
- Nate’s Glasses can be found next to the white sign board in Desolate Deep.
- Nate’s Lantern is in the cave tunnel near the Reinforced Rod.
From the lantern’s tunnel, cast your fishing rod at the wooden door or wall to break it open and enter Dr. It Fish’s Lair. Interact with Dr. It Fish and watch the cutscene, then speak to Nate to rescue him and claim a boat reward. The quest completes when the tracker records Nate’s rescue.
Unlock Miso as a companion
With Nate rescued, go to Sunstone Island and revisit Nate’s Cave. Pick up the cheese tucked into a living-room corner and give it to Miso. Miso is then permanently unlocked as a companion you can equip.
Nate’s Blade stats and the SaveNate code
Completing the quest awards the unrestricted Nate’s Blade. Its control begins at 0 and increases by 0.045 for every 0.6 seconds of reeling, and it has three guaranteed mutation chances themed after Adventure Time characters.
| Stat | Value |
|---|---|
| Lure Speed | 119% |
| Luck | 244% |
| Control | 0 |
| Resilience | 44% |
| Max Kg | Infinite |
| Progress Speed | +50% |
| Line Distance | 444m |
The rod also adds +100% fish weight and gives a 33% chance each for the Lumpy, Rockstar, and Bubblegum mutations, all at a 4x multiplier. A launch code, SaveNate, accompanied the quest but has already expired as of October 11, 2026 at 16:00 UTC, so it can no longer be redeemed. No replacement code is currently confirmed.