
The "Failed to format the selected partition. Error: 0x8004242d" message appears on Windows 11 systems when attempting to format a disk partition—often during OS installation or setup. This error blocks the installation process and signals deeper issues with disk configuration, partition tables, or firmware compatibility. Addressing this error requires targeted steps that directly resolve the underlying causes, such as partition corruption, dynamic disk usage, or conflicting UEFI/BIOS settings.
Delete All Partitions and Recreate Them
Corruption in the disk’s partition table or Master Boot Record (MBR) frequently causes error 0x8004242d. Deleting all partitions removes problematic structures, allowing Windows 11 Setup to proceed with a clean configuration. Note that this process removes all data on the disk, so back up any important files before proceeding.
Step 1: Boot the computer using Windows 11 installation media. Insert your USB or DVD installer, restart the PC, and press the required key (often F2, F12, Esc, or Del) to open the boot menu and select the installation device.
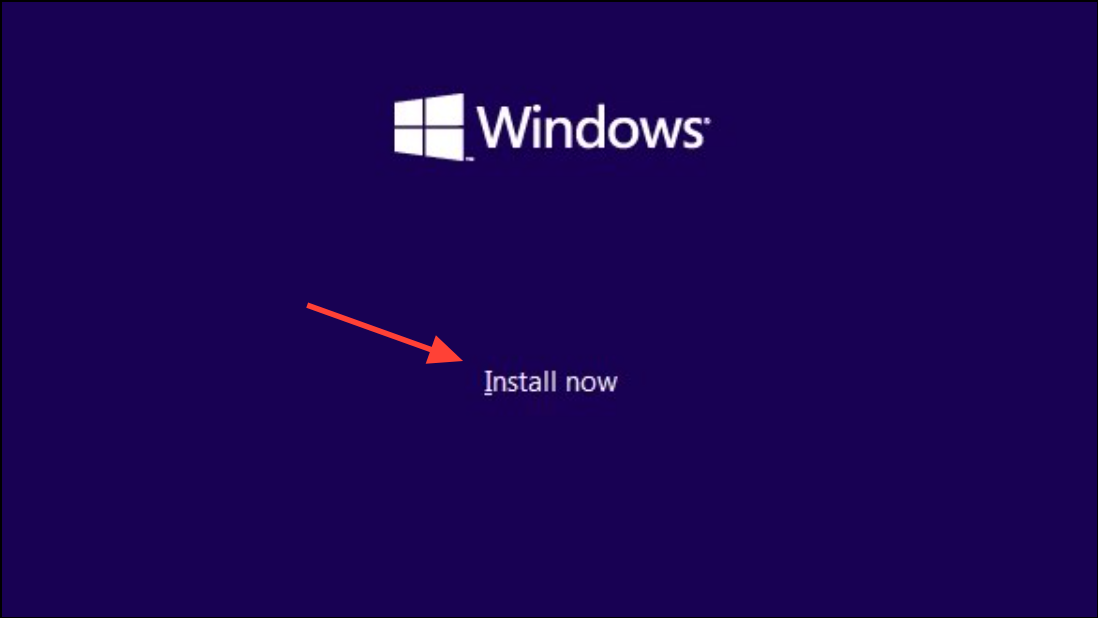
Step 2: When the Windows Setup screen appears, choose your language and preferences, then click Next and Install now.
Step 3: On the "Where do you want to install Windows?" screen, a list of existing partitions is displayed. Select each partition one by one and click Delete. Confirm deletion when prompted. Continue until only "Unallocated Space" remains on the target disk.
Step 4: Select the unallocated space and click New to create a new partition. Format the partition if prompted, then proceed with the Windows installation.
Convert a Dynamic Disk to Basic Disk
Windows 11 cannot be installed on a dynamic disk; it requires a basic disk structure. Dynamic disks support advanced features like spanning and striping, but they are not compatible with the Windows installation process. Converting the disk to basic resolves the error, but this process deletes all existing volumes on the disk, so a backup is essential.
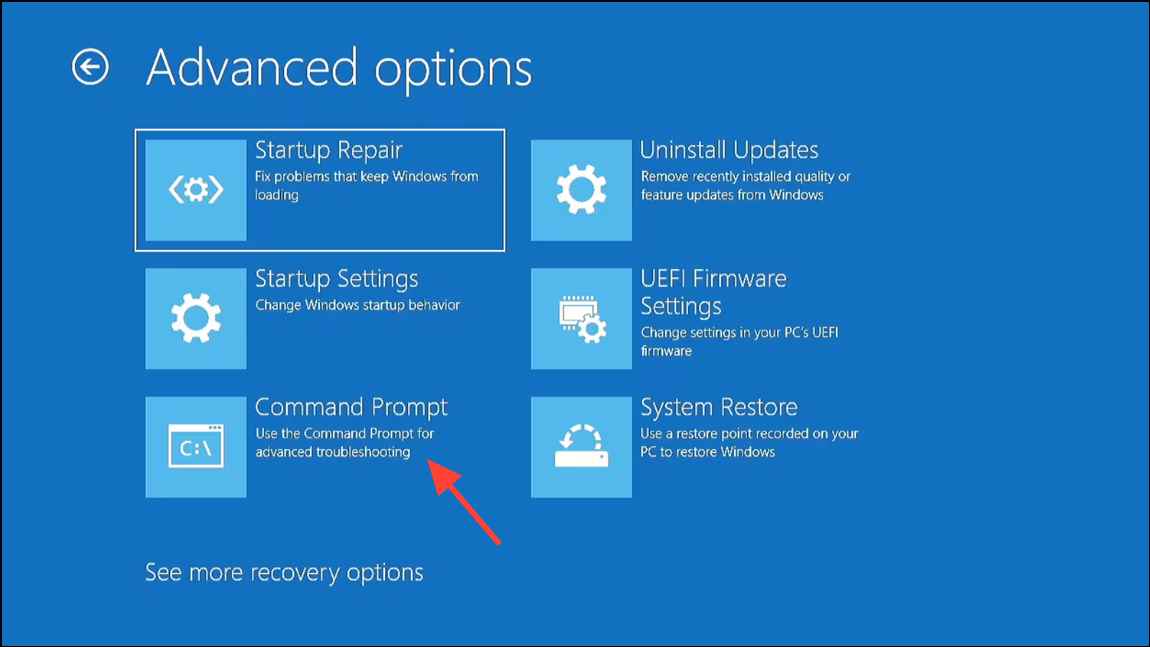
Step 1: Open the Command Prompt from the Windows installation media by clicking Repair your computer, navigating to Troubleshoot > Advanced options > Command Prompt.
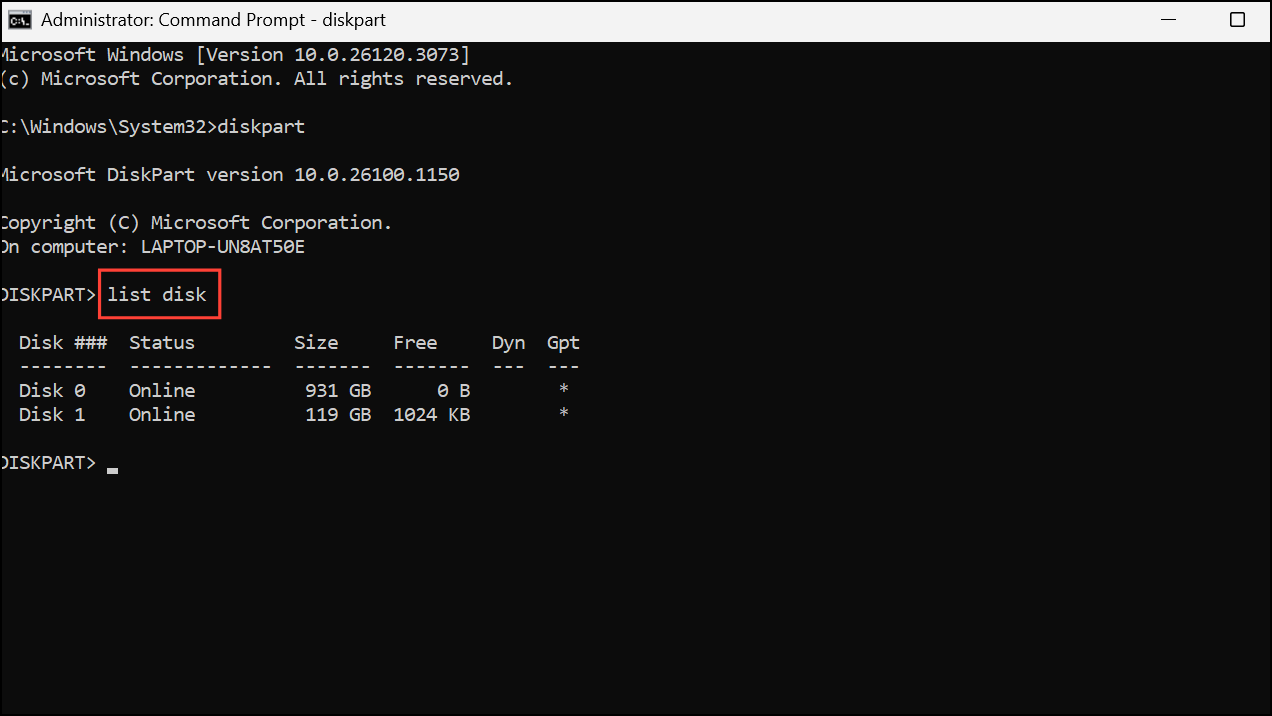
Step 2: In the Command Prompt window, enter the following commands to open the Diskpart utility and list available disks:
diskpart
list disk
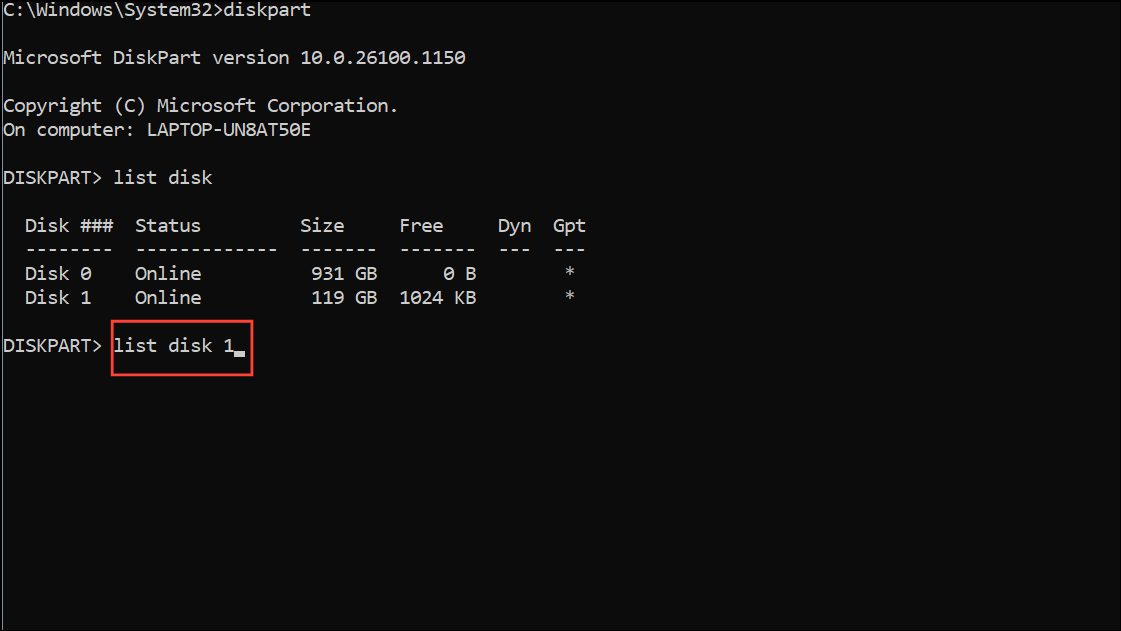
Step 3: Select the disk to convert by typing:
select disk X
Replace X with the number of your target disk.
Step 4: List and delete all volumes on the disk:
list volume
select volume Y
delete volume
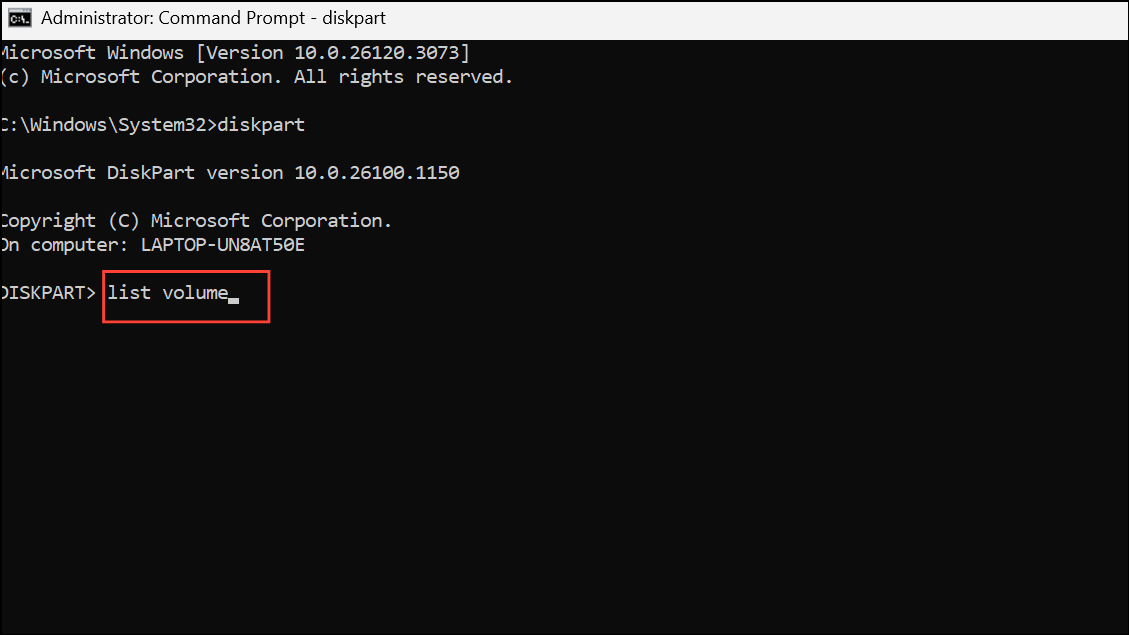
Repeat the select volume and delete volume commands for each volume.
Step 5: Once all volumes are deleted, convert the disk to basic:
convert basic
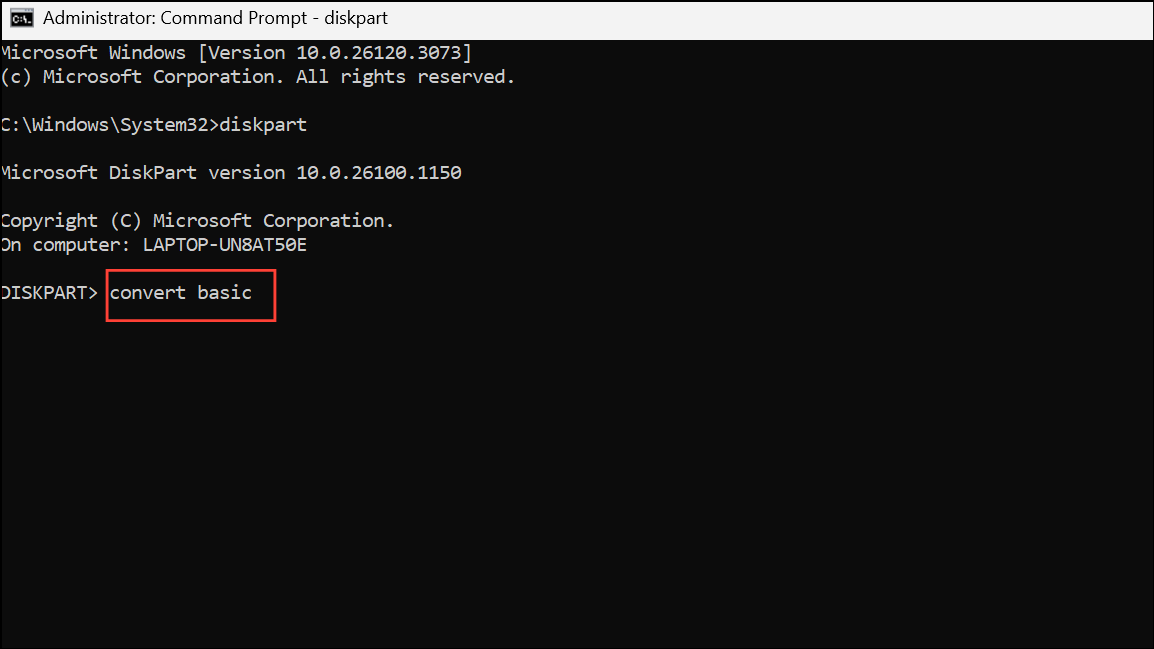
Step 6: Close the Command Prompt and restart the installation process. The disk should now be available for formatting and installation.
Clean the Disk with Diskpart
Residual metadata or partition table errors can prevent successful formatting. The clean command in Diskpart removes all partitions and data, providing a blank slate for Windows Setup. Use this method if deleting partitions through Setup fails or if the disk remains inaccessible.
Step 1: Open Command Prompt from the Windows installation environment as described above.
Step 2: Launch Diskpart and list disks:
diskpart
list disk
Step 3: Select the affected disk:
select disk X
Replace X with the disk number.
Step 4: Clean the disk by entering:
clean
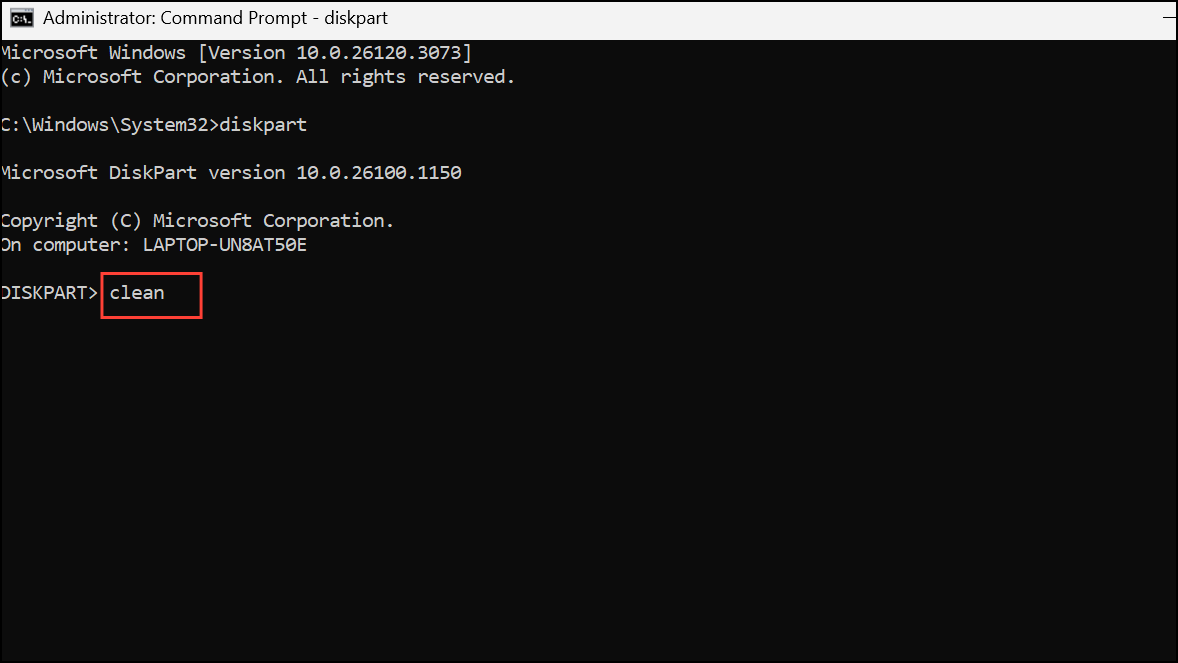
This command erases all partitions and data.
Step 5: Close the Command Prompt and return to Windows Setup. The disk will now appear as unallocated space, ready for partitioning and formatting.
Run CHKDSK to Repair Disk Errors
Bad sectors or file system corruption can block partition formatting. Running the CHKDSK utility detects and repairs logical errors, making the disk usable again. This is especially useful if you suspect physical or logical disk issues.
Step 1: From the Windows installation media, open Command Prompt as previously described.
Step 2: Enter the following command, replacing C: with the correct drive letter if necessary:
chkdsk C: /r
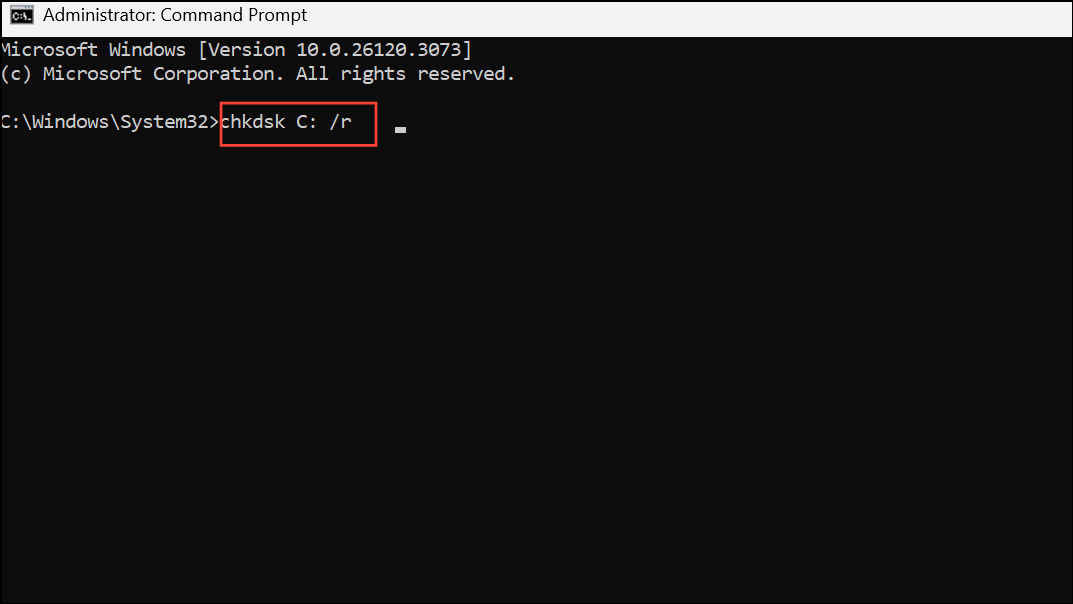
Step 3: Allow CHKDSK to scan and repair the disk. This process may take some time, depending on disk size and error severity.
Step 4: After completion, close the Command Prompt and retry partition formatting or installation.
Disable UEFI Boot Support in BIOS
Conflicts between UEFI (Unified Extensible Firmware Interface) and legacy BIOS modes can prevent disk formatting, especially if the installation media or disk was prepared using a different boot mode. Disabling UEFI or switching to legacy BIOS mode often resolves compatibility issues.
Step 1: Restart the computer and enter the BIOS/UEFI setup by pressing the designated key during startup (commonly F2, Del, or Esc).
Step 2: Navigate to the Boot tab or section. Locate the UEFI Boot or Secure Boot option and set it to Disabled. If available, switch the boot mode to Legacy or CSM (Compatibility Support Module).
Step 3: Save changes and exit BIOS/UEFI. Reboot the PC and resume Windows installation or formatting.
Resolving error 0x8004242d in Windows 11 requires targeted steps based on your disk configuration and system firmware. By deleting partitions, converting disk types, repairing errors, or adjusting BIOS settings, you can restore full access and complete your installation without further interruption.