
Internet connectivity can suddenly drop on Windows 11 after disconnecting from a VPN, leaving browsers and apps unable to access online resources. This disruption often stems from network settings changes, adapter conflicts, or lingering VPN configurations that block normal traffic. Addressing these issues promptly restores reliable access and prevents work interruptions or communication breakdowns.
Reset Network Adapter and TCP/IP Stack
Network adapters may retain improper routing or DNS settings after a VPN session, preventing the system from reconnecting to the internet. Resetting the adapter and TCP/IP stack often resolves these conflicts.
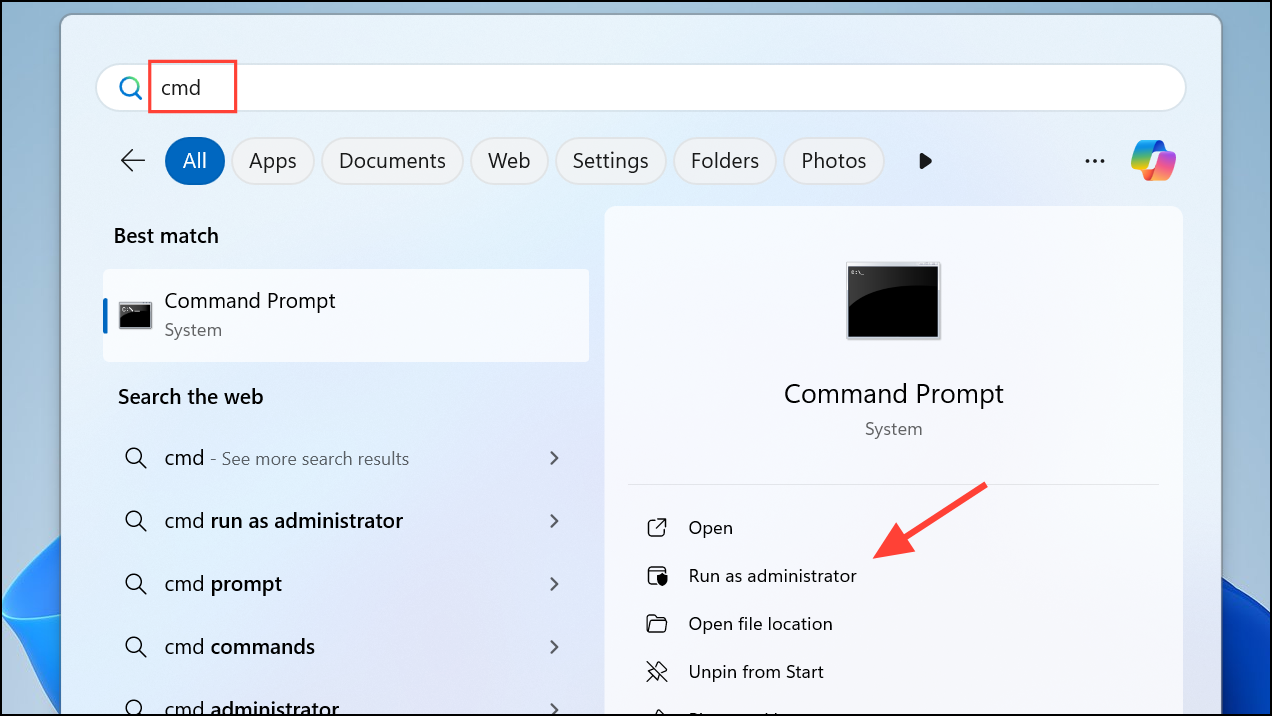
Step 1: Open the Command Prompt as an administrator by searching for "cmd" in the Start menu, right-clicking Command Prompt, and selecting Run as administrator.
Step 2: Enter the following commands one at a time, pressing Enter after each:
netsh winsock reset
netsh int ip reset
ipconfig /release
ipconfig /renew
ipconfig /flushdns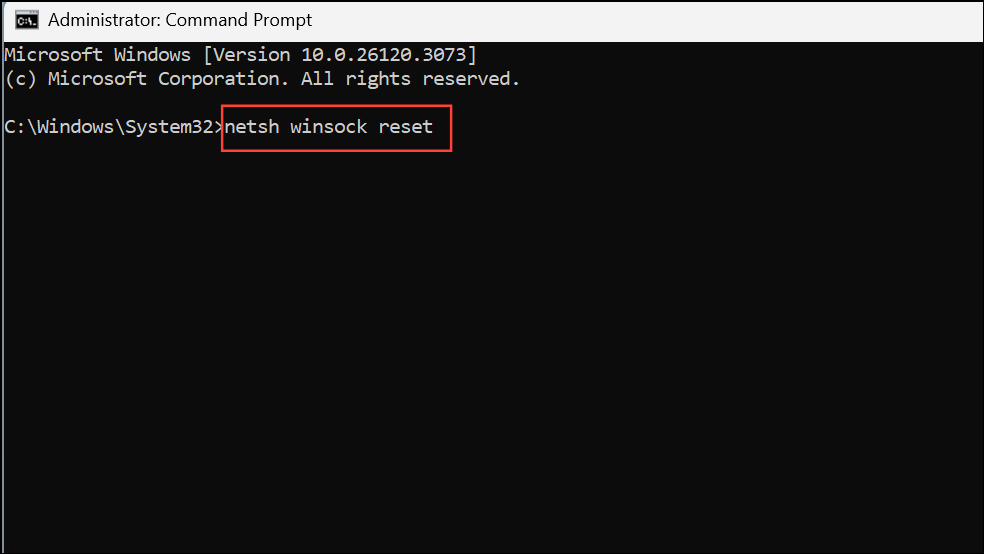
These commands reset the networking stack, release and renew your IP address, and clear cached DNS data. This process removes any lingering VPN routes and restores standard internet access.
Step 3: Restart your computer to apply the changes and test your internet connection.
Disable "Use Default Gateway on Remote Network" in VPN Settings
Some VPN connections modify the routing table by enabling the "Use default gateway on remote network" option. This setting causes all internet traffic to be routed through the VPN, which may persist even after disconnecting, resulting in lost connectivity.
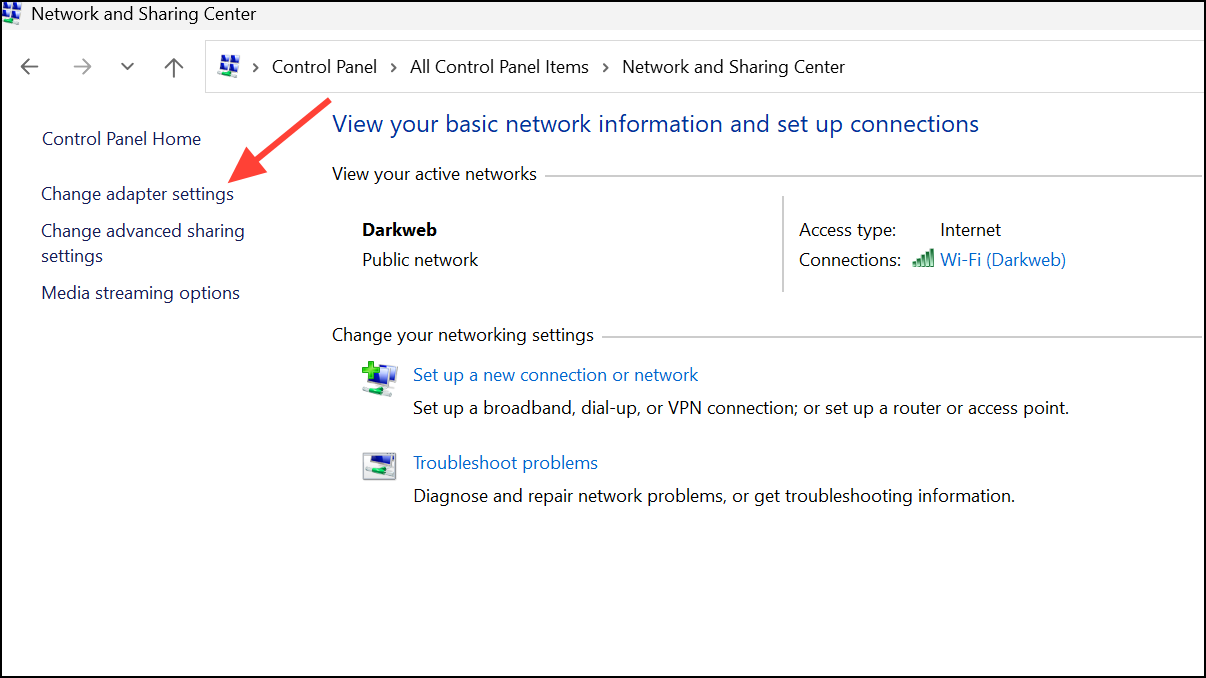
Step 1: Open Control Panel and navigate to Network and Internet > Network and Sharing Center > Change adapter settings.
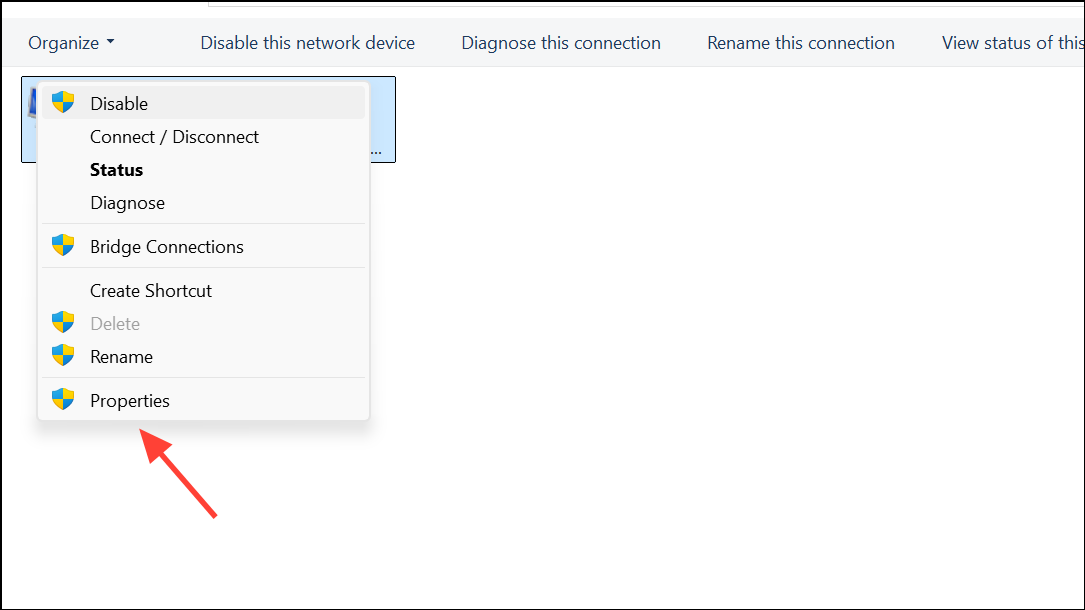
Step 2: Locate your VPN adapter, right-click it, and choose Properties.
Step 3: Select the Networking tab, double-click Internet Protocol Version 4 (TCP/IPv4), and click Advanced.
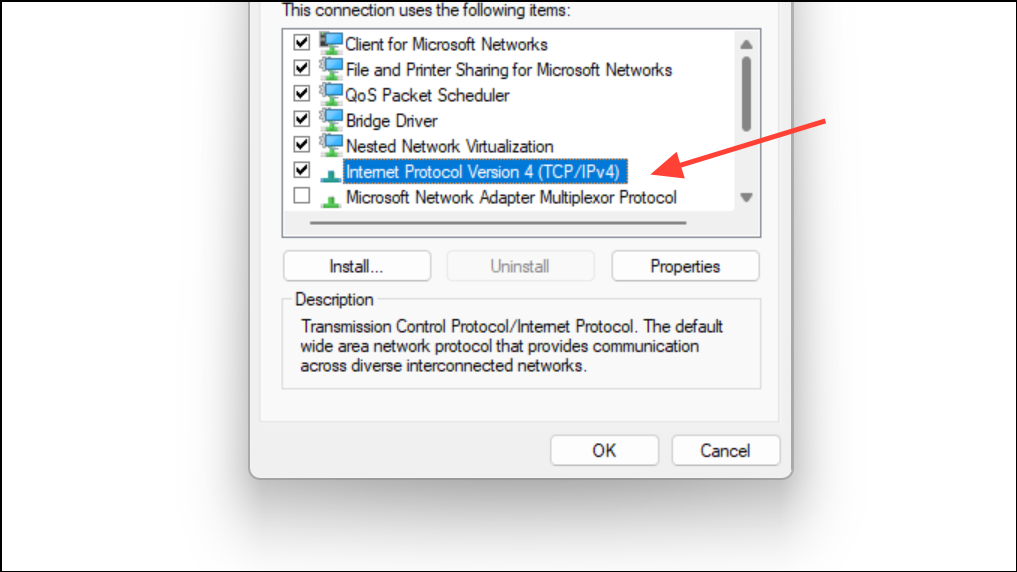
Step 4: Uncheck Use default gateway on remote network and click OK to save changes.
Disabling this option prevents the VPN from taking over your default internet route, allowing your device to use its normal gateway when the VPN disconnects.
Restart Network Hardware and Reconnect
Routers and modems sometimes hold onto previous session data, which can block new connections after VPN use. Restarting these devices refreshes their state and clears temporary routing issues.
Step 1: Unplug your router and modem from the power outlet. Wait at least 30 seconds to ensure all capacitors fully discharge.
Step 2: Plug the modem back in first, wait for its lights to stabilize, then reconnect the router.
Step 3: Once both devices have fully restarted, reconnect your Windows 11 PC to the network and test internet access.
This process helps resolve issues where the network hardware fails to assign a new IP address or route traffic correctly after a VPN disconnect.
Disable Receive Segment Coalescing (RSC) on Wi-Fi Adapter
Updates like KB5026372 or certain network drivers can cause compatibility issues between Wi-Fi adapters and VPN software, especially when Receive Segment Coalescing (RSC) is enabled. Disabling RSC can restore both internet and VPN connectivity on affected systems.
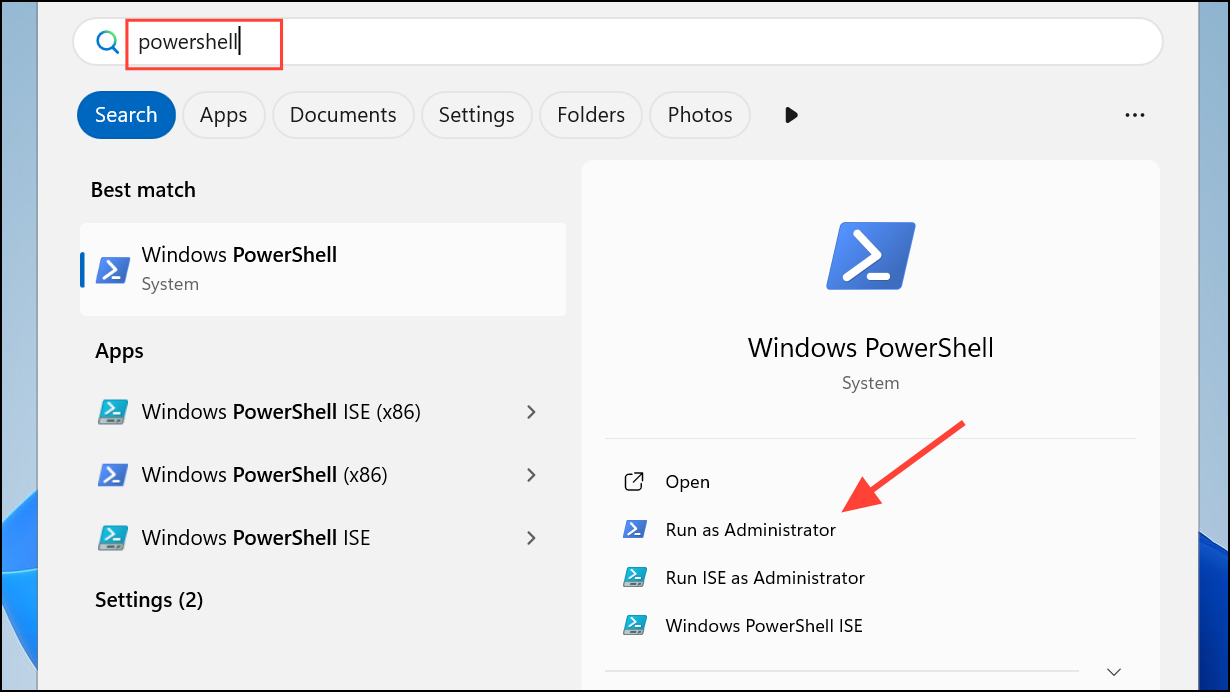
Step 1: Open PowerShell as an administrator.
Step 2: Run the following command to view current RSC settings:
Get-NetAdapterRsc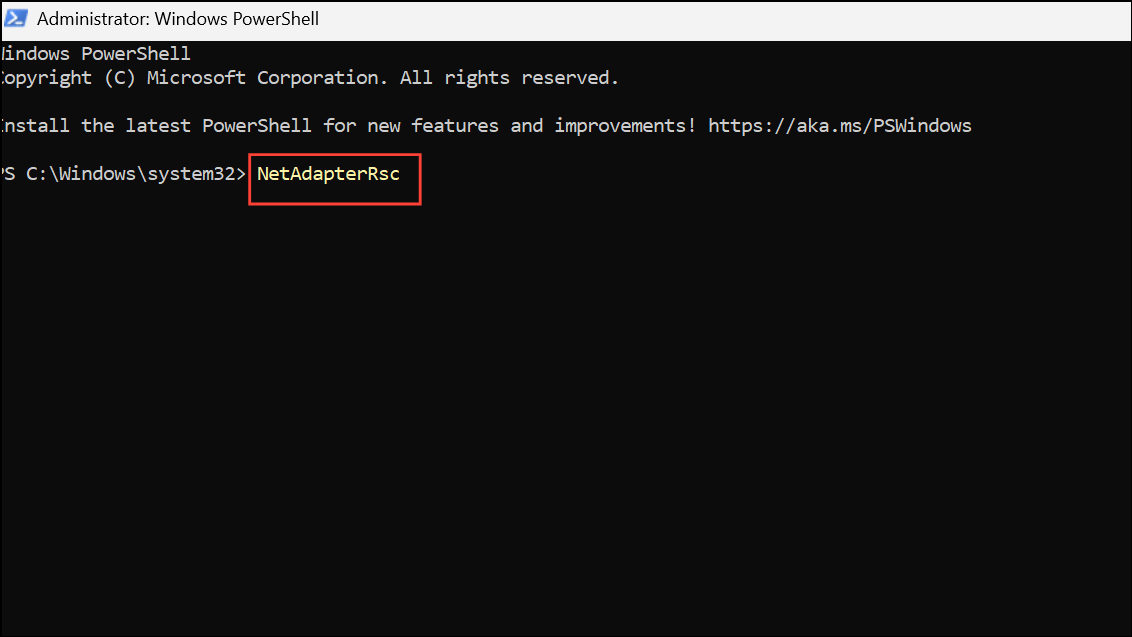
Step 3: To disable RSC on your Wi-Fi adapter, use:
Disable-NetAdapterRsc -Name "Wi-Fi"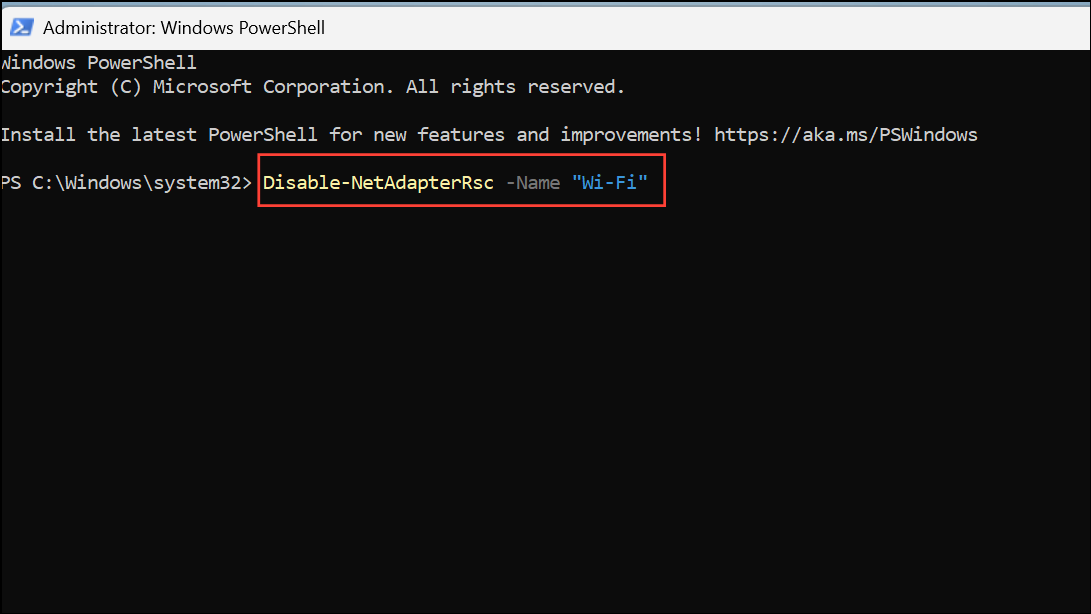
Replace "Wi-Fi" with the exact name of your wireless adapter if it differs.
Step 4: Restart your computer and verify that both the internet and VPN connections work as expected.
Disabling RSC addresses packet handling issues introduced by some Windows updates, especially when using L2TP or similar VPN protocols over Wi-Fi.
Check for Conflicting Network Adapters and Disable Unused Ones
Multiple virtual adapters, such as those from older VPN clients or virtual machine software, can interfere with normal routing after VPN use. Disabling unused adapters streamlines network traffic and prevents conflicts.
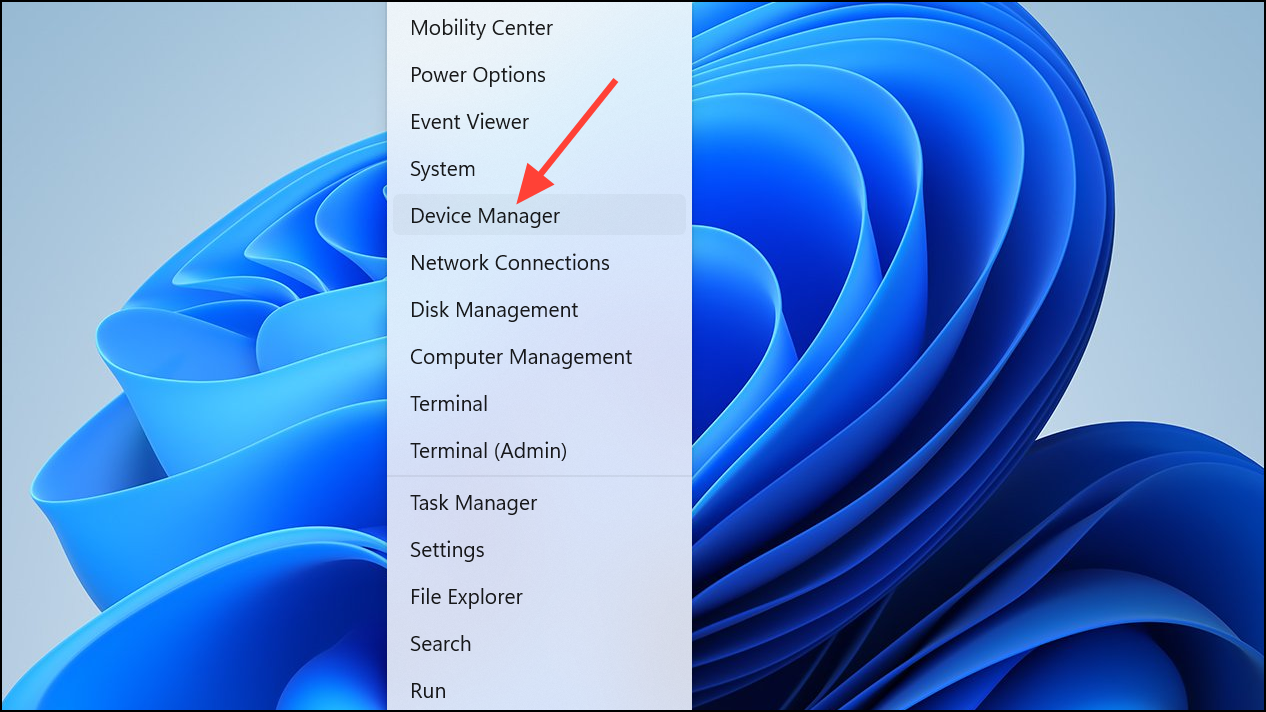
Step 1: Open Device Manager by right-clicking the Start button and selecting it from the menu.
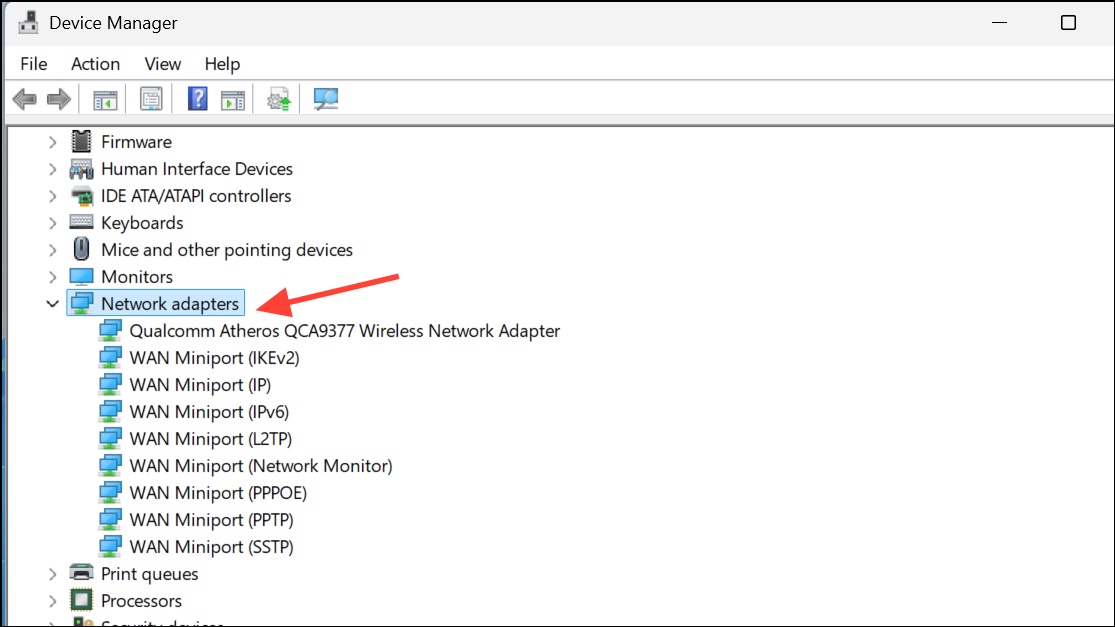
Step 2: Expand the Network adapters section. Identify any adapters labeled as virtual, VPN, or not in use.
Step 3: Right-click each unused adapter and select Disable device. Avoid disabling your primary Ethernet or Wi-Fi adapter.
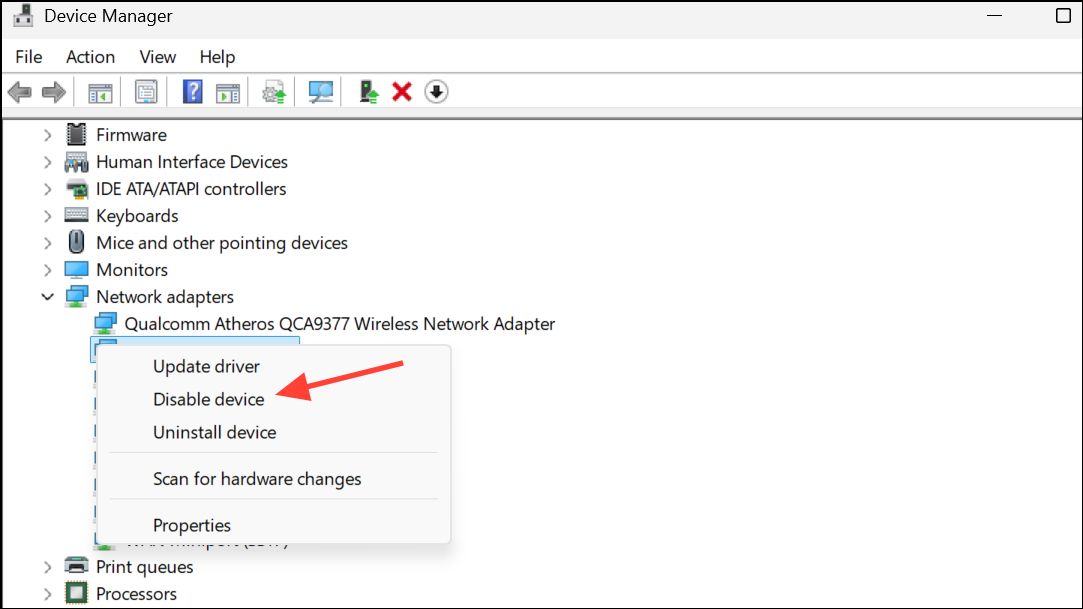
This step eliminates adapter conflicts that can block internet access after VPN sessions.
Update or Reinstall Network and VPN Drivers
Outdated or corrupt network drivers, as well as VPN client software, can leave residual settings that disrupt internet connectivity. Updating or reinstalling these components ensures proper configuration.
Step 1: Download the latest network adapter drivers from your PC or adapter manufacturer's website using another device if necessary.
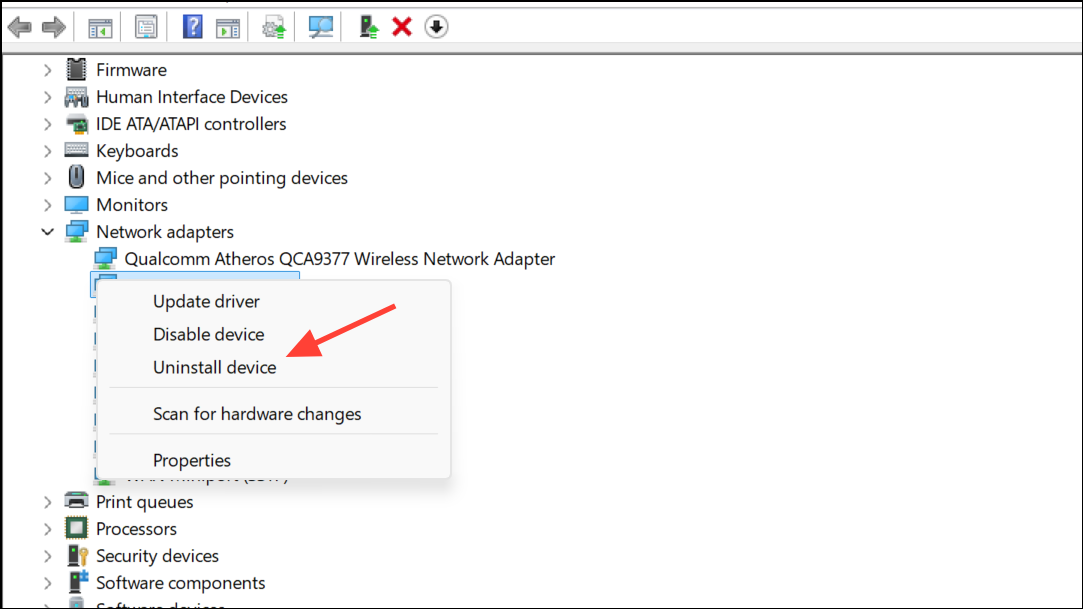
Step 2: In Device Manager, right-click your network adapter and choose Uninstall device. Check the box for Attempt to remove the driver for this device if available.
Step 3: Restart your computer. Windows will attempt to reinstall the driver automatically. If it doesn't, manually install the driver you downloaded earlier.
Step 4: For VPN clients, uninstall and reinstall the software from the official website to ensure no old configurations linger.
These actions restore default network settings and remove problematic configurations left by previous software versions or updates.
Additional Troubleshooting Steps
- Disable proxy settings: Go to
Settings > Network & Internet > Proxyand ensure all proxy settings are turned off unless required by your network. - Check for Windows updates: Install any pending updates in
Settings > Windows Updateto address known bugs. - Perform a network reset: In
Settings > Network & Internet > Advanced network settings > Network reset, clickReset now. This will remove and reinstall all network adapters, returning settings to default.
Applying these targeted steps restores consistent internet connectivity on Windows 11 after disabling VPNs, reducing downtime and keeping your workflow running smoothly.