Flatten The Mountain, from DomBox Games, drops a 534-meter rock on a Roblox beach and asks you to remove all of it. There is no shortcut around the block count — the entire mountain has to come down layer by layer — but the gap between a slow run and a fast one is enormous. A first attempt with basic upgrades lands around 51 minutes. The same mountain falls in roughly 33 minutes once the automation and pickaxe economy are working for you.
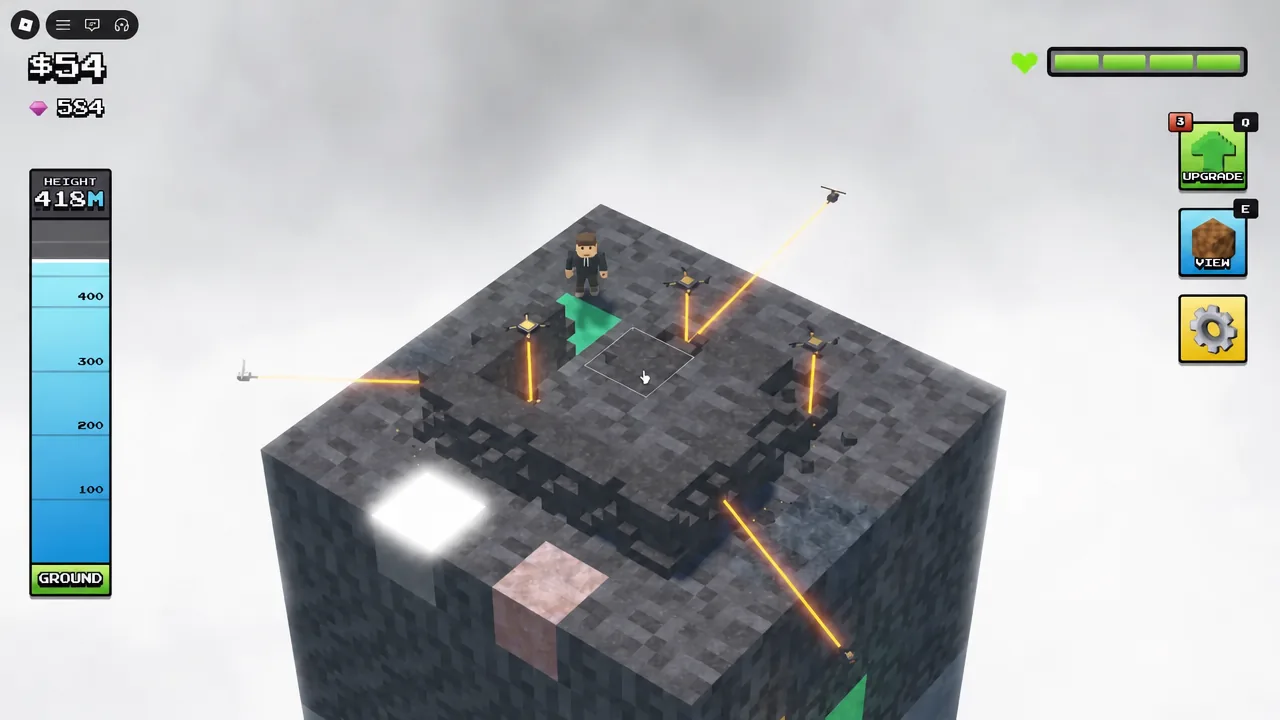
Quick answer: Buy Drone I and Turret I as soon as you can afford them, push Damage and Mine Speed early, grab Auto Mine the moment it appears, and bank the 400 gems from a full clear to buy the 396-gem Storm Hammer — its Thundercall proc instantly destroys 5 percent of the blocks you hit on every later run.
How the 534m mountain is structured
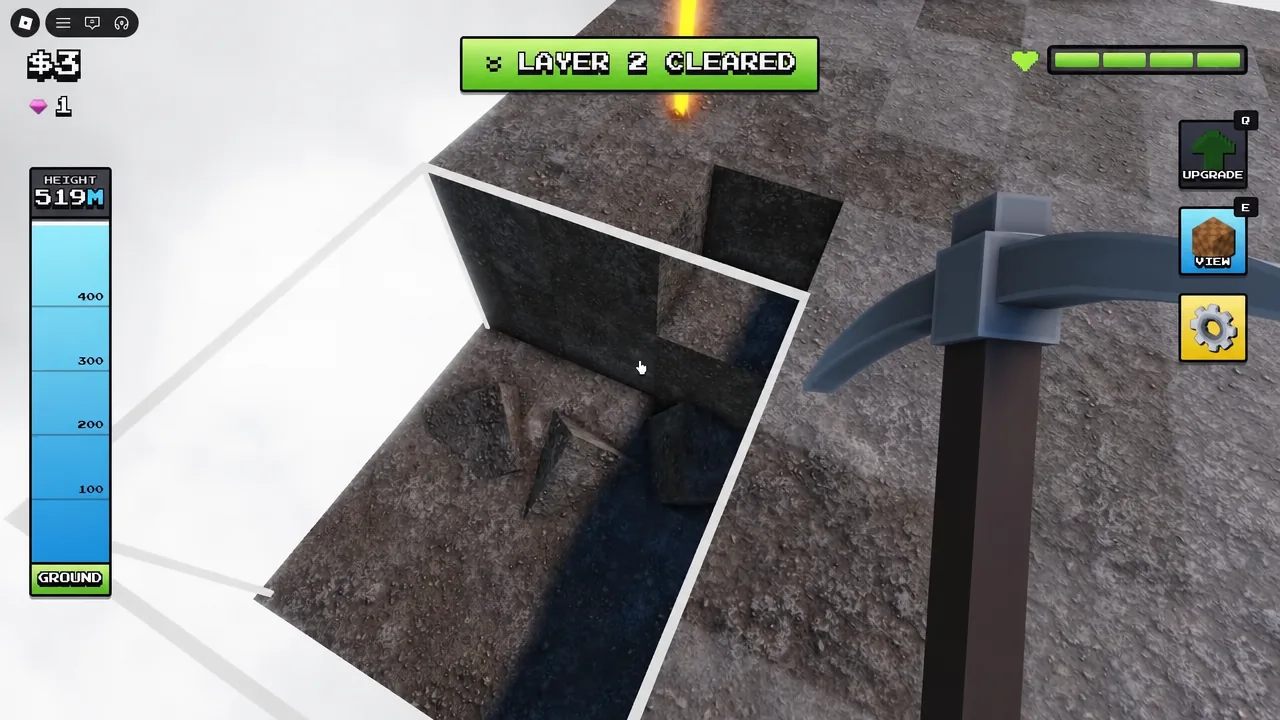
The mountain is not a single mass. It is a stack of horizontal layers, each one 6 meters tall, which works out to 89 layers from the summit down to the sand. You always work top-down, and clearing a full layer triggers a “LAYER 1 CLEARED” banner with the count ticking up as you descend. That banner is the only progress marker worth watching, since the height number alone hides how much block volume is left.
A complete clear is roughly 9,400 blocks. That number matters more than the meter count, because every upgrade you buy is measured against how many blocks per second it removes.
Opening sequence for a fast run
Ore values and cash income
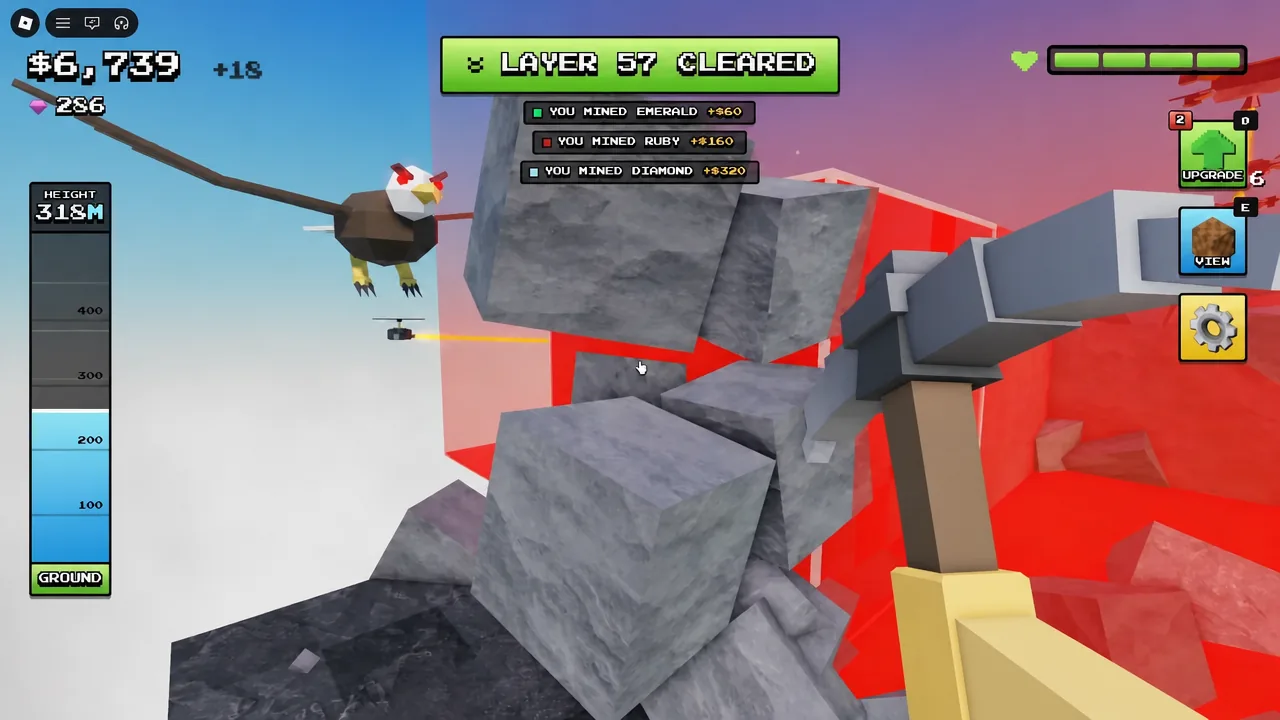
Cash comes from plain stone in small amounts and from ore blocks in large ones. Ore density rises as you go deeper, which is why income accelerates sharply after the first 20 or so layers even though the block count per layer stays roughly constant.
| Ore | Payout |
|---|---|
| Coal | Early-layer filler income |
| Gold | +$40 |
| Sapphire | +$40 |
| Emerald | +$80 |
| Ruby | +$160 |
| Diamond | +$320 |
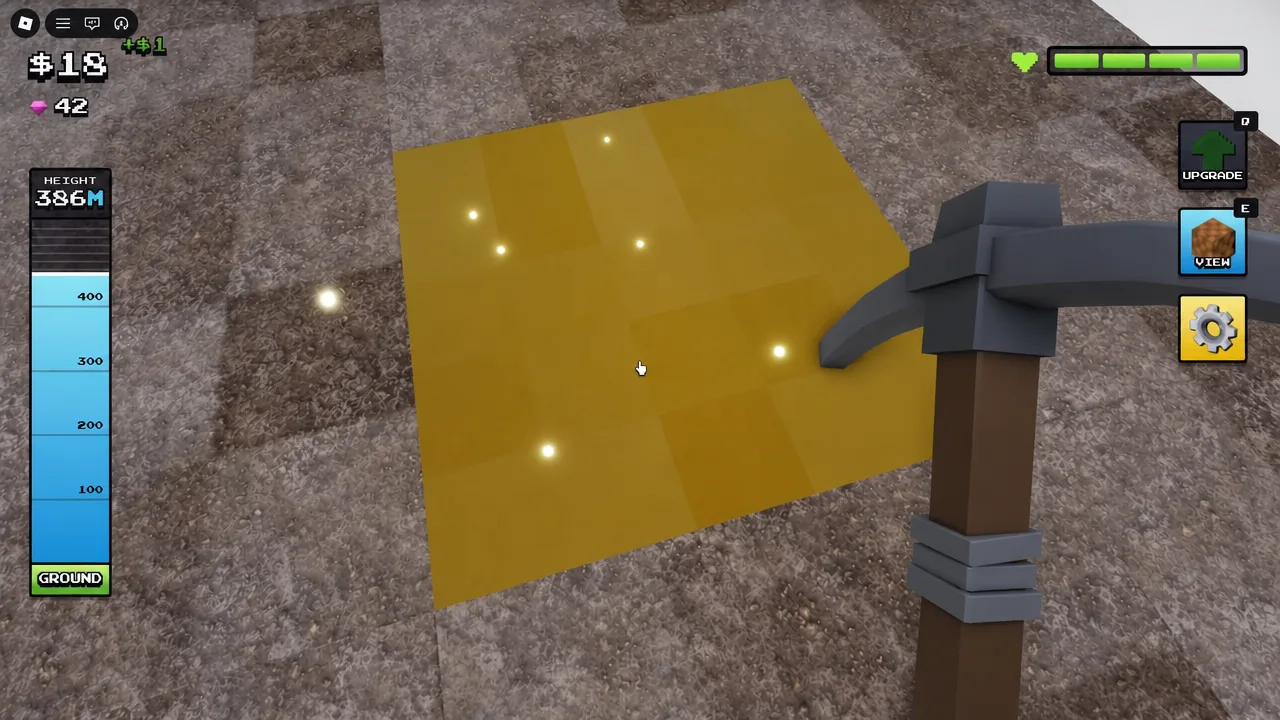
Two power-ups appear during runs and both are worth chaining with ore-heavy layers. The 2X Money buff doubles payouts while active, and Mining Speed x1.5 raises your clear rate. Save them for a stretch of layers you can visibly see is dense with ore rather than burning them on stone.
Gems, buried chests, and the Storm Hammer
Cash is spent inside a run and disappears when it ends. Gems are the currency that carries over, and pickaxes are what they buy. Buried chests spawn randomly inside layers and award 50 gems each when you open them, so it is worth breaking blocks that look like they are hiding something rather than routing around them.
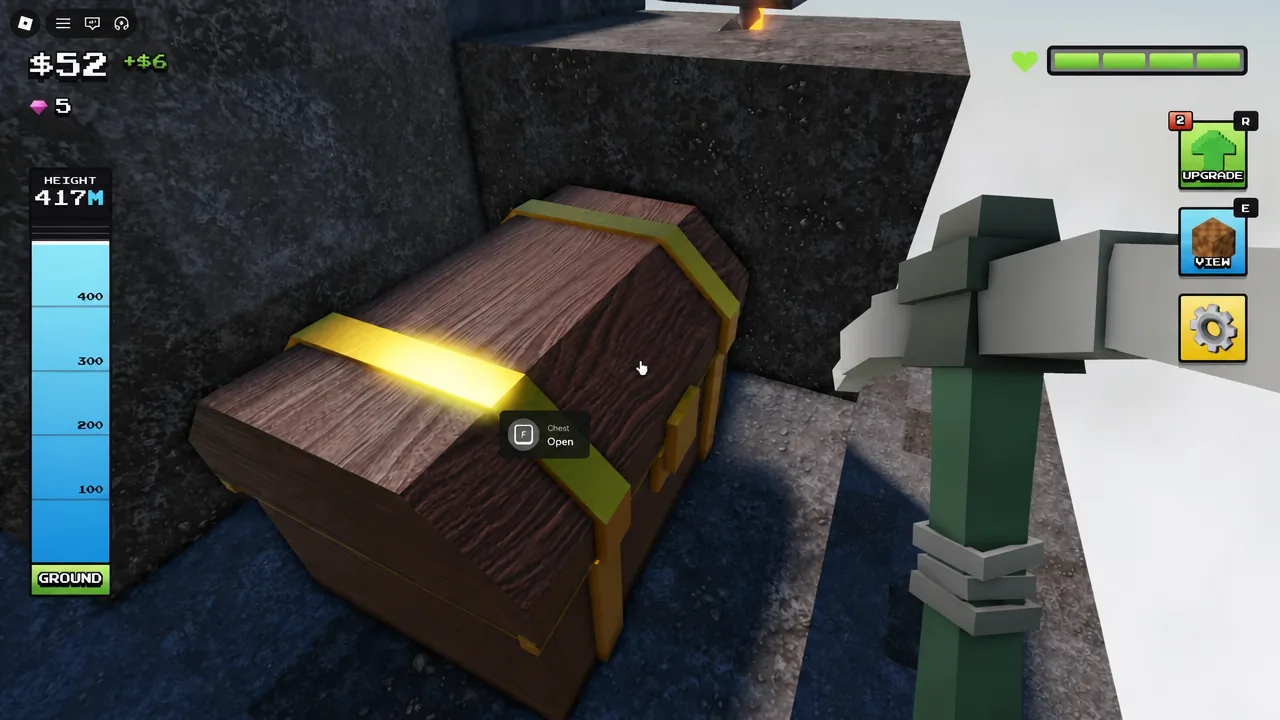
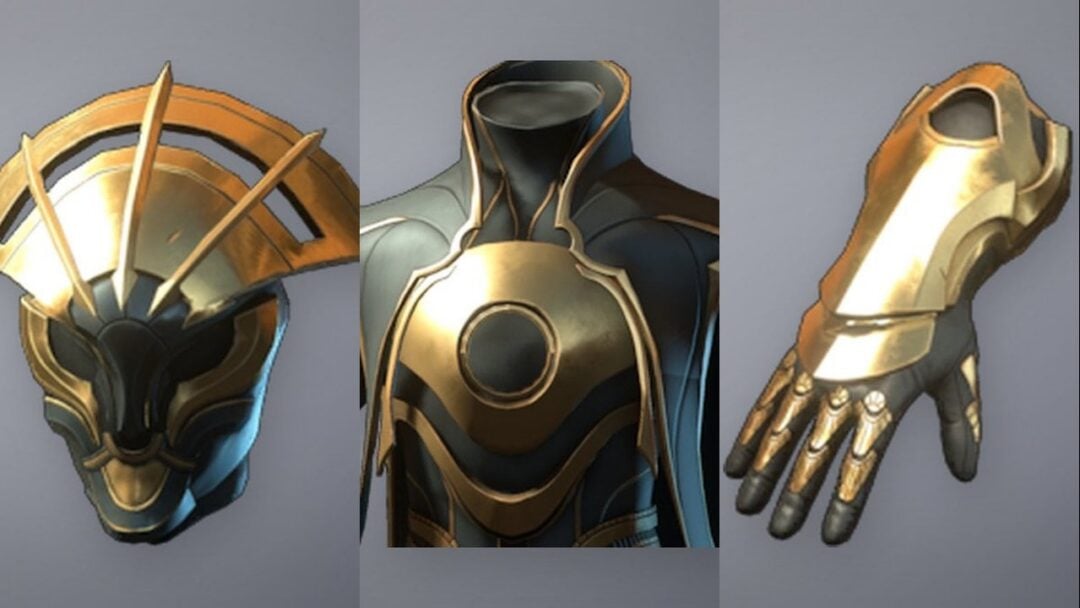
A full clear of the mountain paid out 400 gems on a first attempt, which is enough to cover the Storm Hammer at 396. The lobby shop also stocks the Stone Pick, Glitch Pick, Nature Pick, Angel Pick, and Lava Pick, but the Storm Hammer is the legendary tier and the one that changes run times. Its Thundercall passive gives 5 percent of your hits a chance to call down lightning that destroys the block outright, skipping its remaining health entirely.
Note: 5 percent sounds small until you multiply it across roughly 9,400 blocks. Over a full mountain that is hundreds of blocks removed in a single hit each.
Hazards and stalls that cost you time
Eagles fly across the mountain periodically and damage your HP on contact, announced by an “EAGLE INCOMING!” warning. They cannot be killed for profit, so treat them as pure downtime and step out of the flight path when the alert appears.
The other stall shows up near the bottom, where blocks can render as glitched or invisible while still occupying space. They still break normally when you aim at them, so keep swinging at the outlined tile even if nothing appears to be there. The layer counter is the reliable confirmation that it registered.
What a Storm Hammer run actually saves
The difference between a stock run and a geared one is close to 18 minutes on the same 534-meter mountain, with cash earnings more than doubling because the ore layers get cleared faster and under better multipliers.
| Result | First run | Storm Hammer run |
|---|---|---|
| Time completed | 51:15 | 33:24 |
| Blocks mined | 9,386 | Full mountain |
| Gems earned | 400 | 500 |
| Cash earned | $53,740 | $114,947 |
You know the run is finished when the “MOUNTAIN FLATTENED!” screen appears with your time, block count, gems, and cash. A 33:24 clear was enough to place 9th on the solo leaderboard, so anything under the mid-30s is competitive territory.
The practical takeaway is that the first run is an investment, not an attempt at a time. Get through it however you can, bank the gems, buy the Storm Hammer, and treat every run after that as the real one.