The yellow COG container called a Hard Case bears a gear mark on its lid, and Hold the Line (Act 2, Chapter 2) contains plenty. When you open one, gold banners sweep across the top of the screen to identify its contents, while “HARD CASE EMPTIED” flashes at the left. Rewards include weapon mods, armor and tactical mods, and the slots used to fit them.
Quick answer: Sixteen Hard Cases can be opened on one run through the chapter. Stand at the yellow crate and press X on the “Open Hard Case” prompt. Nothing works until you register it at a Supply Cache.
The sixteen below are the cases reached on a single sweep through the district, listed in the order the route hits them. The chapter shows no Hard Case counter of its own, so sixteen is the number found on this path and not a confirmed chapter total. The “x/27” counter on the map tracks Collectibles only, and Hard Cases do not move it.
How Hard Cases work in Hold the Line
A case contains between one and four rewards. Dots above the banner indicate the total and identify the reward currently displayed. Opening a case does not immediately install its reward on your weapon. Return to a Supply Cache to register and equip mods; each weapon retains the configuration you save there.
Spotting cases is easier once you know the three signals the game gives you:
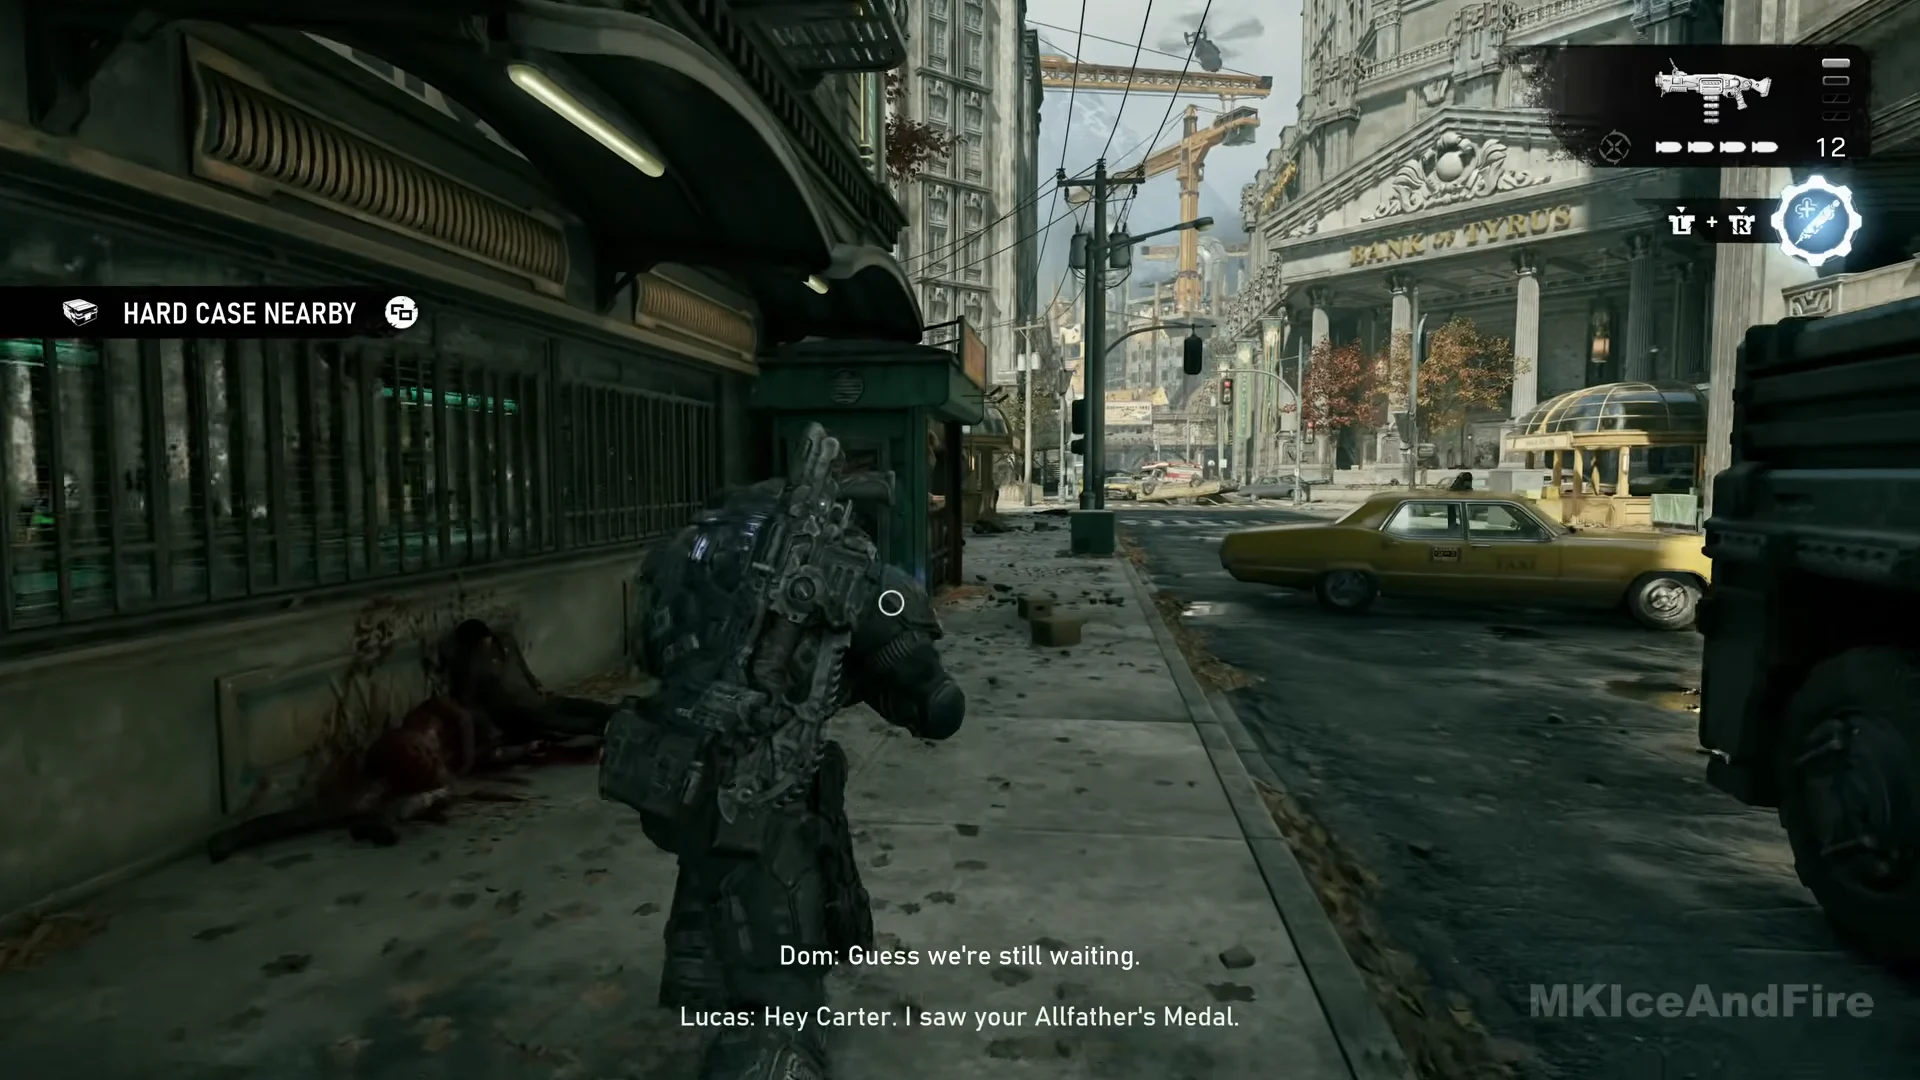
- When a case is close, a small crate icon appears with a left-side “HARD CASE NEARBY” notice. A white marker then indicates the distance in metres.
- Hold LB for Tac-Com to grey the screen and surface objective, Supply Cache and Hard Case markers.
- Open the map with the View button and look for the white open-crate icon. A dark crate with a tick means you have already cleared it.
Not every case icon is on the map from the start. Early on the district map shows just two crate icons beside your position marker; more appear as you cross the district, and a few only unlock once the main objective moves on.
Hard Case rewards found in Hold the Line
| # | Location | Rewards |
|---|---|---|
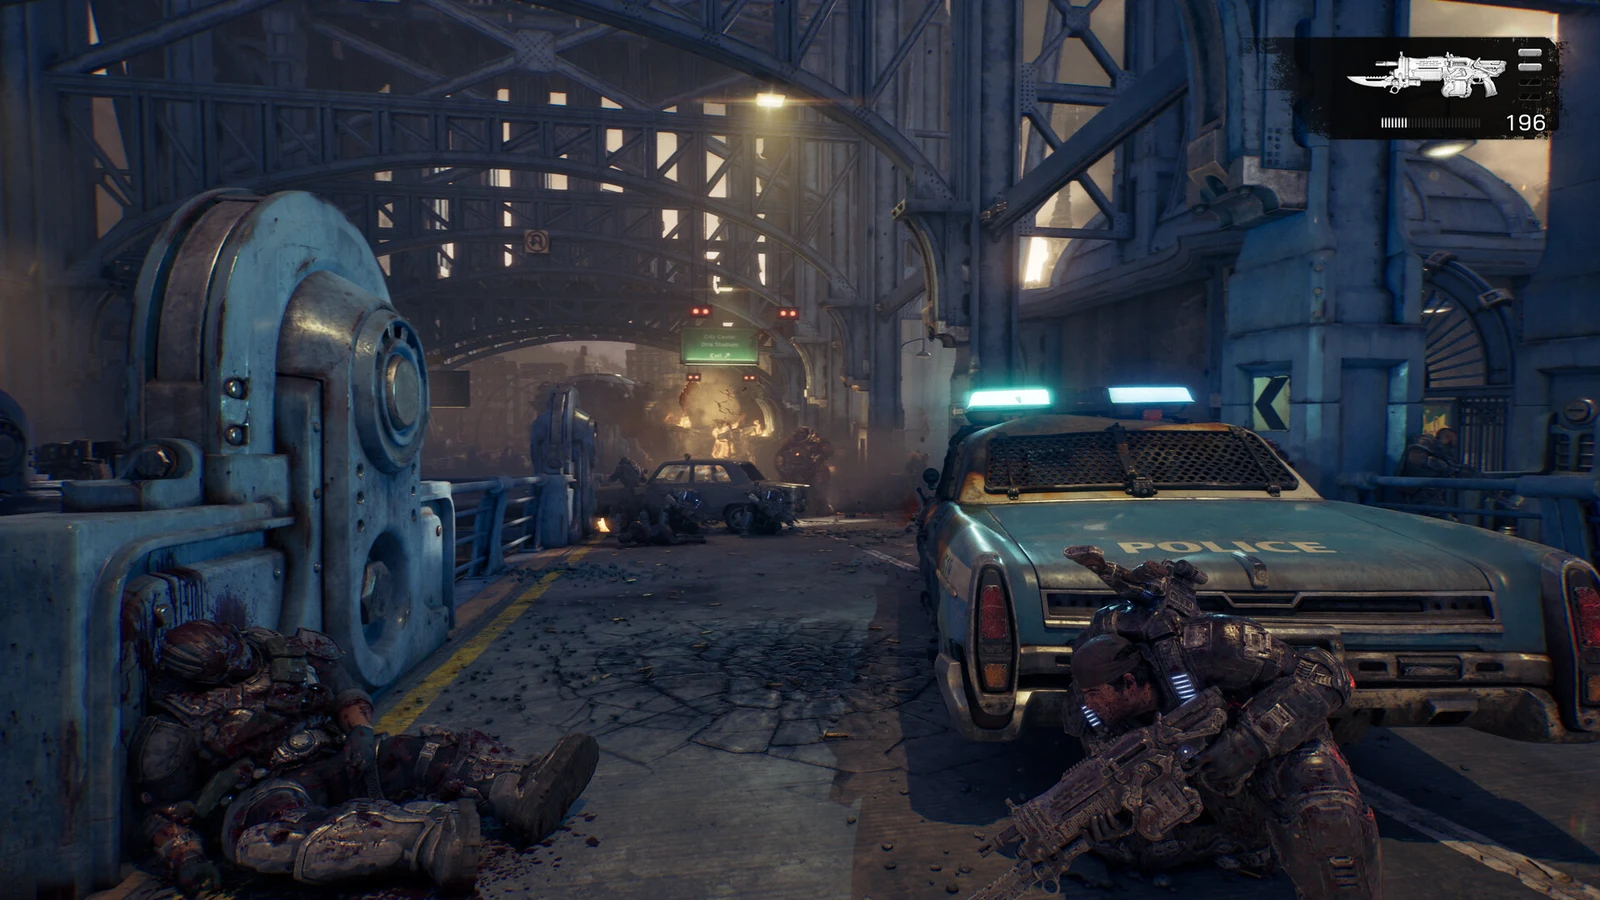
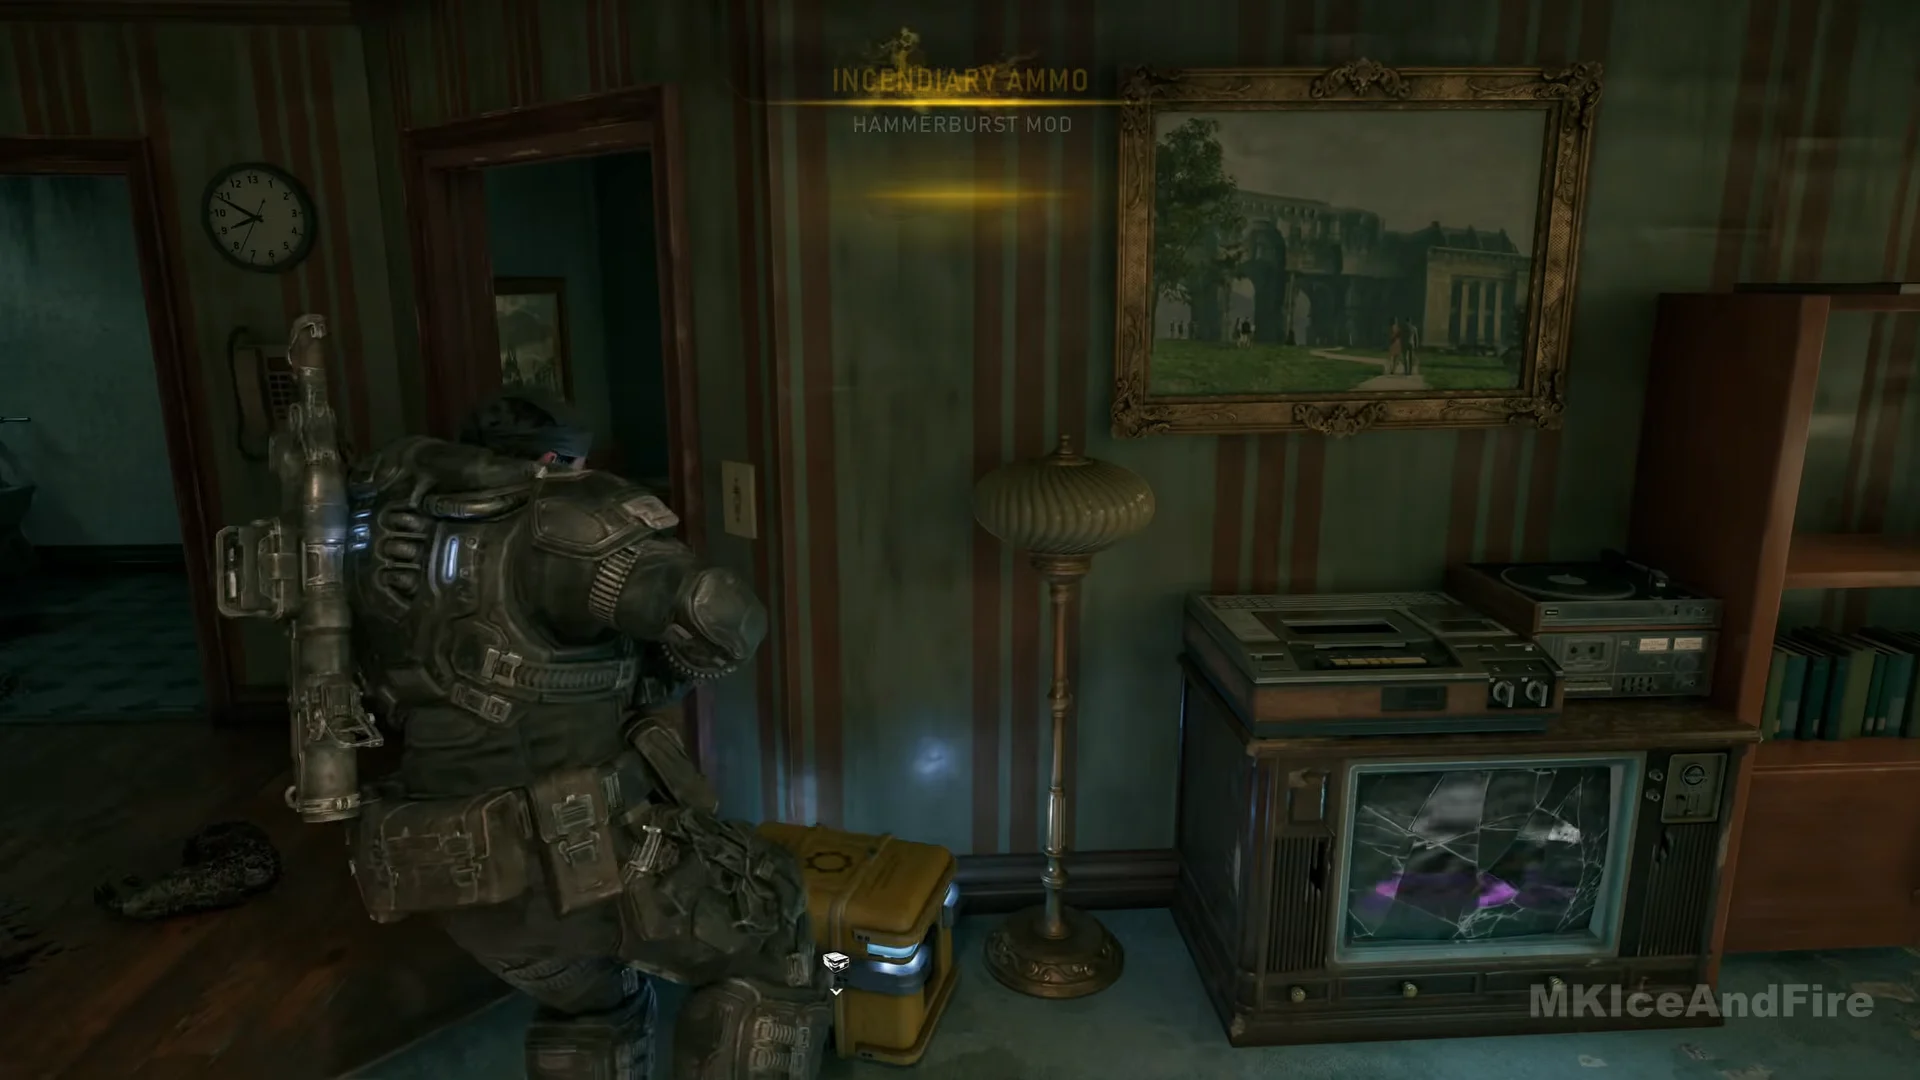
| 1 | Apartment ruins overlooking the construction plaza | Incendiary Ammo (Hammerburst) |
| 2 | Caged storage on the arched building’s mezzanine | Gnasher — General Mod Slot; Gnasher — Composite Chassis |
| 3 | Allfathers Plaza terrace | General Mod Slot (Lancer Mk1); Close-Quarters Barrel (Lancer Mk1) |
| 4 | Second-floor flat off the alley | Aim Stabilizer (Snub) |
| 5 | Amberstone Storage Company yard, bay 05 | Armor Mod Slot; Hardened Cover (Armor); Rock Steady (Armor) |
| 6 | Green newsstand outside the Envoy Hotel | Injector Mod Slot; Disruptor Mod Slot; Burst Capacitor (Injector); Retention Battery (Disruptor) |
| 7 | Ruined terrace overlooking The Kalona Times truck | Holo Sight (Hammerburst); Holo Sight (Prototype Lancer) |
| 8 | Bank of Tyrus vault | General Mod Slot (Hammerburst); Huge Magazine (Hammerburst) |
| 9 | Public parking garage | Hardened Ammo (Breechshot); Springloaded Mag (Gnasher) |
| 10 | Arched porch under the yellow rail | Combat Scope (Breechshot) |
| 11 | Green canvas shelter within the courthouse COG gate | General Mod Slot (Snub); Forged Barrel (Snub) |
| 12 | Shipping container by the triage tents | General Mod Slot (Prototype Lancer); Cover Brace (Prototype Lancer) |
| 13 | Police car in the foggy search zone | Skeleton Frame |
| 14 | Snacks Drinks shop, Landa Court plaza | Longshot — General Mod Slot; Longshot — Precision Long Barrel |
| 15 | Kalona Hotel entrance | Injector Mod Slot; Disruptor Mod Slot; Regenerative Compound (Injector); Execution Capacitor (Disruptor) |
| 16 | Wall corner below the hotel balcony | Breechshot — General Mod Slot; Breechshot — Skeleton Frame |
Hard Case locations, in route order
Investigate the muster point (cases 1-3)
Case 1. Begin at the dirt construction plaza marked by Pinnacle Crest site hoardings. Head for the brick tenement with its wall blasted open, then take the yellow cable up to the flat on the first floor. Beneath a framed landscape painting, the case rests on the floor between a television cabinet and a floor lamp.
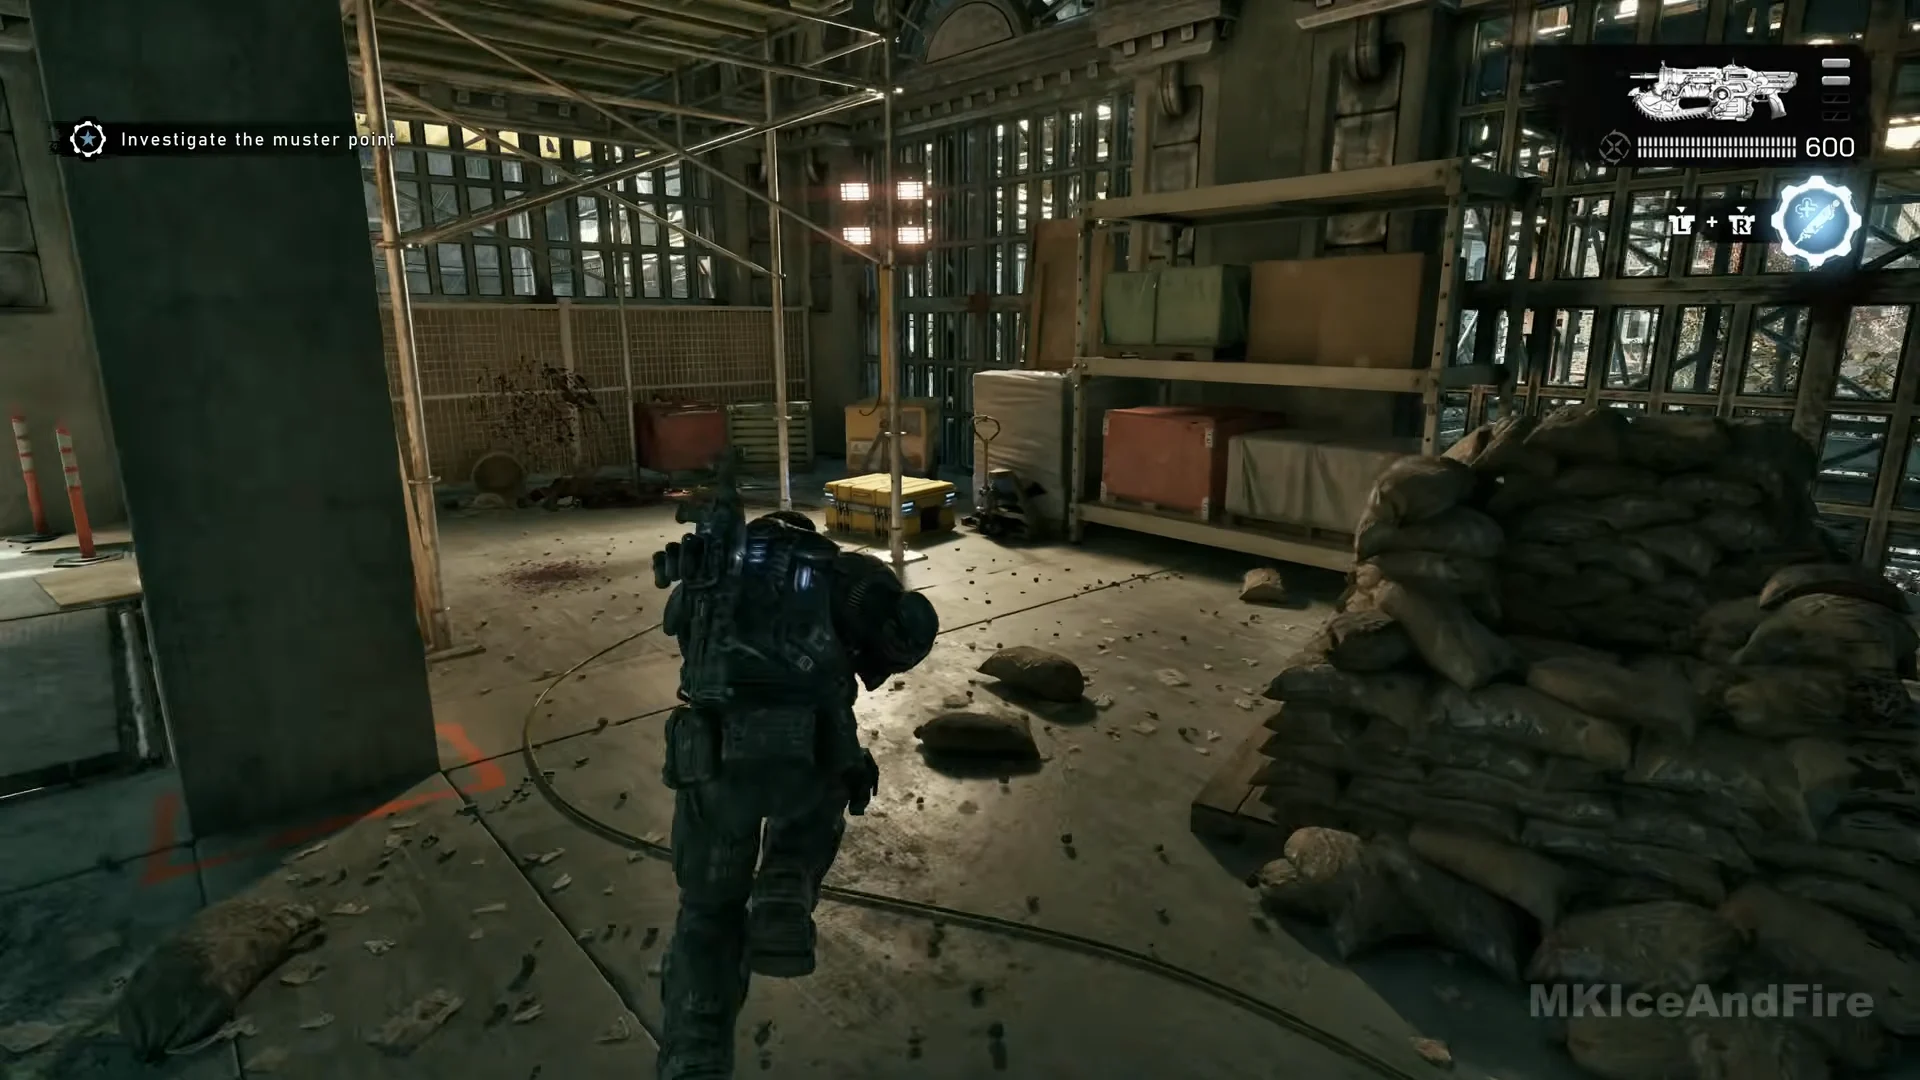
Case 2. Back on the same plaza, go up the wide stone stairs under the scaffolded arches and into the wire-fenced storage area with metal shelving and stacked sandbags. The case is on the floor beside a pallet truck.
Case 3. After the plaza fight, climb the steps from the street corner onto the raised Allfathers Plaza terrace with the tall robed statues. The case is on the ground against the low stone wall beside a statue plinth. A Supply Cache reminder pops up here, and the nearest cache is in the corner diner just east.
Secure the Imulsion stockpile (cases 4-5)
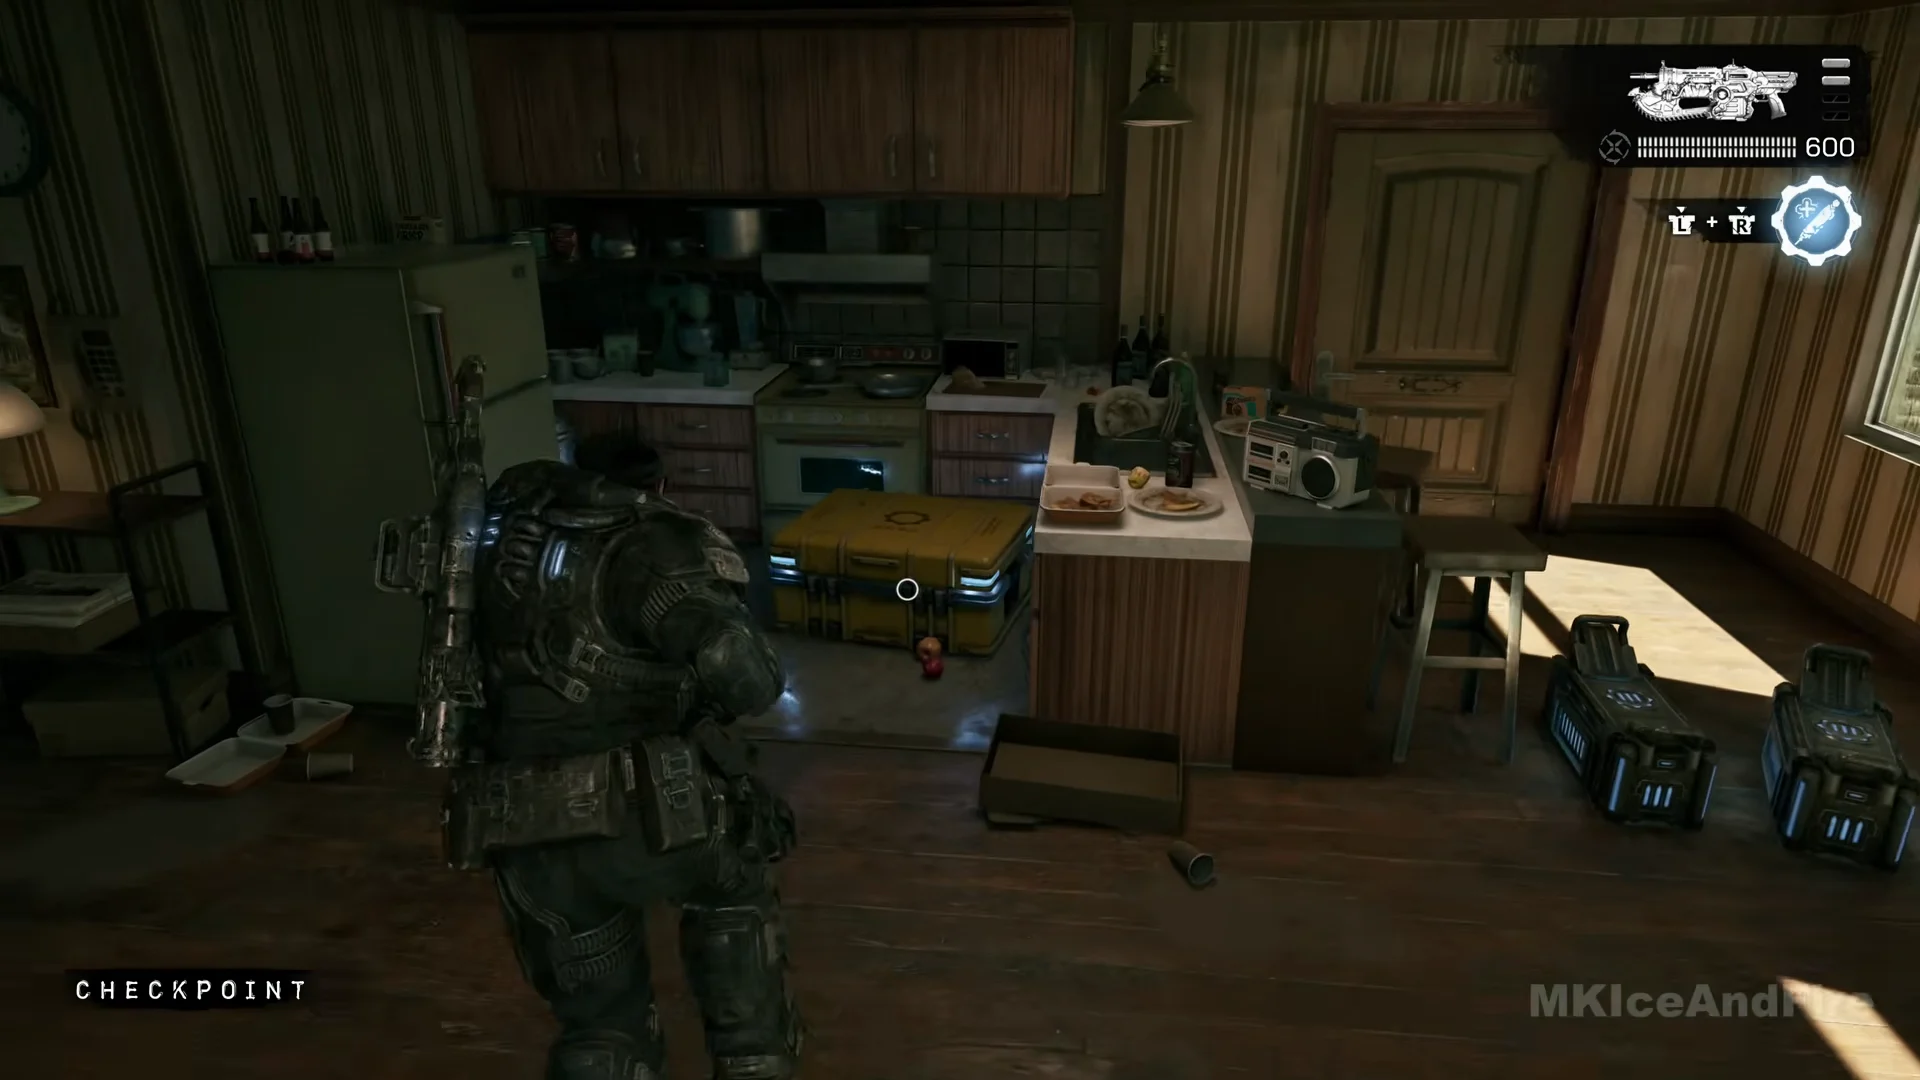
Case 4. After the fuel-tank ambush street, go into the alley with the green dumpsters, climb the yellow ladder to the metal catwalk and step through the open window. A checkpoint saves as you enter. The case is on the kitchen floor at the end of the counter, next to two ammo boxes. An alert for it shows in the street below first.
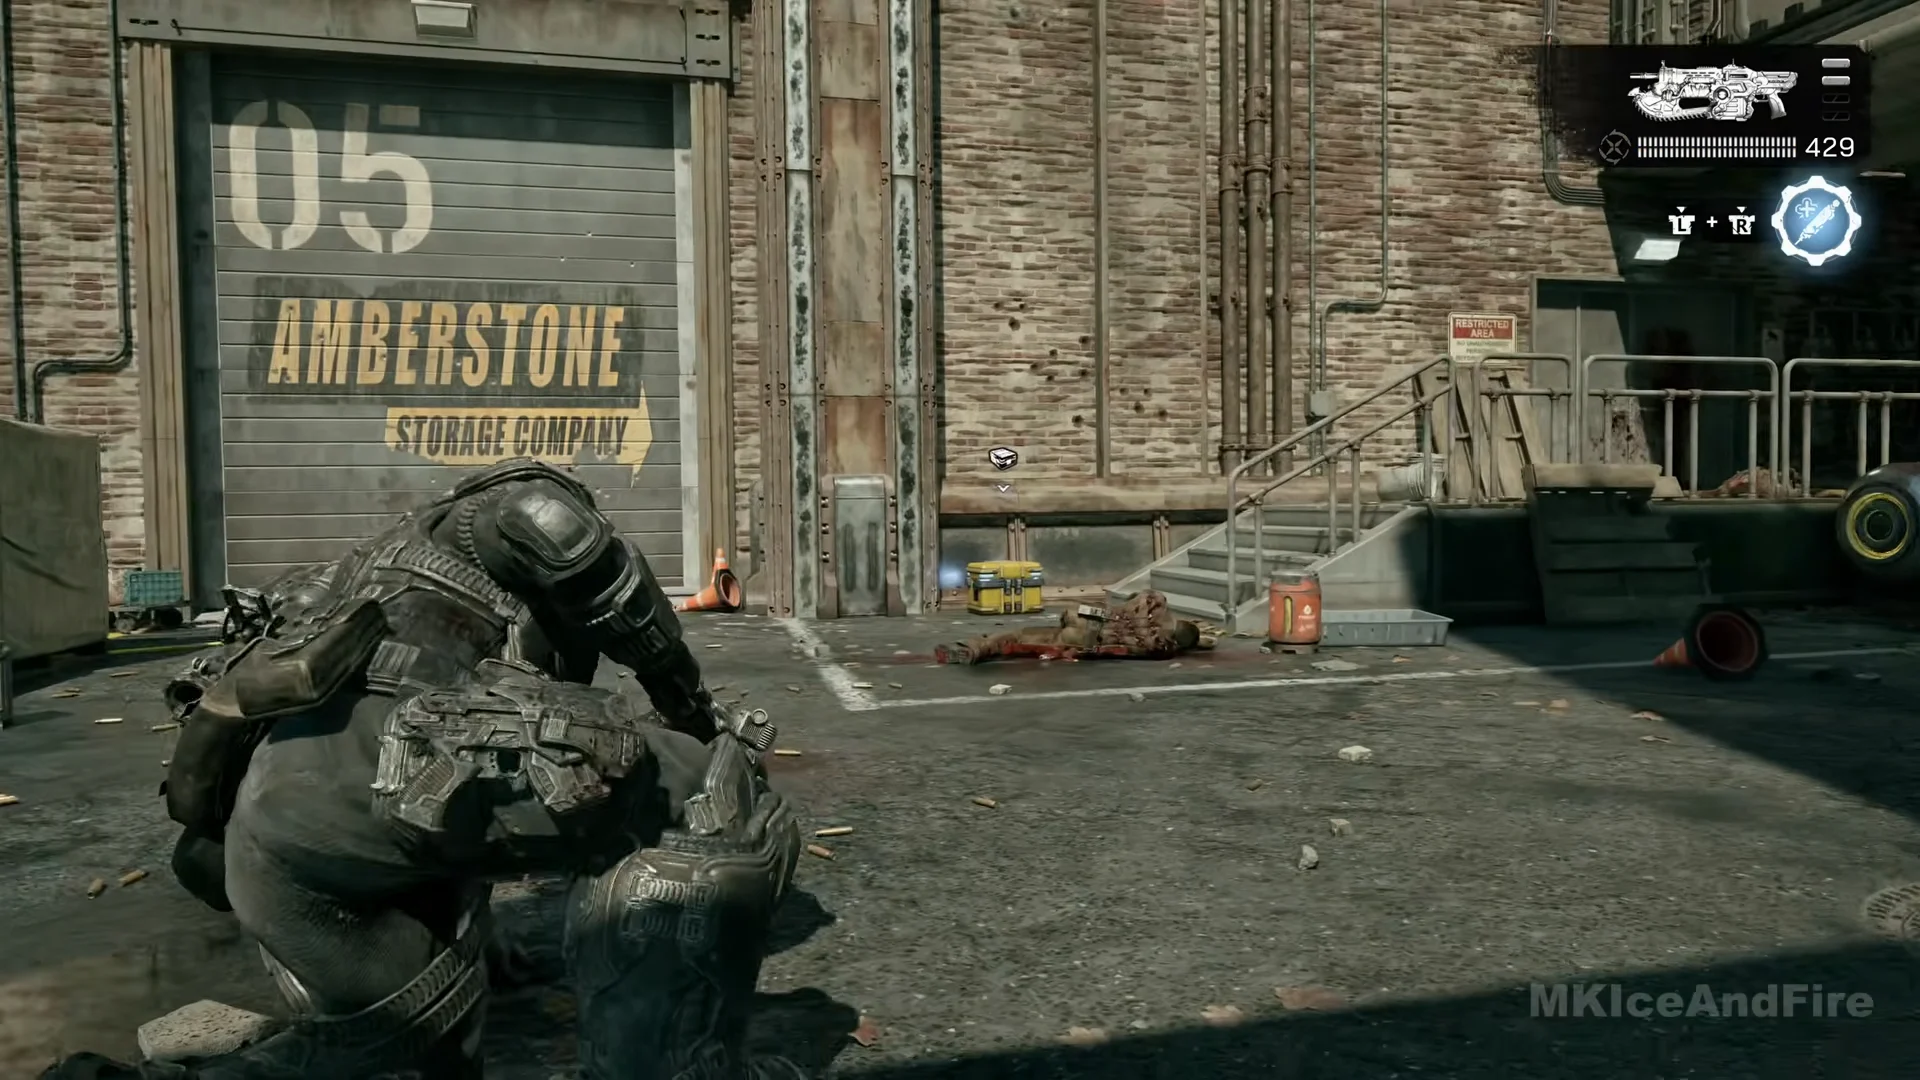
Case 5. The alert shows on the raised loading platform. Drop into the yard, where the case waits on the ground at the foot of the metal steps just right of the roll-up shutter numbered 05. Snipers cover the lane beyond it.
Find Dr. Dalia Fabbri and the vault (cases 6-8)
Case 6. Shortly after the Envoy Hotel scenes, head into the street beside The Kalona Times building. The alert appears near the pavement at the corner of the green kiosk with a red NEWSSTAND sign, where the case is waiting. The “Find Dr. Dalia Fabbri” objective appears soon after you reach it.
Case 7. On the other side of the street, climb the rubble mound beside the white The Kalona Times delivery truck to reach the open first-floor terrace with its black-and-white checkered floor. At the far end, the case rests against the stone balustrade.
Case 8. An alert shows in the bank lobby early on, but the round vault only opens as part of the main objective. Inside, the case is on the floor at the foot of a pillar next to a green “WE CAN HELP” poster, a few steps from the War Savings Bond collectible.
Secure the construction site and link up with Charlie Squad (cases 9-11)
Case 9. Enter under the green PUBLIC PARKING sign. Past the parked cars, where Wretches are feeding near a white van, a checkpoint saves. The case is on the floor by the grey electrical cabinets, beside two ammo boxes and a Gnasher. Opening it sets off a Wretch ambush, so clear the feeding pack first.
Case 10. After the construction site roof, down in the avenue under the yellow elevated rail, an alert shows beside a green bus with a “Fixit Fast” advert. Cross to the dark arched stone porch behind a rail pillar and the case is in its corner by a shuttered door.
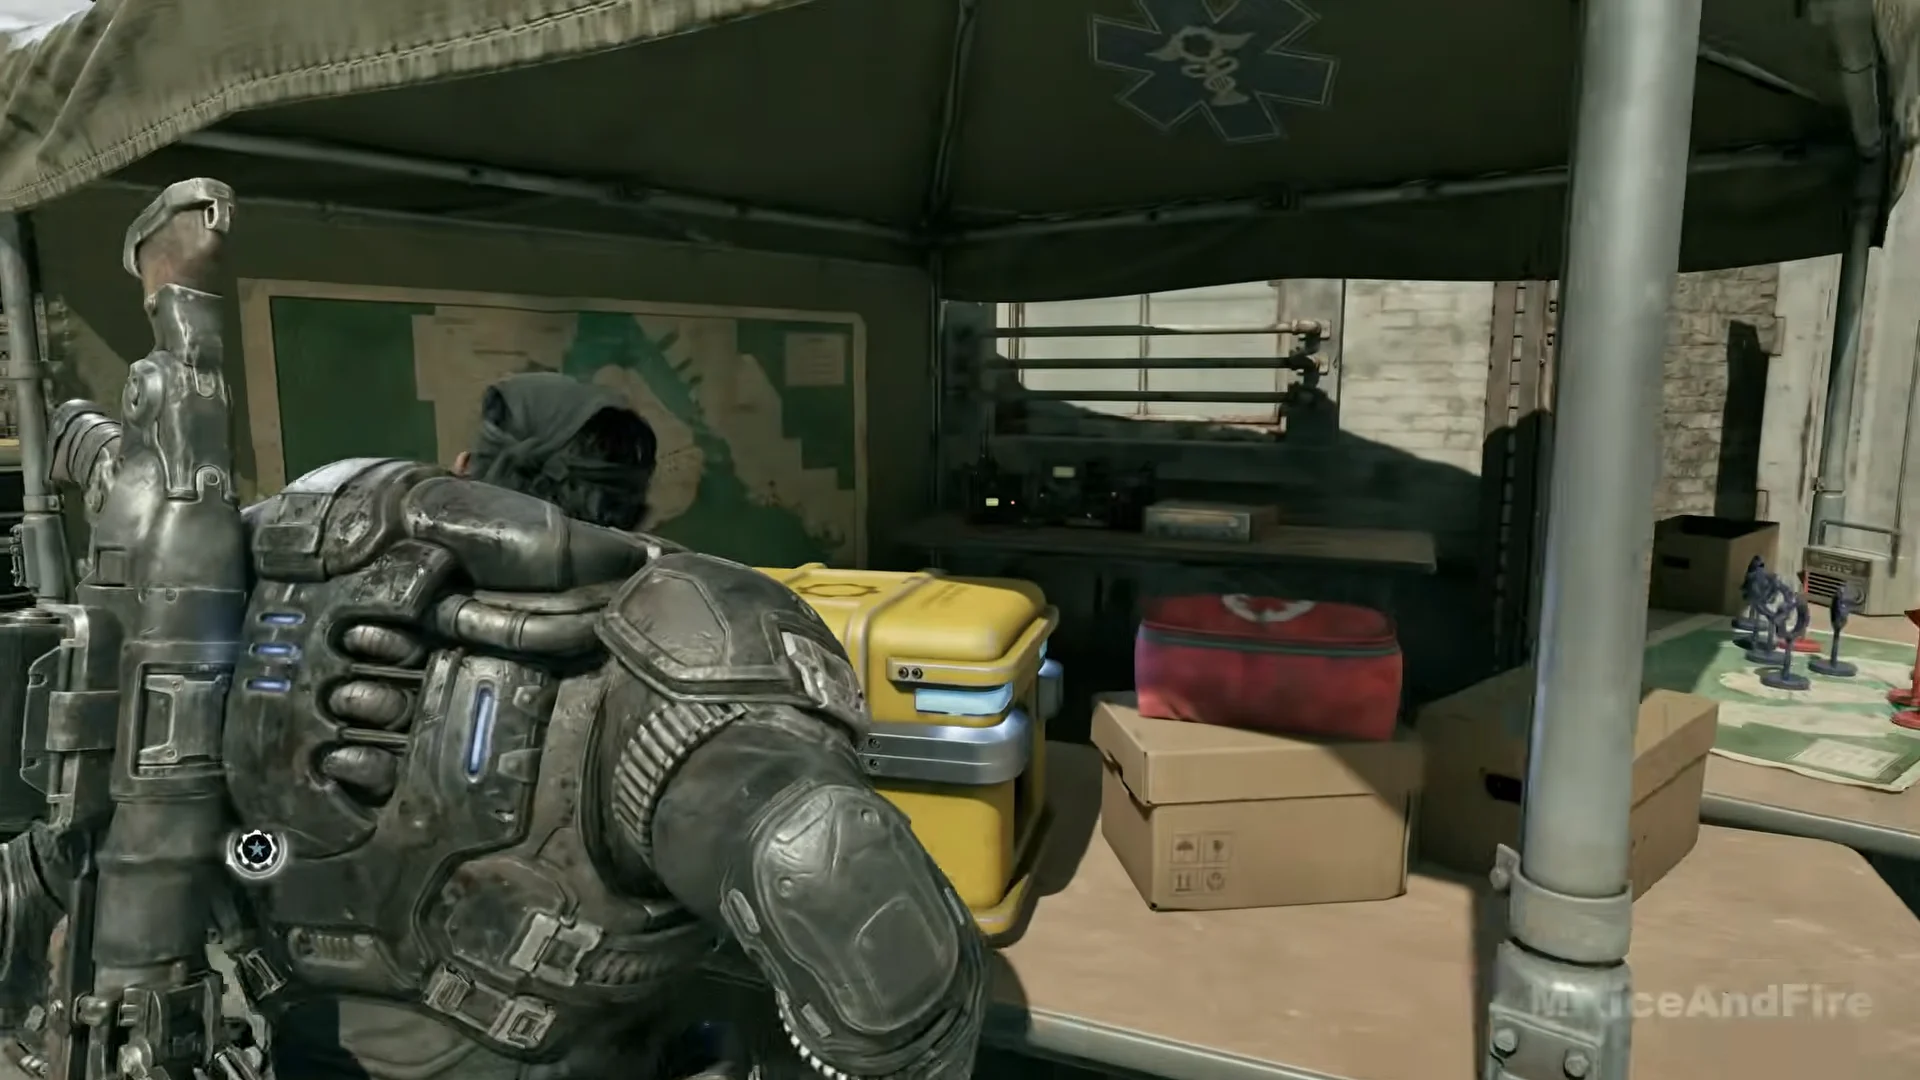
Case 11. A second alert shows at the sandbagged chain-link gate with the RESTRICTED AREA sign, where a checkpoint saves. Inside the fenced yard, the case sits on a table under a green canvas tent, beside a red bag and cardboard boxes. Grab it before walking on, because the courthouse defence starts a few steps further.
Find Whiskey Squad in the search zone (cases 12-13)
Case 12. After the courthouse defence, in the street of green medical tents, an alert shows. An open grey shipping container stands against the chain-link fence behind a COG concrete barrier, and the case is at the back, inside it.
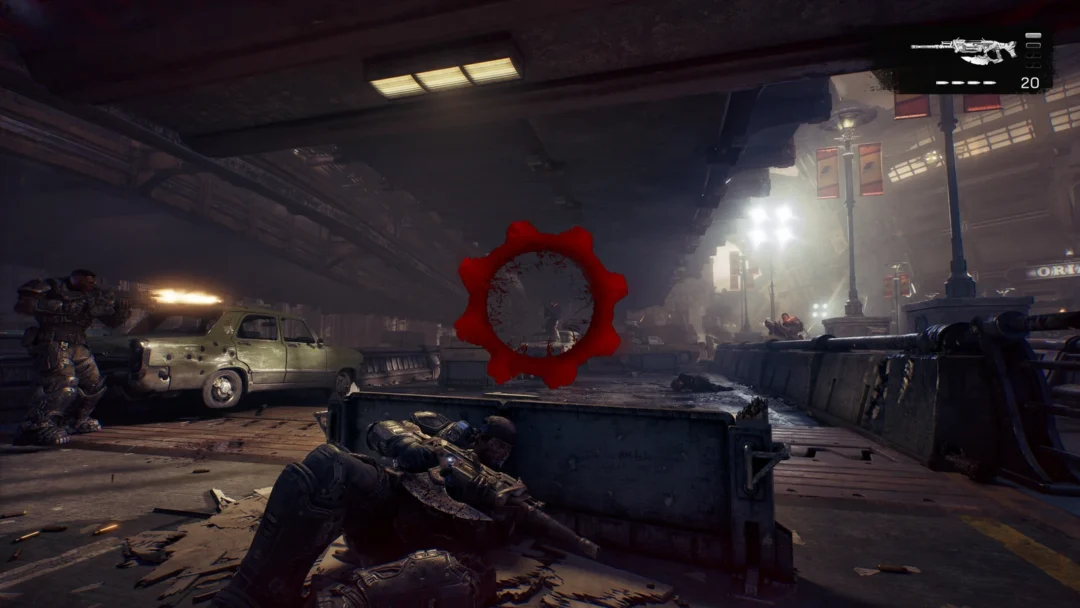
Case 13. Past the Supply Cache at the COG truck, follow the burning, fog-filled road under the rail arches past an armoured vehicle. The case is on the road beside a pale blue and white police car. The weapon line on its reward banner is hidden behind the “IN SEARCH ZONE” label.
Support Cpl. Harris at the hotel (cases 14-16)
Case 14. From the blood-stained fountain, go up the short steps between the stone planters to the green shopfront signed SNACKS DRINKS. The case is at the corner of the stone building just left of the shop.
Case 15. At the hotel corner a checkpoint saves and an alert shows behind the parked COG truck. Under the entrance canopy, the case is on the right, between a bench and the pillar with the loading-only sign.
The hotel doors next to case 15 display the prompt “Leave the area and move on.” Finish anything remaining in the streets before going through them.
Case 16. After the field relay on the hotel’s outdoor balcony, an alert shows with the checkpoint. Drop off the broken edge of the balcony to the street beside a yellow taxi and turn to the wall. The case is in the corner under white graffiti and pasted posters, and the park fight starts just ahead.
Alerts with no case opened on the spot
Two places trigger a “HARD CASE NEARBY” alert without a crate to open there and then. Which case each alert belongs to is not confirmed.
- During “Investigate the muster point,” the alert fires beside the armoured vehicle at the sandbagged chain-link COG gate under the yellow rail, after the police-car sinkhole fight. The fenced yard is shut at that point.
- During “Get Mags’ meds,” the alert shows in the back alley with the steps and chain-link fence, just before the street of the Envoy Hotel. Cases 6 and 7 sit in that street and open after the hotel scenes.
Whichever cases you clear, the mods stay inert until you carry them back to a Supply Cache and fit them. If a reward is not showing up on your gun, that registration step is the reason, and the mod’s exact effect appears on the cache screen rather than on the banner you saw when the crate popped open.