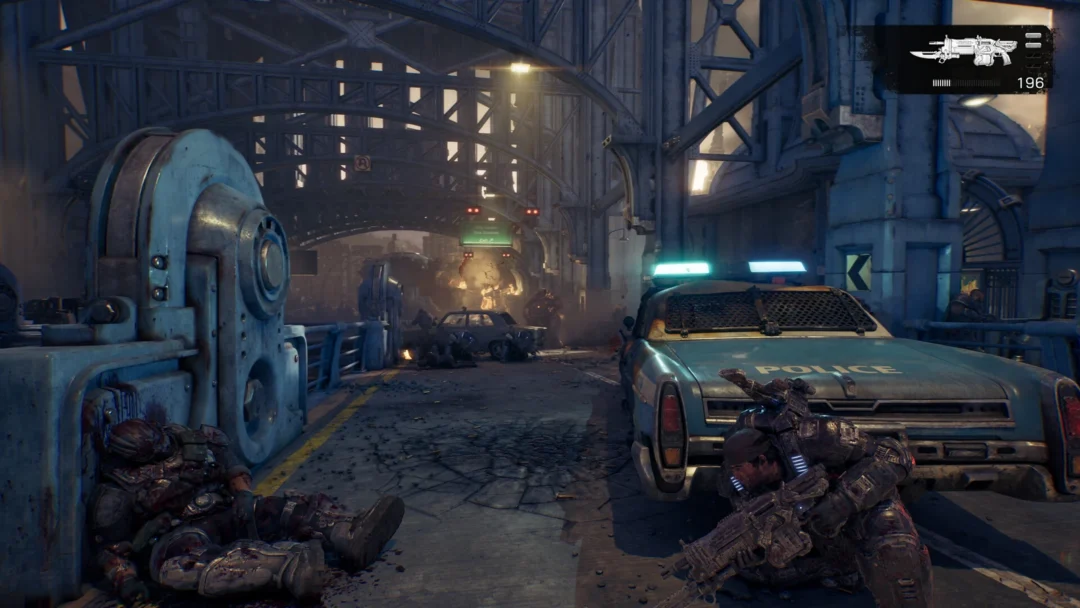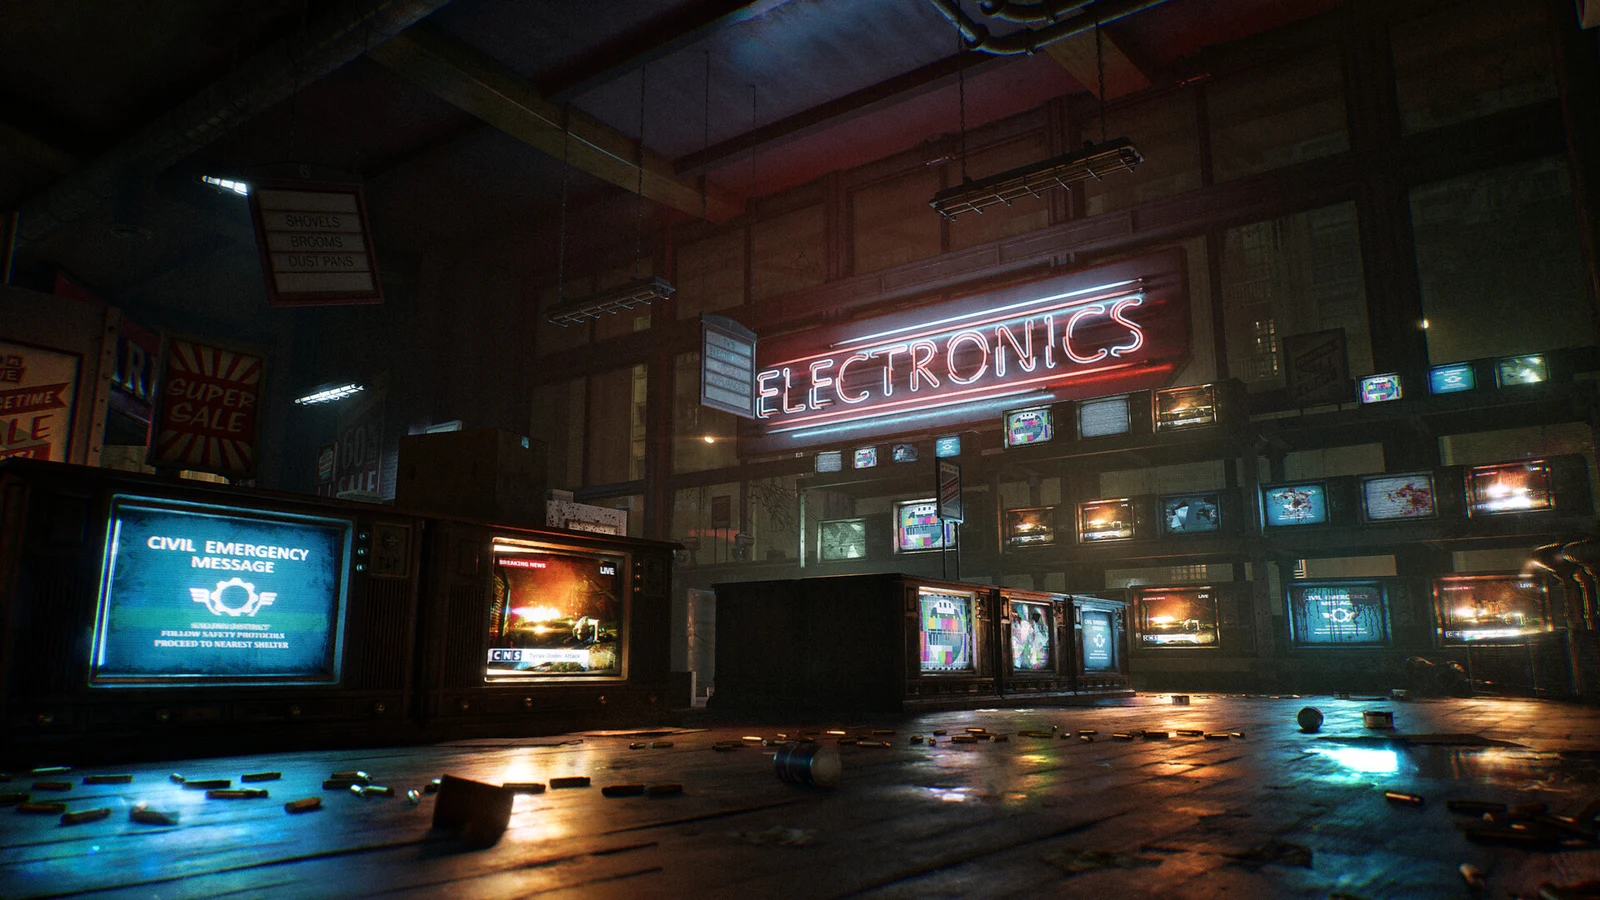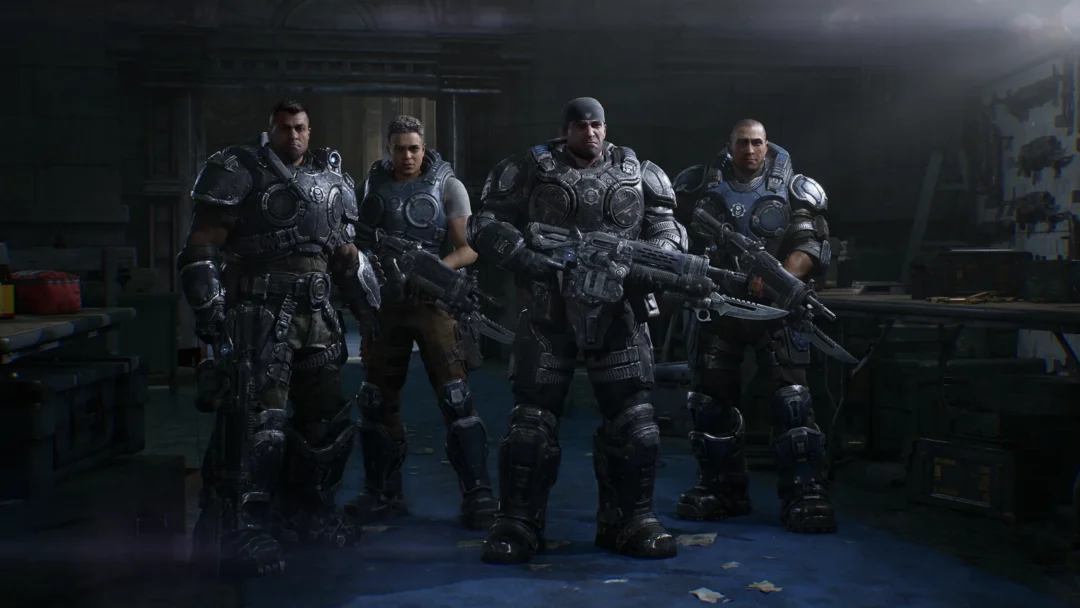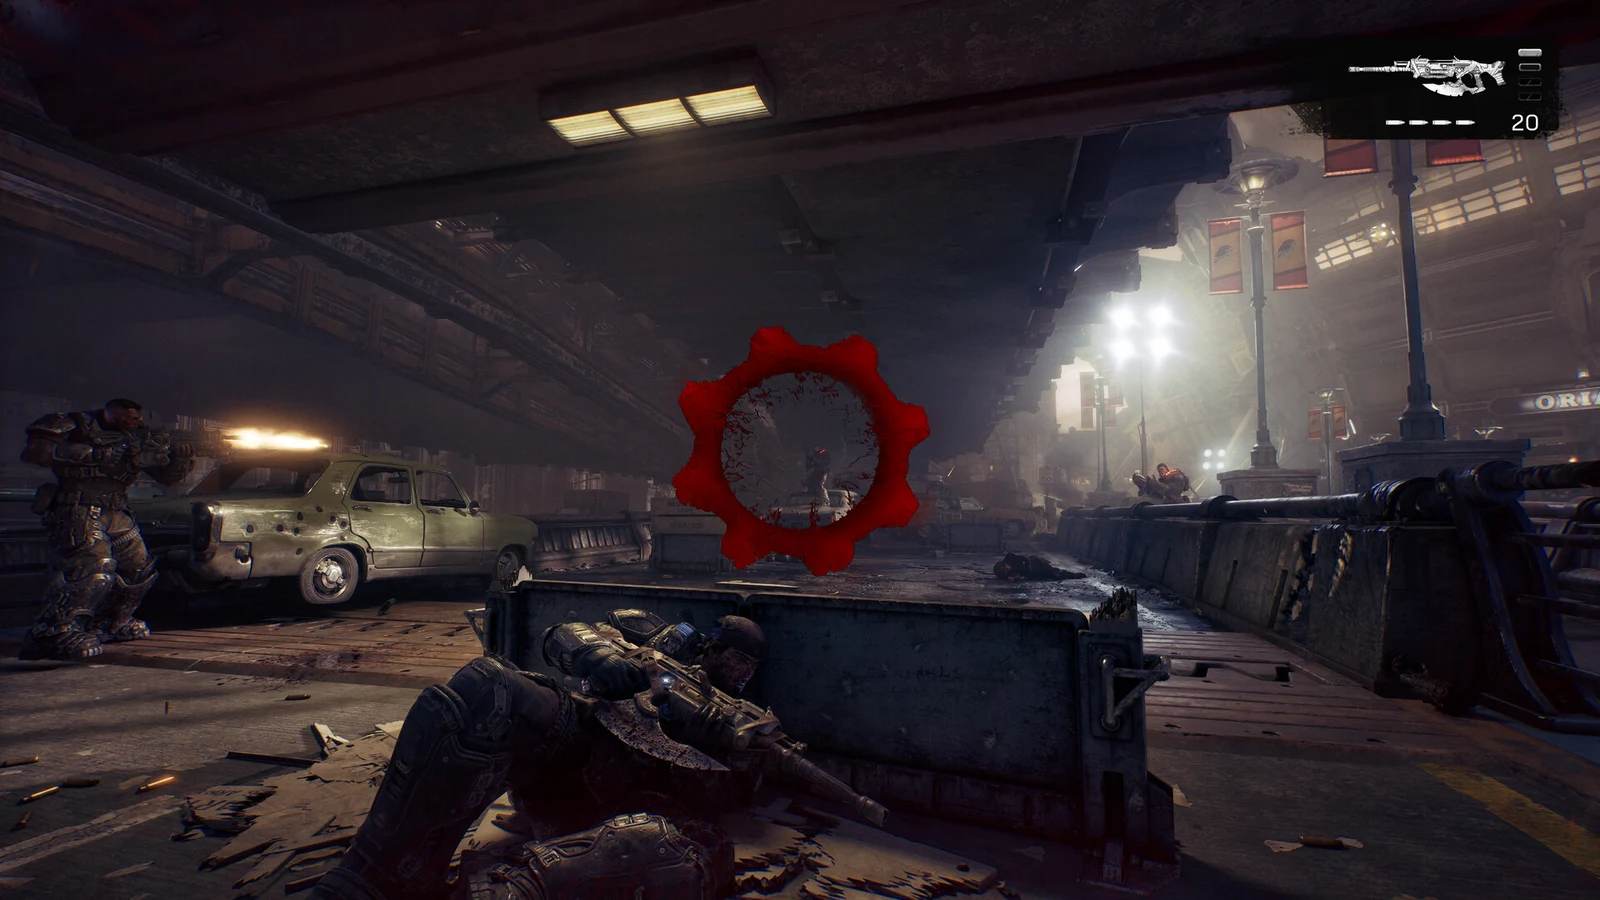
Act 2’s Hold the Line takes place in an open district and has more collectibles than the chapters on either side. In the War Journal, find the HOLD THE LINE entry to see the total of 27; the district map also displays an x/27 COLLECTIBLES counter in its upper-right corner. You can reach 26 items while exploring the streets and buildings, but the remaining one is in the Kalona Hotel.
How to track and verify collectibles in Hold the Line
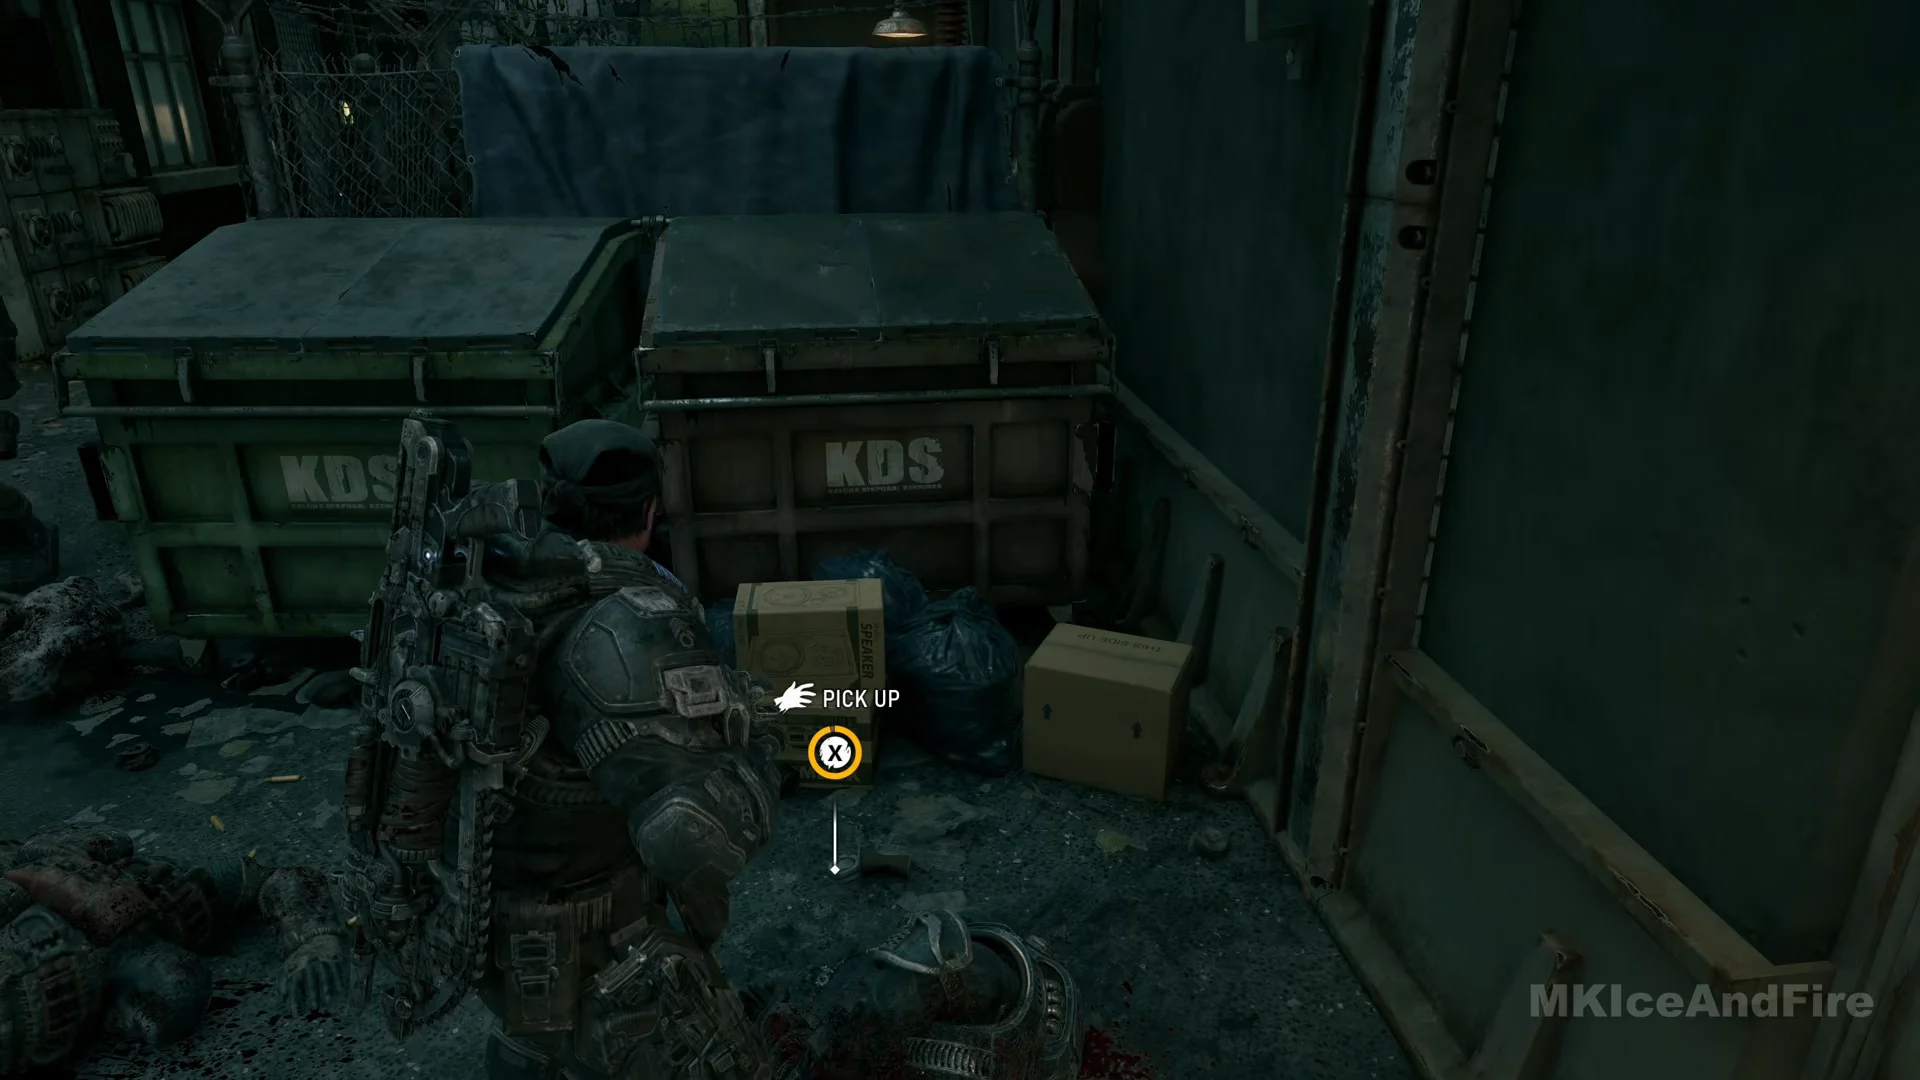
To collect an item, stand beside it until the X-button PICK UP prompt appears. Keep X held as the surrounding ring fills. A message reading “<name> Found!” then appears at the bottom right, and the item is added to the War Journal. The photograph and harmonica are the exception: they are given to you without a prompt.
- When the toast appears, hold the “View Collectibles” prompt next to the three-line Menu button symbol to open that item immediately.
- In War Journal > Collectibles, switch between the ACT 1 and ACT 2 tabs with LB and RB. Each chapter has one row of tiles with its own count.
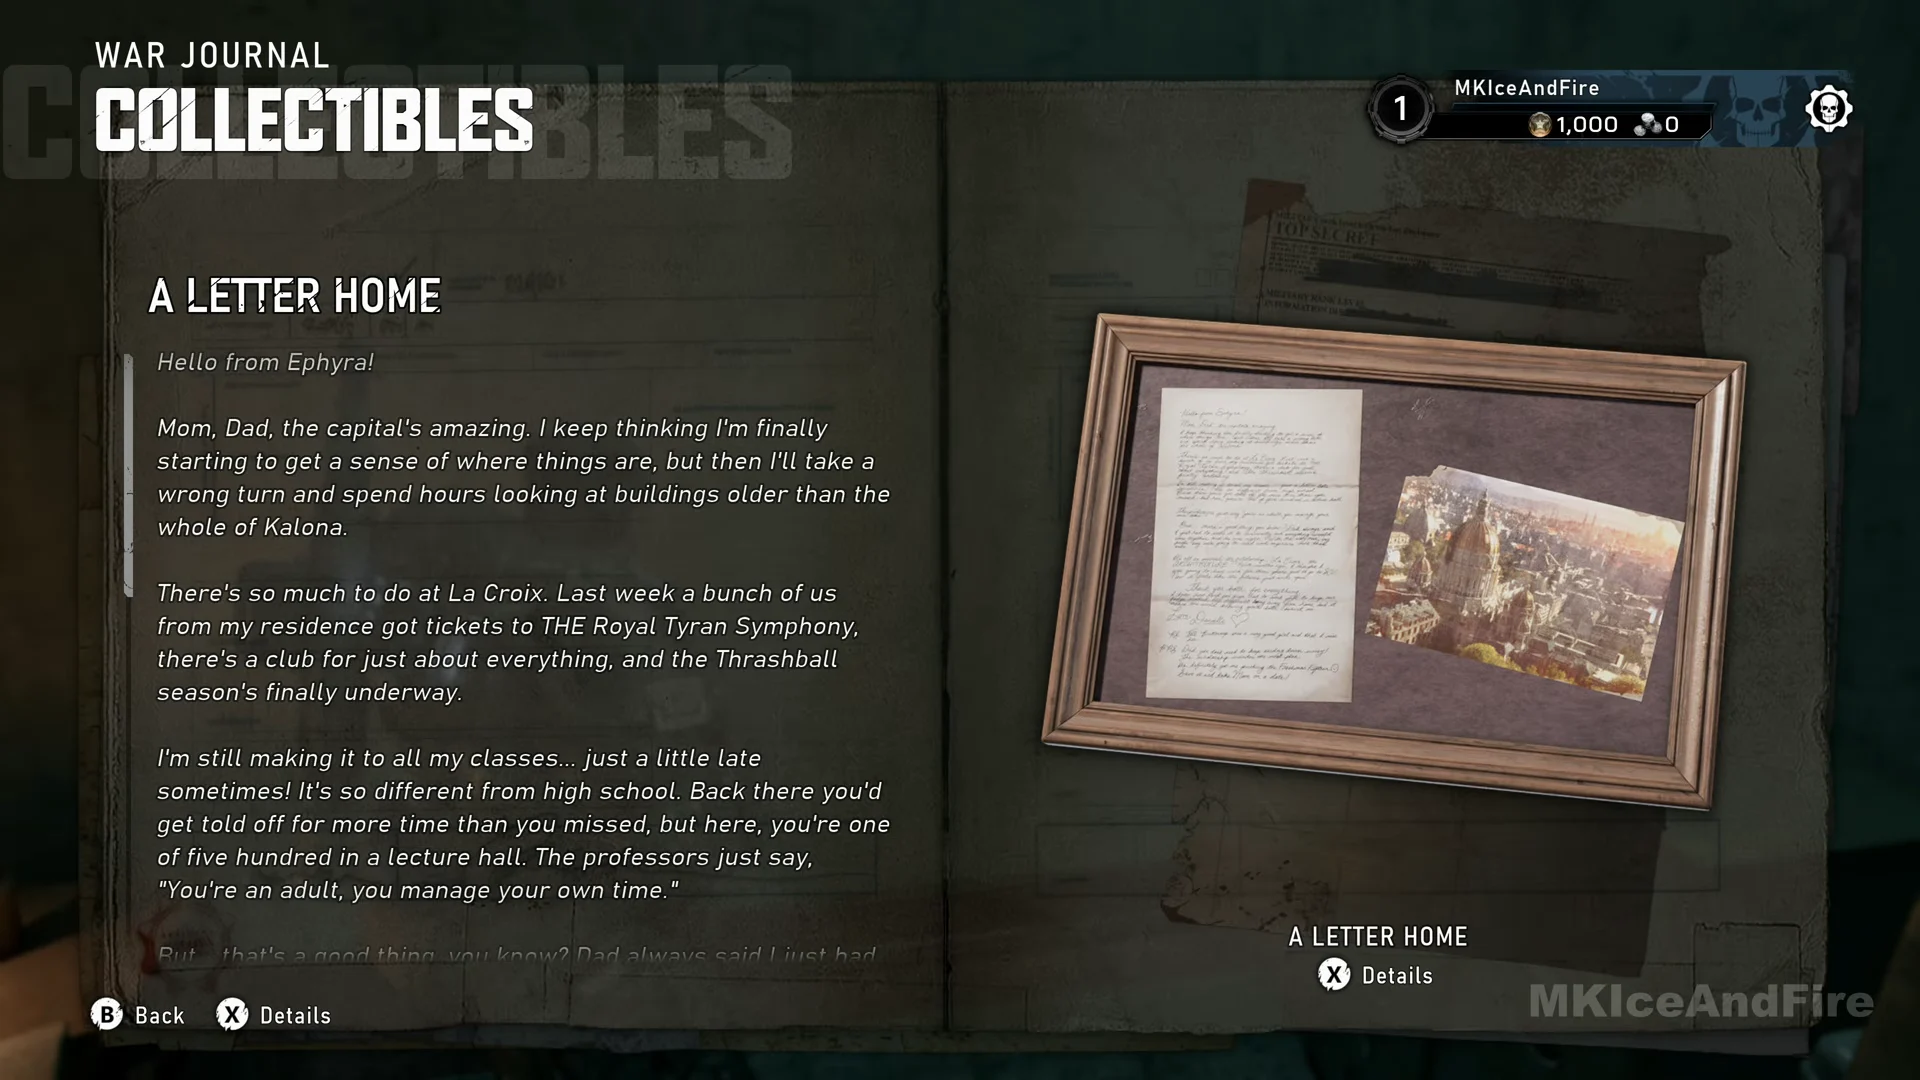
- Collected items display their name and an image, while undiscovered entries appear as black tiles bearing padlocks. Press X on a tile to see its 3D model and a brief note from the squad.
- Hold LB for Tac-Com to light up nearby collectibles, supply caches and hard cases while you explore.
- On the map, the running counter sits top right and COLLECTIBLES appears in the legend; moving the cursor onto a marker shows a “Collectible” label.
You know an item is logged the moment that toast fires and the padlocked tile fills with the item’s picture and name. Journal order is not pickup order, and the district is open, so you can take these in any sequence the objectives allow.
The one missable collectible: the Kalona Hotel door
At the Kalona Hotel entrance, hold X when “Leave the area and move on” appears. This warning comes from the game and signals that you are exiting the open district. Collectibles 1–26 are all on the approach to the door; the Portrait of Chairman Tomas Dalyell is beyond it.
Open the map before you use that door. The counter top right should read 26/27, which confirms the only item left is the portrait inside the hotel.
Filling station, Last Dollar store and the opening shops
Cinema Filmatica Magazine. At the square’s filling station and car dealership, beneath the large yellow canopy, enter the repair garage. This dim workshop contains a car and a TOOLS sign. Beside an open doorway, a steel shelving unit holds a microwave and kettle on top; a red tool chest is next to it. Find the magazine on the bottom shelf beside a boombox.
A Letter Home. At the green-and-yellow Last Dollar store, head round to the side wall with the tall DAILY SALES / DRINKS / SNACKS / LIQUOR sign and lift the roll-up shutter. Inside is a storeroom with steel shelving and a body against a cracked wall. Go through the pale arched door into the small back office; the framed letter and photo hang on the wall just left of a grey filing cabinet with a boombox on top.
Child’s Monster Drawings. These are in the same rear office at the Last Dollar as the letter. Starting on the shop floor among the empty coolers, enter the staff section behind it, where you’ll find a water cooler and NOTICE poster. Go through the pale arched doorway; in the corner just beyond it, the crayon drawings are on the floor beneath a wall noticeboard and beside a teal seat cushion.
Thrashies Cereal Box. Beneath the elevated rail line, enter the corner store marked TIMGAD. Its floor is checkered, and ICE COLD BEVERAGES coolers are inside. At the front windows, check the sales counter: the cereal box is beside the cash register.
Kalona Postcard. Toward the north of the district map is a small paved courtyard ringed with sandbags, where a tree grows from a square stone planter with carved benches and an iron lamp post at one corner. The postcard lies on the paving at the foot of the bench beside the lamp post, among fallen leaves. It is on the ground, not on the seat.
Vandalized Salvaging Poster. Go into the Major Burger diner on the plaza with the cracked, red-glowing road. Walk past the booths to the back corner by the restrooms. The salvage-drive poster daubed with red paint is on the wall to the left of the IRON COAST BEER sign, above a slumped body and beside a hole blown through the wall.
Apartment building: Waxman tags and the Emgazi case
COG Tags of Private Liz Waxman. In the apartment block with the wood-panelled hall and staircase, climb one flight and follow the hallway to its open window. Climb out to the metal balcony. In a floor corner where brickwork meets the railing, beneath a window with its blind closed, you’ll find the tags.
Emgazi Blitz Display Case. In the same building, go up the blood-smeared stairs to the flat containing a yellow sofa, a blue round rug and a kitchen bar. Continue into the bedroom, which has striped wallpaper. On the wooden desk, beside the green-screen computer terminal, the small framed display case sits at the desk’s left end.
Waterside walkway and the dumpster alley
Birthday Card with Toy Lancer. Go down the road ramp under the green PUBLIC PARKING sign, through the dim garage, and out by the arch and steps onto the waterside walkway. Against a big seafood billboard (“Voted Best in Town!”) stands a wooden bench with a dead civilian on it, next to a litter bin. The toy rifle and card lie on the paving in front of the bench, on the ground.
COG Tags of Specialist Brendan O’Connell. Find the rear alley marked by graffiti and a tarp draped over a chain-link fence. At the end, two green KDS dumpsters stand together. In front of them, an ammo box is near a Gear’s body on the ground, beside a panelled door beneath a lamp.
Major Burger Box. Not far from the dumpster alley, enter the diner on the street marked by an ARCADE sign. Go through the fryer-filled kitchen to the staff room at the back, where there are lockers and a water cooler. Beneath the wall cupboards, the burger carton sits on the worktop immediately to the sink’s left, beside a blue NOTICE hand-washing sign.
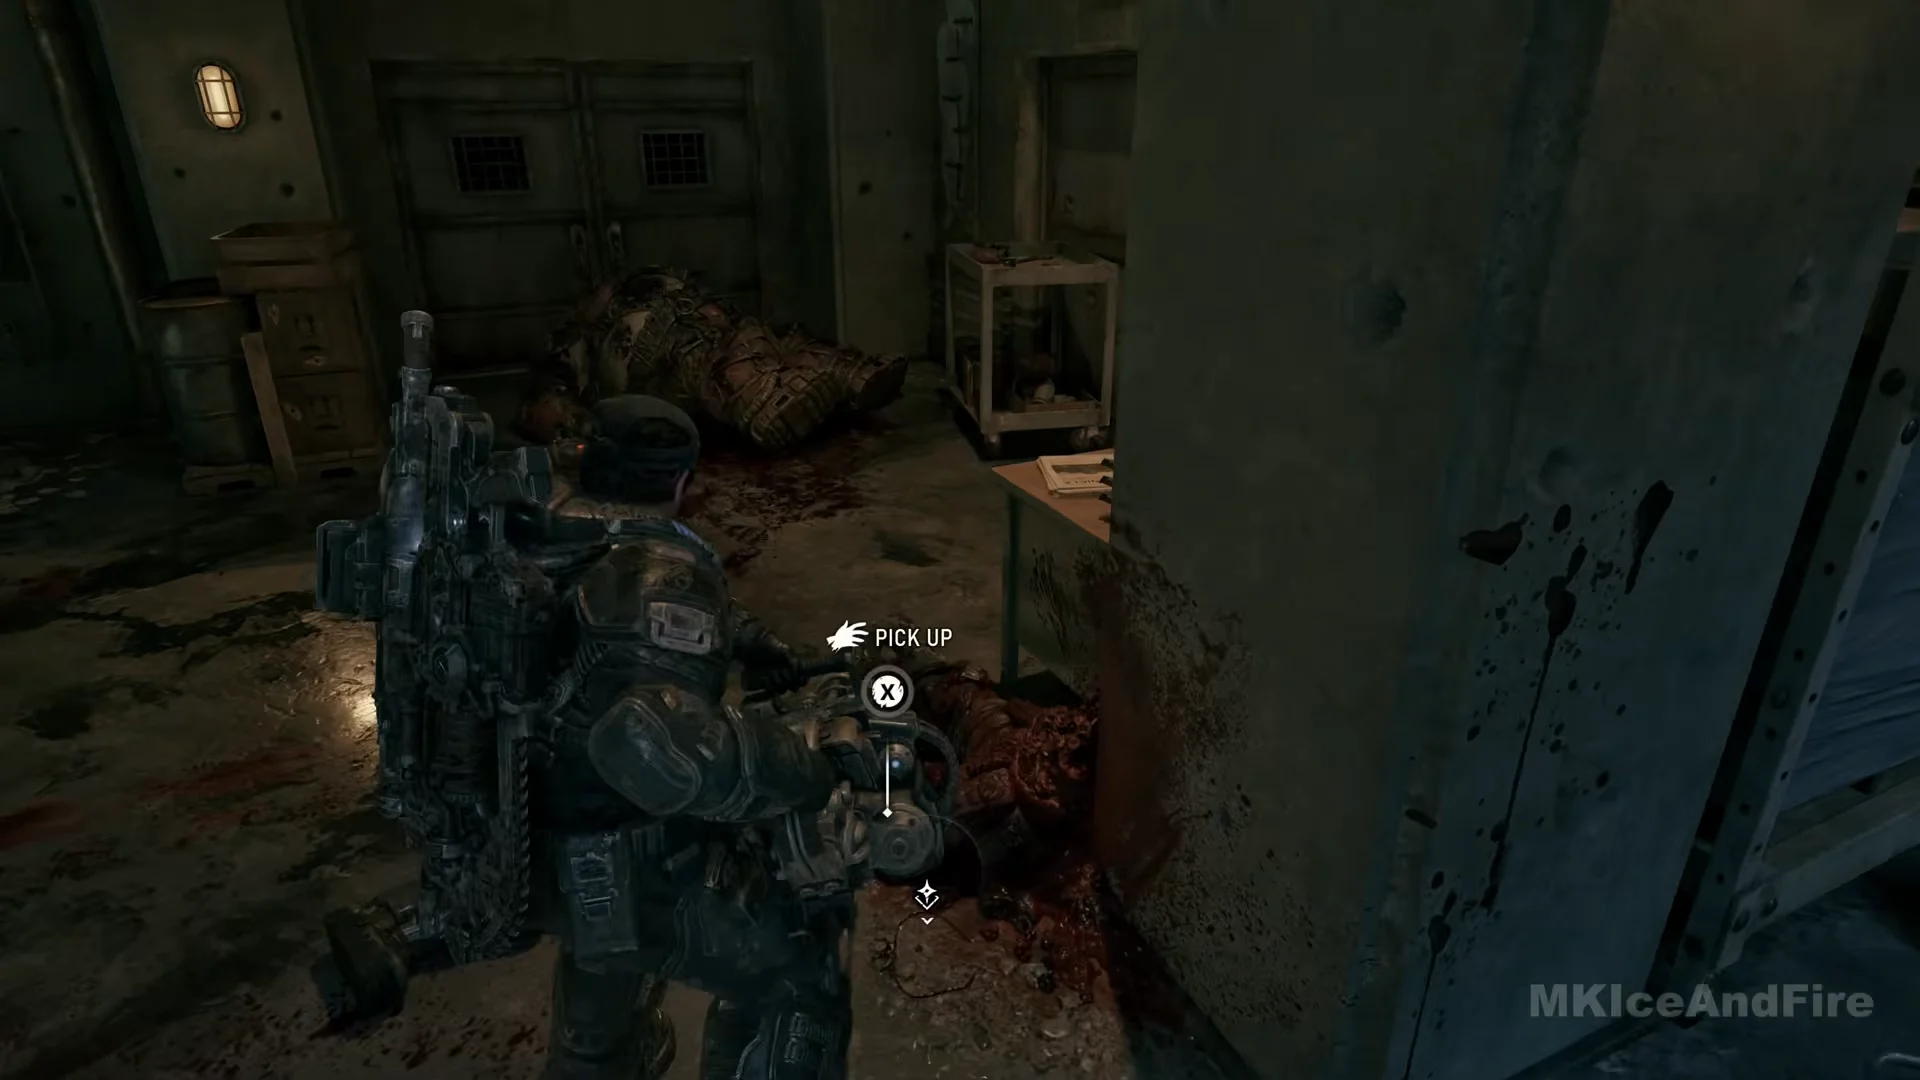
COG Tags of Master Sergeant Mark Avamor. Start on the street with the Kalona Times delivery truck and take the alley. Pass through the breach in the brick wall into the room behind it. On the floor beside a mangled torso at a concrete pillar’s base are the tags; farther beyond are a larger body and a white metal cart.
The red-lit underpass
COG Tags of Specialist Arnold Imhatip. In the red-lit road underpass, rubble and wrecked cars block much of the tunnel. At the base of the wreckage, a Gear’s body lies in the roadway beside a large armoured wheel. Posters are attached to the tunnel wall on the left.
Caricature of Colonel Elias Trench. From that same underpass, take the concrete stairs up at the side, climb over the ledge at the top and come out on the road above, under the elevated structure. The drawn flyer is stuck on a wooden utility pole at the kerb, among other flyers, facing a row of yellow-and-black chevron barriers and a Red’s Coffee House van.
Warehouse district and the block by the police department
Re: Vibration Complaints. Leave the Amberstone Storage Company yard, cross the street and enter the damaged building opposite through the rubble. In a lobby with a black-and-white checkered floor and dark wood panelling, the typed notice is pinned to a dark arched interior door, just right of a small green wall box.
Timgad Refinery Recruitment Poster. Head to the building across the street from the police department, where blue-and-white patrol cars are parked and a crater sits in the road. Inside is a lobby with a curved reception desk, bookshelves, a body on the red carpet, white double doors and a cold drinks machine. The recruitment poster hangs between a lit wall lamp on its left and a brown leather couch under a window on its right.
Collectibles tied to the main story
Photograph and Harmonica from Mags’ Apartment. You cannot miss this one and there is no pickup prompt. The toast appears by itself, along with a checkpoint, when control returns on the street outside the Kalona Times building after the scene at the apartment.
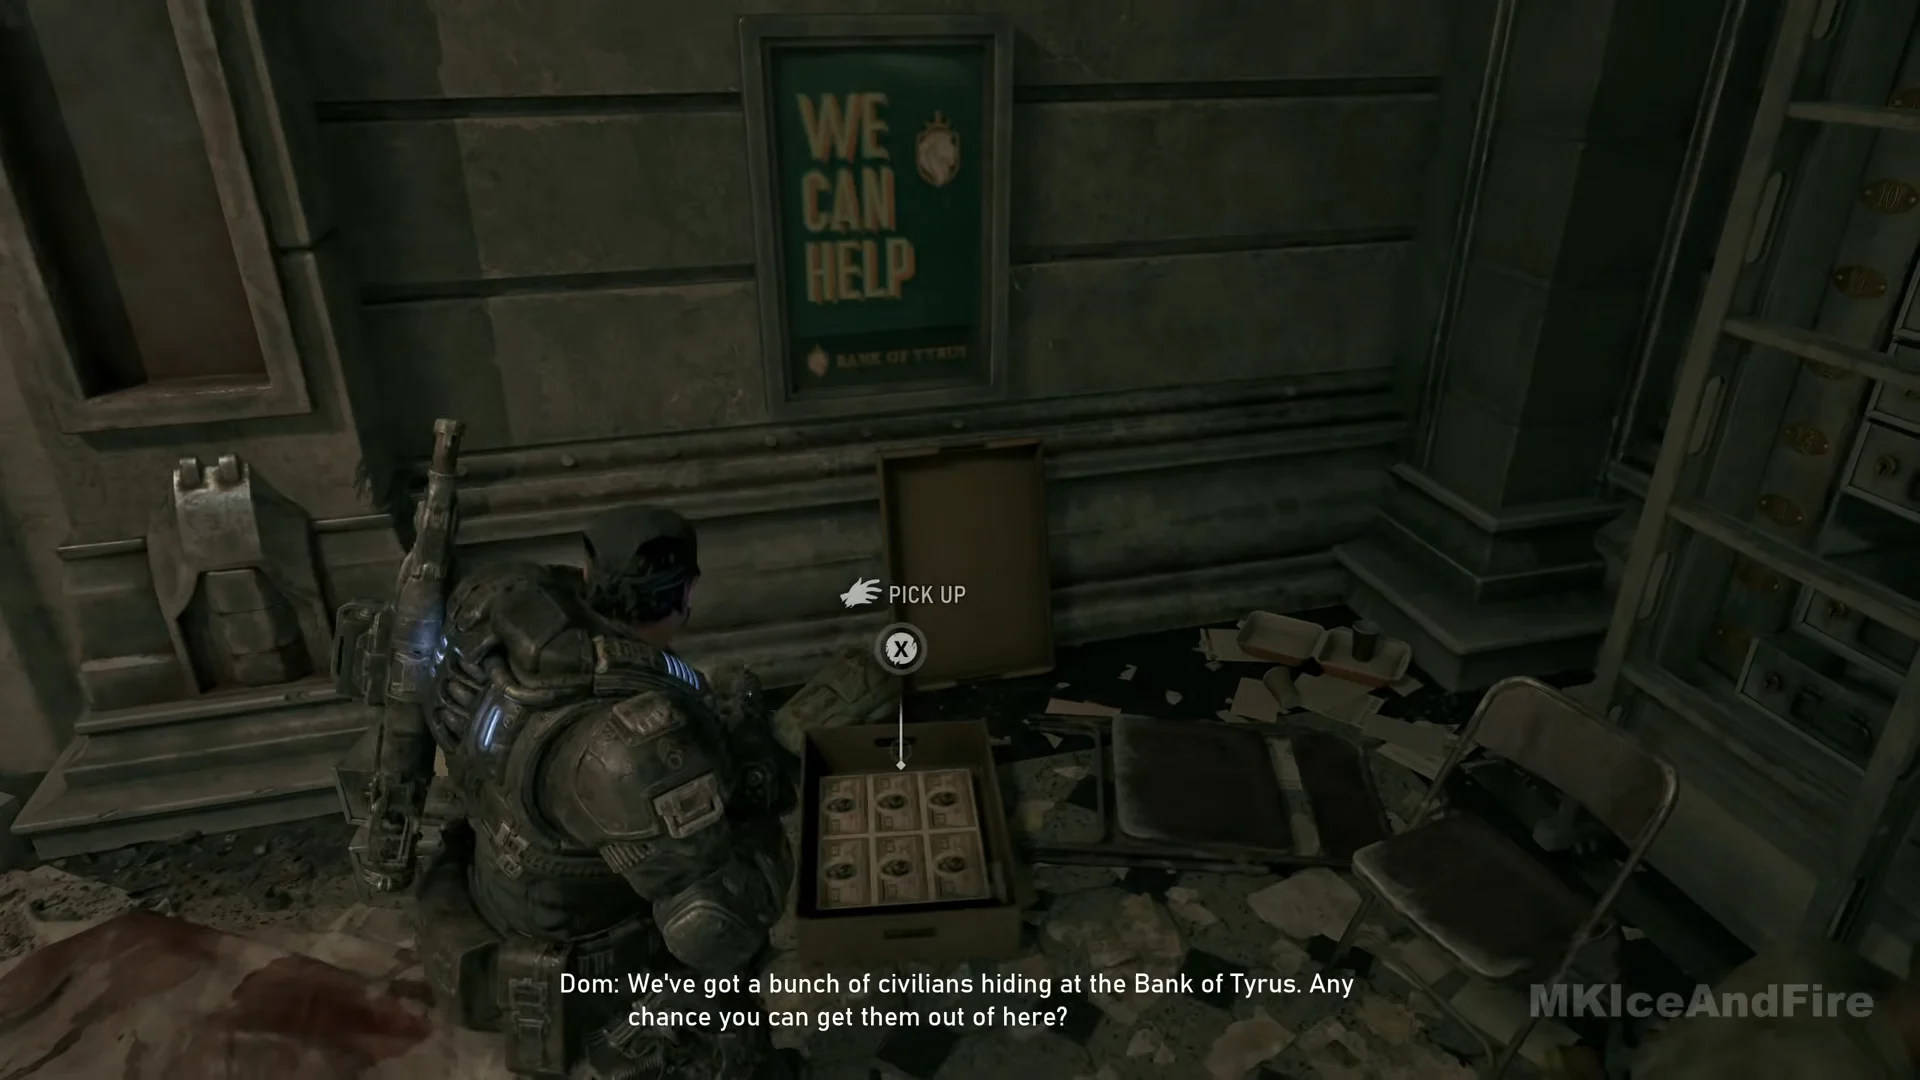
War Savings Bond. While following “Find Dr. Dalia Fabbri” and the “Check the vault” line, go inside the bank vault where civilians sit along the wall of deposit boxes. In the corner under the green WE CAN HELP poster, the sheet of savings bonds is in an open case on the floor next to a folding chair.
Hance Station and the Grind coffee shop
Kalona Metro Fare Notice. At the street-level, glass-roofed Hance Station kiosk, take the stairs down. In the concourse, find the illuminated white notice on the tiled wall beneath the HANCE lettering. The wall phone is on its left; ticket machines stand in a row on its right.
COG Tags of Specialist Jada Clemmons. Enter the GRIND coffee shop with the red neon sign and striped awning, on a street with yellow taxis. Go past the serving counter into the back kitchen. The Gear is slumped against the white brick wall under a bank of wall ovens, between a bread rack and a steel table with egg cartons and a hanging scale.
Scaffolded flat and the construction site
Tales from the Tyran Night Story Book. This one is reached only from outside. Find a dark brick apartment block with metal stairs and scaffolding on its exterior and a long yellow banner hanging down it. Climb the outside stairs, cross the scaffold platform and the flat roof ledges, then climb in through the open window of a flat where civilians are sheltering. The book sits on a small side table with a green-shaded lamp, squeezed between the bathroom doorway and the refrigerator, under a wall telephone and a framed picture.
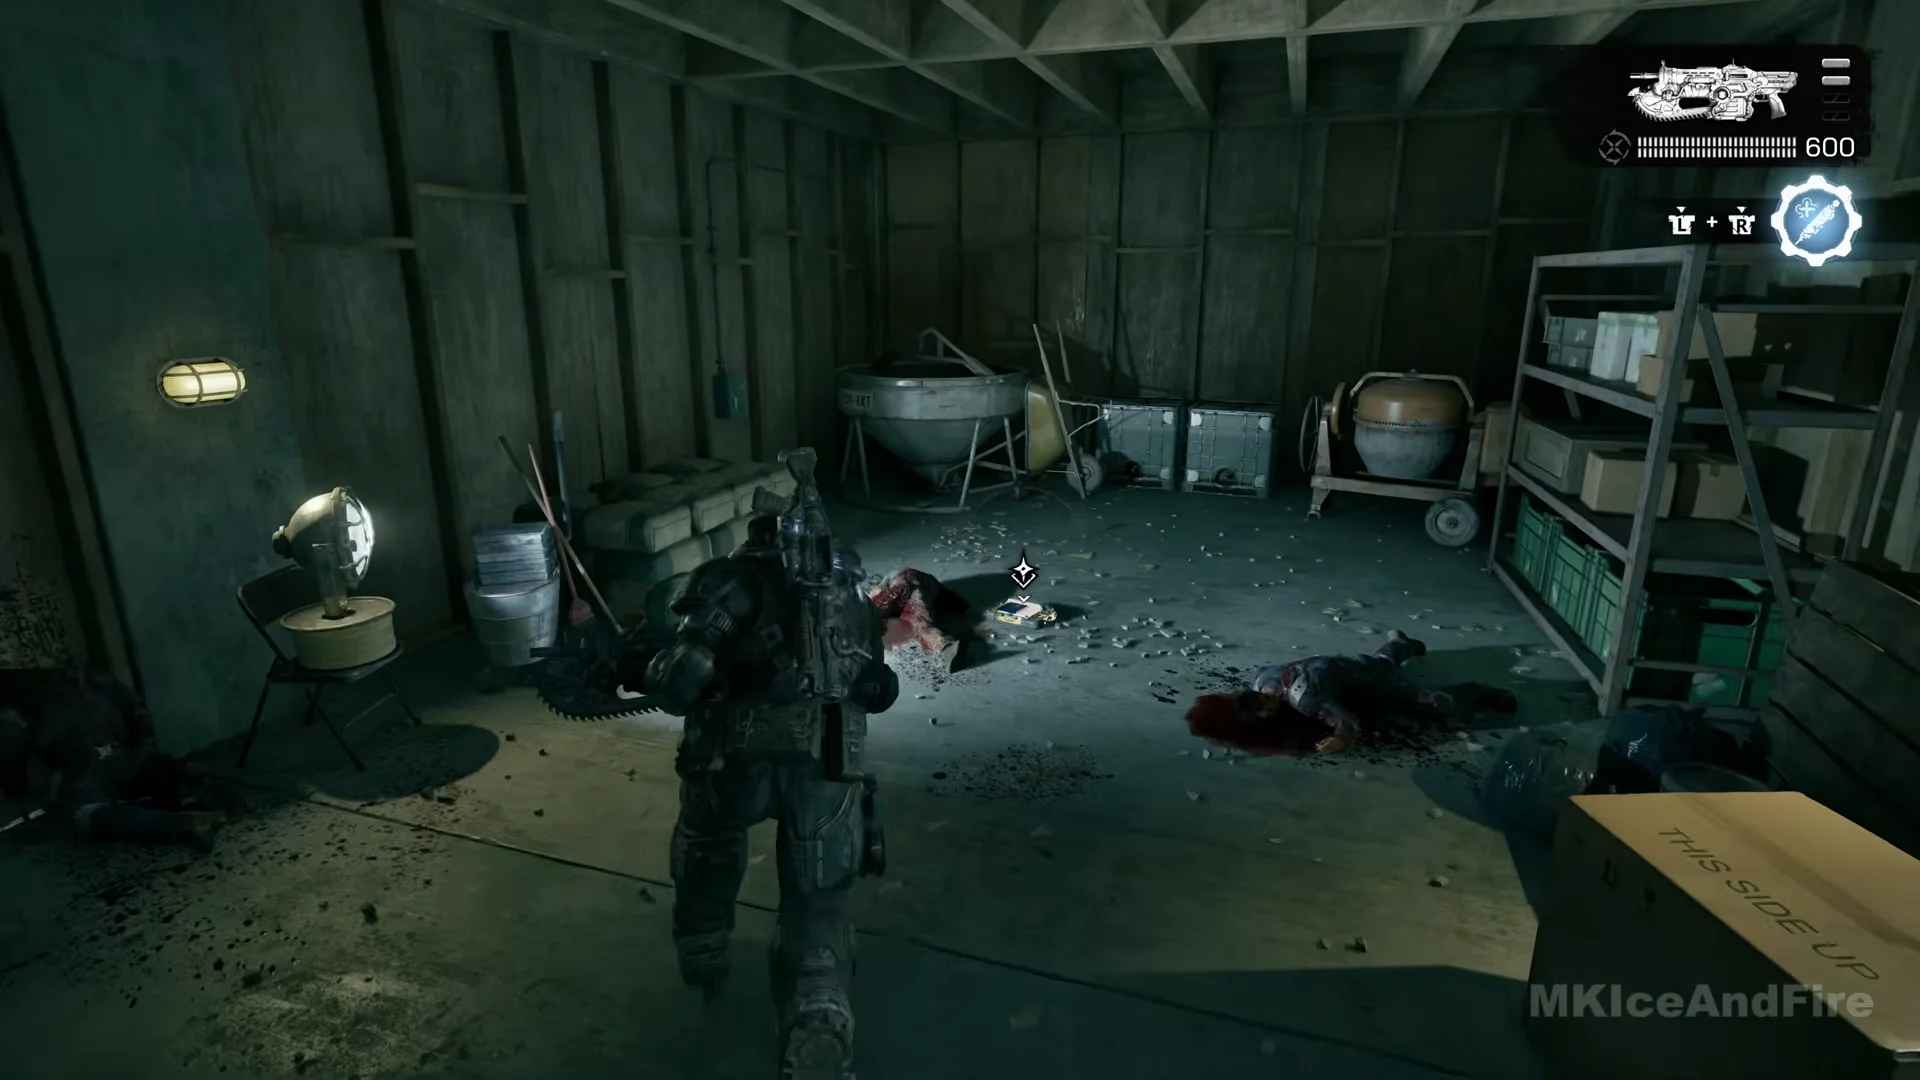
Foreman’s Datapad. At the construction site, with the “Reach the upper floors” line active, head to a side storage bay with cement mixers, stacked bags and a steel rack of green crates. The yellow ruggedised tablet lies on the concrete floor next to a body, in front of the mixers. It is on the floor, not on the shelving.
Muster point and shelter area
Pendulum Wars Victory Flag. On the district map’s west side, look beside Monroe Library for a red NEWSSTAND kiosk set against the building. A red ambulance is parked nearby, as are blue MILITARY ZONE barriers. The pennant rests at the front of the kiosk counter, beside the cash register.
Holiday Photos. On the sidewalk by the green NEWSSTAND kiosk, a brick wall with a pay phone runs to a wall plastered with posters above a wooden bench and a square concrete planter. The instant photos and camera are on the pavement by a body at the foot of the bench and planter, on the ground.
The two collectibles are at separate newsstands.
COG Tags of Sergeant Elijah Adams. In the upstairs flat with the blown-out outer wall where the sniper is fighting, wait until that fight is over. The tags are beside the armoured body slumped against the television set, next to a wooden bookcase, at the edge of a round red rug.
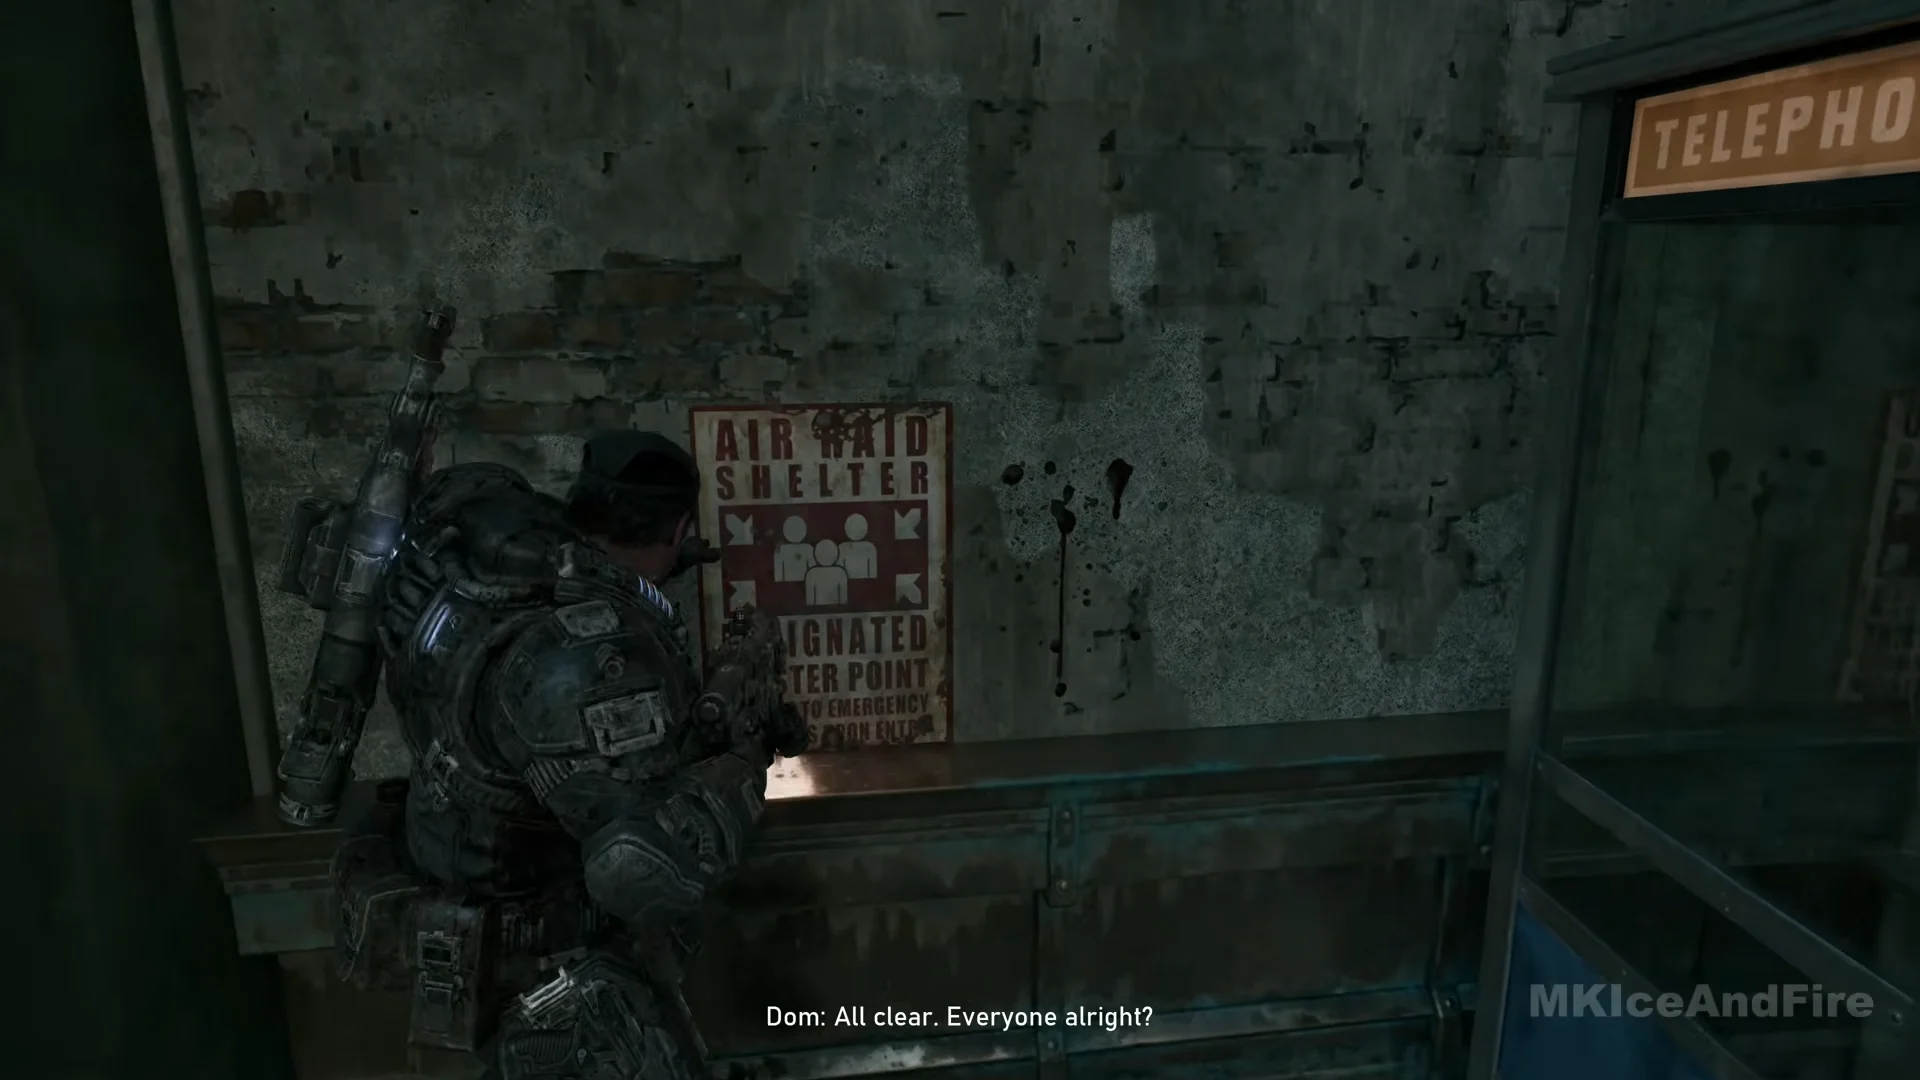
Muster Point Instructions. At the edge of the plaza lined with trees and stepped terraces, find the red-and-white AIR RAID SHELTER poster. A green arched doorway is to its left, and a TELEPHONE booth is to its right.
Inside the Kalona Hotel
Portrait of Chairman Tomas Dalyell. The Portrait of Chairman Tomas Dalyell is behind the “Leave the area and move on” door inside the Kalona Hotel. In the hotel, talk to CPL Harris at the comms desk, then make your way to the open elevator shaft. Below a wall lamp, the gilt-framed painting rests on the floor against the wall directly left of the shaft opening.
Once this one logs, the Hold the Line row reads 27/27. Each pickup adds a 3D model and a short squad note to the War Journal, and that is the only reward shown at the moment you grab one.