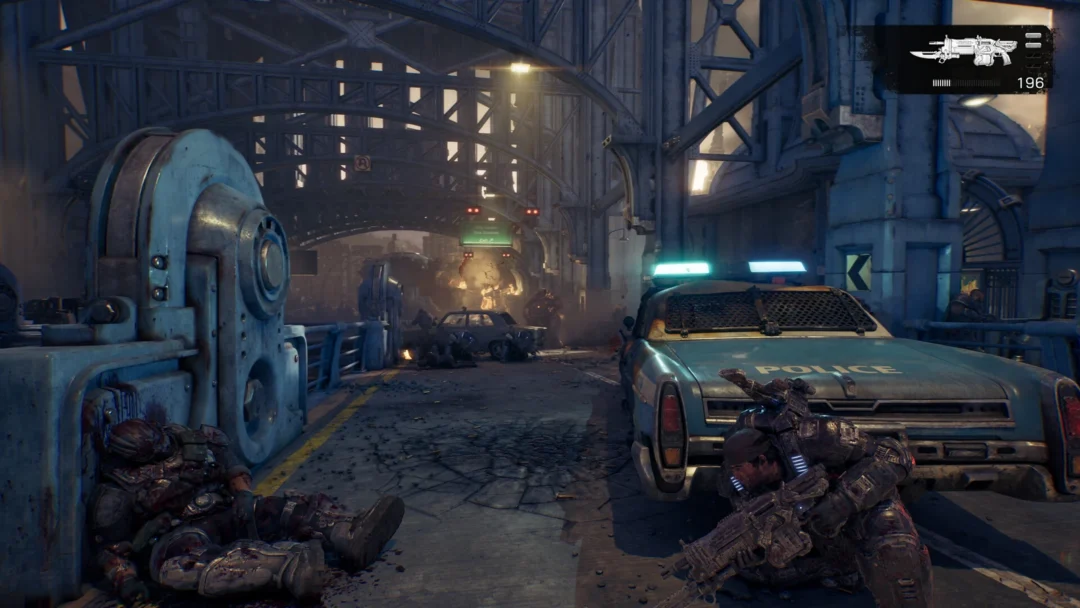
The Spore Matrons are the floating enemies you fight during Missing Convoy, an optional objective in Act 4, Chapter 1: Hope and Ruin. They never come down, so the whole encounter is about shooting upward, using cover to survive the mines they drop, and shutting a hole that opens in the paving halfway through.
Quick answer: Aim automatic fire at the glowing spot in the centre of each Matron’s body until it bursts, fight from under the arches then the staircase, and pop the spiked mines as they drift close.
How to start Missing Convoy in Hope and Ruin
The objective is found in a park square before a high-rise grey building whose ground level has a line of stone arches. Your active task remains “Reach the district gate station” and its sub-objective, “Reach the Kalona Square”, throughout the encounter.
Walk up to the marker in front of the arches. It reads “SECONDARY OBJECTIVE / MISSING CONVOY / HOLD (X) TO START”. Hold X and you get “SECONDARY OBJECTIVE STARTED / MISSING CONVOY” with a checkpoint. A civilian calls down from an upper window; the survivors of a convoy are hiding inside the building. The objective then updates to “Missing Convoy / Kill the Spore Matrons”.
It is entirely optional and only begins when you hold X at the marker, so you can ignore it and carry on toward the main objective if you prefer.
What the Spore Matrons are and where to hit them
Pale and roughly as large as a small building, Spore Matrons resemble balloons, with chains and tentacles dangling below and a little red diamond hovering over each. They float across the trees from the plaza’s far side, then remain suspended in the air. During the first minute, as many as three may appear together.
They have no health bar. Focus your shots on the luminous core where the sac meets its dangling tentacles, maintaining automatic fire. A solid hit produces a big red splash; the creature grows darker and appears ripped as damage accumulates, before finally bursting.
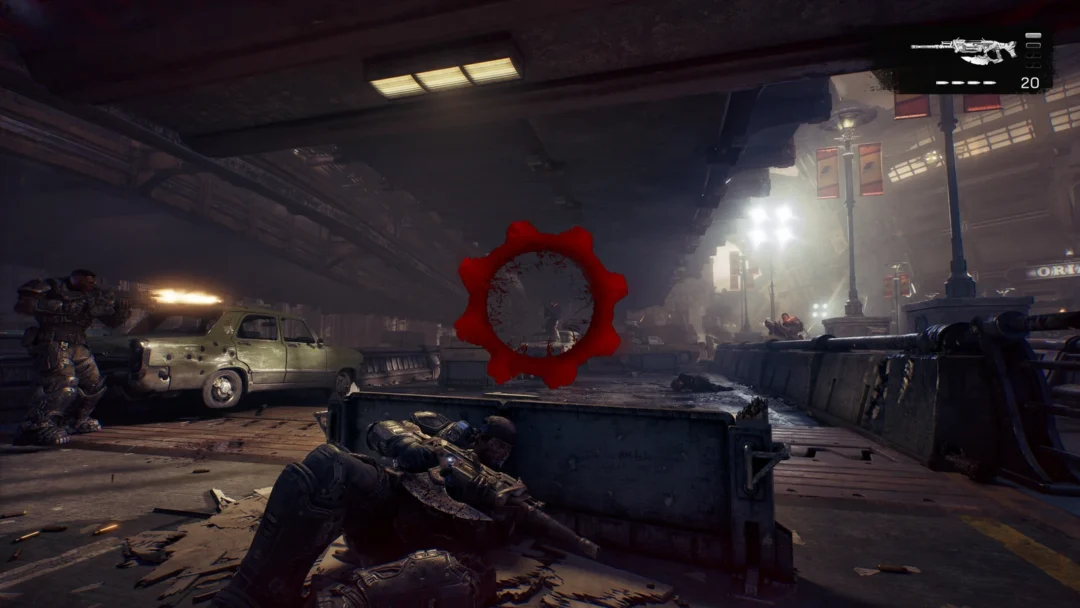
Each Matron sends out swarms of spiked, round orange mines. The explosives drift down and across the plaza in your direction, then detonate. A brief Lancer burst will destroy one, so deal with nearby mines before resuming fire on a Matron. If the red cog-and-skull damage symbol shows at screen centre, you are close to death: take cover and hold your fire until it disappears.
Where to fight from
Two cover spots carry the whole fight, and the open paving between them is the dangerous part. Only cross it while you are moving.
- The colonnade arches are your starting position. Use a pillar for cover and fire through an opening at the Matrons above the trees. The arched roof protects you from mines falling directly onto your position.
- The stone staircase spans the plaza beside the circular tree planter, with a sturdy balustrade running across it. Crouch behind the railing and shoot upward. You can take out the final Matron from this spot.
Killing the Spore Matrons step by step
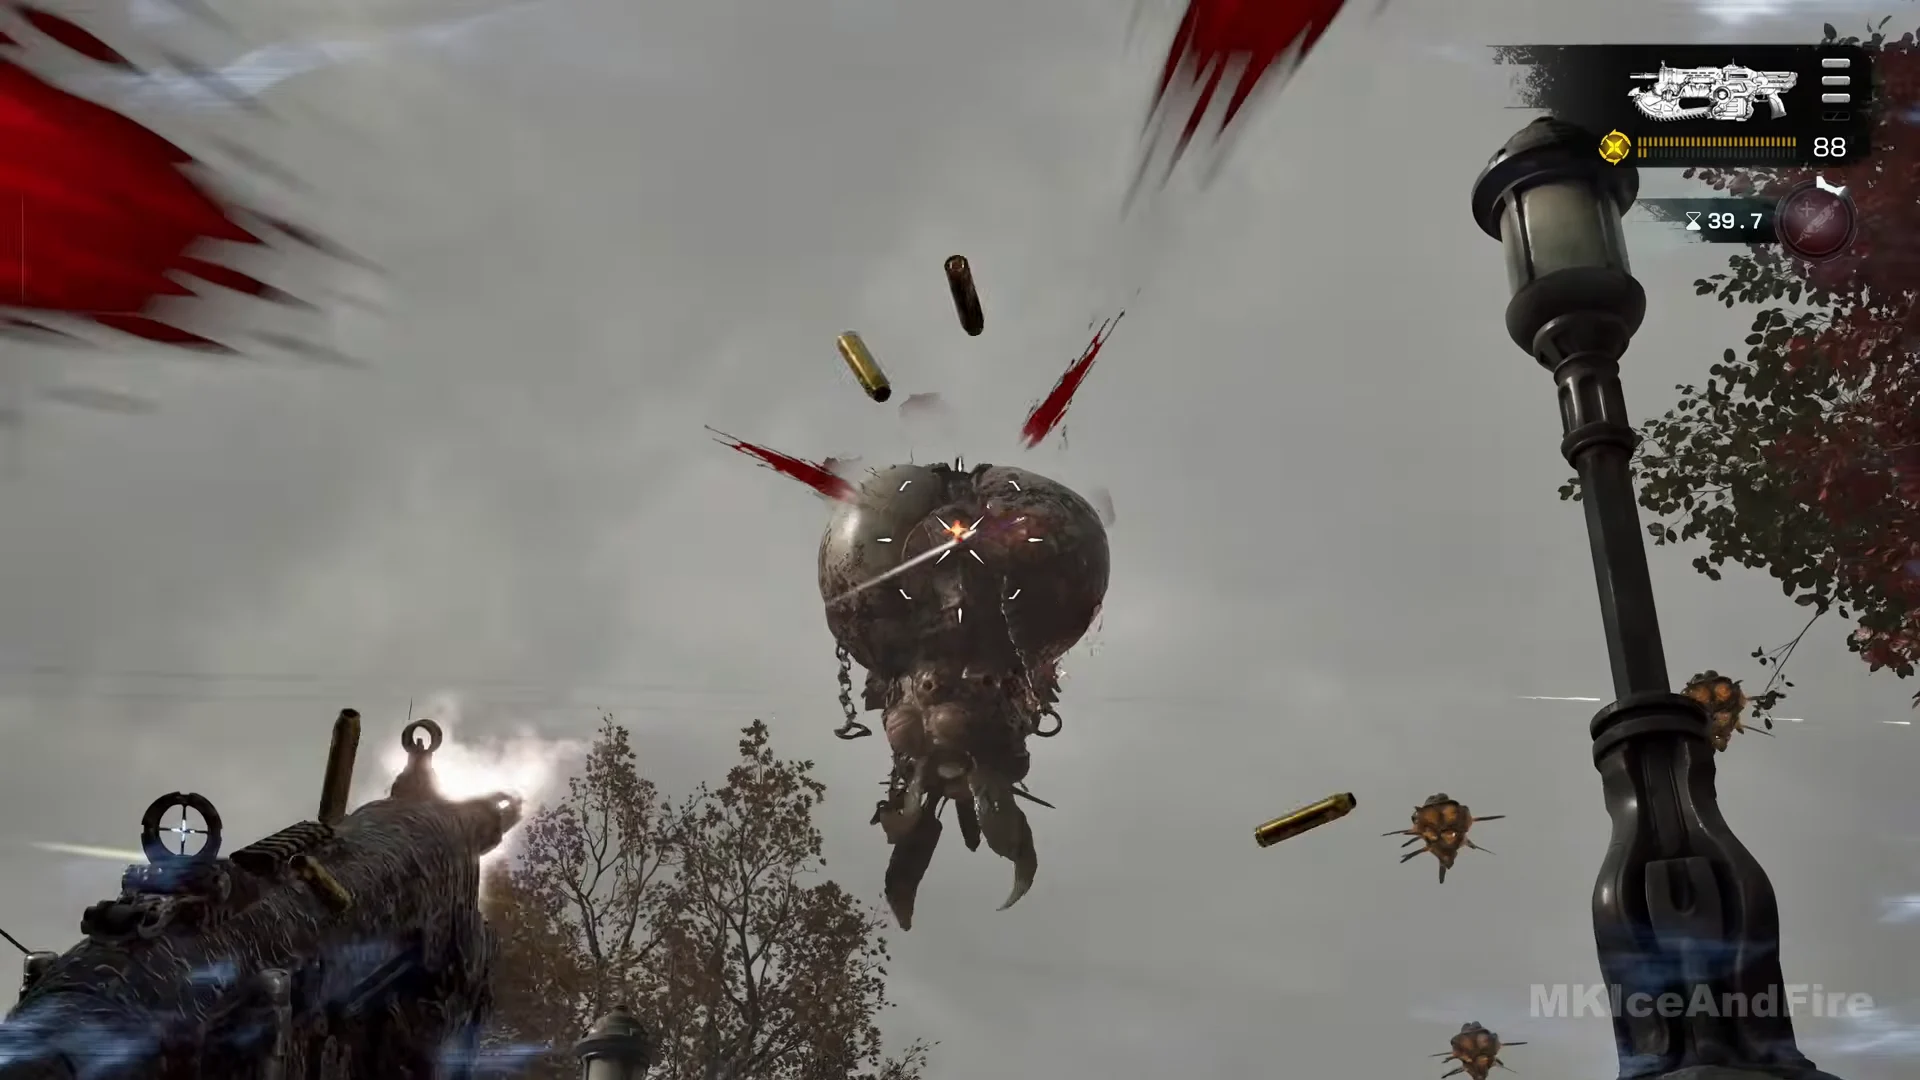
Ammo and grenades you need
Start with full ammunition, then collect the plaza pickup once the hole appears. Expect to use about this much over the course of the fight.
| Resource | Amount |
|---|---|
| Prototype Lancer rounds | About 815 |
| Gut-Puncher rounds | 18 |
| Incendiary Grenade | 1 |
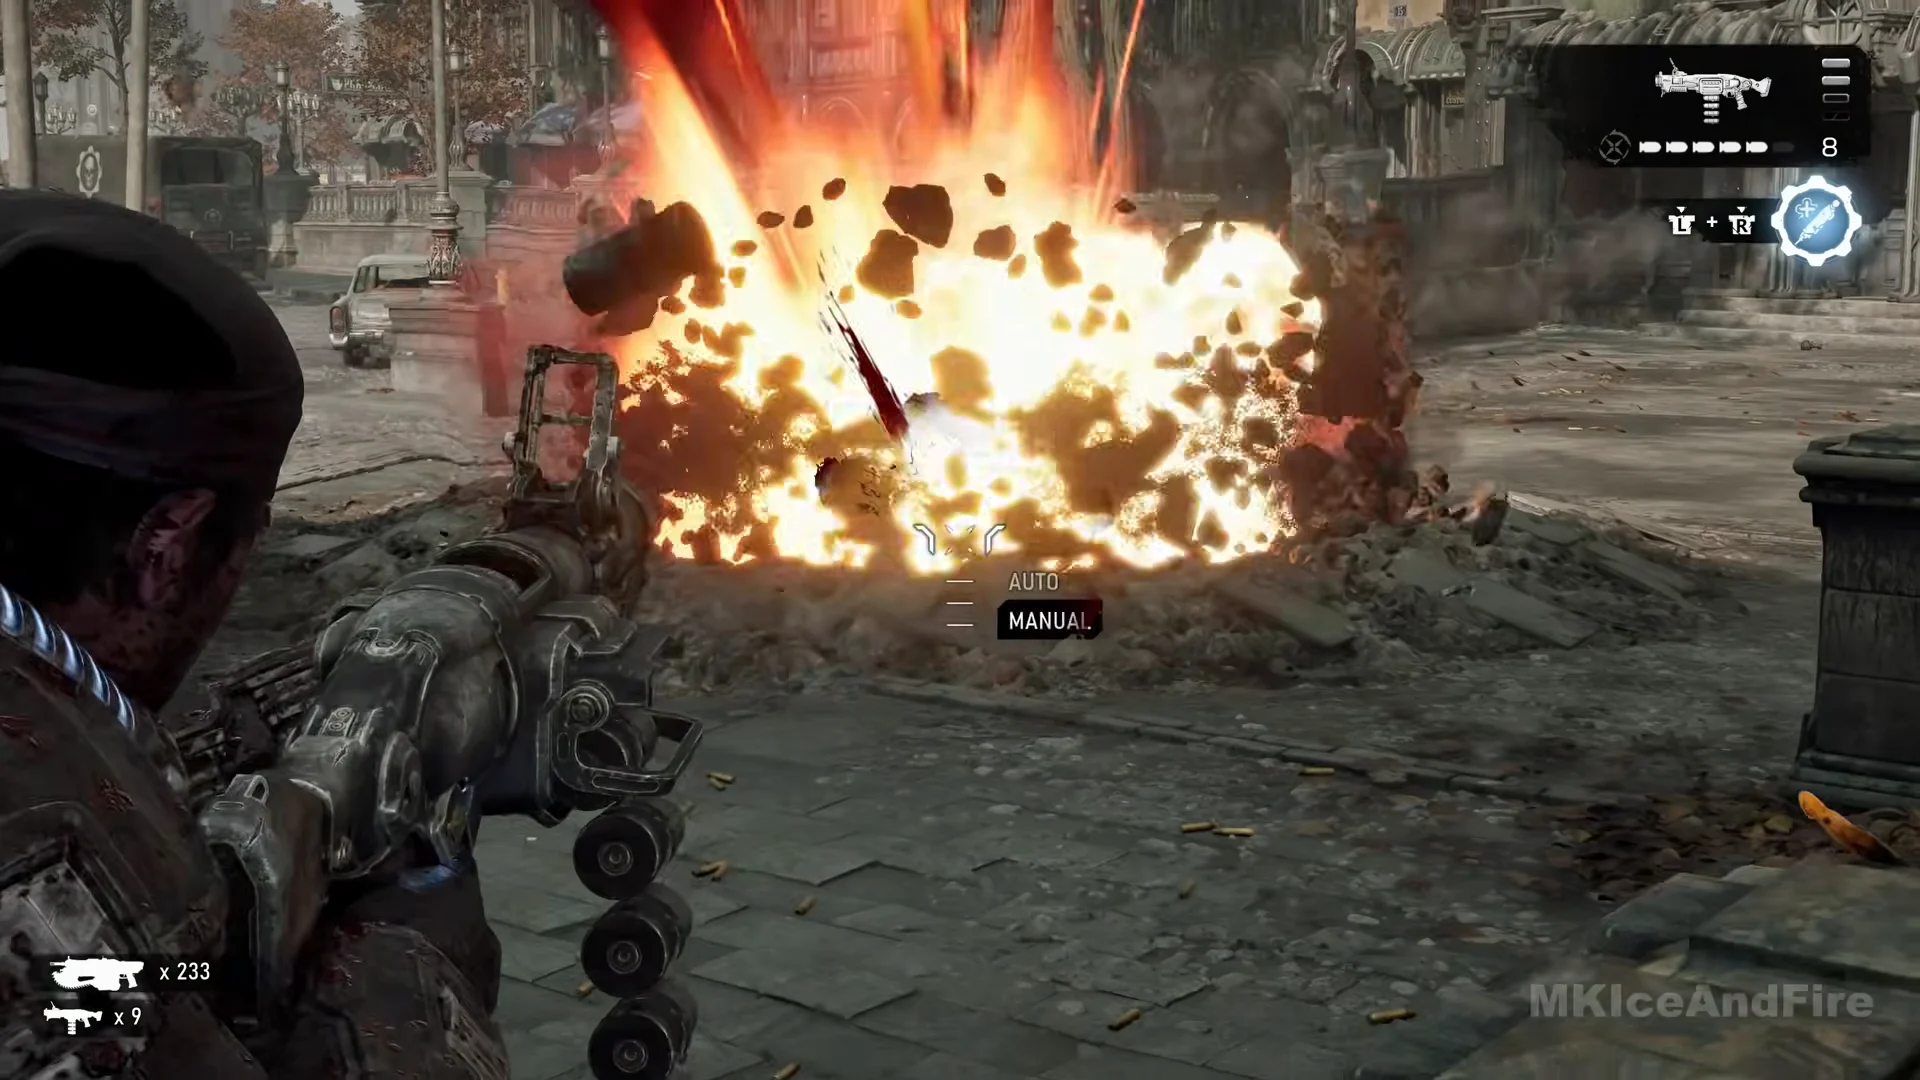
Save the Gut-Puncher’s grenades for the hole instead of using every one against the Matrons. The Adrenaline Injector can be activated several times; after use, its upper-right icon darkens to red and displays a countdown until it recharges.
Rewards and how you know it is done
When the last Matron dies, “Kill the Spore Matrons” is struck out and the gold “MISSING CONVOY” banner appears with a tick to mark the objective complete. The objective list then returns to “Reach the district gate station / Reach the Kalona Square”. Two mods drop as the reward.
| Reward | Type |
|---|---|
| Braced Capacitor | Stim mod |
| Mobile Targeting Laser | Torque Bow mod |
The Matrons never land, so everything is shot from the ground, and any automatic weapon with plenty of ammo will do the work. The hole is never named in the objective line, but the creatures keep your squad busy until it is shut, so deal with it as part of the fight.