


The Chimeric Winged Lion is one of two world bosses introduced with the Genshin Impact 7.0 Snezhnaya update, and beating it is how you farm a set of character ascension materials. The fight is built around one idea. The lion swaps between two enhanced states, and each state has a clear opening you can force with the right elements or a Stellar Glimmer reaction.
Quick answer: Break the Electro shield in its Thundercall state with Cryo or Pyro to stun it, then in its Galeforce state destroy the Anemo Orbs before it charges. A team that can trigger Stellar Glimmer reactions such as Stellar Swirl or Stellar Conduct shortcuts both openings.
Chimeric Winged Lion location in Snezhnaya
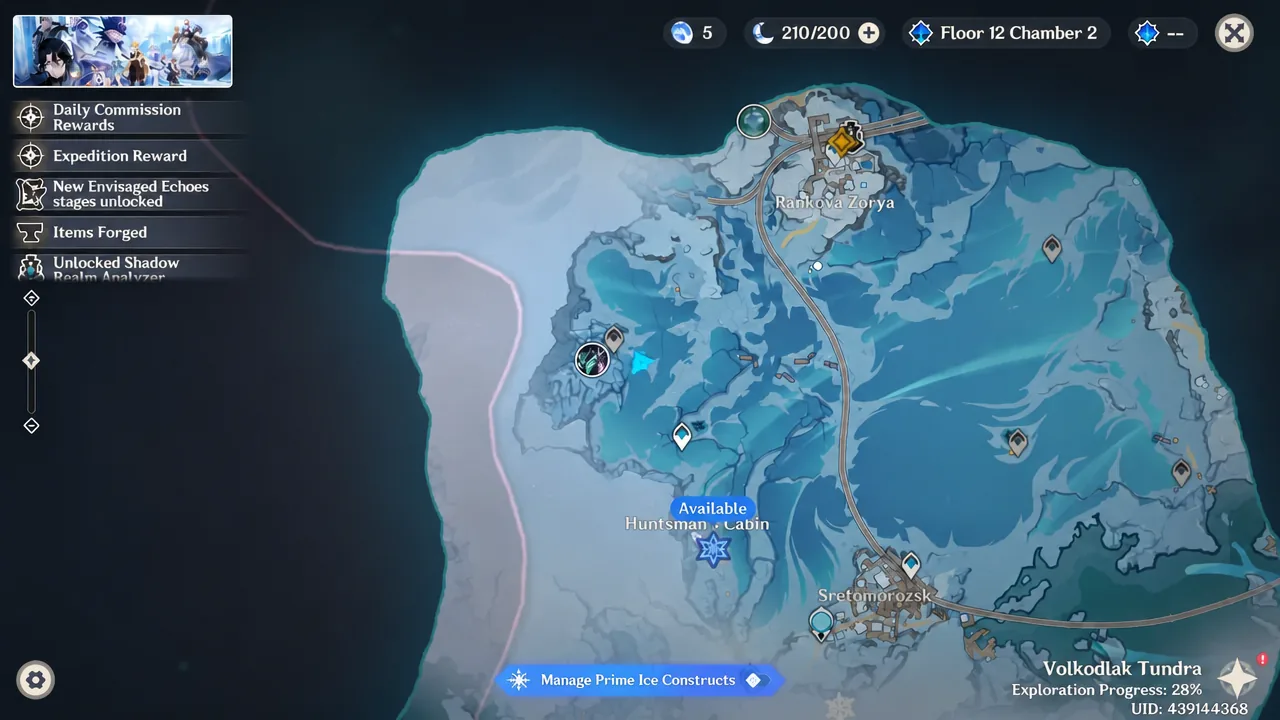
The boss sits in the southern part of Snezhnaya, close to the western border of Volkodlak Tundra. Its lair is northwest of Sretomorozsk, the first town you reach in the Cryo nation, and near the Hunter’s Cabin point of interest.
You need to start the main story quest, Everwinter Without Mercy, to properly open up the region. It is possible to wander into Snezhnaya without the quest, but the quest unlocks travel options that make the trip far easier. Interact with the Statue of Seven nearby to clear the fog on your map, then use the closest teleport waypoint to drop in on the arena.
If you have unlocked the train through the main story, you can also ride to Rankova Zorya and travel to the boss area from there.
The two states you have to break
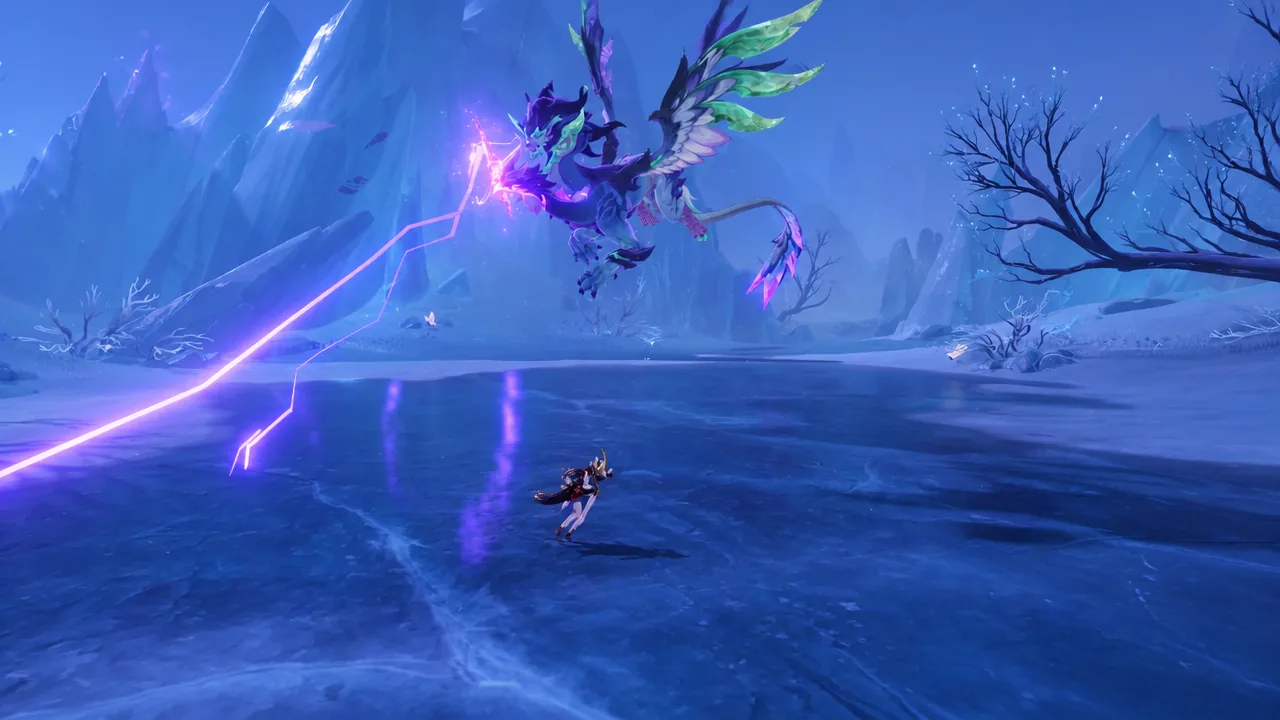
The Chimeric Winged Lion alternates between the Thundercall state and the Galeforce state throughout the fight. You cannot deal meaningful damage until you deal with whichever state it is in, so treat each one as a puzzle with a fixed solution.
| State | What happens | How to open it |
|---|---|---|
| Thundercall | The lion gains an Electro shield (Elemental Ward) that blocks direct health damage. It winds up a lethal radial attack and spreads thunder blades. | Break the shield with elemental damage, preferably Cryo or Pyro, to stun it for a few seconds. A Stellar Glimmer reaction disrupts the thunder blades and can cancel the radial attack without breaking the shield. |
| Galeforce | After recovering from the stun, it summons Anemo Orbs on the field and absorbs them to charge a heavy area attack. | Destroy the Anemo Orbs using Cryo, Electro, Hydro, or Pyro, or hit them with a Stellar Glimmer reaction to stop the charge and weaken it. |
Stellar Glimmer is the through-line here. Stellar Conduct or Stellar Swirl both deal heavy damage to the shield and the orbs, and they can shut down the lion’s charged attacks without you needing to fully break the ward first.
Attacks to dodge during the fight
Between state transitions the lion throws out a handful of predictable moves. None of them are hard to read once you know them.
- A volley of projectiles you can sidestep with a normal dodge.
- A twin-beam attack fired from both of its heads at once.
- A leap into the air followed immediately by a diving pounce.
Best characters and teams
Because the fight rewards Stellar Glimmer plus Cryo or Pyro, the strongest picks are the new Snezhnaya units. Sandrone and Odette are ideal leads, and if you do not have either, the Cryo Traveler covers the same reaction niche. A mono Cryo or mono Pyro team also works well, since it can strip the Electro shield quickly and open a long damage window while the lion is knocked down.
| Team type | Members |
|---|---|
| Stellar Glimmer core | Sandrone, Odette, Yae Miko, Alyosha |
| Alternate reaction team | Odette, Mizuki, Qiqi, Sucrose |
| Free-to-play team | Cryo Traveler, Sucrose, Alyosha, Diona |
If your roster is thin, strong Cryo or Pyro damage dealers such as Ayaka, Ganyu, Skirk, or Mavuika slot in cleanly, backed by supports like Bennett, Shenhe, Escoffier, or Citlali. Missing pieces are not a wall either, since the boss can be tackled in Co-Op with other players.
A clean loop to end the fight fast
You will know the pattern is working when the shield shatters and the lion drops to a stun, then again when the orbs pop and its charge fizzles instead of firing. Clearing the boss awards the ascension materials you came for, and it becomes a repeatable stop on your resin routes once the area is unlocked.





