

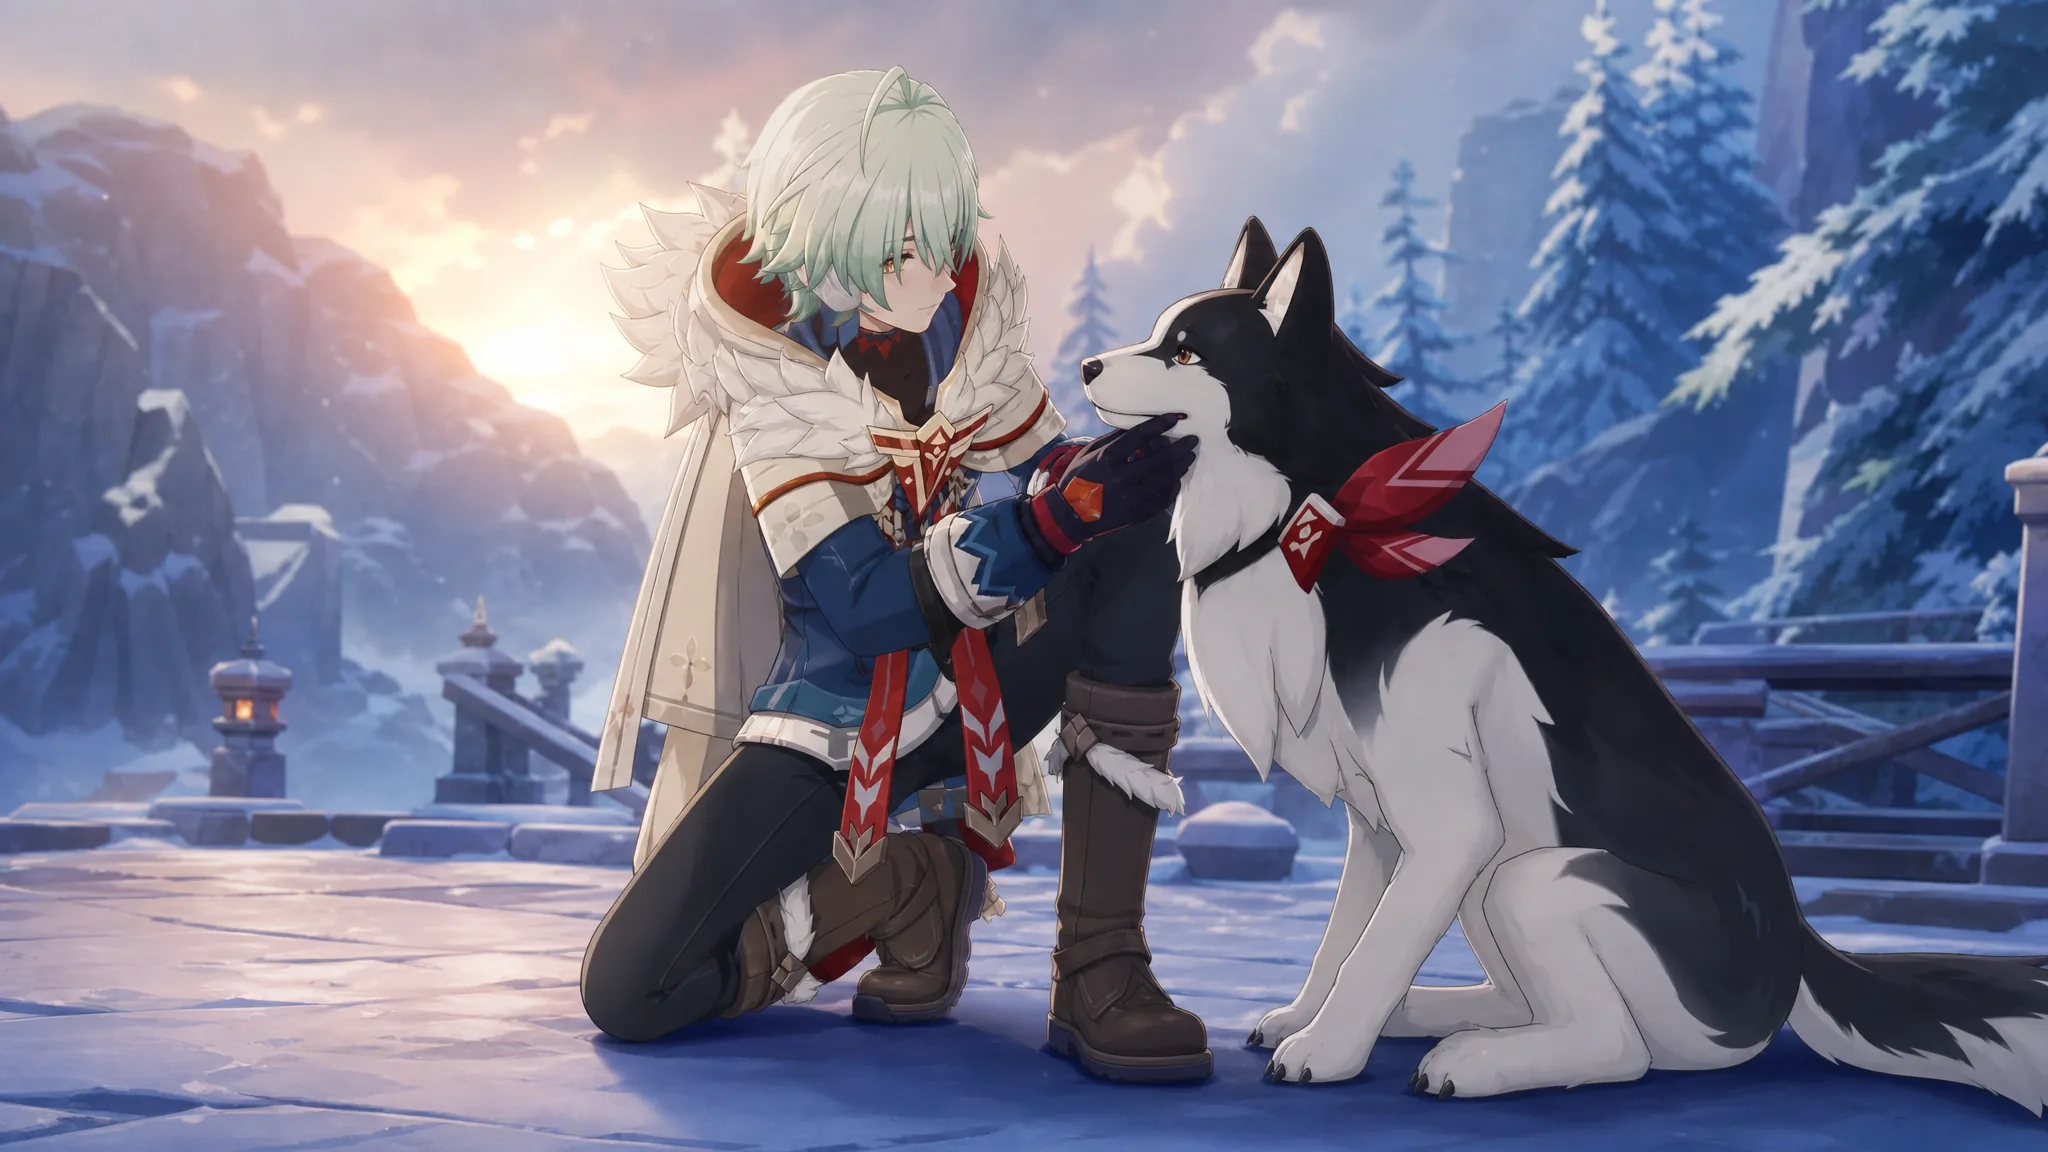
Alyosha is a 4-star Electro polearm support built around one job: making Stellar-Conduct teams hit harder. He buffs the active character’s attack, boosts Stellar-Conduct reaction damage, applies Electro, and heals the party through his Elemental Burst. He is also free for anyone who plays through the opening of Snezhnaya’s Chapter VII Archon Quest, which makes him an easy pickup for free-to-play rosters.
Quick answer: Give Alyosha Engulfing Lightning (or Favonius Lance if you lack a 5-star), run 4-piece Noblesse Oblige with Energy Recharge/ATK%/ATK% main stats, push Energy Recharge to at least 180% first, level his Elemental Burst before his Skill, and pair him with a Stellar-Conduct enabler such as Odette, Sandrone, or the Cryo Traveler.
What Alyosha does and why it shapes the build
Alyosha cannot start the Stellar-Conduct reaction on his own. He needs a teammate who can enable it, otherwise most of his kit does nothing. When paired correctly, his Elemental Skill applies Electro, generates Electro particles, and stamps Hunter’s Mark on enemies. After his Burst activates that mark, the on-field character gains an attack buff and increased Stellar-Conduct damage.
His Burst also applies Electro continuously, taunts enemies inside its field, and summons his companion Tugarin, who heals whoever is on the field. Because nearly all of his value flows through his Burst, the entire build points toward one goal. Keep his Burst online every rotation and scale up his attack so the buffs land at full strength.
Best Alyosha weapons
Every strong pick here does the same thing: it feeds Energy Recharge, personal attack, or both. Engulfing Lightning is his best-in-slot because it converts Energy Recharge into attack, covering his two most important stats at once. If you do not have it, the free-to-play options hold up well.
| Weapon | Why it works |
|---|---|
| Engulfing Lightning | 5-star that raises attack based on Energy Recharge and refunds more Energy Recharge after his Burst. |
| Favonius Lance | The go-to free 4-star; Crit hits restore Energy for the whole team, easing his Energy needs. |
| Symphonist of Scents | 5-star that boosts attack, more while Alyosha is off-field, and again after he heals. |
| Frostbreath | Triggering a Cryo or Hydro reaction raises his attack and generates team Energy. |
| Tamayuratei no Ohanashi | Event polearm granting Energy Recharge and attack when he uses his Skill. |
| The Catch | Free craftable option that increases Burst damage and Crit Rate. |
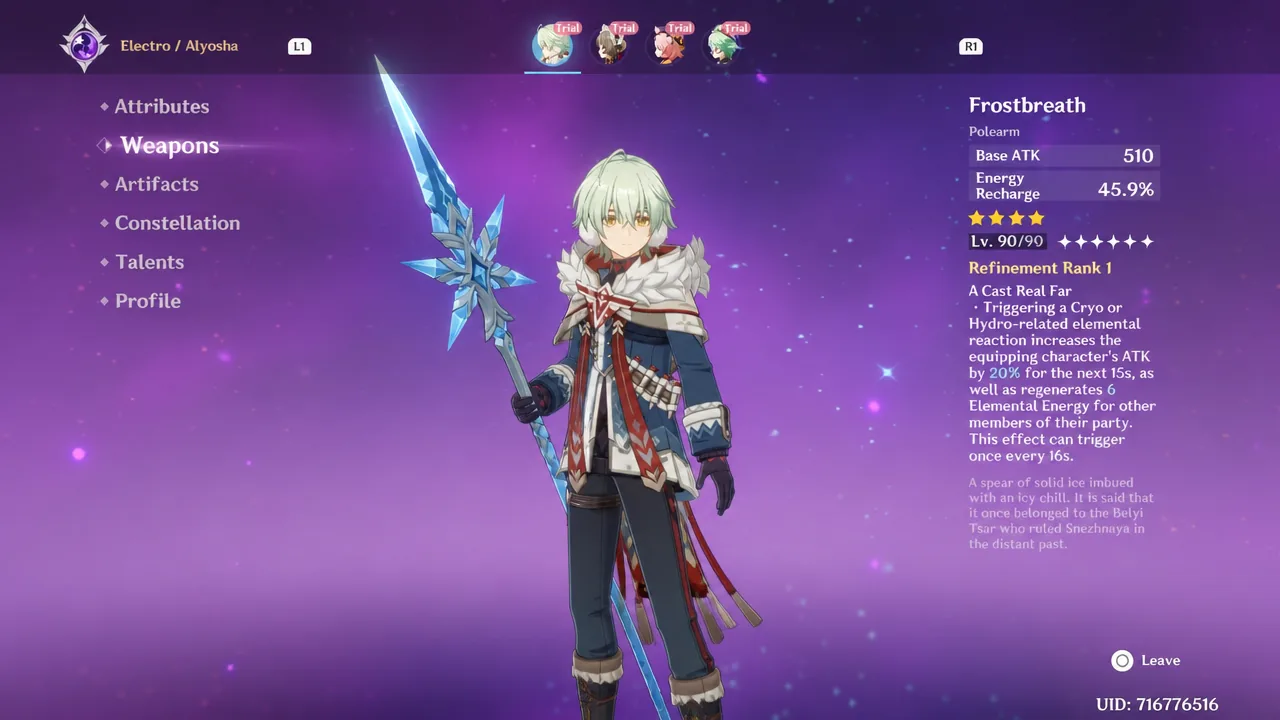
If none of these are available, any polearm that raises Energy Recharge or attack will get the job done until you can upgrade.
Best Alyosha artifacts and stats
The default set is 4-piece Noblesse Oblige. It buffs the whole team’s attack for 12 seconds after Alyosha uses his Burst and adds a flat 20% Burst damage bonus, which lines up perfectly with his rotation. There is one exception. If nobody else on the team is wearing 4-piece Heart of the Furnace, put it on Alyosha so your team’s Stellar-Conduct damage stays boosted. In most setups that set lives on a character like Odette instead.
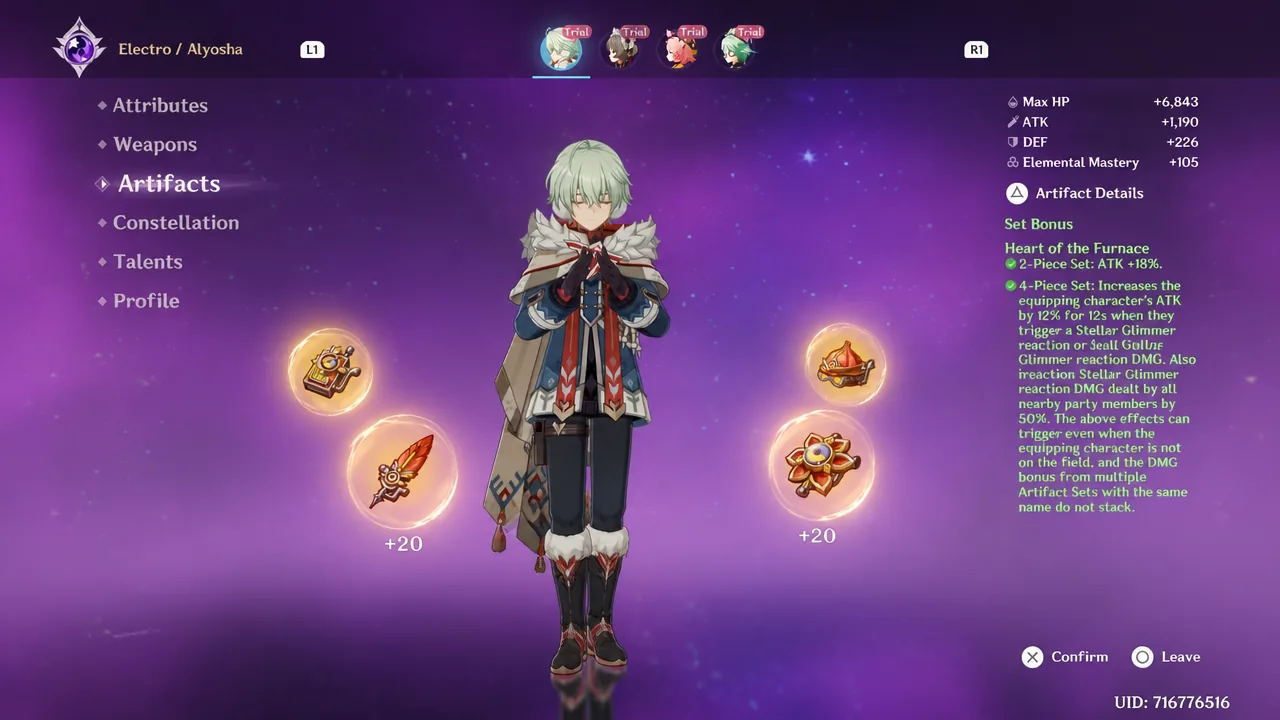
| Slot | Main stat |
|---|---|
| Sands | Energy Recharge or ATK% |
| Goblet | ATK% (or Electro DMG) |
| Circlet | ATK%, or Crit Rate if using Favonius Lance |
For substats, chase Energy Recharge until you meet his requirement, then stack ATK% and flat ATK, with Crit Rate on top if he holds a Favonius weapon. Use these numbers as your targets.
| Stat | Goal |
|---|---|
| Energy Recharge | 180–230% |
| ATK | 2,000–3,000 |
| Crit Rate | 50–60% (if using Favonius Lance) |
Note: Build Energy Recharge before attack. Alyosha needs his Burst every rotation, and falling short of the Energy threshold costs you far more than a bit of extra attack would add.
Best Alyosha teams
Every Alyosha team needs at least one Stellar-Conduct enabler, so each lineup includes Odette, Sandrone, or the Cryo Traveler. The remaining slots go to characters that extend or amplify the reaction, like Yae Miko, Qiqi, or a Cryo damage dealer.
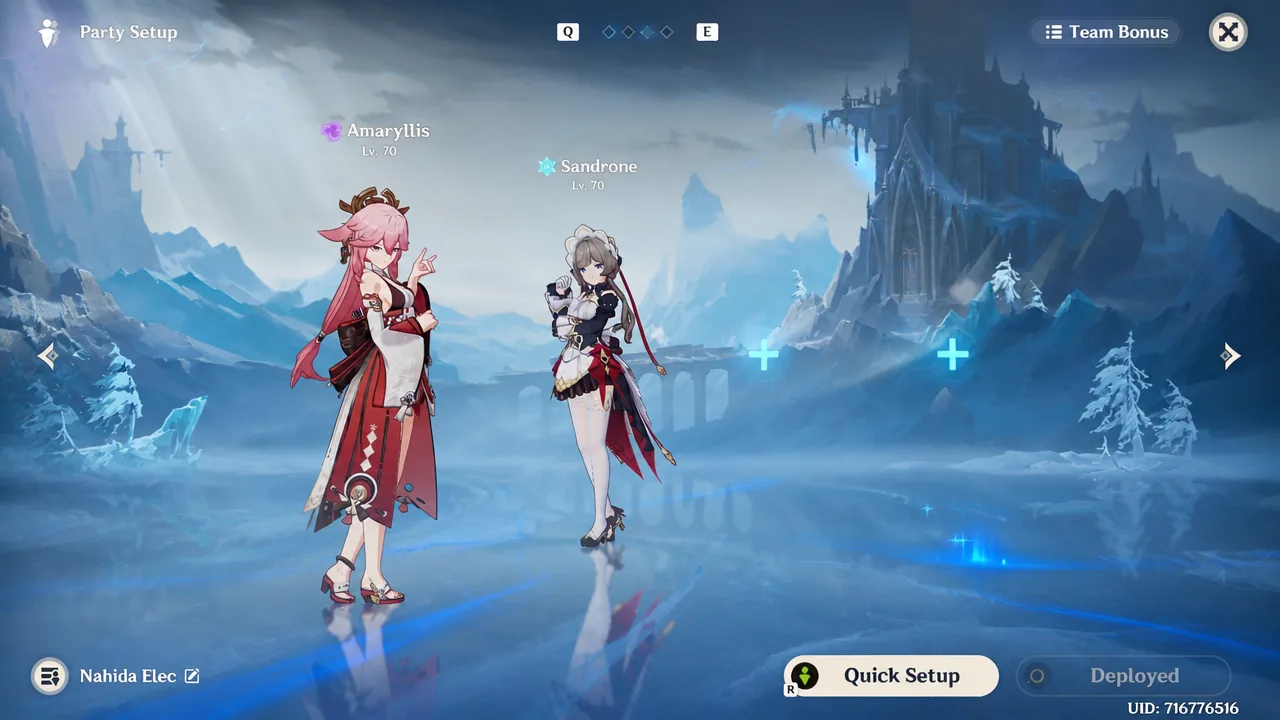
| Team type | Members |
|---|---|
| Premium | Alyosha, Odette, Sandrone, Yae Miko |
| Electro DPS | Alyosha, Odette, Cyno, Qiqi/Beidou |
| Cryo DPS | Alyosha, Odette, Wriothesley, Escoffier/Qiqi/Diona |
| Free-to-play | Alyosha, Cryo Traveler, Beidou, Diona |
| Off-field Electro | Alyosha, Yae Miko, Cryo Traveler, Nicole/Qiqi/Sucrose |
Sandrone is the standard main DPS for Stellar-Conduct, with Odette converting reactions and Alyosha covering attack, Elemental Mastery, and healing. Be careful when stacking healers such as Alyosha, Qiqi, or Escoffier alongside Wriothesley, since he wants to manage his own low HP for maximum damage. It can work, but it is fussier than his other teams.
How to play Alyosha and level his talents
His rotation is short. Use his Elemental Skill, then his Elemental Burst, then swap to your main DPS. The Skill plants Hunter’s Mark and Electro, and the Burst activates that mark to hand the on-field character its attack and Stellar-Conduct buffs while Tugarin heals and taunts.
Level his Burst first, since it carries the bulk of his utility, then his Skill for damage and mark application. His Normal Attack does nothing meaningful for a support build and can be ignored entirely.
| Priority | Talent |
|---|---|
| 1st | Elemental Burst |
| 2nd | Elemental Skill |
| 3rd | Normal Attack (skip) |
Alyosha constellations worth chasing
Alyosha’s power scales heavily with constellations, which is common for 4-stars over time. C1 refunds 15 Energy when nearby allies trigger an Electro reaction, easing his Energy Recharge demands considerably. C2 extends his Burst duration and lets Tugarin apply Hunter’s Mark, making it a strong stopping point if you are not going all the way.
C6 is his standout. It allows two stacks of Hunter’s Precision at once, roughly doubling his attack and Stellar-Conduct buffs and adding 100 Elemental Mastery at max stacks. Below C6, a dedicated 5-star support such as Yae Miko or Qiqi will often outperform him, though they can still slot into the same teams.
Built this way, Alyosha earns his keep as a Stellar-Conduct flex slot that patches whatever your team lacks. He tops out lower than a five-star, but the free price and one-character-three-jobs kit make him a low-cost addition worth investing in.





