Mitya is an Electro Catalyst damage dealer built entirely around Stellar-Conduct, and he is unusual in that one button decides what kind of character he is. Tap his Elemental Skill and he becomes a pocket sub-DPS. Hold it and he plants himself on the field as a main carry with a stamina-free Charged Attack loop. Everything in between runs on a stack counter called Variable Beacon.
Quick answer: Hold the Elemental Skill for on-field mode, tap it for off-field, keep four Variable Beacon stacks up, build Crit with heavy Elemental Mastery, and always run at least one Cryo teammate.
Mitya is a five-star unit, and reaching his highest ascension grants 38.4% Crit DMG. His in-game icon is an Electro Stellar Linchpin, not a standard Vision. The multipliers and percentages listed here come from pre-release builds and may change before Version 7.2 launches. HoYoverse has not confirmed when his banner will be available.
Variable Beacon stacks: the core of Mitya’s kit
Variable Beacon is a stack resource that caps at four. Stacks do three jobs at once. They feed his damage, they hand the whole party Elemental Mastery, and they raise his own Crit Rate. Run out of stacks and most of his kit goes quiet, which is why generation matters more than any single multiplier.
There are two ways to build them. His Elemental Burst instantly creates three Variable Beacons alongside its AoE Electro damage, which scales off 467.0% ATK + 934.1% Elemental Mastery. It costs 60 Energy and sits on a 15-second cooldown.
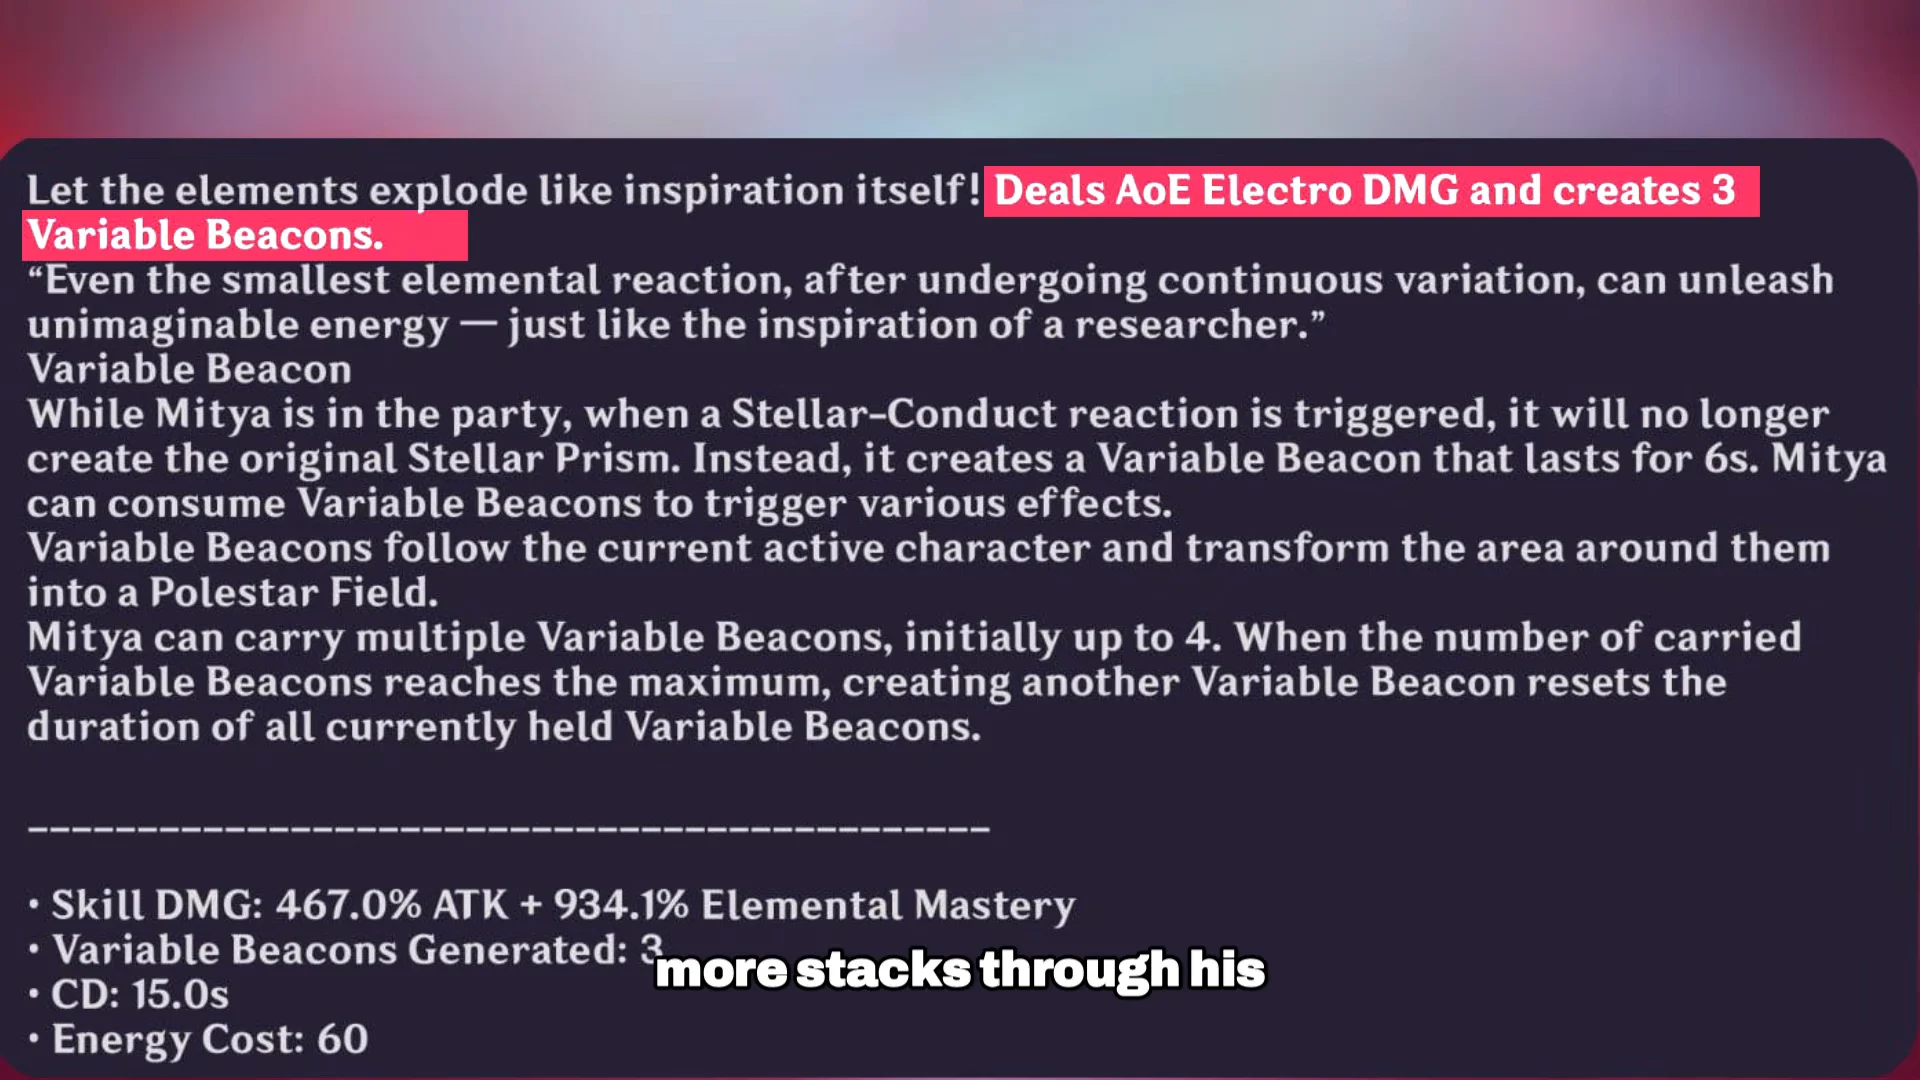
The second source is passive. When nearby party members trigger a Stellar-Conduct reaction, Mitya gains one Variable Beacon every 1.5 seconds for three seconds. That is the reason a Cryo teammate is not optional. Without Stellar-Conduct going off in the party, his passive generation stops and he is left waiting on his Burst.
Tap or hold: the two Elemental Skill modes
The Elemental Skill deploys a Detection Core, and the input you use decides which version you get. They are not interchangeable, and swapping modes mid-fight replaces the old core.
| Input | Core | Role |
|---|---|---|
| Tap | Detection Core: Stable | Off-field sub-DPS |
| Hold | Detection Core: Overload | On-field main DPS |
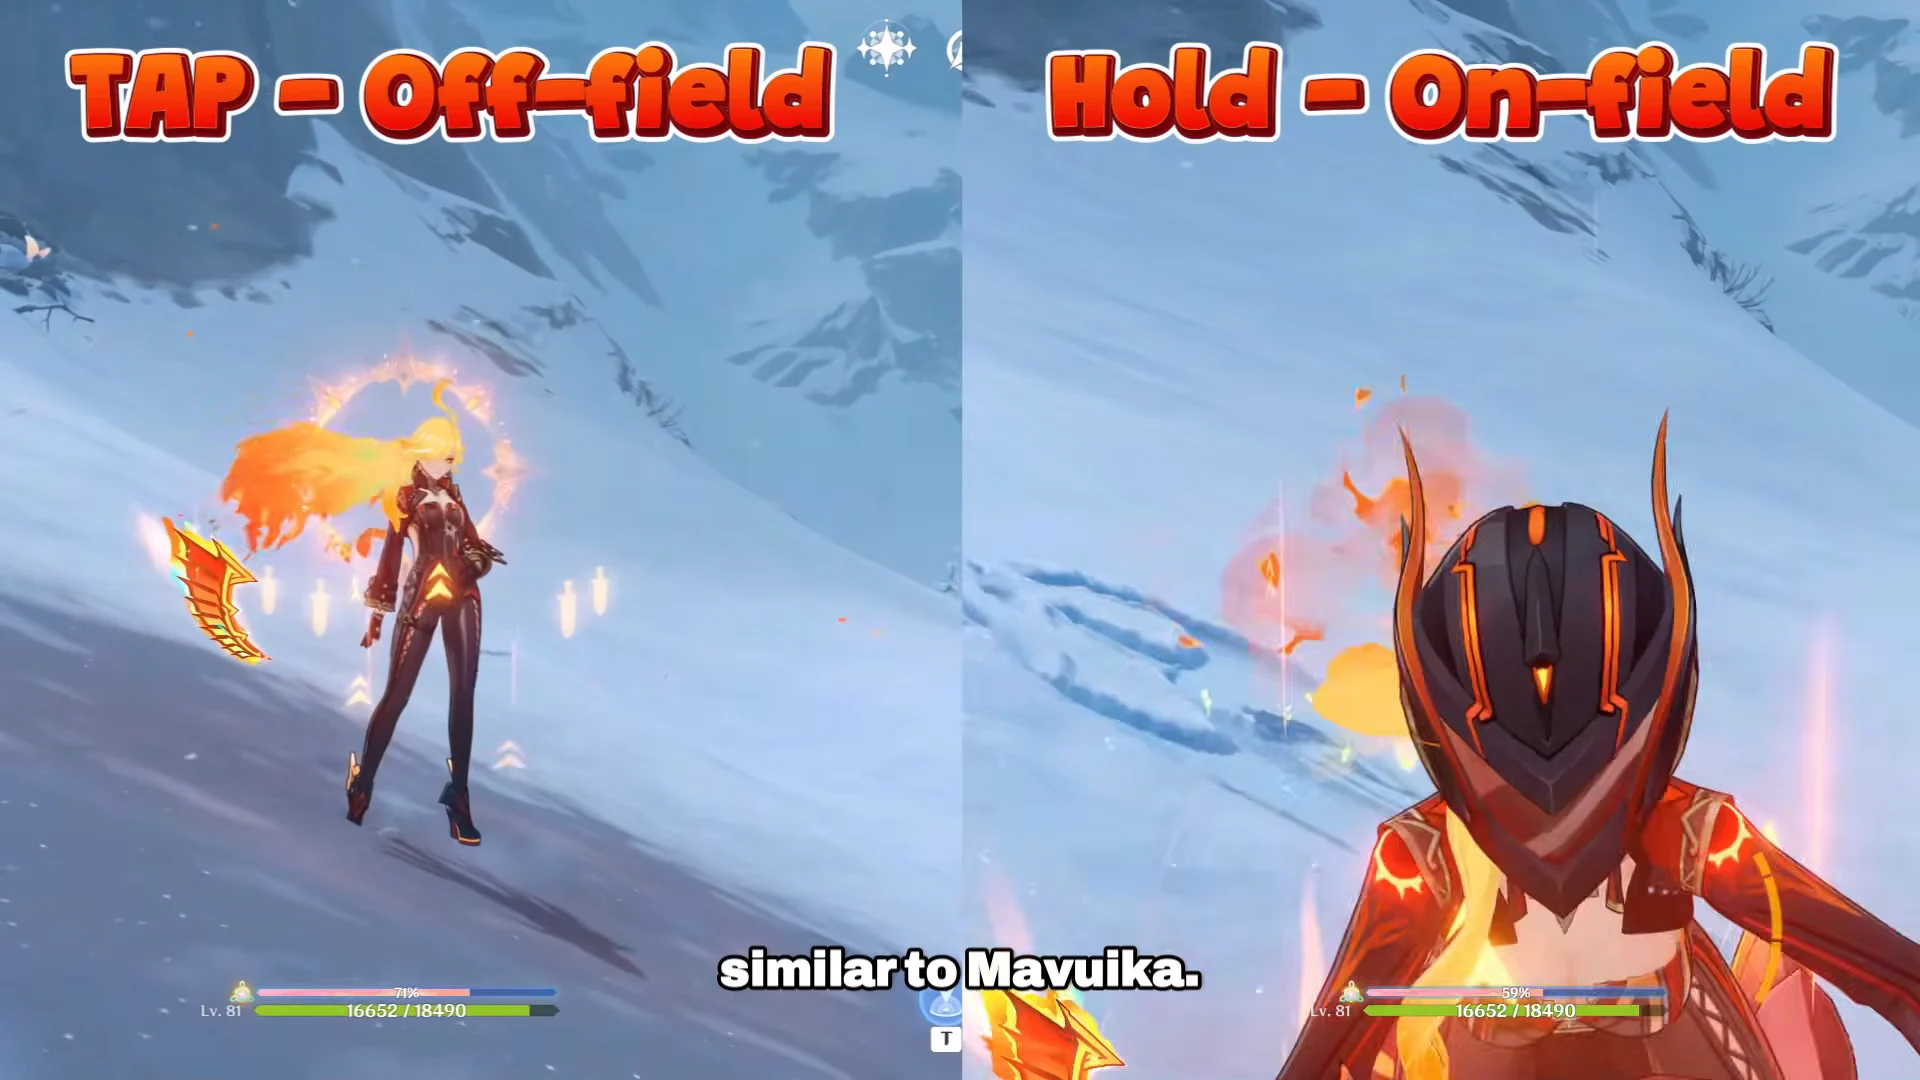
Earlier descriptions of Mitya had these two inputs reversed. The mode split above matches his finished kit.
Hold: Detection Core: Overload
While the Overload core exists and Mitya holds at least one Variable Beacon, he can use a special Charged Attack called Variable Detonation. It costs no stamina, consumes Variable Beacon stacks, and its damage is counted as Stellar-Conduct damage with a multiplier of 285.6% Elemental Mastery. This is the spam button that defines his main-DPS mode.
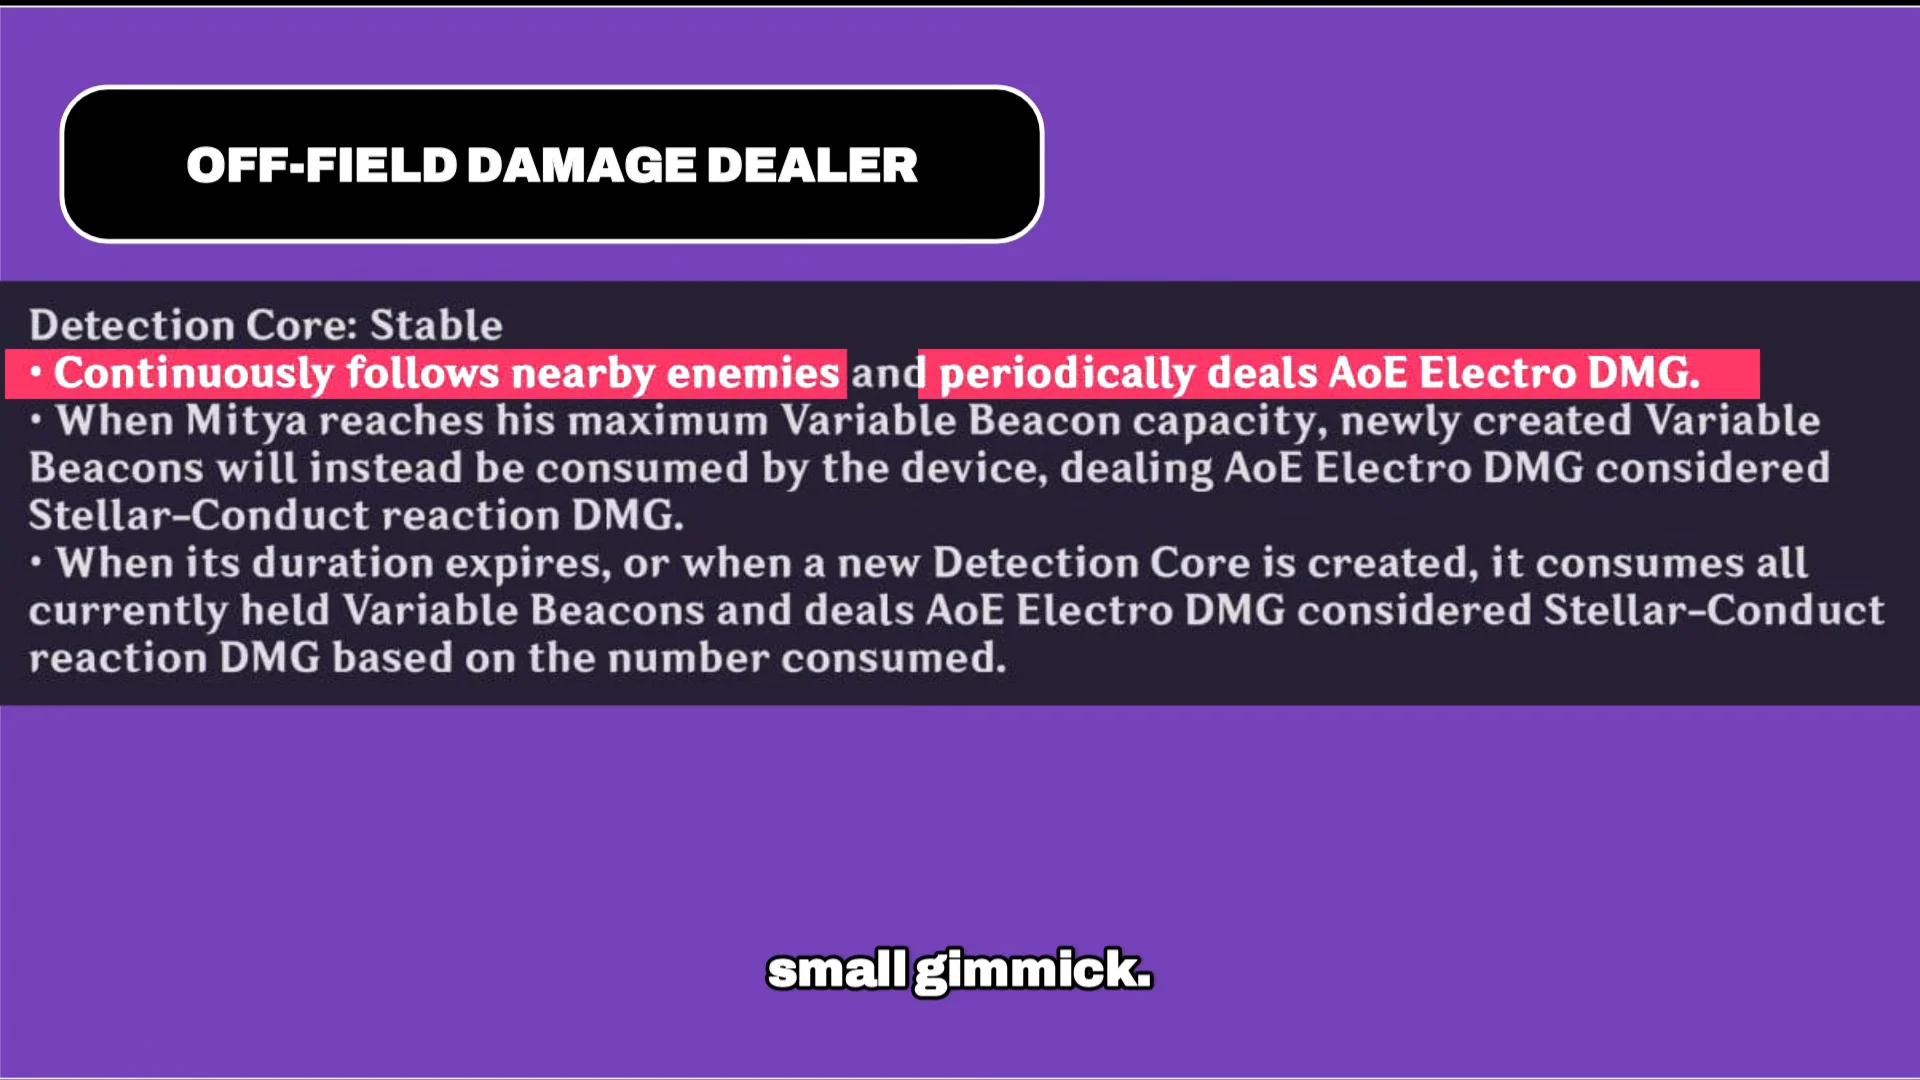
Tap: Detection Core: Stable
The Stable core follows nearby enemies on its own and periodically deals AoE Electro damage while Mitya sits on the bench. It also eats stacks in two situations. Once he is at maximum Variable Beacon capacity, any newly created beacon is consumed by the device for AoE Electro damage treated as Stellar-Conduct reaction damage. When the core expires or gets replaced by a new one, it consumes every held beacon at once and deals damage scaled to how many it swallowed, at 134.4% Elemental Mastery per instance.
Mitya rotations for both modes
Both rotations are short. The order matters because the Burst is what fills the stack bar you are about to spend.
On-field main DPS rotation
Off-field sub-DPS rotation
Passive talents and the Stellar Blessing buff
Two passives scale directly off the stack counter, and both reward keeping the bar full rather than spending it the instant it fills.
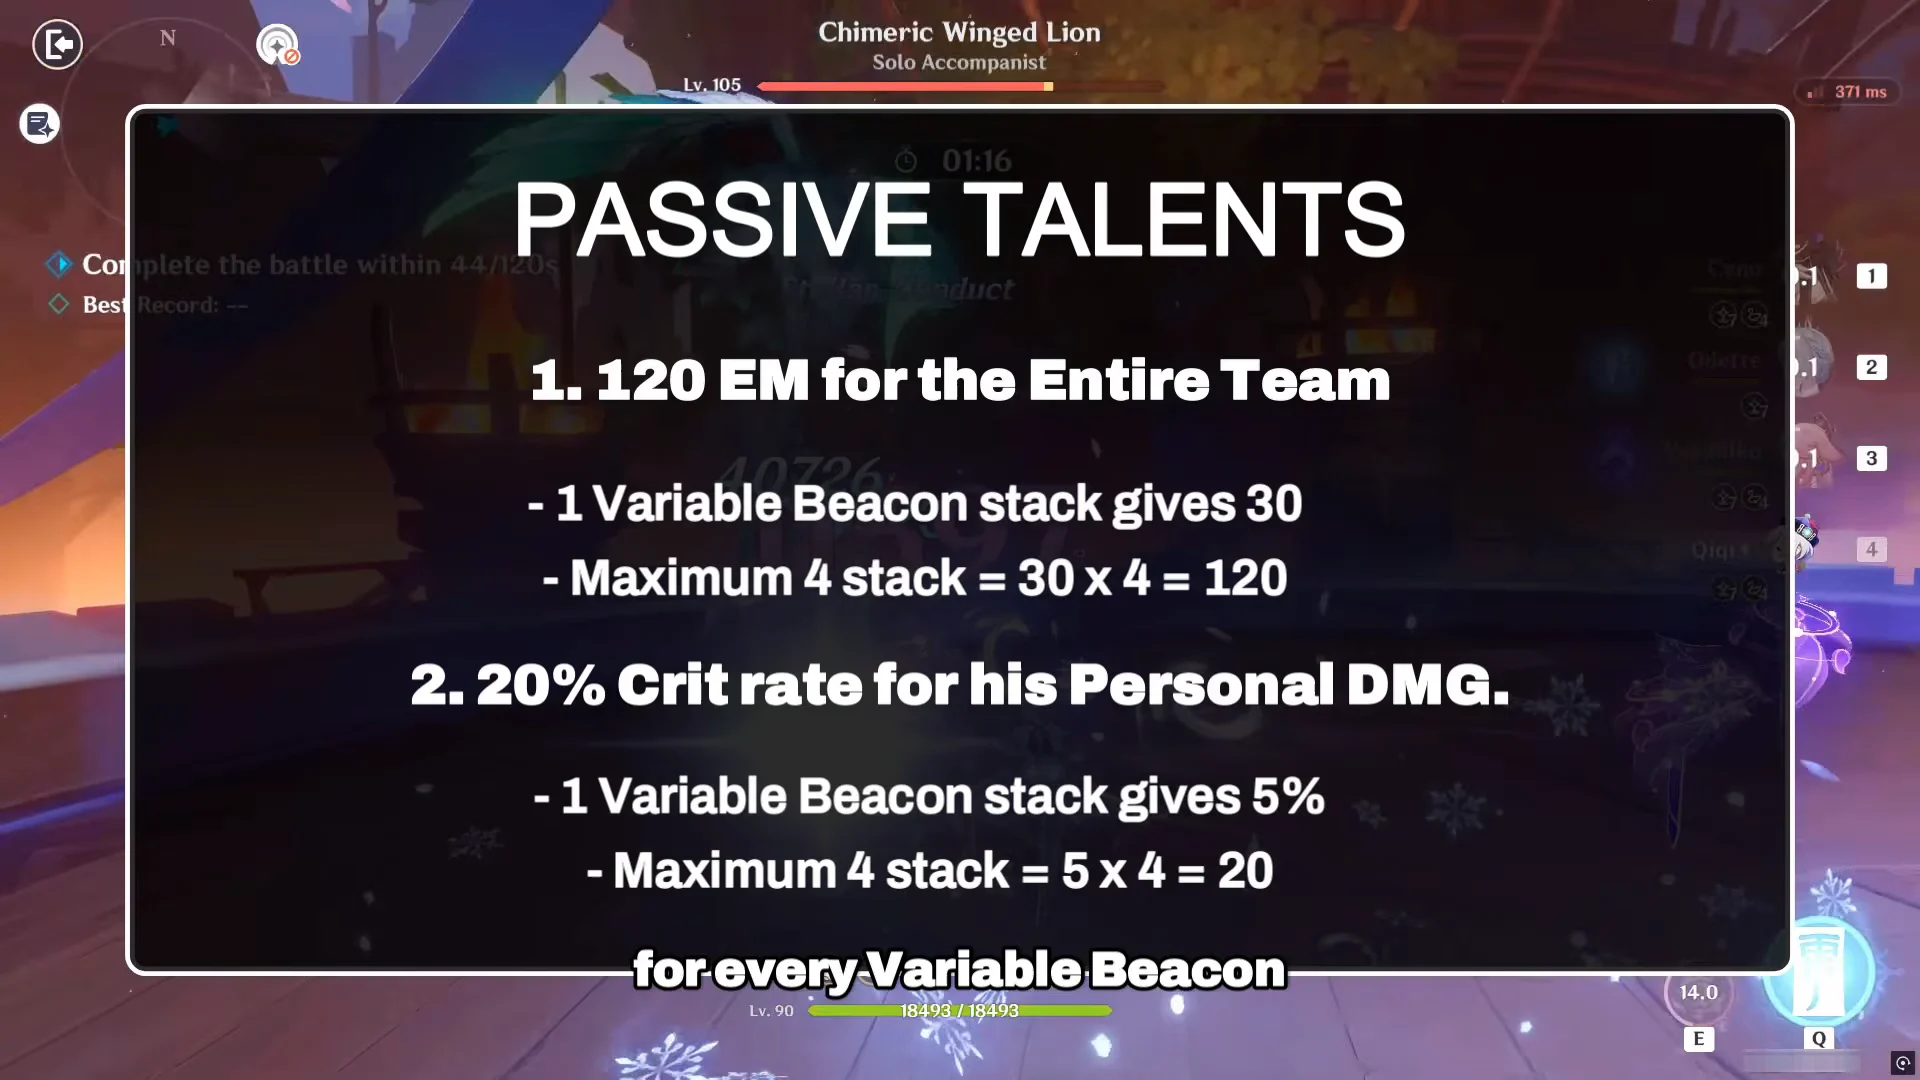
- Each Variable Beacon grants 30 Elemental Mastery to the entire team, for 120 EM at four stacks.
- Each Variable Beacon grants Mitya 5% Crit Rate for his own damage, up to 20% at four stacks.
His Stellar Blessing, Classified Protocol, is the piece that makes the rest of the kit function. It converts Superconduct into Stellar-Conduct, and every point of Elemental Mastery raises Stellar-Conduct reaction base damage by 0.028%, capped at a 14% increase. Hitting that cap takes roughly 500 Elemental Mastery on Mitya himself.
Mitya build: stat priority and signature weapon
Mitya does not want an ATK stat stick. Almost all of his meaningful damage — Variable Detonation, the Stable core’s beacon consumption, the Stellar Blessing multiplier — is written in Elemental Mastery, so ATK buffers do far less for him than usual. Crit still comes first because reaction-flavored Stellar-Conduct damage from his kit can crit, and his own passive already hands him 20% Crit Rate.
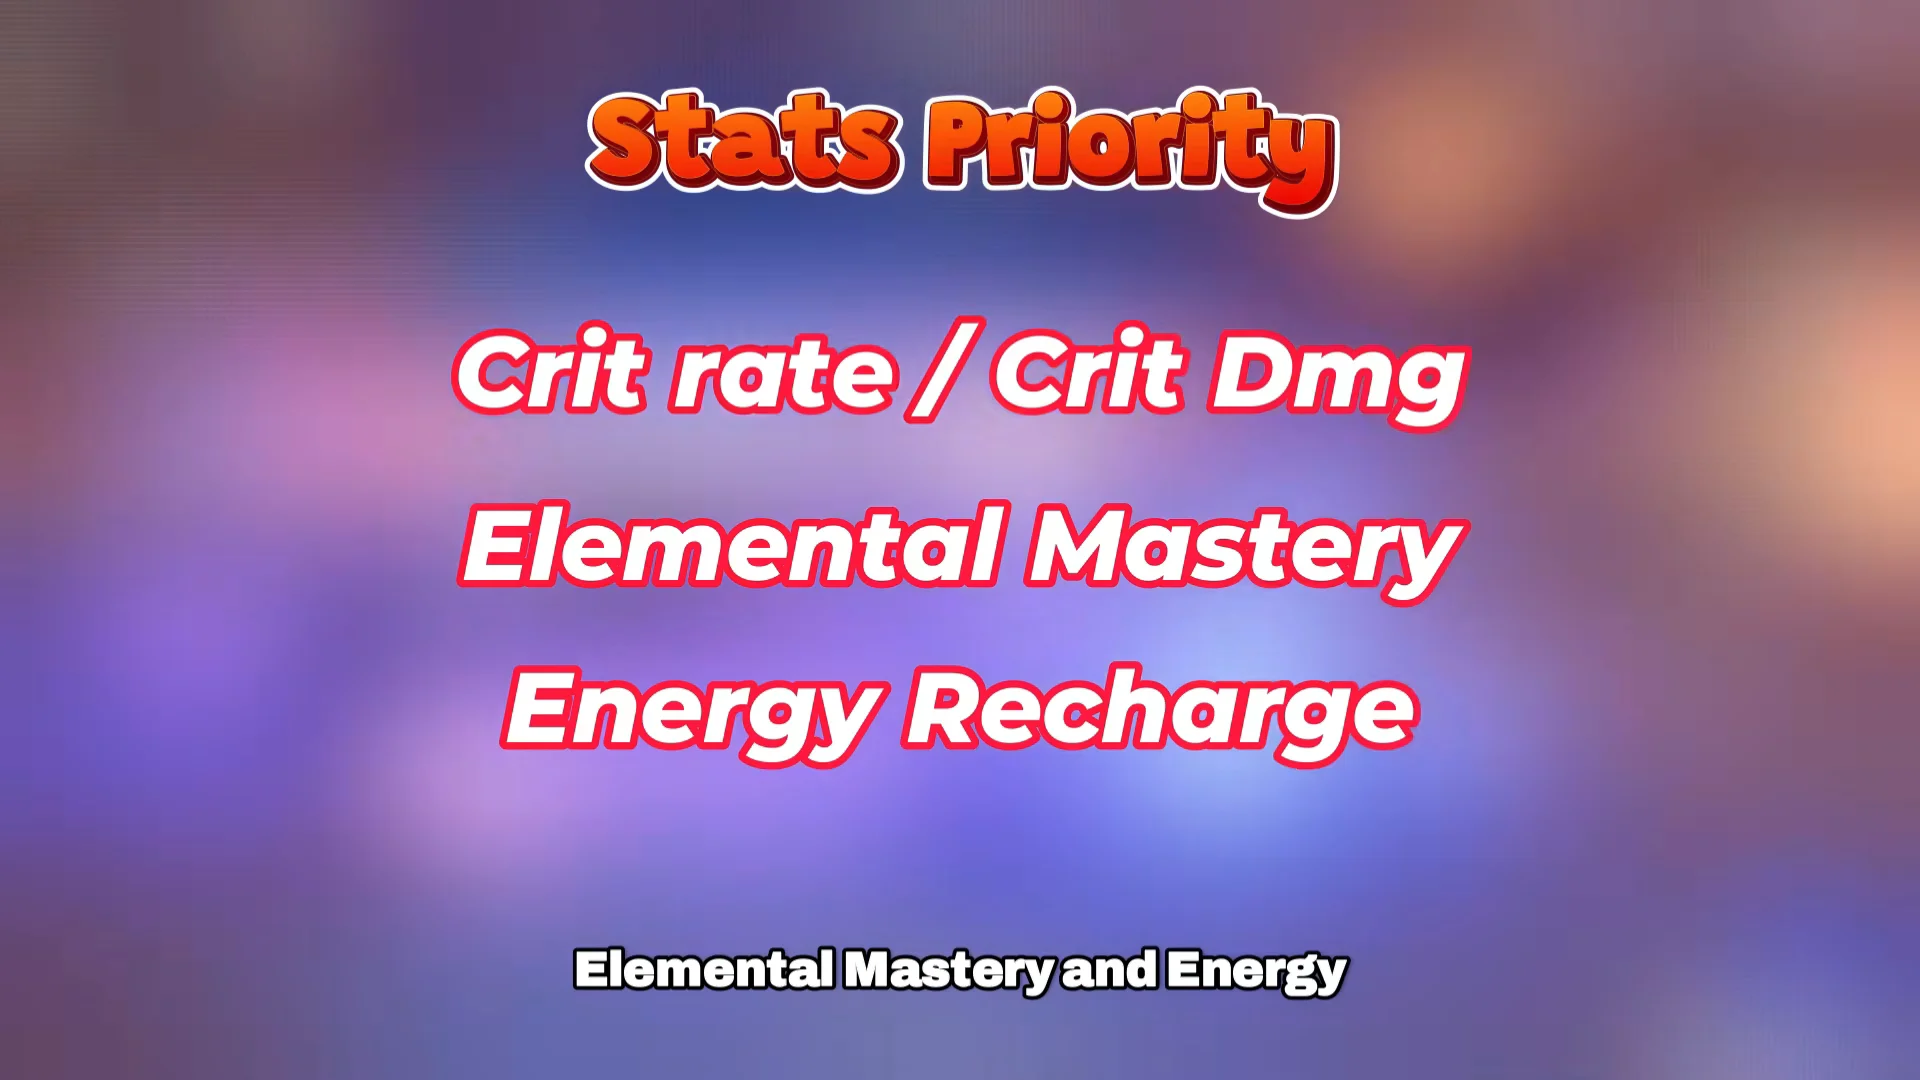
The working order is Crit Rate and Crit DMG, then Elemental Mastery, then enough Energy Recharge to keep a 60-cost Burst on a 15-second cooldown online every rotation.
His signature Catalyst follows the same logic. The base ATK is deliberately low, the Crit DMG substat is enormous, and the passive tops up both of his scaling stats.
| Attribute | Value |
|---|---|
| Base ATK | 542 |
| Substat | 88.2% Crit DMG |
| Passive | Up to 60% Crit DMG |
| Passive | Up to 120 Elemental Mastery |
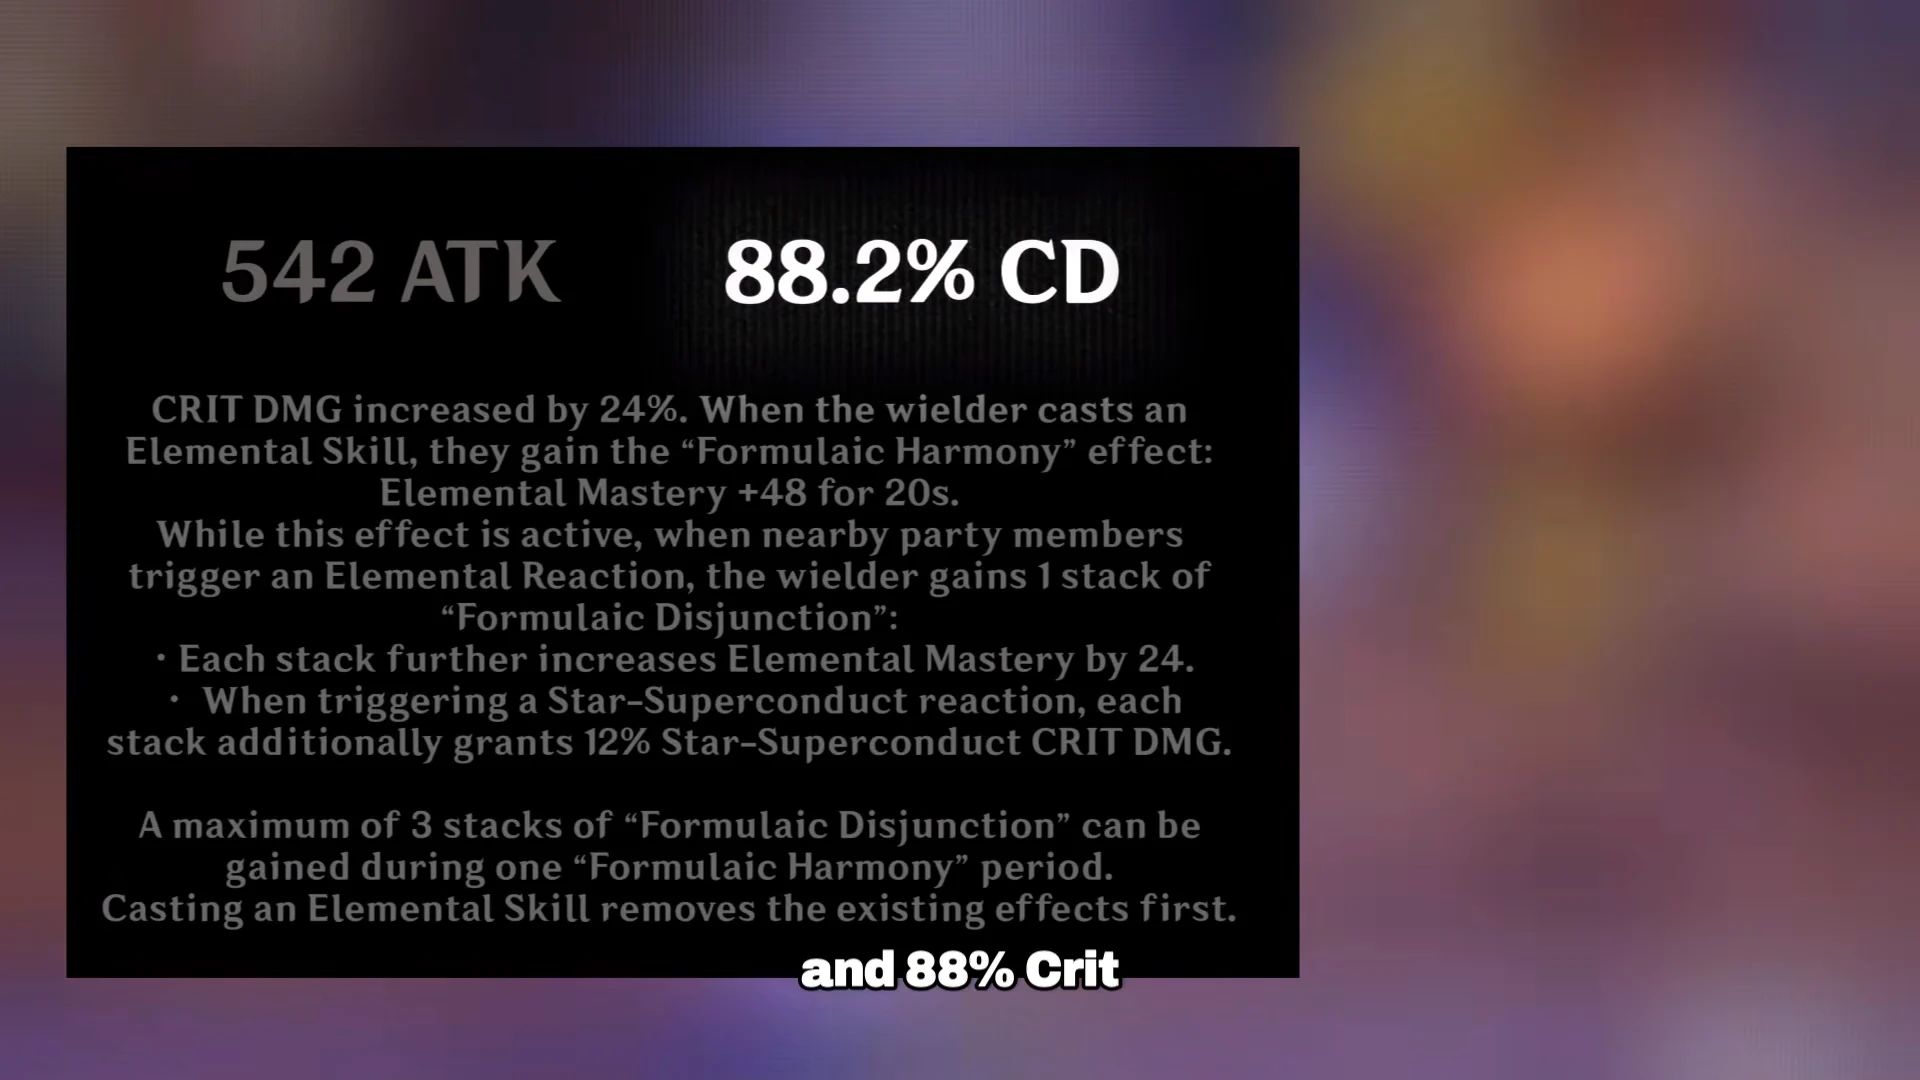
The low 542 base ATK is intentional, not a downside to fix. Chasing flat ATK on artifacts to compensate pulls stats away from the Elemental Mastery his multipliers actually read.
Best teams for Mitya
Every Mitya team has one hard requirement: at least one Cryo character. Cryo is what lets Stellar-Conduct trigger in the first place, which unlocks his passive stack generation, his 120 EM team buff, and his Stellar-Conduct damage conversion. Build around that, then decide which mode you are playing.
| Mitya’s role | Sample teammates | Why it works |
|---|---|---|
| Off-field sub-DPS | Cyno, Odette, Valeriy | Cyno also scales on EM |
| Off-field sub-DPS | Yae Miko, Diona, Sucrose | Cheap Cryo and EM cover |
| Off-field with Cryo carry | Cryo DPS, Valeriy, flex | Cryo drives the reactions |
| On-field main DPS | Valeriy, Cryo unit, Sucrose | Shield keeps the combo alive |
Valeriy is close to mandatory for the on-field build. He is an Electro shielder who also raises Electro damage and buffs Crit Rate and Crit DMG at C6, and the shield solves Mitya’s biggest structural flaw. During his main on-field combo, Mitya cannot move from where he is standing, so any interruption cuts the rotation short.
Cyno is the standout off-field partner because he also scales on Elemental Mastery, so the 120 EM Mitya hands the party lands on a carry that actually converts it into damage. Odette fills the Cryo slot and the Stellar-Conduct conversion at once.
Free-to-play options hold up better than usual here. Diona covers Cryo application and a shield, Sucrose contributes Elemental Mastery and grouping, and Alyosha is an accessible Electro support for the Stellar-Conduct core.
Is Mitya worth pulling?
Mitya is a strong, flexible Stellar-Conduct unit with a rare amount of team freedom, since one input swaps him between carry and support duty without rebuilding his artifacts. He is not a required upgrade if you already own a settled premium team, though, and the on-field version asks for a dedicated shielder before it works properly.
The stronger argument for him is forward-looking. Stellar-Conduct is expanding across the Snezhnaya arc, with Tsaritsa and Danica both lined up in that ecosystem, so a Catalyst who converts Superconduct and buffs the whole party’s Elemental Mastery has room to keep growing. Until his kit is finalized in a live build, treat the exact percentages as provisional and the team shells as the part worth preparing now.