Odette is a 5-star Cryo sword user who sits somewhere between Sub-DPS and support, and her whole reason for existing is Stellar reactions. She converts a party’s Superconduct and Cryo Swirl into the upgraded Stellar-Conduct and Stellar Swirl, then pumps those reactions full of extra damage through her buffs. Build her around raw ATK and Crit, keep her Solo Dance Double active, and she quietly carries entire Snezhnaya-era teams while spending only a few seconds on the field.
Quick answer: Equip Odette with the Whitelake Frostfeather sword and a 4-piece Heart of the Furnace set, run ATK% on both the Sands and Goblet until she reaches 3,000 ATK, then load up on Crit Rate and Crit DMG. That maxes her passive and pushes her Stellar reaction damage as high as it goes.

Why 3,000 ATK is the number that matters
Odette’s damage scales almost entirely with total ATK, and two of her passives lean on it directly. For every 100 ATK she has over 1,000, her Stellar Glimmer damage goes up, capping at a 30% bonus. Separately, the Base DMG of the Stellar-Conduct and Stellar Swirl reactions she enables rises by 0.7% per 100 ATK, up to a 14% increase. Both of those effects are fully maxed once she hits 3,000 ATK, which is why that figure anchors the entire build.
Get to 3,000 ATK first, then everything you add after that goes into Crit. She doesn’t heal, shield, or provide sustain, so her teams still need a healer or shielder somewhere in the lineup.
Best weapons for Odette
Whitelake Frostfeather is her signature sword and the clear best-in-slot. It gives 674 Base ATK and a 22.1% Crit Rate substat, and its passive hands her up to 24% ATK once you stack it to three times. At full stacks it also adds 50% Crit DMG to any Stellar Glimmer reaction she causes and restores 4 Energy whenever she triggers one, even while she’s off-field. That single weapon covers her ATK requirement, a big chunk of Crit, and her energy needs at the same time.
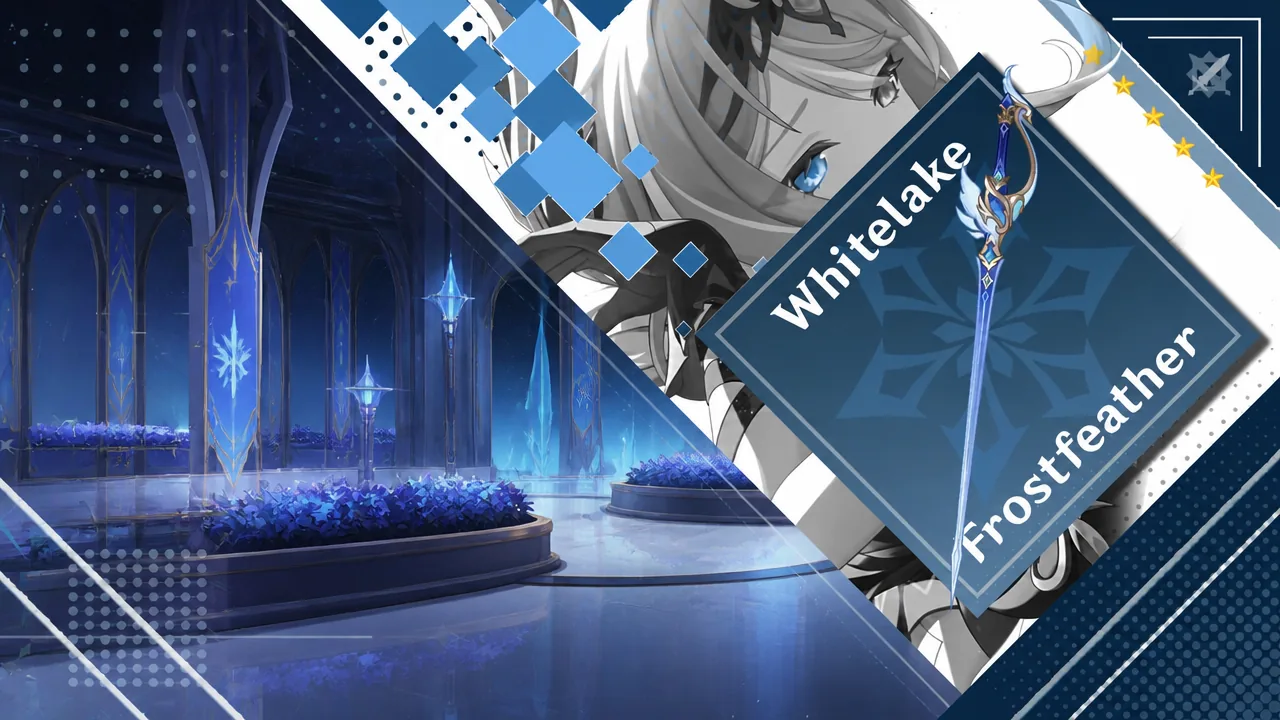
If you skip the signature, Emberwell is the free-to-play pick and the strongest 4-star option. It’s the craftable sword introduced alongside Odette’s release, offering 510 Base ATK and 165 Elemental Mastery. Refined to R5, it grants 32% ATK on any reaction and another 32% Stellar Glimmer reaction damage, both off-field. You lose the Crit Rate and Crit DMG the signature provided, so with Emberwell it’s smarter to run a Crit Rate Circlet instead of Crit DMG to keep your hits landing.
Two other swords fill niche roles. Freedom-Sworn adds a small team-wide ATK buff but its DMG% doesn’t apply to Stellar reactions, so it’s only a minor lift over a free weapon. Favonius Sword trades personal damage for a huge Energy Recharge substat and particle generation, which is handy if your team lacks a battery and struggles to Burst on cooldown.
| Weapon | Base ATK | Secondary stat | Role |
|---|---|---|---|
| Whitelake Frostfeather (5★) | 674 | 22.1% Crit Rate | Best-in-slot |
| Emberwell (4★) | 510 | 165 Elemental Mastery | Best free-to-play |
| Freedom-Sworn (5★) | 608 | 198 Elemental Mastery | Minor team buffer |
| Favonius Sword (4★) | — | Energy Recharge | Energy fix |
Best artifacts and stat priority
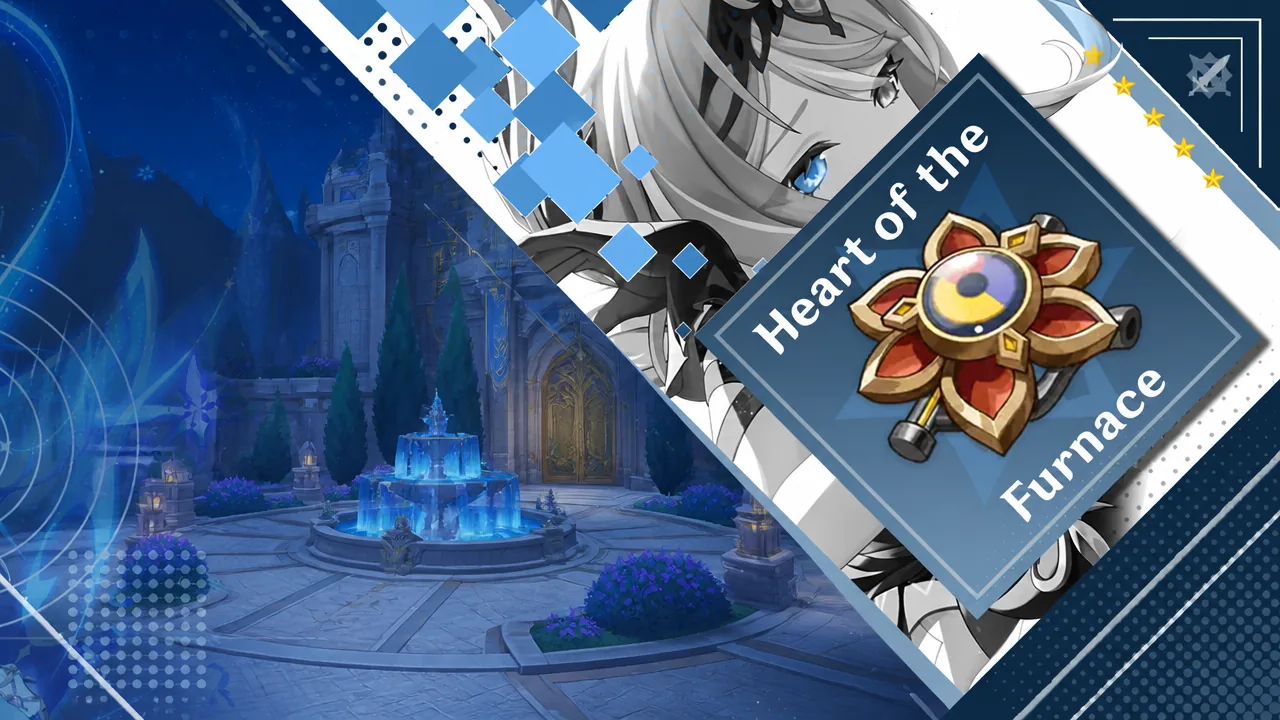
Heart of the Furnace is the set to farm. The 2-piece bonus gives 18% ATK, and the 4-piece adds another 12% ATK when Odette triggers or deals Stellar Glimmer reaction damage, on top of a 50% Stellar Glimmer reaction DMG boost for the whole nearby party. That teamwide buff works even when she’s off-field, which matches exactly how she plays, dropping her abilities and then swapping out. As long as nobody else on the team is wearing this set, it should be on Odette.
Two alternatives exist for specific setups. In dedicated Stellar-Conduct teams, Disenchantment in Deep Shadow squeezes out more personal damage, but it does nothing in Stellar Swirl teams. Tenacity of the Millelith is a solid pick when the party’s damage comes from ATK-scaling carries and no one else is running it, since her long field presence keeps the buff active.
For main stats, keep it simple. ATK% on the Sands, ATK% on the Goblet, and Crit on the Circlet. Whether you pick Crit Rate or Crit DMG on the Circlet depends on which gives you a cleaner ratio once your weapon is factored in.
| Slot | Main stat |
|---|---|
| Sands of Eon | ATK% |
| Goblet of Eonothem | ATK% |
| Circlet of Logos | Crit DMG or Crit Rate |
| Substats (in order) | Crit DMG / Crit Rate > ATK% > Elemental Mastery > Energy Recharge |
Prioritize Crit in your substats, but roll in enough ATK% to clear the 3,000 ATK threshold first. Once she’s there, Elemental Mastery becomes nearly as valuable as extra ATK, falling only slightly behind. Energy Recharge can usually be ignored because Odette often skips her Burst due to its long animation, though some teams leave enough downtime between cooldowns that a Burst every rotation is worth building for.
Best teams and synergy
Because Odette turns Superconduct into Stellar-Conduct and Cryo Swirl into Stellar Swirl, she wants Electro and Anemo teammates who can trigger those reactions constantly. Her Solo Dance Double keeps applying Cryo off-field, so the second element just needs to show up reliably.
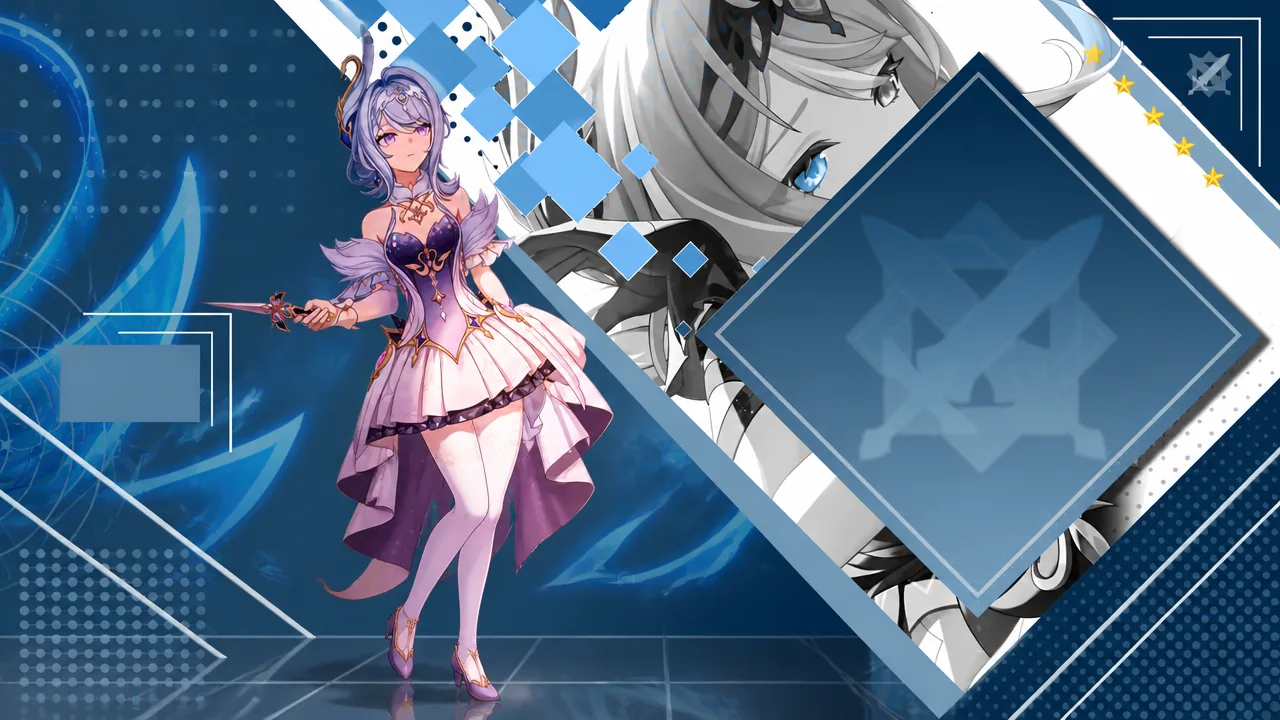
Sandrone is one of her strongest partners for Stellar-Conduct comps, with Yae Miko providing steady off-field Electro and Alyosha handling healing plus ATK buffs. Cyno also pairs well because he can’t reliably enable Stellar-Conduct on his own, and Odette fills that gap. On the Anemo side, Kazuha and Sucrose feed Stellar Swirl, while Qiqi is a natural Cryo healer to cover her lack of sustain.
| Role | Recommended units |
|---|---|
| Electro enabler | Yae Miko, Cyno |
| Anemo enabler | Kazuha, Sucrose |
| Cryo Sub-DPS / carry | Sandrone |
| Sustain / buffs | Qiqi, Alyosha |
One thing to keep in mind: her Stellar DMG% buffs only amplify direct Stellar reaction damage, not the base reaction. That means a handful of carries make full use of them while others gain little, so pair her with a DPS that actually leans on Stellar reactions.
Constellations worth chasing
Odette functions perfectly at C0, so none of her constellations are required. If you do invest, C1 and C2 are the most impactful early stops, C6 is a strong ceiling raiser, and C4 is a middling step in between.
| Constellation | Value | What it does |
|---|---|---|
| C1 | High | Adds an extra Stellar-Conduct or Stellar Swirl hit after the duet finale (300% or 450% of ATK) and grants 2 stacks of Marvelous Splendor when the double appears. |
| C2 | High | Each Marvelous Splendor stack adds 7% ATK, and enemies near the Dance Double lose 20% of the relevant Elemental RES in her Radiance state. |
| C4 | Medium | Boosts allies’ Stellar Glimmer damage via Snow Swan’s Dream and adds a coordinated Cryo hit when party members deal Stellar Glimmer damage. |
| C6 | High | Locks her Marvelous Splendor stacks in place and raises Stellar Glimmer reaction damage for affected characters by 25%, plus an extra 20% for Odette. |
Once she’s built, the loop is short and repeatable. Set up your reaction state with supports, swap to Odette to fire her Skill and Burst, unleash the Adagio: Coda at Dawn’s Tolling duet within its 6-second window, then swap back to keep Electro or Anemo flowing while her Dance Double ticks away. If your ATK is at 3,000 and the rest of your rolls went into Crit, you’ll see her Stellar reactions land for the numbers she’s designed to hit, and her Heart of the Furnace buff will be carrying the rest of the party right alongside her.