A Cryo Freeze team built around Skirk at Constellation 6 and Vodyanitsa at Constellation 2 can tear through the hardest permanent content in Genshin Impact. Paired with Escoffier and Furina, the four-character lineup handles both Dire battlefields of the 7.1 Stygian Onslaught cycle well inside the mode’s strict time limit, keeping each boss frozen while Skirk delivers the damage.
Quick answer: The team runs Skirk (Cryo DPS), Vodyanitsa (Hydro support), Escoffier (Cryo healer), and Furina (Hydro sub-DPS). It cleared Battlefield 1 in 78 seconds and Battlefield 2 in 27 seconds, a combined 105s against the 180s Dire cap.
Team composition and builds
The lineup pairs two Cryo characters with two Hydro characters so the Freeze reaction stays active almost permanently. Skirk is the on-field carry, Escoffier supplies Cryo application and healing, and Vodyanitsa and Furina sit off-field to buff and apply Hydro. Vodyanitsa’s Cryo, Hydro, and Anemo resistance shred raises the whole team’s damage ceiling, which is why she slots into Skirk’s Freeze core even though she is a Hydro unit.
| Character | Element | Weapon | Artifacts |
|---|---|---|---|
| Skirk (C6) | Cryo | Azurelight R1 | Finale of the Deep Galleries |
| Vodyanitsa (C2) | Hydro | Hymn of the Maelstrom R1 | Tenacity of the Millelith |
| Escoffier | Cryo | Symphonist of Scents R1 | Scroll of the Hero of Cinder City |
| Furina (C6) | Hydro | Freedom-Sworn R5 | Golden Troupe / Tenacity of the Millelith |
Skirk carries her signature sword Azurelight and a four-piece Finale of the Deep Galleries set, with talents at 6/13/13 and stats of roughly 76.8% CRIT Rate and 232.2% CRIT DMG. At Constellation 6 she unlocks all six upgrades, from Far to Fall through To the Source, which is where the lineup’s burst damage comes from.
Vodyanitsa leans into a bulky support role, stacking more than 66,000 Max HP on four-piece Tenacity of the Millelith with her signature Hymn of the Maelstrom. Her Constellation 2, Echoes That Pierce the Snow, is active in both runs.
Furina runs Freedom-Sworn at Refinement 5 and switches artifacts between the two fights. She uses Golden Troupe for Battlefield 1 and swaps to Tenacity of the Millelith for Battlefield 2, which also shifts her stat spread toward higher HP and Elemental Mastery. Escoffier keeps the same setup across both battles, running Symphonist of Scents with four-piece Scroll of the Hero of Cinder City.

Battlefield 1: Battle-Hardened Domovoy Sculptor
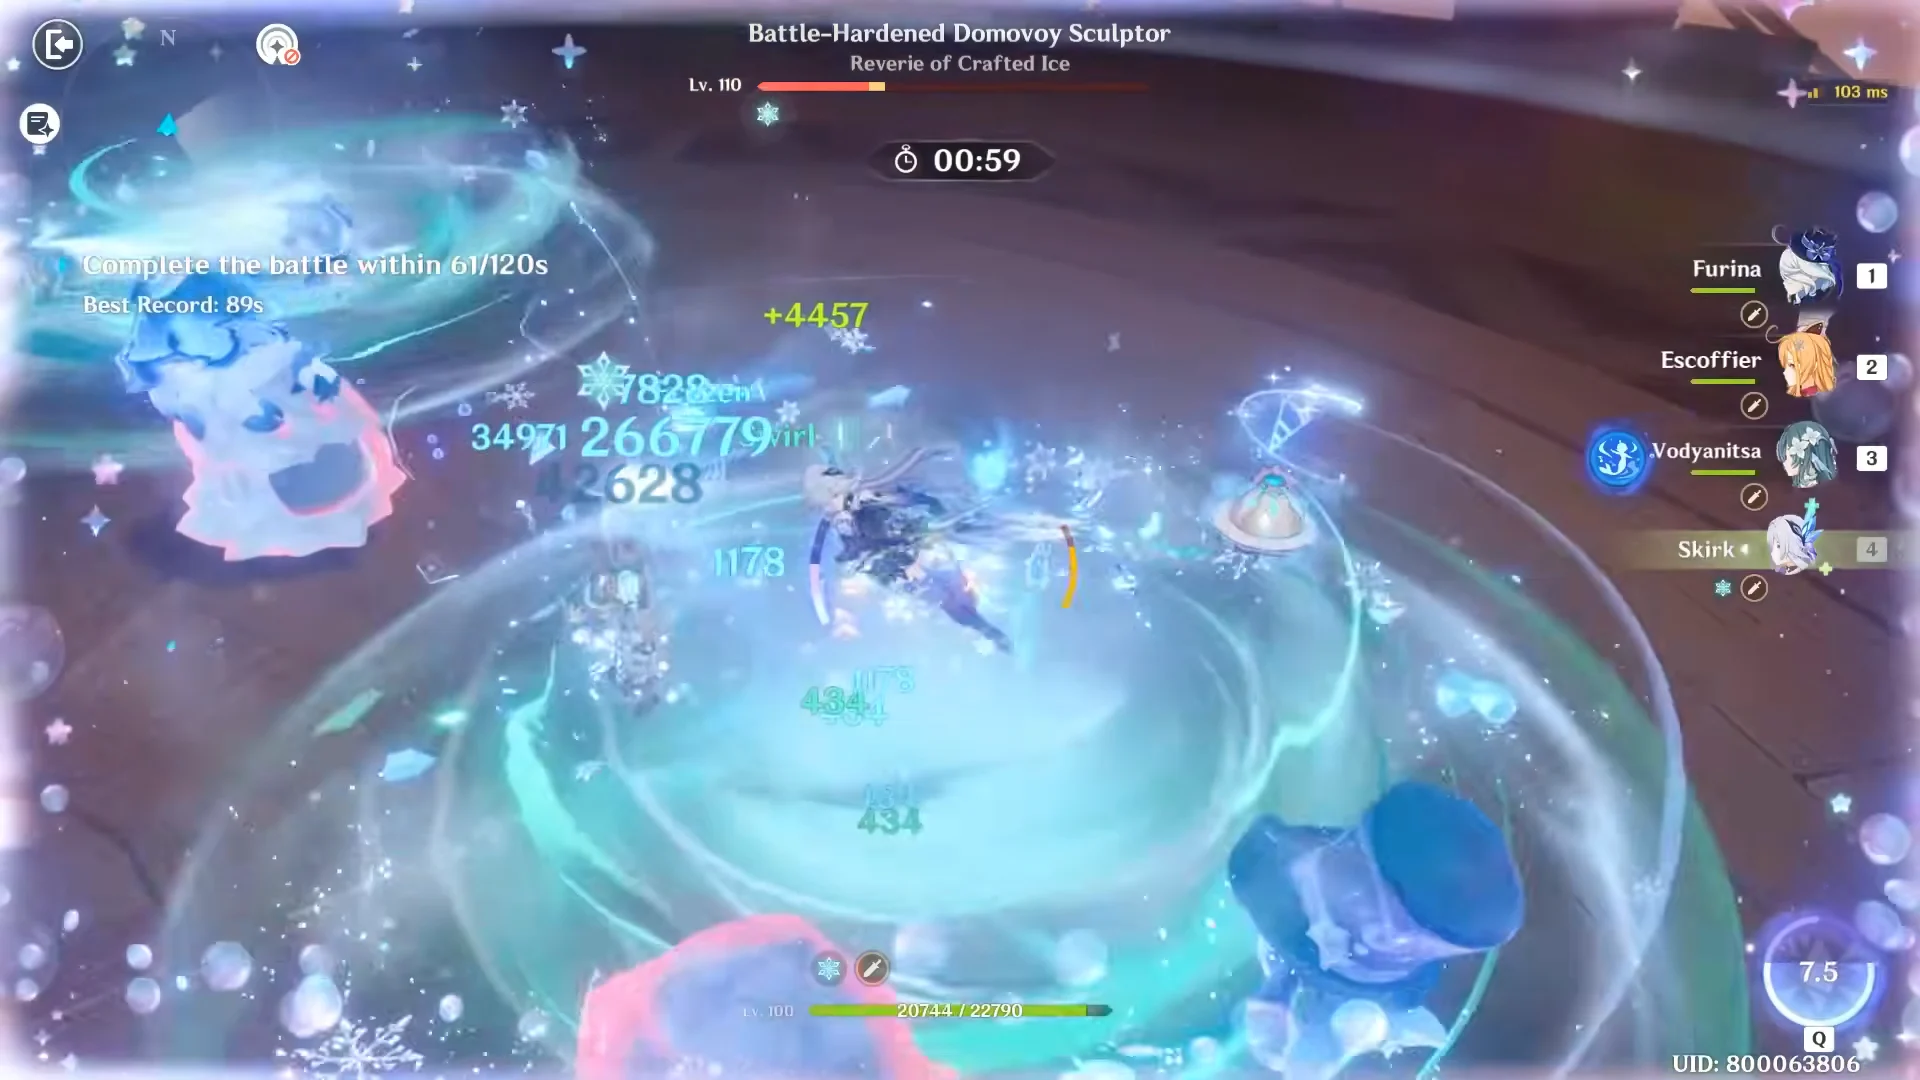
The first battlefield pits the team against the Battle-Hardened Domovoy Sculptor: Gale Hewing at Level 110, part of the Guardian Blade of Drifting Snow encounter set. The fight opens with all four characters deployed, with Skirk on the field and the three supports feeding her buffs and reactions.
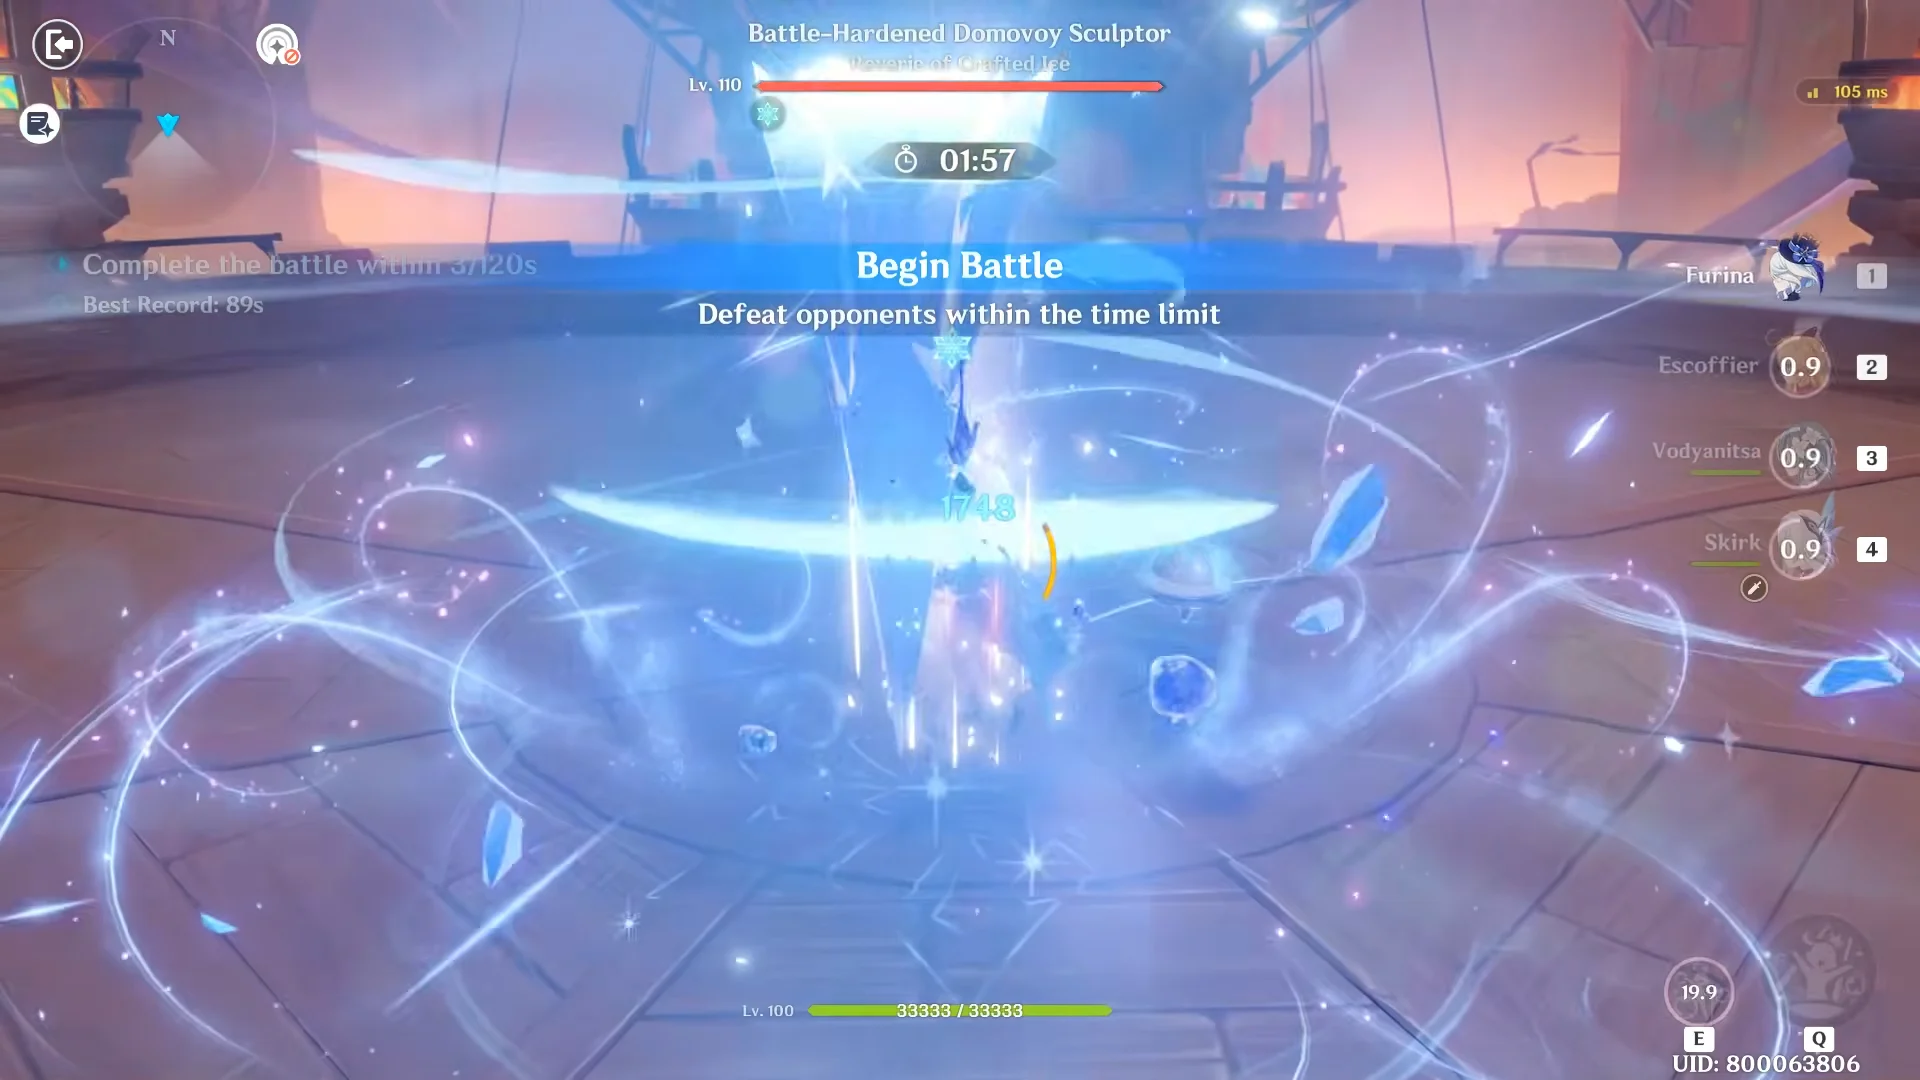
Combat settles into a repeating loop. Furina and Escoffier chain their bursts and skills to lay down Hydro and Cryo, Vodyanitsa adds her resistance shred, and Skirk cycles normal and charged attacks between her own bursts. Keeping the Sculptor frozen matters here because Stellar Glimmer damage and crowd control stop it from finishing ice sculptures that would otherwise swing the fight.
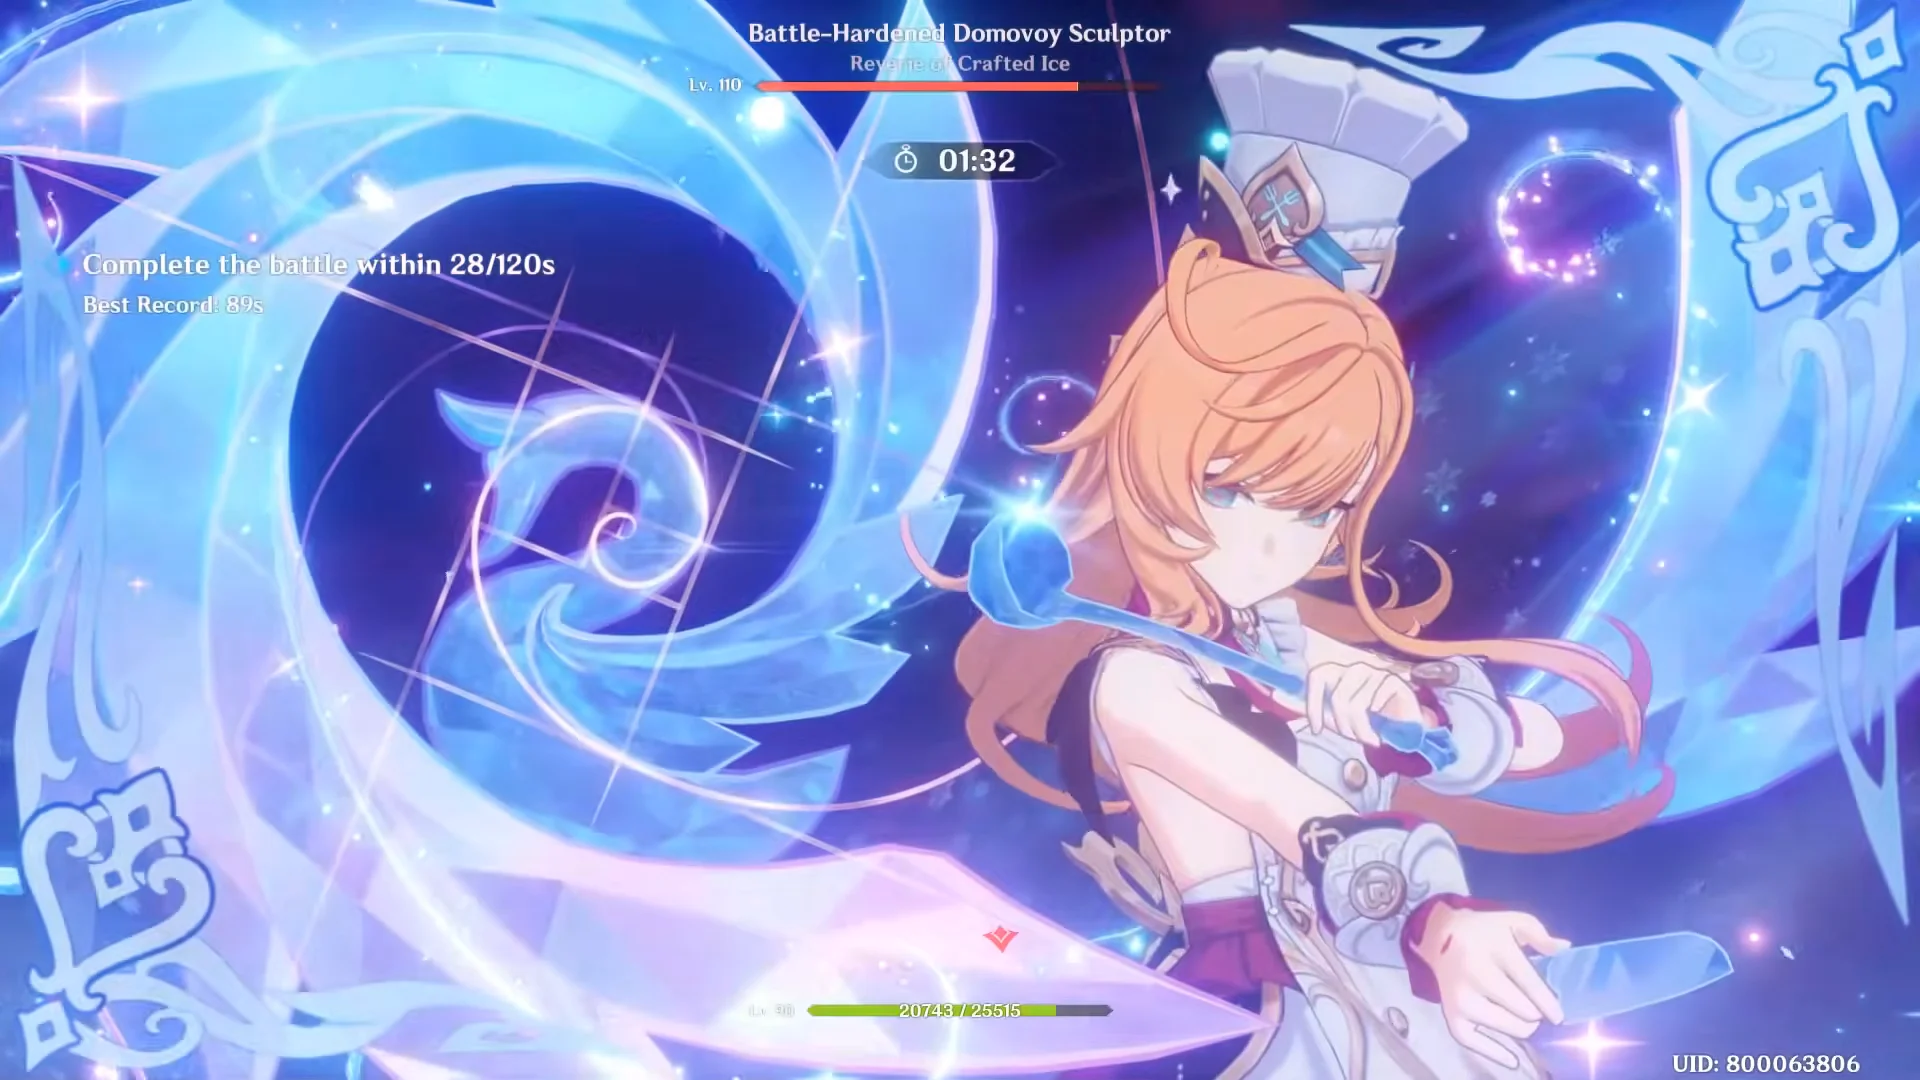
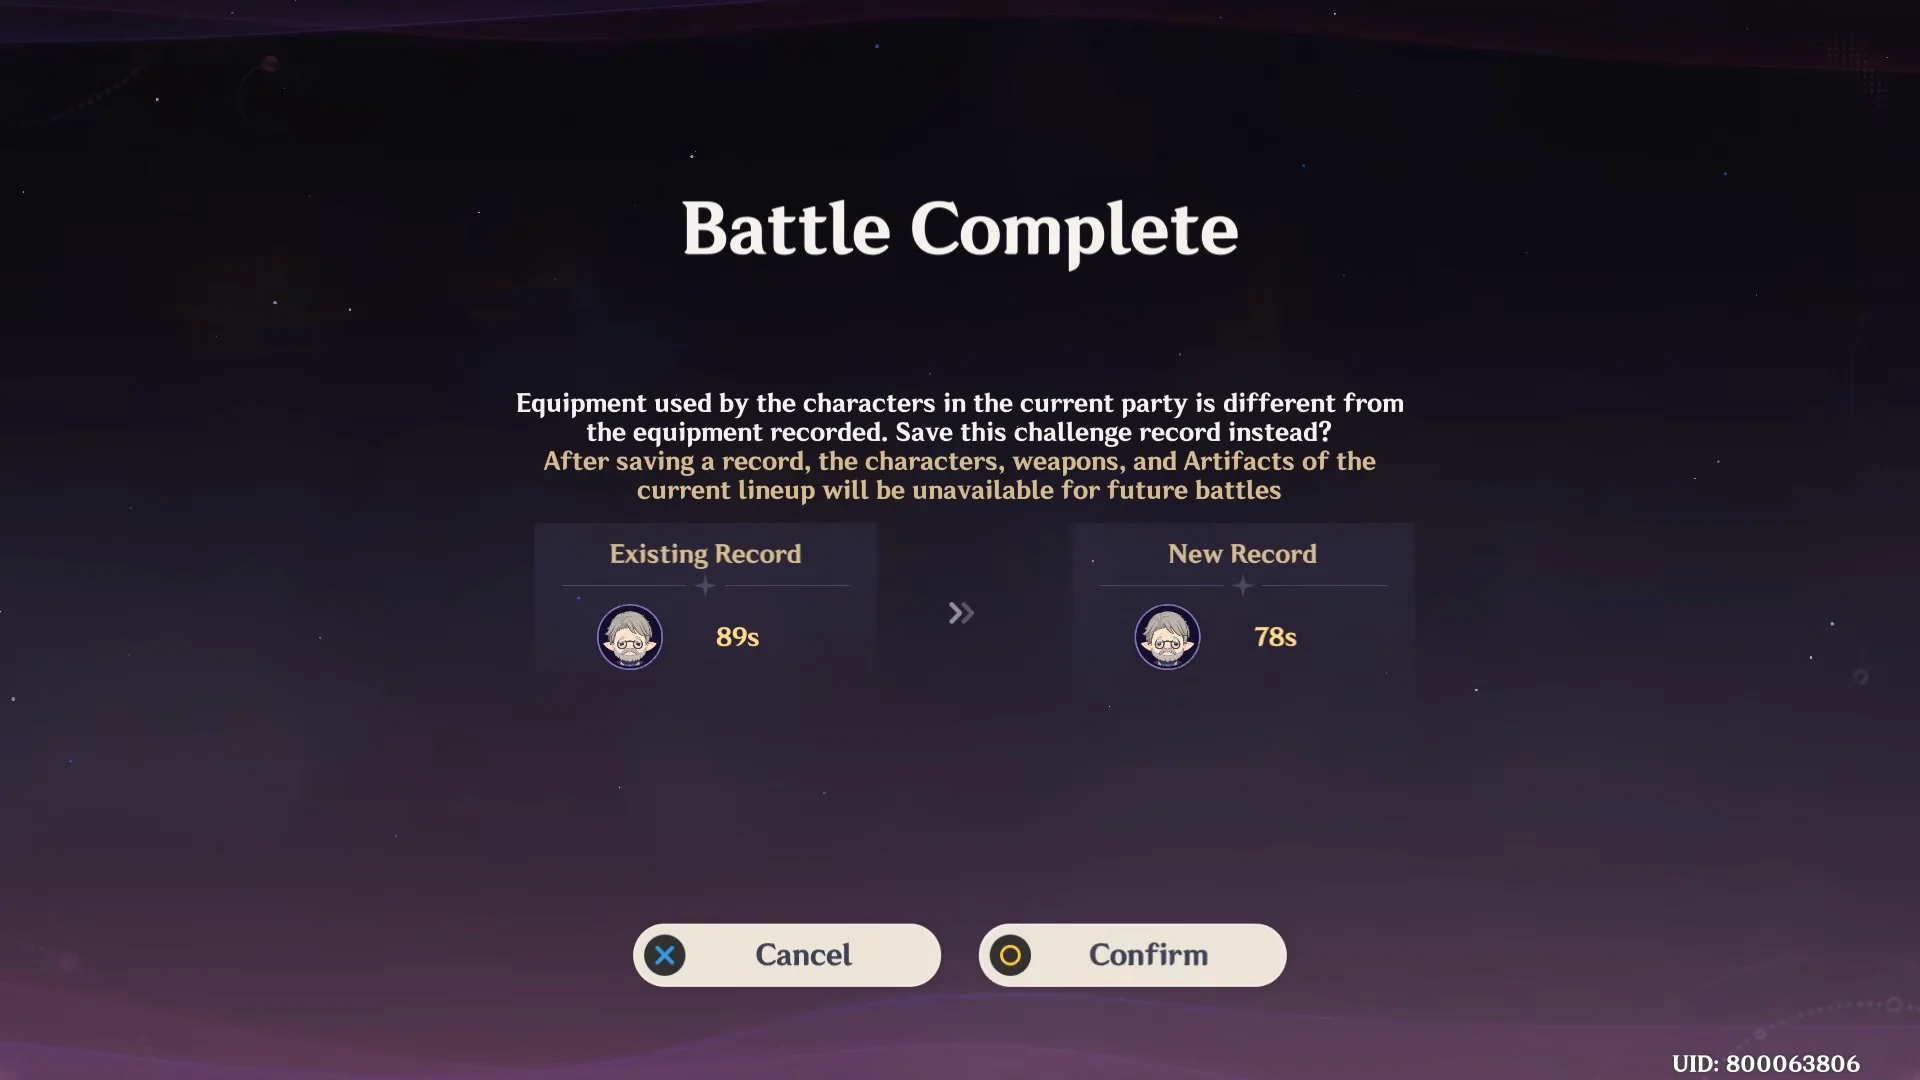
Skirk’s ultimate ends the encounter at 78 seconds, beating the previous 89-second record on this battlefield. The Battle Complete screen shows both the old and new times side by side.
Battlefield 2: Secret Source Automaton and Flow Momentum
The second battlefield is the Secret Source Automaton: Overseer Device, specifically the Obliterator Panoply variant at Level 110. This boss builds a Flow Momentum gauge, and consecutive Cryo attacks slow that gauge and leave the Automaton open to damage. A Freeze team is a natural fit because it keeps Cryo on the target without any extra effort.
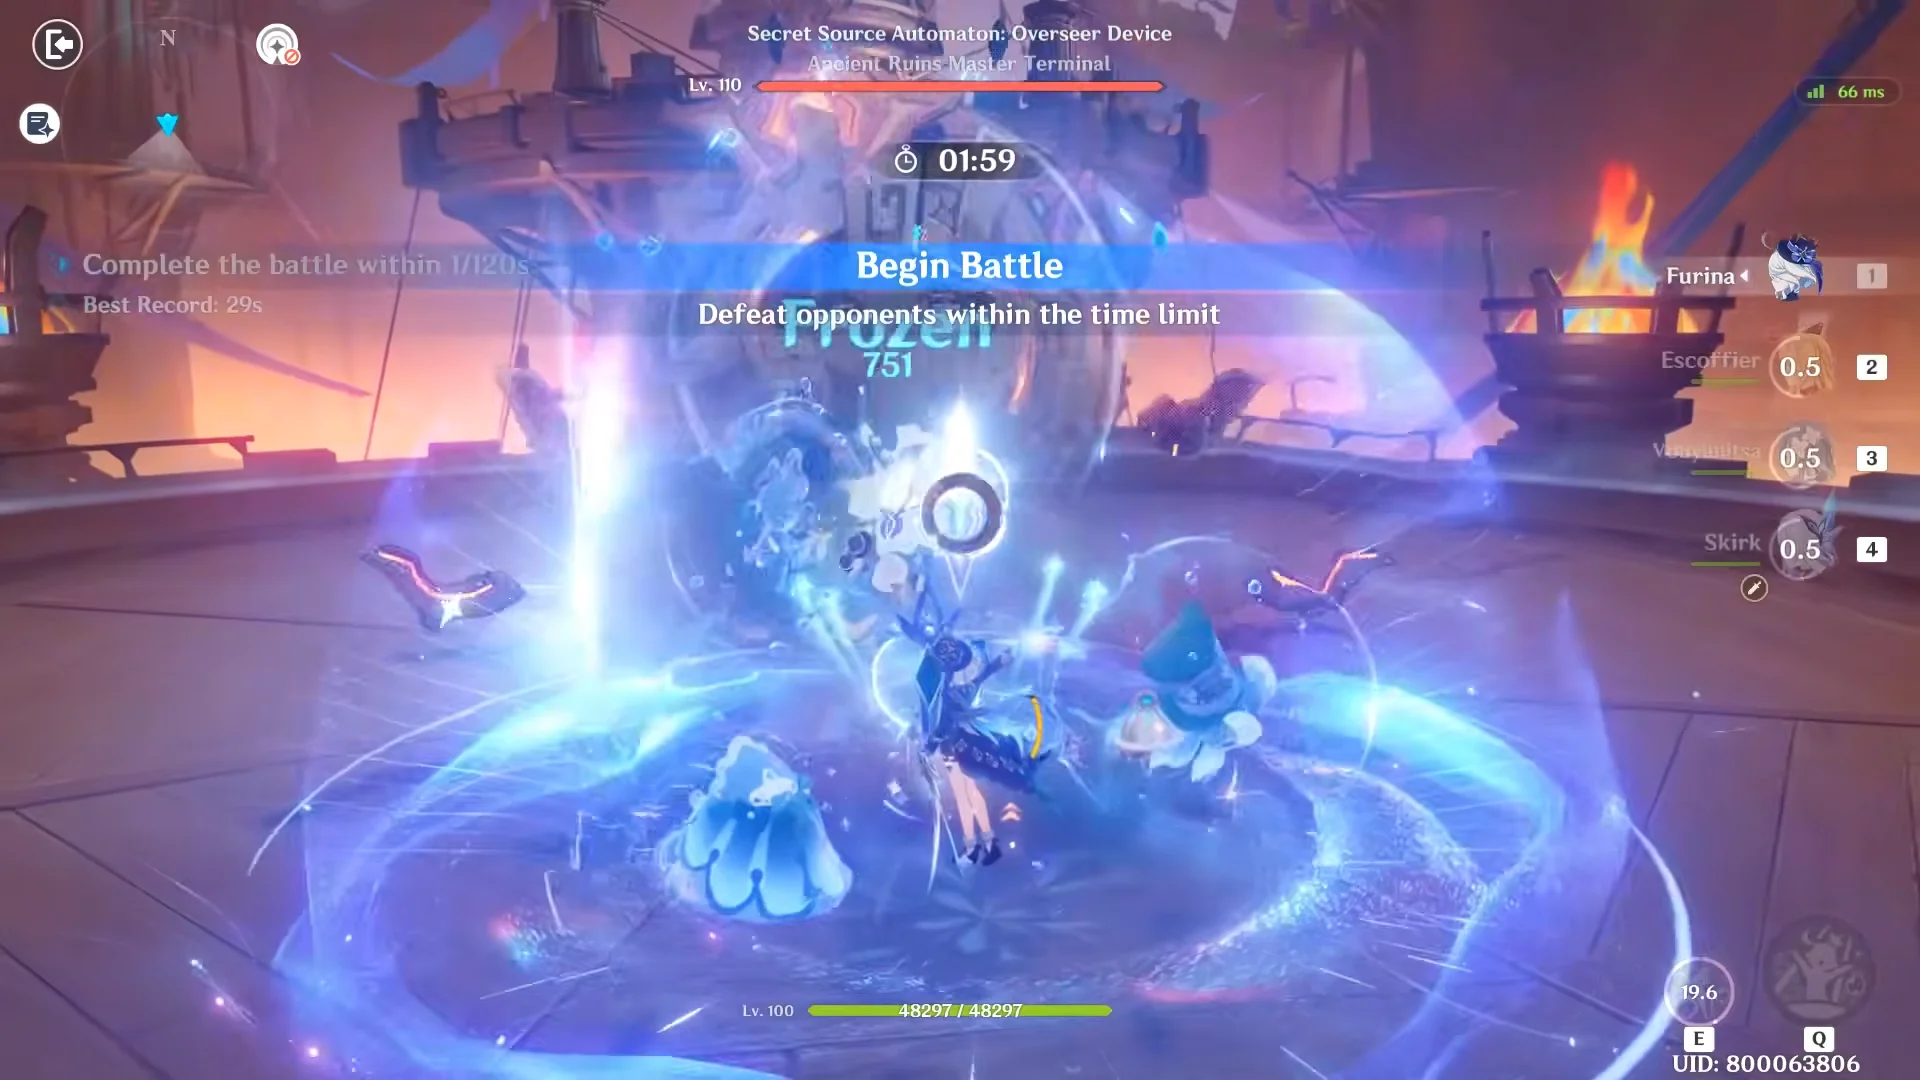
With the gauge suppressed, the fight becomes a rapid burst window. Furina’s burst and Escoffier’s skill go out quickly, Skirk follows with her own burst, and the Automaton falls in 27 seconds. Furina’s swap to Tenacity of the Millelith for this run leans into the shorter, more explosive rotation.
How it fits Dire difficulty
Dire is the sixth and highest difficulty in Stygian Onslaught, the boss-rush endgame mode. It runs solo only, blocks repeat characters across its three battlefields, and strips out the Exalted Ones buffs that lower tiers hand out. To earn the Sublimation weapon skins, the whole run must finish within 180 seconds, an average of 60 seconds per battlefield.
Two cleared battlefields at 78 and 27 seconds total 105 seconds, which leaves a wide margin before the third fight even begins. The 7.1 Stygian Onslaught cycle runs until November 3, 2026, after which the bosses reset for the following cycle. You can find the mode’s domain in Liyue, north of Mingyun Village beside a Teleport Waypoint.
The takeaway is that a fully invested Skirk Freeze core, with Vodyanitsa standing in for or alongside Escoffier’s buffing, has the raw output and the Cryo uptime to meet Dire’s timer without relying on any outside boons.