Grounded 2 Into the Abyss: All 87 Milk Molar and Mega Milk Molar Locations
Every Milk Molar and Mega Milk Molar sorted by biome, with the gear and tools needed to reach each one.
Every Milk Molar and Mega Milk Molar sorted by biome, with the gear and tools needed to reach each one.
by AllThingsHow Staff
The Into the Abyss update spreads 87 Milk Molars and Mega Milk Molars across Brookhollow Park, from open tabletops to flooded caves and the deep water of the Abyss. White Milk Molars grant personal upgrades like max health and stamina, while gold Mega Milk Molars raise shared limits for your whole party. Collecting the full set means clearing one region at a time and bringing the right gear before you go.
Quick answer: There are 87 molars total. Bring a Tier II hammer to crack every tooth, plus a gas mask, Fuzzy armor, Sizzling armor, an explosive, a Tier 3 axe, a Tier 3 clipper, and a diving suit to reach the gated ones.
How to harvest and confirm a Milk Molar
You cannot pick a molar up by hand. Each tooth has to be smashed with a Tier II or higher hammer, such as the Insect Hammer. A weaker tool will not crack it.
Harvesting a white Milk Molar gives every player on the server one Milk Molar point to spend on individual upgrades. Harvesting a gold Mega Milk Molar adds a shared point that goes toward party-wide upgrades. You know it worked when the point is added to your pool and the molar’s location gets pinned on your map.
Gear and tools to bring first
Most failed molar runs come down to arriving without the one item a spot is gated behind. Build this kit before you start clearing biomes.
Item
What it unlocks
Tier II hammer (Insect Hammer or higher)
Cracking every white and gold molar
Gas Mask
The toxic haze around the can at the Entrance
Fuzzy Hat and Fuzzy Parka
Cold at the Picnic Table jar and Ice Cream Cart caves
Sizzling Boots and Sizzling Circlet
Heat inside and above the Fire Pit
Diving Helmet / diving suit
Underwater spots in Gnarly Bark, Skunk Pond, Bridge, and the Abyss
Explosive (Bratburst or Splatburst)
Cracked rocks blocking caves above and below water
Tier 3 axe
Chopping open pumpkins and clearing dead roots
Tier 3 clipper
Cutting soggy roots underwater at the Bridge
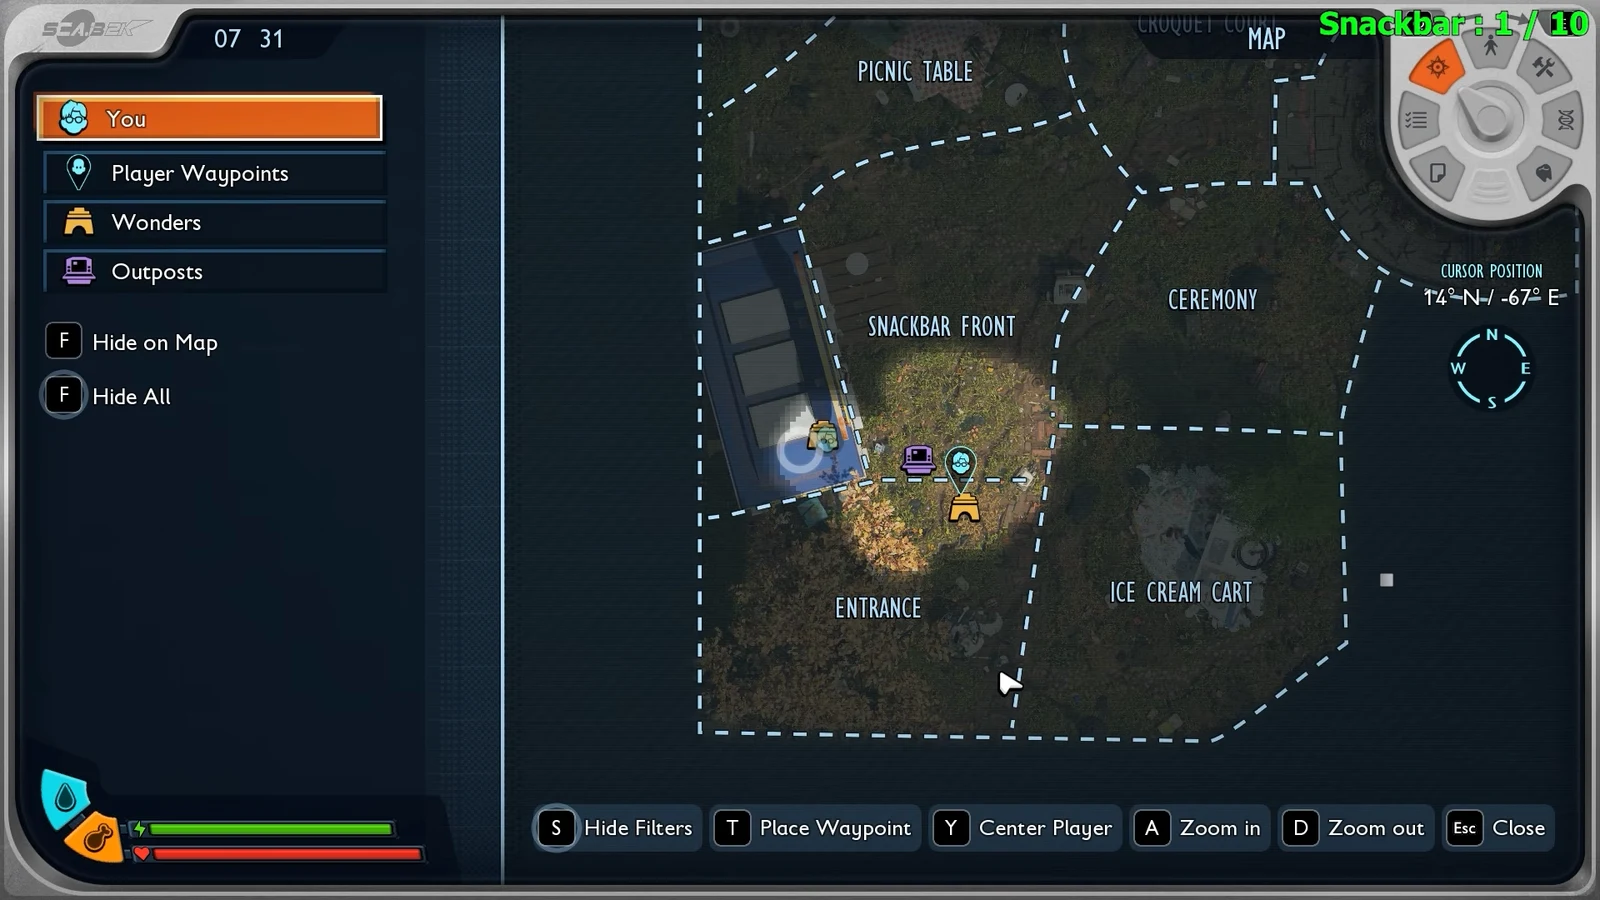
Snackbar and Hatchery Anthill molars (10)
This starting hub holds the most molars of any single area. Several sit inside the Snackbar Anthill, Ant Cave, and Hatchery Anthill, so a torch and a way to climb webs help a lot.
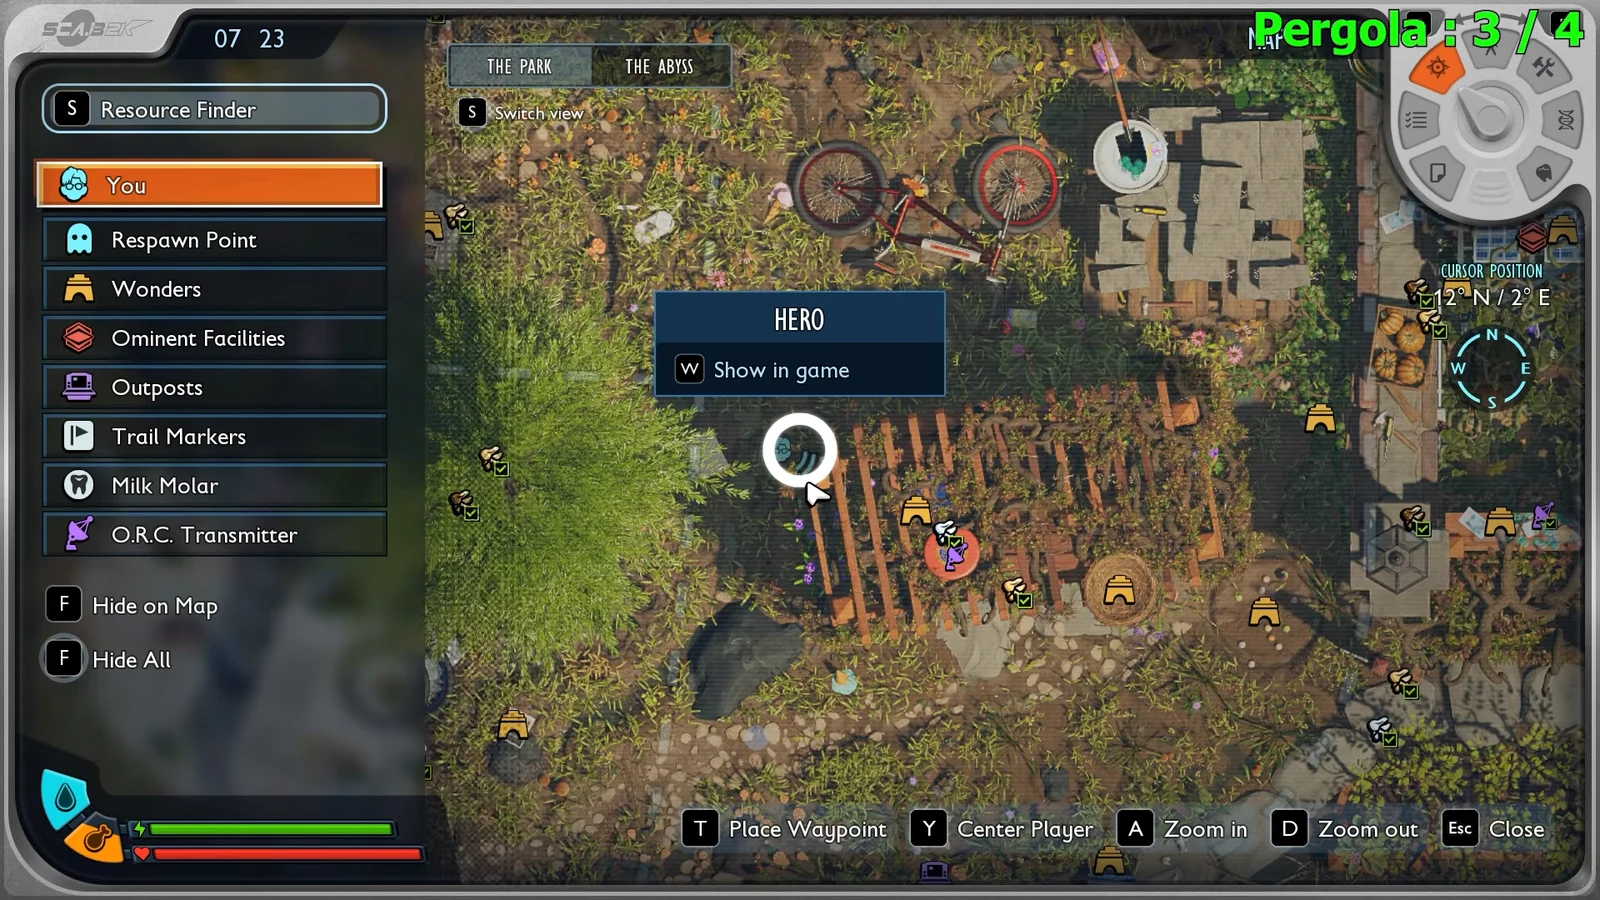
00:09The map with the “You” filter selected pins your position near Snackbar Front. Image credit: Obsidian Entertainment. Shown at 00:09 in HeRo Survival Guides’s video.
#
Location
Type
Requirement
1
Inside the Snackbar Anthill cave, on the right
Milk
—
2
Behind the snackbar machine, climb the back
Mega
—
3
Inside the Ant Cave, past the soldier ants, on the right
Milk
—
4
Under the snackbar, ride a spider and climb the pipe
Milk
Spider mount
5
Under the table, break the dead root
Milk
—
6
On top of the table, out in the open
Milk
—
7
On top of the snackbar machine, climb the webs
Mega
—
8
Under the camera body
Mega
—
9
Deep in the Hatchery Anthill South Entrance
Mega
—
10
Same Hatchery cave, break the dead root
Milk
—
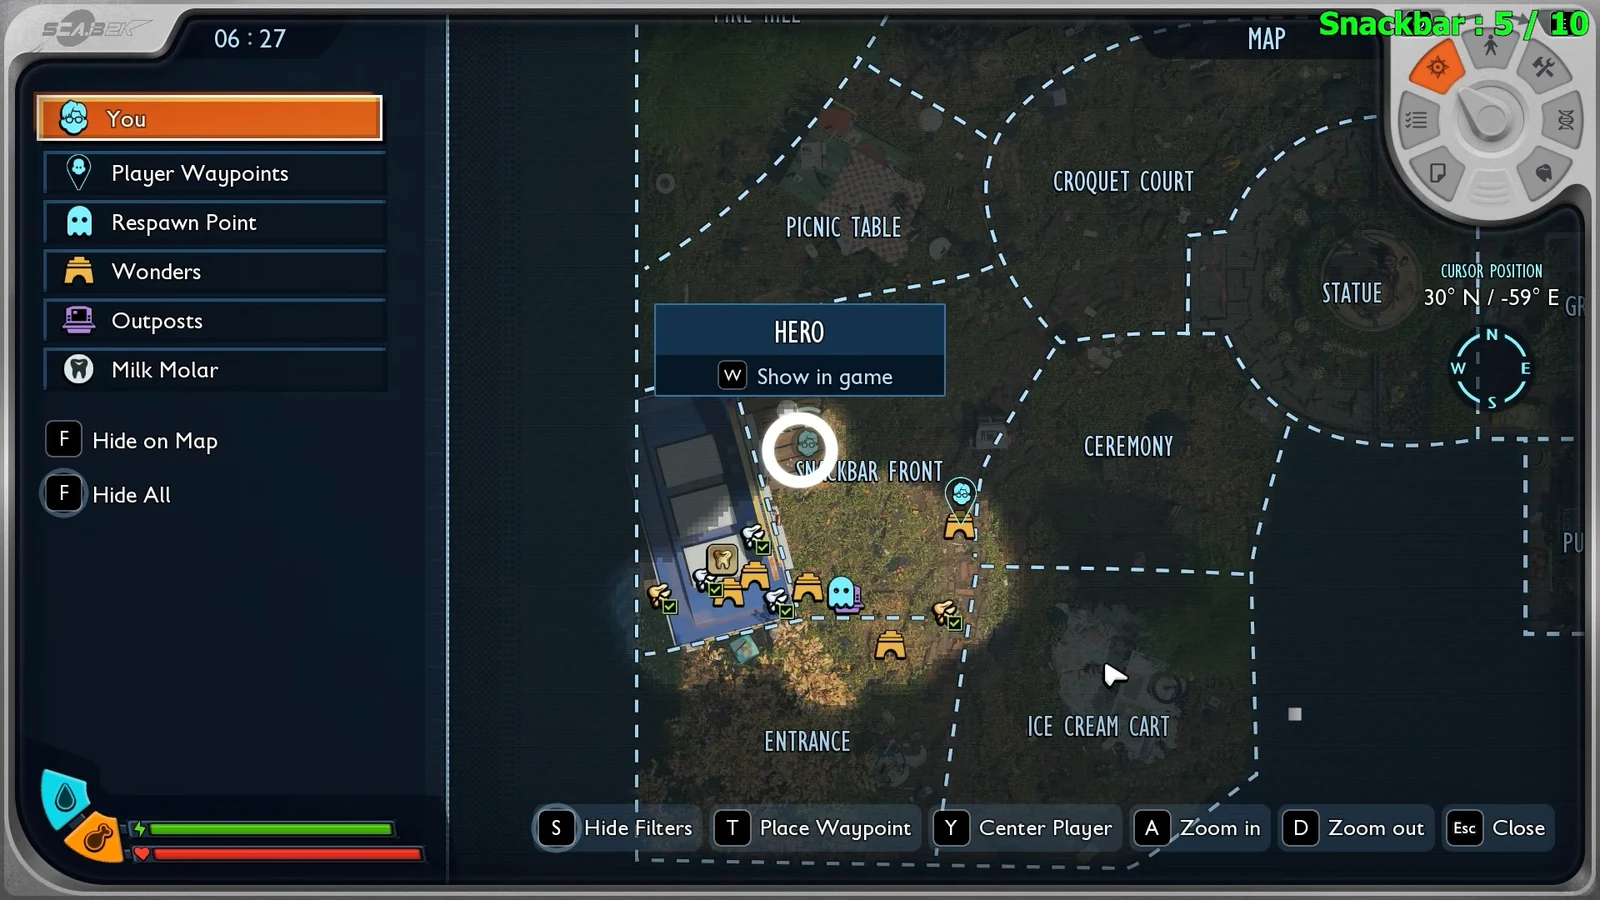
02:01Highlighting the Hero marker opens the “Show in game” prompt, useful for pinning the under-table cave. Image credit: Obsidian Entertainment. Shown at 02:01 in HeRo Survival Guides’s video.
Park Entrance and Ceremony molars (10)
Entrance (6)
#
Location
Type
Requirement
1
Inside a cave, break the barrier
Mega
—
2
On a tree mushroom, climb the trunk
Milk
—
3
On the ground near the acorns and webs
Milk
—
4
In and above a can, through the haze
Mega
Gas Mask
5
Inside a small plastic cup on the ground
Milk
—
6
Cave behind a cracked rock
Milk
Explosive
Ceremony (4)
#
Location
Type
Requirement
1
Right side of the large rock
Milk
—
2
Left side of the same rock, under a root
Milk
—
3
Under a box and branches
Mega
—
4
Inside a cup on a shelf, climb the webs
Mega
—
Picnic Table and Pine Hill molars (12)
Picnic Table (7)
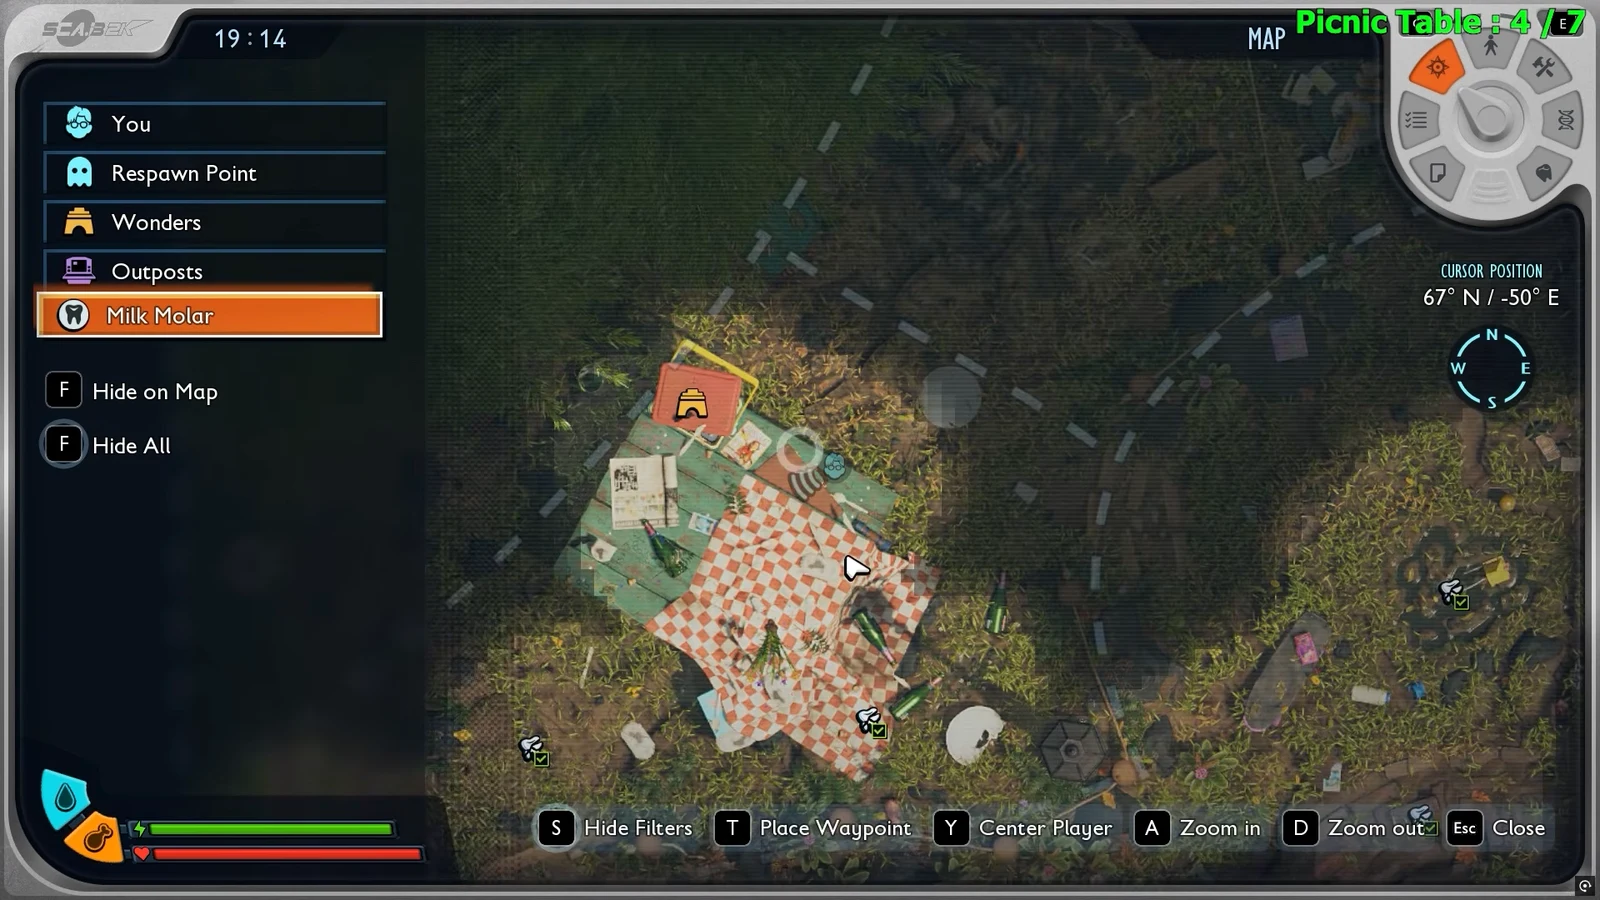
One molar sits inside a locked suitcase. Open the latch by entering the codes 137 on the left and 514 on the right. The snowy jar nearby needs Fuzzy armor for cold protection.
12:06The Milk Molar filter on the map plots every pickup around the picnic table. Image credit: Obsidian Entertainment. Shown at 12:06 in HeRo Survival Guides’s video.
#
Location
Type
Requirement
1
Inside a cave with larva
Milk
—
2
Inside a cave under the picnic table
Milk
—
3
Inside a cup on the ground
Milk
—
4
Inside the suitcase
Milk
Codes 137 and 514
5
Inside a jar in the snowy area
Milk
Fuzzy armor
6
Under the tablecloth, climb up
Mega
—
7
Cave behind a cracked rock
Milk
Explosive
Pine Hill (5)
#
Location
Type
Requirement
1
Under a tree, guarded by orb weavers (pair)
Milk
—
2
Under the same tree, next to the first
Milk
—
3
Inside a dark cave under a tree
Milk
—
4
Deep in the Spider Den Anthill South Entrance
Milk
—
5
Under a broken light fixture on the ground
Milk
—
Fire Pit, Croquet Court, and Ice Cream Cart molars (17)
Fire Pit (6)
The two molars in and above the fire itself need Sizzling armor to survive the heat, and one sits near a Cockroach Queen. The molar under the hammer takes both an explosive to open the cave and a Tier 3 axe to clear roots.
#
Location
Type
Requirement
1
Under wood near a rock
Milk
—
2
Inside a box near a can
Milk
—
3
Inside the fire pit
Mega
Sizzling armor
4
Higher up near the Cockroach Queen
Mega
Sizzling armor
5
Cave behind a cracked rock
Milk
Explosive
6
Cave under a hammer
Milk
Explosive, Tier 3 axe
Croquet Court (4)
#
Location
Type
Requirement
1
In the water between rocks
Milk
—
2
In the middle of the bricks
Milk
—
3
On a brick wall, climb with a spider
Mega
Spider mount
4
Inside a cave
Milk
—
42:51The Resource Finder map highlights the Hero marker, handy for tracking the Croquet Court cave. Image credit: Obsidian Entertainment. Shown at 42:51 in HeRo Survival Guides’s video.
Ice Cream Cart (7)
Most of this area is freezing, so keep Fuzzy armor on. The Mega under the cart machinery only appears after you break the ice to release the machinery.
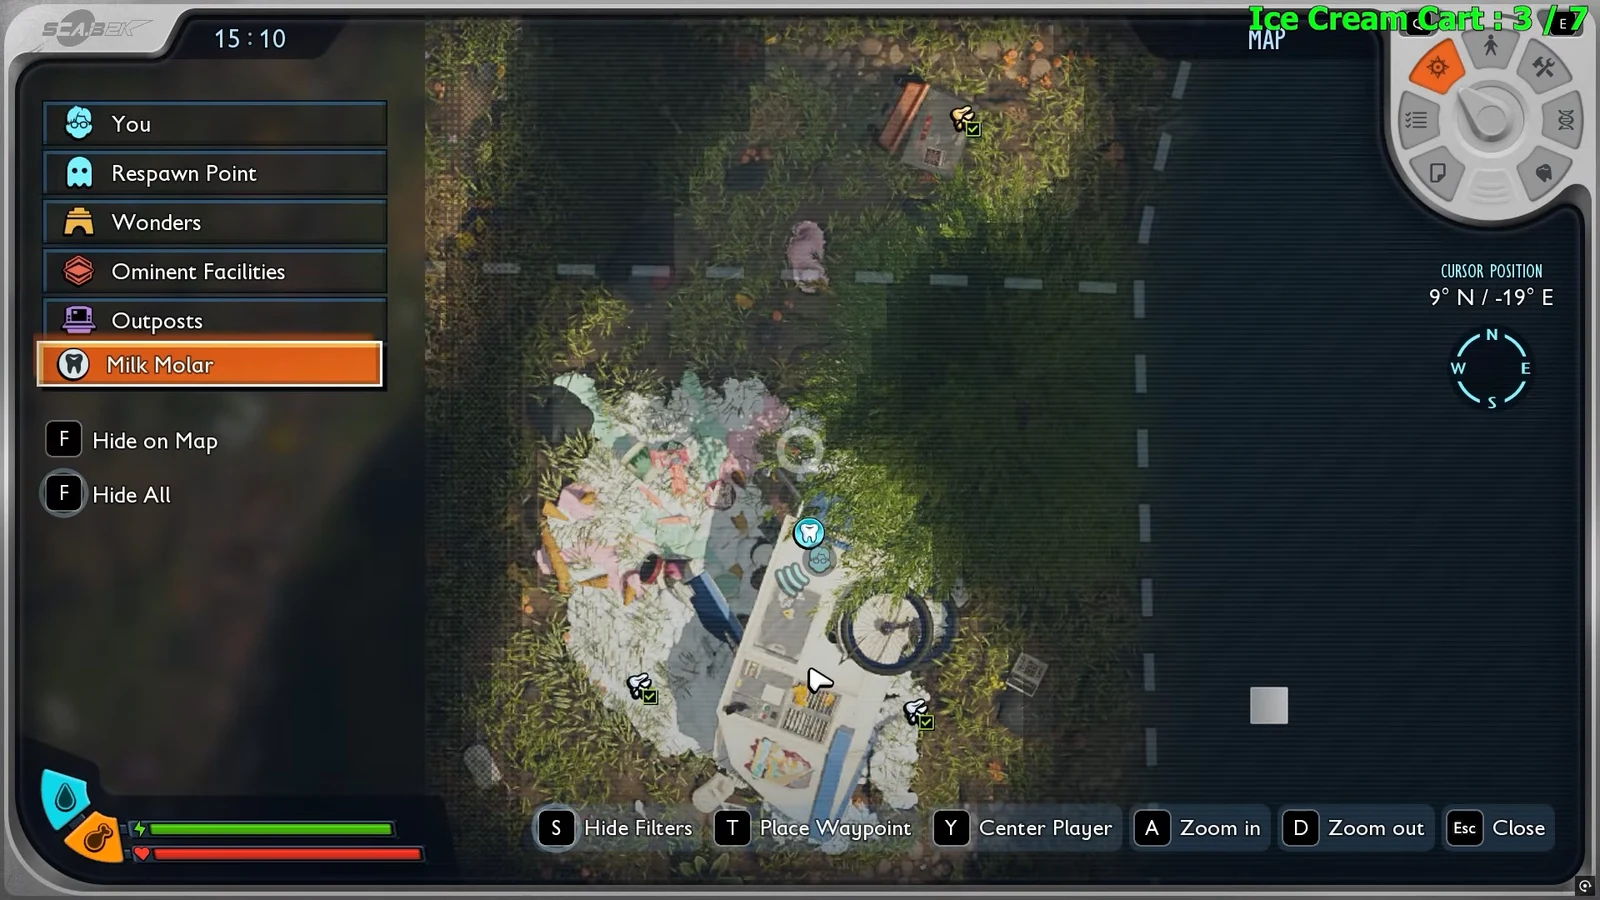
21:09The Milk Molar filter shows the cluster of pickups around the Ice Cream Cart. Image credit: Obsidian Entertainment. Shown at 21:09 in HeRo Survival Guides’s video.
#
Location
Type
Requirement
1
Inside a cave under a light
Milk
—
2
Behind a pinecone under a tree
Milk
—
3
Next to a light inside the cart area
Milk
—
4
Inside a cave
Milk
Fuzzy armor
5
Inside a second cave
Milk
Fuzzy armor
6
Under the machine, break the ice
Mega
Fuzzy armor
7
On top of the wheel
Mega
—
Statue, Veggie Garden, Greenhouse, and Pumpkin Patch molars (21)
Statue (5)
#
Location
Type
Requirement
1
Small entrance next to a tree
Milk
—
2
Under a light behind the statue
Milk
—
3
Inside a red ball
Milk
—
4
Next to a flower
Milk
—
5
Inside a lab under the statue
Milk
—
Veggie Garden (4)
#
Location
Type
Requirement
1
Above the leaves and shoes, climb up (pair)
Milk
—
2
Above the leaves, next to the first
Milk
—
3
Above a plant pot
Milk
—
4
Inside a cave under roots
Milk
—
Greenhouse (8)
#
Location
Type
Requirement
1
Near a shovel
Milk
—
2
Behind a box
Milk
—
3
In a gap between bricks
Milk
—
4
Above the greenhouse
Milk
—
5
Inside a pumpkin
Milk
Tier 3 axe
6
Above the greenhouse, climb the branches
Mega
—
7
Above the greenhouse, next to the first Mega
Mega
—
8
Inside a cave under the greenhouse
Milk
—
Pumpkin Patch (4)
The molar sealed inside a pumpkin here needs a Tier 3 axe to chop it open, the same tool used for the Greenhouse pumpkin.
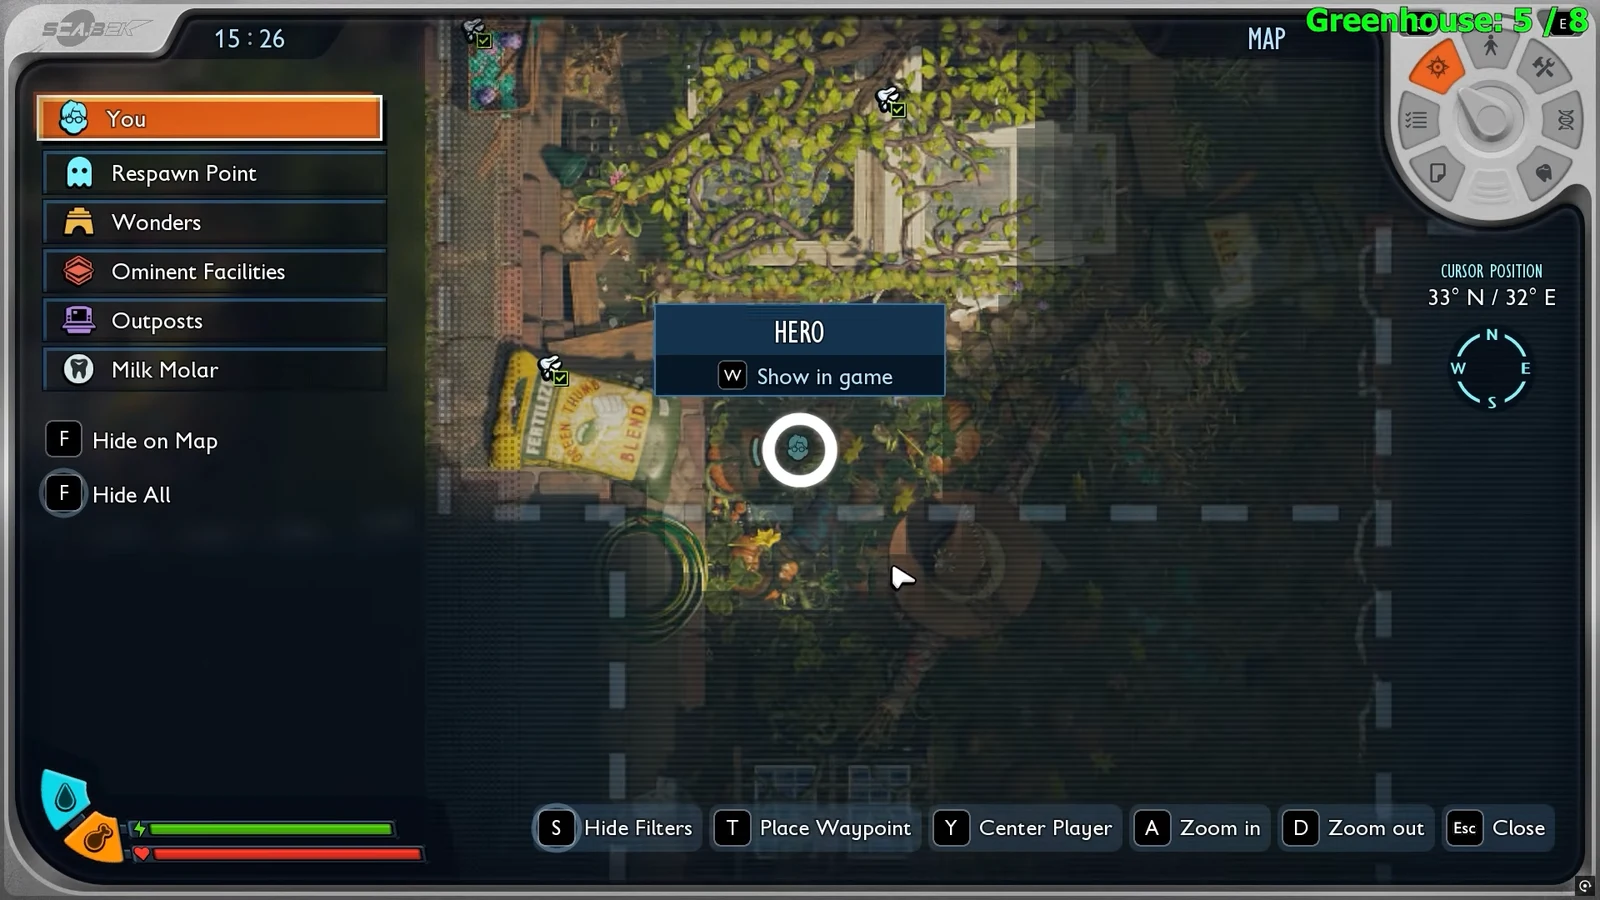
31:26The map’s “Show in game” prompt helps pin the pumpkin caves in this corner. Image credit: Obsidian Entertainment. Shown at 31:26 in HeRo Survival Guides’s video.
#
Location
Type
Requirement
1
Inside a cave between pumpkins
Milk
—
2
Inside a box
Milk
—
3
In a high corner
Milk
—
4
Inside a pumpkin
Milk
Tier 3 axe
Gnarly Bark, Skunk Pond, Pergola, Bridge, and The Abyss molars (17)
This is where the diving gear earns its keep. Most of the Bridge and both Abyss molars are underwater, so keep a Diving Helmet or full diving suit ready. Some flooded caves also need an explosive or a Tier 3 clipper.
Gnarly Bark (3)
#
Location
Type
Requirement
1
Under the tree
Milk
—
2
Inside a cave above the race track
Milk
—
3
Underwater
Milk
Diving suit
Skunk Pond (2)
#
Location
Type
Requirement
1
Underwater under a table
Milk
Diving suit
2
Underwater cave behind a rock
Milk
Diving suit, explosive
Pergola (4)
#
Location
Type
Requirement
1
High up on tree branches (pair)
Milk
—
2
High up on the structures, next to the first
Milk
—
3
Inside a cave
Milk
—
4
High up on a table structure
Milk
—
Bridge (6)
#
Location
Type
Requirement
1
Inside a birdhouse
Milk
—
2
Inside a tackle box
Milk
—
3
Underwater inside a pipe
Milk
Diving suit
4
Underwater behind a cracked rock
Milk
Diving suit, explosive
5
Underwater under wood
Milk
Diving suit
6
Underwater cave with roots
Milk
Diving suit, Tier 3 clipper
The Abyss (2)
#
Location
Type
Requirement
1
Deep water near a koi fish skeleton
Milk
Diving suit
2
Deep water near raw science
Milk
Diving suit
Once all 87 are cracked, your Milk Molar and Mega Milk Molar pools are full, and any gated pickups you skipped will still be unmarked on the map until you return with the right tool. If a molar you thought you smashed does not add a point, check that you were swinging a Tier II hammer rather than a starter tool, since a lower-tier hammer bounces off without breaking the tooth.