Grounded 2 Into the Abyss: How to Unlock Ziplines and the Zip.R
Both the Pergola Optical Disk climb and the hidden Zip.R tool you need before ziplines will actually work in Brookhollow Park.
Both the Pergola Optical Disk climb and the hidden Zip.R tool you need before ziplines will actually work in Brookhollow Park.
by AllThingsHow Staff
Ziplines finally arrived in Grounded 2 with the Into the Abyss update, and they turn Brookhollow Park’s long, dangerous climbs into a quick ride between anchor points. Unlocking them is not a single pickup, though. You need two separate rewards from two separate high climbs before a working line exists.
Quick answer: Grab the Pergola Optical Disk from the Crow’s Nest at the top of the Pergola and register it at a Ranger Outpost, then buy the Ziplines recipe for 2,500 Raw Science. Separately, climb the Gnarly Bark tree to loot the Zip.R tool from the hanging shoes. You need both to place lines and ride them.
What you need before both climbs
Both routes are vertical and full of spiderwebs, so the right mounts matter more than your weapon. Bring these before you start.
Orb Weaver Buggy — the only practical way to climb both the Pergola and the upper Gnarly Bark. It crosses webs without slowing down.
Black Soldier Ant Buggy — needed for the bark interior on the Zip.R route.
Dandelion Tufts — enemies on the branches will knock you off, and a fall from these heights is usually lethal without a glide.
Get the Pergola Optical Disk from the Crow’s Nest
The Pergola Optical Disk unlocks the Zipline blueprint. It sits in a hidden zone called the Crow’s Nest, at the very top of the Pergola structure northeast of the pond.
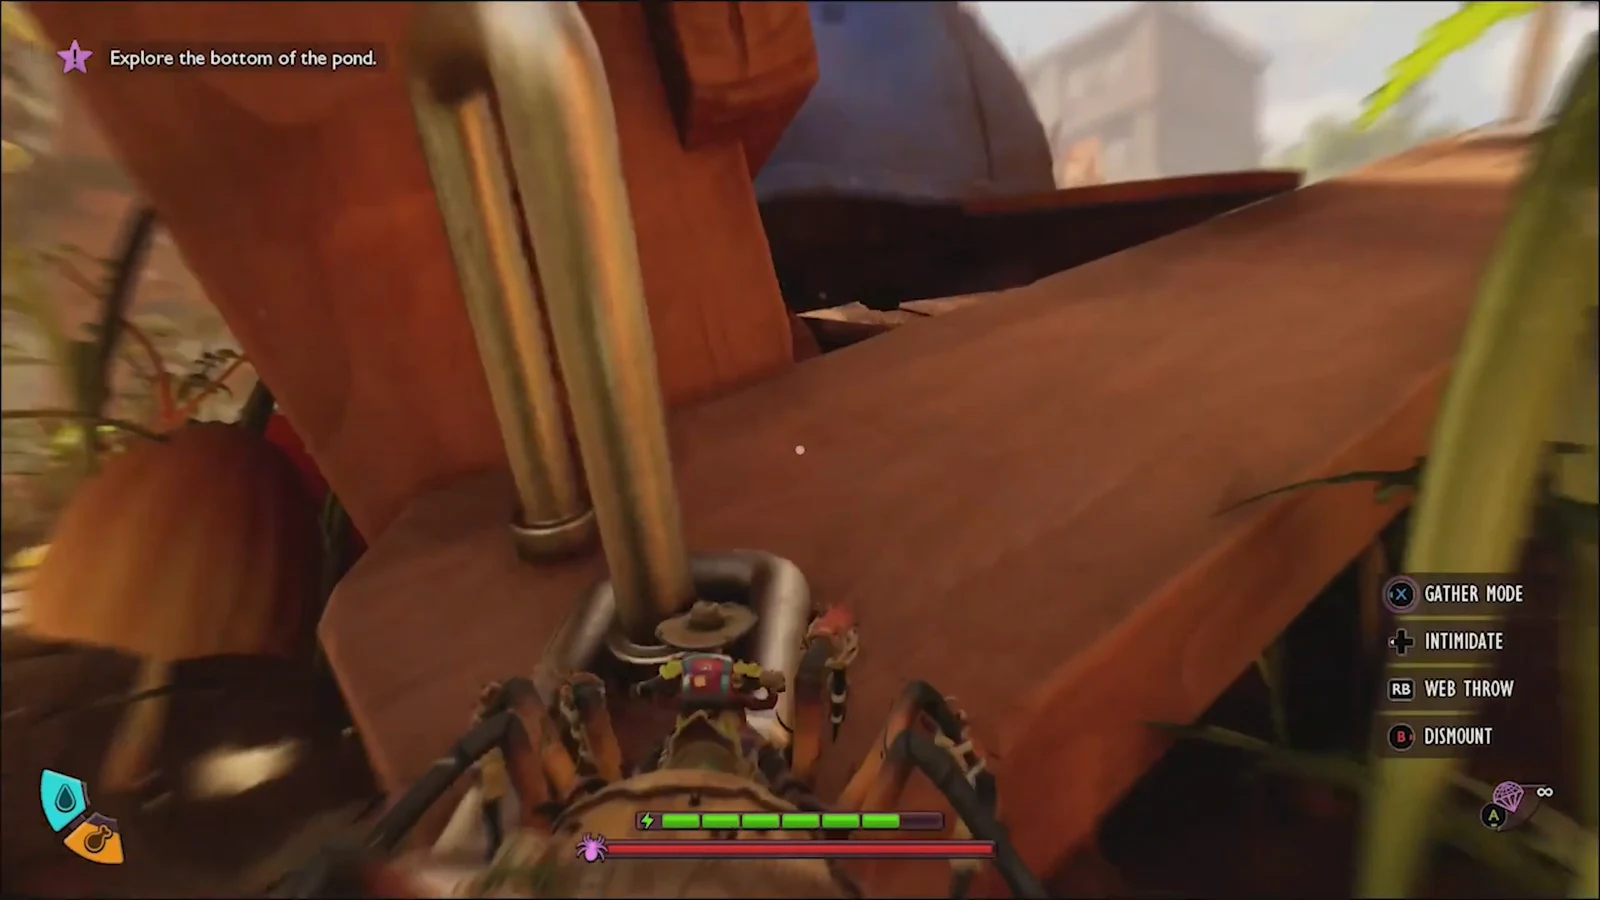
Jump from the top of the juice box onto the vine and follow it as it spirals upward. Ride the Orb Weaver Buggy so the webs along the way don’t stop you.
00:19Riding the Orb Weaver Buggy up the Pergola's lower stems and vines. Image credit: Obsidian Entertainment / via @TinyPirateGaming. Shown at 00:19 in Tiny Pirate Gaming’s video.
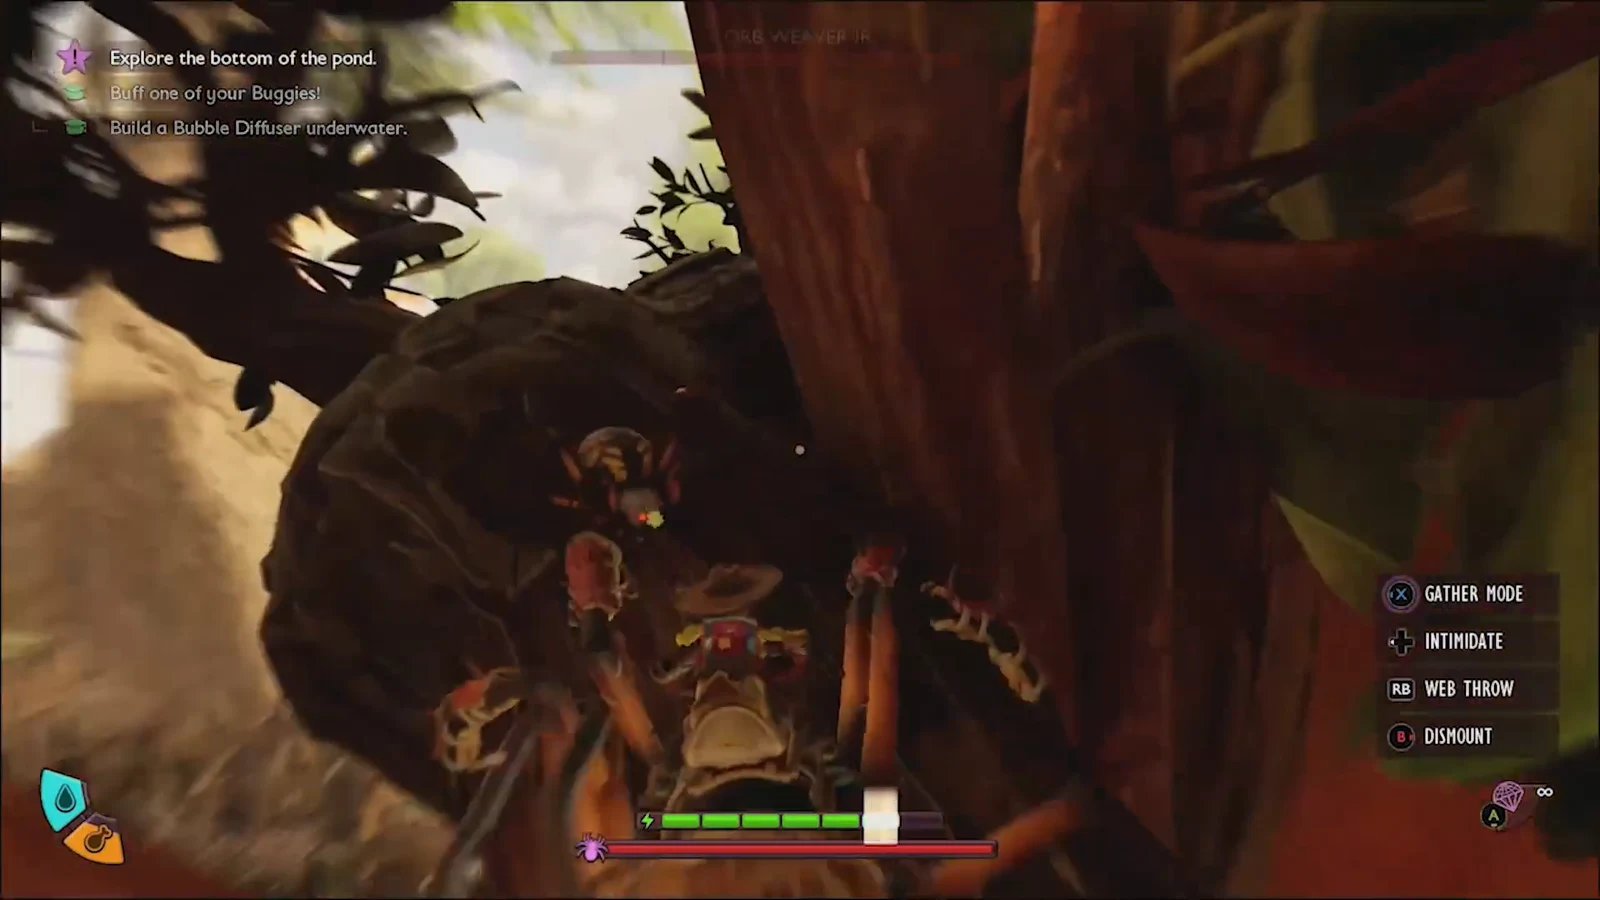
At the first fork, turn right, then turn left at the next one to cross a web bridge. Watch for enemies on the branches that can throw you off.
00:31Following the branch path upward on the buggy through the Pergola lattice. Image credit: Obsidian Entertainment / via @TinyPirateGaming. Shown at 00:31 in Tiny Pirate Gaming’s video.
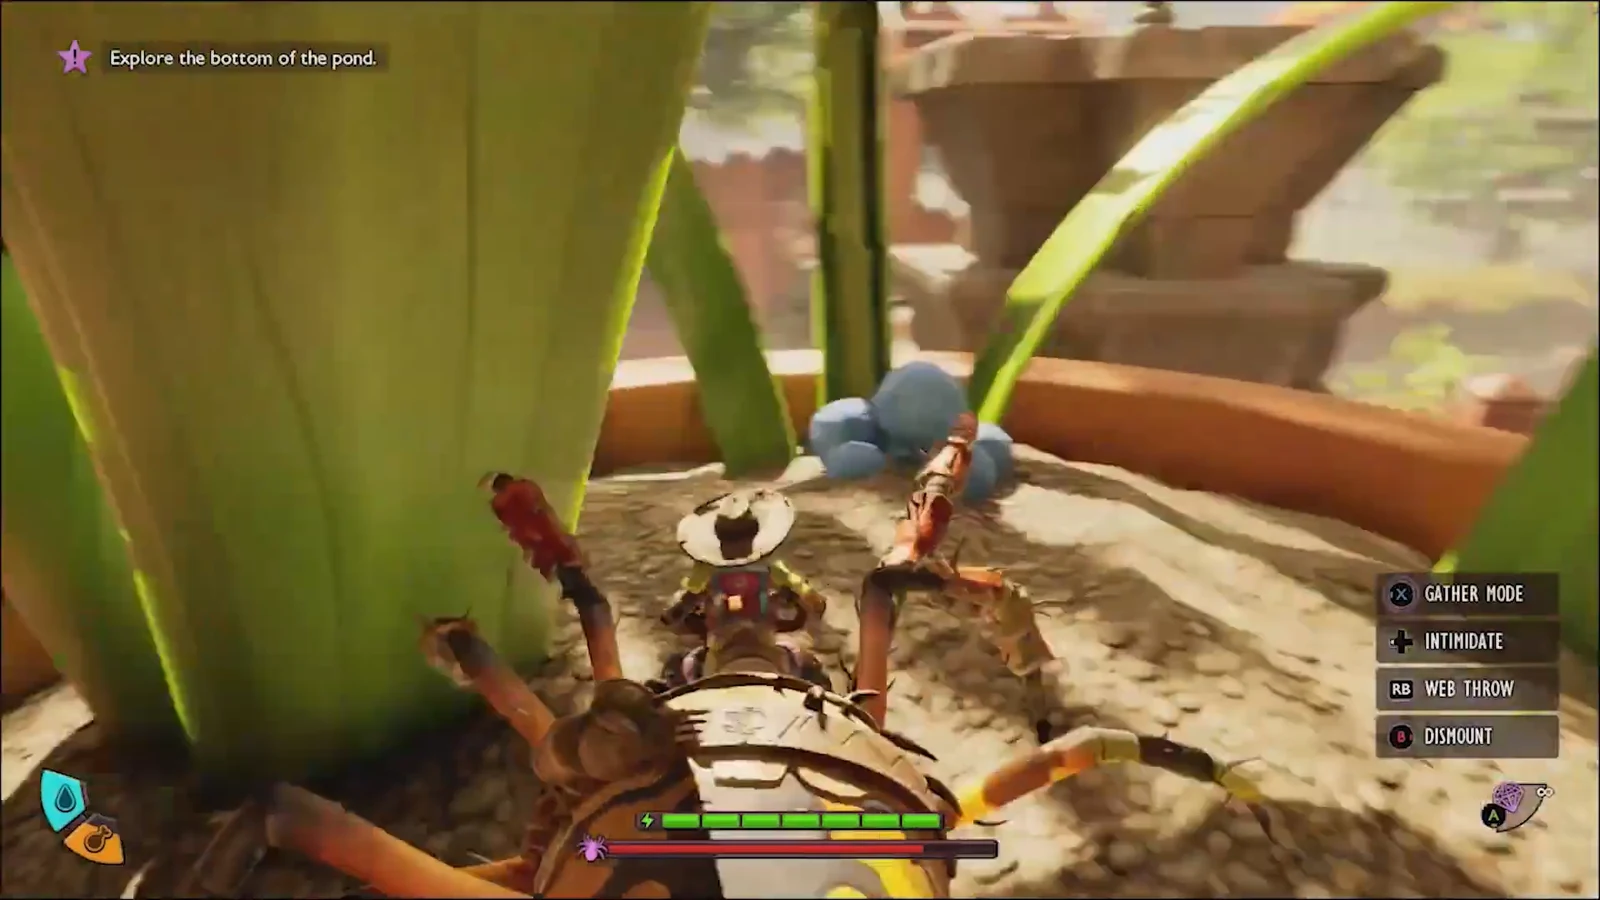
Walk to the end of the backrest, jump off, and glide to the vine marked by raw science. Keep climbing and cross the next web bridge, staying clear of the earwigs guarding it.
01:45Crossing web bridges on the Orb Weaver, using web tools to steady the ascent. Image credit: Obsidian Entertainment / via @TinyPirateGaming. Shown at 01:45 in Tiny Pirate Gaming’s video.
Reach the hanging flower pot, which you can identify by the blue glowing mushrooms on it. Move to the middle, then use the grass blade or leaf as a ramp up to the wire and onto the lower roof rungs.
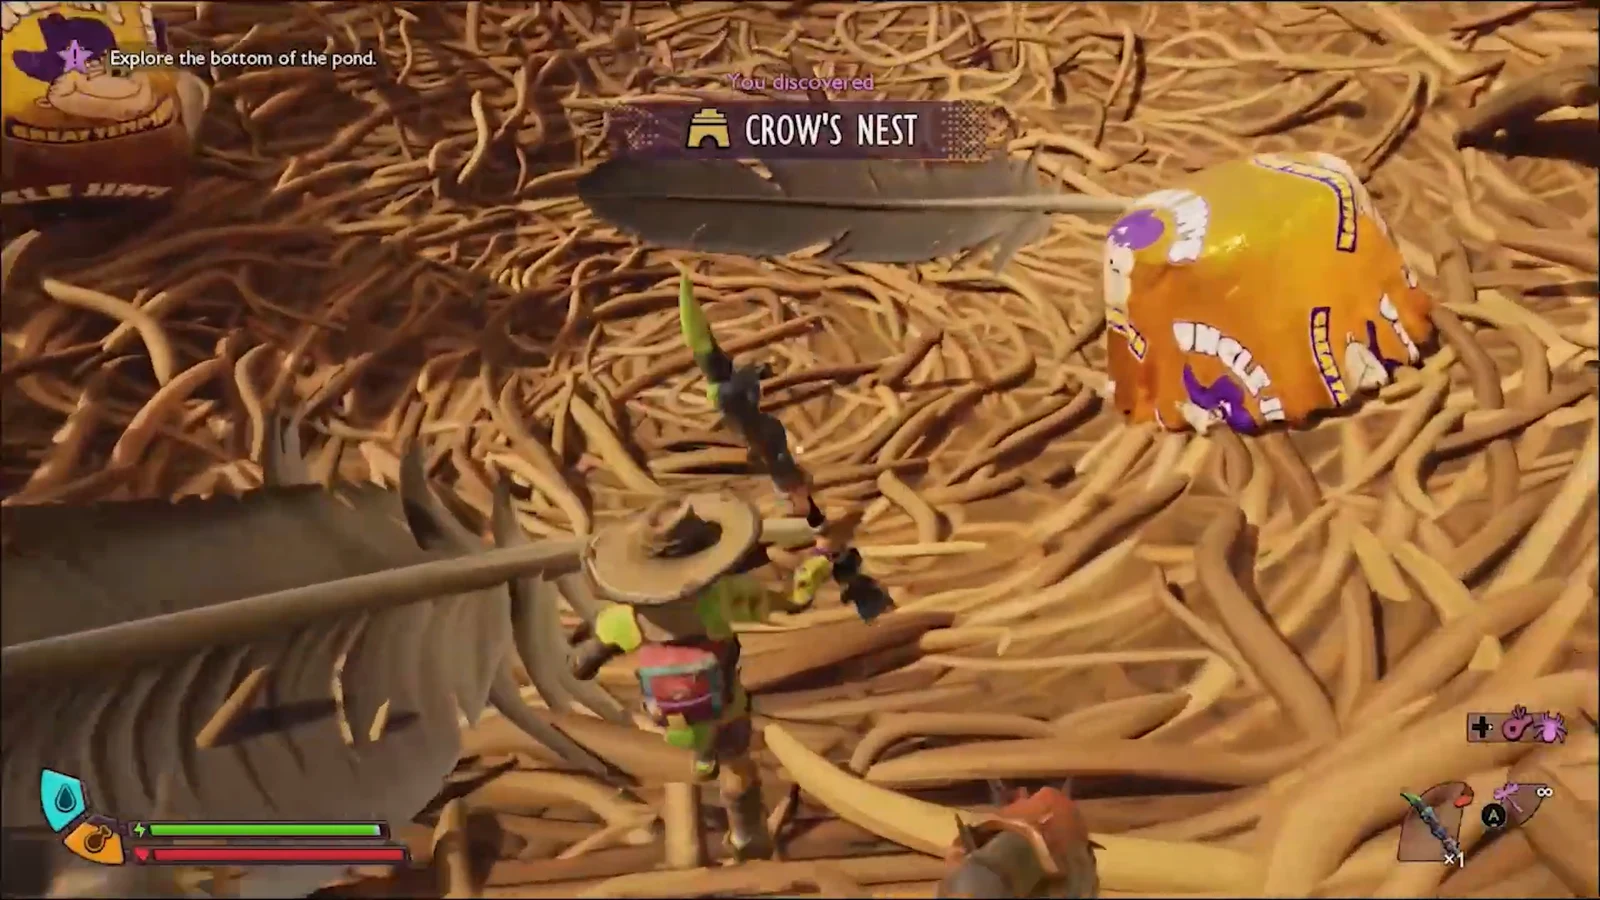
Turn right, climb the final vine, and cross the small web bridge into the Crow’s Nest. This is a slow section, since a single knockback here can send you back to the bottom.
02:20The Crow's Nest discovery banner confirms you have reached the top of the Pergola. Image credit: Obsidian Entertainment / via @TinyPirateGaming. Shown at 02:20 in Tiny Pirate Gaming’s video.
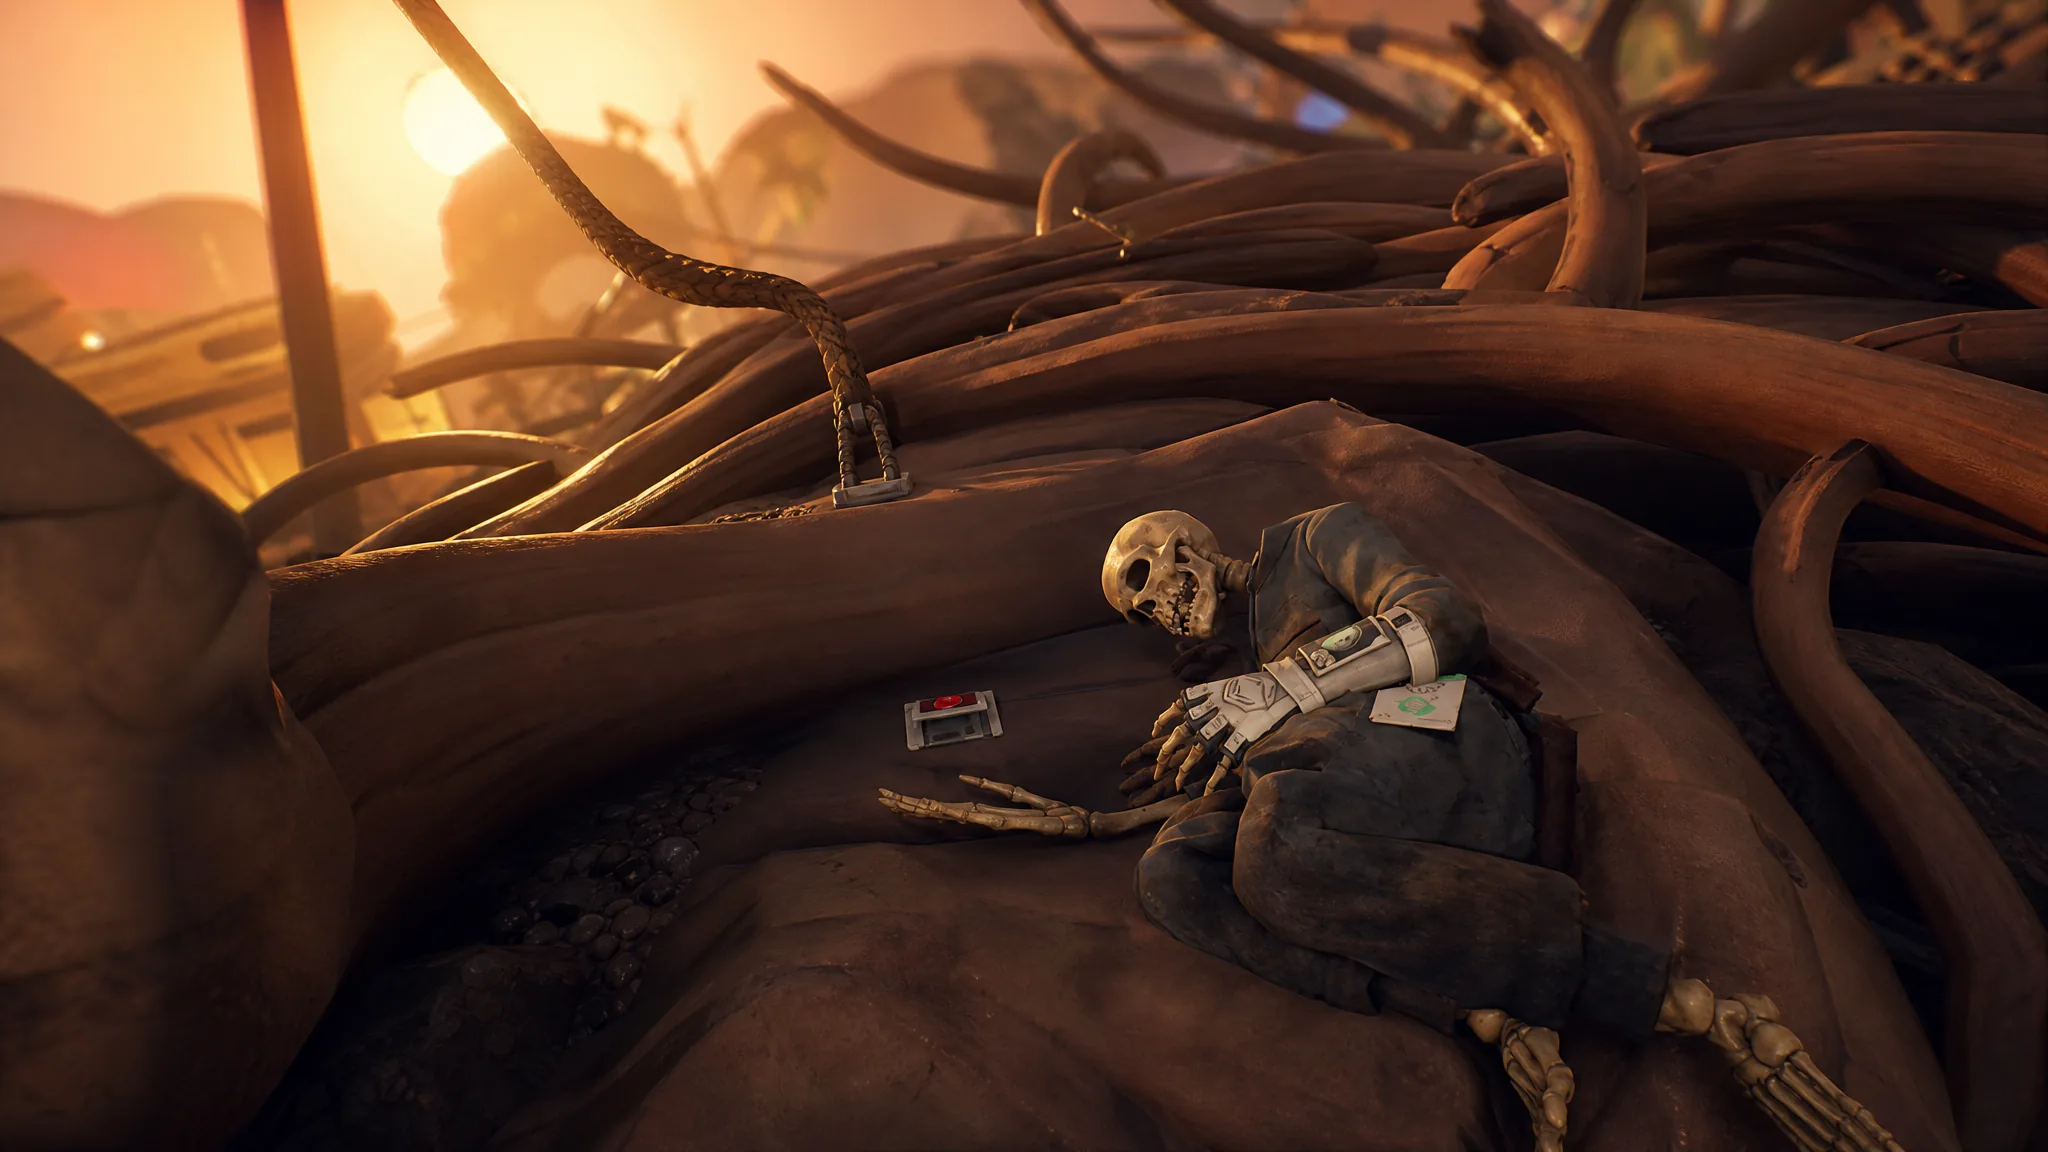
Inside, search the Ominent employee skeleton for the Zipline Test Plan, then pick up the Pergola Optical Disk lying beside it.
Register the disk and buy the Ziplines recipe
Return to any Ranger Outpost and insert the Pergola Optical Disk at the terminal. This expands the Science Shop with new purchasable buildings.
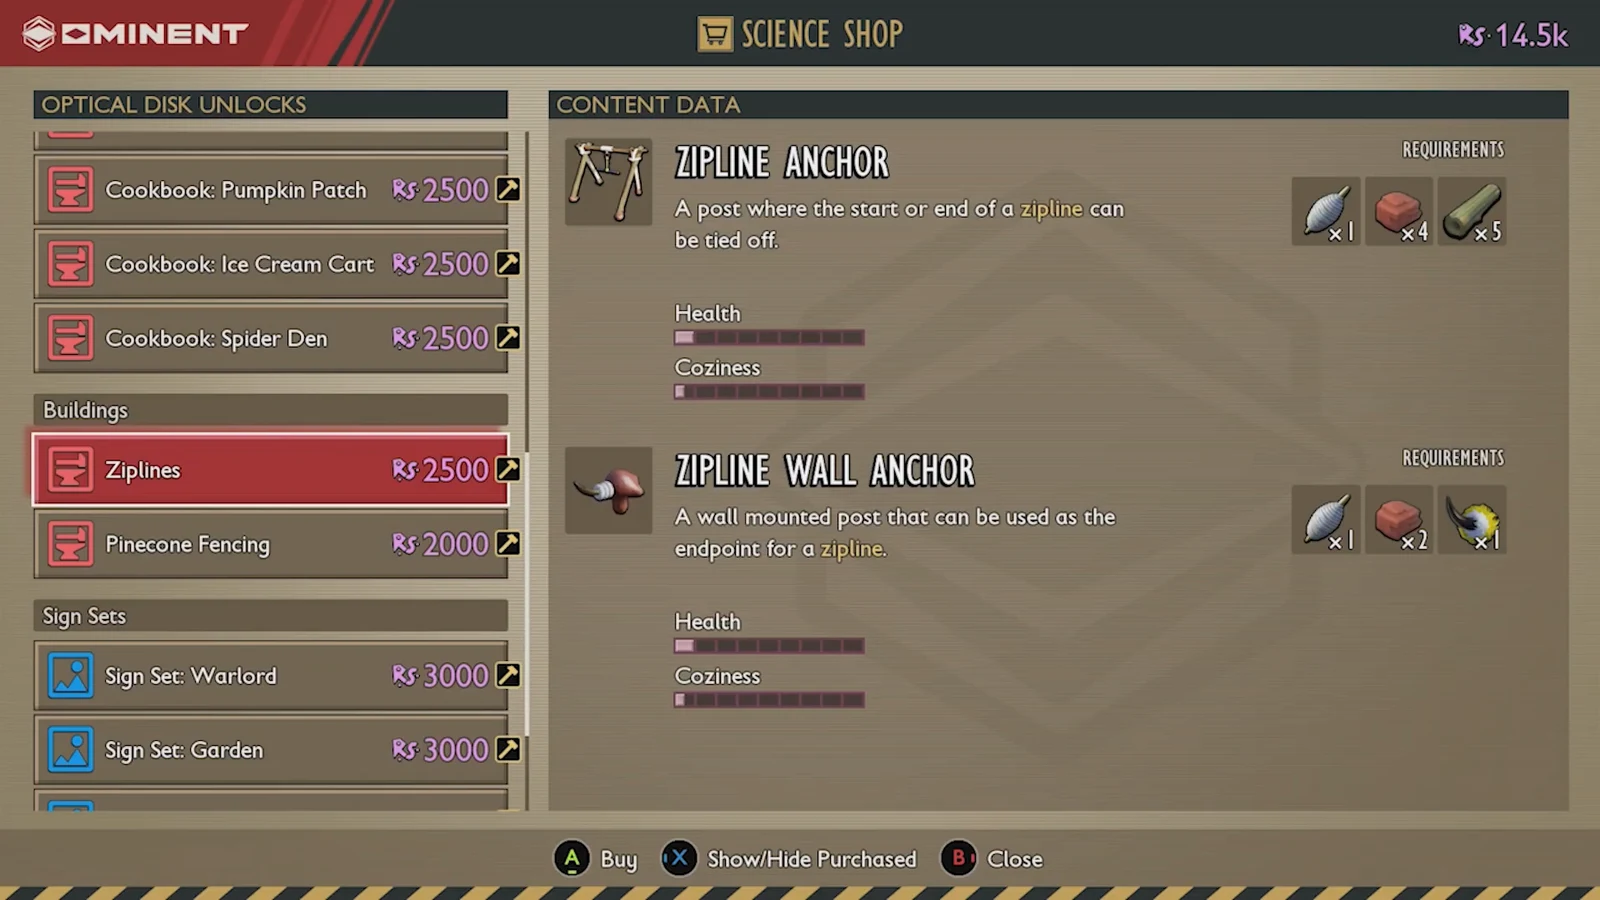
Open the Science Shop and buy Ziplines for 2,500 Raw Science. That unlocks the Zipline Anchor and Zipline Wall Anchor blueprints. Returning the disk also opens two other purchases if you want them.
Unlock
Cost (Raw Science)
Ziplines (Zipline Anchor + Wall Anchor)
2,500
Hotpouch Upgrade I
5,000
Hotpouch Upgrade II
10,000
02:38The Science Shop's Buildings tab with Ziplines and their anchor requirements listed. Image credit: Obsidian Entertainment / via @TinyPirateGaming. Shown at 02:38 in Tiny Pirate Gaming’s video.
Find the Zip.R tool in Gnarly Bark
The blueprint alone lets you place anchors, but you still cannot ride a line without the Zip.R. That tool is hidden inside the Gnarly Bark tree, southwest across the pond, and reaching it means swapping between two buggies mid-climb.
Inside, switch to the Black Soldier Ant Buggy and climb the bark past the Cockroach nest and the Earwigs. You will emerge through a hole in the bark next to a bridge made from matches and a wax candle.
Near the top, switch back to the Orb Weaver Buggy and climb the branches until you spot a pair of shoes hanging from a branch, called the Stinky Shoes.
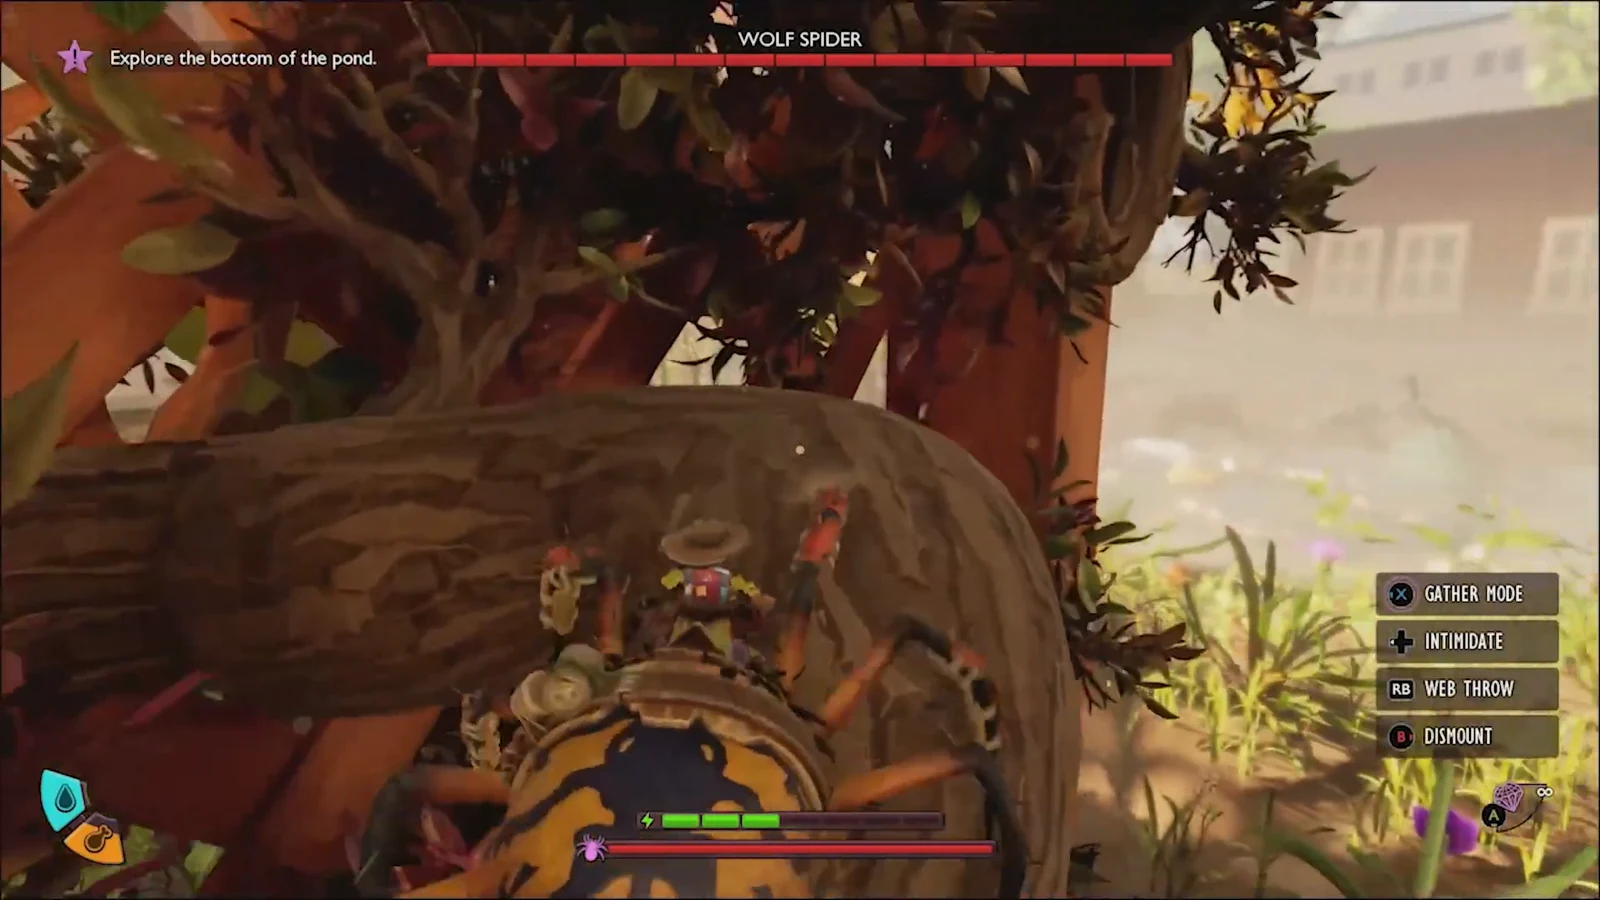
Defeat the Wolf Spider guarding the upper branch, then glide inside the shoe and clear out the Orb Weaver. Loot the corpse hidden inside to claim the Zip.R.
01:03The Wolf Spider blocks the branch leading to the hanging shoe where the Zip.R waits. Image credit: Obsidian Entertainment / via @TinyPirateGaming. Shown at 01:03 in Tiny Pirate Gaming’s video.
Build and connect a zipline
A single line needs two anchors. You can use two Zipline Anchors, or pair one Zipline Anchor with a Zipline Wall Anchor for spots where a floor anchor won’t fit. Here are the materials for each.
Place one anchor at your starting point and the second at your destination. Keep them reasonably aligned, because a line set at too steep or awkward an angle will refuse to connect.
Leave building mode and interact with an anchor (press E on PC) to start the connection. In the menu that opens, focus the anchor you want to link and confirm with right-click on PC.
To ride, jump toward the line and latch on with E. Basic ziplines only carry you downhill, while the Zip.R also lets you power up a cable and change direction mid-ride, so a return line back to a tower top can replace stair climbing.
You can attach several lines to a single anchor post to build a full circuit around your base. Tip: roof over and wall off your upper anchor platforms, since flying pests like wasps can destroy exposed connections.
You’ll know everything is in place once the Ziplines entry appears as built in your Science Shop, the anchor blueprints show up in your build menu, and the Zip.R sits in your inventory. With both the recipe and the tool secured, you can start laying out lines and turn the park’s longest climbs into fast, one-way rides.