The Arena is the player-versus-player side of Grow a Chicken Fighter, and it runs on a monthly season cycle. You send a team of three chickens against another player’s team, win trophies, and move up a rank ladder that pays out Money, temporary boosts, and eggs. It is not open from the moment you start playing, which is why plenty of new players never see the button at all.
Quick answer: Reach Rebirth level 5. The Arena button then appears on the right side of your screen, and clicking it opens the mode.
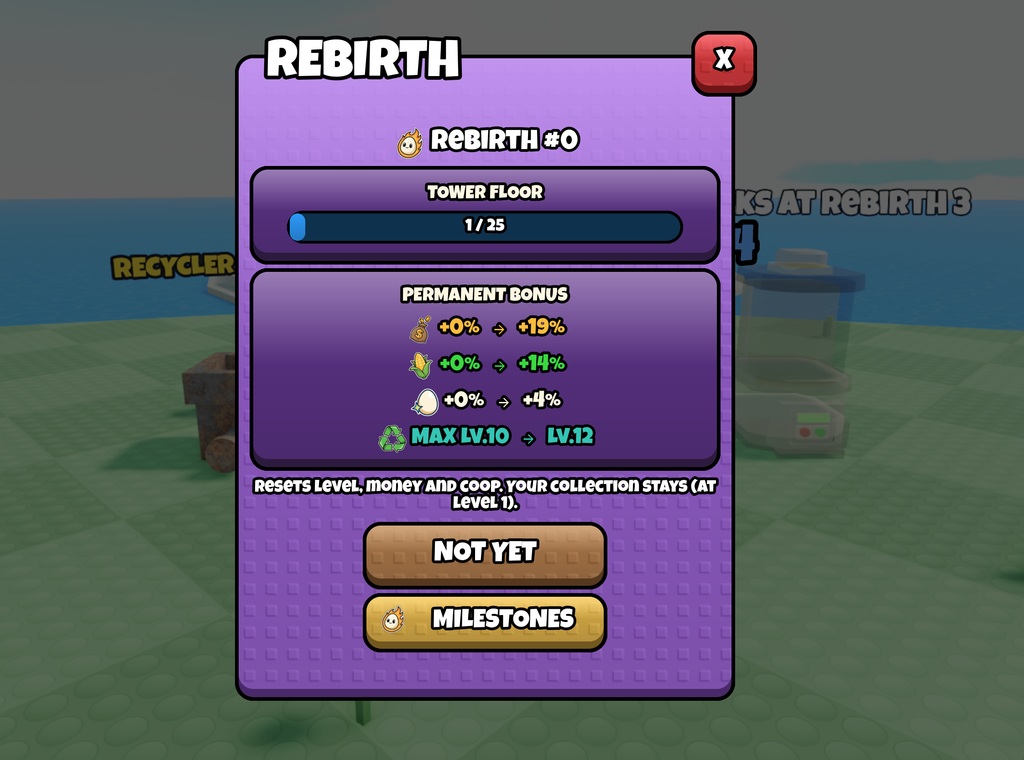
The Rebirth 5 requirement
Rebirth is the only gate. Each rebirth asks you to clear a set Tower Floor, so the path to Rebirth 5 is a matter of pushing your strongest chicken high enough five times rather than hitting a money or collection threshold. Nothing else about the Arena is locked behind a separate unlock.
You know it worked when the Arena button shows up along the right-hand side of the screen. Clicking it opens a pop-up with three tabs across the top: Home, Rankings, and Rewards.
Building your three-chicken team
The Home tab is split down the middle. On the left you can see your Current Rank, your Global Rank, and your Season Wins. On the right sits the team you will actually fight with, capped at three chickens.
There is a shortcut if you would rather not sort through your flock. The Equip Best button, found under the “+” button on the right side, automatically fills the roster with your three highest battle power chickens.
Note: raw battle power is a rough guide, not the whole picture. Skills swing fights more than stat totals do, so a lower-power chicken with a strong ability can outperform a bigger number.
How an Arena match plays out
Pressing GO TO BATTLE queues you against an opponent and shows their team before anything starts. The green Battle button commits you to the fight. Skip, sitting right next to it, rolls a different opponent instead.
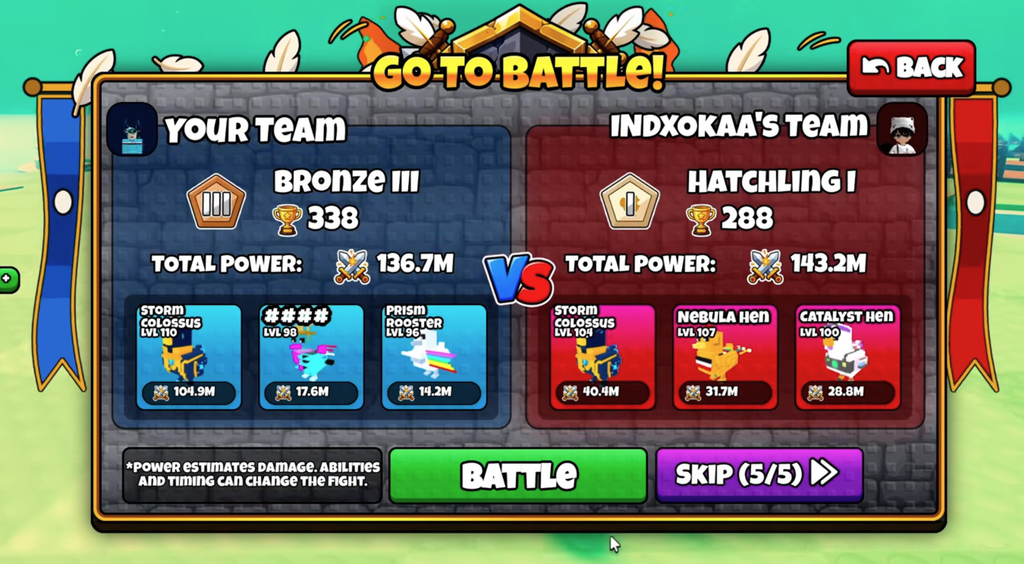
Use Skip deliberately. The matchup you want is one where you can clearly overpower at least two of the three enemy chickens, because that numerical edge tends to decide the fight before the clock runs out.
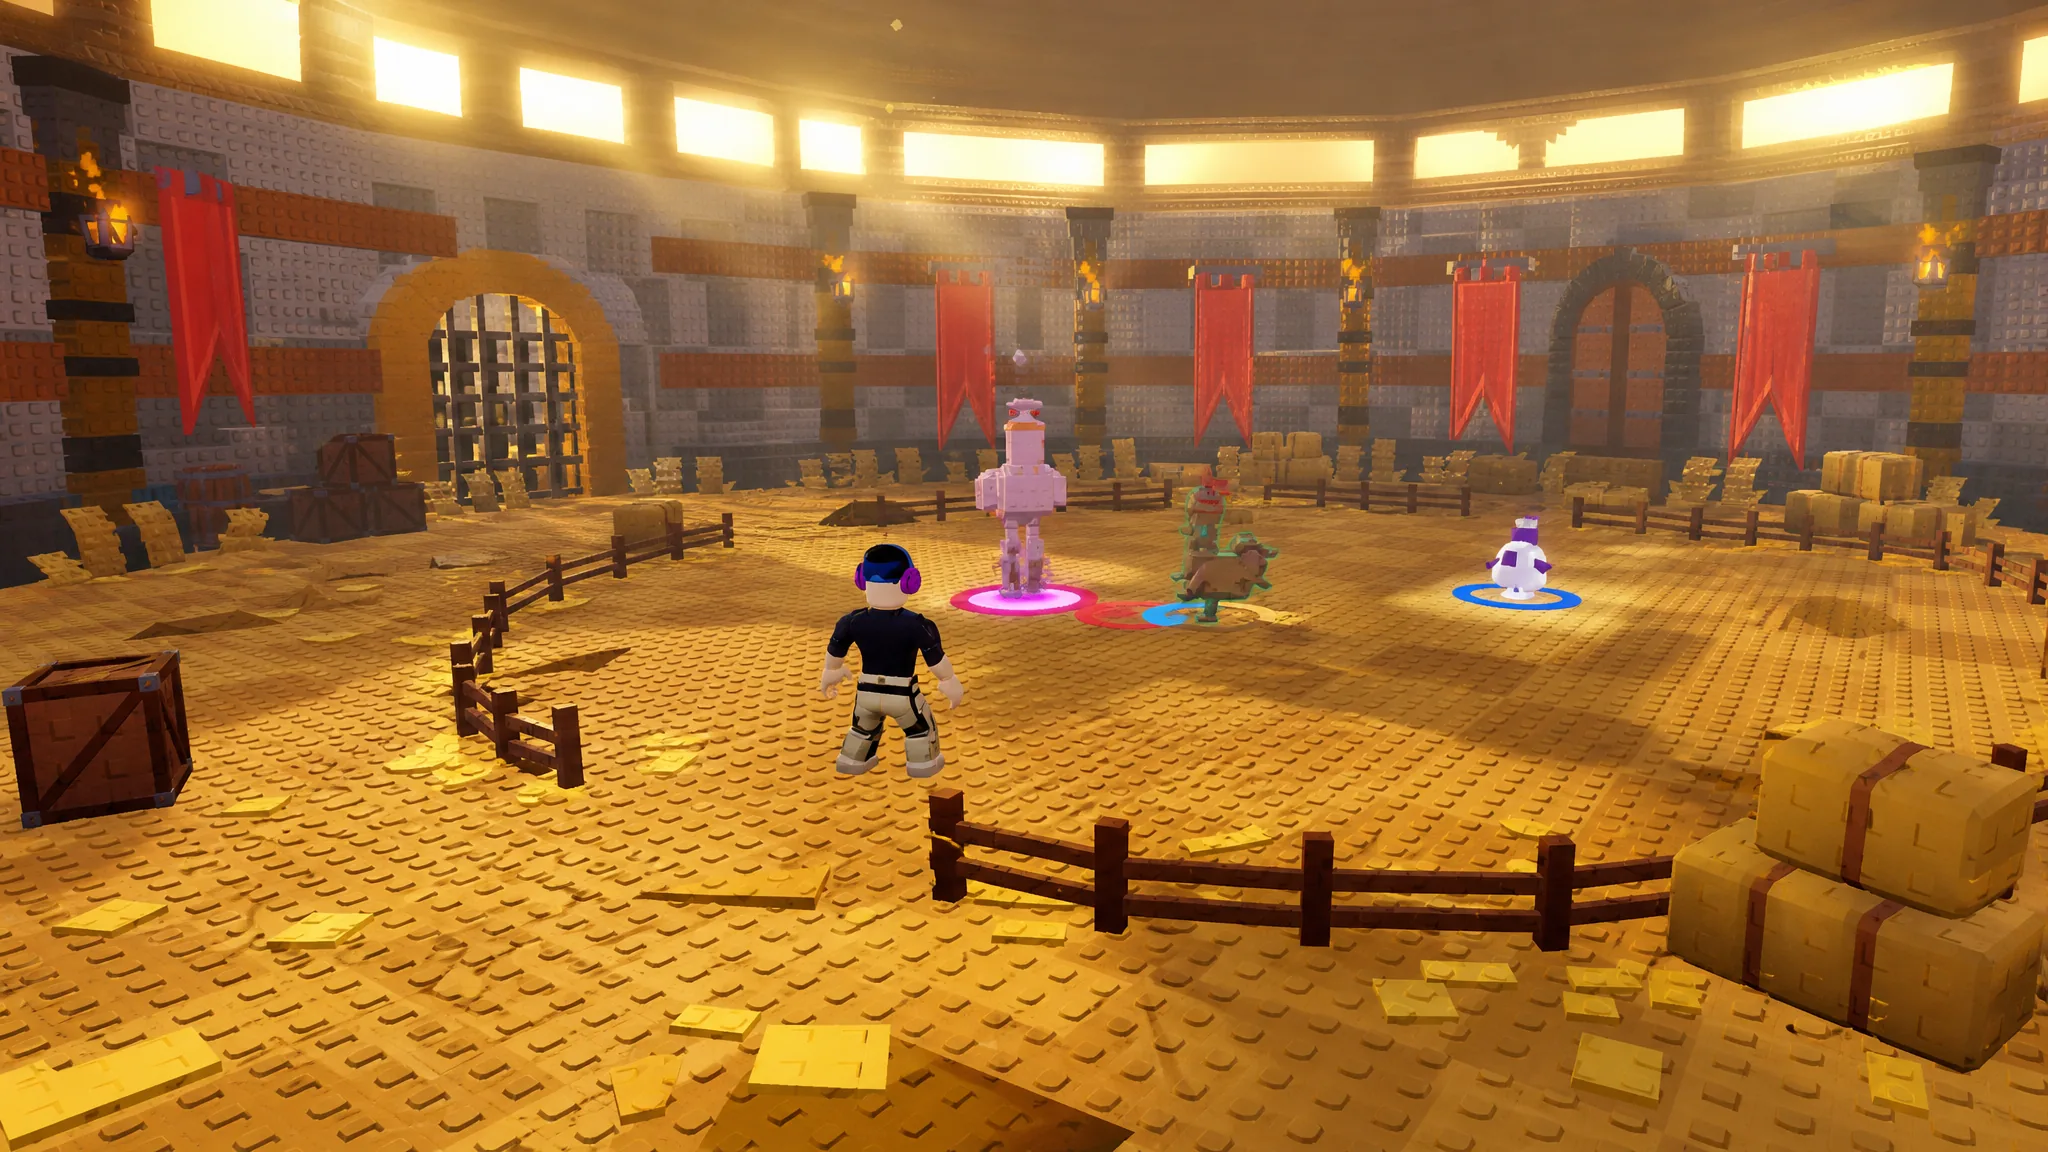
Once the match begins, all three of your chickens enter the Arena at the same time. Abilities are triggered manually, and each one goes on a four-second cooldown after use, so spamming them the moment they come up wastes value. A match lasts one minute, and whoever knocks out the entire opposing team inside that window takes the win.
Rankings and the top 100 leaderboard
The Rankings tab is a global board sorted purely by total trophies earned. It displays the top 100 players only, so appearing on it means beating the trophy count of whoever currently sits in 99th place. Everyone below that threshold still earns trophies and rank rewards, they just do not show on the board.
Because the mode resets every month with a fresh season, trophy totals and standings start over on that cycle.
Rank thresholds and rewards
Ranks run from Hatchling III at the bottom to Grandmaster I at the top. The lower half of the ladder is measured in flat trophy counts. From Master IV upward, placement switches to percentile brackets, meaning you are competing against the rest of the player base rather than a fixed number.
| Rank | Requirement | Rewards |
|---|---|---|
| Hatchling II | Over 100 trophies | 251.9k Money; 2x Corn Boost (10 min) |
| Hatchling I | Over 200 | 377.9k Money |
| Bronze III | Over 300 | 377.9k Money; 2x Money Boost (10 min) |
| Bronze II | Over 400 | 503.9k Money |
| Bronze I | Over 500 | 503.9k Money; 1x Scratch Egg |
| Silver III | Over 600 | 629.8k Money |
| Silver II | Over 700 | 629.8k Money; 2x Corn Boost (15 min) |
| Silver I | Over 800 | 755.8k Money; 3x Thunder Egg |
| Gold III | Over 900 | 1M Money |
| Gold II | Over 1000 | 1M Money; 1.5x Hatch Luck (15 min) |
| Gold I | Over 1100 | 1.3M Money; 3x Royal Egg |
| Crystal III | Over 1200 | 1.5M Money |
| Crystal II | Over 1350 | 1.5M Money; 2x Corn Boost (20 min); 2x Hatch Luck (15 min) |
| Crystal I | Over 1500 | 1.8M Money; 3x Fortune Eggs |
| Diamond III | Over 1650 | 2M Money |
| Diamond II | Over 1825 | 2.3M Money; 1x Royal Egg; 2x Hatch Luck (20 min) |
| Diamond I | Over 2000 | 2.5M Money; 3x Colossus Egg |
| Master V | Over 2200 | 3M Money; 1x Ascension Egg |
| Master IV | Top 80% | 2.5M Money; 1.5x Hatch Luck (30 min) |
| Master III | Top 70% | 2.8M Money; 10x Fortune Egg; 2x Hatch Luck (30 min) |
| Master II | Top 60% | 3.0M Money; 2x Hatch Luck (30 min) |
| Master I | Top 50% | 3.3M Money; 5x Colossus Egg |
| Elite V | Top 40% | 3.5M Money; 15x Fortune Egg |
| Elite IV | Top 30% | 3.8M Money; 2x Hatch Luck (45 min) |
| Elite III | Top 20% | 4.0M Money; 15x Colossus Egg |
| Elite II | Top 10% | 4.5M Money; 2x Money Boost (1 hour) |
| Elite I | Top 5% | 5M Money; 50x Colossus Egg; 2x Hatch Luck (1 hour) |
| Grandmaster III | Top 3% | 6M Money; 100x Colossus Egg; 2x Money Boost (1 hour) |
| Grandmaster II | Top 2% | 7.1M Money; 2x Hatch Luck (1 hour) |
| Grandmaster I | Top 1% | 9.1M Money; 3x Ascension Egg; 100x Colossus Egg |
Reward details for every rank are visible in-game from the Rewards tab, so you can check what the next tier pays before committing to a grind session.
Making the boost rewards count
A good chunk of the ladder pays in timed multipliers rather than flat currency, and those only matter while you are actively playing. A 2x Money Boost burned while idling is wasted, whereas the same boost during a Tower push or a stretch of pit farming compounds properly. The same applies to Hatch Luck windows, which are best spent opening a stack of saved eggs rather than one at a time.
Because seasons reset monthly, the rank you finish on is the rank that pays. Climbing early in a season and then sitting idle leaves percentile-based tiers vulnerable as other players catch up, so the safest approach is to keep chipping at matches through the month rather than front-loading everything into a single session.