

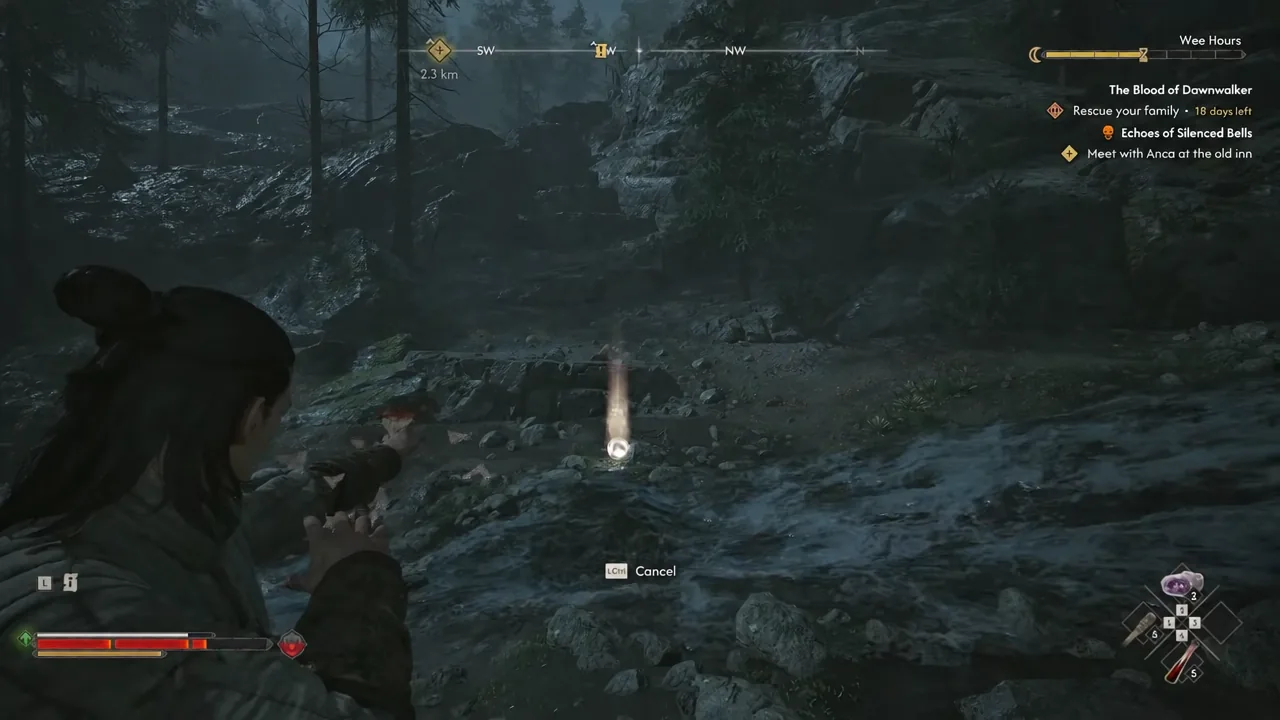
A Pilgrimage for Power: Bear Trouble is the easiest of the four uriashi pilgrimages in The Blood of Dawnwalker to stumble into, and it is usually the first Ravenous Flock Manual players pick up. There is no quest marker guiding you up the mountain. The game expects you to chase a sound, follow a trail of cairns and windchimes, and survive a bear at the top.
Quick answer: Follow the windchimes up the mountain north of Briar Sloughs, kill the Ravenous Bear at the summit clearing, then inspect and copy the glyph carved into the large stone. That single interaction awards the Ravenous Flock Manual, 1 Skill Point, and 250 XP.
Bear Trouble quest requirements and start location
The pilgrimage becomes available once you have finished “Smoke and Ashes” and scouted the Briar Sloughs Tower, which is one of the first things you do after leaving Laslea Glen. Cross the river to the northwest of that tower and head into the hills between Briar Sloughs and Laslea Glen. When windchimes start ringing loudly around you, you are in the right place and the quest starts on its own.
| Detail | Value |
|---|---|
| Quest name | A Pilgrimage for Power: Bear Trouble |
| Region | Briar Sloughs, north of the tower across the river |
| Quest giver | Wind chimes (no NPC) |
| Requirement | Complete “Smoke and Ashes” |
| Time cost | 2 time segments (spent on the glyph) |
| Rewards | Ravenous Flock Manual, 1 Skill Point, 250 XP |
Note: the two time segments are only consumed when you copy the glyph, not by the climb or the fight. If you are managing the 15-day timer tightly, do the climb first and save the inspection for a moment that suits your schedule.
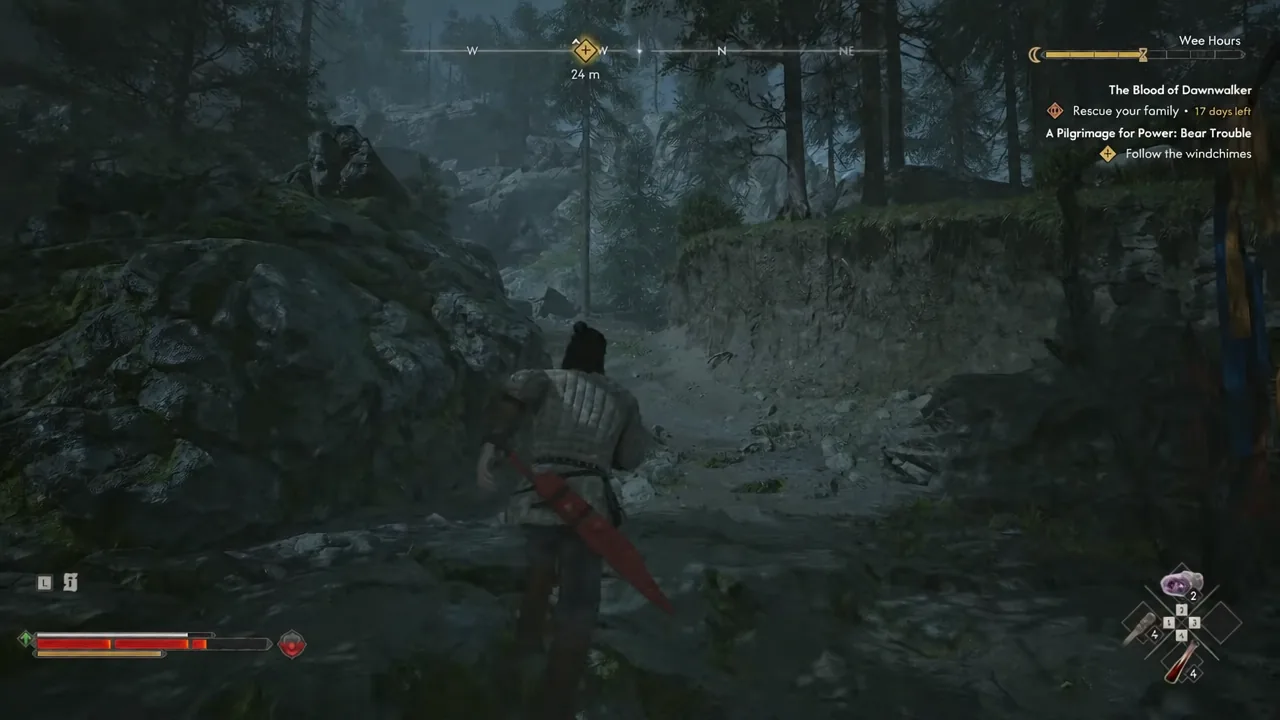
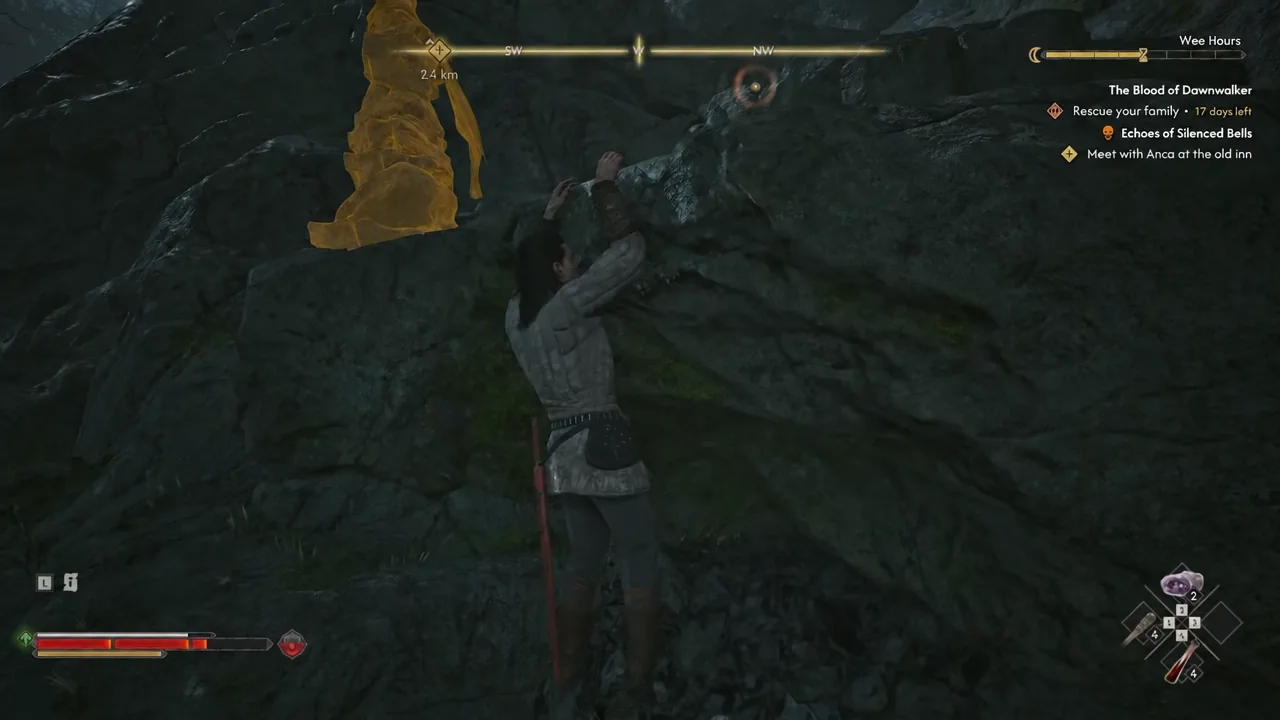
Follow the windchimes up the mountain
How to beat the Ravenous Bear
The Ravenous Bear resting in the clearing is the same enemy type you may have already fought at Outlaw’s Gorge, and it fights identically. It is slow, which is what makes it manageable even on higher difficulties, but two of its attacks cannot be blocked.
| Attack | Tell | Response |
|---|---|---|
| Charge | Bear lowers its head and runs straight at you | Dodge sideways; blocking knocks you down |
| Ground slam | Bear rears up on its hind legs | Dodge laterally, then counterattack on a perfect dodge |
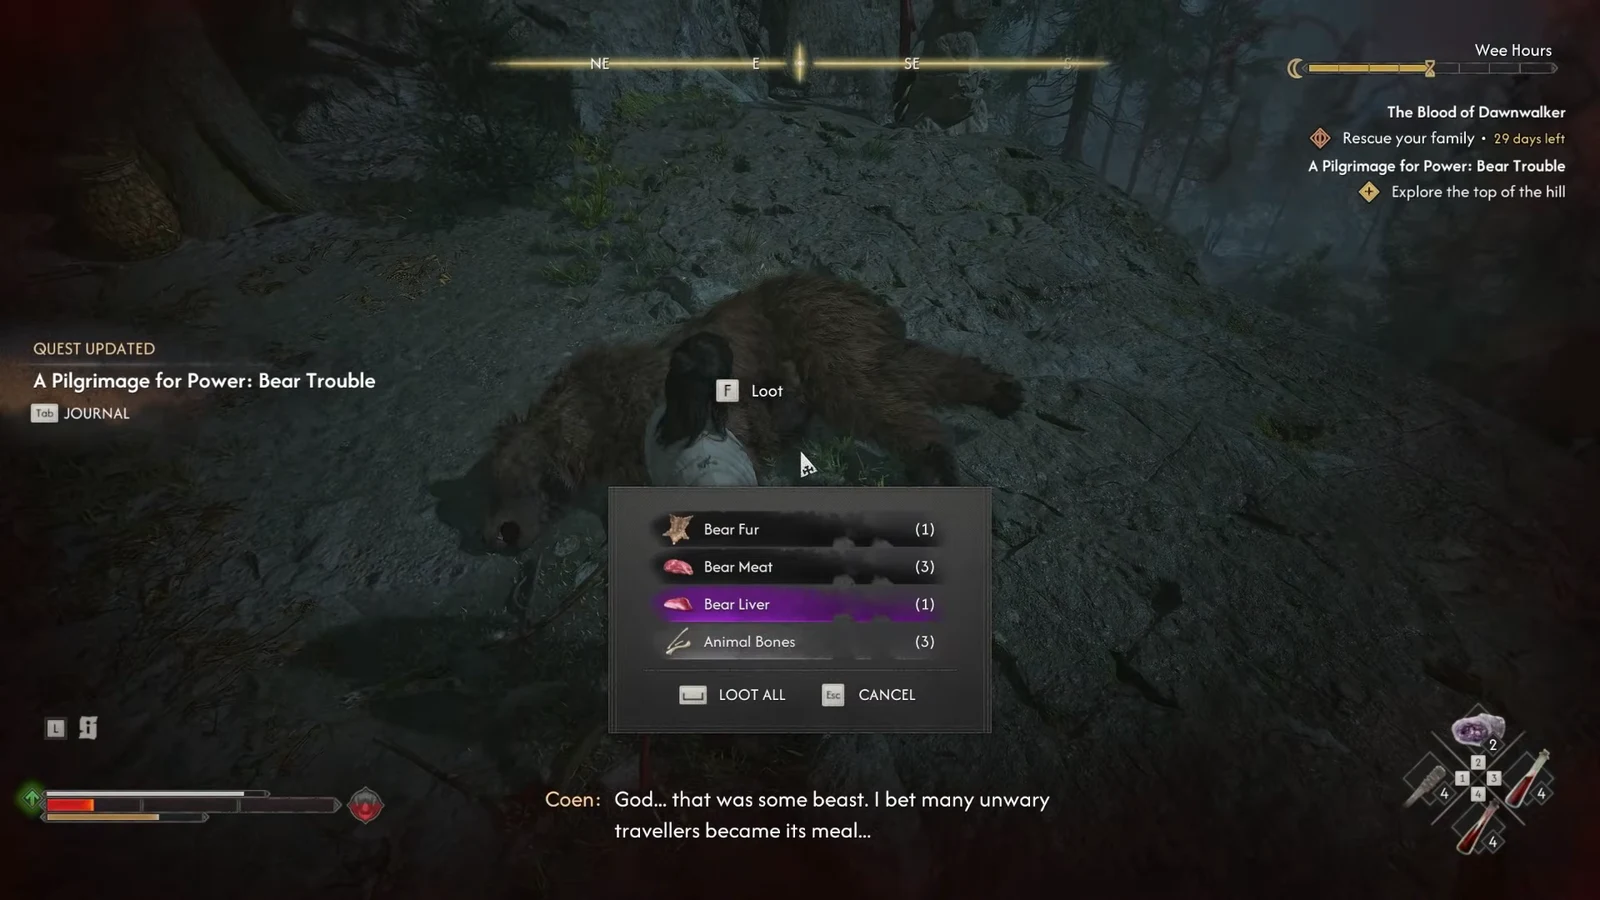
Stay off its centre line, punish the recovery after each unblockable, and it goes down without much drama. Loot the corpse afterwards for Bear Fur, Bear Meat, Bear Liver, and Animal Bones — all useful crafting and cooking materials.
Ravenous Flock Manual location: inspect the uriashi glyph
The manual is not dropped by the bear and it is not in a chest. It comes from copying the glyph carved into the large stone at the centre of the clearing, the one circled by fireflies. Everything else in the area is evidence that explains what happened here.
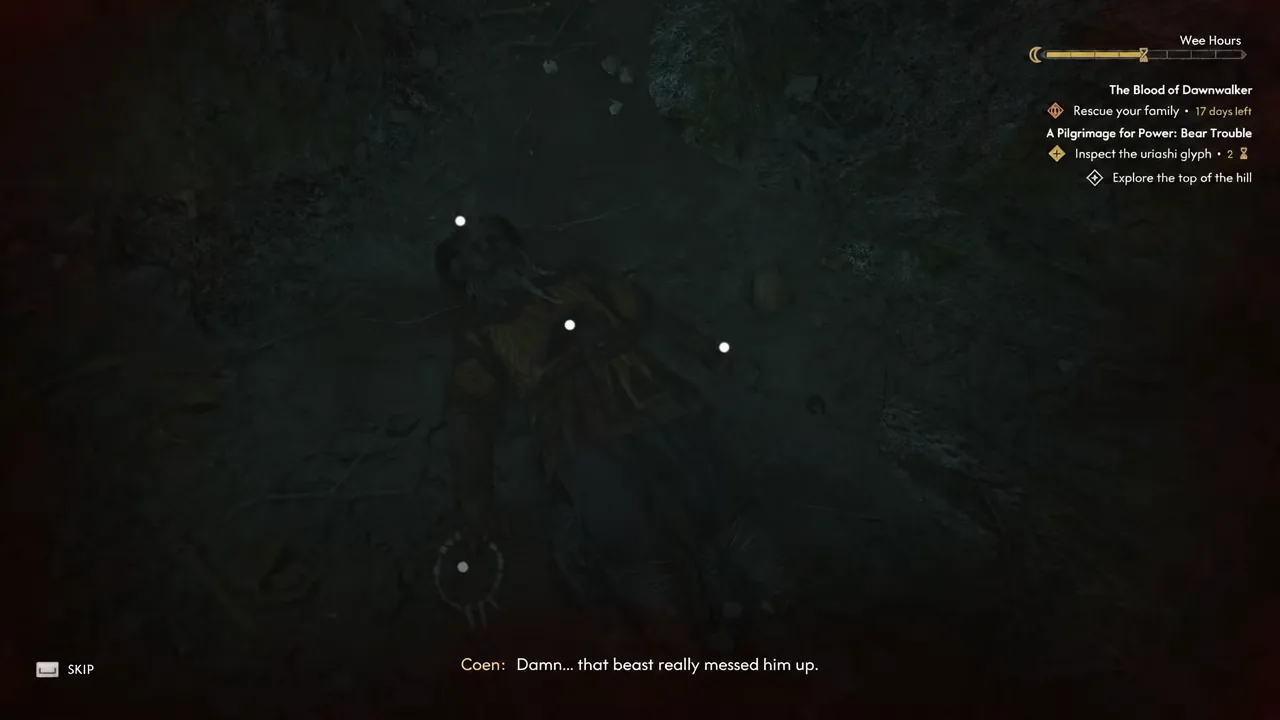
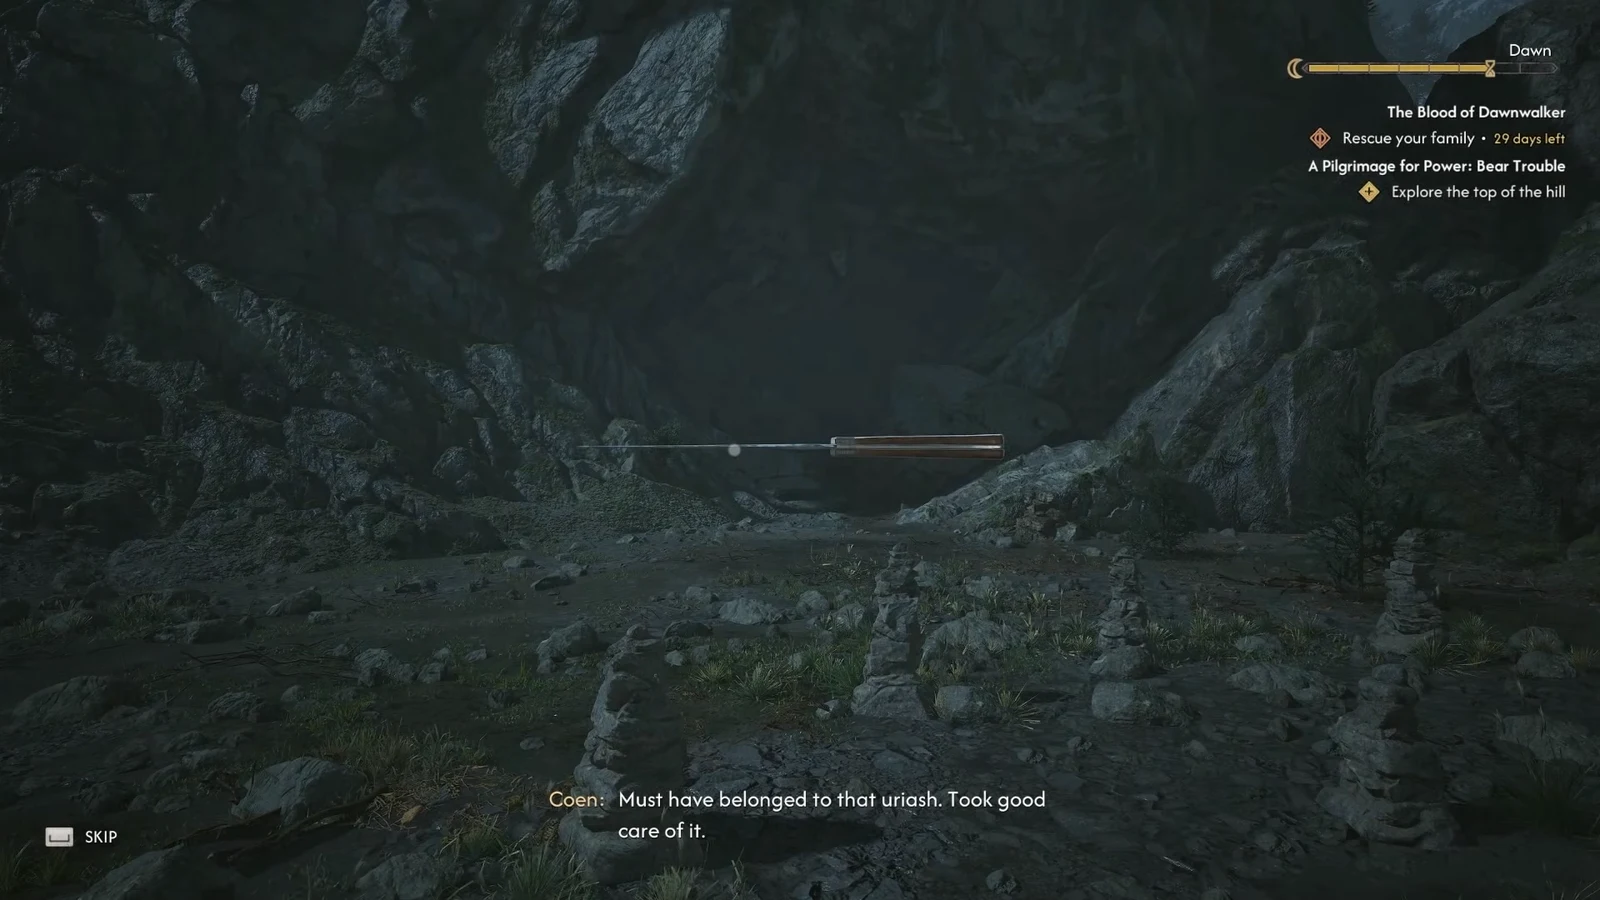
With the body, the glyph, and the knife all examined, Coen pieces the scene together out loud. The uriash carved the hex into his arm, the bear came for the food or the smell of fresh blood, and the hex either failed or came too late.
How to confirm the quest completed
A “QUEST ENDED” banner for A Pilgrimage for Power: Bear Trouble appears on screen after the final deduction. Open your inventory and the Ravenous Flock Manual should be sitting there as a readable item. Read it to apply the power rather than leaving it in your bag, since the scroll is what actually unlocks the next level of Ravenous Flock.
If the quest is still open, the usual cause is a missed inspection point. The corpse has four separate prompts on it, and the knife sits apart from the body on its own small rock. Sweep the clearing in Focus Mode and finish any prompt that still pulses.
What the Ravenous Flock ability does
Ravenous Flock is a witchcraft ability that hits an area and stuns whatever it catches. Once a target is marked, hitting it triggers extra area attacks, so the damage stacks up as you keep swinging. Casting it costs 2 Activation Charges and 40 percent of your Health, which makes it a burst tool rather than something to spam.
One manual is not the finished ability. Each of the four pilgrimages awards a Ravenous Flock Manual, and the power only reaches its full form once all four are read. Fully unlocked, it deals 470 Area Damage and persists for four hits or 20 seconds.
| Pilgrimage | Where to find it | Fight |
|---|---|---|
| Bear Trouble | North of Briar Sloughs, south of Laslea Glen | Ravenous Bear |
| Dark-Thing | East of Svartrau, north of the Westridge Outpost shrine | Essence of Grief |
| The Ritual | Mountains south of Tantari Woods | Witch of Barren Peaks |
| Fanatics | Southwest of Tyna’s Grove | None |
The order does not matter, and none of the four are gated behind the others. Bear Trouble is simply the one that sits closest to where the game first sets you loose, which is why it tends to be the manual players walk away with first.





