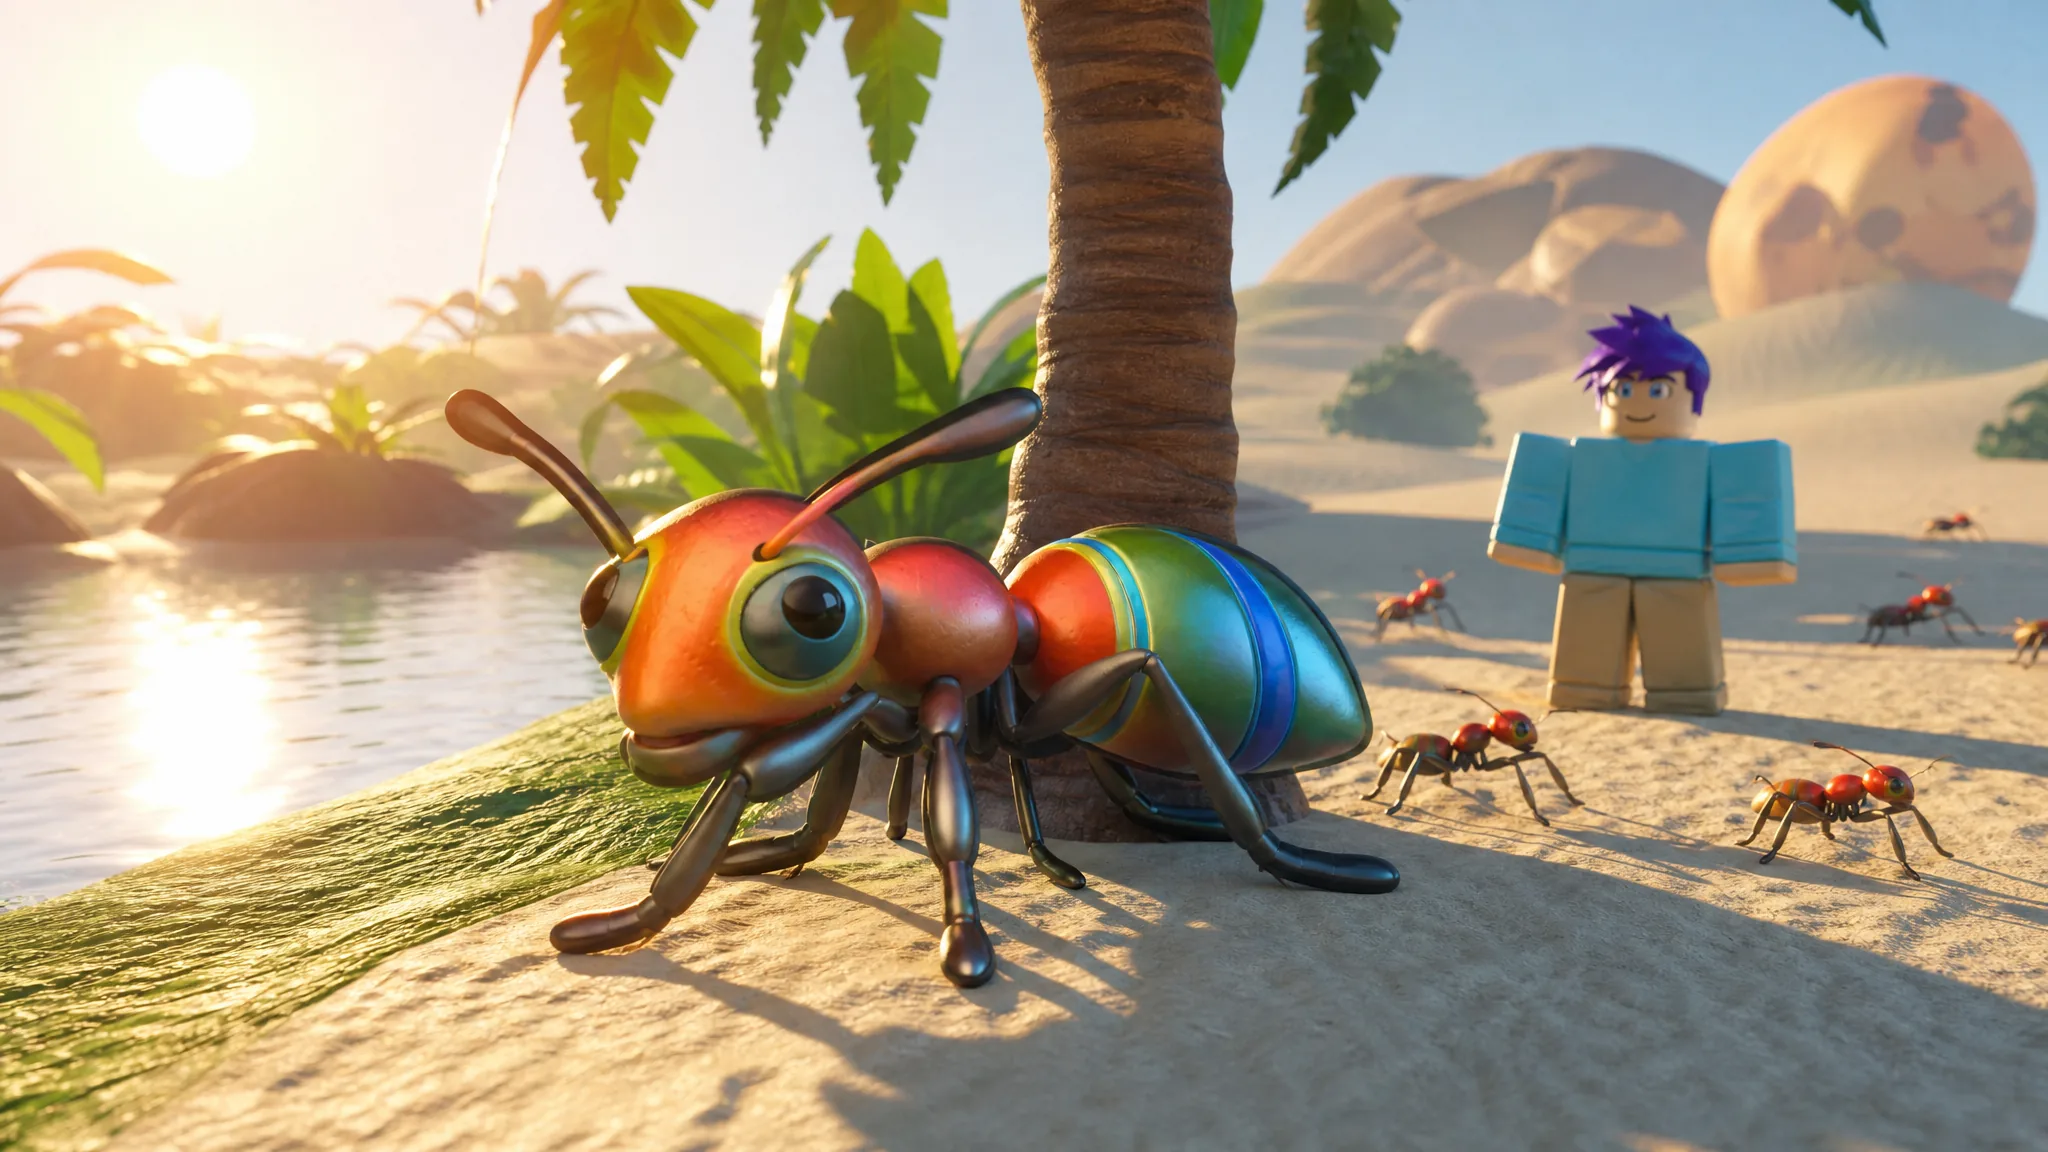
Grow a Colony drops you in as the queen of a bug colony with nothing but a patch of desert, a food counter, and a lot of ways to die. Everything else — workers, soldiers, territory, wars with other players — comes out of one loop that has to be running before anything else matters. Get the nest deep, get food moving, and only then start spending it.
Quick answer: Hold the dig key until the “You’re not deep enough!” warning stops appearing, lay a Worker Egg inside that chamber, then switch your workers to Scavenge. Do not spend food on Majors or Drones until workers are returning food on their own.
What the queen starts with
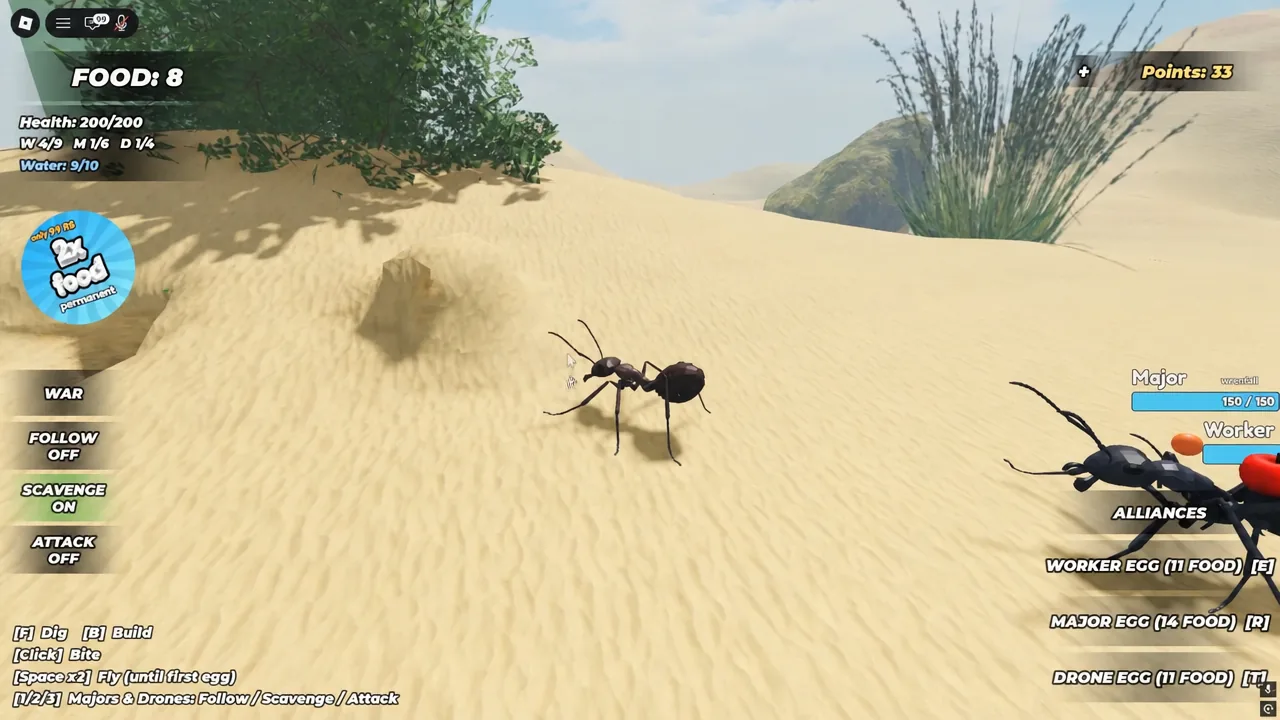
You begin as a Black Ant queen in a desert biome with 200 health and a small pile of food. The HUD tracks four things that decide everything you can do next. Food pays for eggs, water drains over time and has to be topped up by hand, points accumulate as you play and unlock new species, and a unit counter shows how many of each caste you have against your current cap — something like W 3/9, M 0/6, D 0/4.
Before your first egg exists you can double-tap the space bar to fly, which makes scouting the map for water and food much faster. That ability disappears once the colony gets going, so use it early.
Dig the nest deep enough to lay eggs
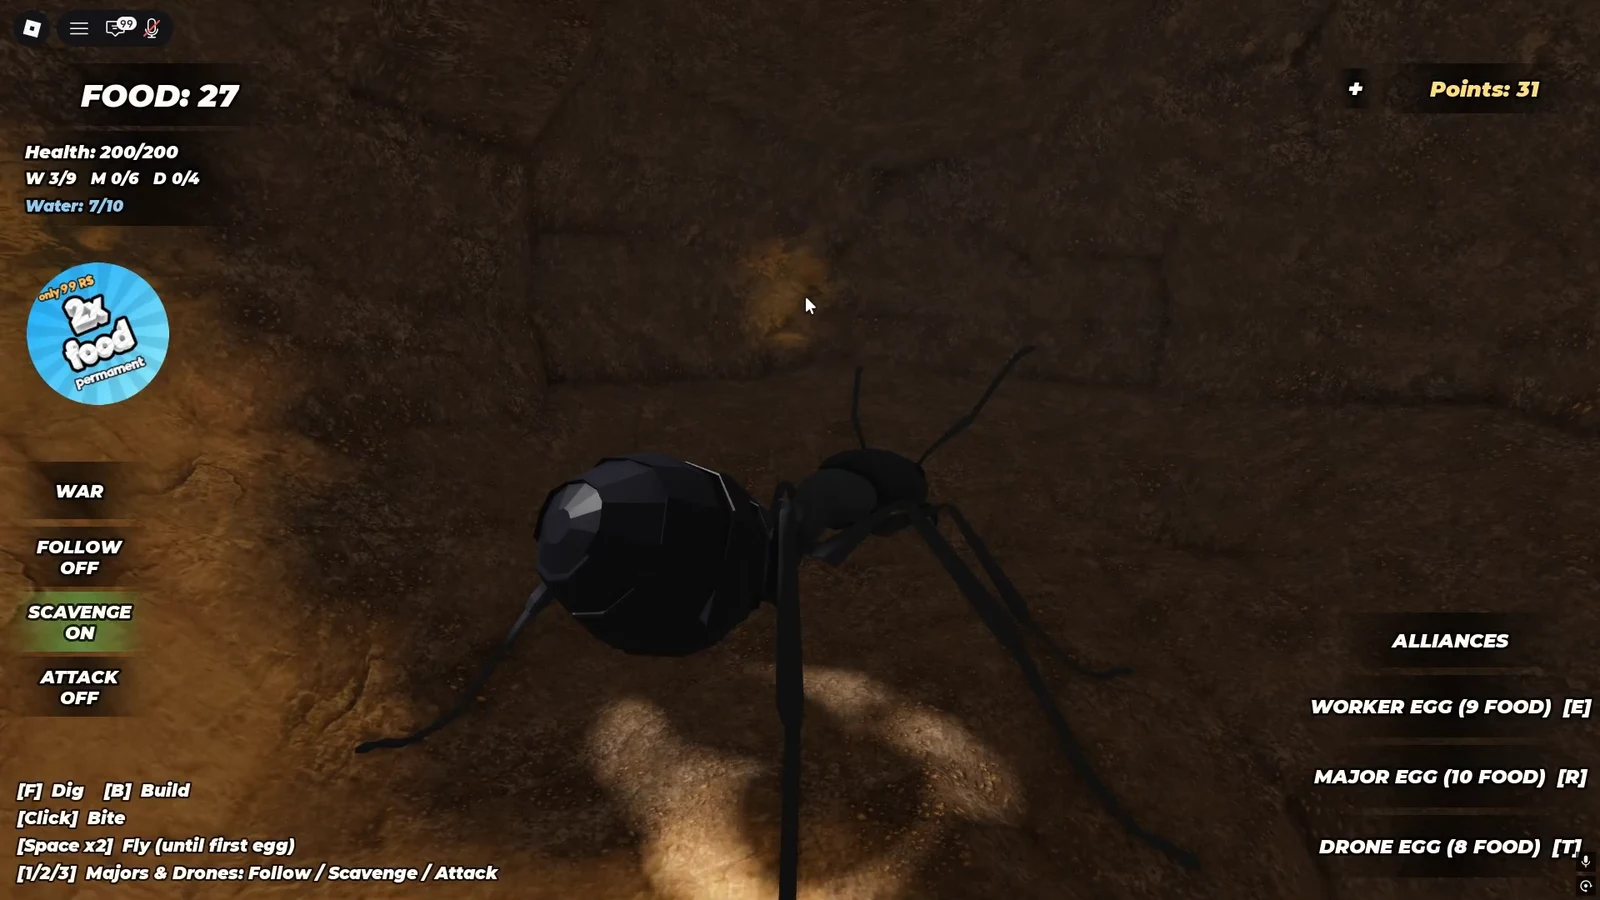
Eggs cannot be laid on the surface. The game checks your depth, and if you are too shallow it refuses with “You’re not deep enough! Dig a nest underground to lay your eggs.” That single message is the most common wall new players hit.
Egg types, costs, and what each unit does
There are three eggs, and each one produces a different caste with a different job. Workers are your economy. Majors are the heavy fighters. Drones fill out the rest of your combat force.
| Egg | Role | Notes |
|---|---|---|
| Worker Egg | Food route | Scavenges the map automatically once ordered; the cheapest way to raise income |
| Major Egg | Combat | Front-line unit for scorpions, roaches, and rival colonies |
| Drone Egg | Combat | Cheaper combat body used to pad out attacks and defence |
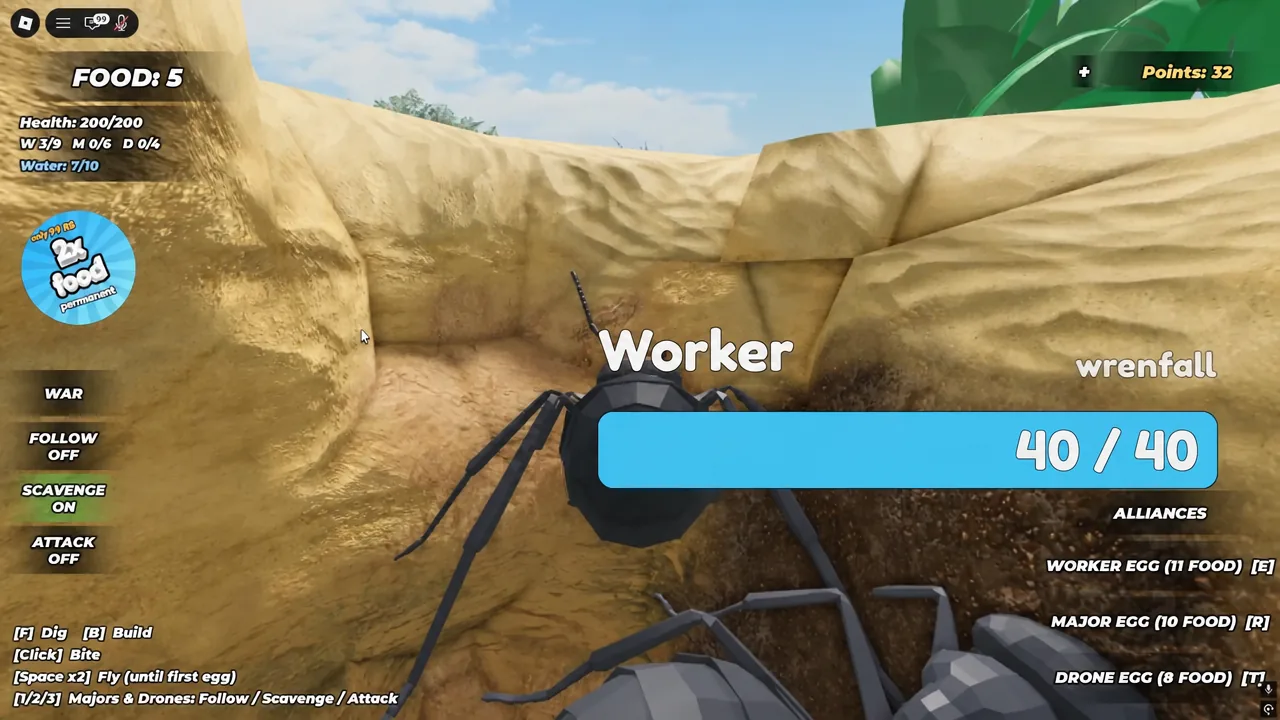
Egg prices are not fixed. Worker eggs in particular get more expensive as the colony grows, so a worker that cost 9 food early on can cost 11 or more later. Read the number printed on the egg button rather than memorising a figure, and check the hotkey letter next to it as well, since the bindings have shifted between builds.
Keeping food and water topped up
Food is the only resource that grows on its own, and only if workers are told to go and get it. With Scavenge switched on, workers wander the map, pick up food, and carry it back, adding to the counter in small increments. Combat also feeds you, since killing hostile bugs drops food.
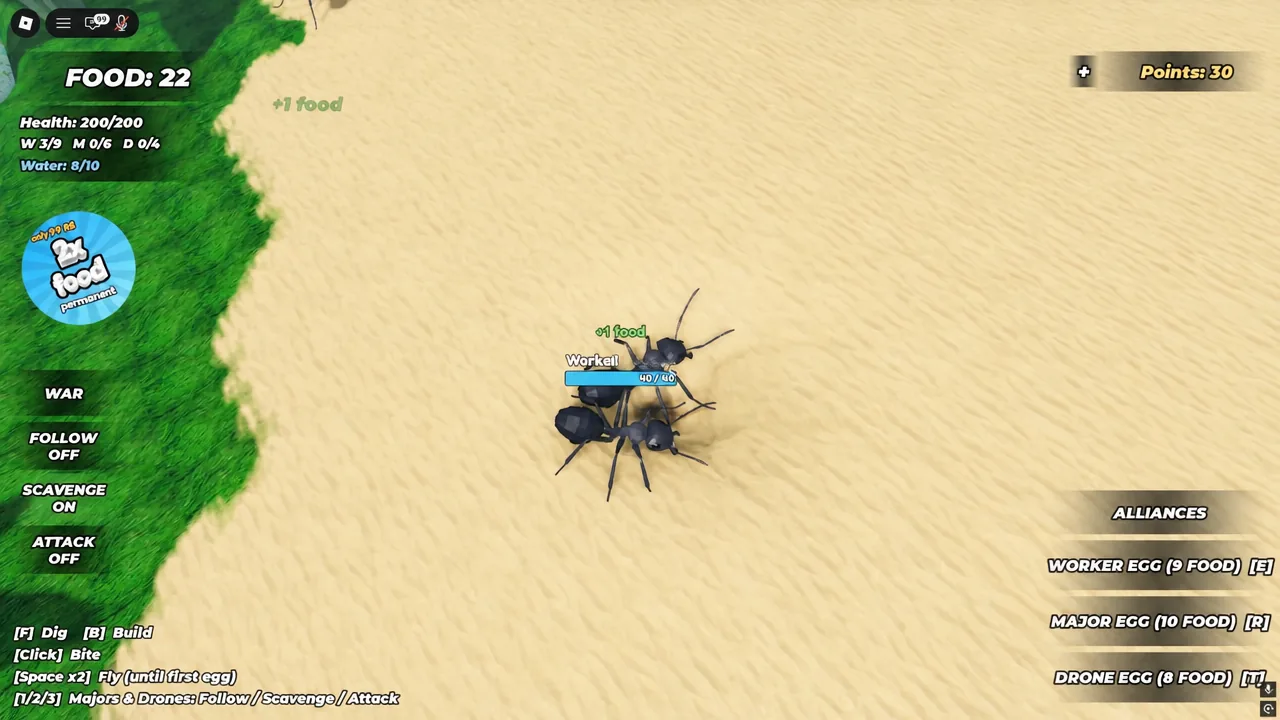
Water works differently. It sits on a small bar, usually around 6/10 when you start paying attention, and nothing refills it automatically. You have to walk the queen to a lake or puddle and drink, which triggers a “Refreshing! Water restored.” confirmation. Scout a water source while you can still fly, because doing that trip on foot later is slow and dangerous.
Tip: if food is stuck at the same number for a while, follow one worker for a full trip. A route that leads nowhere or a nest entrance the unit cannot re-enter is almost always the cause.
Unit orders: Follow, Scavenge, and Attack
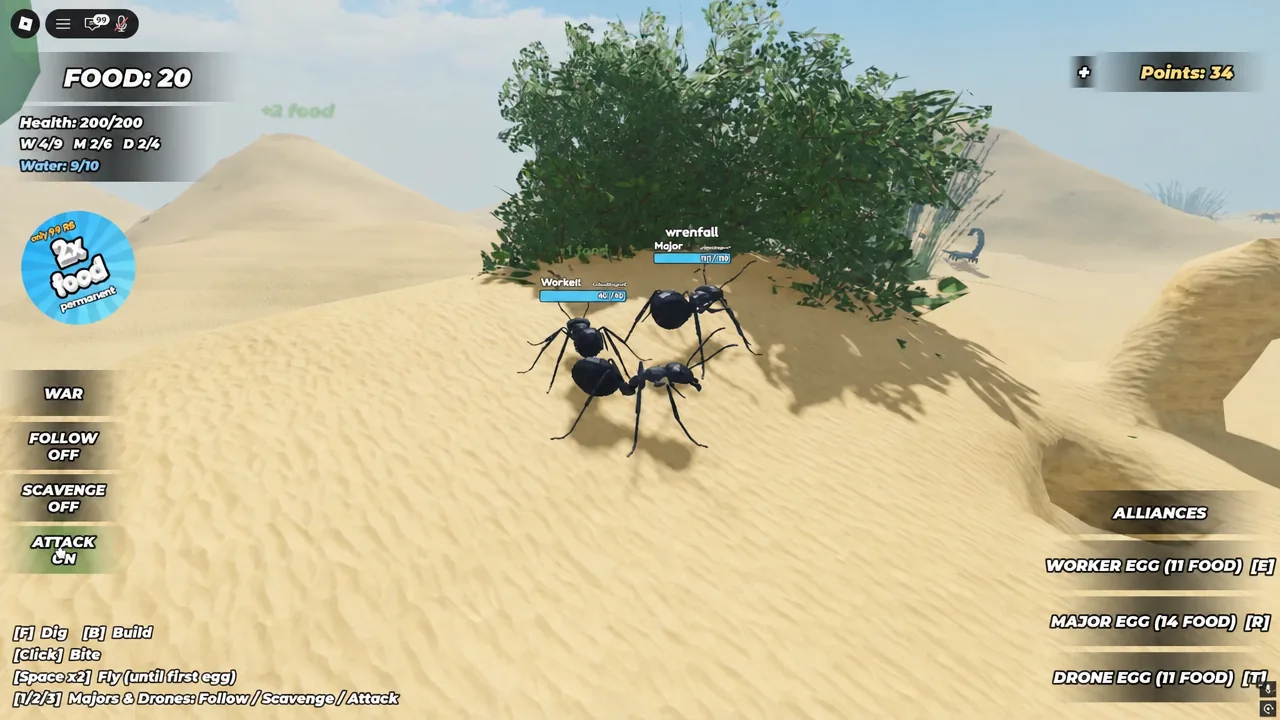
Your colony behaves according to three toggles, each shown on screen as ON or OFF. The number keys 1, 2, and 3 switch these orders for Majors and Drones, letting you keep workers gathering while your fighters do something else.
| Order | What happens |
|---|---|
| Follow | Units trail the queen, useful when relocating or pushing into a rival’s territory |
| Scavenge | Units search the map for food and bring it home |
| Attack | Units engage hostile creatures and enemy colonies on sight |
Fighting bugs, biting, and building walls
Left-click is your bite, and it works for the queen as well as your units. The build key (B) places sand structures, which you can use to wall off a nest entrance or block a chokepoint while your fighters do the work.
Scorpions and roaches roam the map and are the easiest early source of extra food. Turning Attack on and walking a group of Majors into one usually ends with the creature dead, but expect to lose ants doing it. A scorpion can wipe out several units before it goes down, so only pick these fights when you have the food to replace losses.
Declaring war on other players
The WAR button opens a Declare War list of everyone in the server, each with a power number next to their name. Power is the only read you get on how dangerous a target is, and it varies wildly — a queen sitting at Power 0 has effectively no army, while someone at Power 19 will shred a young colony.
Picking a name starts the war and announces it to the server as a banner along the lines of “WAR! [you] vs [them]!” You can back out again with Call off war. There is also an Alliances option if you would rather team up than fight.
Only declare when your own power is clearly ahead of the target’s, and set your Majors and Drones to Follow before you march so they arrive together instead of trickling in one at a time.
Spending points on new colonies and the skill tree
Points build up as you play and are the currency for long-term progress. They go two places. The colony menu swaps your species, moving you up from the starter Black Ant, and the Skill Tree buys permanent stat upgrades for damage, speed, health, and your unit cap.
The species list runs Black Ant, Leafcutter Ant, Army Ant, Fire Ant, Bullet Ant, Termite, Bee, and Hornet, with point costs climbing steeply from 20 points at the low end to 400 at the top. A couple of entries are Robux purchases instead, priced at 199 and 299 Robux.
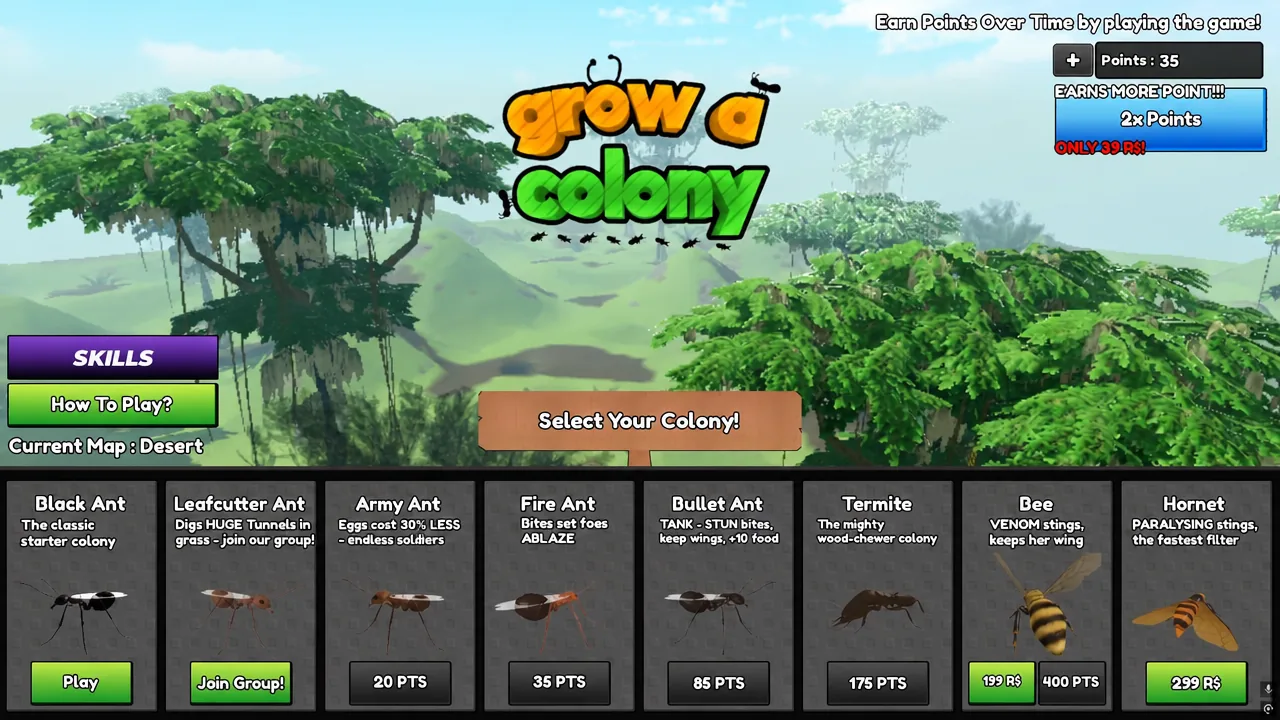
Cap upgrades are the ones worth taking first. Raising your worker limit lifts food income, which pays for every other purchase you make later.
The in-game How to Play panel lists the current keys if the bindings ever look different from what you expect, and it is the fastest way to check after an update. Everything else is repetition — dig, feed, expand the cap, then fight — and the colonies that survive are the ones that fix a broken food route before they buy a second Major.