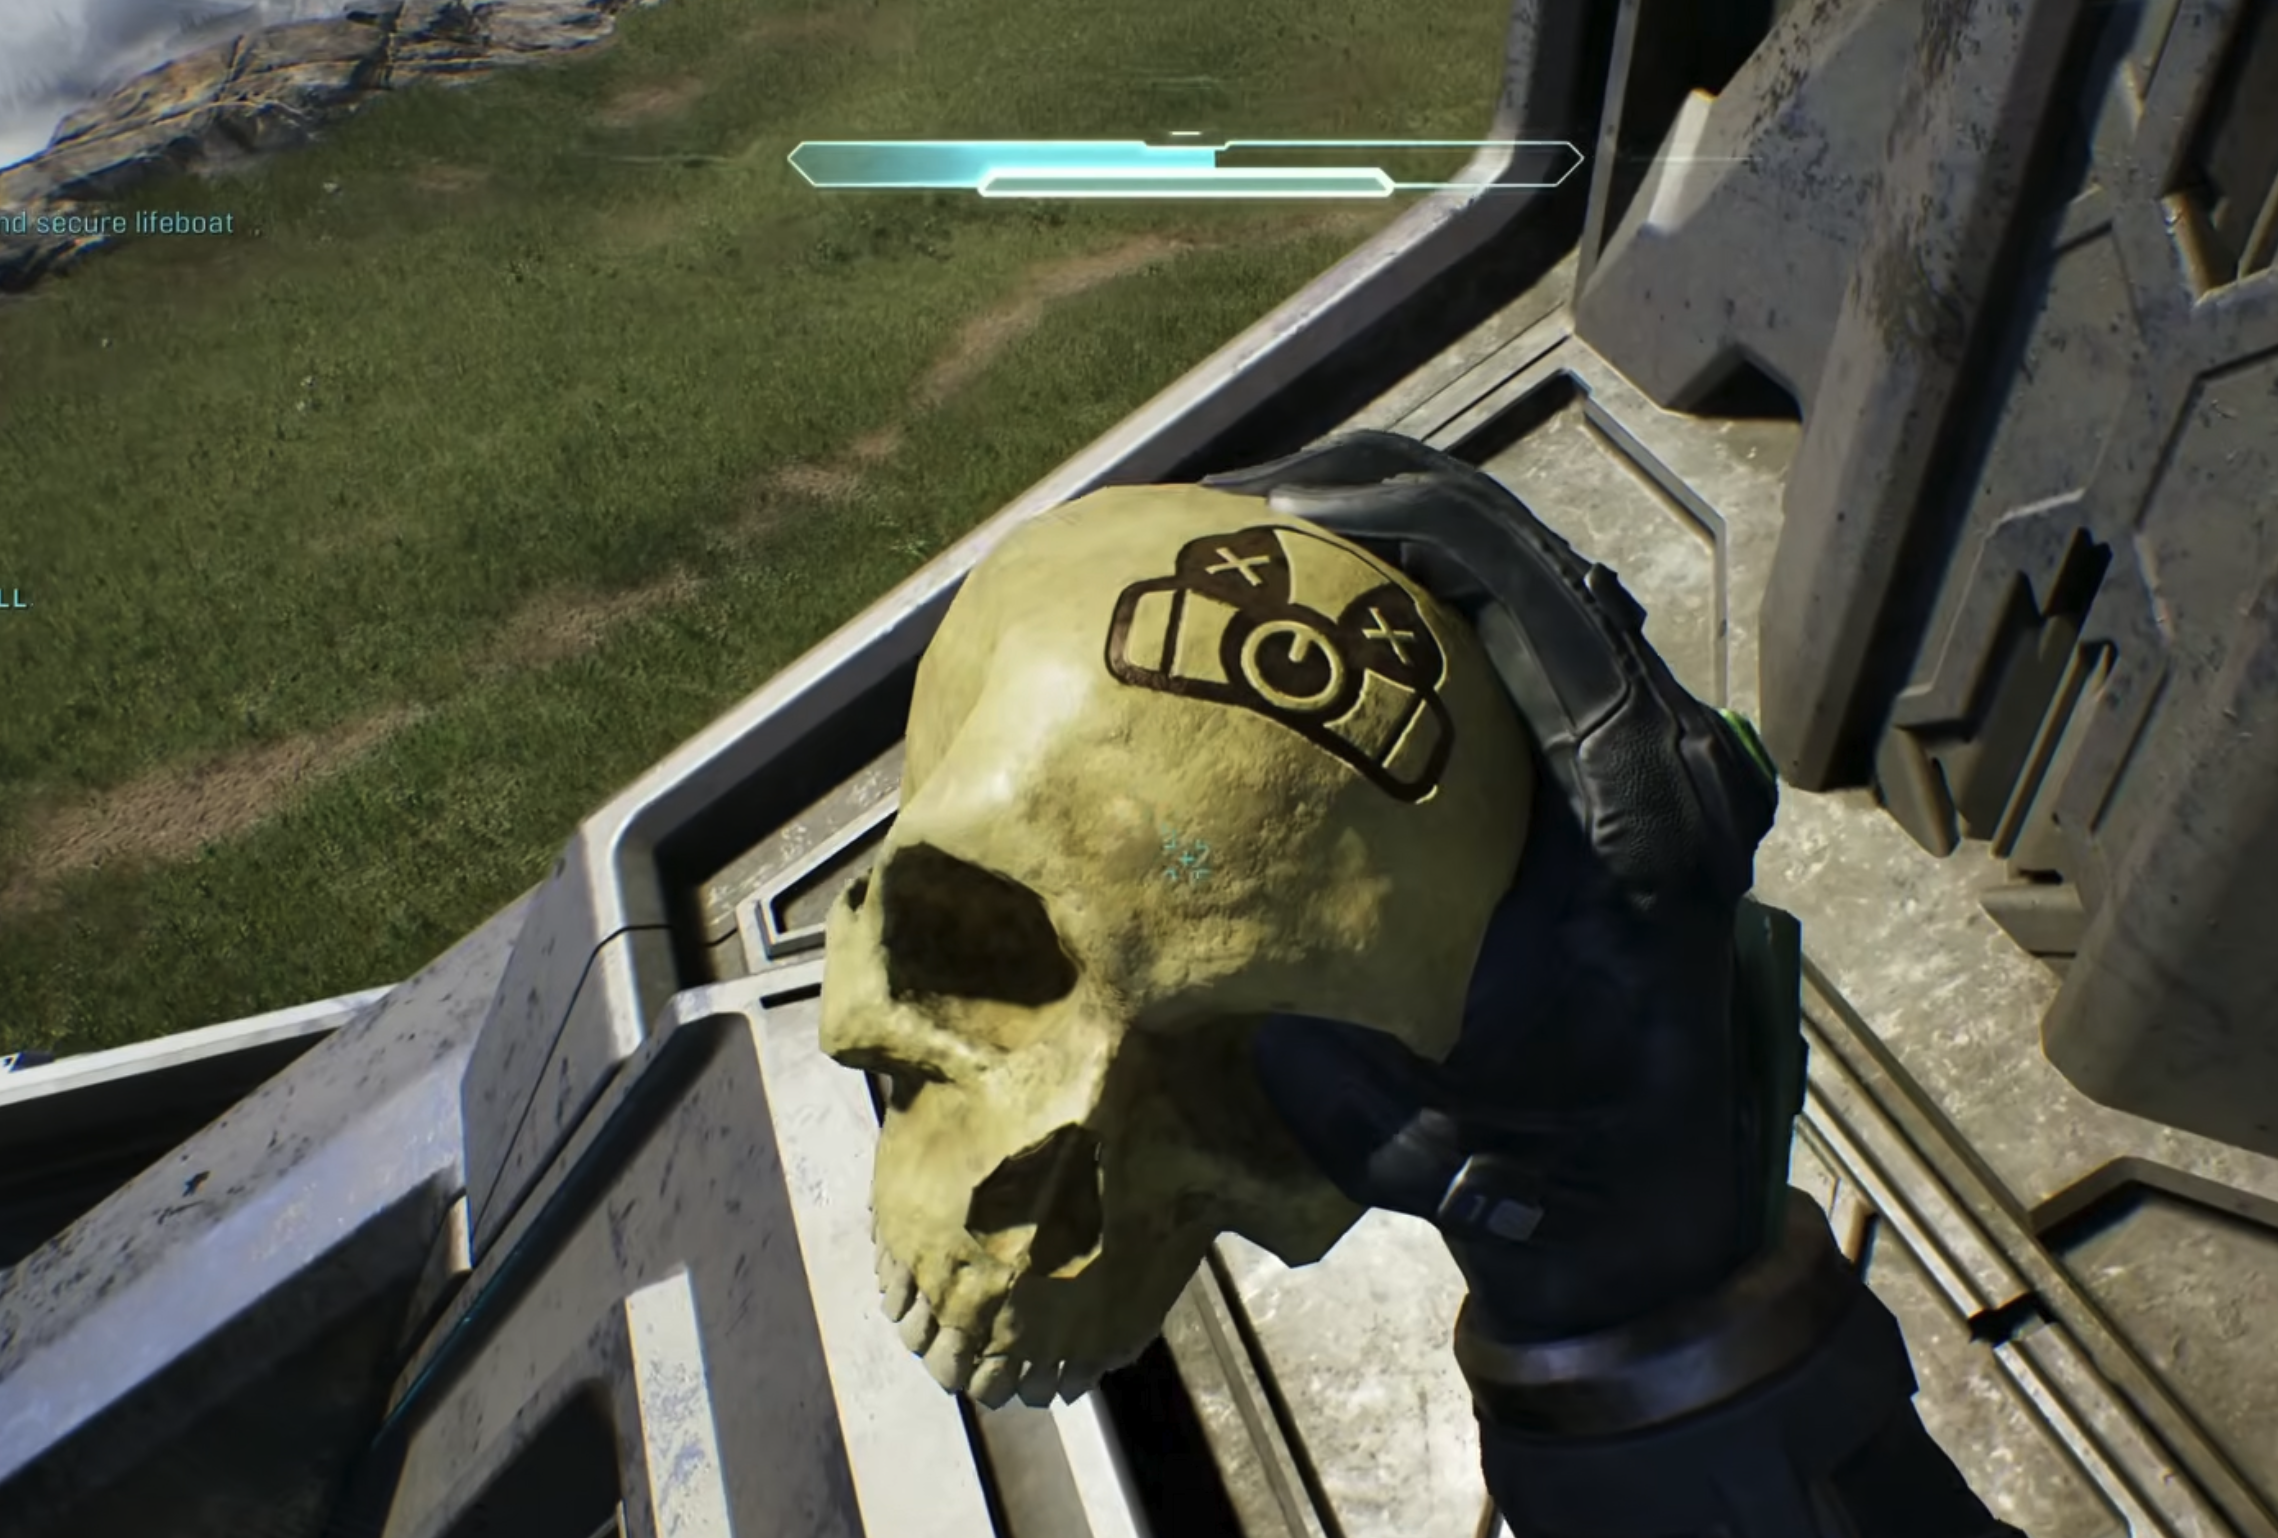
Skulls are the campaign’s signature collectibles in Halo: Campaign Evolved, and grabbing one adds a gameplay modifier you can switch on before any future run. Some make the fight harder, and several actually make it easier. There are 42 in total, split across 26 Legacy skulls carried over from earlier Halo releases and 16 brand-new ones built for this remake.
Quick answer: Collect the 39 hidden skulls spread across the game’s 13 missions (three per mission), and the final three — Adaptation, Reload, and Armistice — unlock automatically once you’ve picked up any two skulls, along with the Campaign Remix feature.
How skulls work and how to know one is nearby
Each skull looks like a human skull and sits somewhere off the main path. When you get close you’ll hear a faint whispering or hissing that grows louder the nearer you get. That sound is the only in-game hint you’ll get, so it’s worth stopping to listen when you reach a wide-open room.
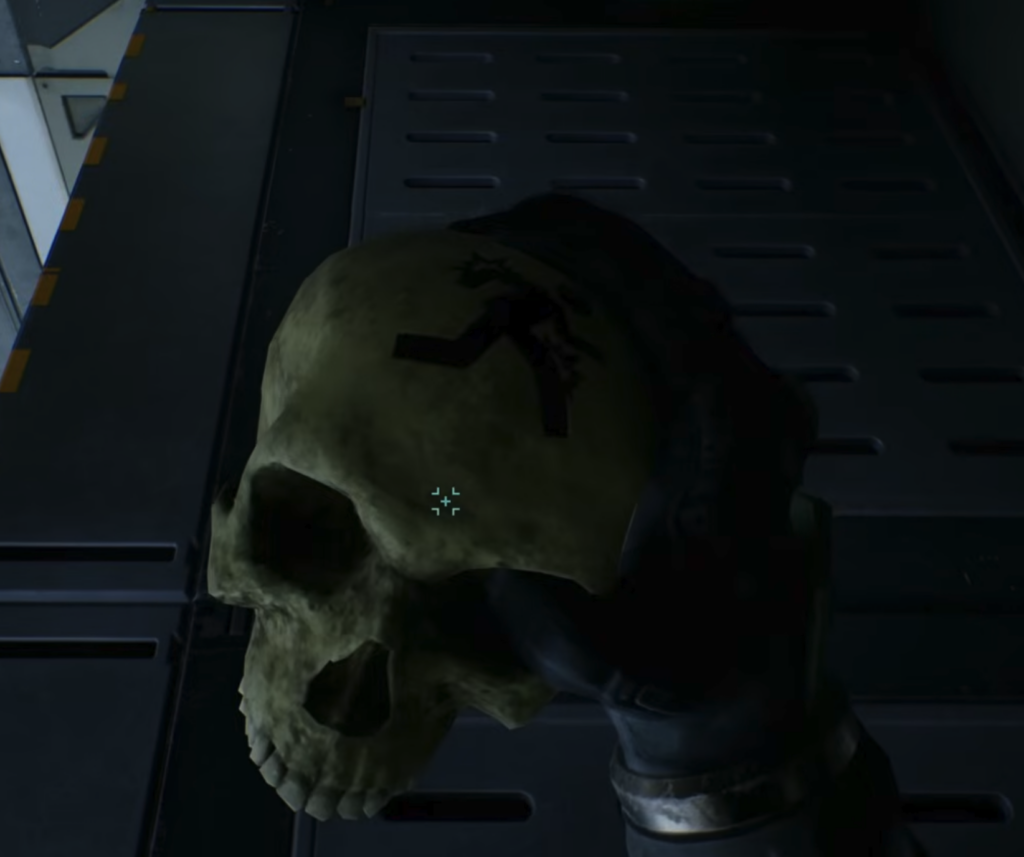
Interacting with a skull adds its modifier to the Campaign Remix menu, which is how you confirm the pickup registered. Nearly every skull can be grabbed on any difficulty, and you’re free to load into an advanced Rally Point, walk to the skull, collect it, and back out to the main menu — the unlock still counts. A handful are much harder to reach on higher difficulties because of enemy density, and those are called out below.
Every skull, its mission, and its effect
| Skull | Mission | Effect |
|---|---|---|
| Speed Limit | Pillar of Autumn | Disables sprint. |
| Magnified | Pillar of Autumn | Assault Rifle holds 60-round magazines. |
| Perspective | Pillar of Autumn | Switches the camera to third-person. |
| Floor Is Lava | Halo | Touching the ground deals continuous damage. |
| Grunt Funeral | Halo | Grunts die in a blaze of plasma. |
| Give & Take | Halo | Firing drains your shield; damaging enemies recharges it. |
| Iron | Truth and Reconciliation | Solo deaths restart the level; co-op deaths reset to checkpoint. |
| Endurance Spec | Truth and Reconciliation | UNSC vehicles cannot be damaged. |
| Foreign | Truth and Reconciliation | You cannot use weapons from another faction. |
| Bandana | The Silent Cartographer | Infinite ammo and grenades. |
| Acrophobia | The Silent Cartographer | Grants flight. |
| Hip Fire | The Silent Cartographer | Disables all weapon zoom. |
| IWHBYD | Assault on the Control Room | Unlocks rare dialogue. |
| Angry | Assault on the Control Room | Enemies fire faster and more frequently. |
| Cowbell | Assault on the Control Room | Reduces object mass, so physics send things flying. |
| Fog | 343 Guilty Spark | Disables the motion tracker. |
| That’s Just… Wrong | 343 Guilty Spark | Enemies detect you more easily. |
| They Come Back | 343 Guilty Spark | Reanimated Flood Combat Forms are far more dangerous. |
| Tilt | The Library | Boosts both positive and negative damage multipliers. |
| Pop | The Library | Shooting Flood weak points makes them explode. |
| Famine | The Library | Enemy-dropped weapons carry half the ammo. |
| Tough Luck | Two Betrayals | Enemies dodge, go berserk, and never flee. |
| Black Eye | Two Betrayals | Shields only recharge when you melee enemies. |
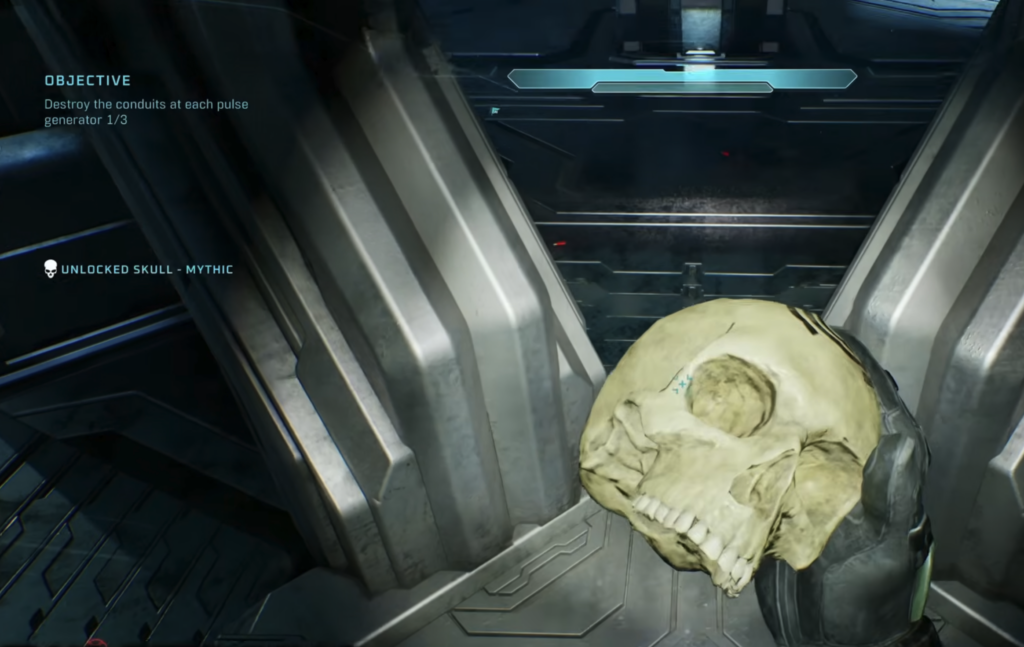
| Mythic | Two Betrayals | Enemies have increased health. |
| Blind | Keyes | HUD and weapon models are hidden. |
| Piñata | Keyes | Melee kills make enemies drop inert grenades. |
| Stowed Reload | The Maw | Weapons keep reloading while holstered. |
| Boom | The Maw | Explosion radius is doubled. |
| Thunderstorm | The Maw | Most enemies spawn at higher ranks. |
| Malfunction | Boarding Action | Each respawn removes a random part of your HUD. |
| Johnny Ammo Seed | Boarding Action | Reloading discards the ammo left in the clip. |
| Leadhead | Boarding Action | Headshots no longer deal bonus damage or instant kills. |
| Ghost | The Most Dangerous Game | Enemies no longer flinch when shot. |
| Recession | The Most Dangerous Game | Every shot uses twice the ammo. |
| Eye Patch | Heavy Burden | Disables all weapon auto-aim. |
| Grunt Birthday Party | Heavy Burden | Grunt headshots trigger confetti celebrations. |
| Efficient | Heavy Burden | Enemies killed at full health drop extra ammo. |
| Catch | Not yet confirmed | Enemies throw and drop more grenades. |
| Temperamental | Not yet confirmed | Allies turn on you faster if you kill a friendly. |
| Adaptation | Auto-unlock | Randomizes the enemy factions in a mission. |
| Reload | Auto-unlock | Randomizes the pre-placed weapons in a mission. |
| Armistice | Auto-unlock | Enemy factions never fight one another. |
Catch and Temperamental fill the remaining collectible slots in Keyes and The Most Dangerous Game, though the exact spots aren’t pinned down yet.
Pillar of Autumn skull locations
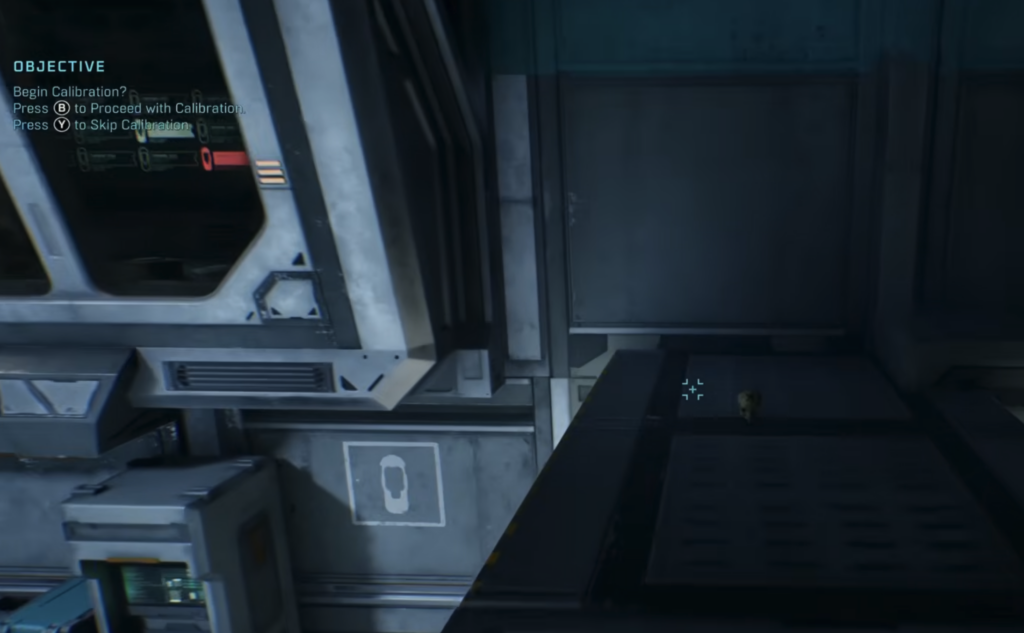
Speed Limit: Right at the start, turn around and sprint-jump onto the tankers at the back of the room, then walk down the walkway to the skull.
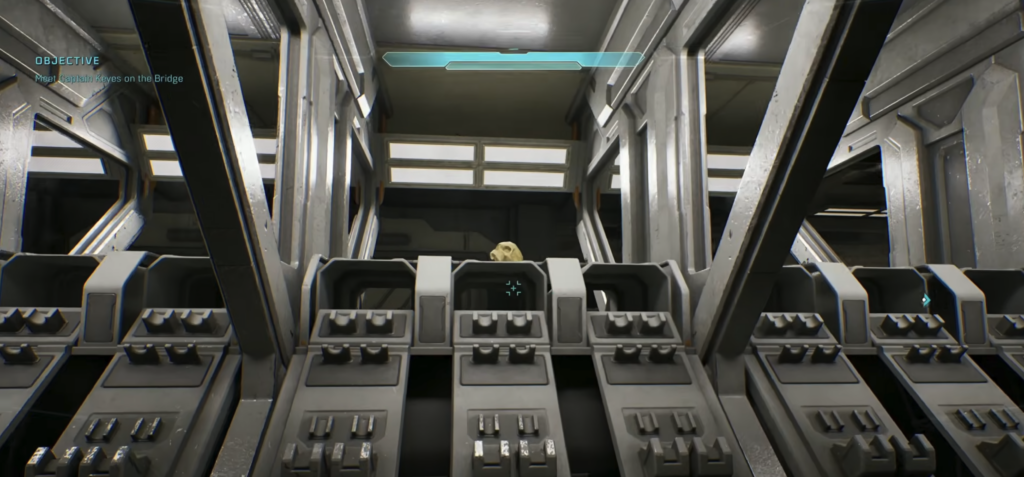
Magnified: While you’re disarmed and heading to meet Keyes, you’ll pass marines fighting Elites and reach room BO2L. The skull sits on top of the object in the middle of that room.
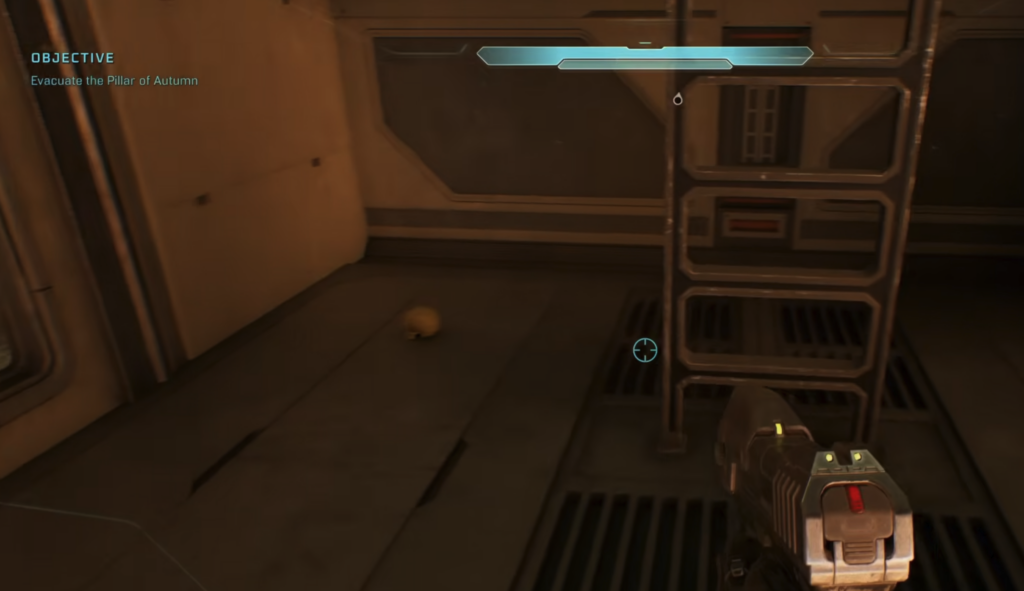
Perspective: After the Keyes cutscene, turn back into the room and move behind him toward the pilots. Drop down the ladder next to them and turn around to find it.
Halo skull locations
You can grab these in any order, but saving every group of marines ends the mission, so leave that until last.
Grunt Funeral: You need a grenade for this one. At the bunker section, clear the Covenant and let the marines leave on the dropship, then head to the highest point of the structure. Throw a grenade at the base and time your jump to launch up to the skull.
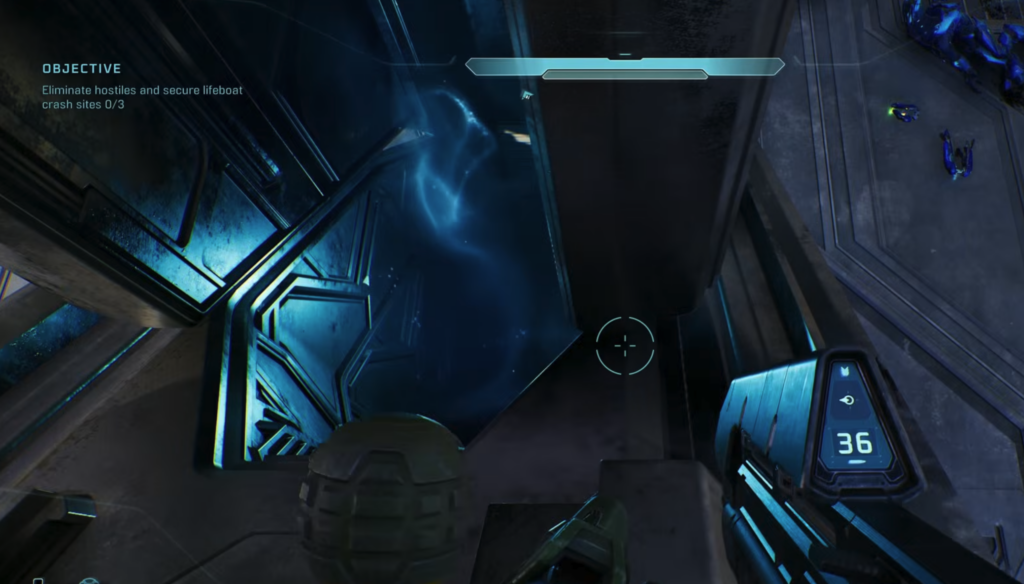
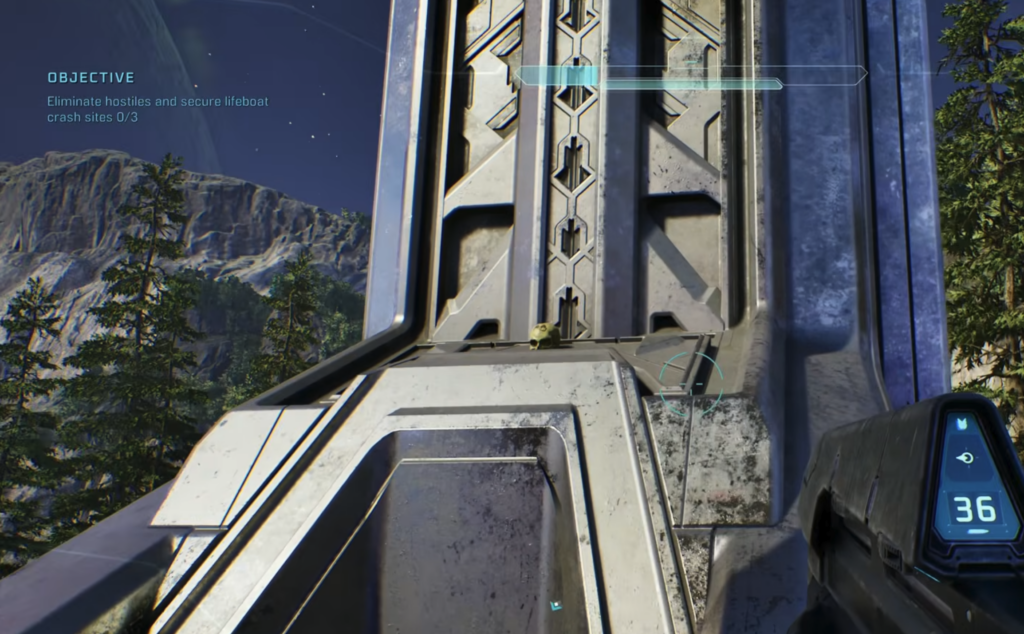
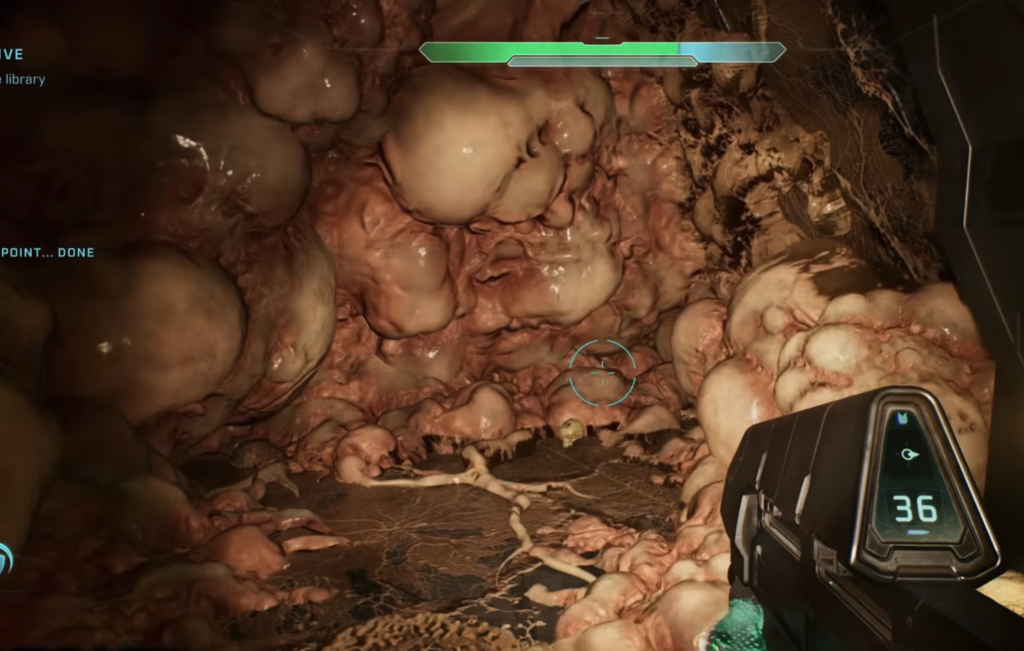
Give & Take: At a later marine rescue, take out the enemies and evac the marines, then move to the spot opposite where the marines were camped. Turn 180 degrees, follow the stream right into a cave, and the skull floats in the air.
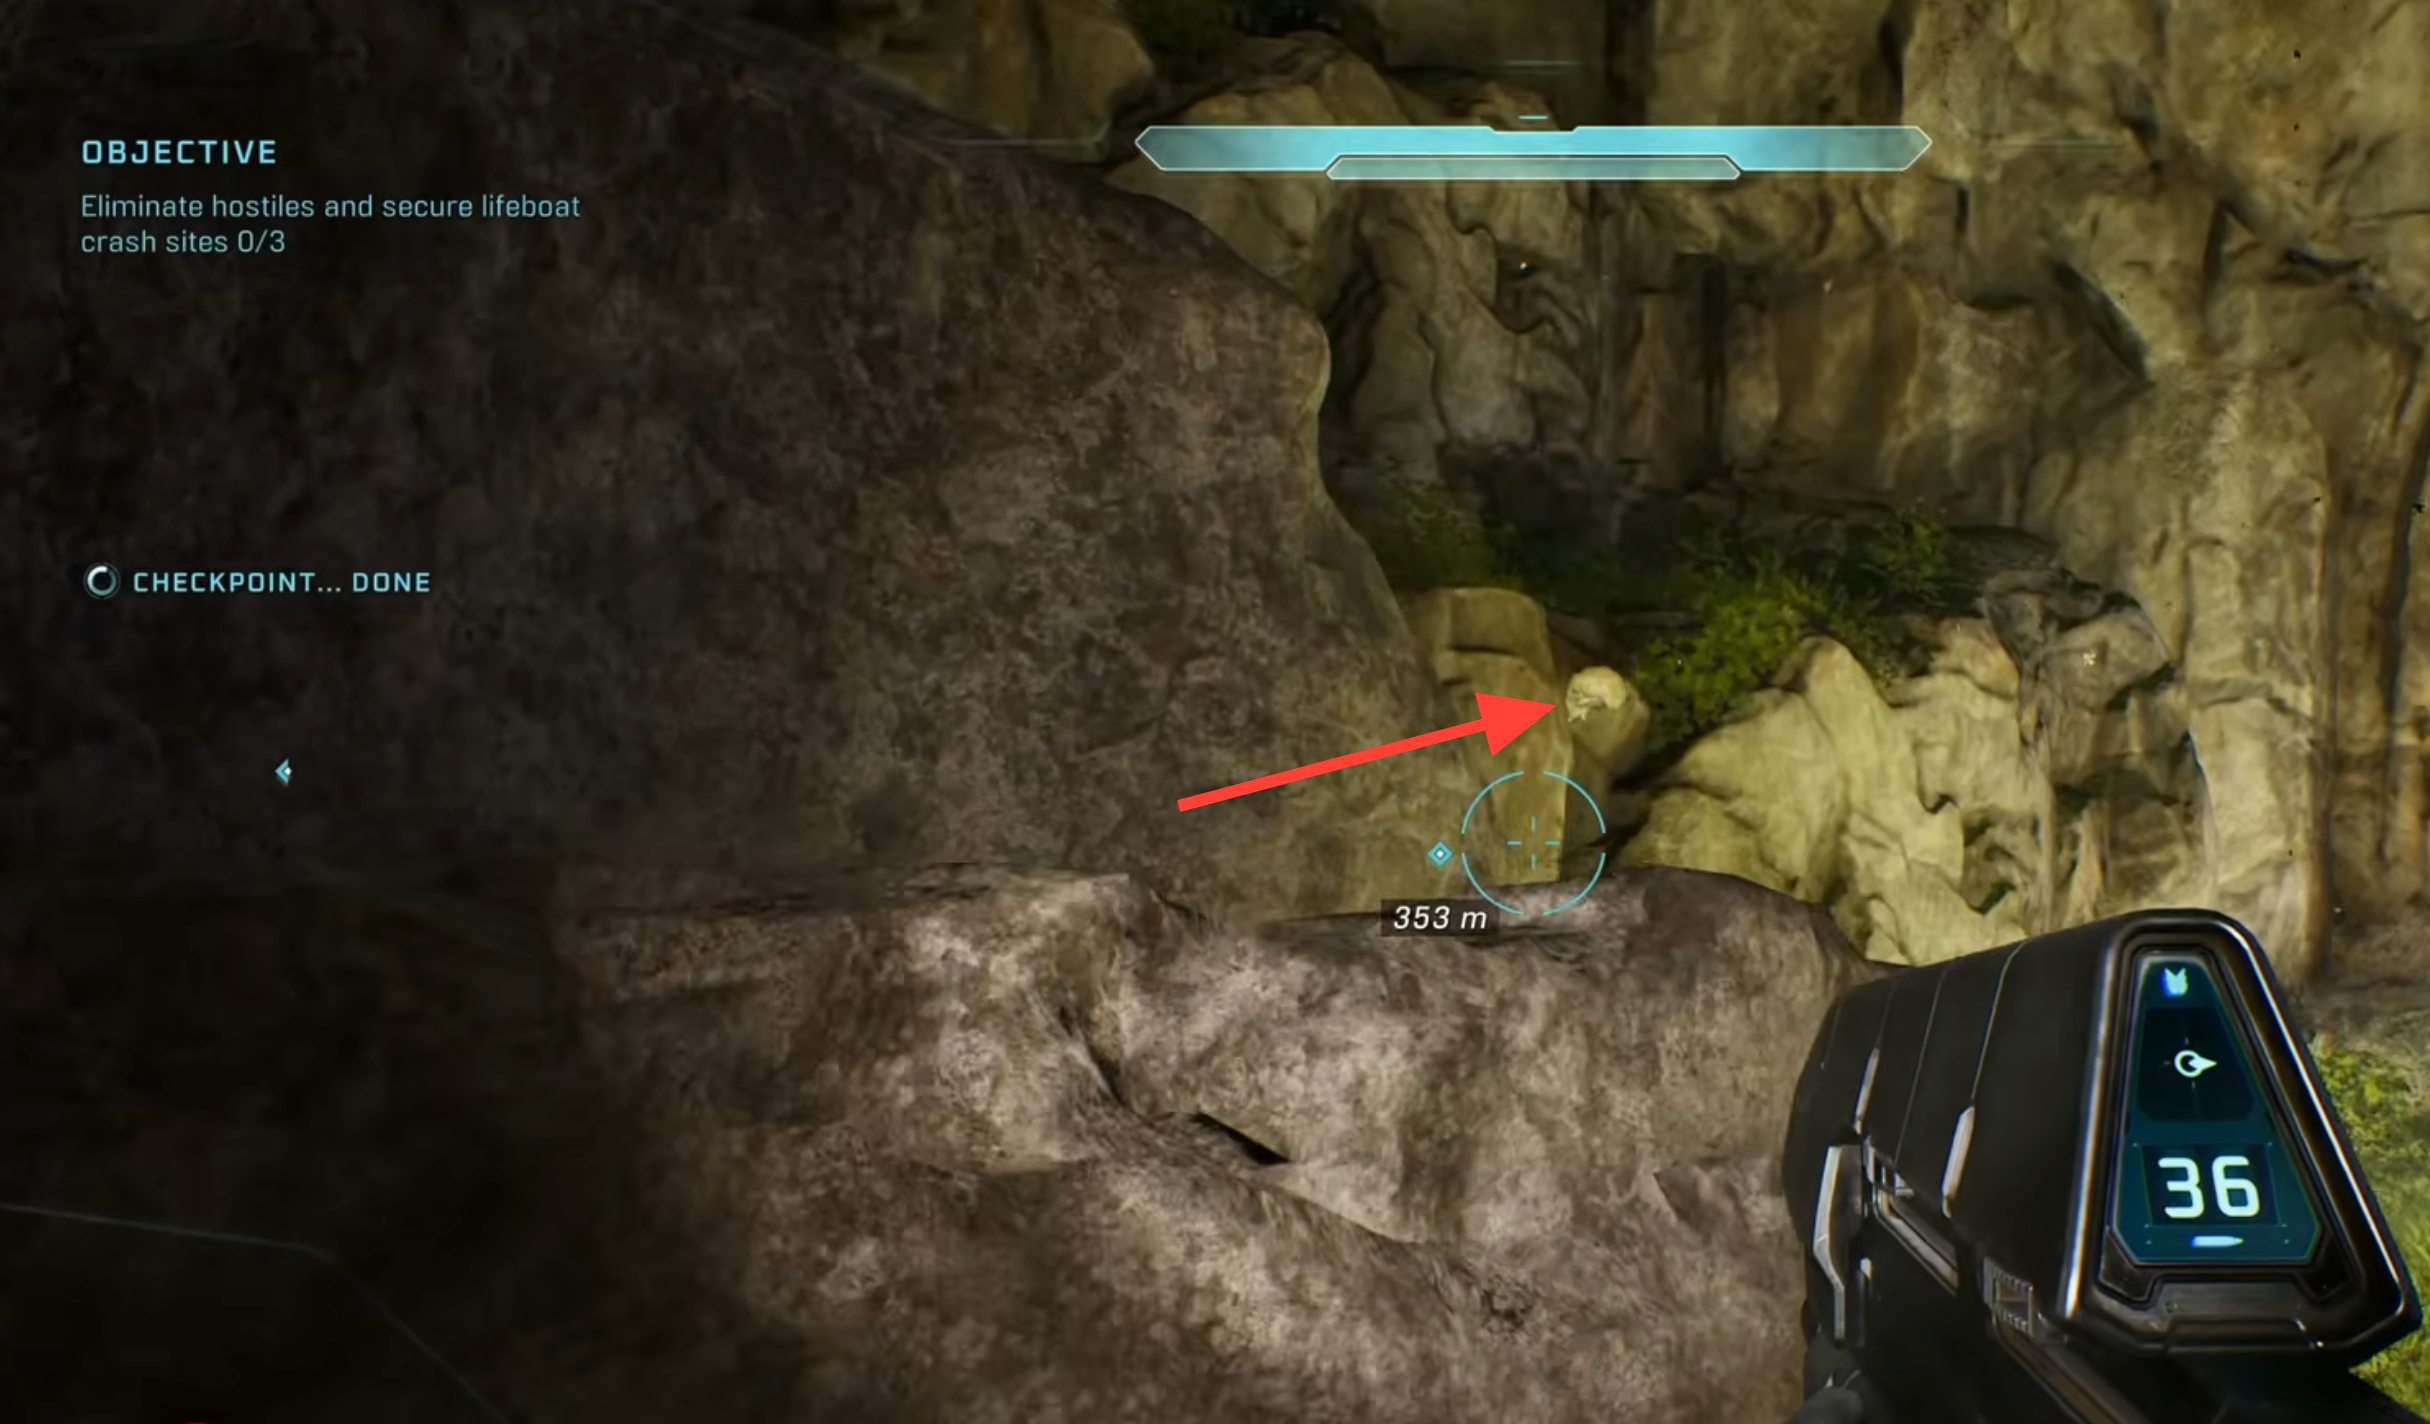
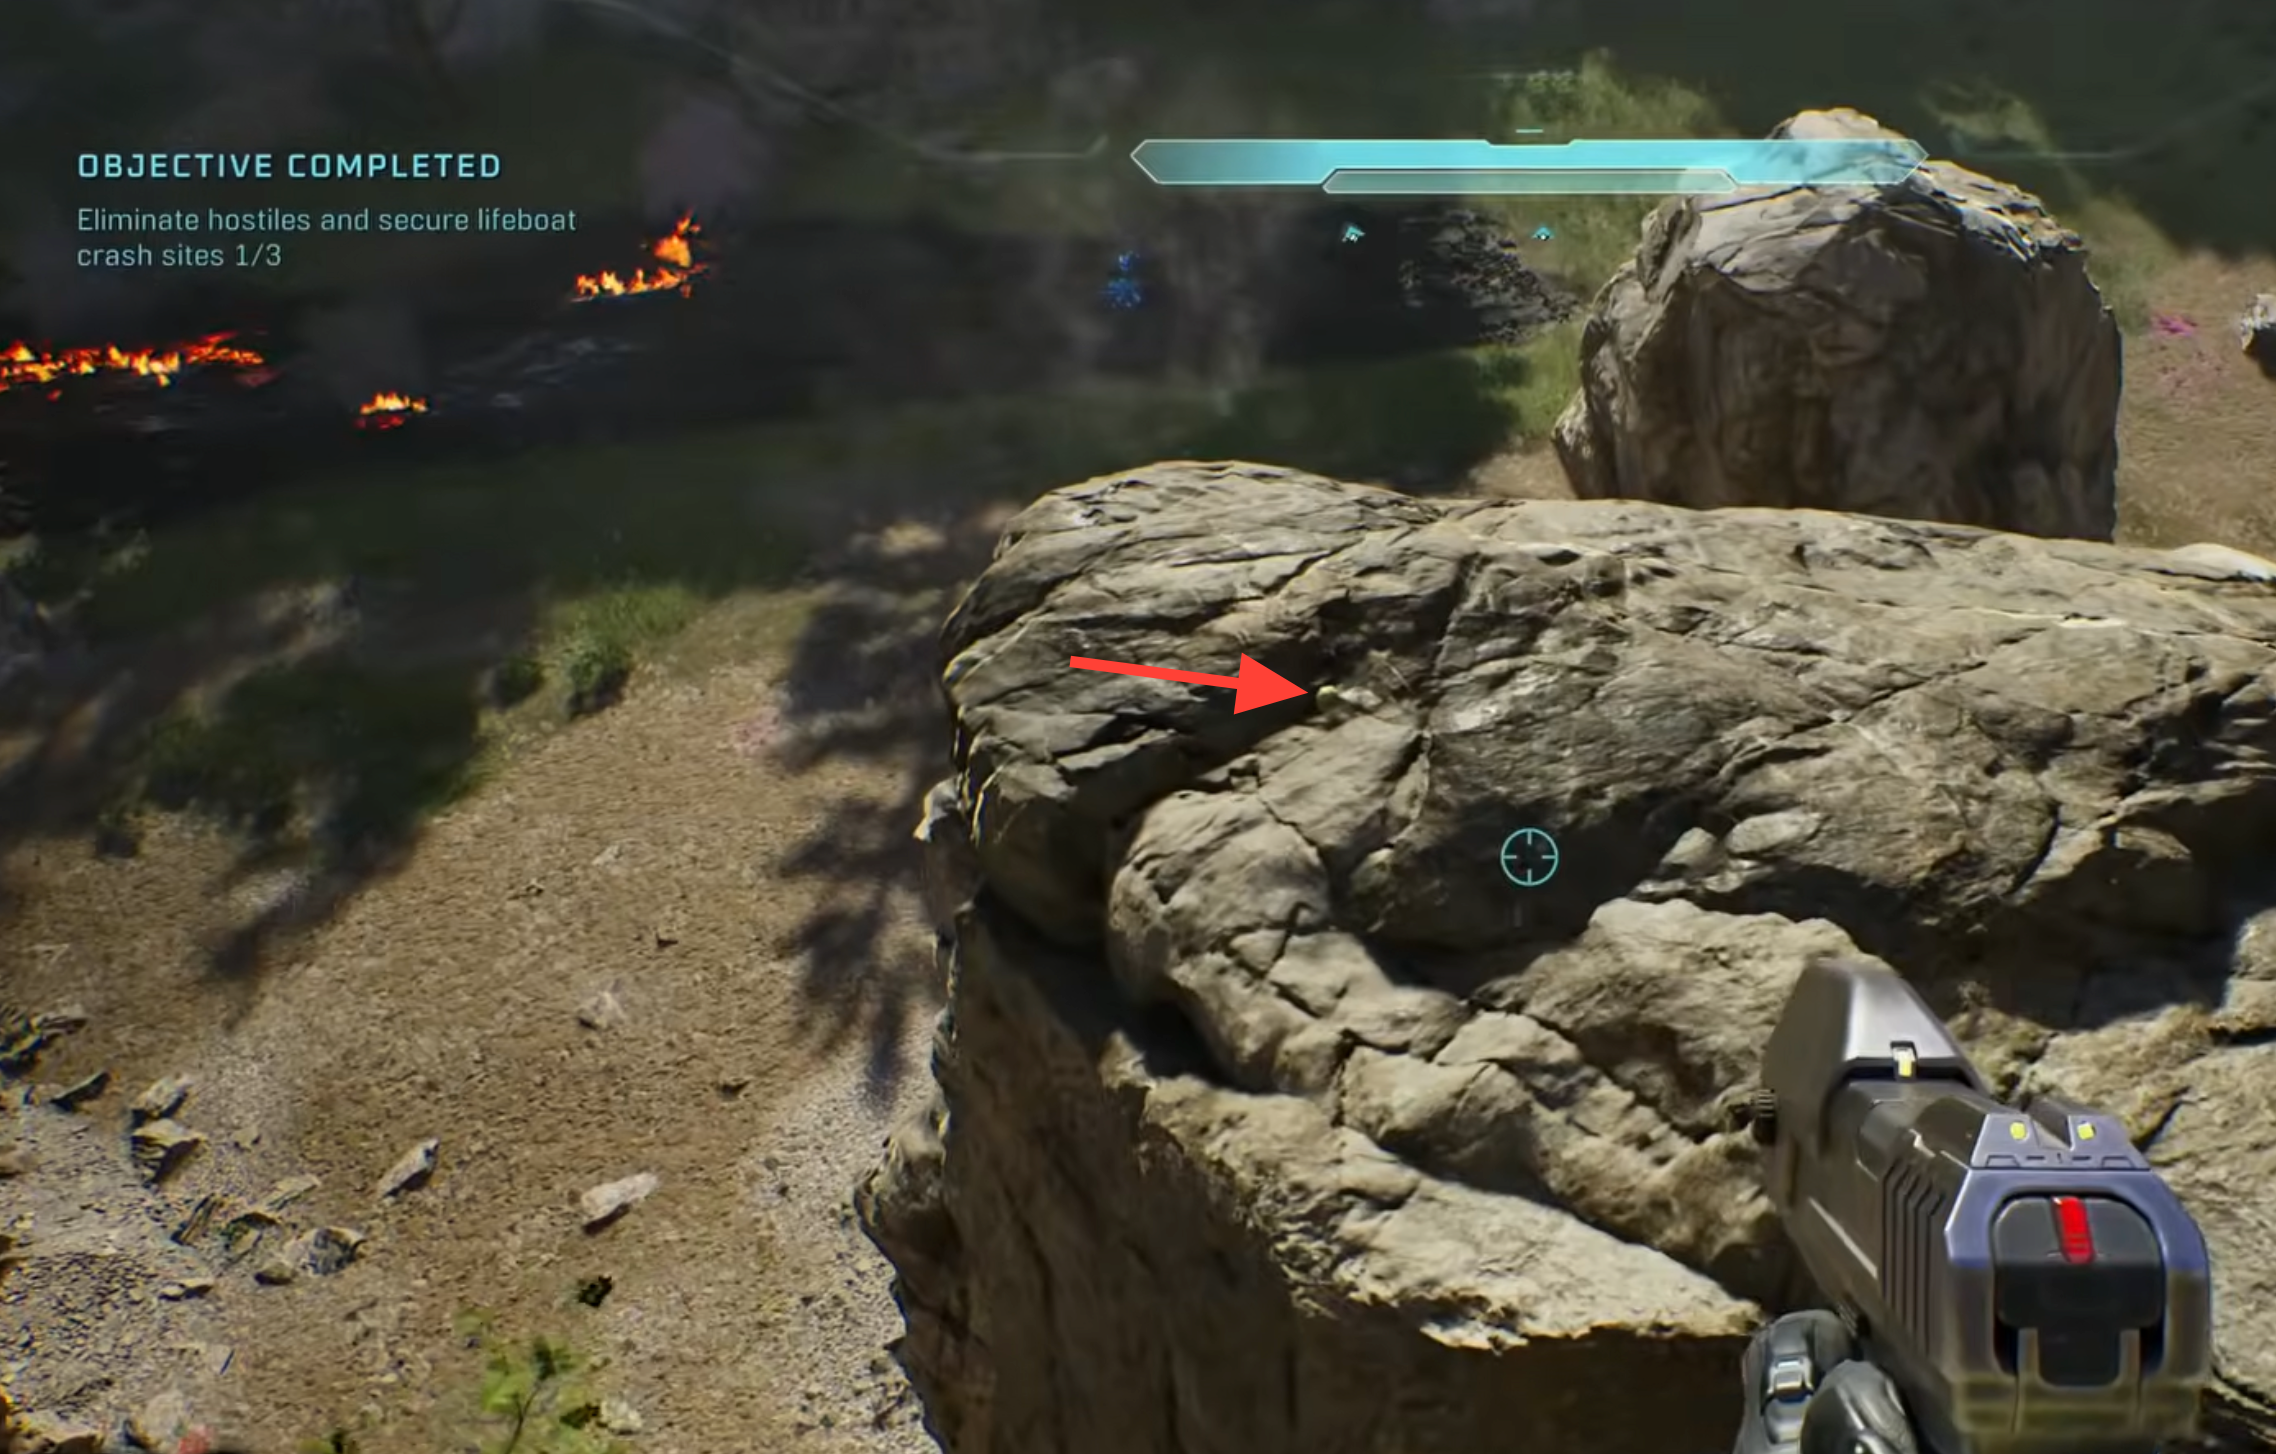
Floor Is Lava: At the third marine location with Jackals sniping from the rocks, head toward the skull’s rock and climb the grass-topped rock next to it, then jump down to grab it.
The Truth and Reconciliation skull locations
Iron: At the gravity lift that carries you onto the Covenant ship, clear the enemies but stay out of the lift. Move to the edge of the map by the pink trees, then look down off the ledge. To climb back up, jump toward a nearby tree and wiggle and crouch to make room.
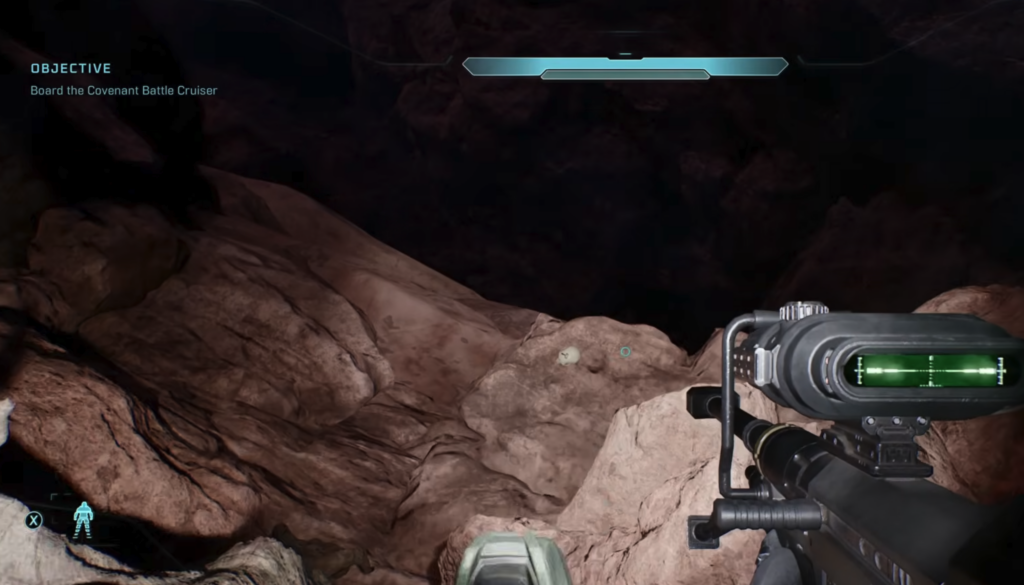
Endurance Spec: This is one of the toughest to reach. Early on the ship you’ll enter a high room overlooking two Wraiths. Try to trigger a checkpoint upstairs first so you don’t have to keep running back. Sprint-jump off a box to reach the first pillar, then make three well-timed jumps to the skull while holding the grab button.
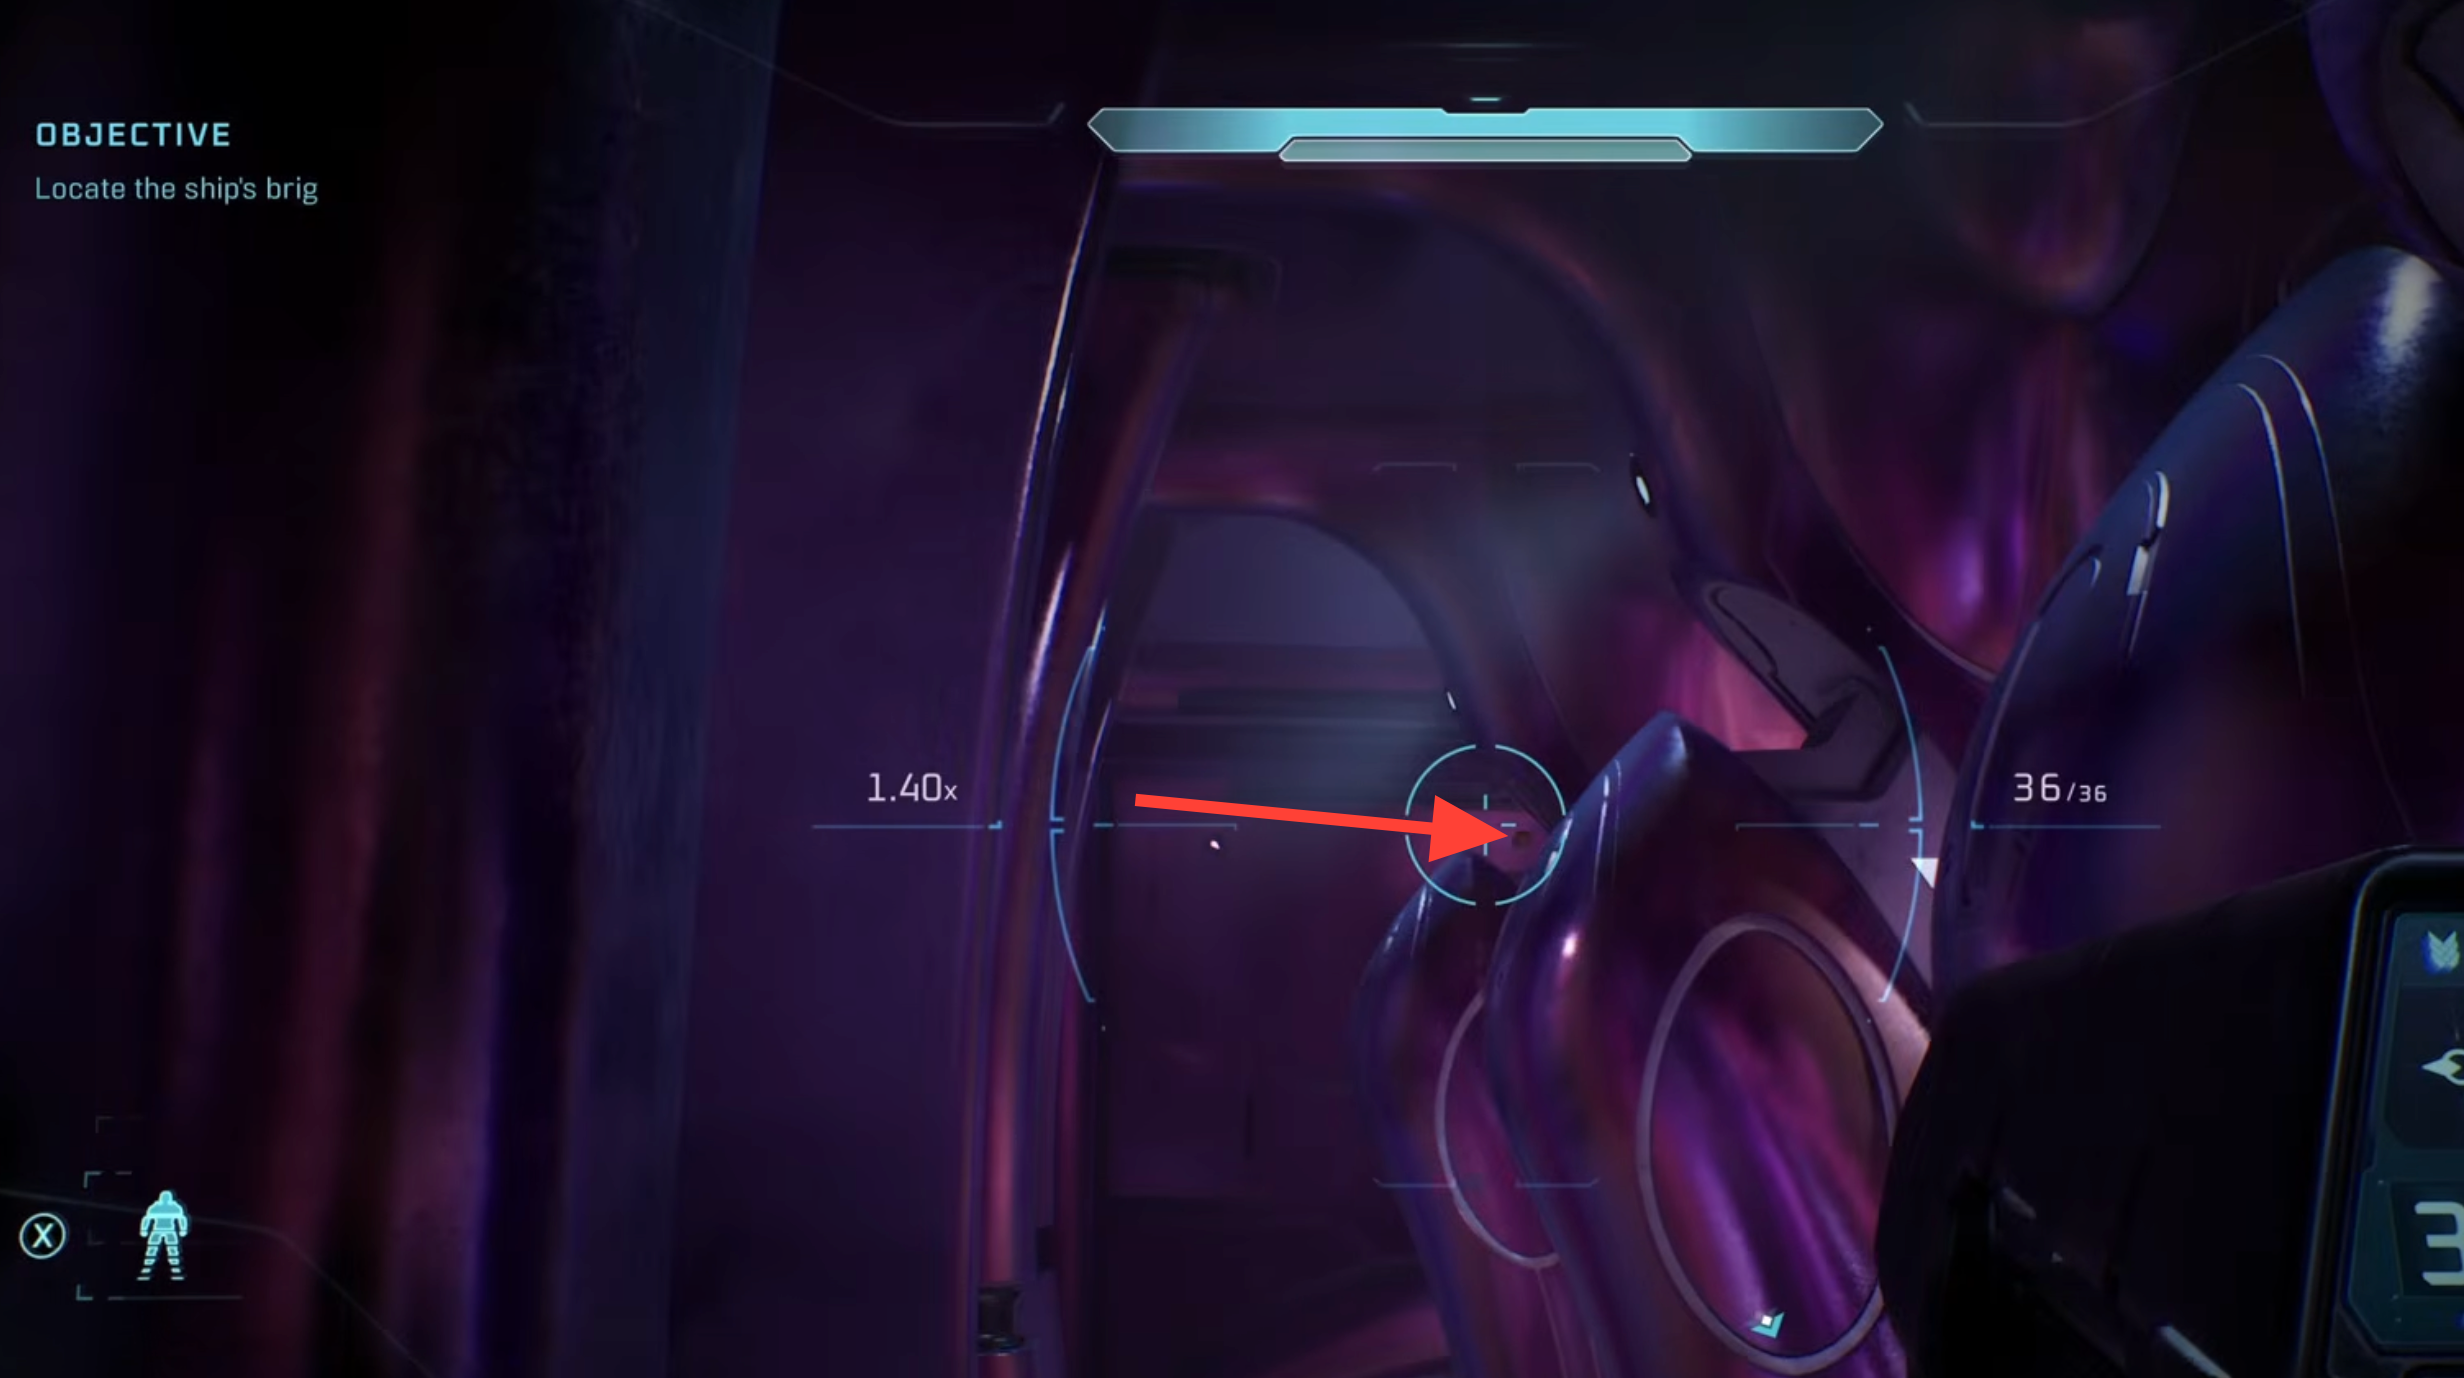
Foreign: Soon after, you’ll reach the hangar. Skip the enemies and rush to the far-right corner, toward a door two Hunters will eventually come through. Wait by it, and the moment it opens, dash in and grab the skull on the left. Miss the window and you’ll need to reload a checkpoint.
The Silent Cartographer skull locations
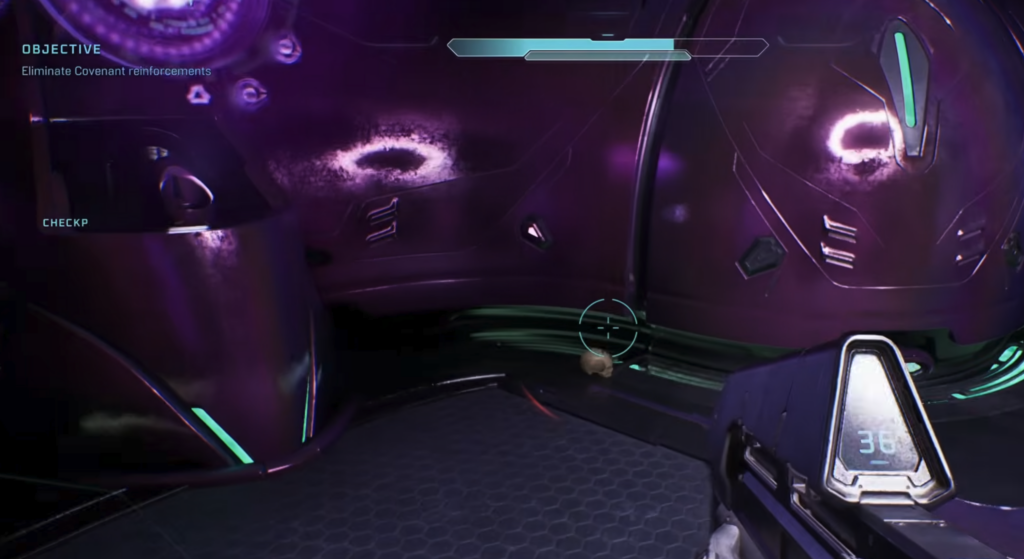
Bandana: At the first main structure, head to the other side of the entrance and into the nearby cave on the left. The skull is on the floor, lit up in front of you.
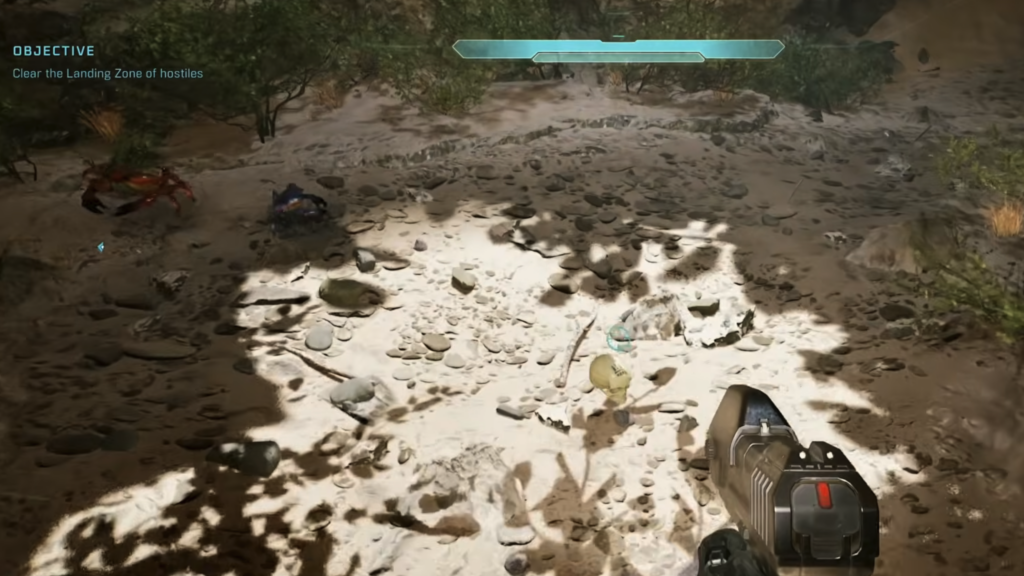
Acrophobia: Further down the beach you’ll climb a cliff and fight two Hunters. Take them out, move to the back of the structure, and climb up its side to a ledge at the top where the skull sits.
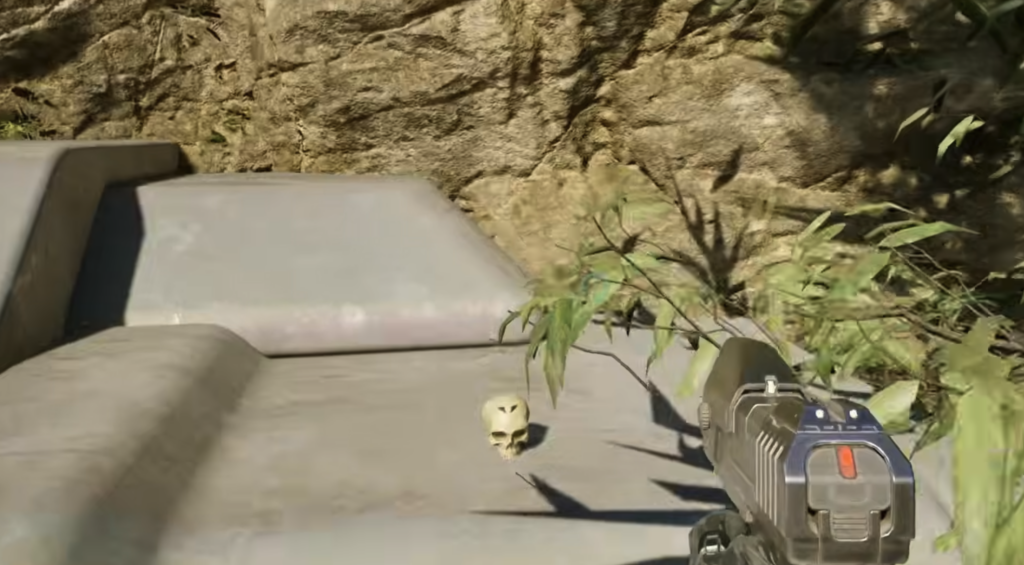
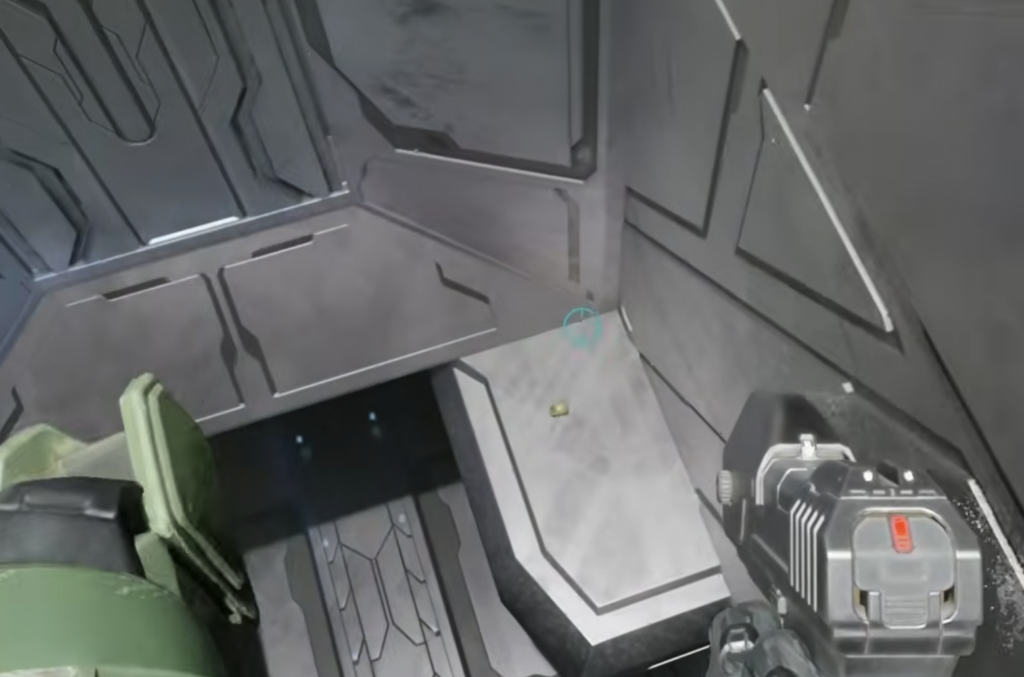
Hip Fire: Inside the structure after unlocking the door, you’ll clear a room with two Hunters. Follow the main path a few seconds to a well-lit stairwell, then look down and jump to the skull.
Assault on the Control Room skull locations
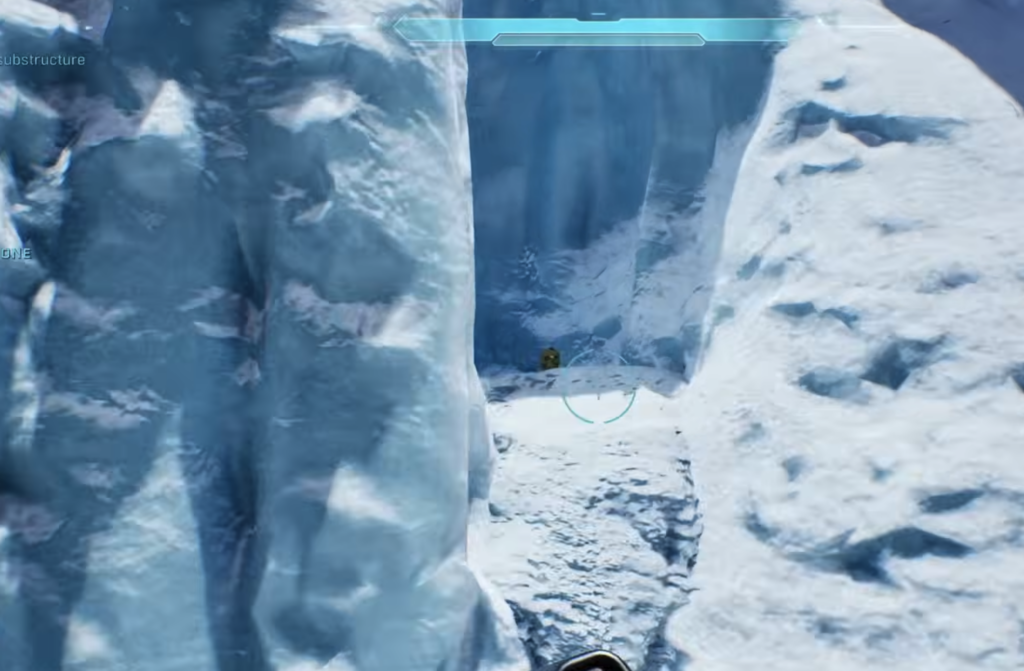
IWHBYD (Rally Point Bravo): Take the Scorpion tank and keep it from being destroyed. At the bridge, cross to the far side and go as far left as you can. Park the tank near the snowy ledge holding the skull and jump up from the turret to grab it.
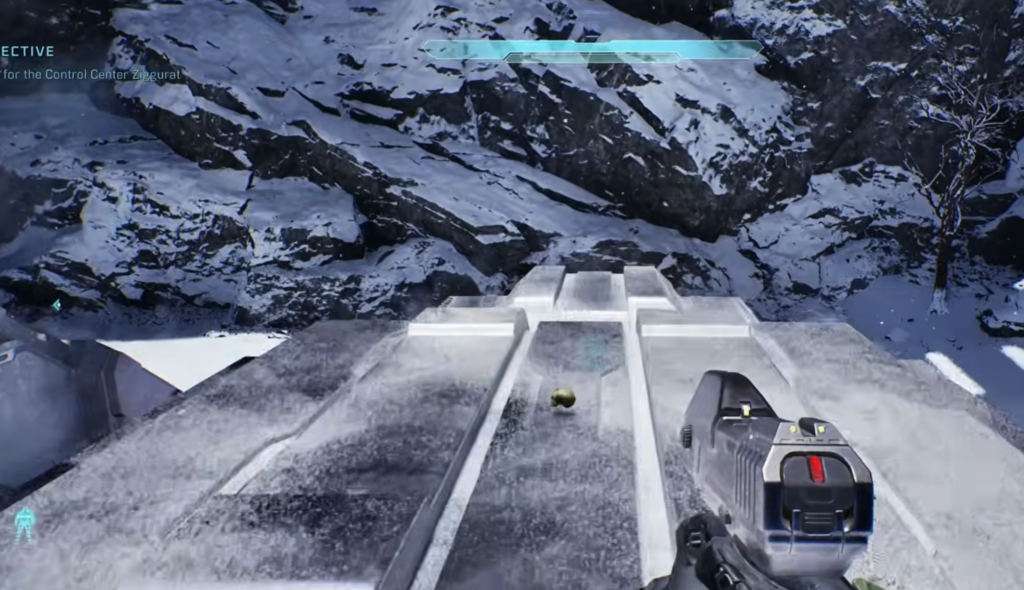
Angry: During the “Head for the Control Center Ziggurat” objective, you’ll reach a set of bridge-like structures. The skull sits on top of the farthest one.
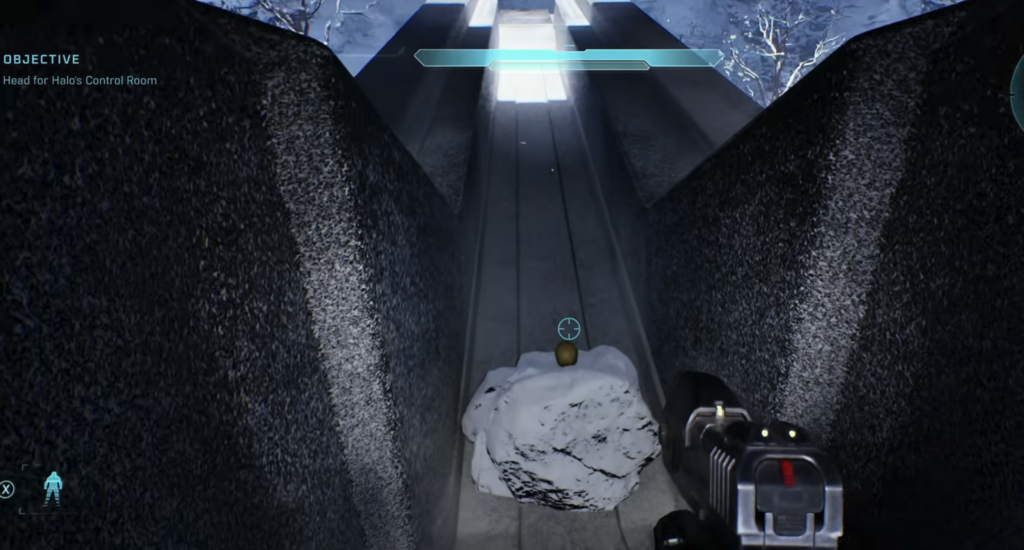
Cowbell: At the “If I Had a Super Weapon” checkpoint, rush the door and clear the Elites to claim a Banshee (reload the checkpoint if you don’t get one). Fly to the bridge on the construct ahead — the skull is tucked underneath it.
343 Guilty Spark skull locations
Fog: At the start, pass the downed dropship and the Covenant fight, then head up the hill to the left of the tree. Jump the ledge to the right and the skull is right in front of you.
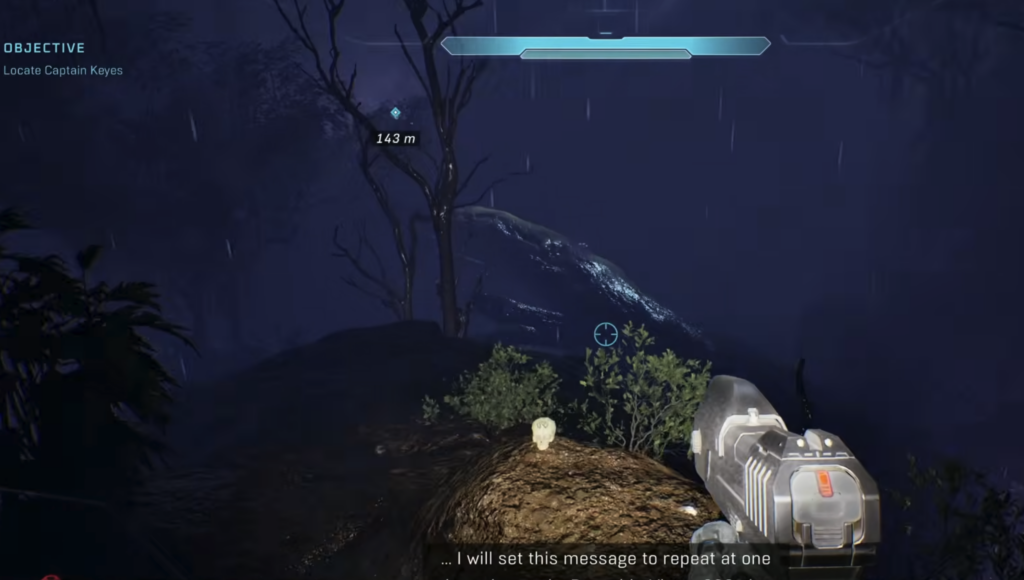
That’s Just… Wrong: A little way into the structure you’ll meet the Paranoid Marine. Shoot him and he drops the skull.
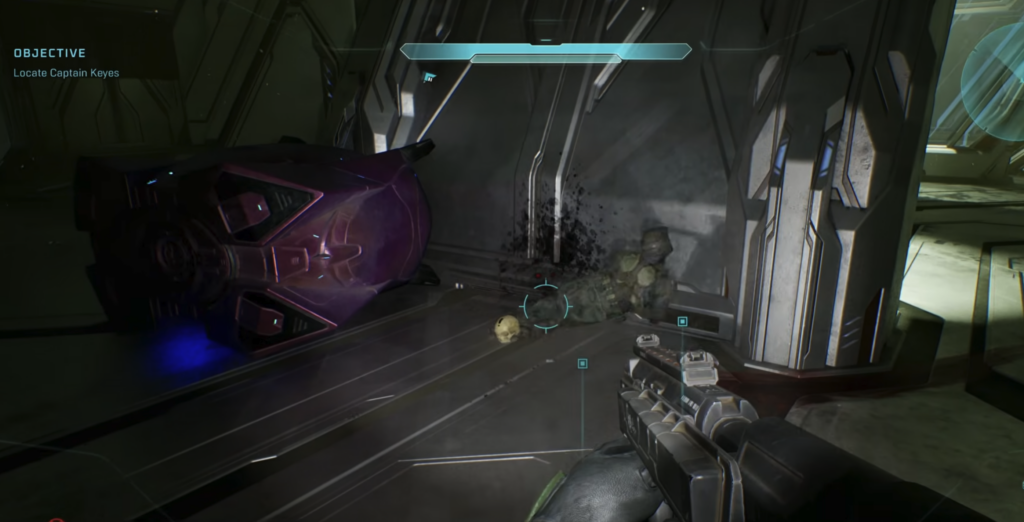
They Come Back: Near the end you’ll fight enemies while waiting for an aerial pickup — don’t kill them all or the mission ends. Head around the back of the structure toward the large tree, cross the long branch, and climb up to the skull.
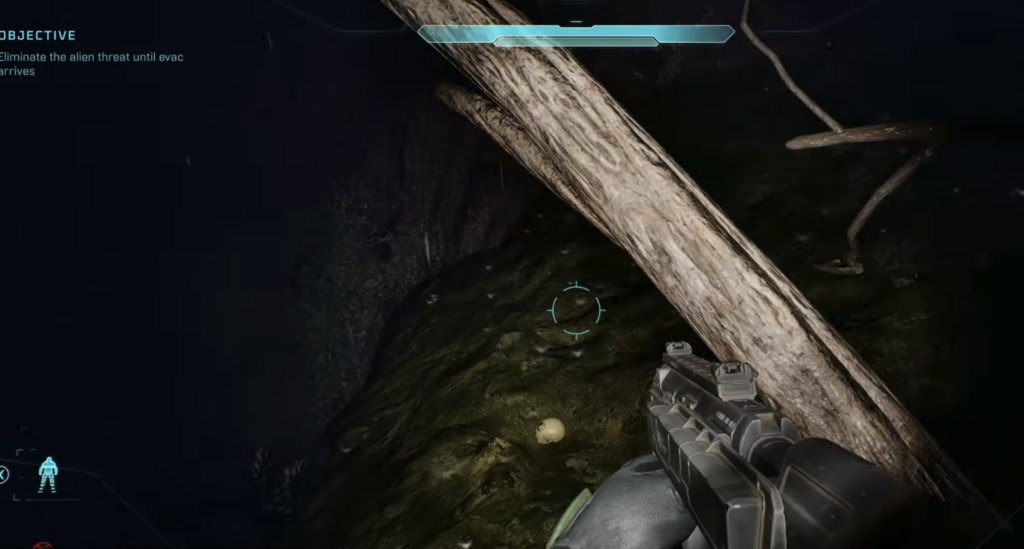
The Library skull locations
Tilt: At the first section with the sentries, turn around and climb above the door you came in through. The skull is waiting there.
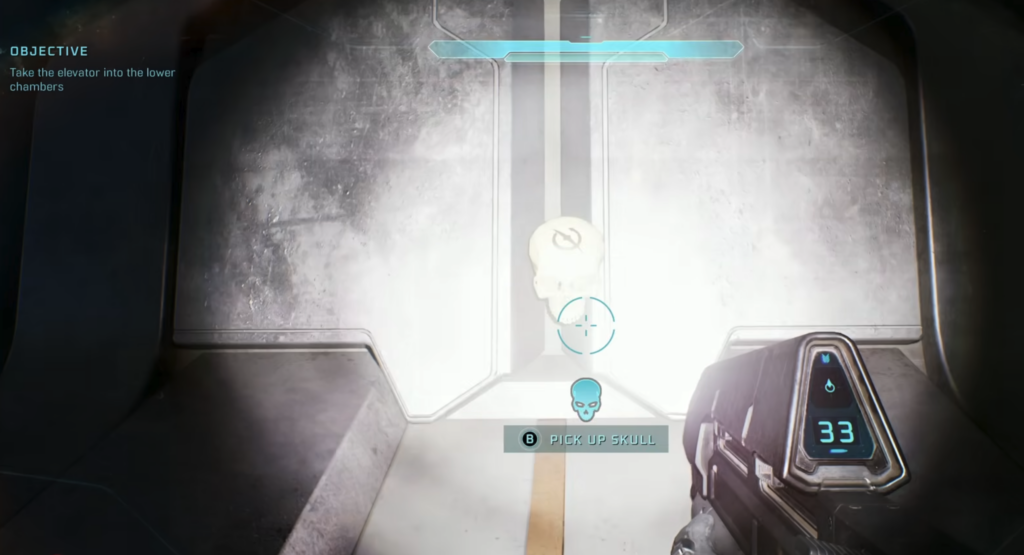
Pop: Shortly after, you’ll take a lift down into an ambush. Follow Guilty Spark to a door on the left that opens once every enemy is dead, then look right to spot the skull on a ledge.
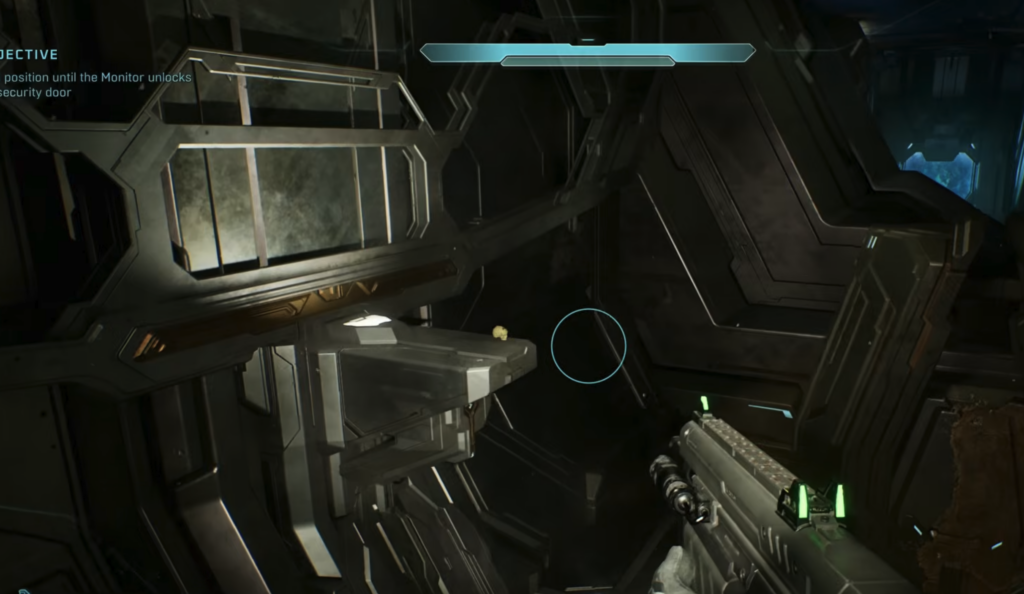
Famine: Near the end, ride the final elevator down. A group of Flood will ambush you from a door in the small dip ahead. Clear them, head down the dip, and the skull is to your left.
Two Betrayals skull locations
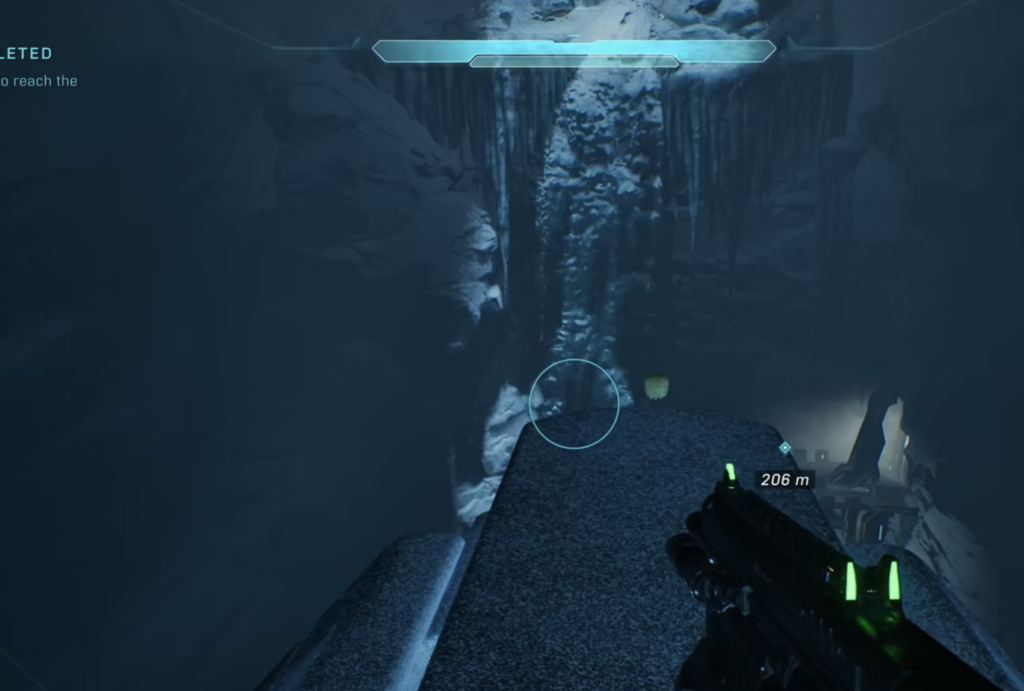
Tough Luck: Very early you’ll head outside and take a Banshee. Fly to the highest point of the structure you just walked out of and land on the ledge where the skull sits.
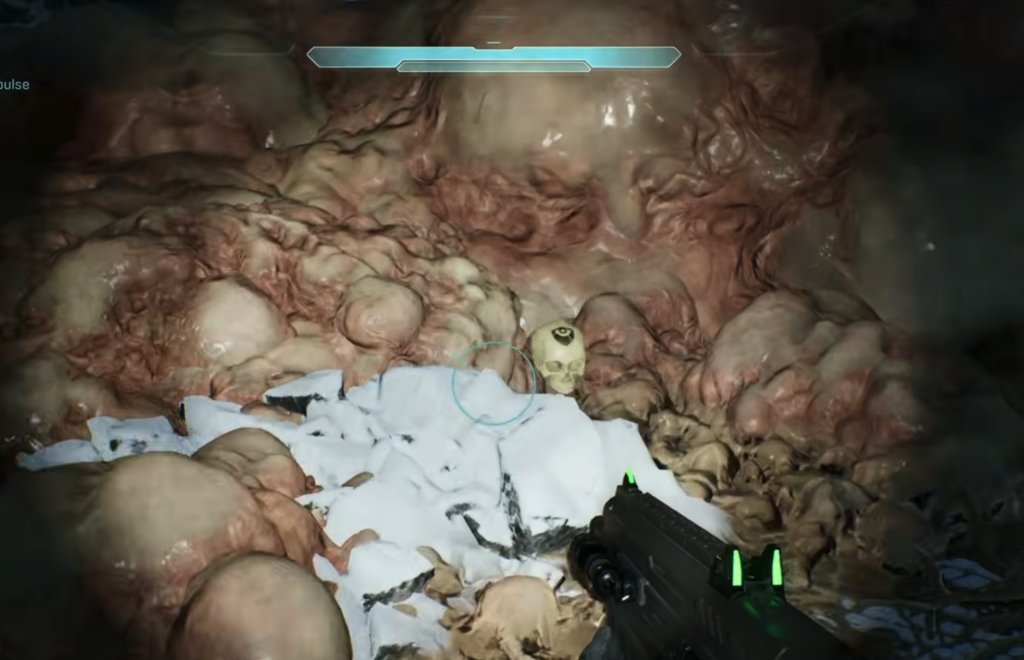
Black Eye: You’ll reach the same bridge-like structures from Assault on the Control Room, now coated in Flood sacks and gunk. Take the middle bridge, cross all the way over, then veer right between the Flood sacks to find it.
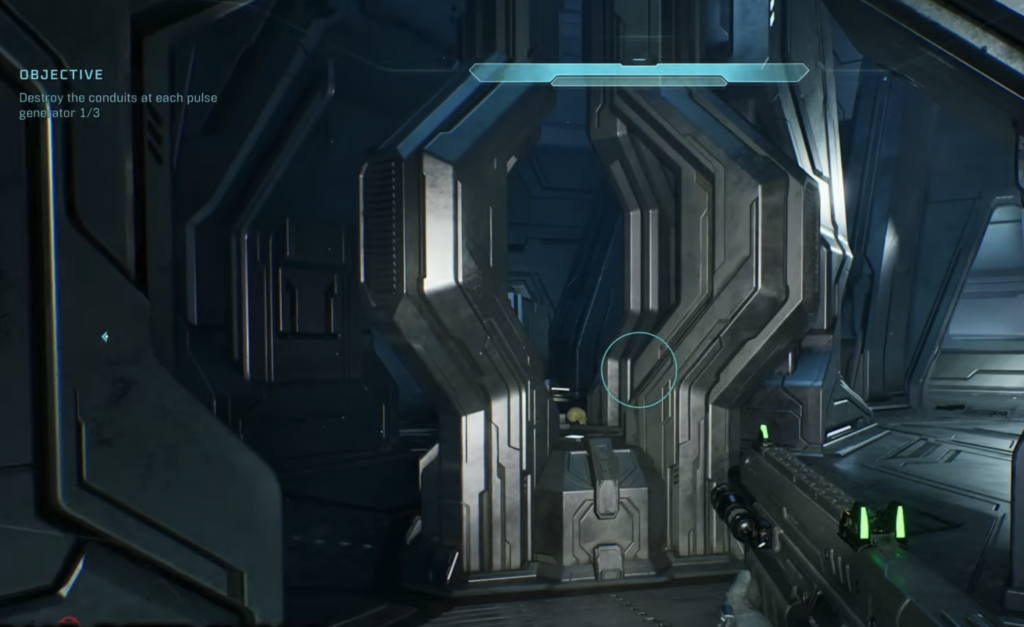
Mythic: Later in the mission you’ll get a Banshee again. Fly up to the required progression area, clear the enemies from the air, and land. Hit the button in the middle to open the distant door, fly over, and head inside. This one is much harder on higher difficulties because of the enemy count.
Keyes, The Maw, and the Operation: METEORITE missions
The remaining nine skulls are split across Keyes, The Maw, and the three bonus missions that make up Operation: METEORITE. Keyes hides Blind and Piñata, The Maw holds Stowed Reload, Boom, and Thunderstorm, Boarding Action contains Malfunction, Johnny Ammo Seed, and Leadhead, The Most Dangerous Game has Ghost and Recession, and Heavy Burden holds Eye Patch, Grunt Birthday Party, and Efficient. Catch and Temperamental round out Keyes and The Most Dangerous Game.
The three automatic skulls and LASO
Adaptation, Reload, and Armistice can’t be found in the world. They drop into your collection once you’ve picked up any two skulls, which is the same moment Campaign Remix unlocks. Remix lets you randomize weapon behavior, enemy placements, player stats, and environmental effects for a fresh run.
If you’re chasing LASO (Legendary All Skulls On), note that this version doesn’t require all 42 active. A curated set of 17 skulls unlocks the official LASO difficulty, since many of the new skulls now make the game easier rather than harder.
Collecting all 39 hidden skulls, plus the three automatic unlocks, earns the Headhunter trophy, while grabbing every skull and terminal in the game unlocks Collector’s Addition. To confirm any single pickup worked, open the Campaign Remix menu — the modifier will be listed there and ready to toggle on for your next playthrough.