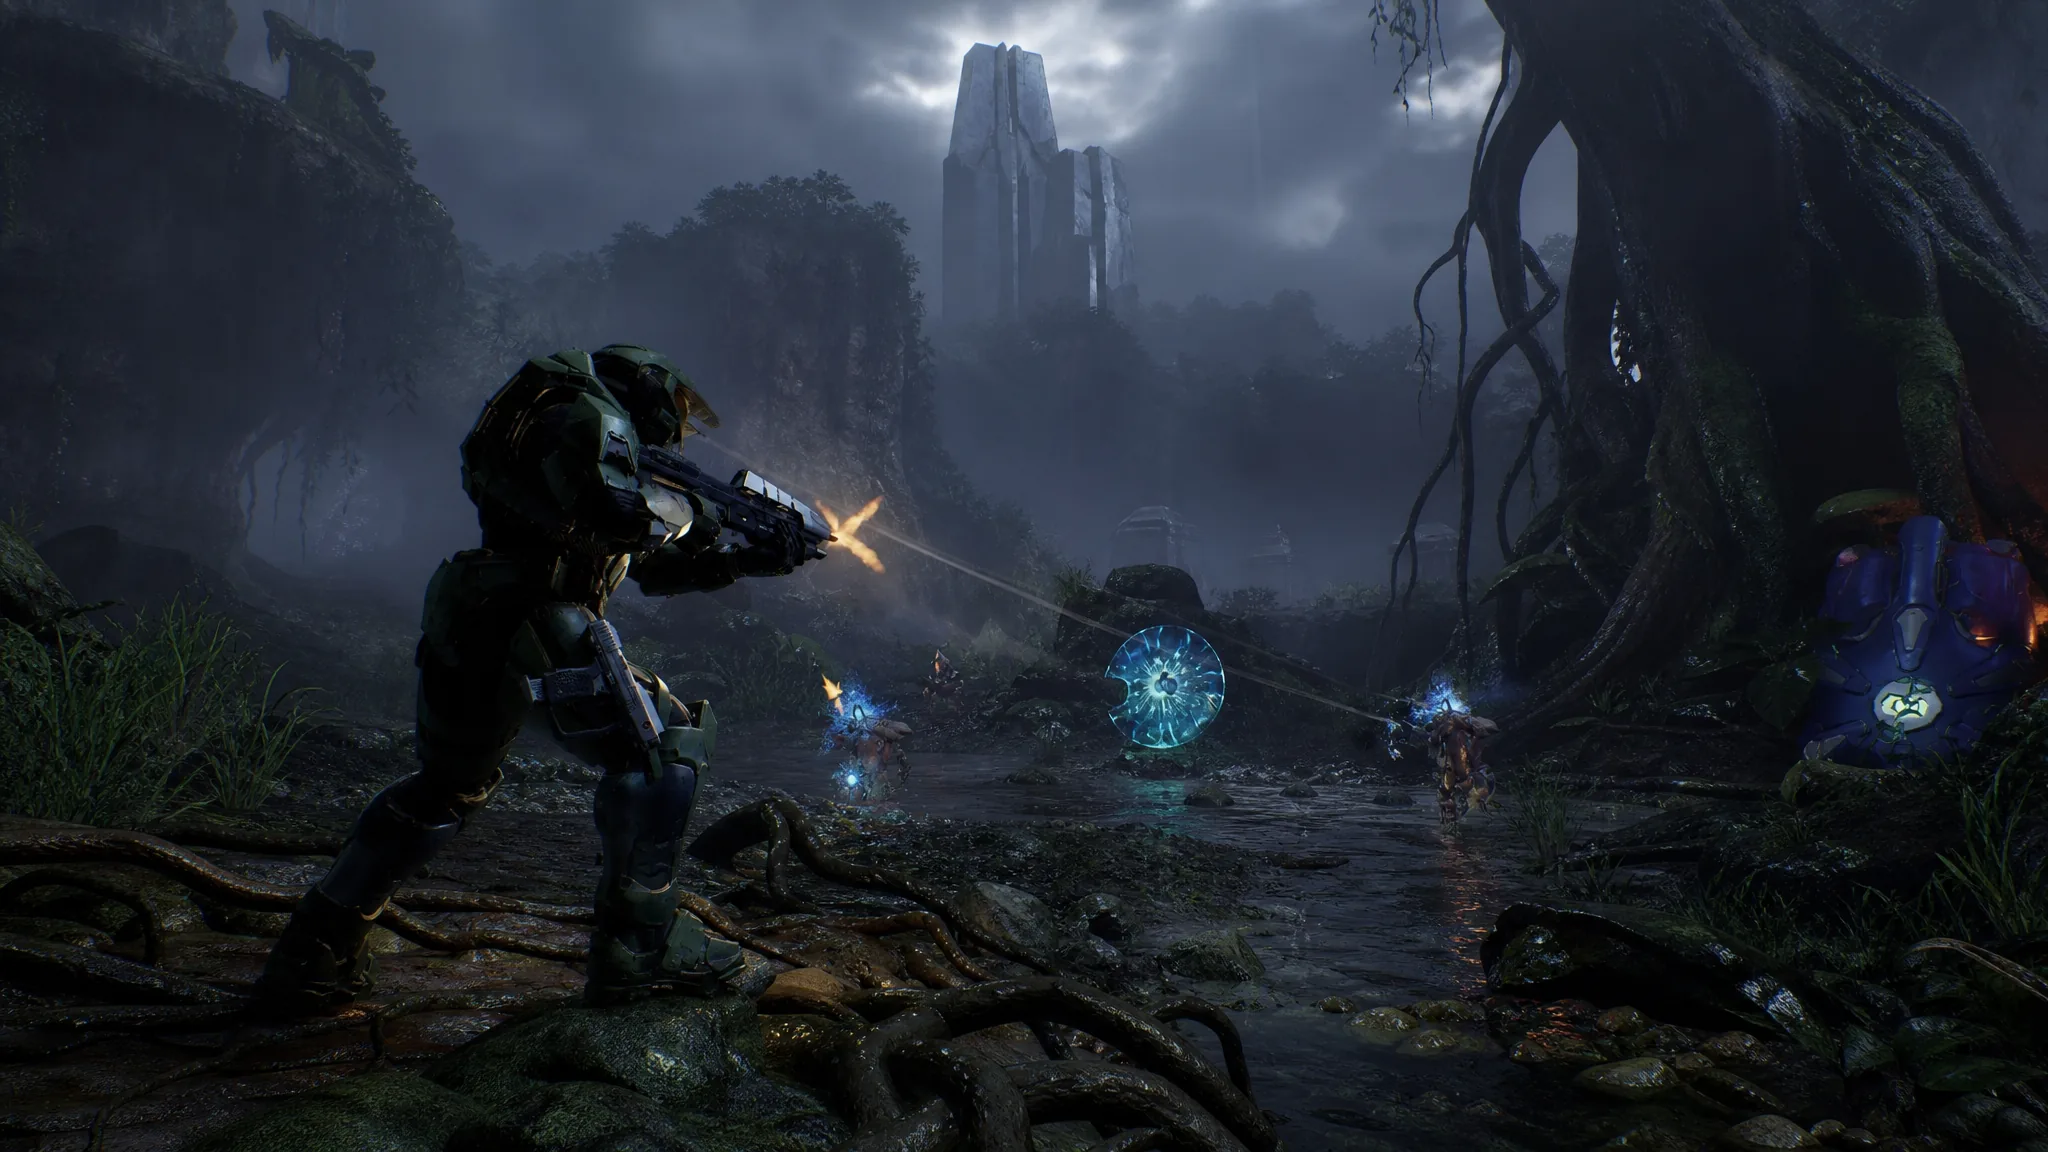
Master Chief walks into the fight on Alpha Halo with a bigger arsenal than ever. The remake keeps every classic from the original campaign and folds in newer models pulled from later games in the series, giving you 17 weapons to juggle across the Covenant and Flood. Knowing which ones to grab on sight, and which to leave on the floor, saves you a lot of trouble on higher difficulties.
Quick answer: Pick up the Energy Sword whenever you see it. After that, prioritize the Sentinel Beam, Sniper Rifle, Rocket Launcher, Fuel Rod Gun, Beam Rifle, and Assault Rifle before anything else.
Every weapon ranked
The ranking below reflects the campaign at launch. Weapons are judged on raw damage, how often you find them, how much ammo comes with them, and how well they handle the enemy types you meet most, meaning Grunts, Elites, Hunters, and the Flood.
| Tier | Weapons |
|---|---|
| S | Energy Sword |
| A | Sentinel Beam, Assault Rifle, Sniper Rifle, Rocket Launcher, Fuel Rod Gun, Beam Rifle |
| B | Needle Rifle, Spiker, Brute Plasma Rifle, Plasma Rifle, Needler, Battle Rifle, Shotgun, Magnum |
| C | Submachine Gun, Plasma Pistol |
S-tier: the Energy Sword
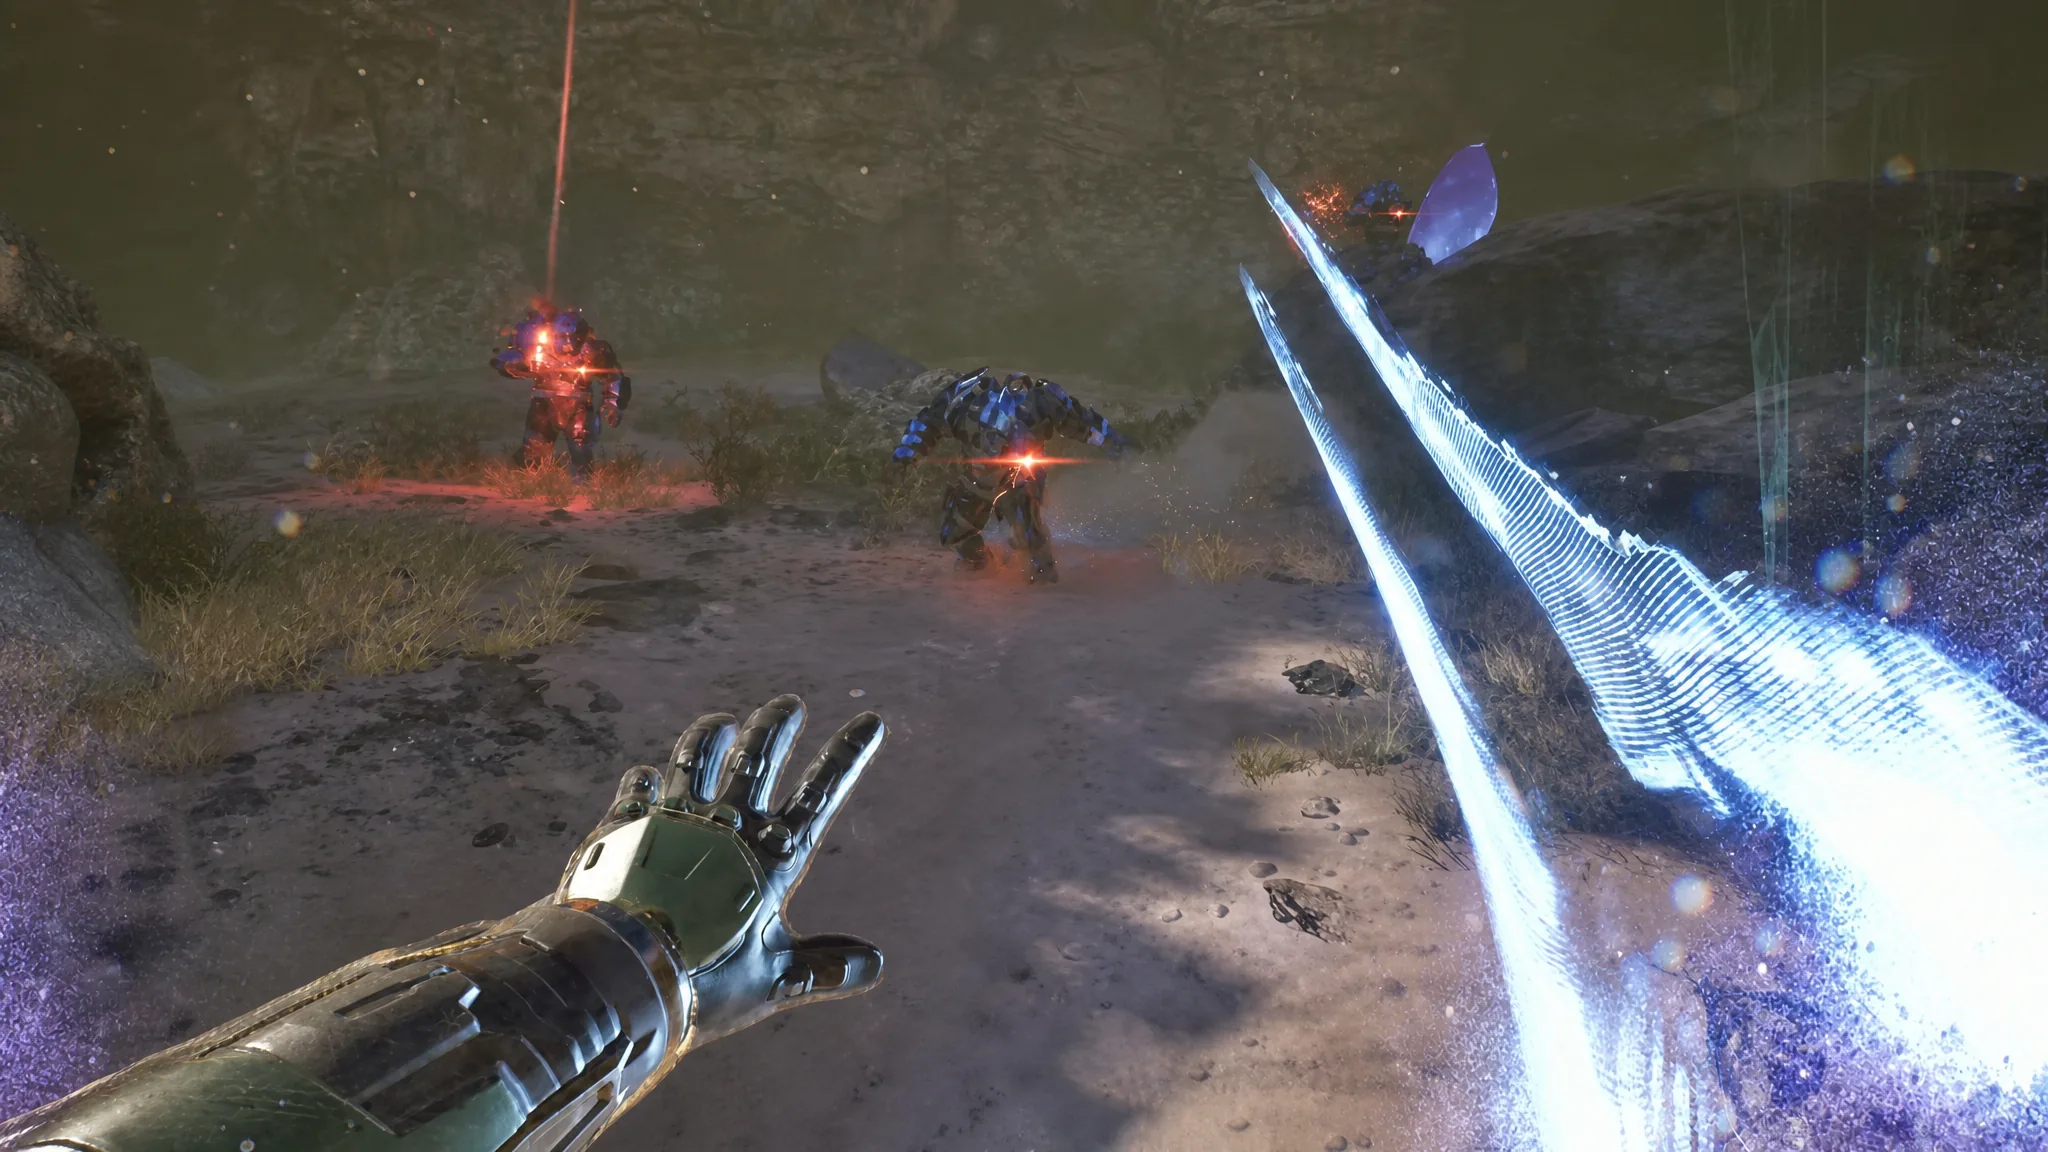
This is the first time the Energy Sword is fully usable across the original campaign, and it earns the top spot on its own. It cuts through nearly anything in close range and makes short work of the enemies that usually force you to burn ammo. When it drops, take it, no matter what you are carrying.
The trade-off is range. The Sword only shines when you can close distance, so pair it with something that reaches across the room. Treat it as your finisher for melee-heavy rooms rather than an all-purpose answer.
A-tier: your everyday heavy hitters
These are the weapons that win most encounters and cover the widest range of situations. The Sniper Rifle and Beam Rifle delete high-value targets and tanky enemies with weak spots from a safe distance. The Rocket Launcher and Fuel Rod Gun handle vehicles, Hunters, and packed clusters of enemies with splash damage.
The Sentinel Beam is the standout pickup here because it drops often from Sentinels and shreds Flood and infantry alike. The Assault Rifle keeps its A-tier spot for a simple reason, ammo for it is everywhere, and it stays reliable against everything except the beefiest foes. Keep one A-tier weapon as your primary and slot a second one where you can.
B-tier: dependable backups
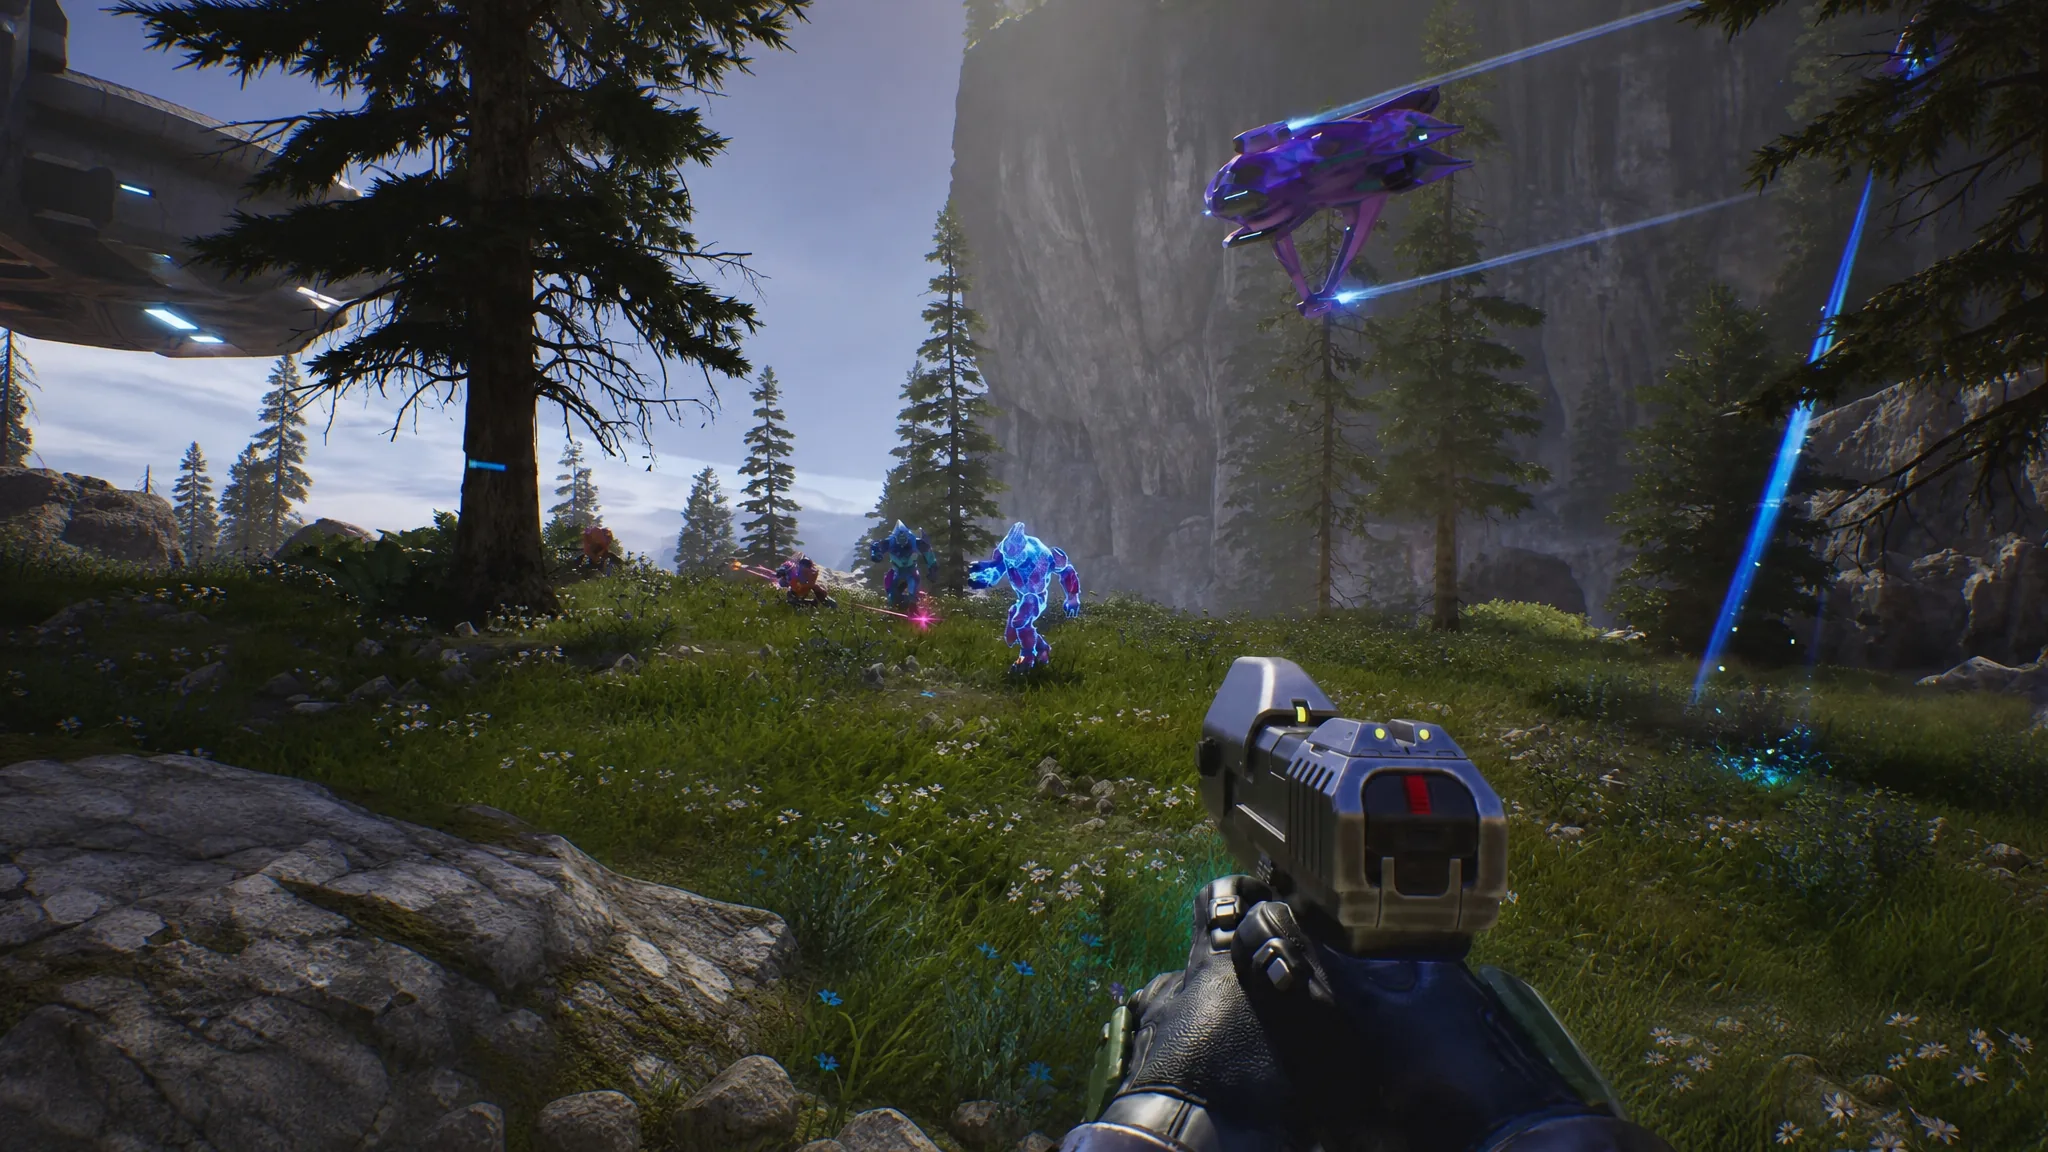
B-tier weapons make solid secondary picks but aren’t worth going out of your way for. The Magnum still lands strong headshots and clears single targets fast, while the Shotgun does good work up close against most enemy types, though it can get overwhelmed by Flood swarming from several directions.
The Needle Rifle and Needler can trigger Supercombine explosions, and the Spiker pins enemies to walls with heavy spikes. The Brute Plasma Rifle hits harder than the standard Plasma Rifle, and the Battle Rifle is accurate at mid-range but barely shows up in the campaign. If you already hold an A-tier primary, grab any of these to round out your loadout.
C-tier: last resorts
The Submachine Gun and Plasma Pistol sit at the bottom. The SMG plays like a shorter-range, weaker Assault Rifle, so it rarely earns a spot in your hands. The Plasma Pistol feels weak in raw damage, though its charged shot still strips enemy shields in a pinch. Both are better than running empty, but not by much.
Note: The Plasma Pistol’s value is situational rather than damage-based. If you need to drop a shield fast before switching to a stronger weapon, its charged shot still does that job.
Best weapon for each situation
| Situation | Best pick |
|---|---|
| Fighting the Flood | Shotgun, Sentinel Beam |
| Long-range combat | Sniper Rifle, Beam Rifle |
| Breaking shields | Plasma Pistol (charged shot) |
| General combat | Assault Rifle, Battle Rifle |
| Heavy enemies and vehicles | Rocket Launcher, Fuel Rod Gun |
| Close quarters | Energy Sword, Shotgun |
| Precision kills | Magnum, Needle Rifle |
The short version: holds up on any difficulty. Chase the Energy Sword and the A-tier heavy weapons, keep a reliable A-tier gun like the Assault Rifle as your backbone, and only fall back to the SMG or Plasma Pistol when nothing better is within reach. With 17 options on the field, the smartest play is often just picking up whatever the last enemy dropped and matching it to the fight in front of you.