Five Genesis Configuration puzzles stand between Aidan and the ending of Hellraiser: Revival. Each one runs on the same system, but the shape you need to build is different every time, which is why they trip people up. None of them can be skipped, since they are all tied directly to story progress.
Quick answer: Cycle the box’s shape with L1/R1, rotate it to match the hollow silhouette on screen, then press Confirm. Every puzzle has two sides, and all five must be solved to finish the game.
How the Genesis Configuration puzzle works
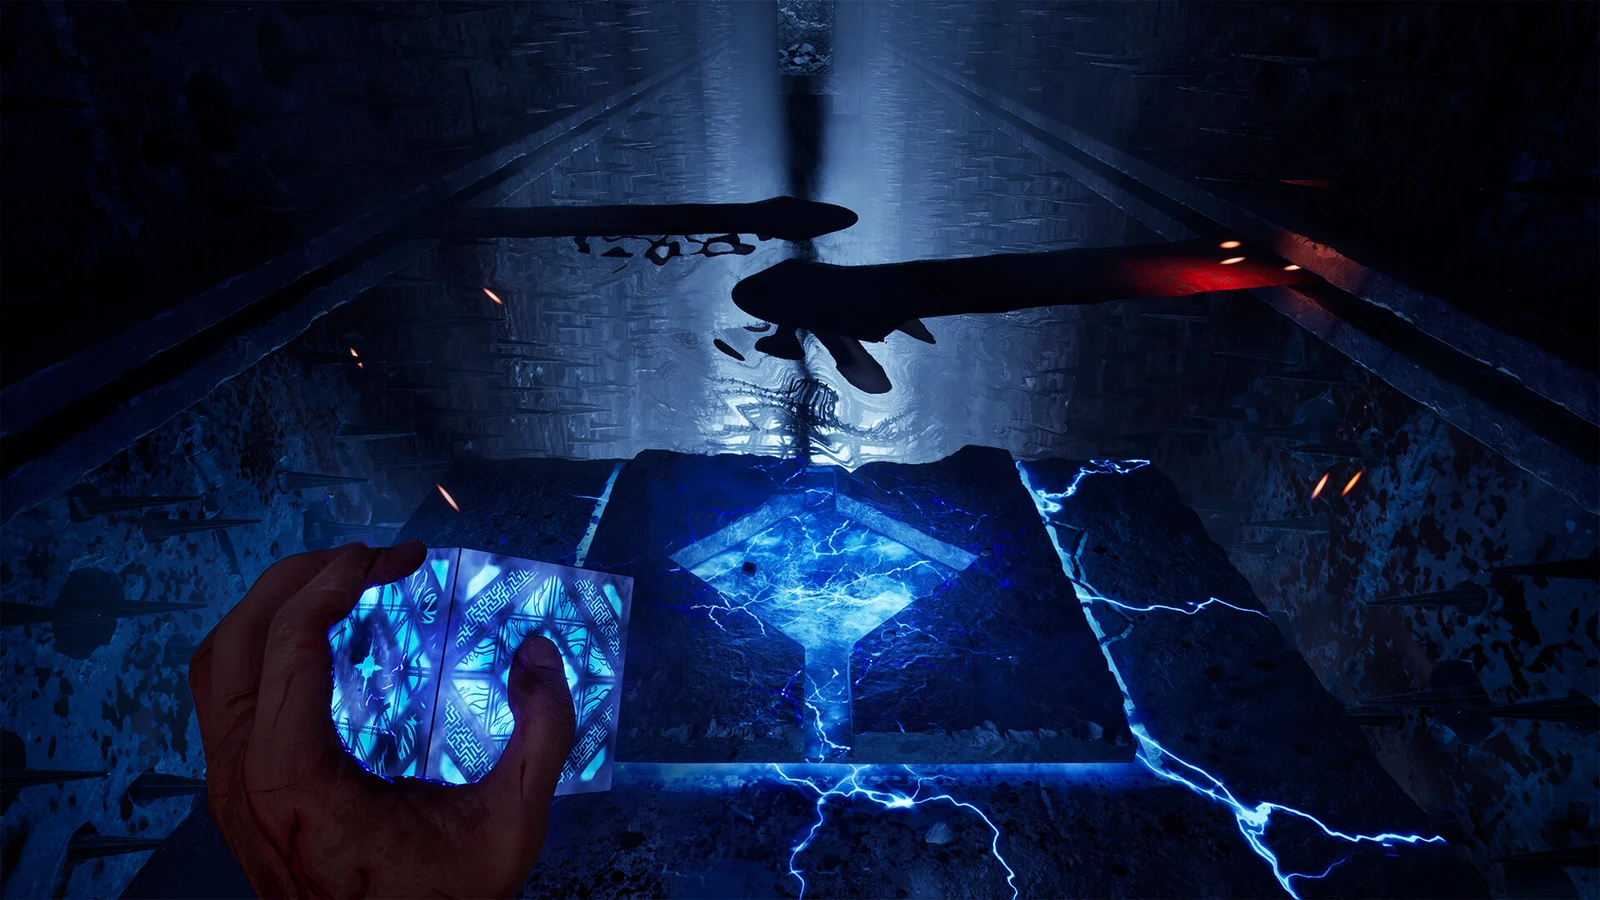
When you interact with a configuration point, the puzzle box opens over a stone cut-out. Your job is to reshape and turn the box until it fits that silhouette, then lock it in. You first change the box into the right overall form, then rotate it so its lit point and side pieces line up with the empty slot in the wall. Pressing Confirm slots the box home and completes that side.
- Left Stick / Right Stick — Rotate the assembly
- Left Stick (horizontal) — Rotate left or right
- L1 / R1 — Change Configuration (cycle the box’s shape)
- A — Confirm the alignment
- B — Exit the puzzle
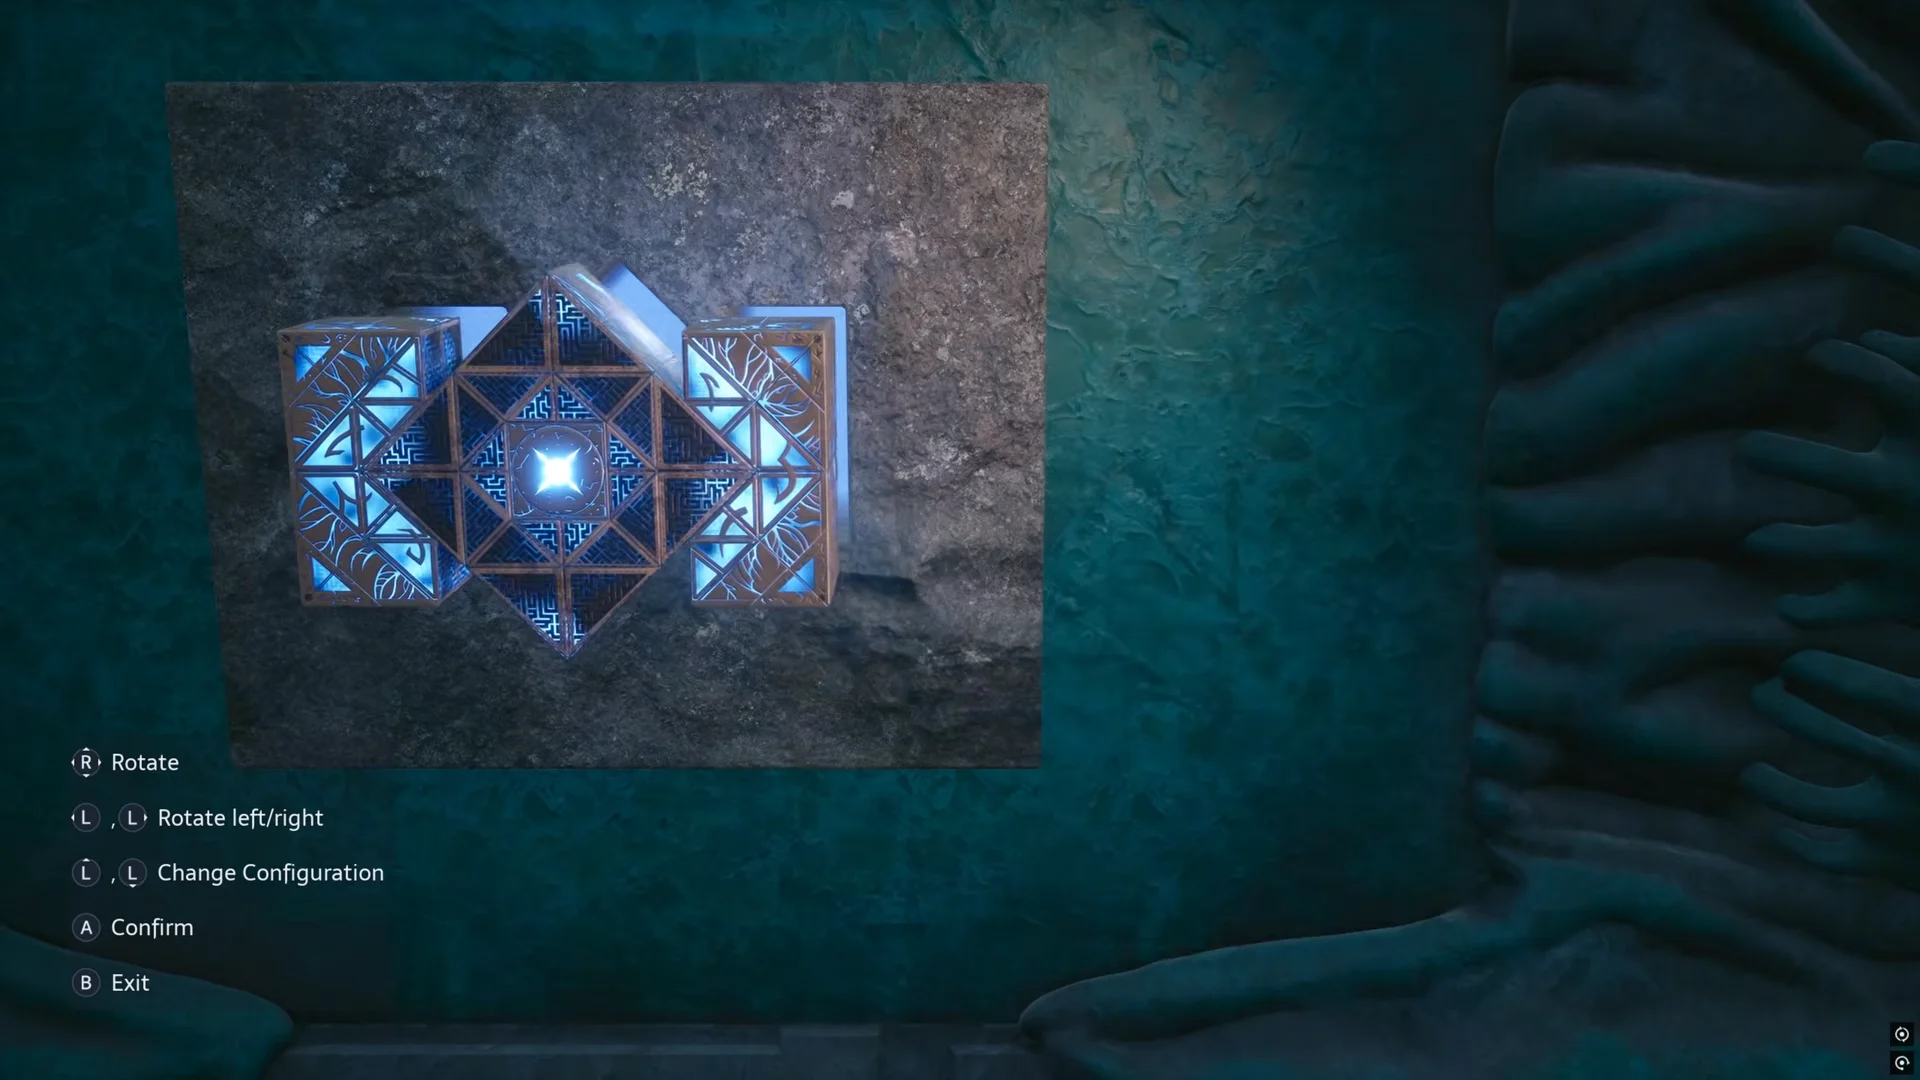
Each puzzle is solved across two sides. Finish the first shape, confirm it, then the box rotates to present the second face. Treat them as two separate steps rather than trying to read both at once.
Genesis Configuration puzzle solutions
Sunny’s Pillar
You reach this one during the Free Sunny’s Soul objective, at the far end of the labyrinth ruins.
For the first side, rotate the square-shaped configuration so it sits as a diamond. For the second side, turn the remaining parts until they form two parallel structures with their openings facing inward toward each other.
Hand Statue
This puzzle opens up once you collect the Hand Statue from Bruno’s House.
On side one, the two boulder-like forms are aligned in parallel; turn them until one is above the other. For side two, arrange the pair horizontally, with one to the left of its partner.
Head Statue
You can solve this after picking up the Head Statue piece inside the area the Hand Statue unlocks.
Make a square on the first side, with the correct face upward. The second side is more difficult: create a border around a star-shaped base in the center, leaving two sides open. Rotate the gaps into side positions along both directions.
Tongue Statue
The Tongue Statue piece drops after you finish the Well Puzzle, which opens this configuration.
For the first side, rotate once so the shape reads as a diamond. For the second side, keep rotating until there is a block sitting in all four corners.
Factory Shrine
This is the most forgiving of the five, because it reuses shapes you have already built earlier.
For the first side, rebuild a square and then turn it a single step so it becomes a diamond. For the second side, repeat the same configuration you used on the second side of the Head Statue — the star-shaped base with open space on both sides.
How to confirm a puzzle is solved
A correct alignment slots the box into the wall cut-out as soon as you press Confirm, and the game takes the interaction out of your hands. From there the sequence plays out on its own, often with a short memory of Aidan and Sunny, and the objective marker updates to send you onward. Because all five are mandatory, clearing each one is confirmation enough that you are still on the path to the ending.