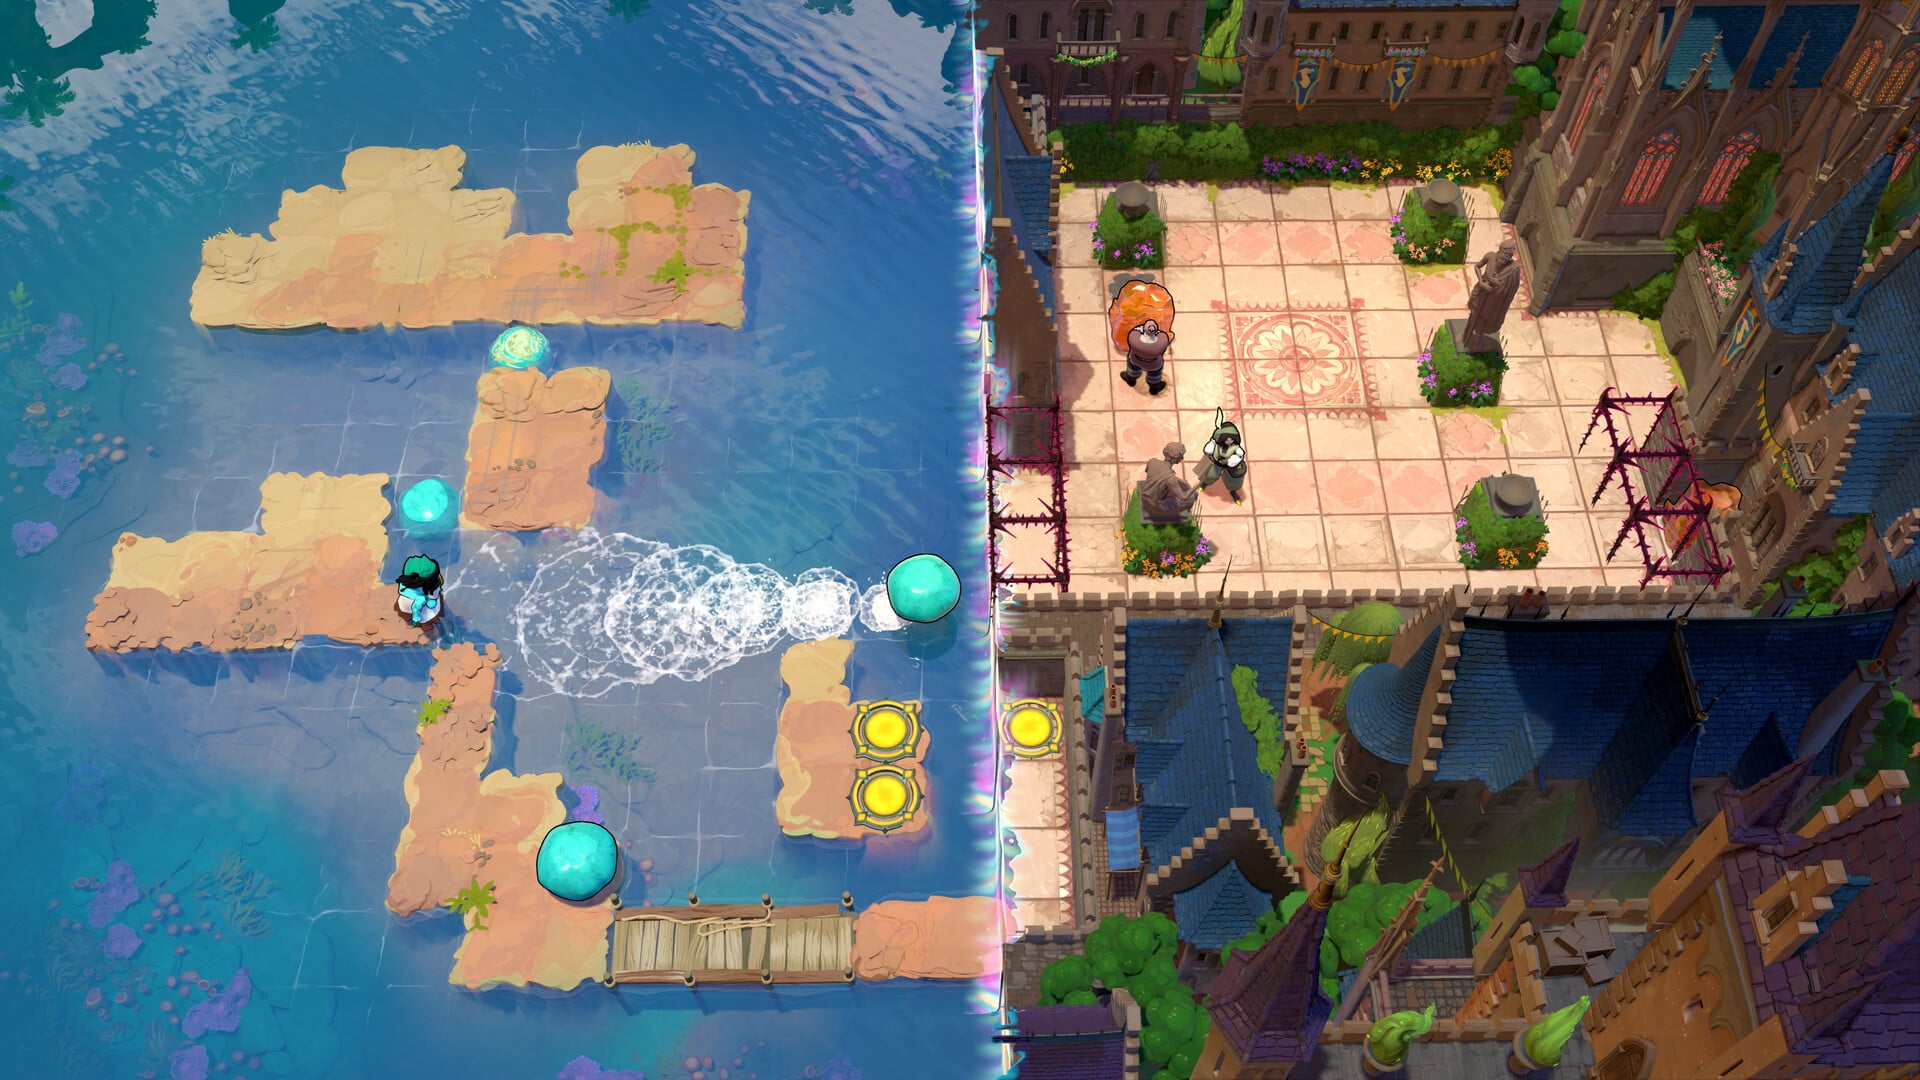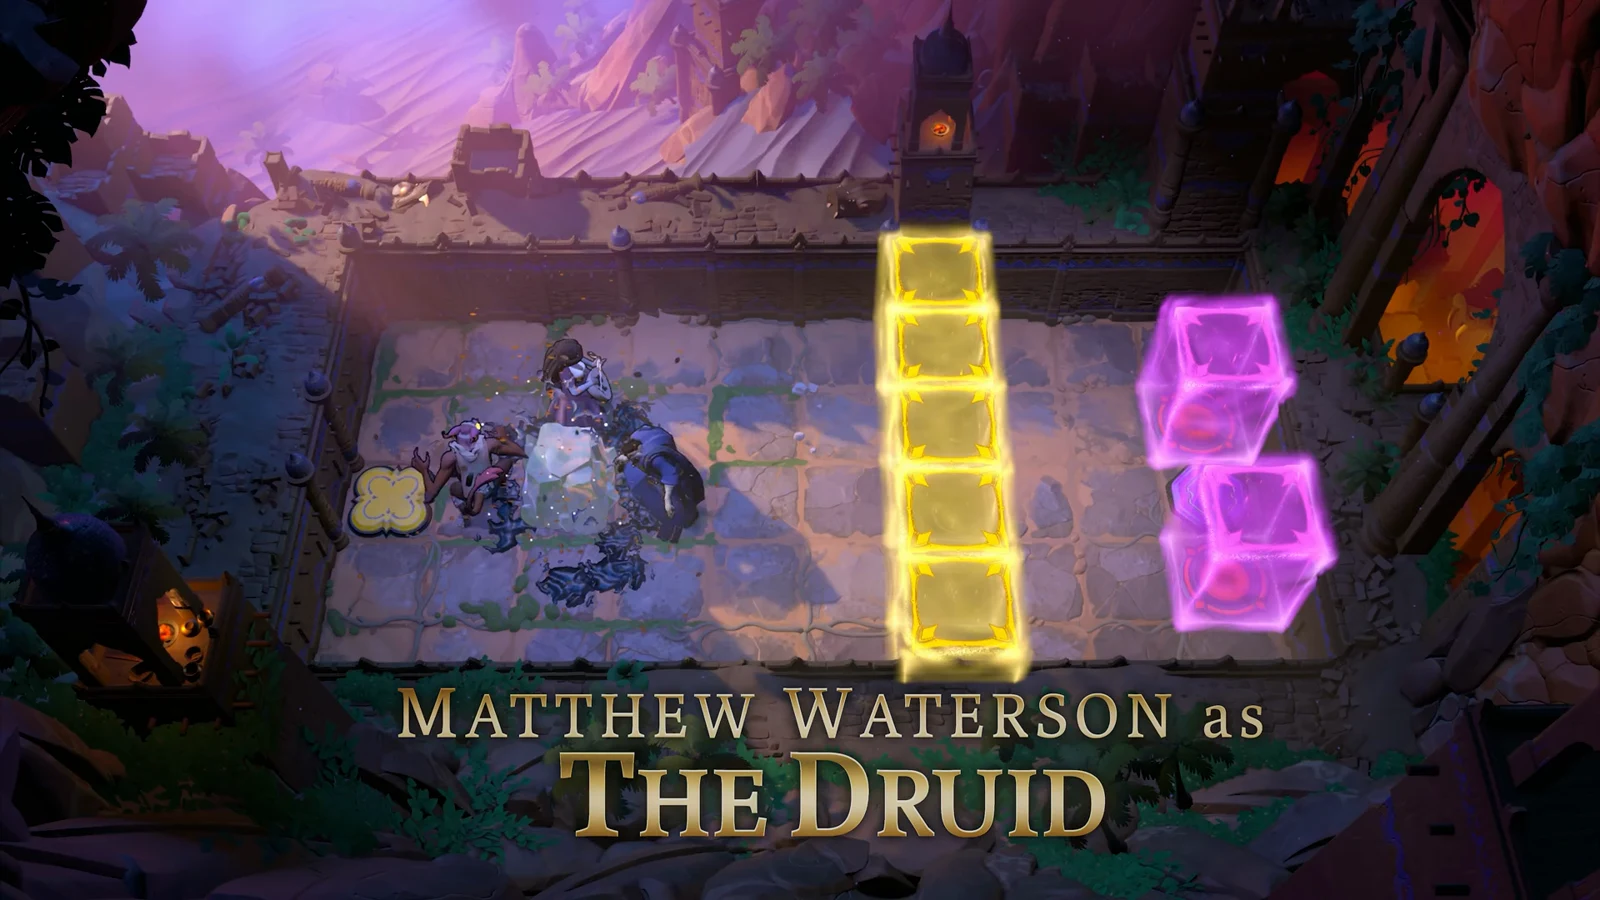
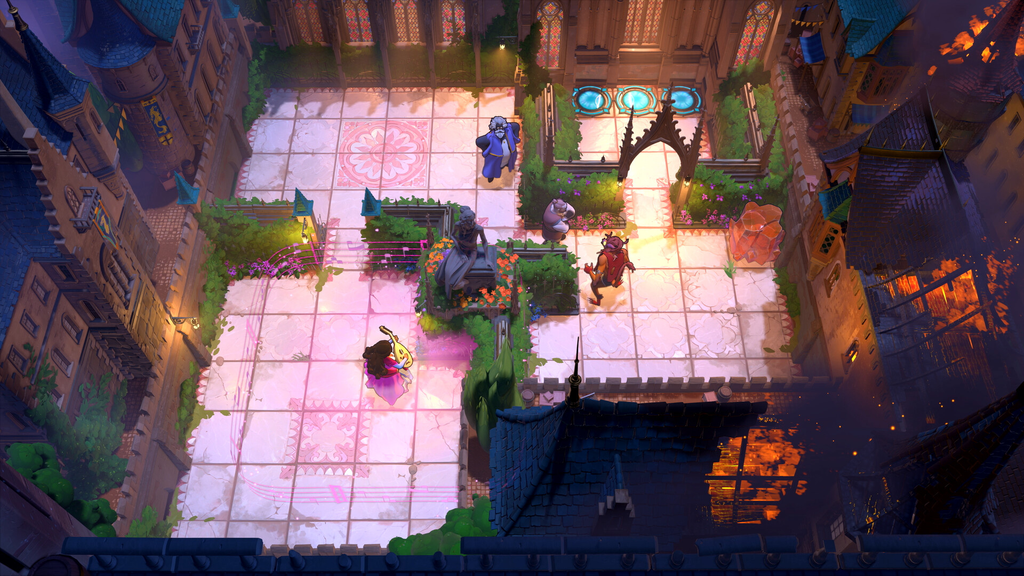
Heroes 3: Bard, Druid is the fourth screen in the north world of Order of the Sinking Star, the stretch of the Hearty Heroes of Hauling campaign that introduces the Bard and the Druid. It packs 24 puzzles across several clusters, plus three overworld tasks that gate the harder rooms. The solutions below follow the order the screen expects you to clear things in.
Quick answer: Clear the bottom, top-left, and left series, deactivate the blue barrier, solve the top-middle series, block the ranged monster with the red crystal, then finish the bottom-right and top-right single puzzles. The last one earns the Heroes achievement.
How the moves are written
A plain direction such as “move left” means shift one square that way. A direction with a multiplier such as “left x4” means move that many squares. When a step says “all the way,” keep moving in that direction until a wall or object stops you. Character names (druid, bard, green, red, purple, gold) tell you who to control for each move.
Completion order
| Step | Task |
|---|---|
| 1 | Bottom series (9 puzzles) |
| 2 | Top-left series (4 puzzles) |
| 3 | Left series (6 puzzles) |
| 4 | Remove the blue barrier |
| 5 | Top-middle series (3 puzzles) |
| 6 | Block the monster with the red crystal |
| 7 | Bottom-right single puzzle |
| 8 | Top-right single puzzle |
Bottom series
Puzzle 1
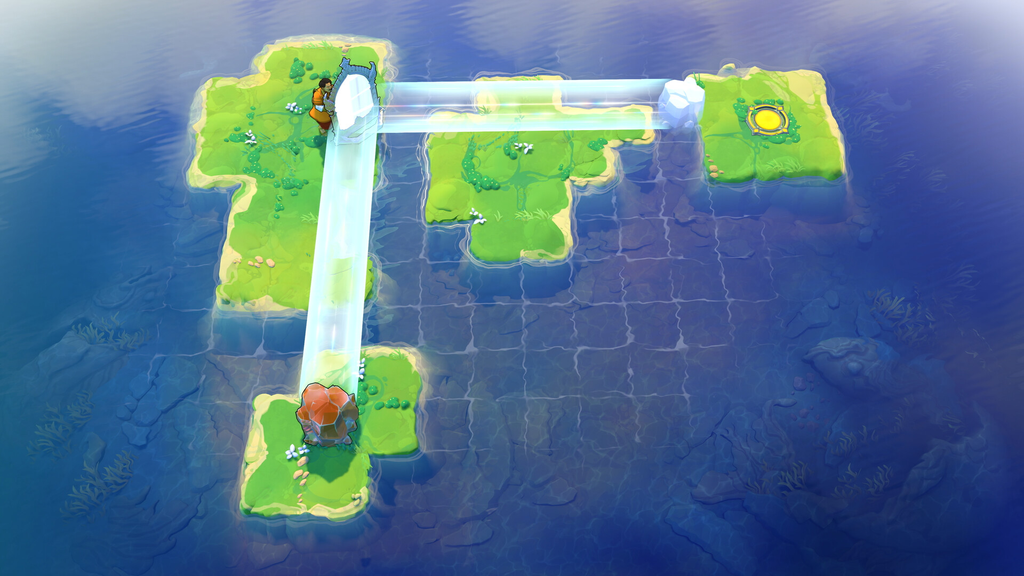
- Move druid left x2 to turn the grass into a stone.
- Send green one space right, then pull four times to the left, leaving the stone on the pink button.
- Guide druid five spaces left to restore the stone to grass.
- Take druid six spaces right, two down, and one left to create another stone.
- Move green two spaces left, two down, then eight right, stopping beside the new stone.
- Draw the stone four spaces left until it rests in the gap separating the teleporters.
- Send druid four spaces left to end up on the teleporter on the right.
Puzzle 2
- Take druid two spaces right and transform the plant on his right.
- Move druid down x4, right to turn the bottom plant into a crystal, then move up to clear the way.
- Move red down, right x3 to push the crystal into the corner, then left x3 out of the way.
- Move druid down, right x2, up to transform another plant, then left x2, up out of the way.
- Move red right x3, up to push the new crystal, then down, left x3 out of the way.
- Route druid one space down, two right, one up, one right, then two up to transform another plant. Afterward, go down, left, down, two left, and up to get out of the way.
- Take red three spaces right, one up, one right, and three up to drive the crystal all the way to the top; then retrace the route.
- Guide druid down, two spaces right, up, right, three up, and left to transform another plant, then retrace the route.
- Send red three spaces right, up, right, three up, then three left to push the two-crystal row against the left wall. Finish by going all the way right.
- Move druid to the left of red, press up to transform a plant, then left, up for another, then left, down out of the way.
- Move red to the left of the three-crystal row and push right x4 to set the crystals on the buttons, opening the yellow barrier.
- Place each character on a teleporter.
Puzzle 3
- Move red two spaces up and four right to shove the ranged monster to the right.
- Take druid one space left and two up to turn the ranged monster into a crystal.
- From the right of the crystal push left x5, then from above push down x2.
- Move druid to the left of the crystal and press right to turn it back into the ranged monster, destroying the left melee monster, then press right again to turn it back into a crystal.
- Move red below the crystal and push up x2, then from the left push right x5, then from above push all the way down so it sits on the right melee monster.
- Stand druid to the left of the grass, then press right to change it into a crystal.
- Use red to shove the new crystal against the earlier one, then push the pair left. Next, knock the left crystal down beside the melee monster, and send red up and all the way right.
- Have druid change the crystal beside the melee monster on its left back into a monster. The two will destroy each other, dropping the pink barrier.
- Put both characters on the teleporters.
Puzzle 4
- Stand druid beneath the bottom plant and press up to create a crystal; then move down and left to get clear.
- Move purple down two spaces, right three, then down one to stand two spaces below the crystal. Press up to send it to the bottom row.
- Station druid in the gap between purple and the crystal.
- Switch control to purple and press down to trade places with druid.
- Take purple right two spaces, down one, then right two to reach the bottom-right corner. Press left to trade places with the crystal.
- Move druid onto the blue button above the crystal.
- Bring purple above druid via up, right two, up, then right two; press down twice to shift the crystal onto the blue button.
- Use druid to change the top-right plant into a crystal, then move him beside the yellow barrier.
- Guide purple left five squares, then up, left, and up four more to arrive at the corridor’s left end. Press right to exchange positions with the crystal.
- Have druid change the crystal into a plant again.
- Move purple onto the yellow button.
- Use druid to change the plant into a crystal again.
- Switch to purple and press left to place the crystal on the yellow button.
- Send both characters onto teleporter pads.
Puzzle 5
The goal is to convert all the plants into crystals, then shift the entire group up and left until it fills the top-left corner and opens a space near the teleporters. First, guide druid and purple toward that corner, turning plants into crystals as they go. Move purple into the vacant top-left space and press down to place a crystal there.
Then bring both characters back toward the teleporters, filling each gap as you go. Once a gap holds a crystal, turn it back into a plant with the druid so purple no longer swaps with it by accident.
Puzzle 6
- Move gold right, down x2.
- Stand druid above gold, then press right to crystallize the monster on the right.
- Use red to push the crystal down.
- Arrange the characters with druid two squares to the right of the left monster, gold immediately to druid’s right, and red immediately to gold’s right.
- Have red shove the line of characters into the left monster.
- Control druid and press left to transform the left monster.
- Move the characters to the teleporters.
Puzzle 7
- Move gold up x2.
- Move druid up x2, then press up to turn the left monster into a crystal.
- Use red to push the crystal beneath the monster on the right, then move red all the way left to clear the area.
- Place gold in the bottom-right corner, two squares beneath the crystal.
- Put druid in the space separating gold and the crystal, then press up so the monsters destroy each other.
- Put each of the three characters on a teleporter.
Puzzle 8
- Move purple right x3, up.
- Move druid to the left of purple and press right to turn him into a crystal, then move druid up.
- Have red shove the crystal right until it shields the ranged monster.
- Take red, green, and druid over to the right side, keeping them above the crystal.
- Once everyone has crossed, use green to draw the crystal rightward and out of the monster’s column.
- Have druid change the crystal back to purple.
- Put each of the four characters on a teleporter.
Puzzle 9
- Bring purple down to druid’s row by going left x2, down x2, left, then down x3; press right to exchange positions.
- With druid, change the plant into a crystal (up x2, right), then go back to purple’s row.
- As purple, press left to exchange positions with druid.
- Move purple up, right, down to sit two squares below the crystal, then press up to switch with it.
- Move purple left, down x2 to the crystal’s left, then press right x2 to move it to the left wall and clear druid from the alcove.
- Move druid up to clear the crystal’s row.
- As purple, press left to exchange positions with the crystal.
- Take purple up x4, right, up, right x2, then down into the upper corridor; press right to exchange positions with the green crystal.
- Have druid change the green crystal into a plant.
- Go left x2 with purple to reach the teleporter.
- Have druid turn the plant into a green crystal again, then move left x2 and down x2 to clear the way.
- As purple, press left to exchange positions with the green crystal.
- Go up, left x2, down, left, then down x3 with purple to stand against the left wall in the bottom crystal’s row. Press right to exchange places with the crystal.
- Move druid down into purple’s row.
- As purple, press left to exchange places with druid and put him on the bottom teleporter.
- Take purple to the upper corridor and press right to exchange with the green crystal, placing him on the top teleporter.
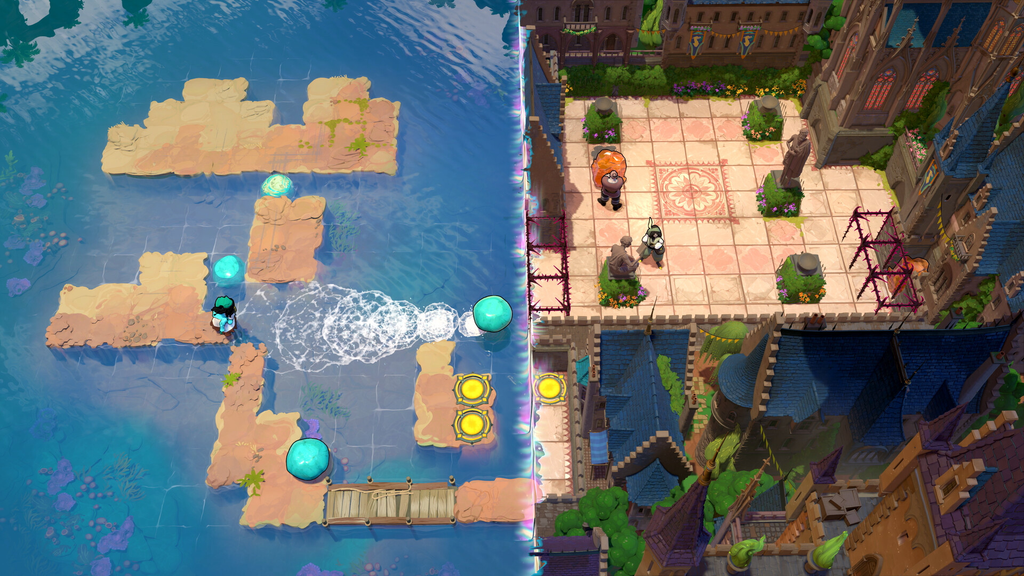
Top-left series
Puzzle 1
- Take bard up x3 and left x2 to catch the left monster at the aura’s upper-left corner.
- Guide bard right x2, up, then right x5 to send the monster along the corridor.
- Take bard down x2, left x4, then up x2 to catch the monster again at the aura’s upper-right corner.
- Move all the way right.
- Send bard to the bottom, across to the far right, and then all the way up; the monsters will destroy one another.
- Move to the teleporter.
Puzzle 2
- Catch the monster in the bottom-middle of the aura (left, down x2, left x2, up x4, right x6, down x2).
- Move it onto the path to the yellow button, then go all the way right to release it (up x4, left x6, down x2, right x6).
- Move bard down x6, left x8, and up x2 into the lower-left quadrant to catch the monster at the aura’s upper-right corner.
- Advance the monster along the route as far as it can go: down x2, then right x2.
- Position bard on the route to the yellow button so the monster is caught at the aura’s lower-right corner.
- Send the monster up x2, then right onto the yellow button; after that, go right and down to reach the teleporter.
Puzzle 3
- Move bard all the way right to catch the top crystal and push it toward her.
- Take bard left x6 into the alcove, leaving the crystal in the hallway.
- Move bard up so the crystal ends up on another row.
- Move bard left, down, and all the way right to leave the crystal in the alcove.
- Move bard all the way down, then left x2 to catch the first crystal on the right.
- Take bard right x4, then down, shifting that crystal onto another row.
- Move bard up, left x5 to lift the right crystal into the hallway and catch the left crystal.
- Move bard right x5, down to put the crystal on a different row.
- Move bard up to lift both crystals into the hallway.
- Go to the teleporter.
Puzzle 4
- Move bard down.
- Catch both monsters on the aura’s second row (left, right x2).
- Use the stone pillar to move the left monster to the top-left corner of the aura (bard down, right, down).
- Use the stone pillar to move the right monster to the aura’s top row (bard left x3, up, left, down).
- Move bard all the way right so the monsters destroy each other.
- Go to the teleporter.
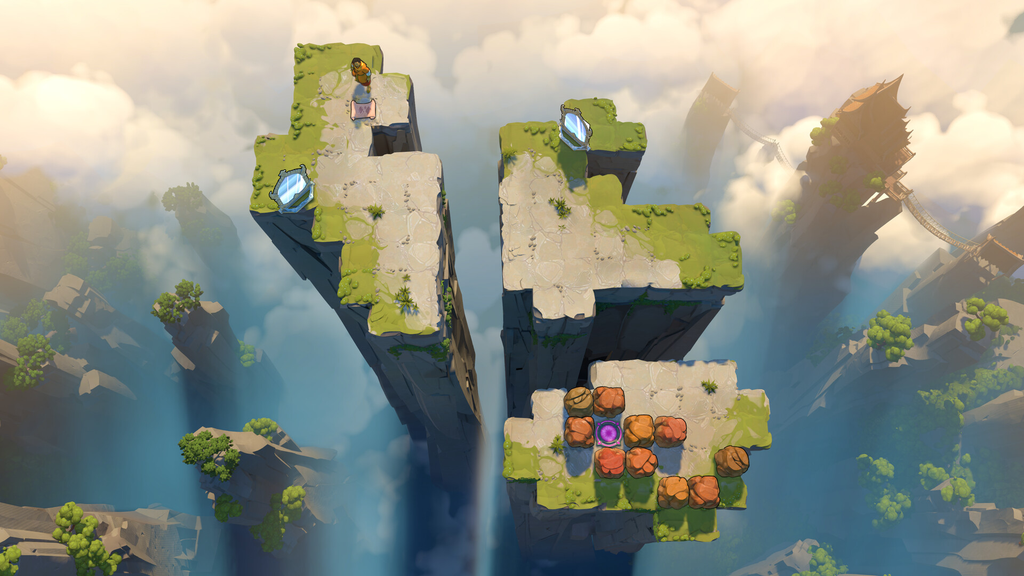
Left series
The overworld map becomes accessible once this series is cleared.
Puzzle 1
- Move red to bard’s left (left, down x2).
- Move bard up, left to catch the two monsters.
- Move the monsters onto the two buttons (bard right x3).
- Use red to push bard toward the teleporters.
- Move both characters onto the teleporters.
Puzzle 2
- Use green to pull the bottom-right crystal toward the bottom-right (green down, right x3, down, left, down x2).
- Use green to pull the bottom-left crystal toward the bottom-left (green left x4, up x2, down x2).
- Move green under bard (right, up x3, left).
- Use green to pull bard under the top crystal (green down, right, up, right).
- Use bard to set the top crystal on the top-left button (bard left x2, up).
- Use green to pull bard right of the bottom-left crystal (green right, down, left, down x2), then move green right.
- Use bard to set the bottom-left crystal on the bottom-left button (bard down x2).
- Use green to pull bard above the bottom-right crystal (green up, left, up x2, right, down, right x4), then move green up.
- Use bard to set the bottom-right crystal on the bottom-right button (bard right, down).
- Use green to pull bard all the way up to the teleporters.
- Move both characters onto the teleporters.
Puzzle 3
- Move green to the left of the right crystal (right x3, down x2).
- Move bard up, right to catch green in the top-right corner of her aura, then move left one.
- Move green to the corner flanked by crystals (left x4).
- Move bard down, carrying green down.
- Use green to pull bard into the alcove with the middle teleporter (green down x2, right, left x6, up, right, up x5).
- Move green above the bottom-left crystal (right, down x3, left, down x2, left x2).
- Catch green with the bottom-left corner of the aura (bard down x2), then move bard up to carry green up.
- Move green and bard onto the teleporters.
Puzzle 4
- Move bard all the way down to catch the green crystal in the bottom-right corner of the aura, then move it up as far as it will go.
- Move purple all the way right and press up to swap with bard.
- Use bard to move the green crystal up one more square.
- Control purple and press down twice to swap with bard and reach the bottom of the corridor, then press up to swap again.
- Repeat the previous two steps twice. The crystal should end one square below the button, purple at the top of the corridor, bard just below him.
- Control purple and press down twice to the bottom of the corridor, but do not press up.
- Move bard down, then control purple and press up to swap.
- Move bard all the way left.
- Move purple down and press left to swap with bard.
- Move bard all the way up to set the green crystal on the button.
- Move both characters to the right side of the puzzle.
- Move purple into the top-left prong, just right of the green crystal, and move bard just below him.
- Control purple and press down to swap with bard, then move him right out of the way.
- Move bard down (moving the crystal down), then right x2 out of the way.
- Repeat the previous three steps, moving the green crystal into the top-right corner of the larger area with the button.
- Catch the green crystal with the bottom-left corner of the aura, then move bard down x6, left to set it on the button.
- Move purple to bard’s right and press left to swap so she can reach the teleporters without moving the crystal.
- Move both characters to the teleporters.
Puzzle 5
- Move bard below the left ranged monster and push it up x2.
- Move bard above the ranged monster (right x4, up x3, left x4), then push it down x7.
- Catch the monster in the top-left corner of the aura (bard right x3, down x4, left), then move bard up, right to bring it into the horizontal corridor.
- Move bard to the monster’s left (down, left x3, up x3), then push it right x3.
- Move bard all the way down to free it, then into the L-corner building (left, up) to recapture it in the top-right corner of the aura.
- Move bard right, up x2 to move the monster into the vertical corridor.
- Move bard left x3, up x4, right x4 to recapture it from above, then all the way up to bring it into the horizontal corridor.
- Move bard all the way left, down x3, right x3 to recapture it from the left, then push it right x7 so it sits above the melee monster.
- Move bard down so the ranged monster destroys the melee monster.
- Move bard up, right x2 to tuck the ranged monster into an alcove.
- Move down to the teleporter.
Puzzle 6
- Move bard right to shift the crystal right.
- Move gold below the crystal.
- Move bard down to get on a different row than the crystal.
- Move gold over to the area with the yellow button, out of the way.
- Move bard left x2, down x2, right x2 into the button area, then down, right x4 to bring the crystal in.
- Move bard all the way up to release the crystal, then right, all the way down, left to recapture it in the top-left corner of the aura.
- Move bard right, up x2 to put the crystal left of the button, then left x4 to put it in the top-right corner of the aura.
- Move bard right to set the crystal on the button.
- Move gold to the crystal’s left, then move bard left to leave the crystal on the button.
- Move both characters to the teleporters.
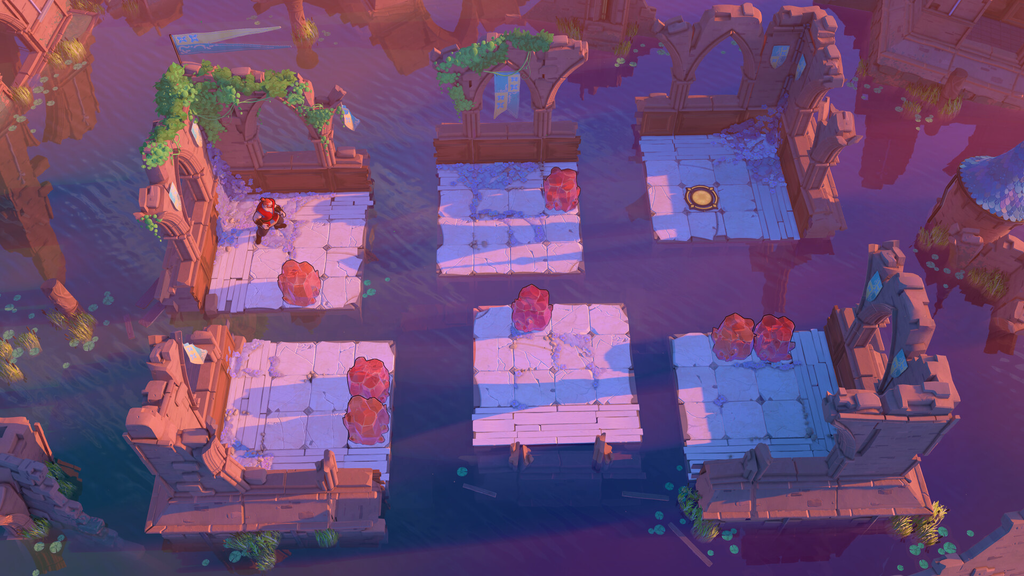
Deactivate the blue barrier
With the left series done, shut off the blue barrier in the overworld so you can reach the top-middle rooms. The alcove to the right of the left series swaps your powers depending on which opening you enter through, so you alternate between bard and druid to shuttle a crystal onto a button.
- Enter the alcove right of the left series through the center opening to gain druid powers.
- Use druid to turn the bottom grass into a crystal.
- Leave and re-enter through the bottom opening to gain bard powers.
- Move right x2 to catch the crystal with the right side of the aura.
- Move up, left x3 to exit through the middle and drop the crystal.
- Re-enter through the middle to gain druid powers.
- Turn the crystal into grass and the second grass into a crystal.
- Leave and re-enter through the top opening.
- Move right x2 to grab the crystal with the right side of the aura.
- Move left x2, down, left to exit and drop the crystal.
- Re-enter through the middle and swap the grass and crystal states.
- Exit and re-enter through the top.
- Move down, right, up, right x2, down, up, left x4 to shift the crystal right of the grass and leave the alcove.
- Re-enter through the middle and swap the grass and crystal states again.
- Exit and re-enter through the top.
- Move down, right x2, up, left x3. The crystal lands on the button and the barrier switches off.
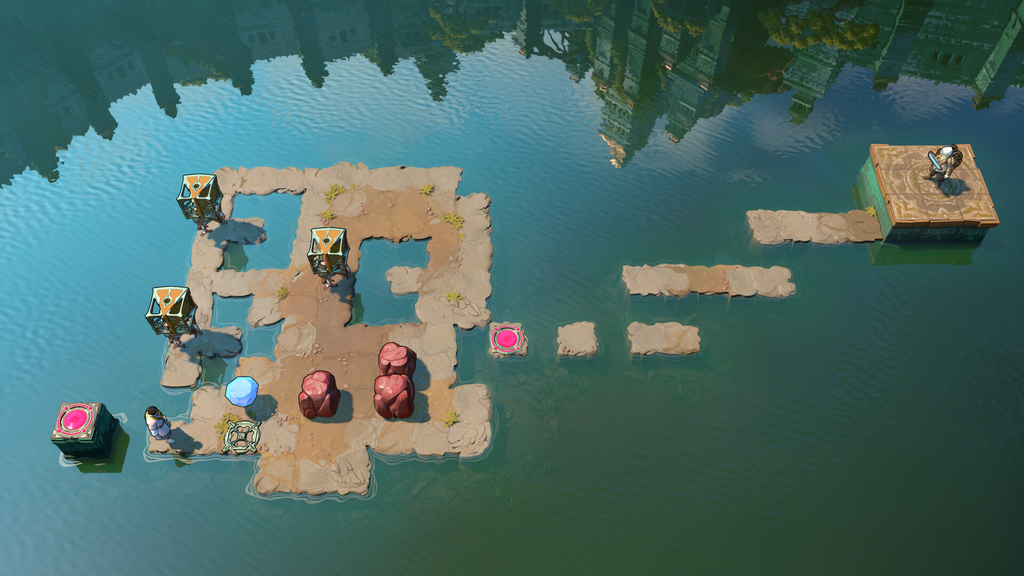
Top-middle series
Puzzle 1
- Move bard left x2 to put the monster on the yellow button.
- Use druid to turn the right plant into a crystal, then move to the bottom-left corner.
- Move bard right x3 to shift the monster right, and move druid to the yellow button.
- Move bard right x2 to catch the crystal, then left, up, left x3 to set it left of the yellow barrier.
- Move druid into the bottom-left corner (down x2).
- Use bard to move the monster onto the yellow button (down, left).
- Use druid to turn the crystal back into a plant.
- Use bard to move the monster left of the plant (right x3).
- Use druid to turn the plant back into a crystal.
- Use bard to move the monster back to the yellow button (left x3).
- Use druid to turn the crystal back into a plant.
- Move bard right to release the monster.
- Use druid to turn the plant back into a crystal.
- Move bard right x5 to shift the crystal right.
- Use druid to turn the crystal back into a plant.
- Reposition bard left of the plant with one space between (left x4, down).
- Use druid to turn the plant back into a crystal.
- Use bard to move the crystal onto the pink button (right x3).
- Use druid to turn the crystal back into a plant.
- Move the characters to the teleporters.
Puzzle 2
- Use bard to move the monster into the top corridor (bard left, up x5, right x2, up x2).
- Use druid to turn the plant into a crystal, then return to the bottom alcove.
- Move bard just above the crystal, then position so the monster is just above the crystal (up, left x2, down x2).
- Move bard so the monster-crystal stack is in the top corridor (up x3, right x2), then move down so druid can reach the crystal.
- Use druid to turn the crystal back into a plant, then return to the bottom alcove.
- Use bard to move the monster right of the plant (bard up x3, right, down), then left, down x2 to release it and clear druid’s path.
- Use druid to turn the plant into a crystal, then return to the bottom alcove.
- Use bard to put the crystal above the monster (bard up x2, right).
- Use bard to move the stack into the vertical alcove (bard left, down, left x2, down x3), then down, right to clear druid’s path.
- Use druid to turn the crystal back into a plant.
- Move both characters to the teleporters.
Puzzle 3
- Use druid to turn both plants into crystals.
- Use red to push the left crystal down x2 so the ranged monster destroys the melee monster, then move red left.
- Use green to pull the left crystal up x2.
- Use red to push the left crystal right of the other crystal (red up, right x2, up, right, down x4).
- Use green to pull the second crystal up, then move all the way left.
- Use red to push the second crystal left, then down to the monsters’ row (red left, up, left, down).
- Use druid to turn both monsters into crystals, dropping the pink barrier.
- Use bard to move the purple crystal to the pink barrier’s old spot.
- Use druid to turn the crystals back into monsters, then move to a teleporter.
- Use green to pull both remaining crystals up so the monsters destroy each other.
- Move the remaining three characters to teleporters.
Block the monster with the red crystal
Next, drag the red crystal from the top-left corner of the overworld down to the ranged monster in the bottom-right corner and wall it off.
- Enter the alcove below the red crystal through the top opening to gain bard powers.
- Move all the way right, then all the way left to draw the red crystal to the left.
- Push the crystal down the left series, right across the bottom series, up through the blue barrier, and to the right side of the ranged monster.
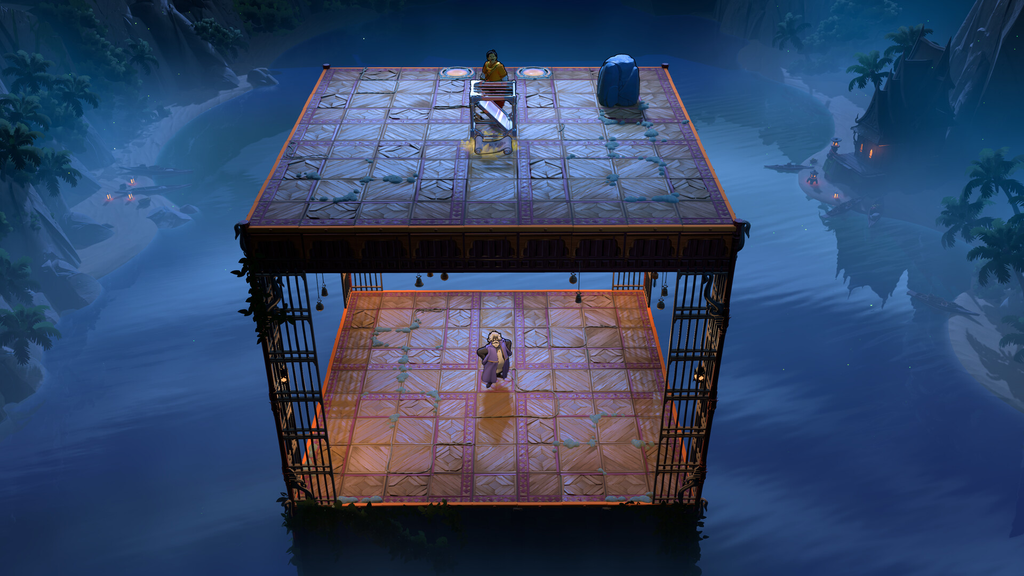
Bottom-right single puzzle
- Move red, green, and druid to the top-right corner, out of the way.
- Use bard to put the monster on the top-right yellow button (bard down x2, right x2, up, left x3).
- Use druid to turn green into a crystal.
- Use red to push the crystal onto the yellow button below the monster.
- Use druid to turn bard into a crystal.
- Use red to push the crystal onto the yellow button left of the monster.
- Move druid to the bottom-left yellow button to drop the yellow barrier.
- Use red to push the crystal onto the pink button.
- Use red to push the crystal under the monster up x2.
- Use druid to turn the crystal above him (the bard) back into a human.
- Move bard down one to shift everything downward.
- Use red to push the crystal-monster stack up one.
- Move bard down one to separate the remaining crystal from the monster.
- Use druid to turn the crystal back into green.
- Move all four characters to the teleporters.
Top-right single puzzle
- Move red up x3 to leave his cell.
- Use druid to turn the plant blocking his cell into a crystal, then use red to push it all the way up, freeing druid.
- Use druid to turn the plant blocking gold’s cell into a crystal, then use red to push it all the way up, freeing gold.
- Move gold up-left of the monster, move druid to gold’s right and turn the monster into a crystal, then use red to push it all the way down, freeing green.
- Use druid to turn the top plant blocking bard’s cell into a crystal, use green to pull it up and left, then repeat for the bottom plant to free bard.
- Before moving bard, push loose crystals into cells so they do not get caught in her aura.
- Use druid to turn the bottom plant blocking purple’s cell into a crystal, use bard’s aura to move it down and left, then repeat for the top plant to free purple.
- Move all six characters onto the teleporters.
Clearing this last puzzle finishes the initial Heroes campaign and awards the Heroes achievement, which confirms the whole Bard, Druid screen is complete.