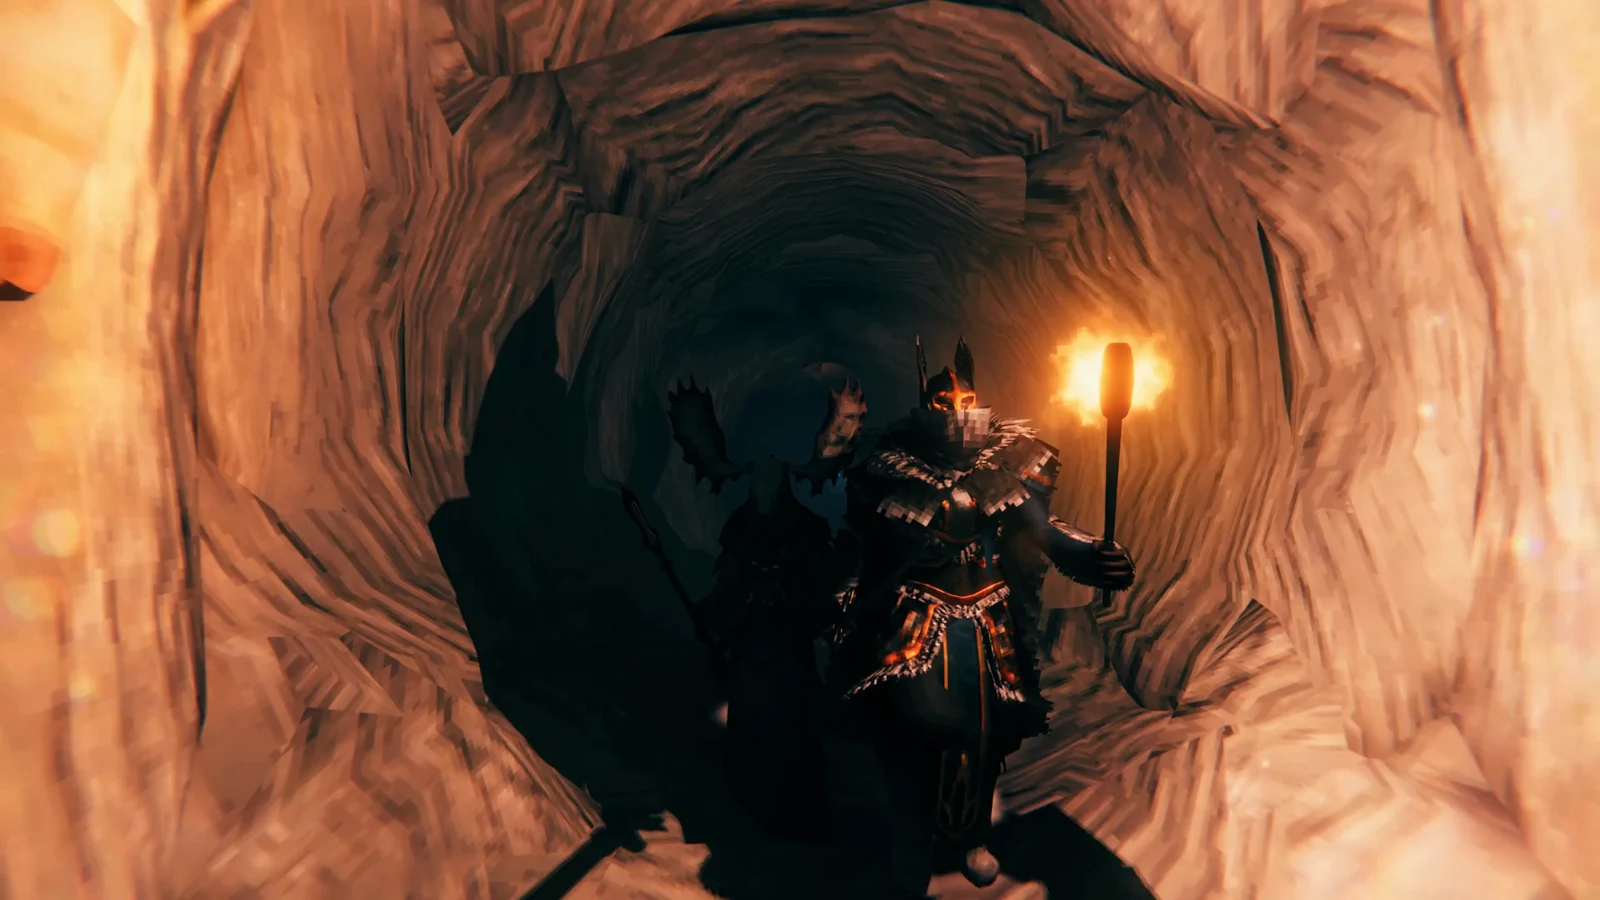
Howling Cavern is the Mountain dungeon in Hildir’s questline, and the white-furred miniboss at its end, Geirrhafa, carries Hildir’s Silver Chest. The fight hits hard with frost. Geirrhafa is immune to frost and weak to fire, though, so a cheap campfire placed in the right spot does much of the work for you.
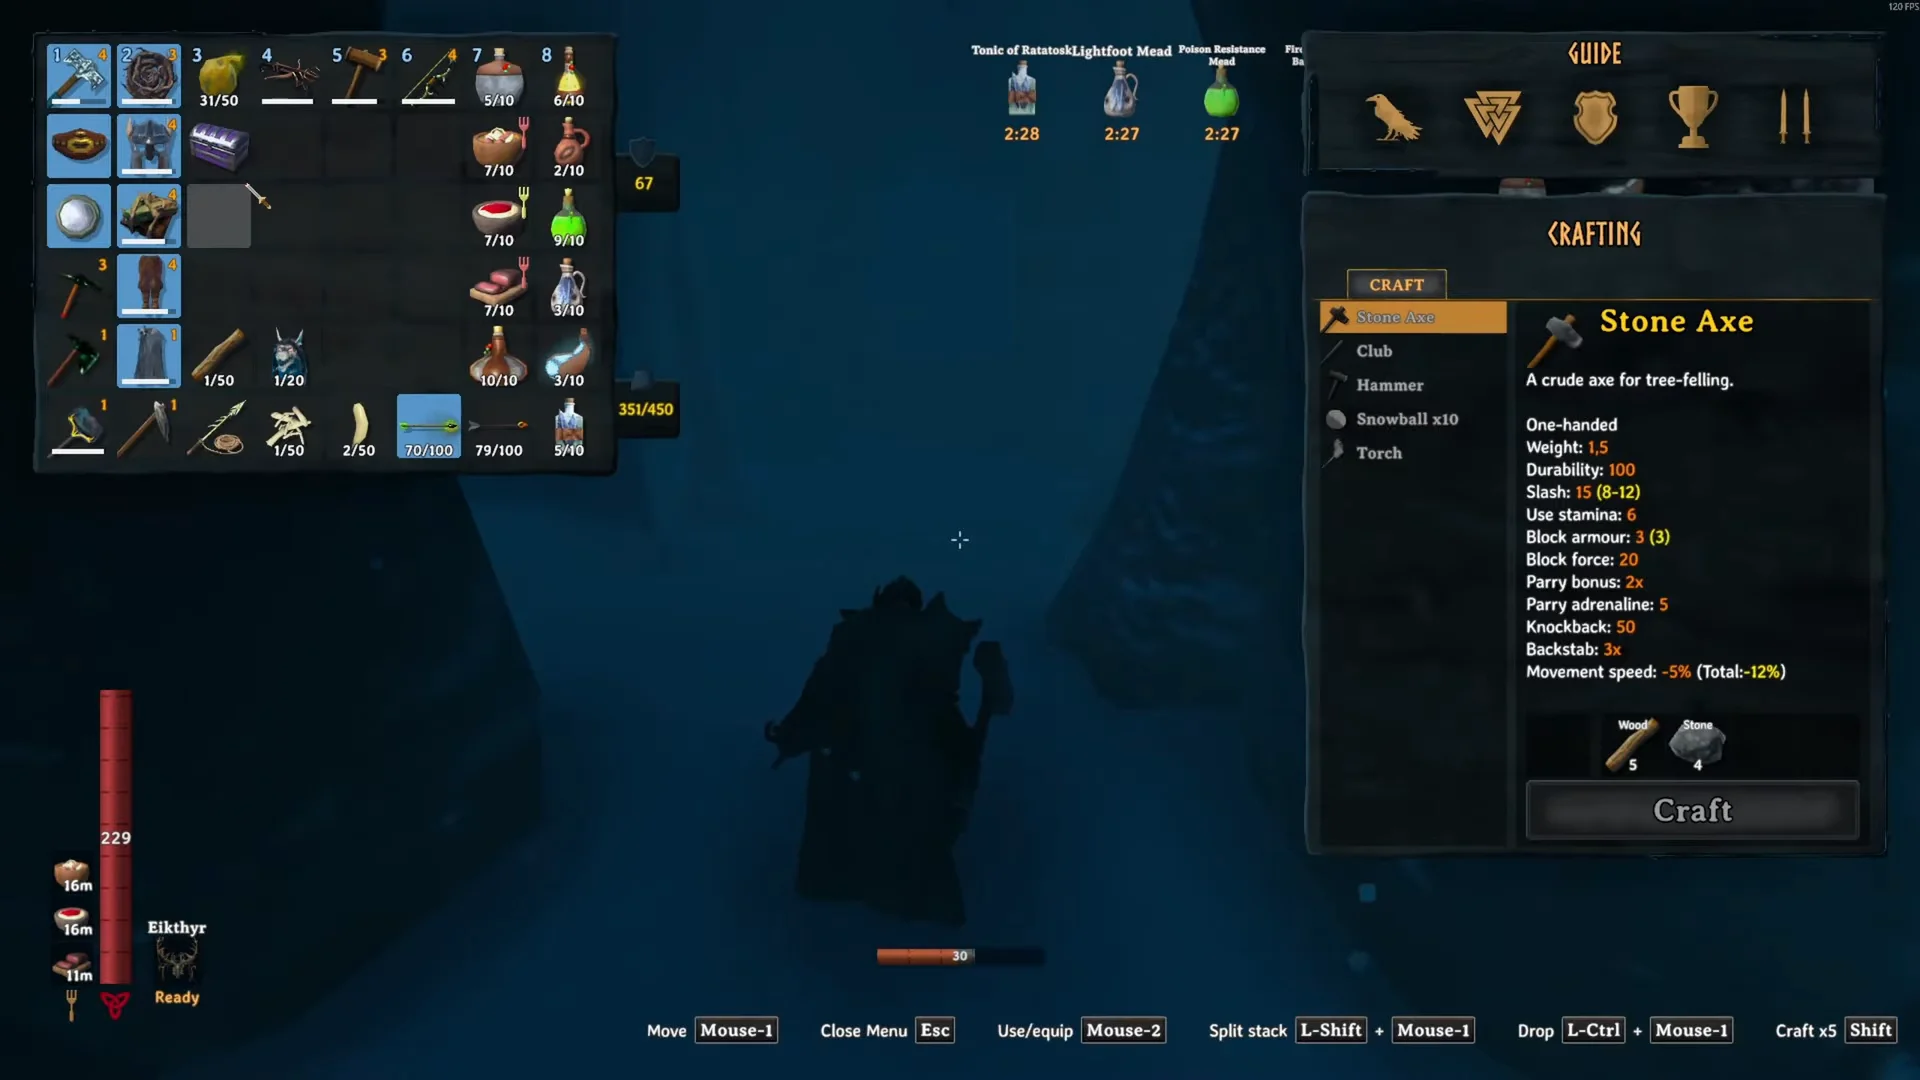
Quick answer: Drink Frost Resistance Mead, build a Campfire (5 Stone, 2 Wood) in a narrow stone corridor near Geirrhafa, then parry its claw swipes and hit back to push it into the flames.
Howling Cavern location: Use Hildir’s map table
You don’t have to search the Mountains blind. Find Hildir’s camp in the Meadows and use the small map on the table in front of her. Her camp spawns between 3,000 and 8,000 meters from the world center. The table adds pins for Howling Cavern, Smouldering Tomb, and Sealed Tower to your world map.
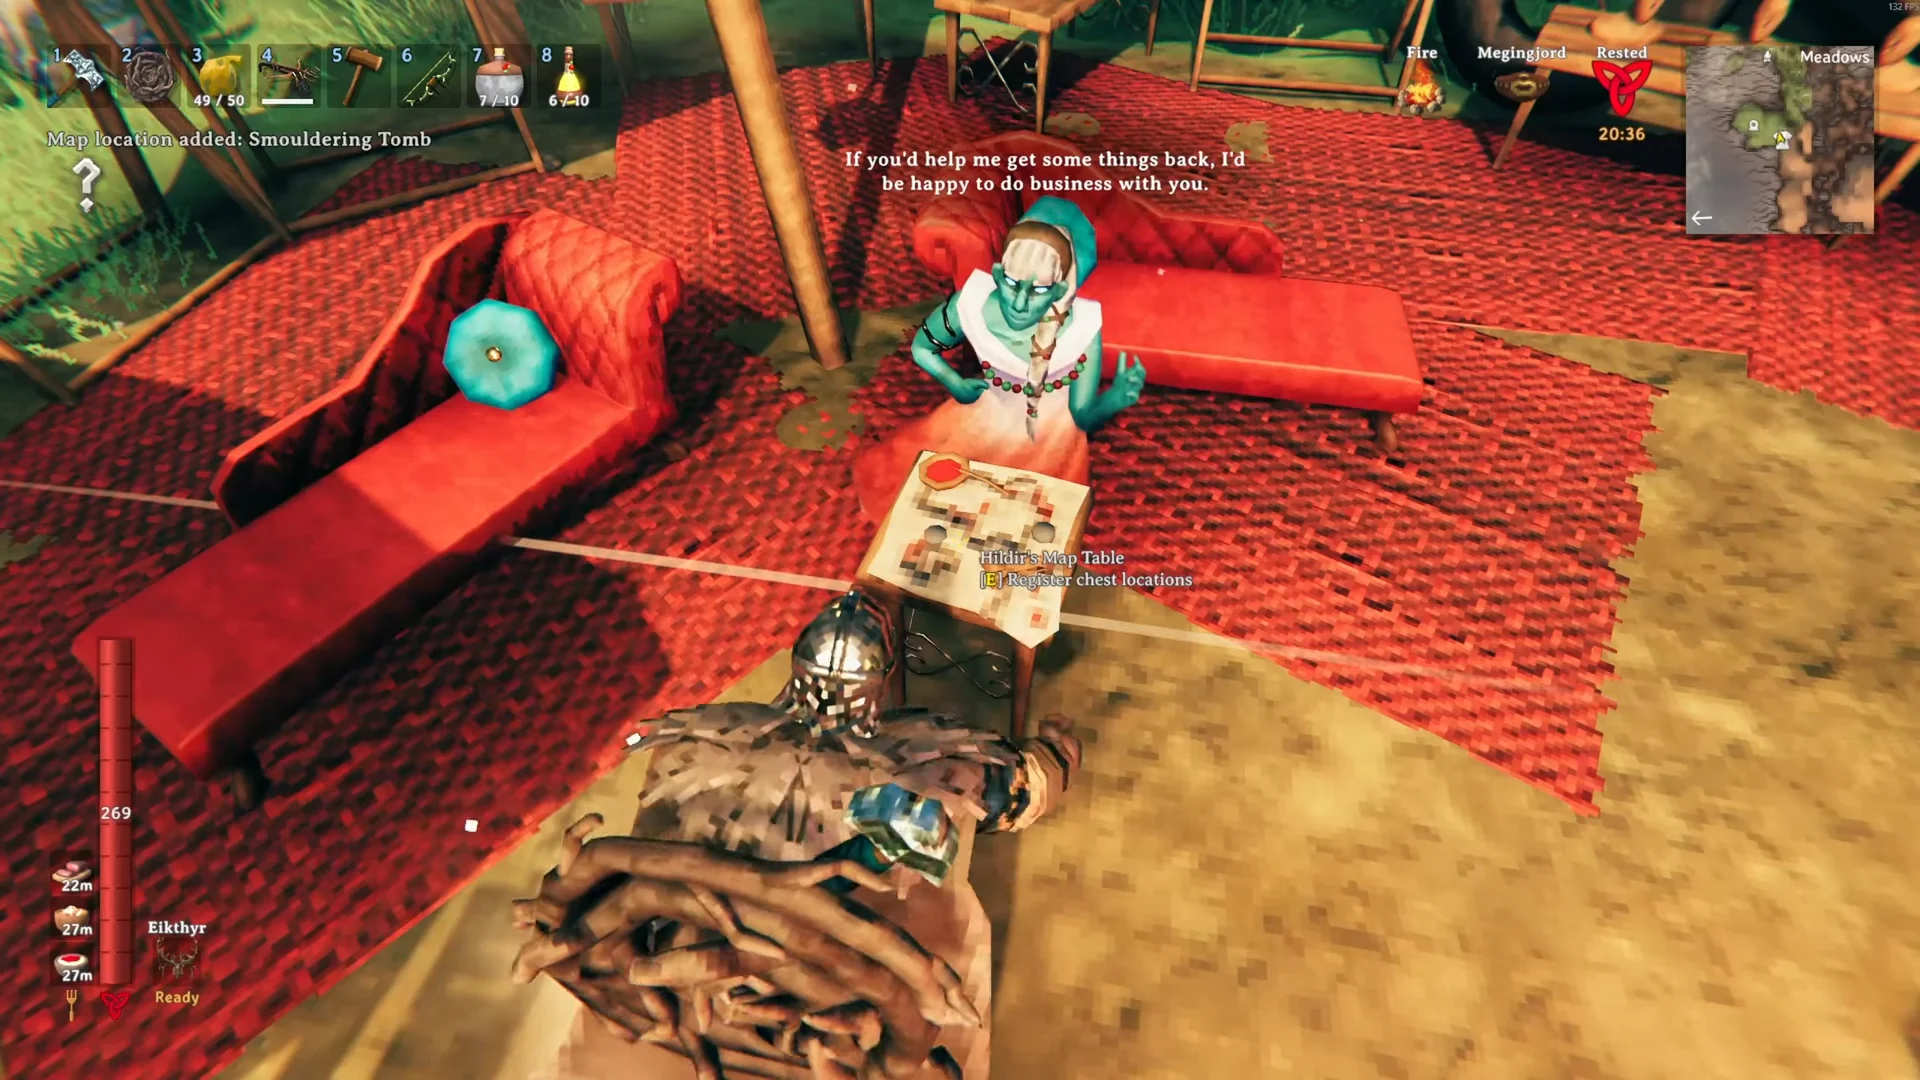
A world holds up to three Howling Caverns. Each one sits at least 2,000 meters from the others, at an altitude of 200 meters or higher, and between 1,000 and 8,000 meters from the center. You only need to clear one. Pick the cavern closest to Hildir, because the chest has to be carried back to her by hand.
Gear and consumables for Howling Cavern
A Silver-tier loadout handles the dungeon comfortably. A setup that works well:
- Wolf armor for cold protection in the Mountains
- Frostner and a Root Shield for parrying and knocking enemies back
- Frost Resistance Mead for Geirrhafa’s frost attacks
- Ooze bombs to poison groups of enemies
- A torch or Dverger Circlet (620 coins from Haldor), since the cavern is dark
- At least 5 Stone and 2 Wood for each Campfire you plan to build
Frost Resistance Mead ferments in 40 minutes, and each batch makes six bottles. Start a batch before you head out so the buff lasts through the whole fight.
Build a sheltered portal near the cavern entrance before you go in. Coming back for your gravestone is much faster that way, even though the chest itself can’t use the portal.
Clearing Ulvs and Bats before the boss
The dungeon has between 10 and 64 rooms, and they’re filled with Ulvs and Bats, many of them 1-star. Clear the path to Geirrhafa first. Stray Ulvs that join the boss fight are what usually get people killed. Some Ulvs start asleep, so sprinting through rooms wakes up more of them than you need to deal with at once.
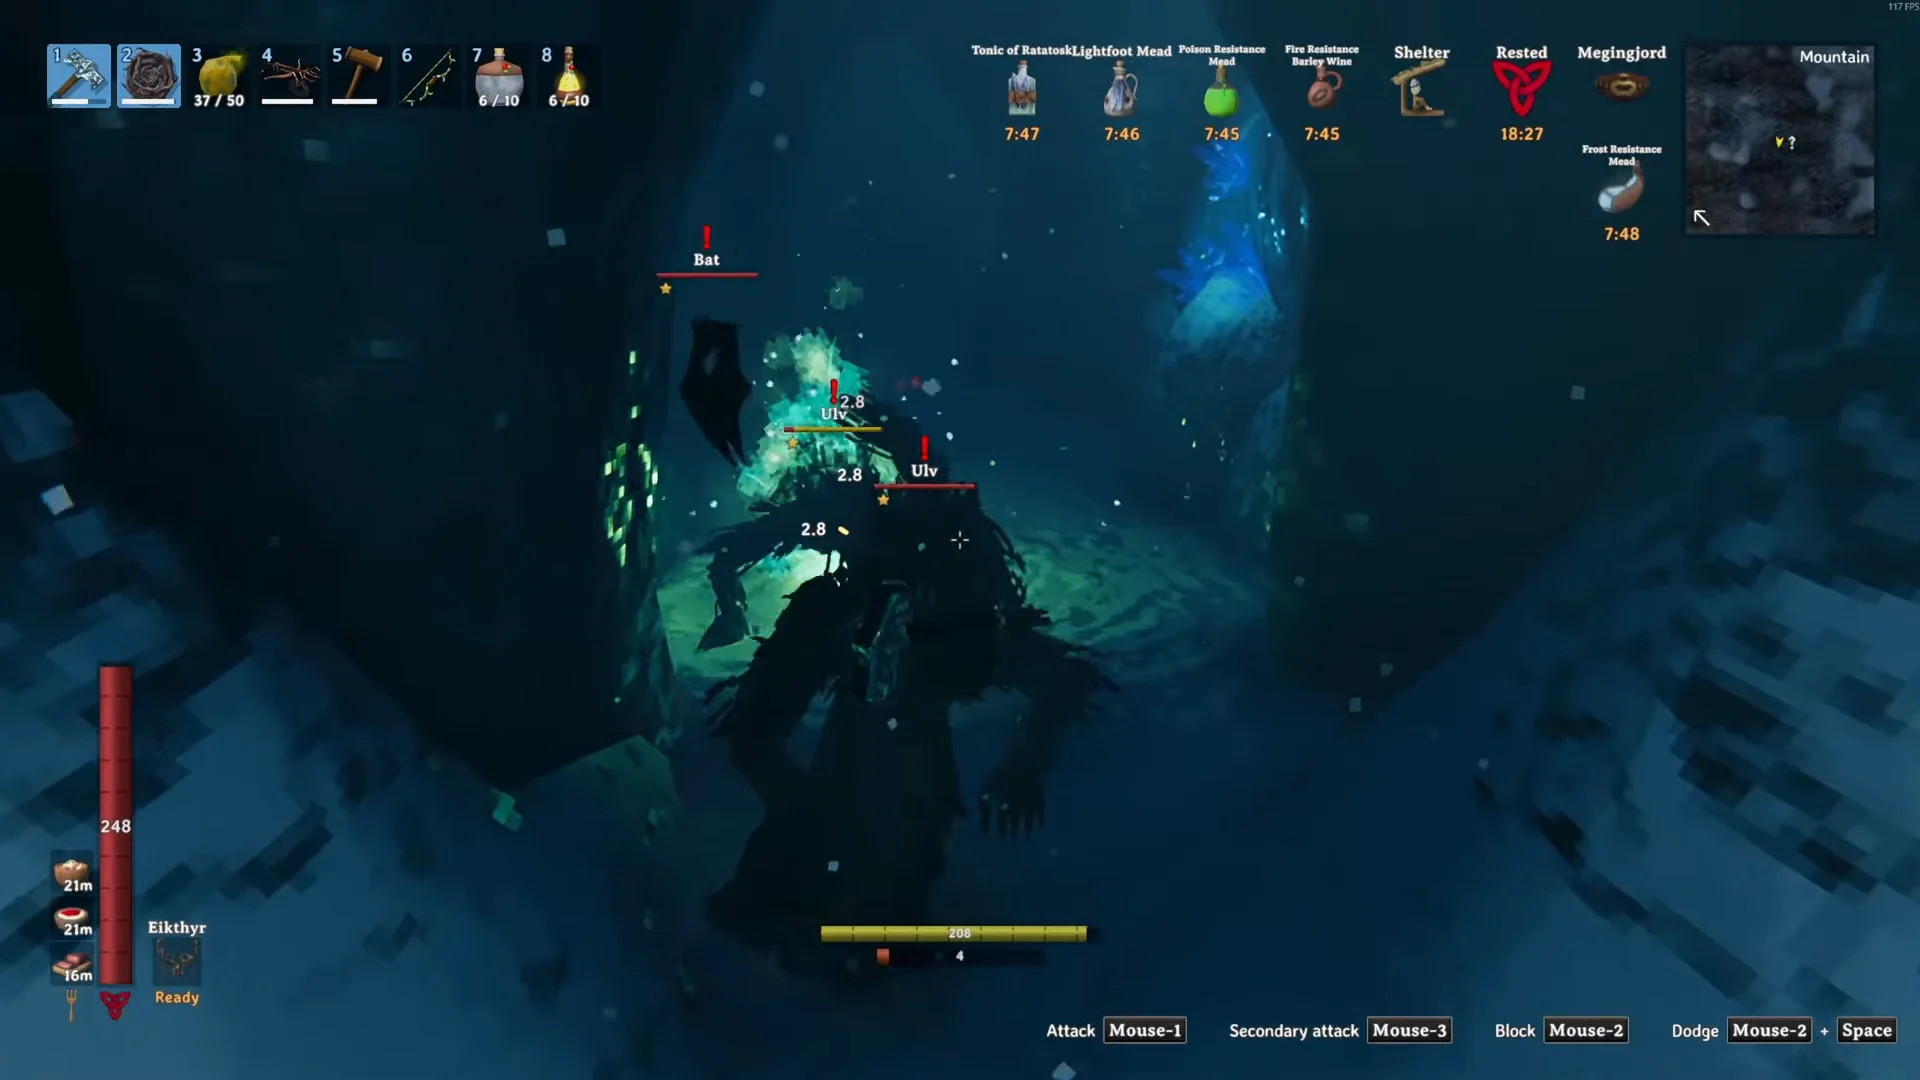
Ulvs are very resistant to fire and weak to poison, so ooze bombs work better on them than fire arrows. Bats have only 10 health, but they resist blunt, slash, and pierce damage. They’re weak to fire and spirit.
| Creature | Health | Attacks | Weak to |
|---|---|---|---|
 Ulv Ulv | 50 | 80 slash / 70 slash | Poison |
| Bat | 10 | 20 slash | Fire, spirit |
 Geirrhafa Geirrhafa | 3,700 | Four frost attacks | Fire |
Bats are immune to frost and poison. Ulvs can swim. All three creatures run at speed 5 except the Ulv, which runs at 8, so you can’t outrun Ulvs on foot.
Geirrhafa stats and attack damage
Geirrhafa has 3,700 health in Howling Cavern. It’s immune to frost, weak to fire, and ignores chop and pickaxe damage. Its stagger threshold is 50% of its max health. It also attacks player buildings, which matters for the campfire method below.
| Attack | Slash | Frost | Blockable |
|---|---|---|---|
| Attack 1 | 60 | 70 | Yes |
| Attack 2 | 40 | 60 | Yes |
| Attack 3 | — | 100 | No |
| Attack 4 | — | 20 | Yes |
In practice, you’ll see three patterns. A pulsing frost burst hits everything in a circle around it, a frost projectile travels in a straight line, and a melee claw swipe hits up close. One frost attack deals 100 damage and can’t be blocked, so step back from the area burst and sidestep the line attack instead of holding your shield up. Save your parries for the claw.
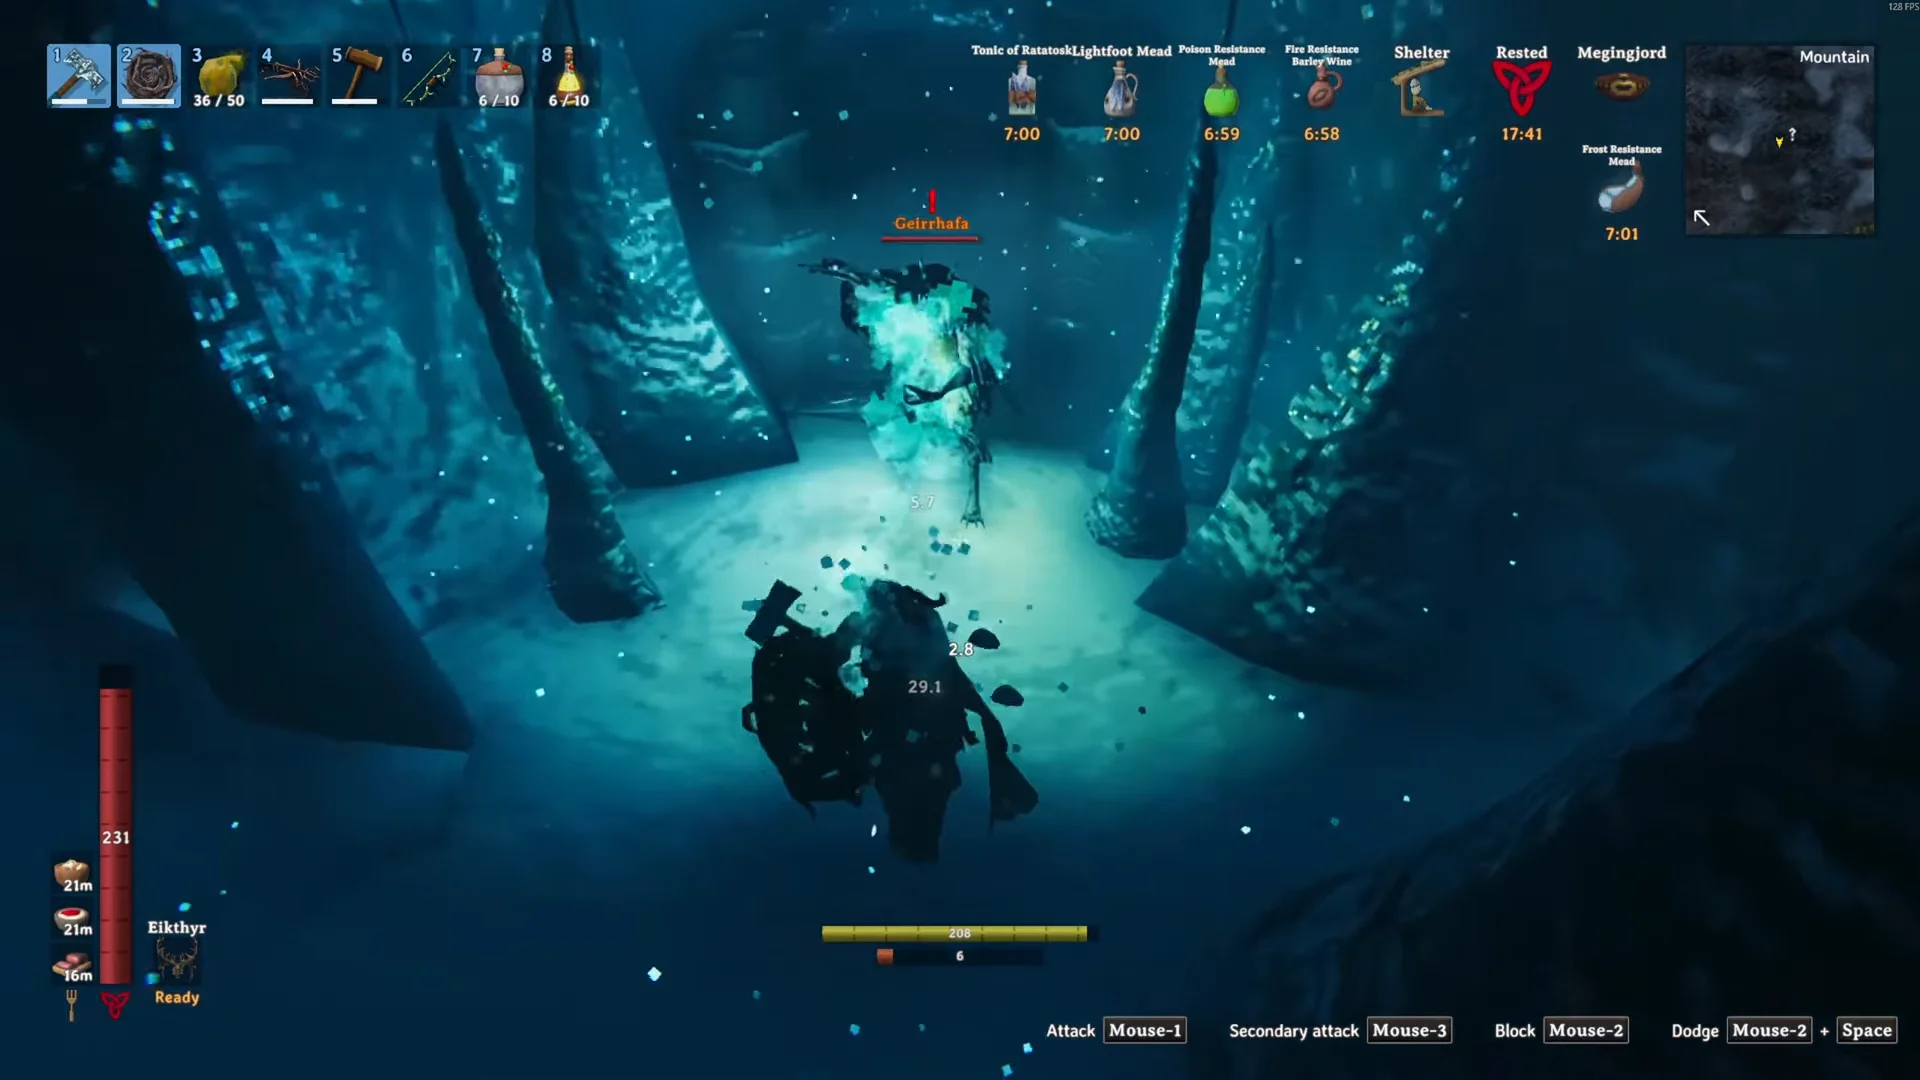
Campfire method to defeat Geirrhafa
Geirrhafa’s fire weakness means a campfire placed where it has to stand keeps burning it the whole time you trade hits. A narrow corridor limits how far it can move, so it keeps getting pushed back into the fire.

A campfire also lets you refresh your Rested buff inside the dungeon. Light one in a cleared, safe room before the fight if your buff is running low.
Hildir’s Silver Chest: Drops, weight, and turn-in
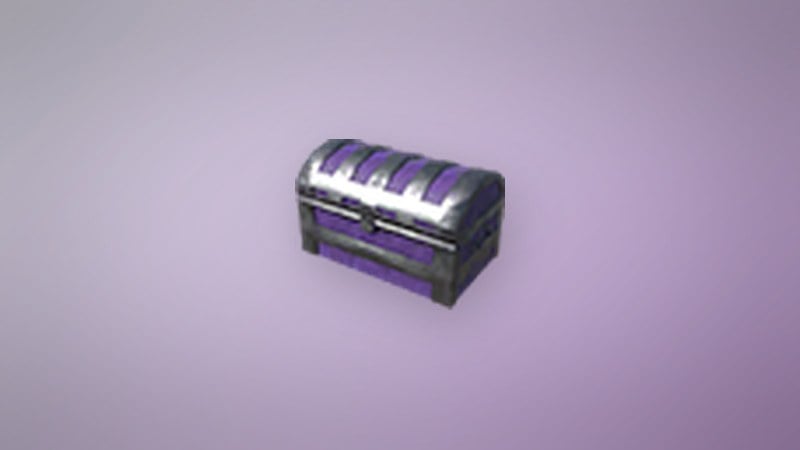
Geirrhafa always drops two items: Hildir’s Silver Chest and the Geirrhafa Trophy. Messages for “New item: Hildir’s Silver Chest” and “Trophy collected: Geirrhafa Trophy” appear when you pick them up. That’s how you know the dungeon part of the quest is done.
| Item | Weight | Max stack | Portal travel |
|---|---|---|---|
 Hildir’s Silver Chest Hildir’s Silver Chest | 200 | 1 | No |
| Geirrhafa Trophy | 3 | 20 | Yes |
At 200 weight, the chest takes up a large share of your carry limit. A Megingjord helps if you also want to haul loot from the cavern. Your route back to Hildir has to go by ship or on foot, because the chest can’t go through portals.
Other loot in the cavern includes Crystal, Bone Fragments, Entrails, Fenris Hair, Fenris Claw, and Coins, plus Frost Caves chests. Each of these competes with the chest for carry weight.
What Hildir unlocks after the Silver Chest
Bring the chest to Hildir and her shop expands with new stock. You can confirm the quest step is complete when these items appear in her store:
| Item | Slot | Price | Modifier |
|---|---|---|---|
 Blue Dress with Shawl Blue Dress with Shawl | Chest | 450 coins | Building stamina -20% |
 Brown Dress with Shawl Brown Dress with Shawl | Chest | 450 coins | Building stamina -20% |
 Blue Tunic with Cape Blue Tunic with Cape | Chest | 450 coins | Building stamina -20% |
 Extravagant Green Cap Extravagant Green Cap | Helmet | 250 coins | Building stamina -15% |
The silver-tier stock also includes yellow and red versions of the shawl dresses and cape tunics, along with more headscarves.
Returning the chest also turns on a base raid called “You get the chills…”. In that raid, a weaker Geirrhafa with 1,850 health and the same four frost attacks can show up at your base. Fire still works against it, so keep a few fire-damage options at home.