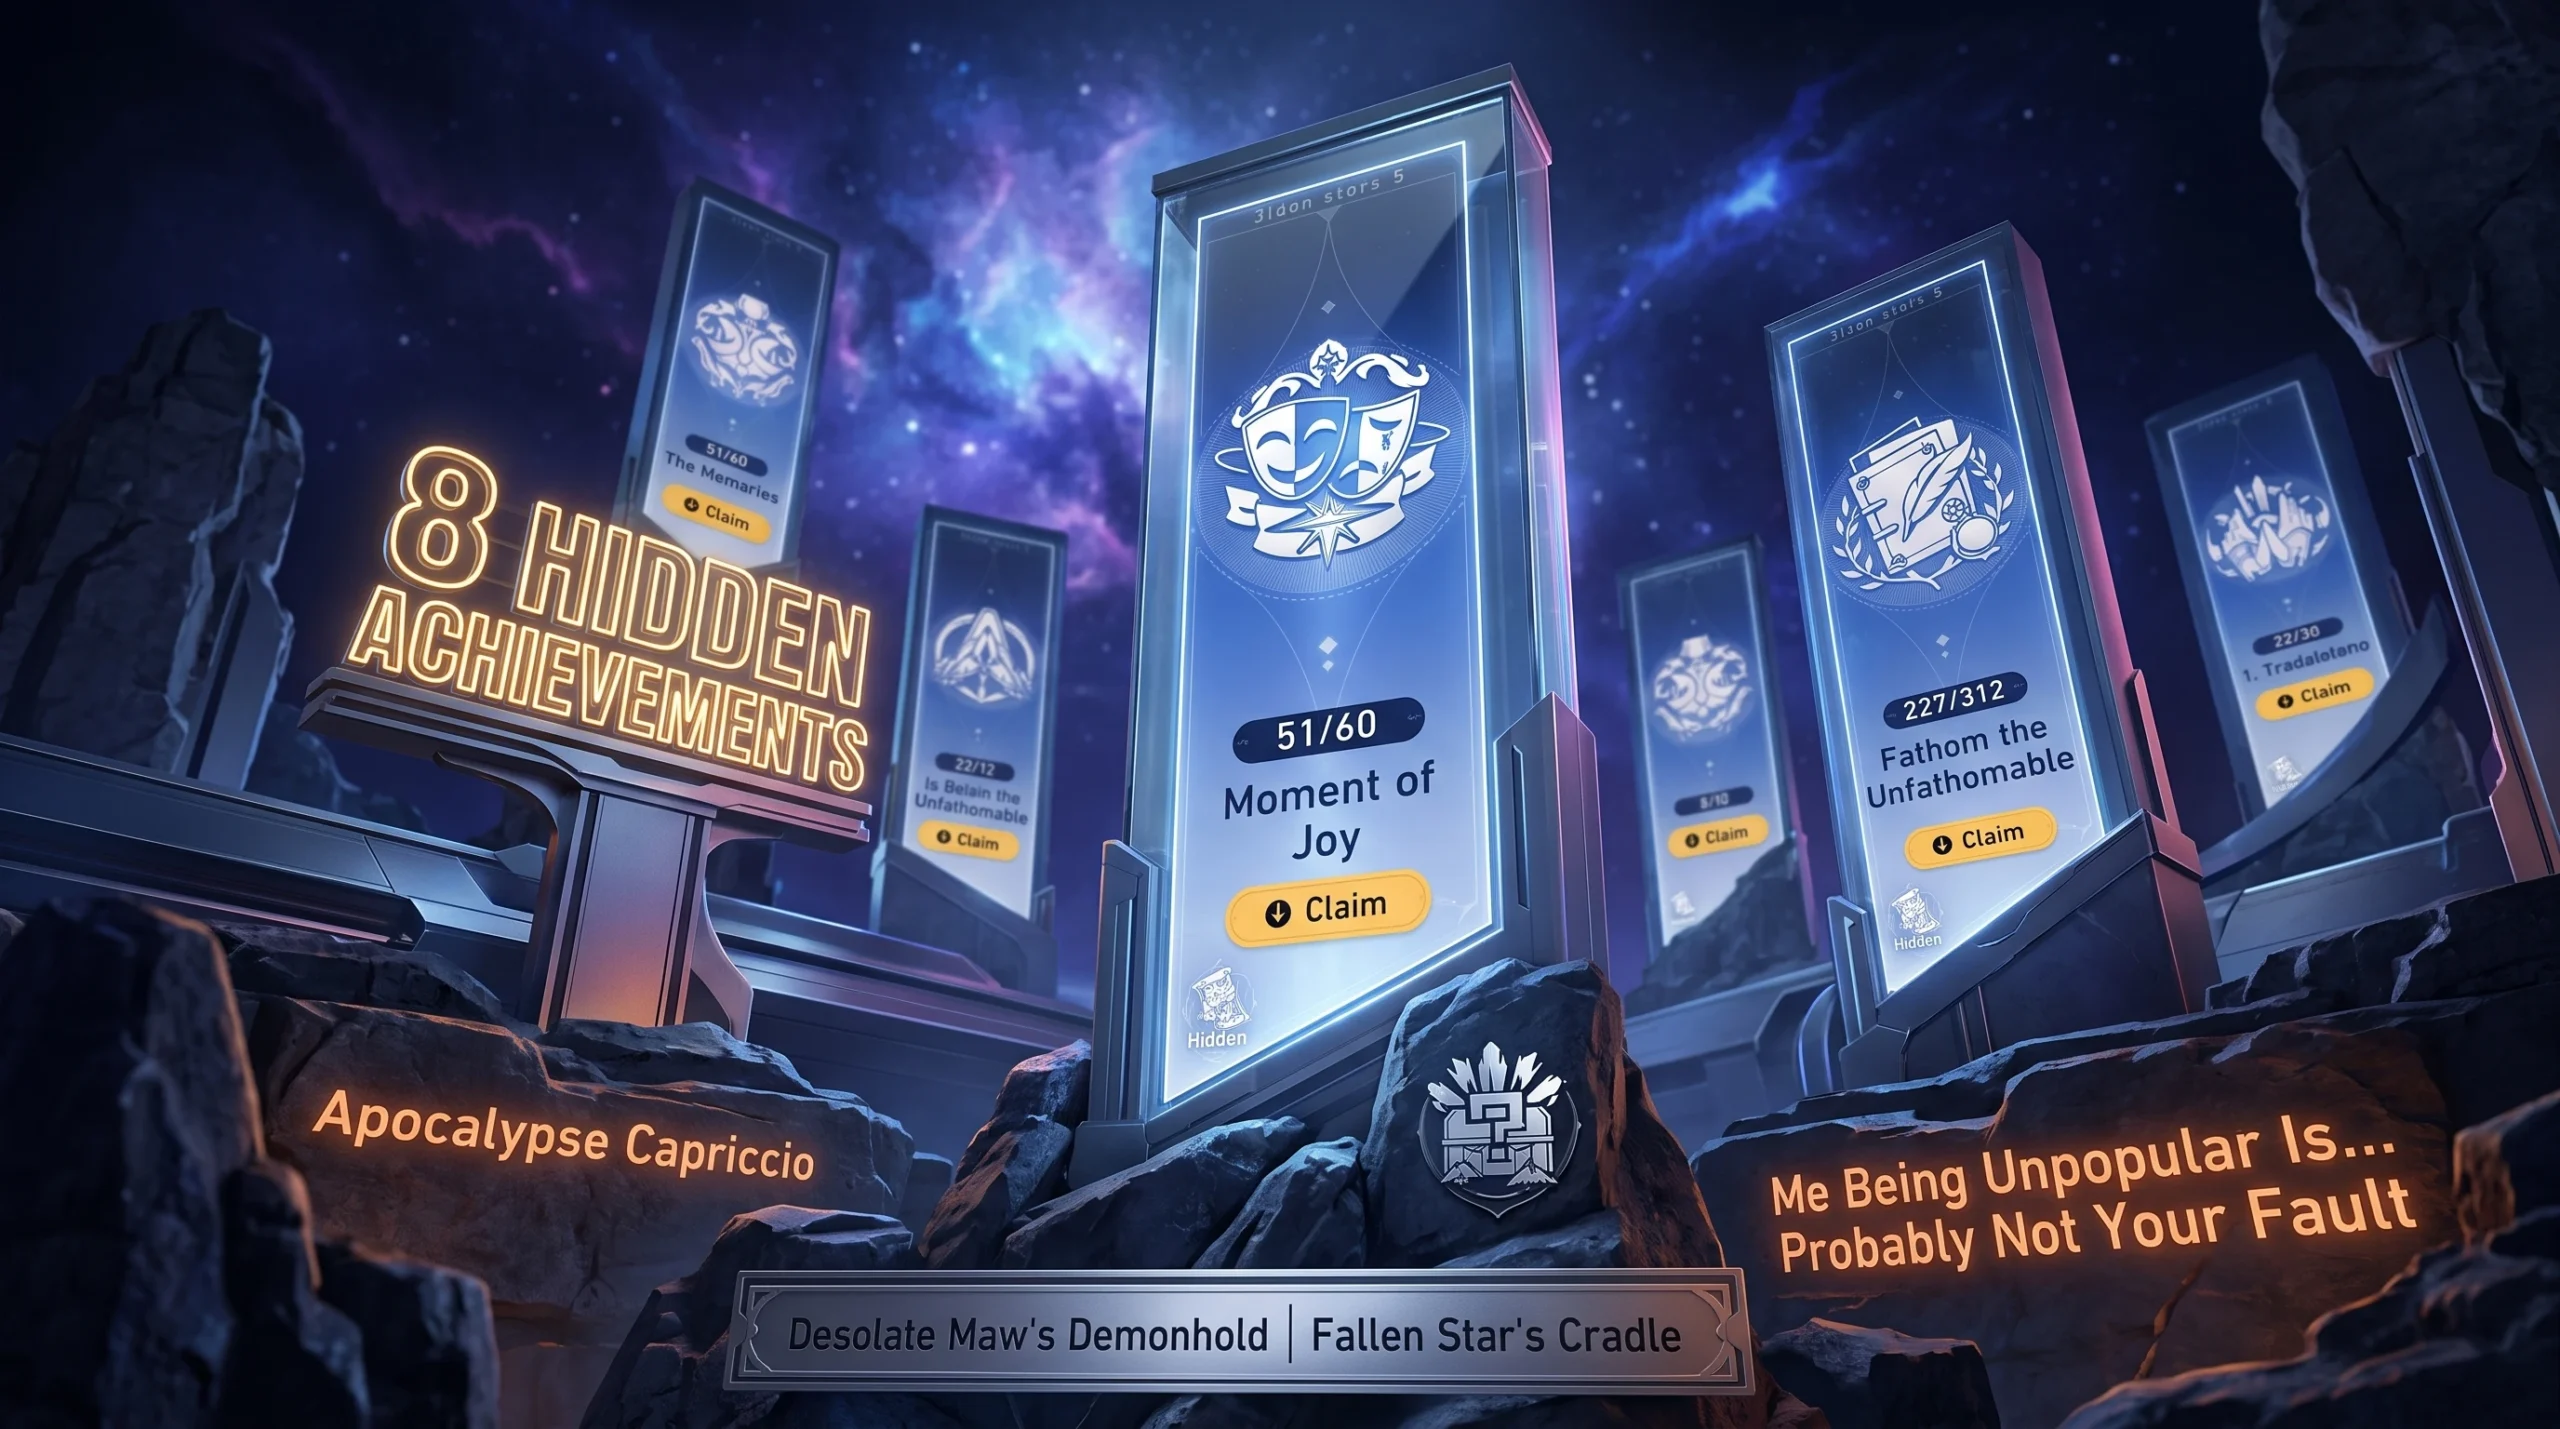
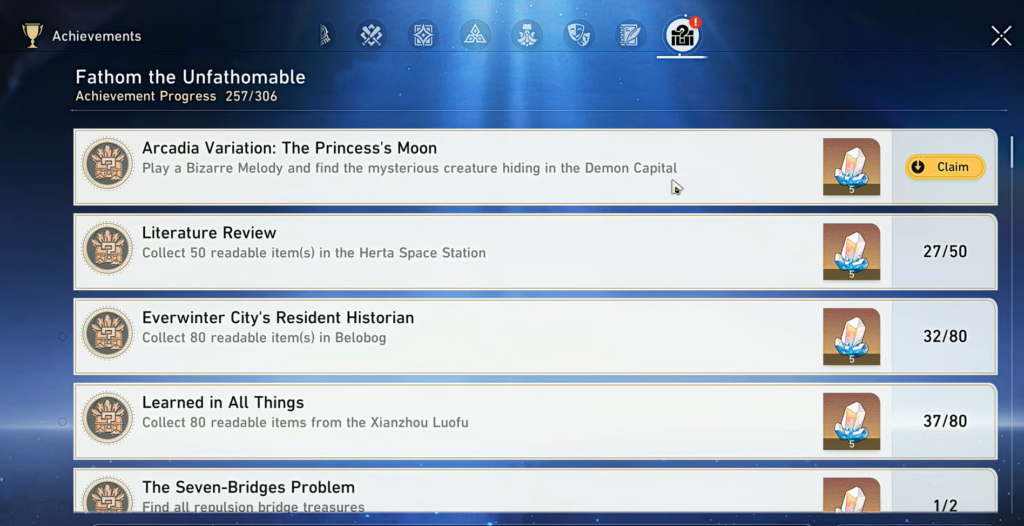
The two new Gloom maps added in Honkai: Star Rail 4.4, Desolate Maw’s Demonhold and Fallen Star’s Cradle, hide a set of secret achievements tucked inside their Interplanar Jump! side-scrolling stages. The hardest to stumble onto are the two Bizarre Melody puzzles, which reward the “Arcadia Variation” achievements once you play the correct arrow sequence. Each secret achievement pays out 5 Stellar Jade.
Quick answer: Enter the blue pixel pipe on each map to start Interplanar Jump!, read the arrow pattern flashed on the giant face, then input that exact pattern at the toy instrument speaker’s Bizarre Melody prompt. Doing so in Desolate Maw’s Demonhold unlocks Arcadia Variation: The Princess’s Moon, and repeating it in Fallen Star’s Cradle unlocks the second Arcadia Variation achievement.
Where the hidden achievements are located
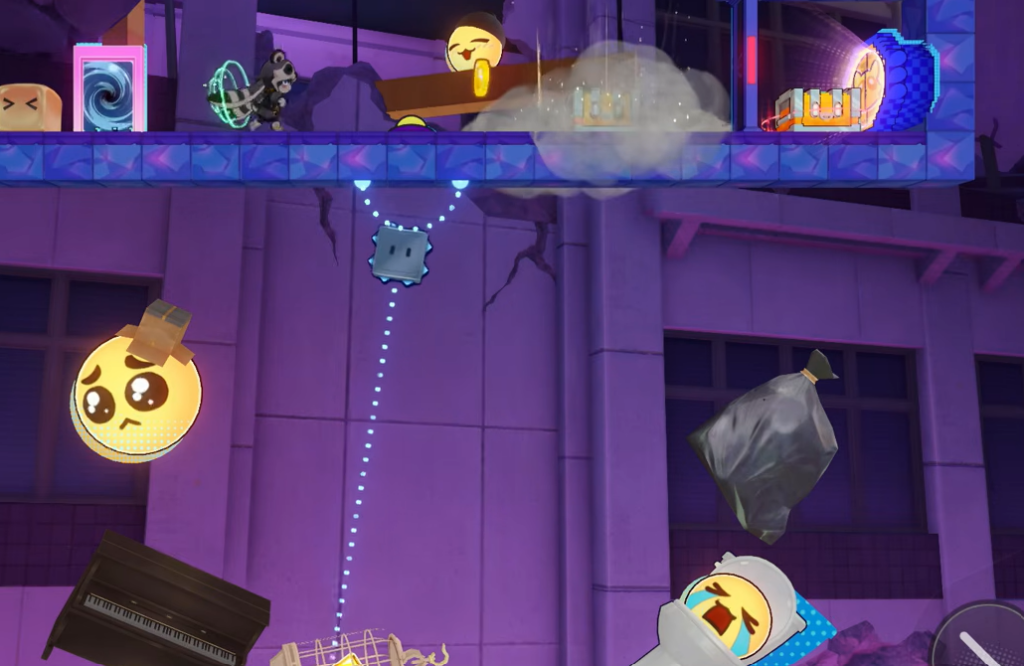
Both maps sit under the Gloom category on the Planarcadia map screen. Open your Star Rail Map, pick either Desolate Maw’s Demonhold or Fallen Star’s Cradle, and teleport to the Space Anchor at the top-left or left edge of the section. From there you drop into blue pixelated pipes on the ground, which launch the 2D minigame the game labels Interplanar Jump!.
Most secrets on these maps live inside those Interplanar Jump! stages rather than in the open world. The two Bizarre Melody creatures are the marquee finds, but each map also holds several timing- and trick-based achievements you can grab on the same run.
Bizarre Melody in Desolate Maw’s Demonhold (Arcadia Variation: The Princess’s Moon)
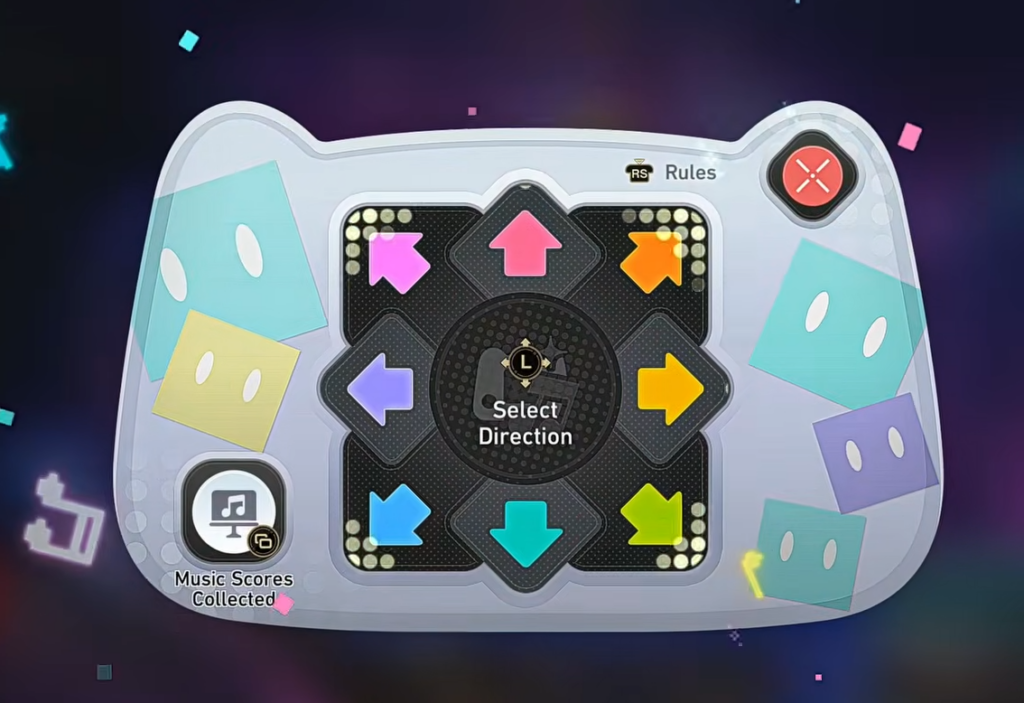
| Input order | Direction |
|---|---|
| 1 | Bottom-Right |
| 2 | Bottom-Left |
| 3 | Top-Left |
| 4 | Top-Right |
| 5 | Top |
| 6 | Left |
| 7 | Down |
| 8 | Right |
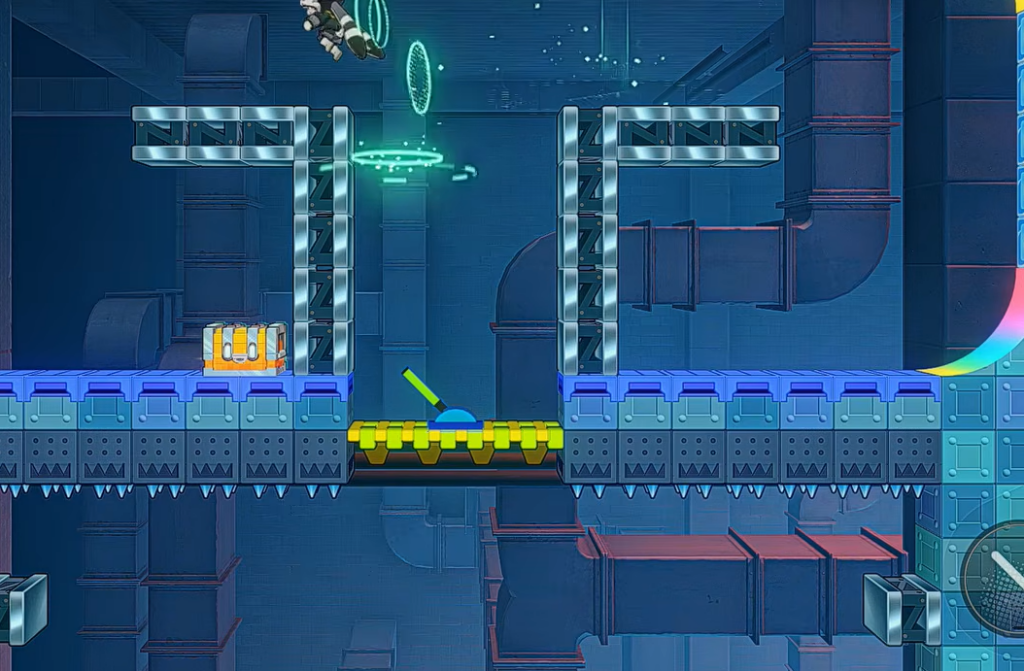
Bizarre Melody in Fallen Star’s Cradle
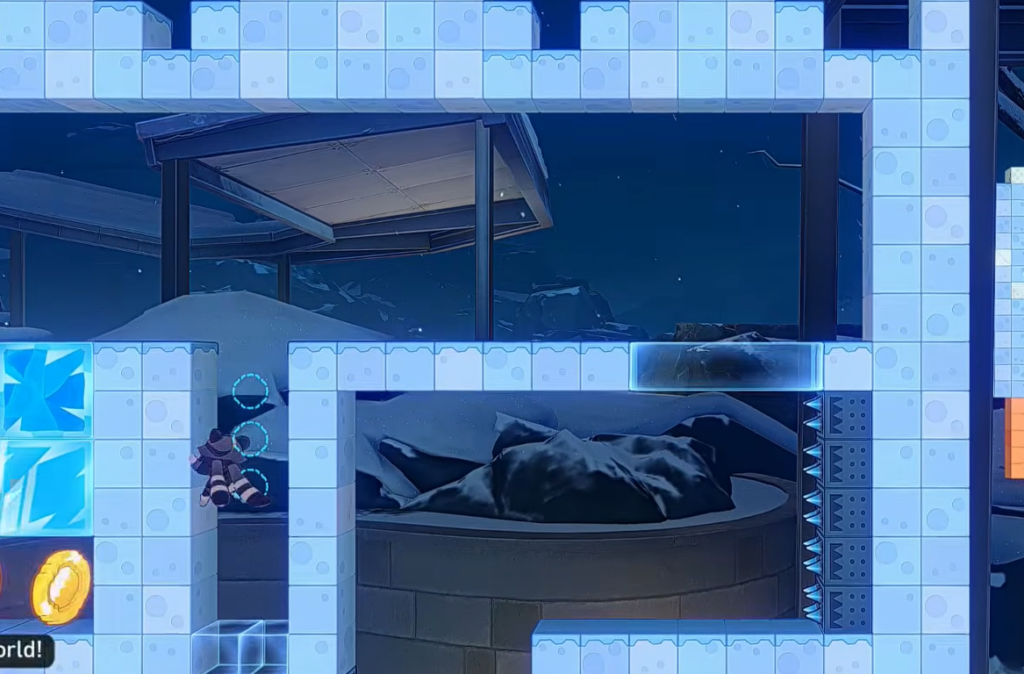
| Input order | Direction |
|---|---|
| 1 | Down |
| 2 | Bottom-Left |
| 3 | Down |
| 4 | Right |
| 5 | Bottom-Left |
| 6 | Top-Right |
| 7 | Right |
| 8 | Bottom-Right |
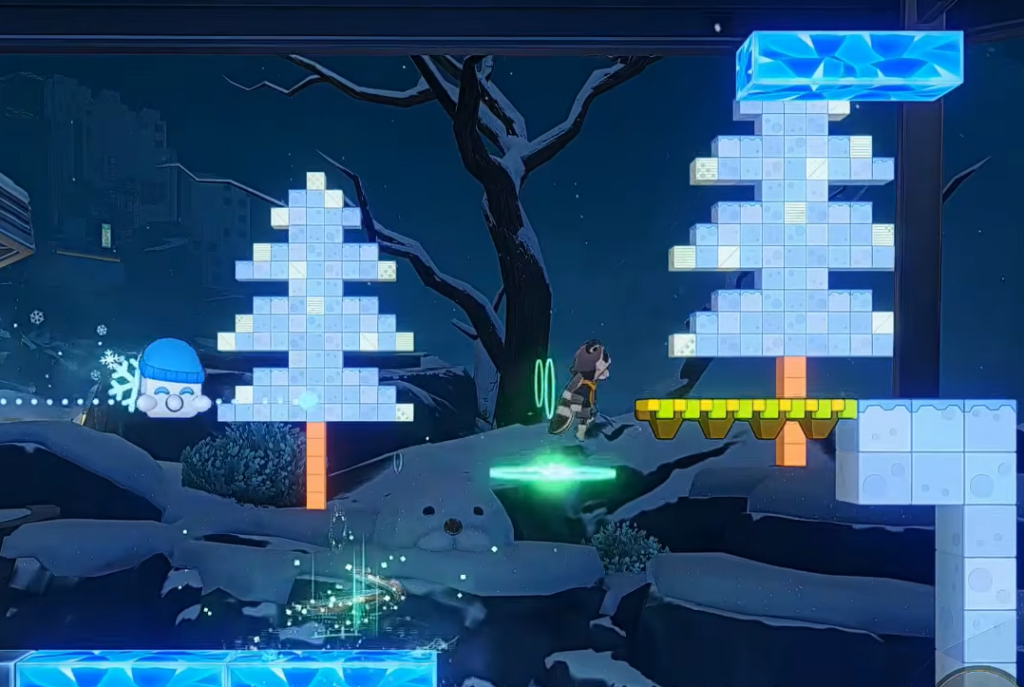
The pattern is generated on the wall you pass on the way in, so if you rush past it you will have to re-enter the stage to read it again.
Other hidden achievements in Desolate Maw’s Demonhold
Beyond the Bizarre Melody creature, Desolate Maw’s Demonhold carries several trick-based secrets tied to the Interplanar Jump! stages and the map’s lightning weather. Each awards 5 Stellar Jade.
| Achievement | How to unlock |
|---|---|
| Goodbye, Thunderclaw | Temporarily knock the Thunderwyrm back during the Interplanar Jump! timed challenge. |
| Call Me a Non-Conductor | Finish the timed Interplanar Jump! run while getting struck by lightning fewer than 20 times. |
| The Raccoon Flies to the Moon | Use Interplanar Jump! to launch from the TV Tower into the fountain. |
| Reign of the Scavenger | Catch one piece of trash during an Interplanar Jump! run. |
| Not Faster Than the Speed of Light | Get struck by lightning once during an Interplanar Jump! run. |
| The Test Failed | Get struck by lightning once on the map. |
Other hidden achievements in Fallen Star’s Cradle
Fallen Star’s Cradle leans on its painting and bridge-building interactions inside Interplanar Jump!. These pair well with the Bizarre Melody run since they share the same stages.
| Achievement | How to unlock |
|---|---|
| Bridge to the Stars | Build a bridge in the Interplanar Jump! stage. |
| The First Picture Book | Wield the brush that paints history in Fallen Star’s Cradle. |
| Shining Life | Draw “your” past in Fallen Star’s Cradle. |
| Wandering Half a Life Without Meeting a Wise Master | Defeat the Super Giant Ghost in the Interplanar Jump! stage. |
How to confirm an achievement unlocked
Each secret pops the standard achievement toast on screen the moment its condition is met, and the entry moves out of the hidden state in your Achievements menu under the Interplanar Jump! collection. The Bizarre Melody achievements are confirmed by the creature’s farewell line and the achievement banner appearing right after the reveal, along with 5 Stellar Jade added to your total.
If a Bizarre Melody puzzle does not trigger, the usual cause is an input mistake. The directions must be entered in the exact order shown on the wall, so re-read the flashing pattern before returning to the toy instrument speaker. Once both maps are cleared, you will have collected both Arcadia Variation achievements plus the timing and painting secrets that round out the new Gloom areas.