With the introduction of Windows 11, Microsoft has revised how File Explorer displays user folders under ‘This PC’. By default, folders such as Documents, Downloads, Music, Pictures, and Videos are no longer listed directly under ‘This PC’. If you prefer to have these or other folders accessible in this section, you can customize it to suit your needs. This guide will show you how to add or remove folders from the ‘This PC’ section in File Explorer on Windows 11.
Add Folders to ‘This PC’ in File Explorer
Although Windows 11 doesn’t offer a direct option to modify the folders under ‘This PC’, you can achieve this by editing the Windows Registry or using a third-party tool like Winaero Tweaker. Below, we’ll explain how to add folders using registry files.
First, you need to create a registry file that will modify the registry to add the desired folders. Open Notepad or any text editor and copy the code for the folders you want to add. For example, to add all the library folders under ‘This PC’, use the following code:
Windows Registry Editor Version 5.00

; 3D Objects
[HKEY_LOCAL_MACHINE\SOFTWARE\Microsoft\Windows\CurrentVersion\Explorer\MyComputer\NameSpace\{0DB7E03F-FC29-4DC6-9020-FF41B59E513A}]

; Desktop
[HKEY_LOCAL_MACHINE\SOFTWARE\Microsoft\Windows\CurrentVersion\Explorer\MyComputer\NameSpace\{B4BFCC3A-DB2C-424C-B029-7FE99A87C641}]
"HideIfEnabled"=-

; Documents
[HKEY_LOCAL_MACHINE\SOFTWARE\Microsoft\Windows\CurrentVersion\Explorer\MyComputer\NameSpace\{d3162b92-9365-467a-956b-92703aca08af}]
"HideIfEnabled"=-

; Downloads
[HKEY_LOCAL_MACHINE\SOFTWARE\Microsoft\Windows\CurrentVersion\Explorer\MyComputer\NameSpace\{088e3905-0323-4b02-9826-5d99428e115f}]
"HideIfEnabled"=-

; Music
[HKEY_LOCAL_MACHINE\SOFTWARE\Microsoft\Windows\CurrentVersion\Explorer\MyComputer\NameSpace\{3dfdf296-dbec-4fb4-81d1-6a3438bcf4de}]
"HideIfEnabled"=-

; Pictures
[HKEY_LOCAL_MACHINE\SOFTWARE\Microsoft\Windows\CurrentVersion\Explorer\MyComputer\NameSpace\{24ad3ad4-a569-4530-98e1-ab02f9417aa8}]
"HideIfEnabled"=-

; Videos
[HKEY_LOCAL_MACHINE\SOFTWARE\Microsoft\Windows\CurrentVersion\Explorer\MyComputer\NameSpace\{f86fa3ab-70d2-4fc7-9c99-fcbf05467f3a}]
"HideIfEnabled"=-
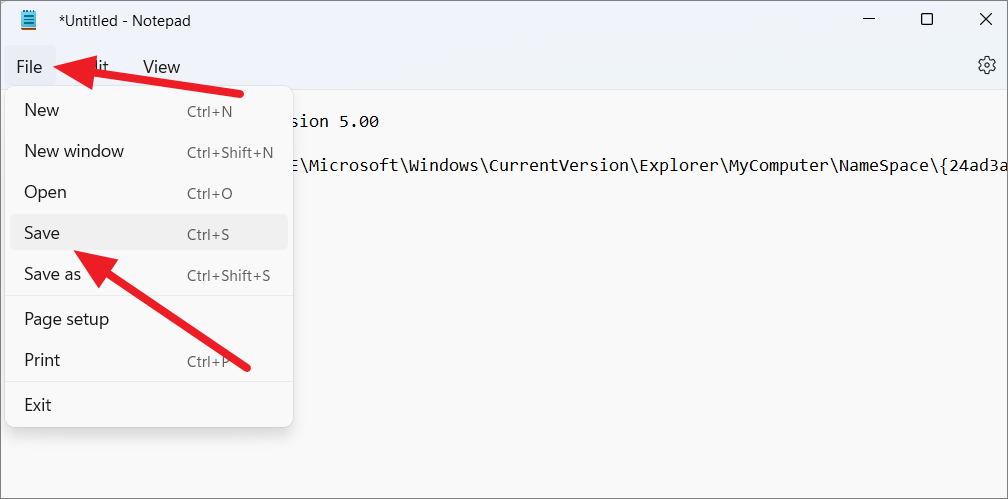
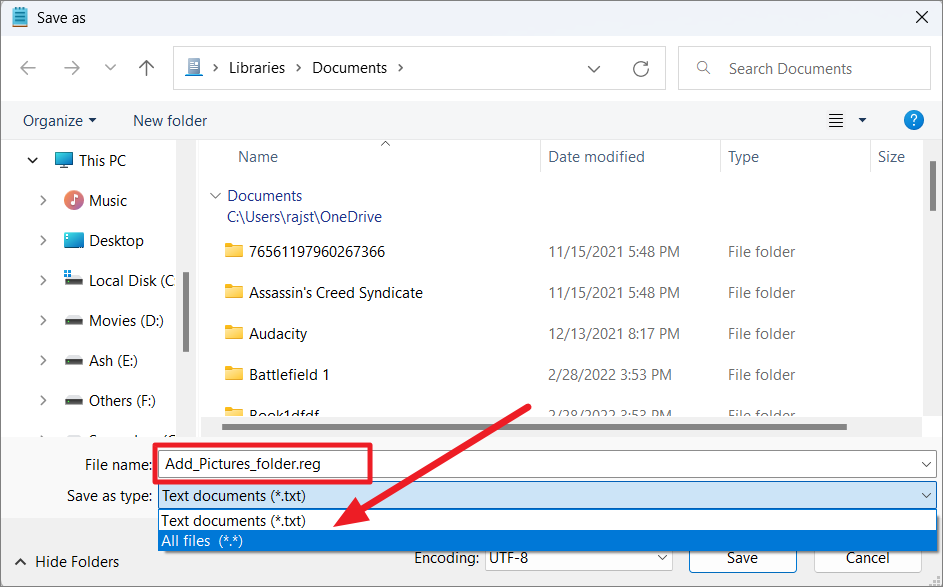
After copying the code, click on ‘File’ in Notepad and select ‘Save’. Choose a location to save the file. In the ‘Save as type’ dropdown menu, select ‘All files (*.*)’. Name the file with a .reg extension, such as AddFolders.reg, and click ‘Save’.
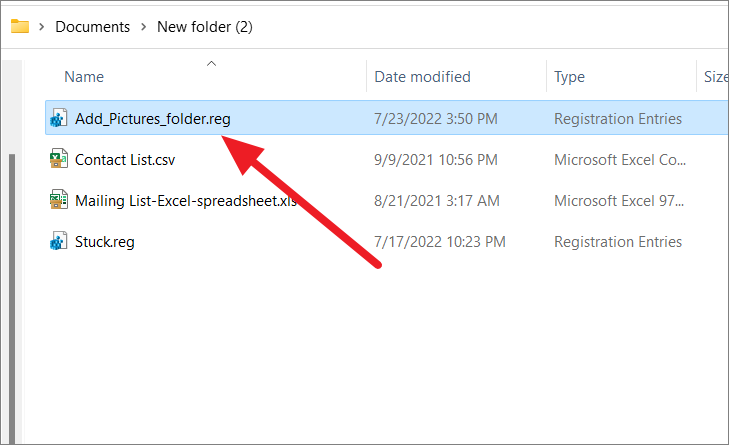
Navigate to where you saved the .reg file and double-click it to run. If a User Account Control prompt appears, click ‘Yes’ to allow changes. In the Registry Editor warning dialog, click ‘Yes’ to confirm the merge.

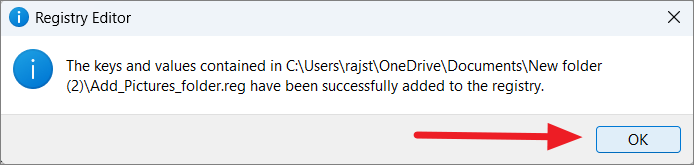
After the registry has been updated, you’ll receive a confirmation message. Click ‘OK’ to proceed. Close any open File Explorer windows and then reopen them to see the changes. The added folders should now appear under ‘This PC’.
Add Individual Folders to ‘This PC’
If you prefer to add specific folders rather than all at once, you can create separate registry files for each folder. Use the corresponding code for each folder and follow the same steps to save and merge the registry file.
Example: To add the Documents folder, use the following code:
Windows Registry Editor Version 5.00

[HKEY_LOCAL_MACHINE\SOFTWARE\Microsoft\Windows\CurrentVersion\Explorer\MyComputer\NameSpace\{d3162b92-9365-467a-956b-92703aca08af}]
"HideIfEnabled"=-
Save it as AddDocuments.reg and merge it into the registry as described earlier.
Remove Folders from ‘This PC’ Section
Removing folders from ‘This PC’ is similar to adding them. You can create registry files with code that removes or hides the folders you don’t want to see.
Open Notepad and copy the code for the folders you wish to remove. For example, to remove all library folders, use the following code:
Windows Registry Editor Version 5.00

; 3D Objects
[-HKEY_LOCAL_MACHINE\SOFTWARE\Microsoft\Windows\CurrentVersion\Explorer\MyComputer\NameSpace\{0DB7E03F-FC29-4DC6-9020-FF41B59E513A}]

; Desktop
[HKEY_LOCAL_MACHINE\SOFTWARE\Microsoft\Windows\CurrentVersion\Explorer\MyComputer\NameSpace\{B4BFCC3A-DB2C-424C-B029-7FE99A87C641}]
"HideIfEnabled"=dword:022ab9b9

; Documents
[HKEY_LOCAL_MACHINE\SOFTWARE\Microsoft\Windows\CurrentVersion\Explorer\MyComputer\NameSpace\{d3162b92-9365-467a-956b-92703aca08af}]
"HideIfEnabled"=dword:022ab9b9

; Downloads
[HKEY_LOCAL_MACHINE\SOFTWARE\Microsoft\Windows\CurrentVersion\Explorer\MyComputer\NameSpace\{088e3905-0323-4b02-9826-5d99428e115f}]
"HideIfEnabled"=dword:022ab9b9

; Music
[HKEY_LOCAL_MACHINE\SOFTWARE\Microsoft\Windows\CurrentVersion\Explorer\MyComputer\NameSpace\{3dfdf296-dbec-4fb4-81d1-6a3438bcf4de}]
"HideIfEnabled"=dword:022ab9b9

; Pictures
[HKEY_LOCAL_MACHINE\SOFTWARE\Microsoft\Windows\CurrentVersion\Explorer\MyComputer\NameSpace\{24ad3ad4-a569-4530-98e1-ab02f9417aa8}]
"HideIfEnabled"=dword:022ab9b9

; Videos
[HKEY_LOCAL_MACHINE\SOFTWARE\Microsoft\Windows\CurrentVersion\Explorer\MyComputer\NameSpace\{f86fa3ab-70d2-4fc7-9c99-fcbf05467f3a}]
"HideIfEnabled"=dword:022ab9b9
Save the file with a .reg extension, such as RemoveFolders.reg, and select ‘All files (*.*)’ as the file type. Double-click the saved file and confirm any prompts to merge it into the registry. Restart File Explorer to see the changes.
Remove Individual Folders from ‘This PC’
To remove a specific folder, use the code corresponding to that folder. For example, to remove the Downloads folder, use:
Windows Registry Editor Version 5.00

[HKEY_LOCAL_MACHINE\SOFTWARE\Microsoft\Windows\CurrentVersion\Explorer\MyComputer\NameSpace\{088e3905-0323-4b02-9826-5d99428e115f}]
"HideIfEnabled"=dword:022ab9b9
Save it as RemoveDownloads.reg and merge it into the registry.
Hide Folders by Modifying ‘ThisPCPolicy’ Registry Values
An alternative method to hide folders under ‘This PC’ is by changing the ‘ThisPCPolicy’ registry values.
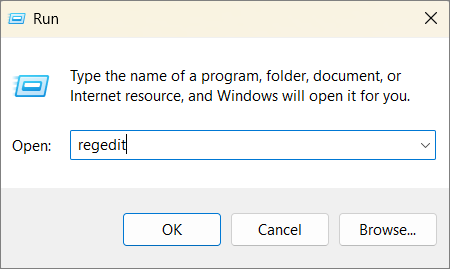
Press Win+R to open the Run dialog, type regedit, and press Enter.
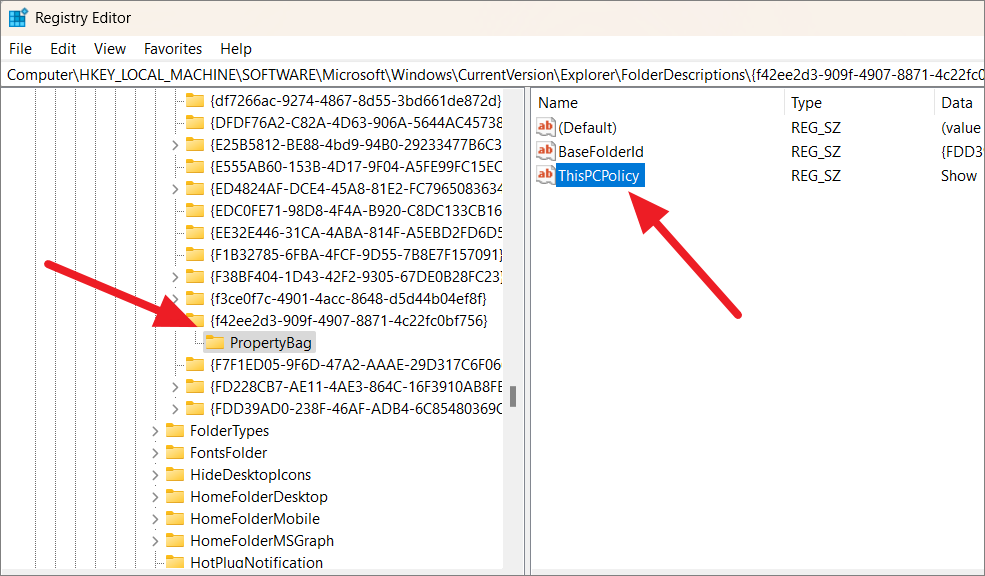
Go to the following path, replacing the GUID with the one for the folder you want to hide. For example, for the Documents folder:
HKEY_LOCAL_MACHINE\SOFTWARE\Microsoft\Windows\CurrentVersion\Explorer\FolderDescriptions\{f42ee2d3-909f-4907-8871-4c22fc0bf756}\PropertyBagClick on the ‘PropertyBag’ key. In the right pane, double-click ‘ThisPCPolicy’. Change the ‘Value data’ from ‘Show’ to ‘Hide’ and click ‘OK’.
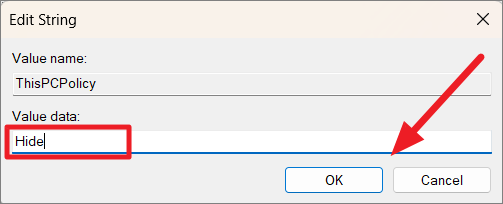
Close and reopen File Explorer to see that the folder is now hidden under ‘This PC’. To restore the folder, change ‘ThisPCPolicy’ back to ‘Show’.
Note: To hide the folders in ‘Browse’, ‘Save’, and ‘Open’ dialogs, repeat the steps for the corresponding keys under:
HKEY_LOCAL_MACHINE\SOFTWARE\Wow6432Node\Microsoft\Windows\CurrentVersion\Explorer\FolderDescriptions\{GUID}\PropertyBagDelete GUID Keys to Permanently Remove Folders
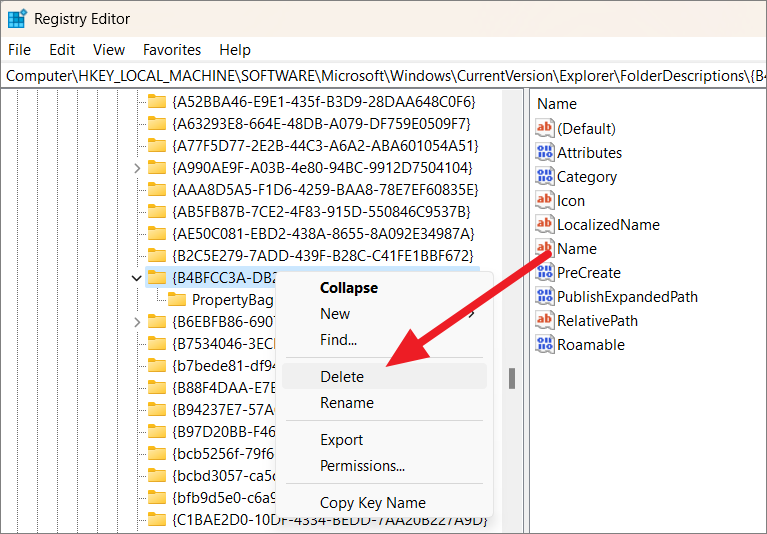
If you want to permanently remove folders from ‘This PC’, you can delete their registry keys. However, be cautious as this can affect system functionality.
HKEY_LOCAL_MACHINE\SOFTWARE\Microsoft\Windows\CurrentVersion\Explorer\FolderDescriptions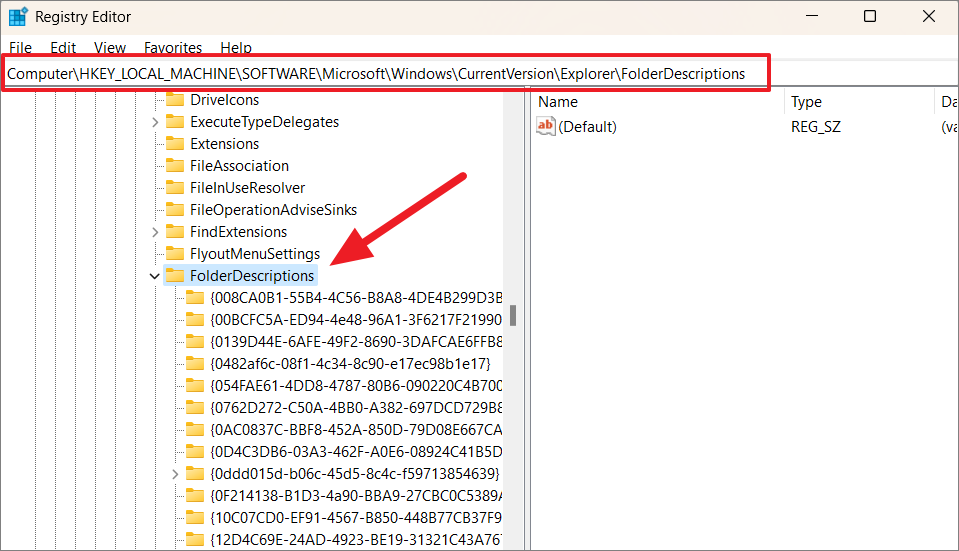
Find the GUID key for the folder you want to remove. Right-click the key and select ‘Delete’. Confirm by clicking ‘Yes’. It’s recommended to back up the key before deleting it.
Disable Frequent Folders or Recent Files in Quick Access
You can prevent File Explorer from showing frequent folders or recent files in Quick Access.
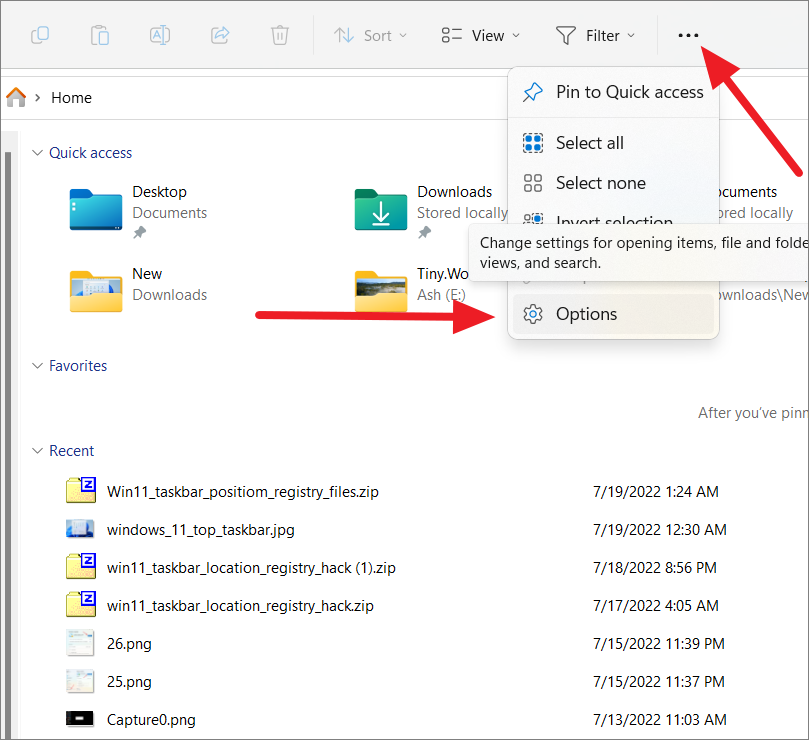
In File Explorer, click the three-dot menu and select ‘Options’.
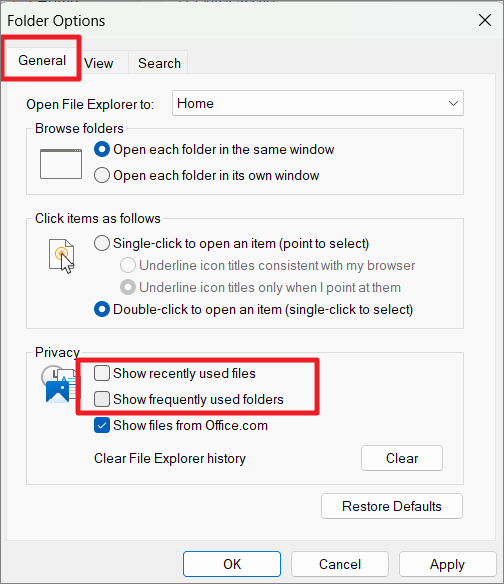
In the ‘General’ tab, under ‘Privacy’, uncheck ‘Show recently used files in Quick access’ and ‘Show frequently used folders in Quick access’. Click ‘Apply’ and then ‘OK’.
Display Libraries in File Explorer
If you want the Libraries section to appear in the navigation pane, you can enable it.
In File Explorer, click the three dots and choose ‘Options’.
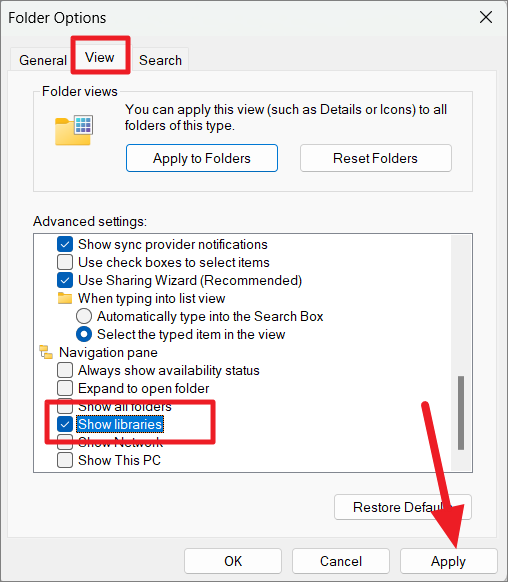
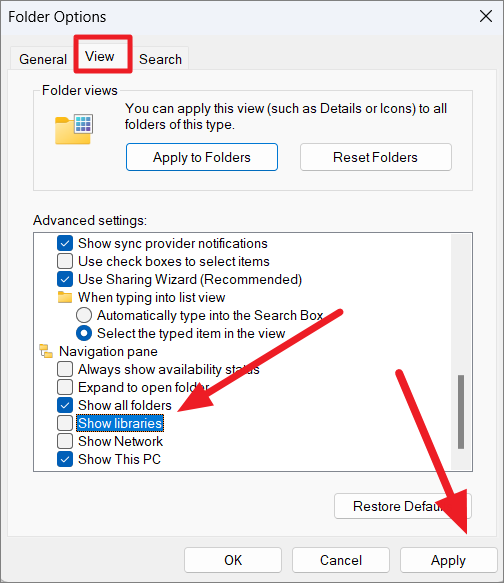
Go to the ‘View’ tab. Scroll down and check ‘Show libraries’. Click ‘Apply’ and then ‘OK’.
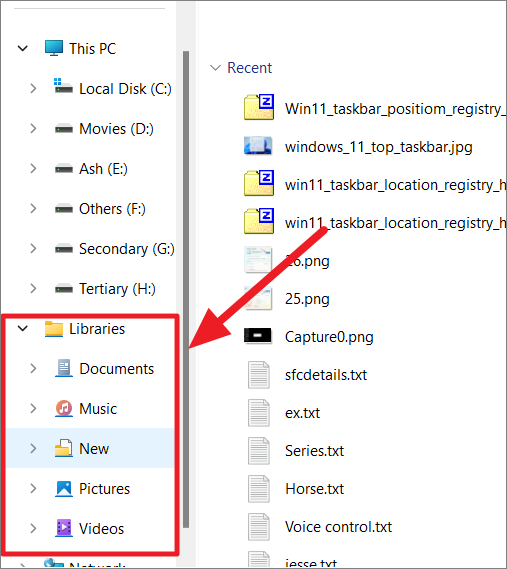
The Libraries section will now appear in the navigation pane.
Hide Libraries from the Navigation Pane
To remove the Libraries section, you can disable it in Folder Options.
Click the three dots in File Explorer and select ‘Options’.
In the ‘View’ tab, uncheck ‘Show libraries’. Click ‘Apply’ and then ‘OK’.
Add Folders to Libraries
To quickly access frequently used folders, you can add them to Libraries.
In File Explorer, navigate to the folder you want to add.
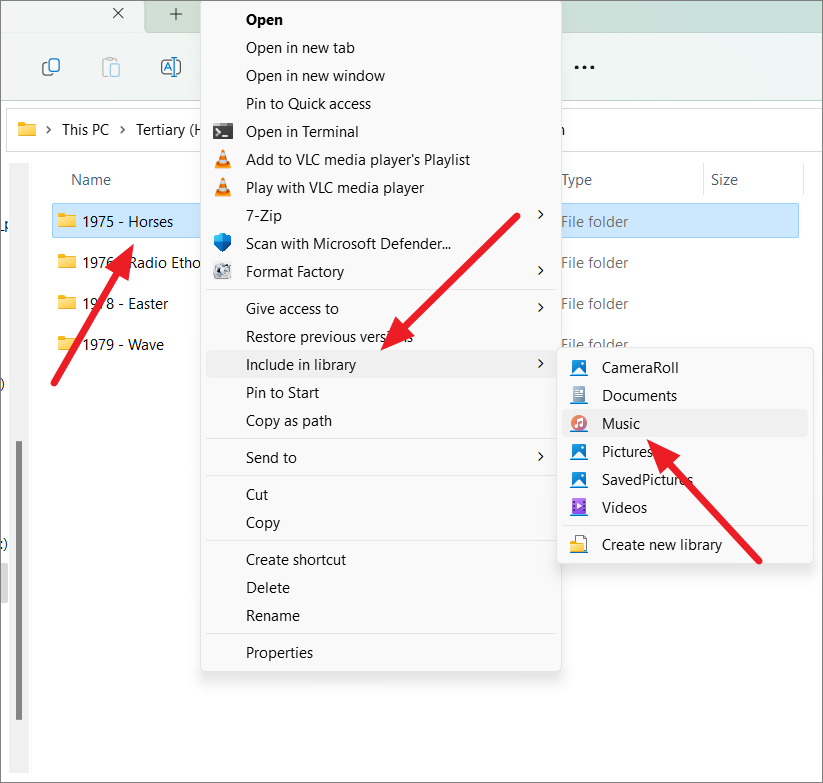
Right-click the folder and select ‘Show more options’. Choose ‘Include in library’ and select an existing library or create a new one.
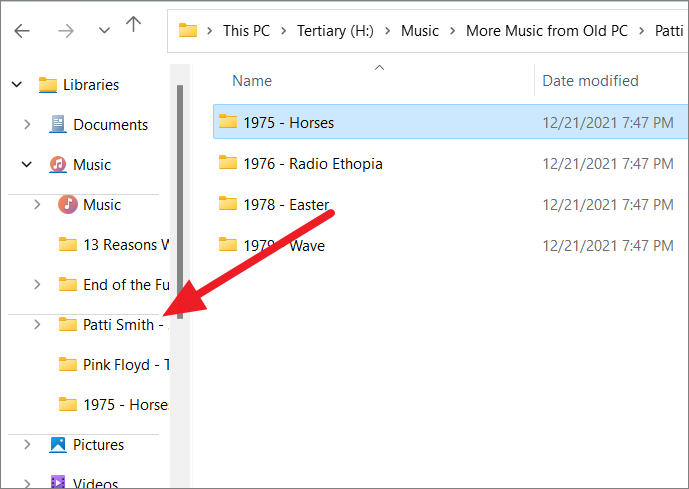
The folder will now be accessible under the chosen library.
Remove OneDrive Folder from File Explorer
If you wish to remove the OneDrive folder from the navigation pane, you can edit the registry.
Press Win+R, type regedit, and press Enter.
Go to:
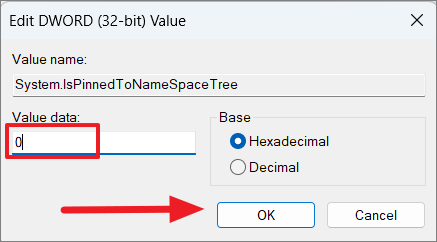
HKEY_CLASSES_ROOT\CLSID\{018D5C66-4533-4307-9B53-224DE2ED1FE6}In the right pane, double-click ‘System.IsPinnedToNameSpaceTree’. Change the ‘Value data’ from ‘1’ to ‘0’ and click ‘OK’.
Navigate to:
HKEY_CLASSES_ROOT\Wow6432Node\CLSID\{018D5C66-4533-4307-9B53-224DE2ED1FE6}Again, change ‘System.IsPinnedToNameSpaceTree’ value to ‘0’.

Restart your computer or File Explorer to apply the changes. The OneDrive folder should no longer appear in the navigation pane.
Add or Remove Custom Folders Using Winaero Tweaker
For a more user-friendly approach, you can use Winaero Tweaker to customize ‘This PC’.
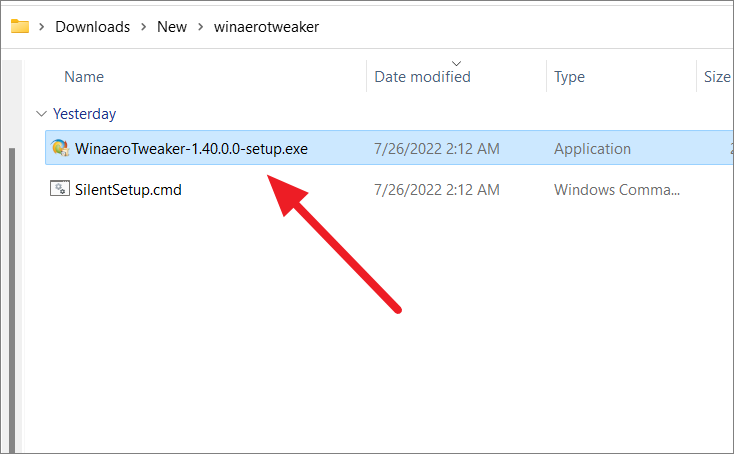
Download the tool from the official website. Extract the ZIP file and run the installer. Follow the prompts to complete the installation.
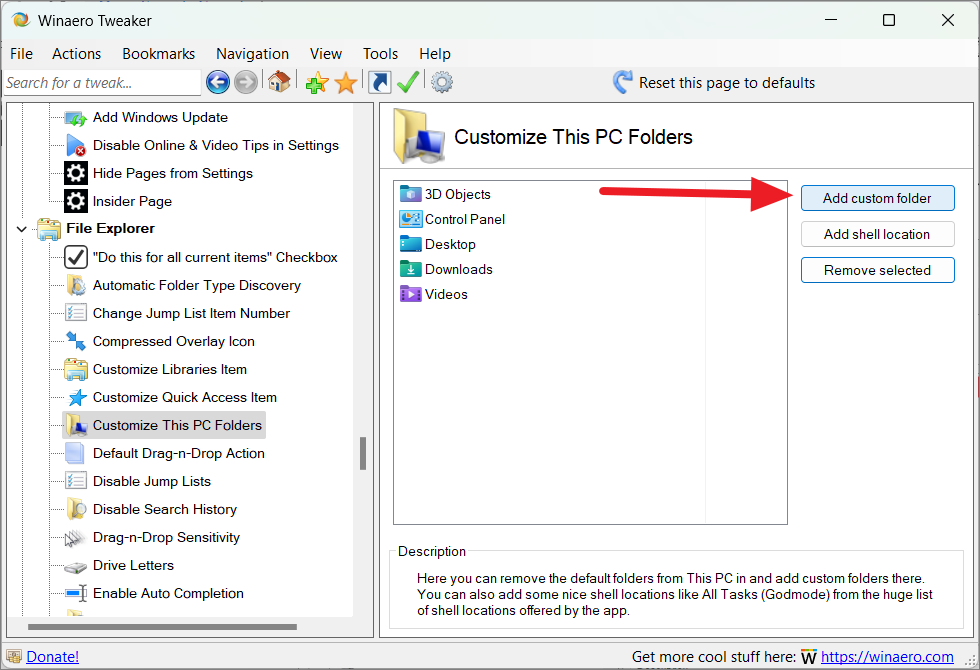
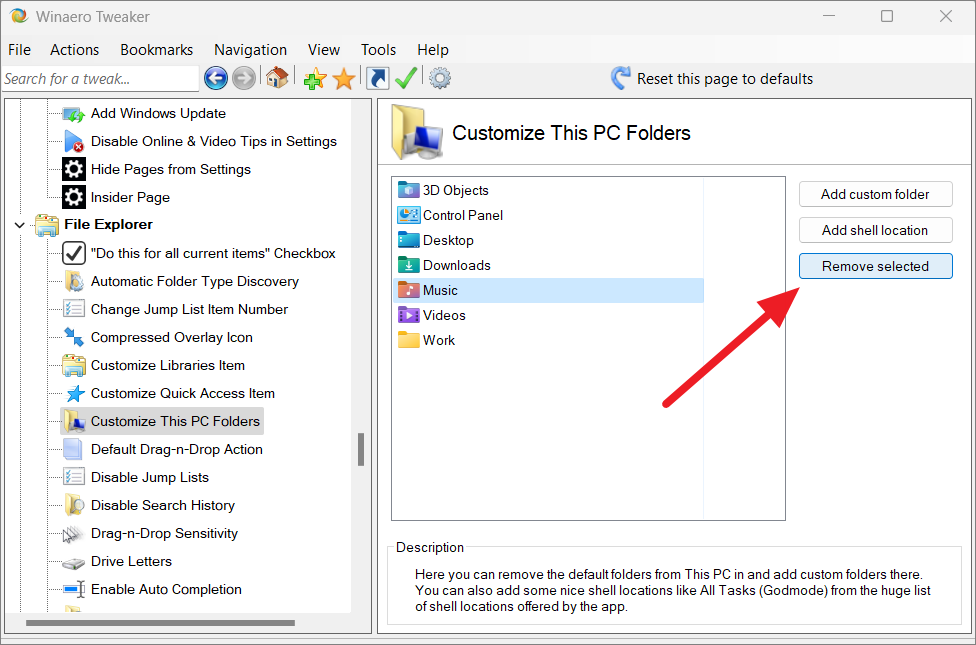
Open Winaero Tweaker. In the left pane, navigate to ‘File Explorer’ and select ‘Customize This PC Folders’. Click ‘Add custom folder’.
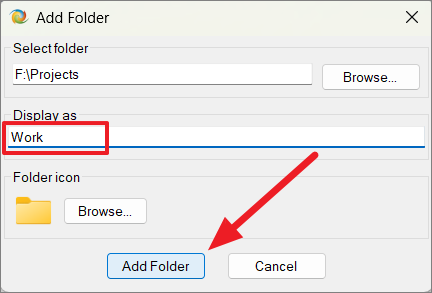
In the dialog, click ‘Browse’ to select the folder you want to add. Optionally, enter a display name. Click ‘Add Folder’ to apply.
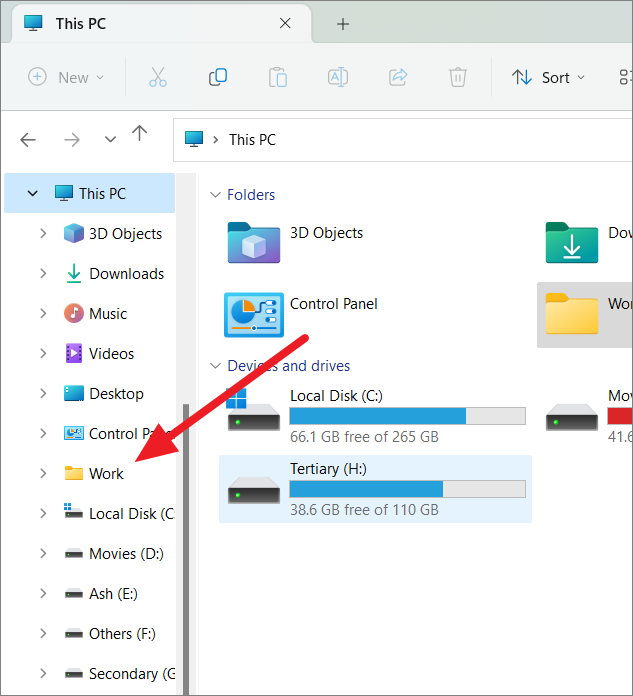
Close and reopen File Explorer to see the added folder under ‘This PC’.
Remove Custom or Default Folders
You can also use Winaero Tweaker to remove custom or default folders.
Navigate to ‘File Explorer’ > ‘Customize This PC Folders’.
Select the folder you wish to remove and click ‘Remove Selected’. To restore default folders, click ‘Reset this page to defaults’ at the top.
By customizing the ‘This PC’ section, you can tailor File Explorer to better fit your workflow, making essential folders more accessible and decluttering the navigation pane as needed.