
While pop-ups can sometimes be intrusive, there are instances where enabling them is necessary for certain functionalities. Websites like banking portals or online exam platforms often rely on pop-ups to display important information or prompts. Additionally, Windows 11 uses pop-up notifications to keep you informed about system updates and settings. This guide will walk you through various methods to enable pop-ups on your Windows 11 device.
Allow Pop-ups on Browsers from Individual Settings
Browsers often block pop-ups by default to prevent unwanted ads or potential security risks. However, you can adjust the settings to allow pop-ups either globally or for specific websites. Below are instructions for enabling pop-ups on some of the most popular browsers in Windows 11.
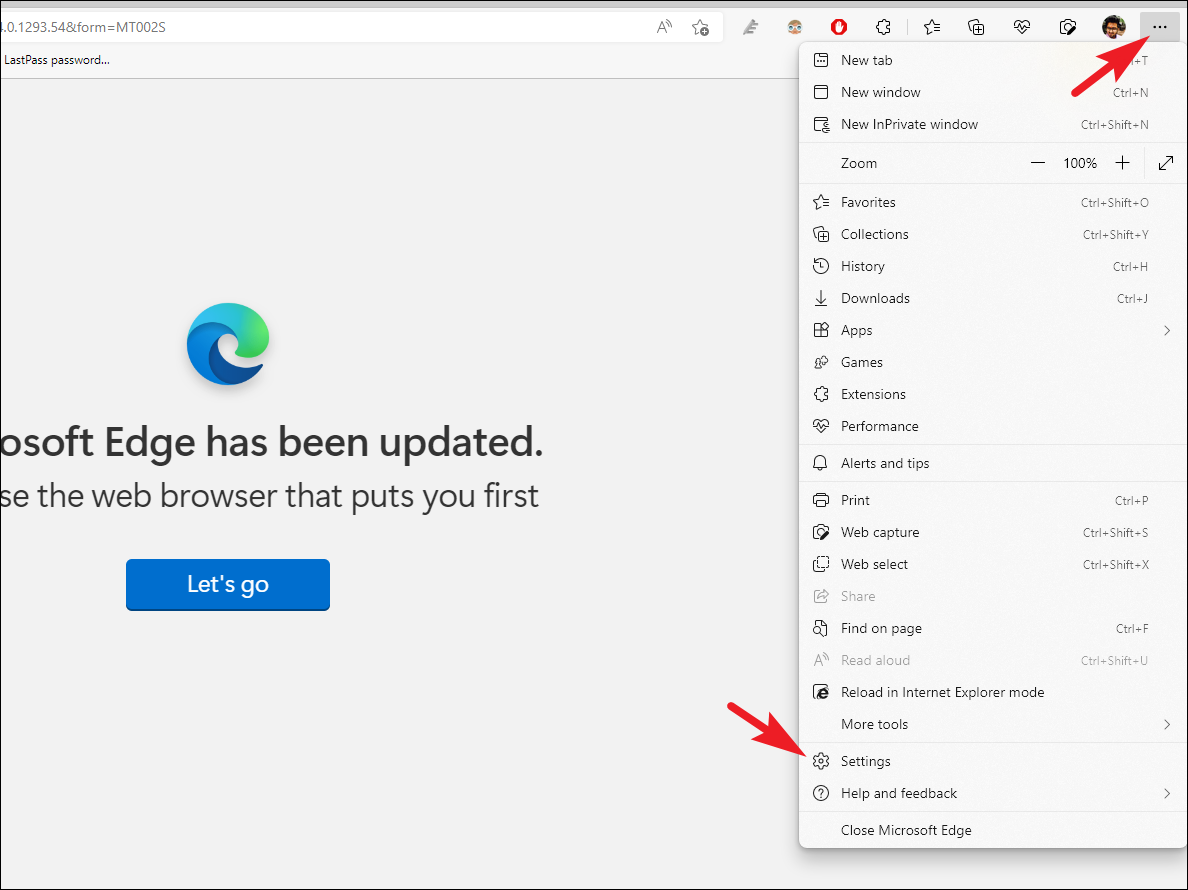
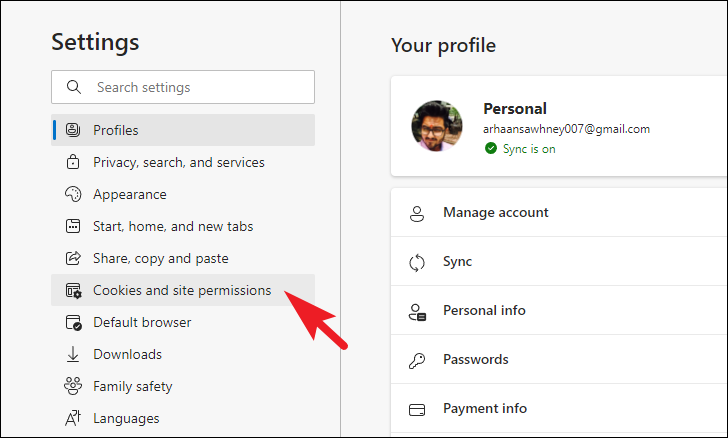
For Microsoft Edge
Microsoft Edge is the default browser in Windows 11, offering seamless integration with the operating system. To allow pop-ups in Edge, follow these steps:
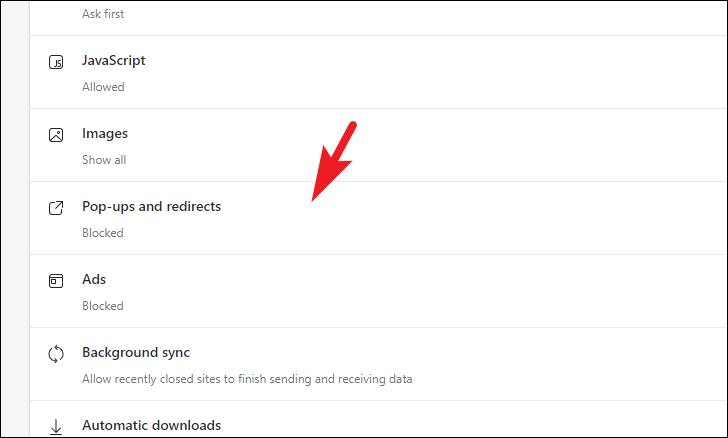
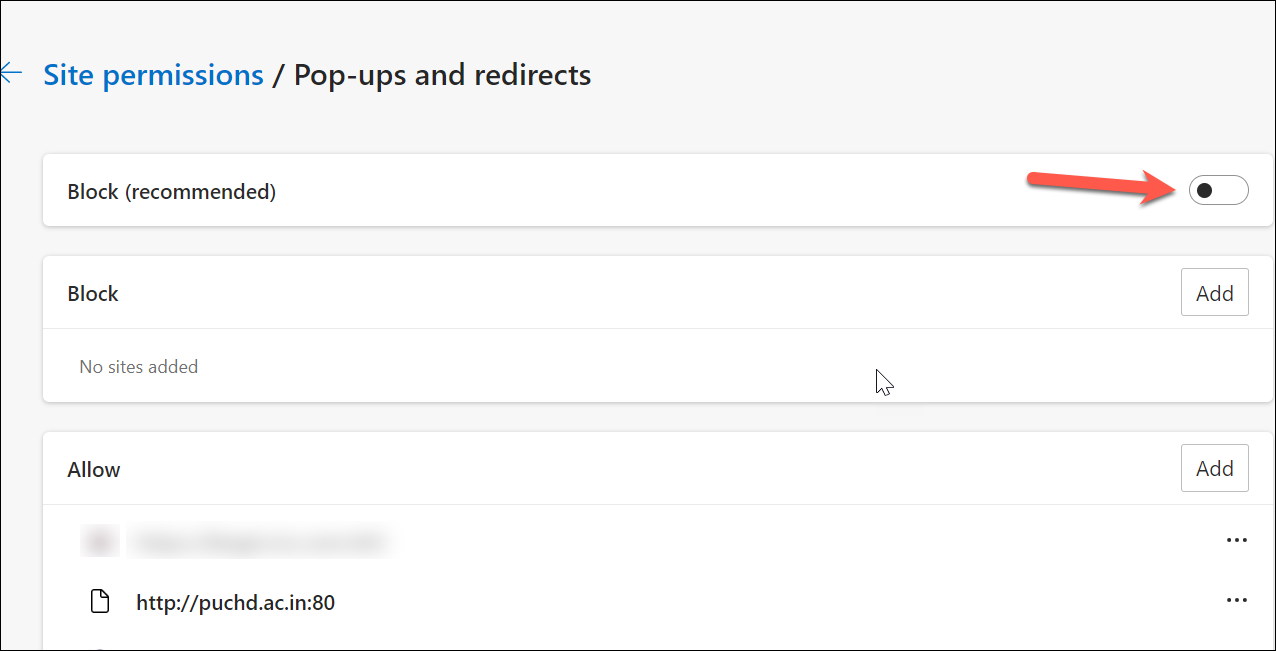
If you prefer to allow pop-ups only from specific websites, keep the Block toggle enabled. Then, under the Allow section, click on the Add button.

Enter the URL of the website you wish to allow pop-ups from and click Add. Repeat this step for any additional websites you want to include.

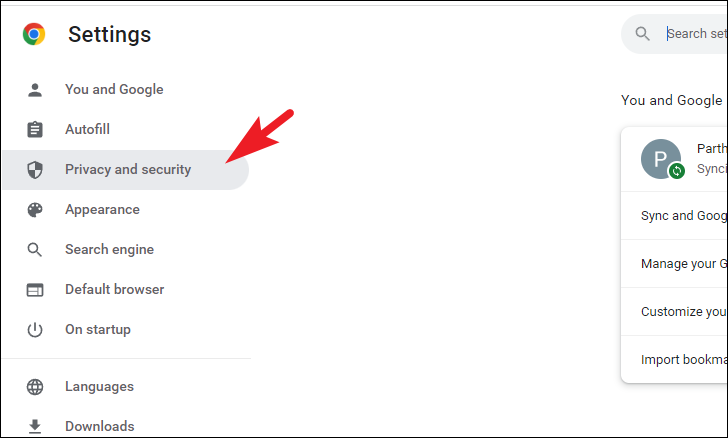
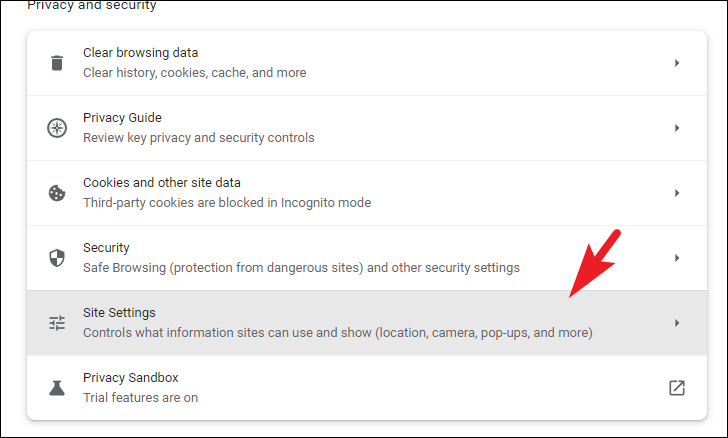
For Chrome
Google Chrome blocks pop-ups by default but allows you to adjust this setting. Here’s how to enable pop-ups in Chrome:

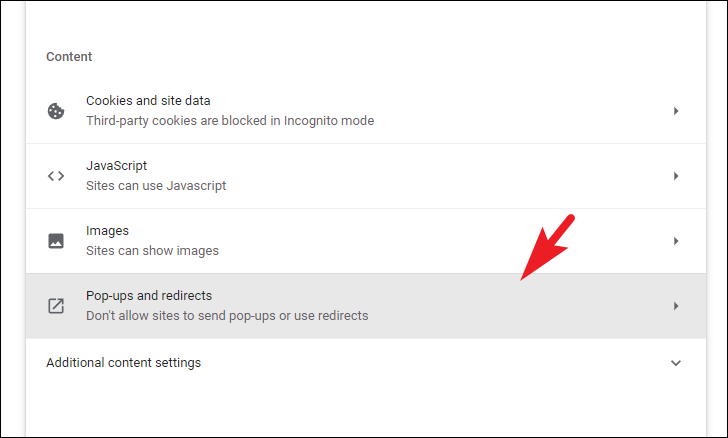

To allow pop-ups from specific websites only, keep the option Don’t allow sites to send pop-ups or use redirects selected. Under the Allowed to send pop-ups and use redirects section, click on the Add button.

Enter the URL of the desired website and click Add. Repeat this process for any additional websites.

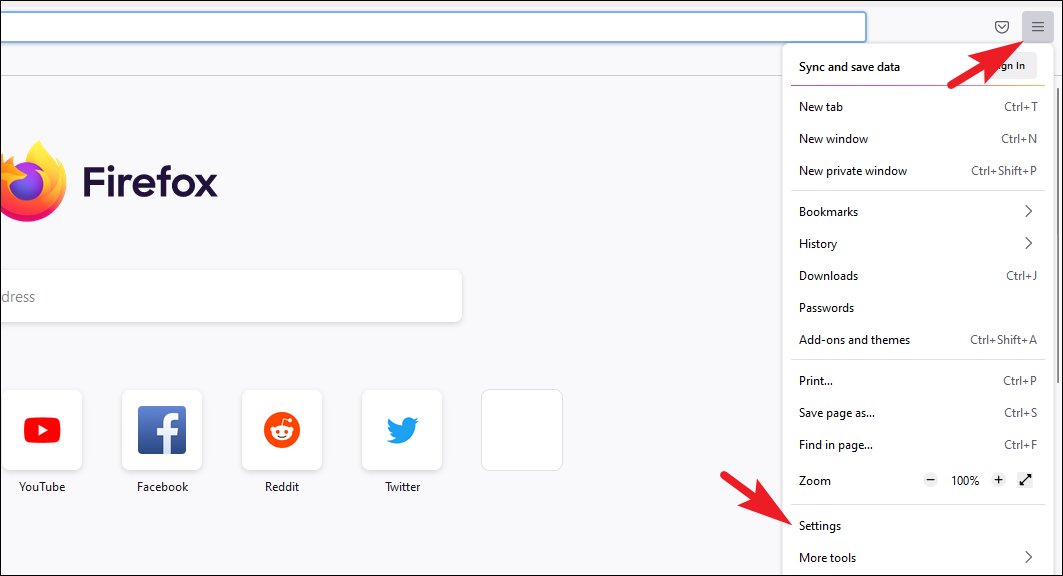
For Mozilla Firefox
Mozilla Firefox also blocks pop-ups by default. Follow these steps to adjust the settings:

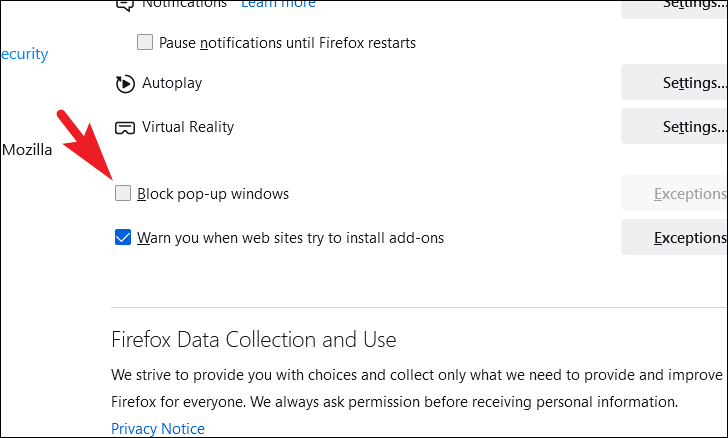
If you wish to allow pop-ups from specific websites only, keep the box checked and click on the Exceptions button. In the dialog box that appears, enter the URL of the website and click Allow. Click Save Changes to apply the settings.
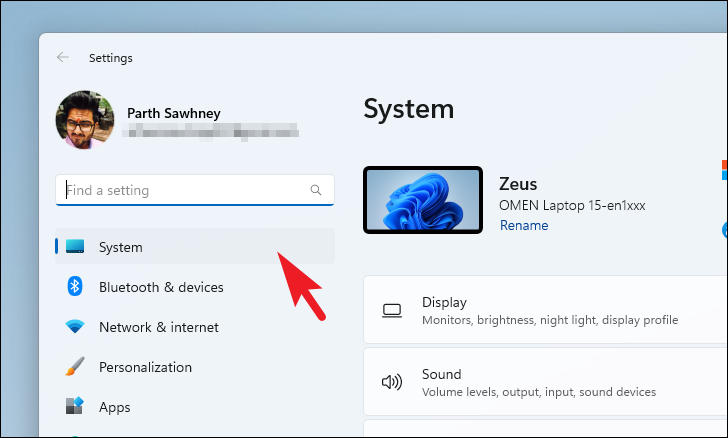
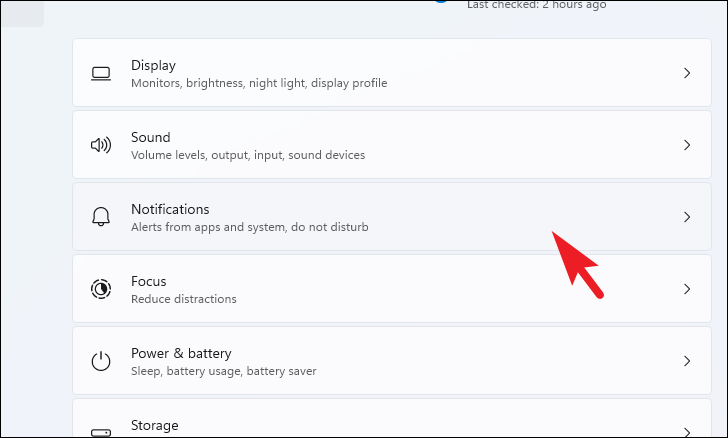
Allow System Pop-ups from the Settings App
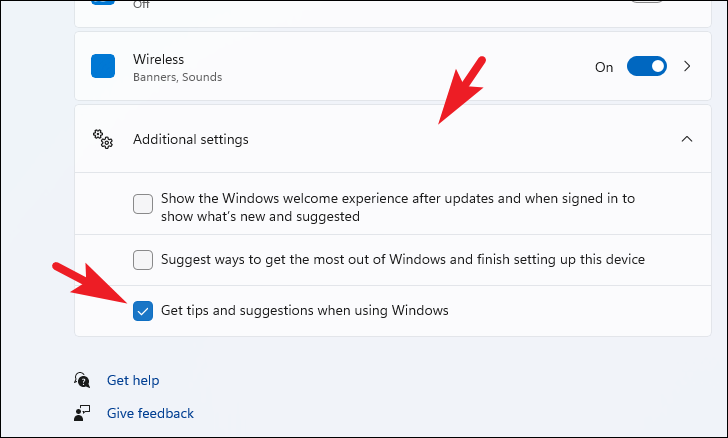
Windows 11 uses pop-up notifications to keep you informed about system updates, tips, and other important information. If you’ve previously disabled these notifications, you can re-enable them through the Settings app.

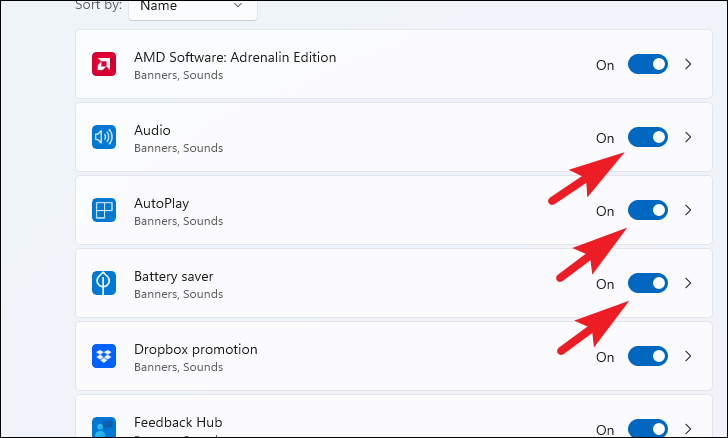
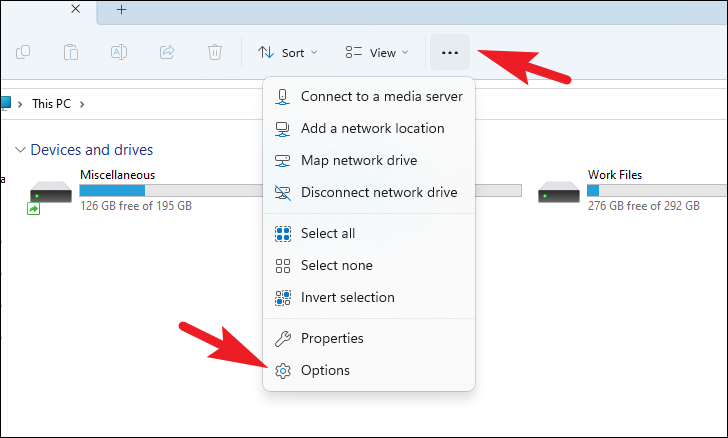
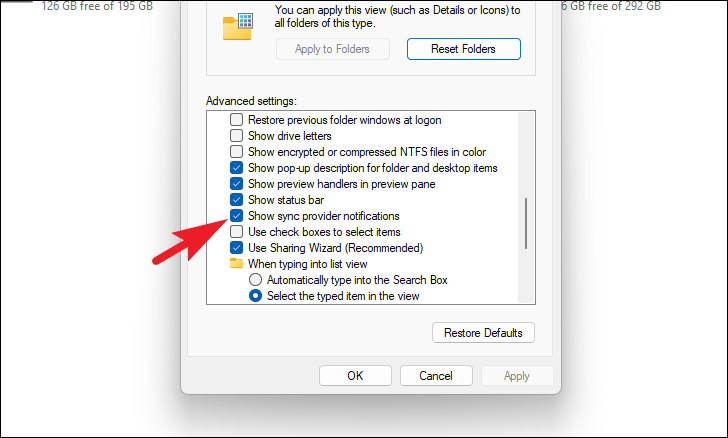
Enable Sync Provider Notifications
Sync Provider Notifications are pop-ups that provide tips, suggestions, and promotional content from Microsoft, which appear in File Explorer and the taskbar. To enable these notifications, follow these steps:
Windows + E on your keyboard.
By following these methods, you can enable pop-ups on your Windows 11 device, ensuring that you receive important notifications and have full access to essential website features.


