
Excel’s default row and column dimensions might not suffice when working with extensive data entries, such as addresses or lengthy descriptions, leading to spillover into neighboring cells.
To ensure all your data is clearly visible without manually adjusting each cell, Excel offers the AutoFit feature, which automatically resizes columns and rows to fit the content. This guide explains how to use AutoFit to adjust columns and rows in Excel.
Autofitting Rows and Columns Using the Excel Ribbon
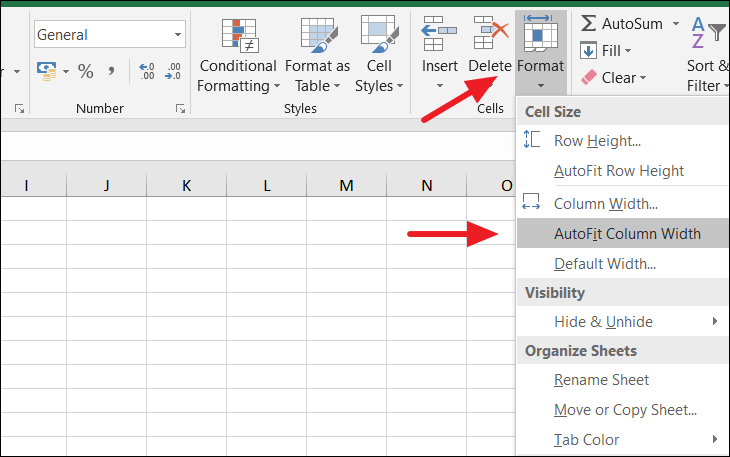
You can also use a keyboard shortcut to access the Autofit Column Width option. With the columns selected, press Alt + H, then O, followed by I.

To adjust row heights using the Ribbon, select the rows that need adjustment. Then, go to the Home tab, click on the Format button in the Cells group, and choose Autofit Row Height from the dropdown.
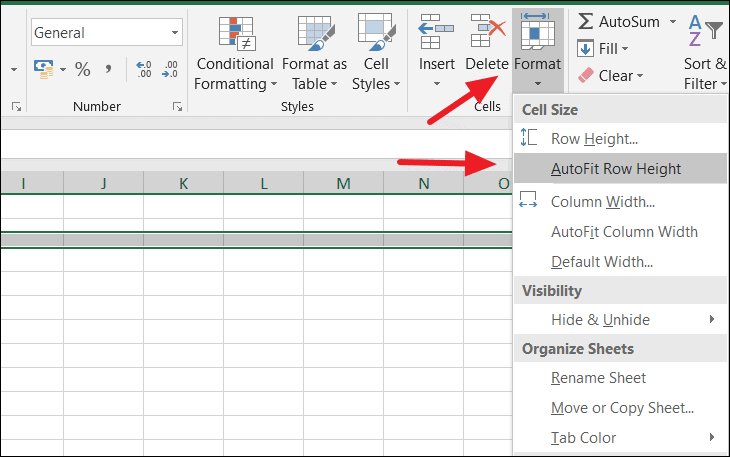
You can also use a keyboard shortcut for this action. With the desired rows selected, press Alt + H, then O, and finally A to autofit the row heights.
Autofitting Rows and Columns Using Mouse Double-Click
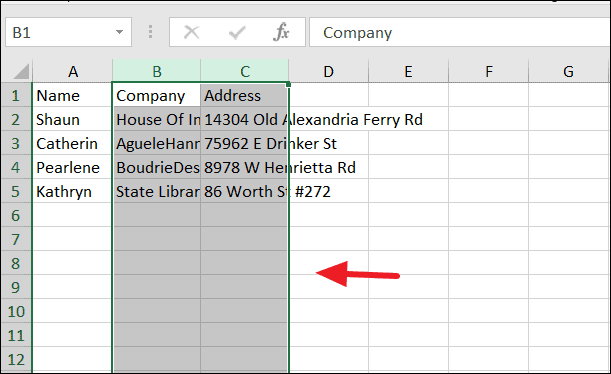
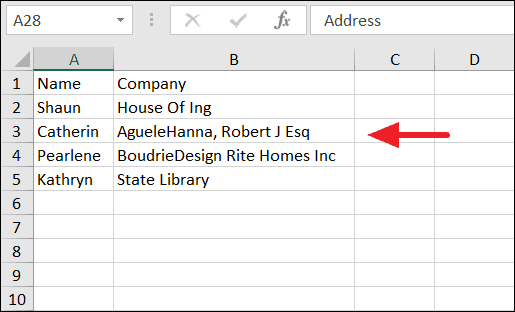
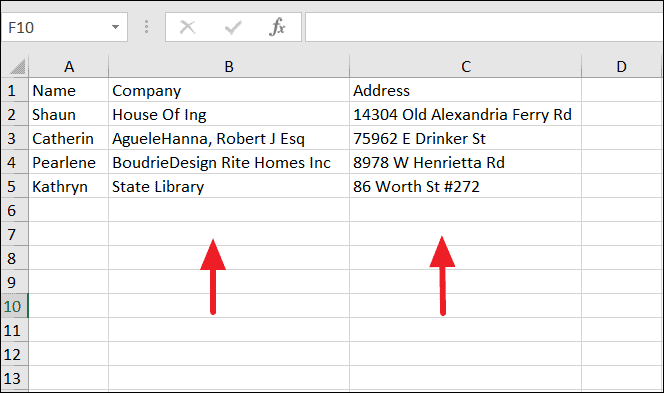
Consider a dataset where the content in a column extends beyond the cell boundary, spilling over into adjacent cells.
Autofitting Multiple Rows and Columns
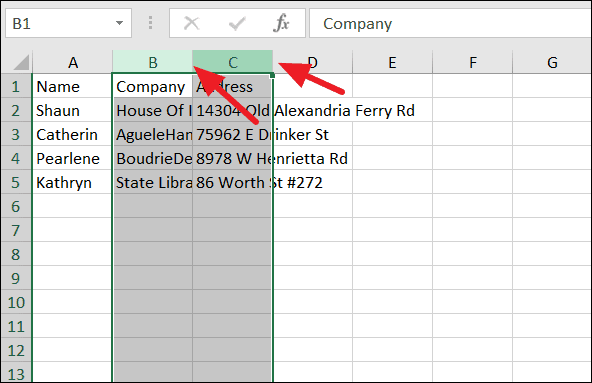
To autofit several columns at once, select all the columns you want to adjust by clicking and dragging across their headers. For non-adjacent columns, hold the CTRL key while clicking on each column header. For example, to autofit columns B and C, select them both.
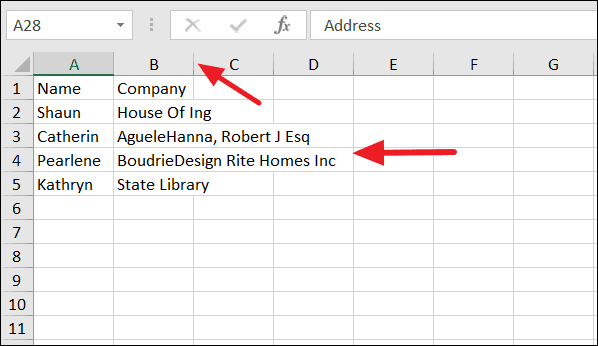
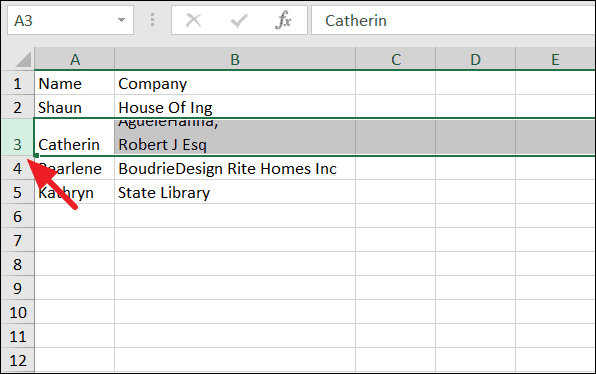
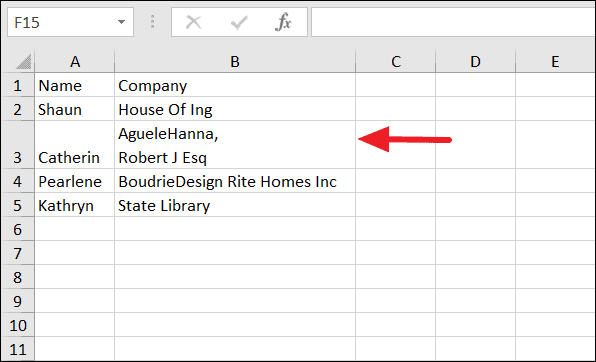
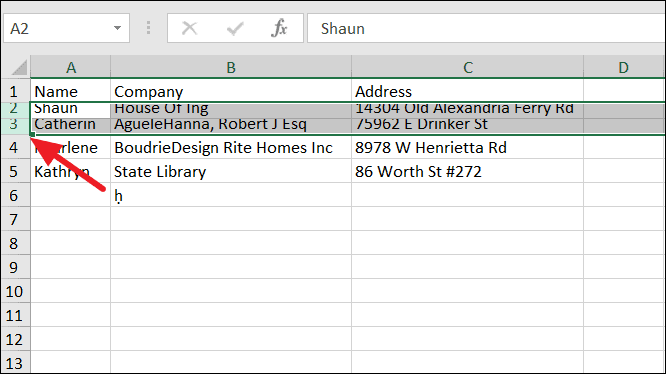
Similarly, to autofit multiple rows, select all the rows you wish to adjust. Then, place the cursor on the bottom edge of any selected row header until it changes to a double-sided arrow, and double-click. All selected rows will adjust their heights to fit the content.
With the AutoFit feature, adjusting the size of your cells to fit their content becomes a quick and effortless task, enhancing the readability of your Excel worksheets.


