
Automatically logging into your Windows 11 PC can save time and streamline your workflow by bypassing the sign-in process each time you start your computer. This feature is especially useful if you’re the sole user of your device or if you’re setting up a public computer where easy access is essential. Below are several methods to enable automatic login on Windows 11.
Use Windows Registry to Enable Automatic Login on Windows 11
Modifying the Windows Registry is an effective way to enable automatic login. This method allows you to set your PC to log in automatically by storing your credentials in the registry.
Windows Key + R to launch the Run dialog box, type regedit, and press Enter.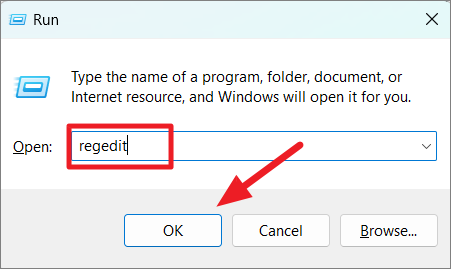
HKEY_LOCAL_MACHINE\SOFTWARE\Microsoft\Windows NT\CurrentVersion\Winlogon
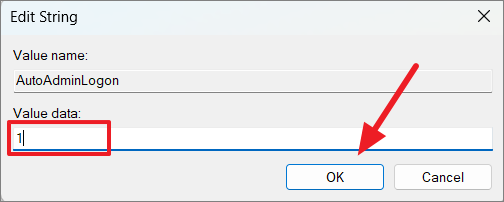
Winlogon key, locate the AutoAdminLogon entry. If it does not exist, create it by right-clicking on an empty space, selecting New, then String Value, and naming it AutoAdminLogon.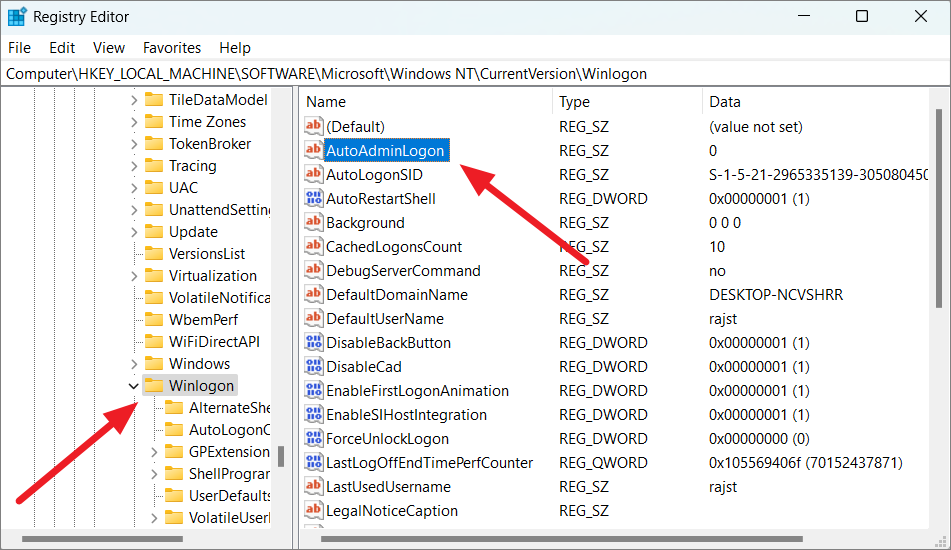
DefaultUserName entry. If it’s not present, create it as you did with AutoAdminLogon. Double-click it and enter your username in the Value data field, then click OK.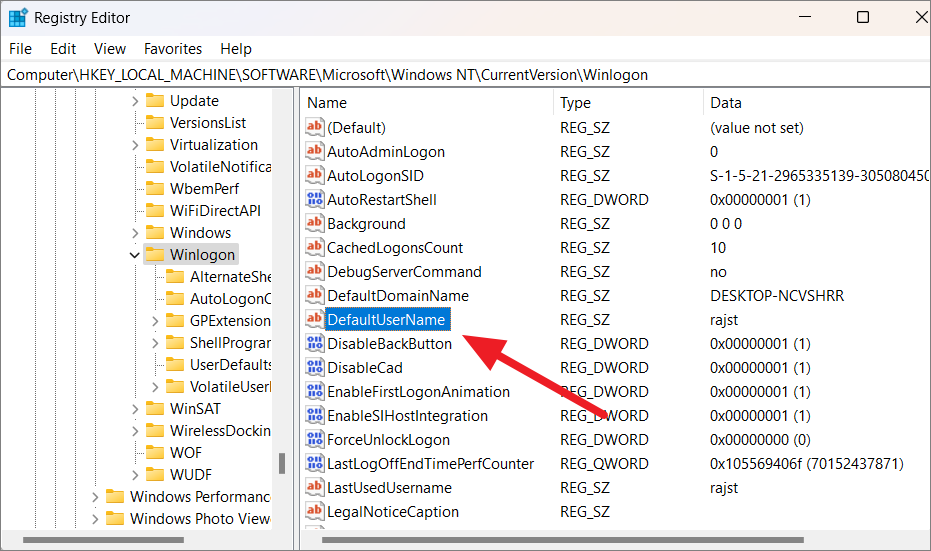
DefaultPassword entry. Double-click it and input your account password in the Value data field. Click OK to save the changes.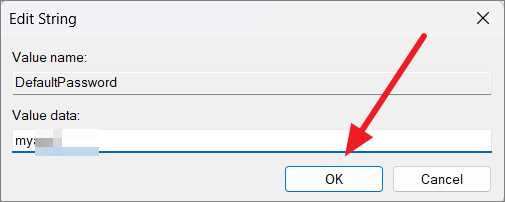
To disable automatic login, return to the Registry Editor, change the AutoAdminLogon value to 0, and delete the DefaultPassword entry.
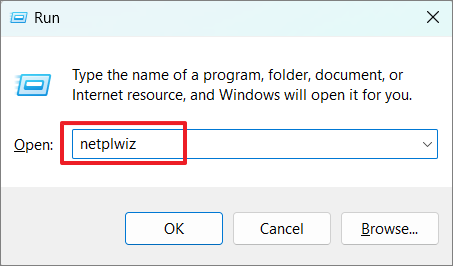
Set Up Automatic Login Using netplwiz
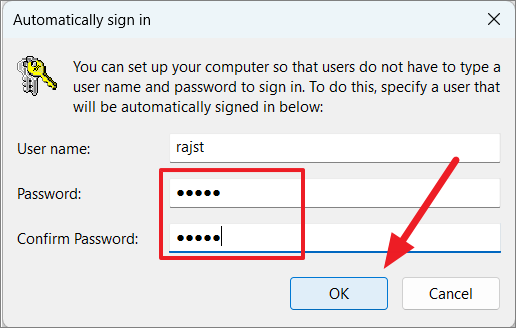
The netplwiz command provides access to advanced user account settings, allowing you to enable automatic login.
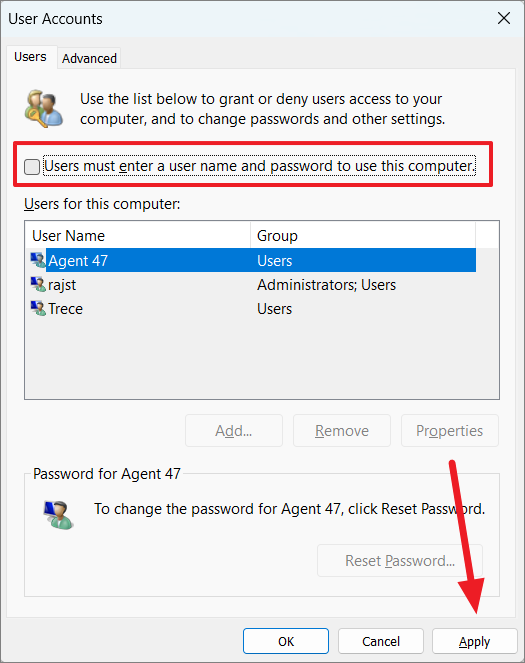
If the option Users must enter a user name and password to use this computer is missing, you can restore it via the Registry Editor.
HKEY_LOCAL_MACHINE\SOFTWARE\Microsoft\Windows NT\CurrentVersion\PasswordLess\Device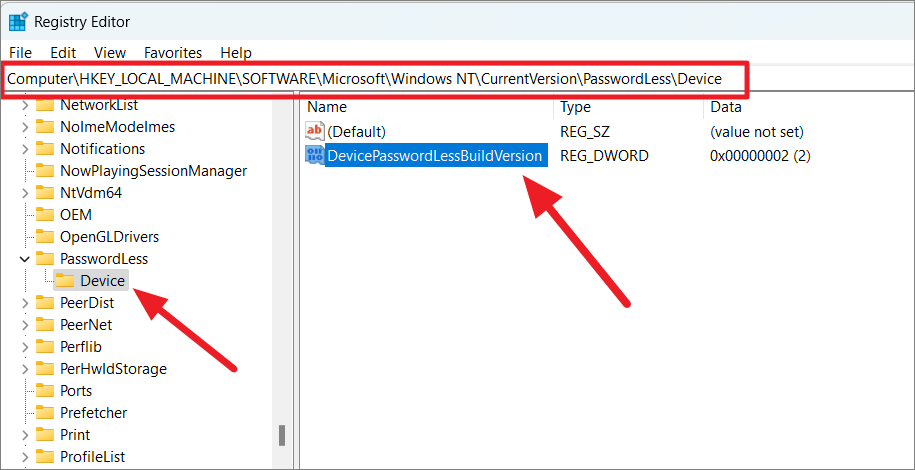
DevicePasswordLessBuildVersion and set the Value data to 0. Click OK to save.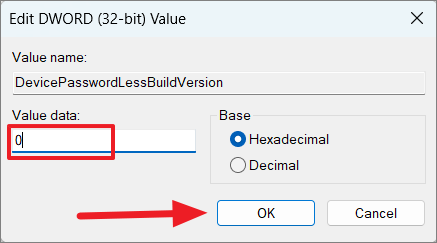
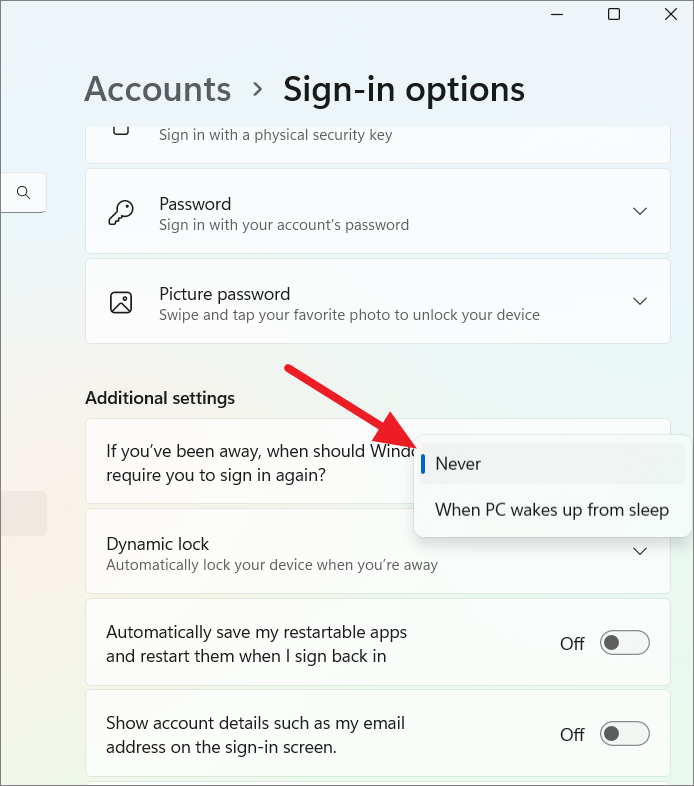
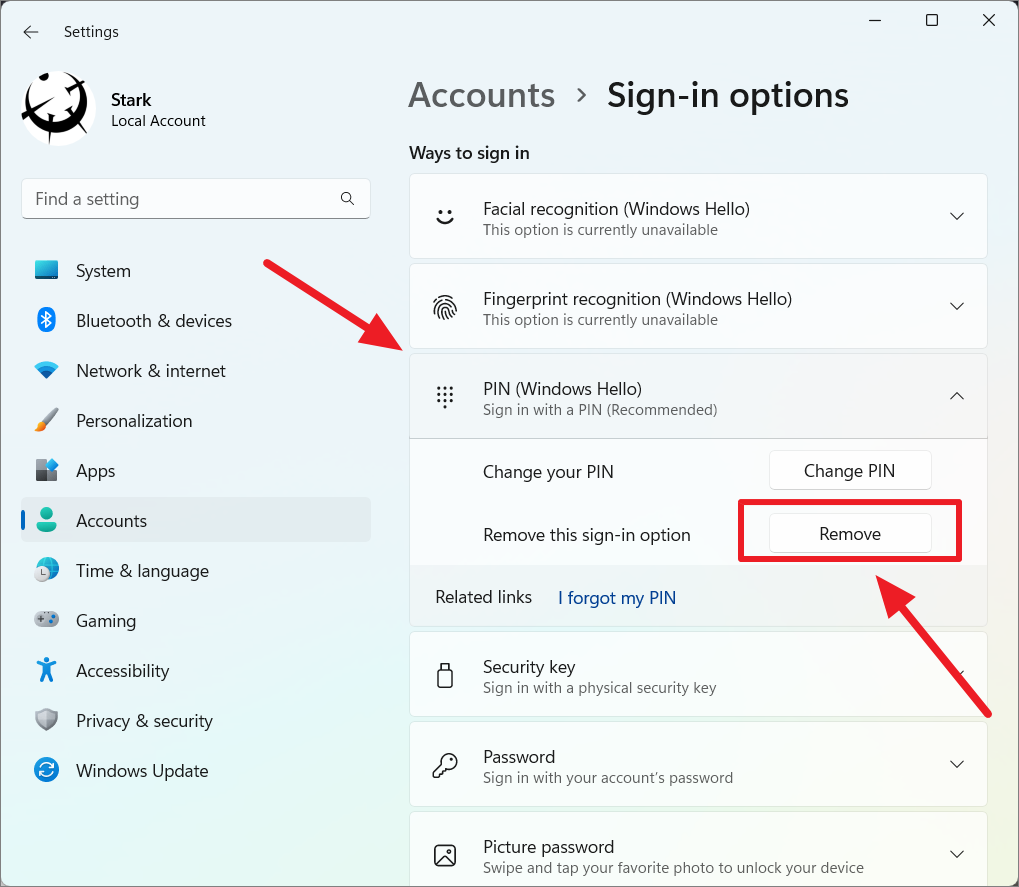
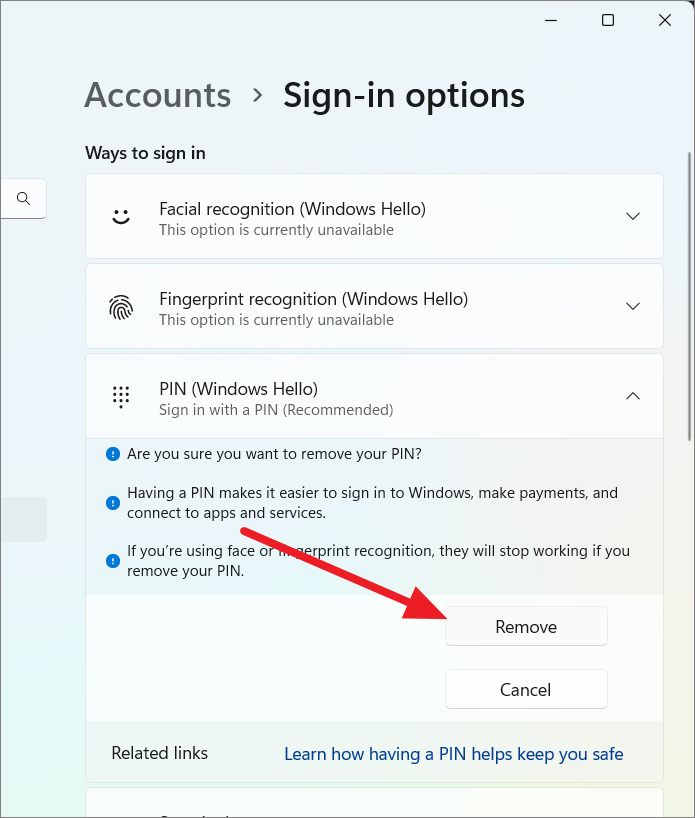
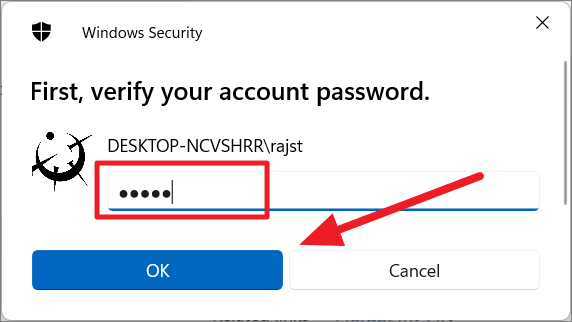
Set Up Automatic Login from Settings on Windows 11
You can configure automatic login through the Windows 11 Settings app by adjusting sign-in options.
Windows Key + I.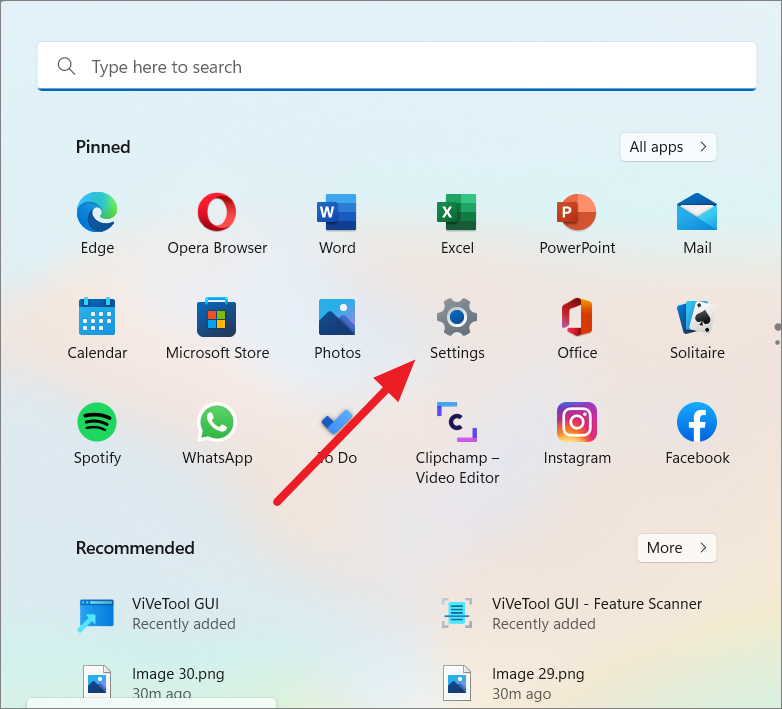
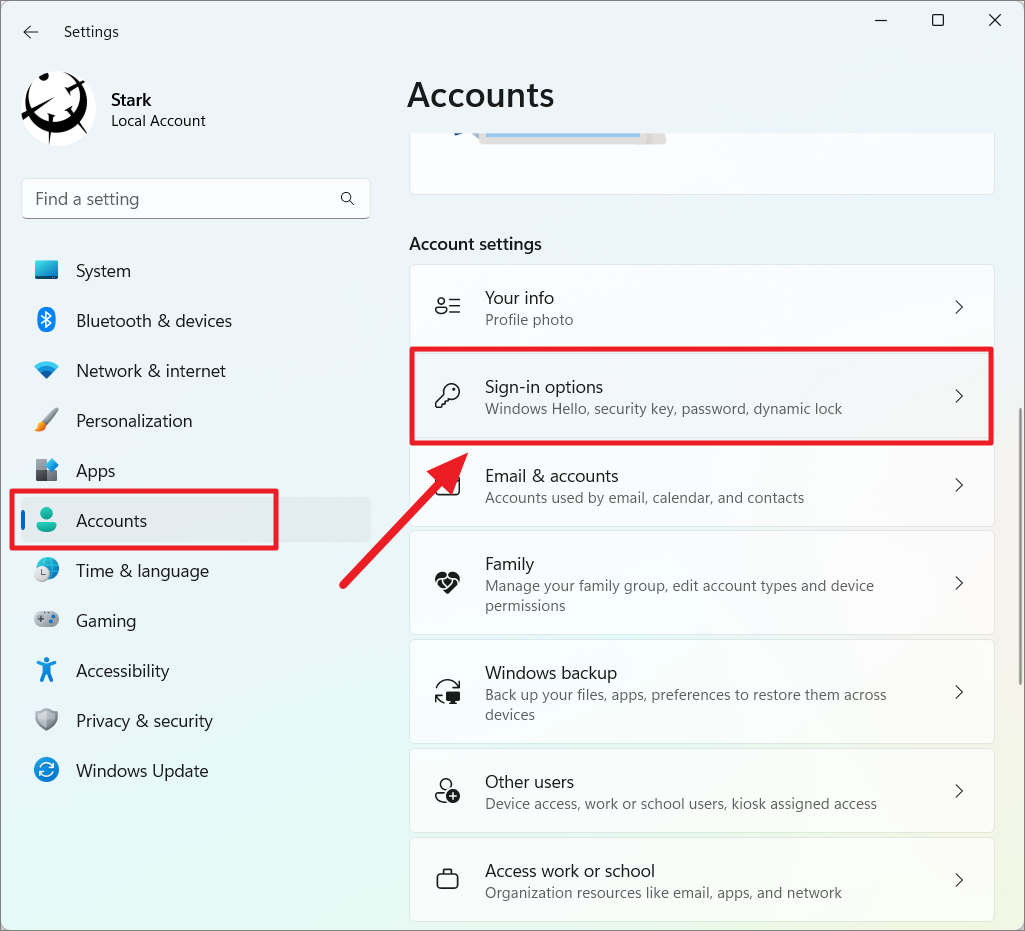
After completing these steps, you can use the netplwiz method to enable automatic login.
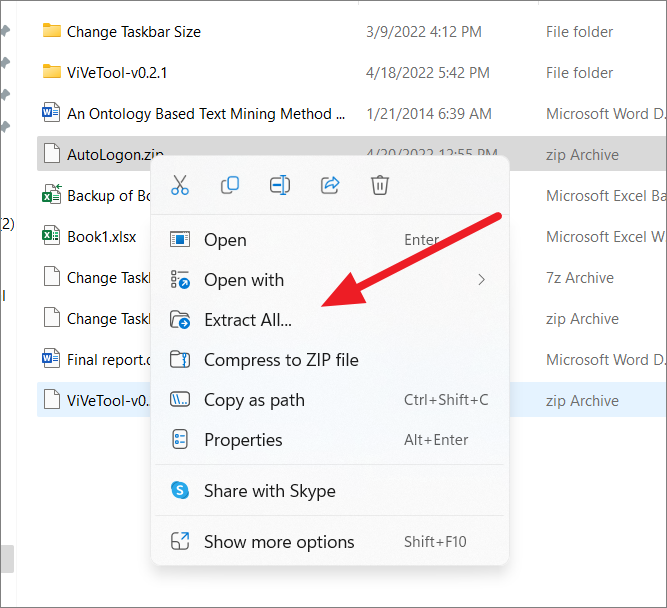
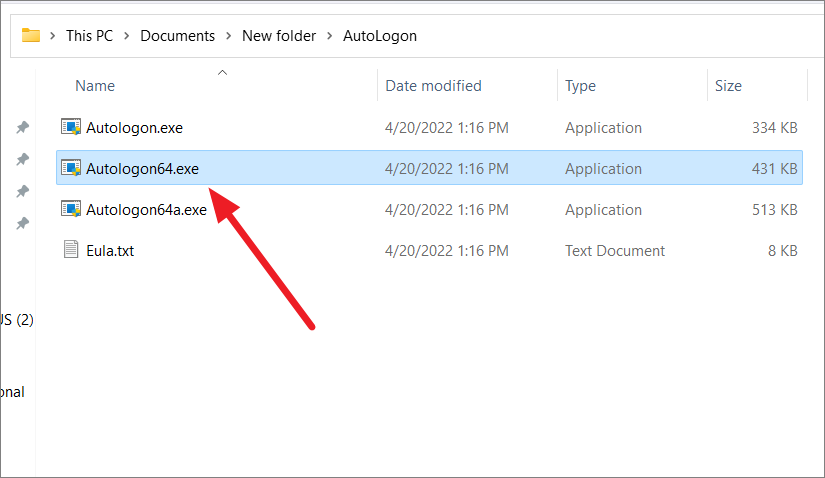
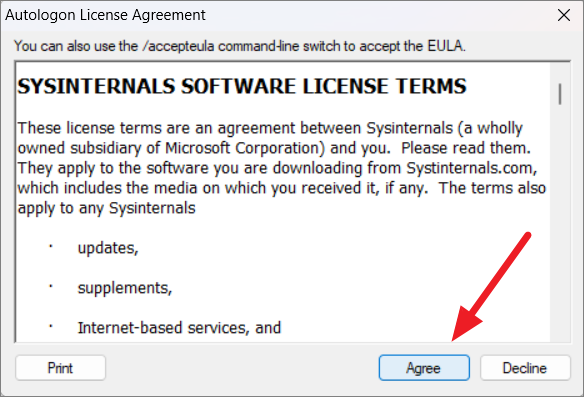
Use Microsoft’s Autologon Tool to Enable Automatic Login
Microsoft offers a free utility called Autologon that simplifies enabling automatic login without manually editing the registry.
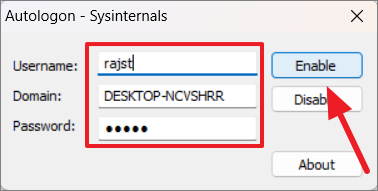
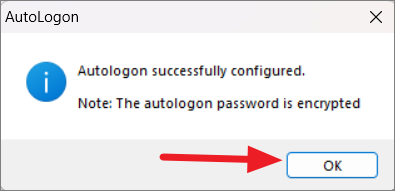
Restart your computer to apply the changes. Your PC should now log in automatically.
To disable automatic login, run the Autologon tool again and click Disable.
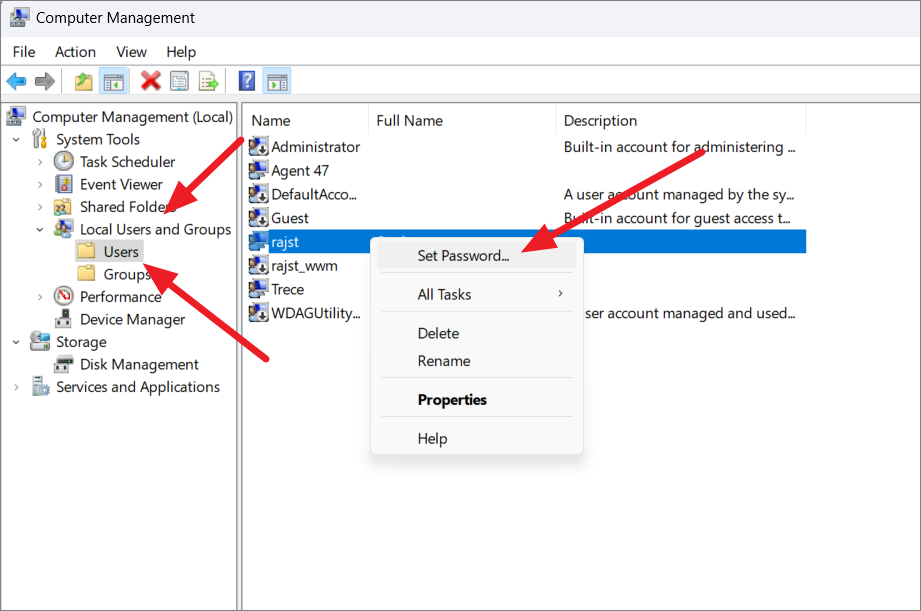
Use Computer Management to Remove Password
Removing the password for your user account via Computer Management can also enable automatic login, though this method is less secure.
Windows Key + R, typing compmgmt.msc, and pressing Enter.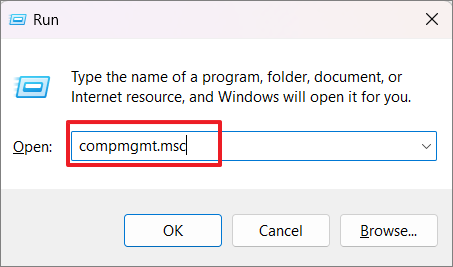
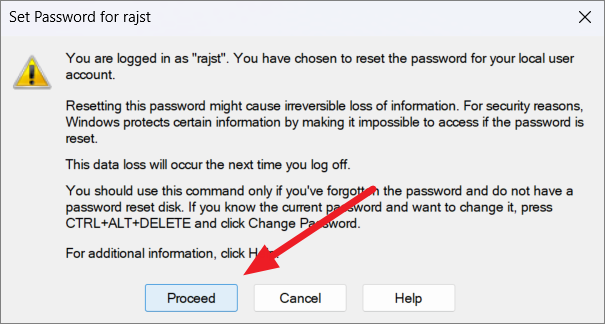
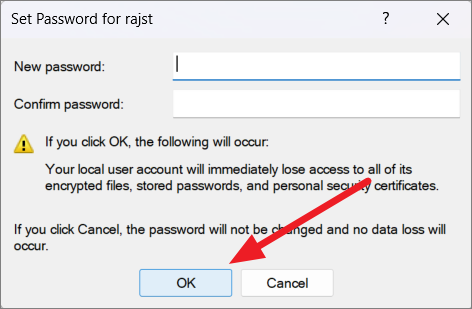
After completing these steps, your account will have no password, and Windows 11 will log in automatically. Be aware that this poses significant security risks and may result in data loss, especially encrypted data tied to your user account.
By following these methods, you can enable automatic login on your Windows 11 PC, enhancing convenience and accessibility. Be sure to consider the security implications of each method before implementation.


