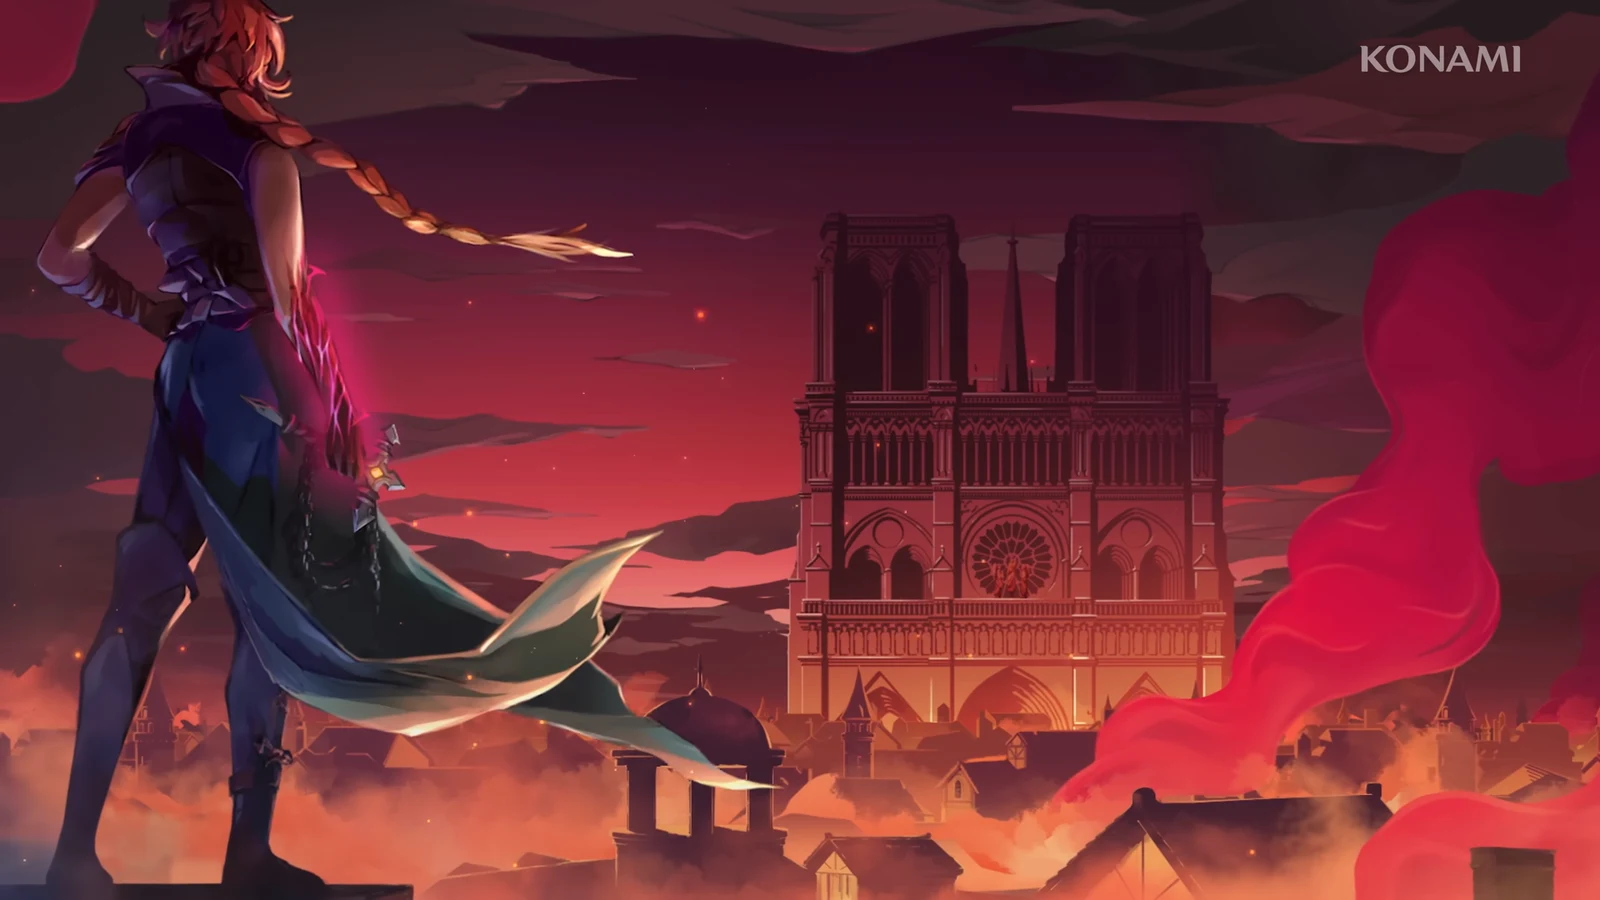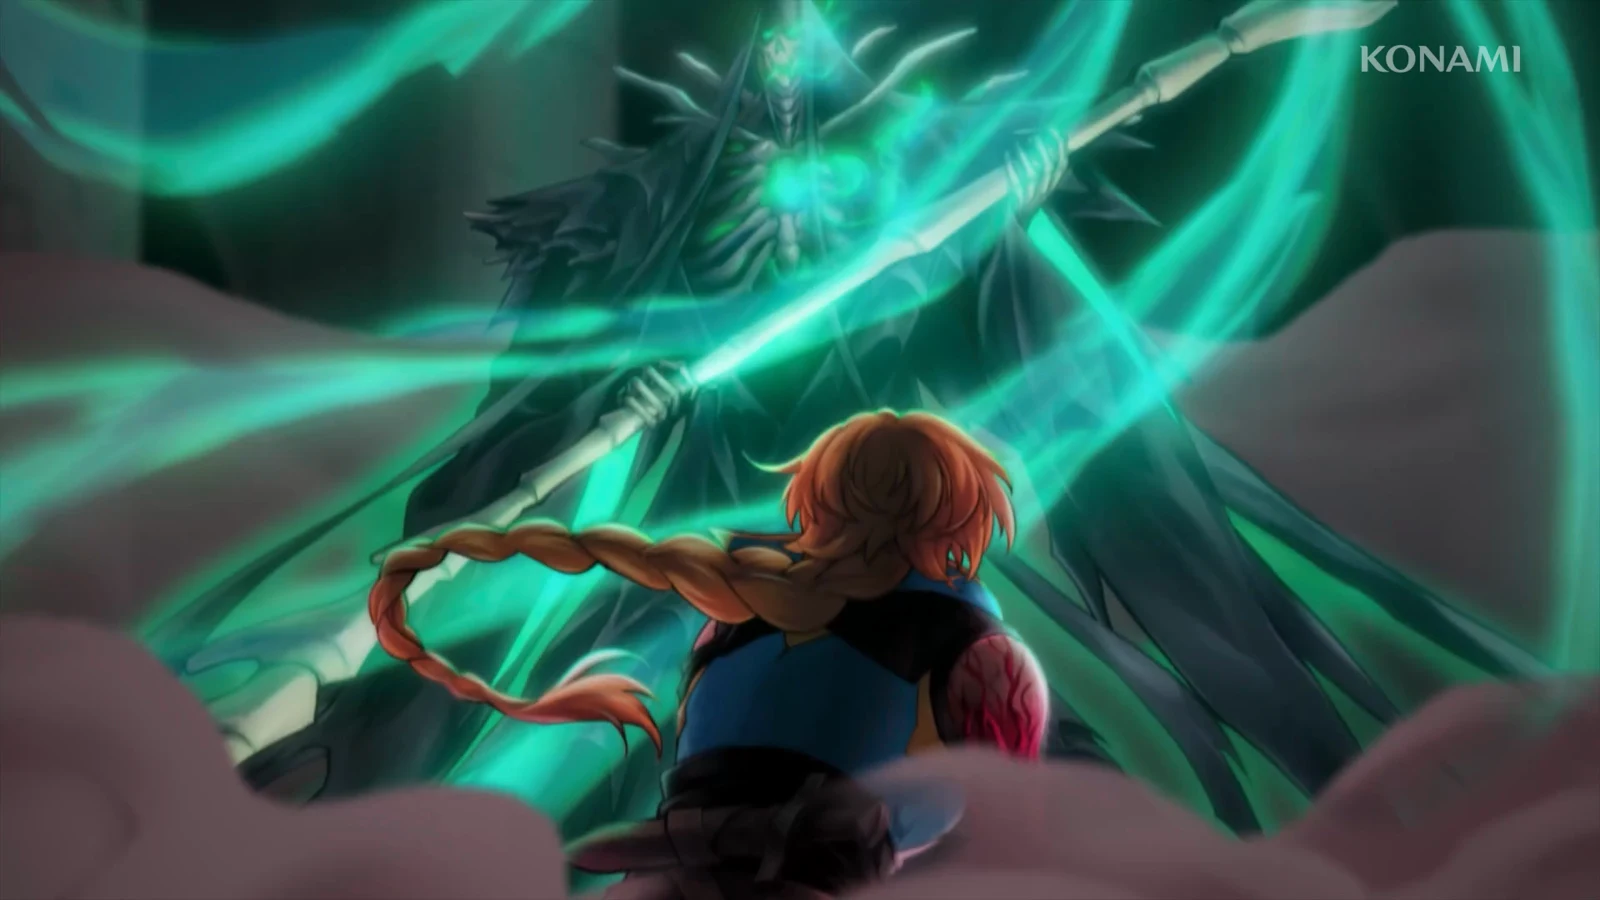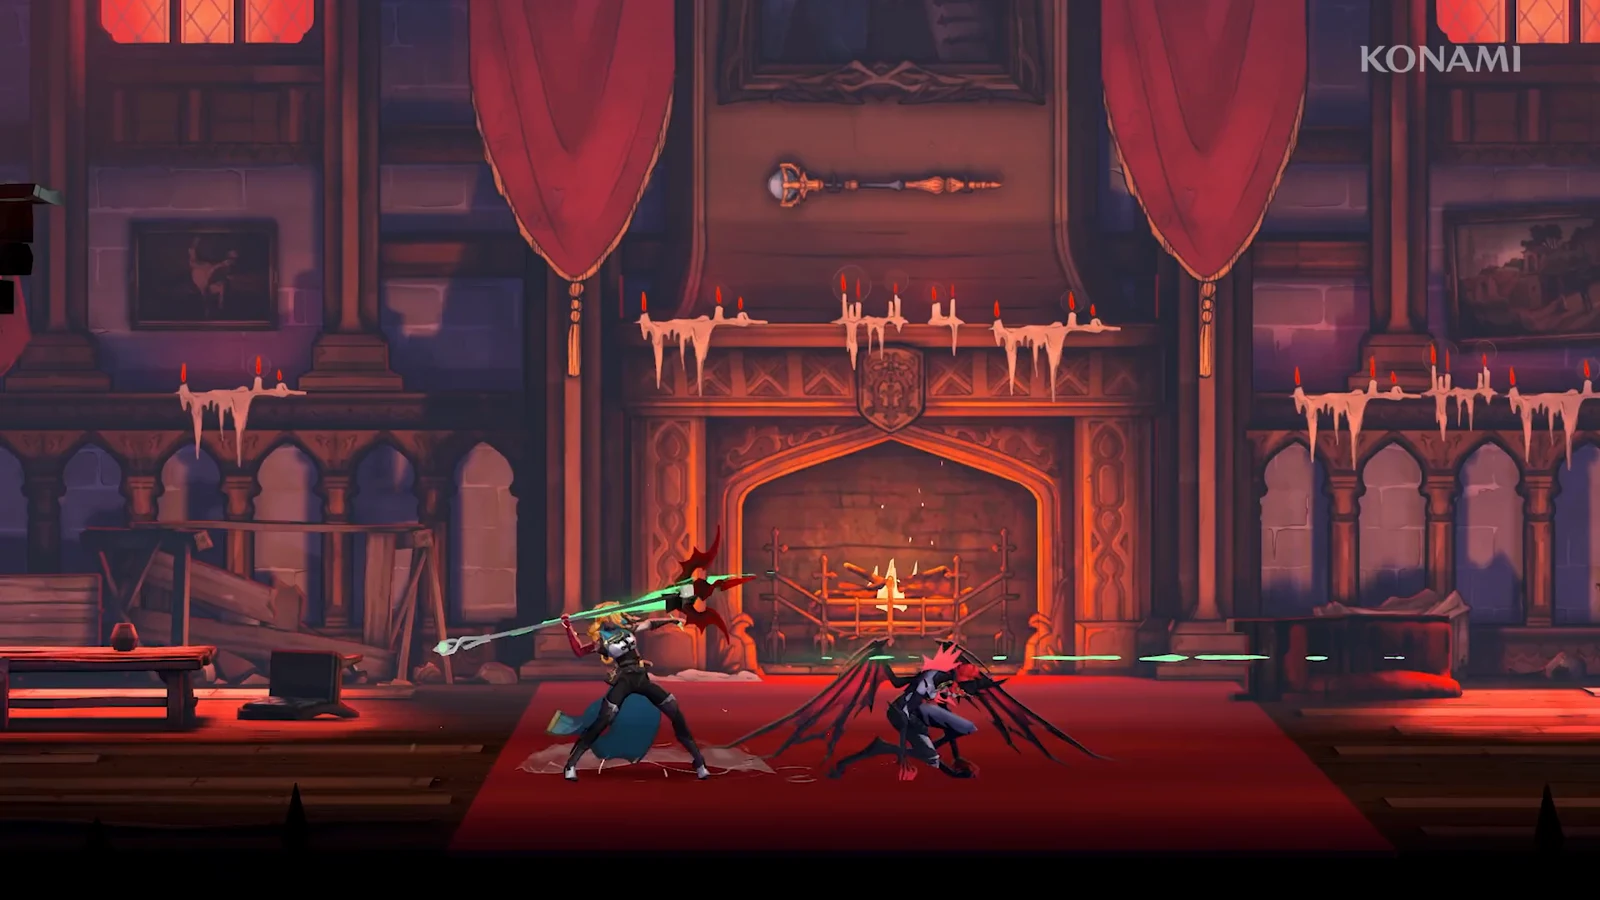
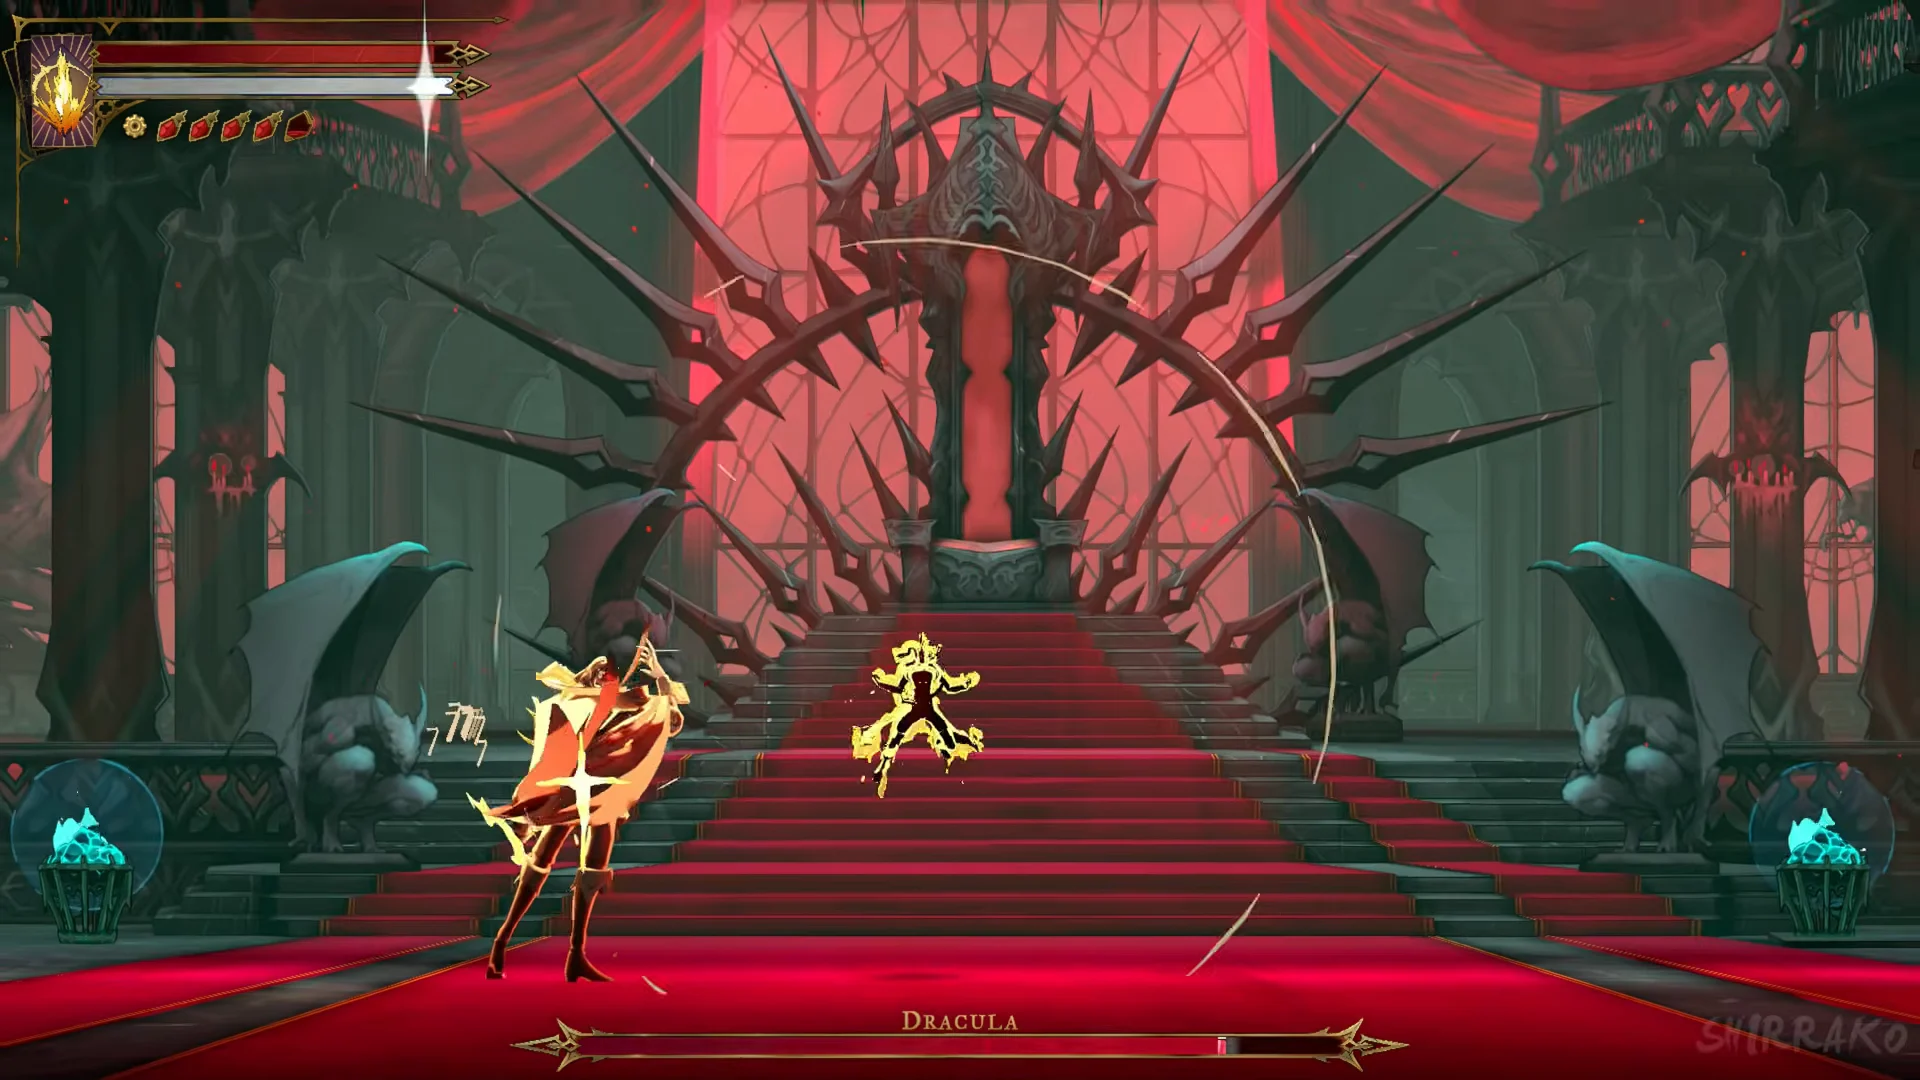
Dracula is fought twice in Castlevania: Belmont’s Curse, both times in the same throne room, and each fight runs through two forms with its own health bar marked “Dracula”. First you face a humanoid Dracula on the carpet, then a winged demon on a ruined roof under the eclipse. The same attacks and arena appear in both battles, so one plan carries you through the end of the main story and, later, through the finale that rolls the credits.
Quick answer: Stay close to the humanoid form and strike beside his fire pillars and after his cape and fireball attacks; against the winged form, stay mobile, get off the floor when the spiked magma sphere appears, and hit him as he swoops or reappears.
Reaching the throne room
Both fights sit behind the same approach. The map objective reads “Find Dracula and defeat him”, with the area names showing as “Master’s Quarters” and then the “Throne Room Antechamber”.
For the first battle, leave the Sanctuary of Solitude and step onto the Master’s Quarters exterior bridge, where Leon, Medusa and Joan speak to you. Run up the ruined bridge and across the iron chains to the Throne Room Antechamber, then head right along the red-curtained corridor into the throne room.
The second battle comes after the post-ending content. One route that works is to use the Ferryman’s Wharf destination list, pick Master’s Quarters, arrive at the Sanctuary of Solitude gate, cross the Grand Staircase bridge, speak to Leon, Joan and Medusa again, then pass through the Throne Room Antechamber. A long cutscene plays as you enter, and the fight begins when Dracula dissolves from his throne in a swarm of bats and the “Dracula” bar fills.
Form 1: Humanoid Dracula
You fight on the flat red carpet at the foot of a wide staircase, with a spiked throne above and gargoyle statues to either side. Dracula dissolves into bats and reappears elsewhere on the carpet, and you can hit him any time he is on the floor.
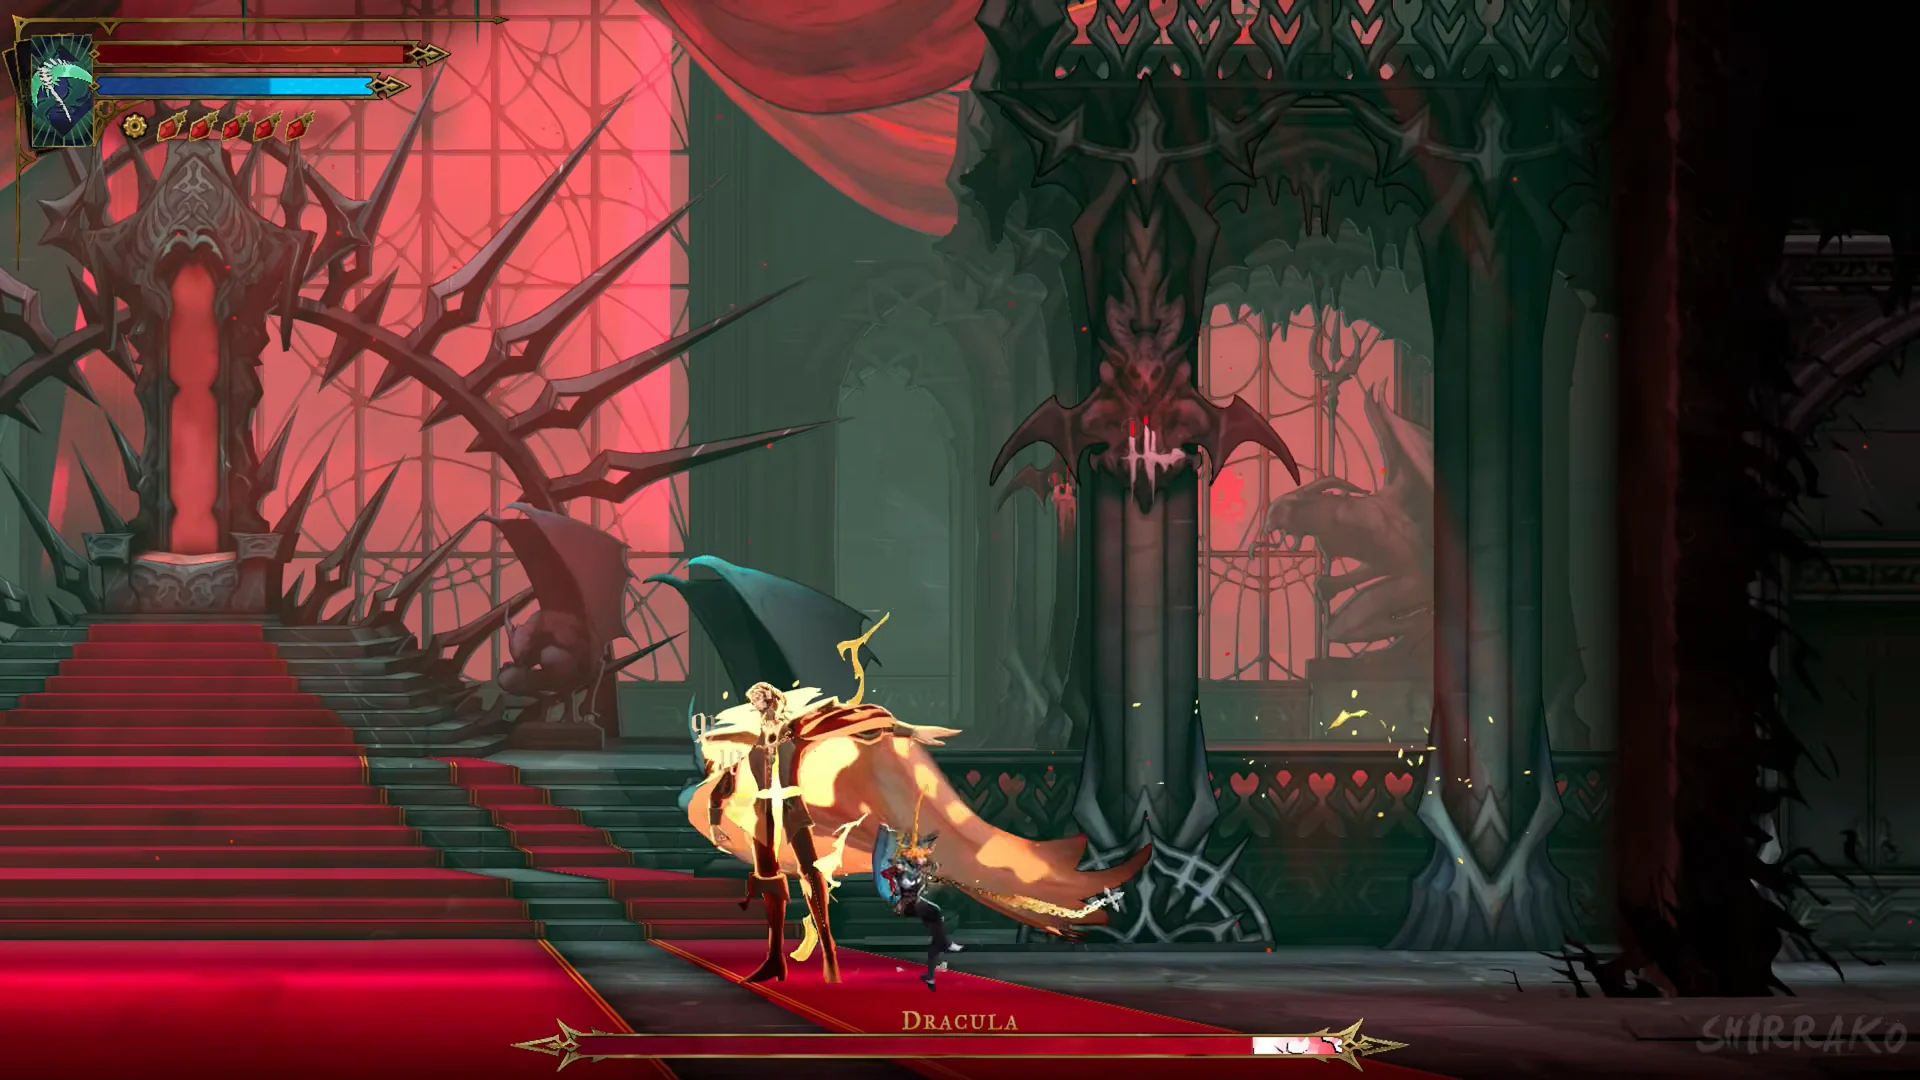
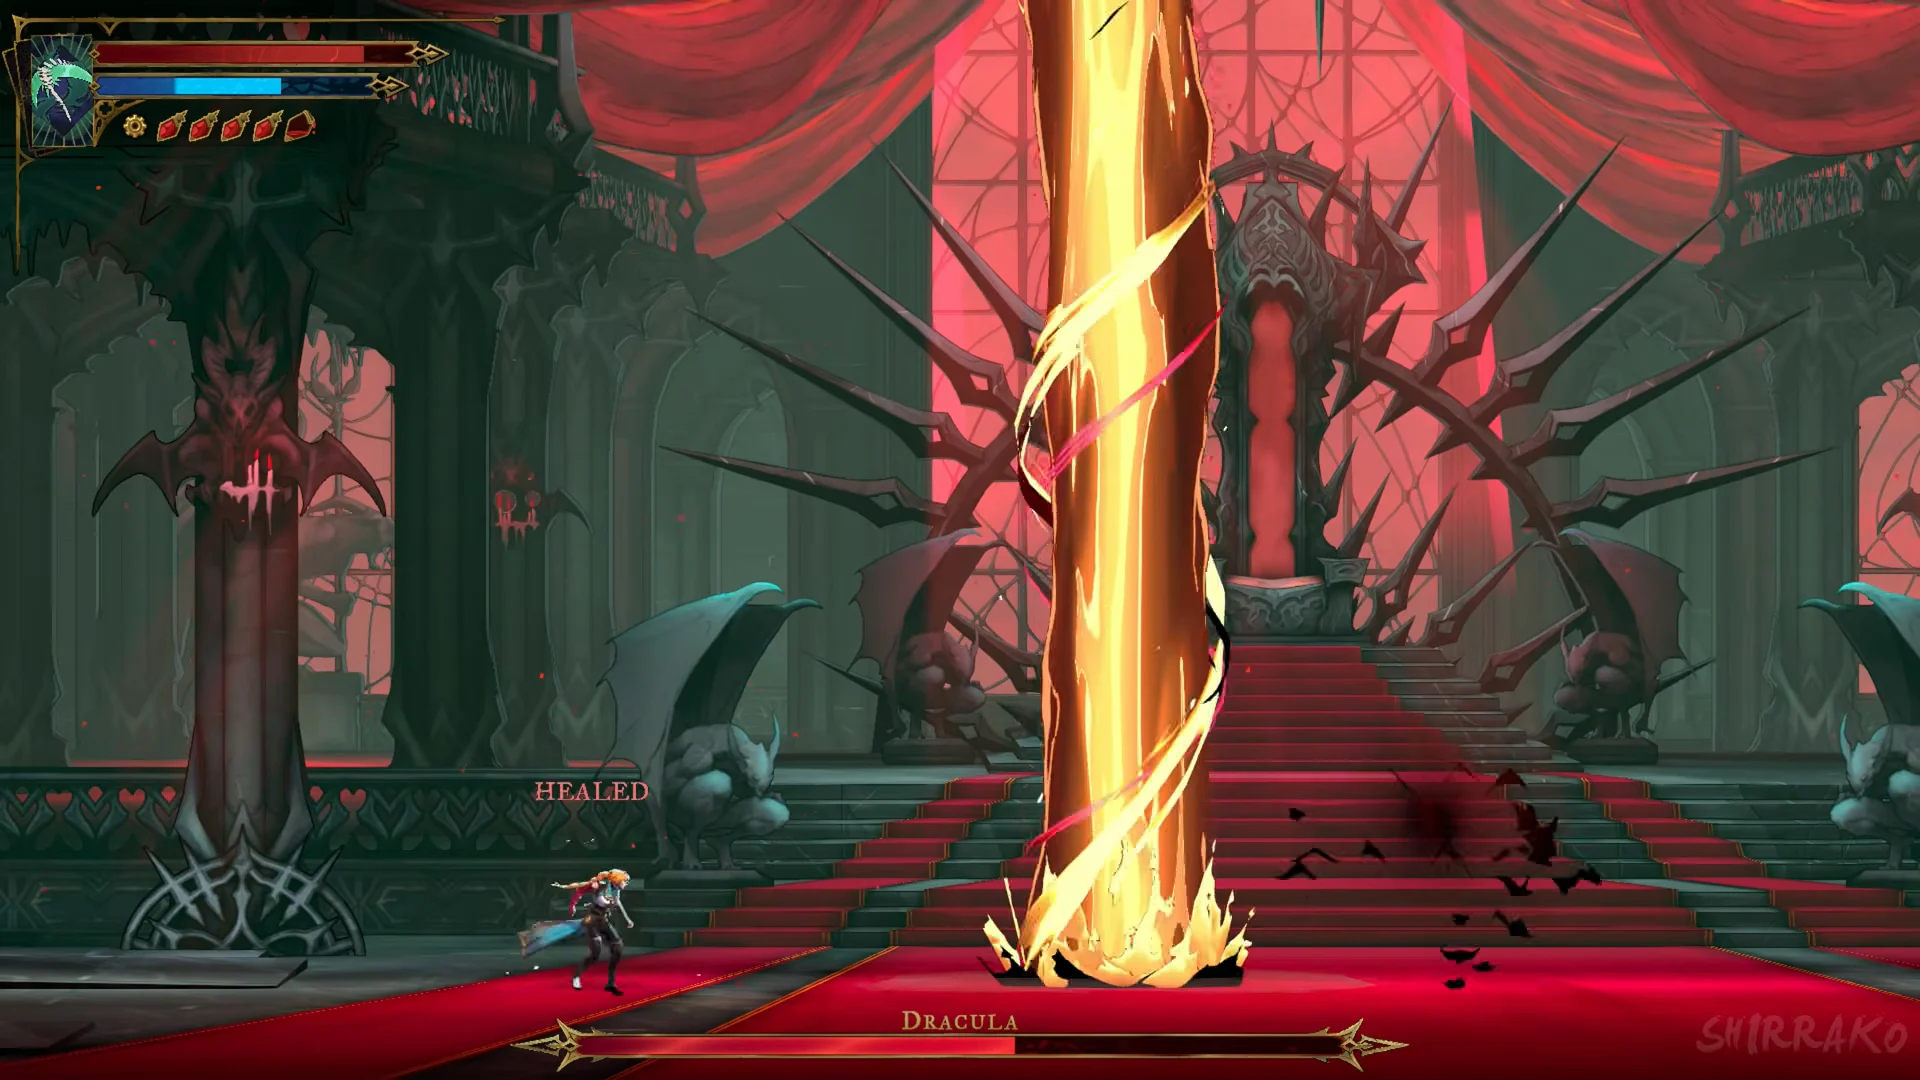
Fire pillar. He returns, lifts a hand, and sends a slim, towering flame column bursting up through the floor. Position yourself beside it but beyond the fire, then keep attacking to land hits right by the pillar.
Cape slash. He holds his cape out before him, then sweeps it forward with red crescent trails. Dash around to his back and attack, or retreat beyond its reach.
Low flaming orbs and skulls. From a room corner, he sends flaming shots skimming along the floor, at times launching three consecutively. Leap over them, then move in close and slash.
At roughly half health, a gold flash signals a stronger attack pattern, and the room darkens to a deeper red. He then summons two fire pillars, followed by three, at once across the carpet. Keep to one side of the cluster and attack during the pauses between volleys. Once the bar is drained, Rose performs a black-and-white finishing slash, leaving Dracula on one knee.
You can drink a potion mid-fight and the screen shows “HEALED”, but your stock is limited, so save it for the gold-flash phase.
The transition to the roof
The floor gives way, plunging her through darkness onto a shattered stone bridge. Red eyes flare in the gloom, then a winged demon appears against the eclipse as a new “Dracula” bar fills. The battle takes place on a stone rooftop suspended in a purple void, with raised blocks near the floor’s center and spiked railings along the back.
Form 2: Winged demon Dracula
This form rewards movement rather than standing in one place. He cycles through a set of attacks that repeat through the whole bar, so once you read the tells, the same responses carry you to the finish.
- Claw rush. After landing or diving close to the ground, he draws back a clawed arm amid red trails and charges across the area. Roll or dash past him, or jump over the rush, then slash at his back.
- Swoop / dive. He ascends, turns, then descends on a diagonal; at times he first teleports upward, with a vertical red line indicating where he will land. Dash beneath him toward his rear, or leap to hit him during the approach, and leave any signaled blast zone.
- Flame stream. From the screen’s edge, he hovers and sends skulls or fireballs in a straight line at floor level. Clear them with a jump or double jump, air dash over, then attack him during the hover.
- Bat swarm. He turns into a dark cloud and hops across the screen before emerging with a dive. Evade its route with an air dash, then hit him when he returns; a red magic ring shows where he will appear.
- Red sigil shockwave. Red circles form in the air, spread outward, and explode. Back away and dash clear before the blast.
- Tracking blood orbs. Hovering off to one side, he builds red spheres that home in on you. Stay in motion; an ability with an invulnerable slash can cut through the spheres as well.
Magma sphere. Dracula hovers over a growing, cracked orb glowing red and yellow at the arena’s center, while spikes cover the ground below. Get off the floor. Remain airborne, stand on a raised block, or use the outer ledge; keep attacking him and avoid the blast when the sphere falls. Your final slash sets off a black-and-white cinematic blow; the bar empties, and Dracula breaks apart into bats and dark smoke.
What each kill gives you
Beating the demon form the first time pops the trophy “Die monster! You don’t belong in this world!” Dracula kneels, Rose declares she is Rose Belmont and will hunt the night, and he erupts into crimson curse energy as the spirits of the Arcana speak to her. The castle crumbles under pink lightning, the trophy “The hunt goes on” appears, and a text crawl explains the curse could not be stopped in time before returning you to the title screen, where you can resume.
When the demon is defeated, Dracula kneels once more and dissolves into blood; Rose, aided by the spirits including Sypha, halts the curse. In a luminous void, Leon, Joan, and Sypha bid farewell. A light column pierces the eclipse above the castle peak as Dracula falls, earning the trophy “Curse lifted”. The castle crumples, sunlight shines over Paris again, and the epilogue and credits follow.
Healing potions are a limited supply. If you attempt to heal after running out, the prompt “NO MORE POTIONS” appears. Use your stock sparingly, keeping one potion for the magma-sphere section.