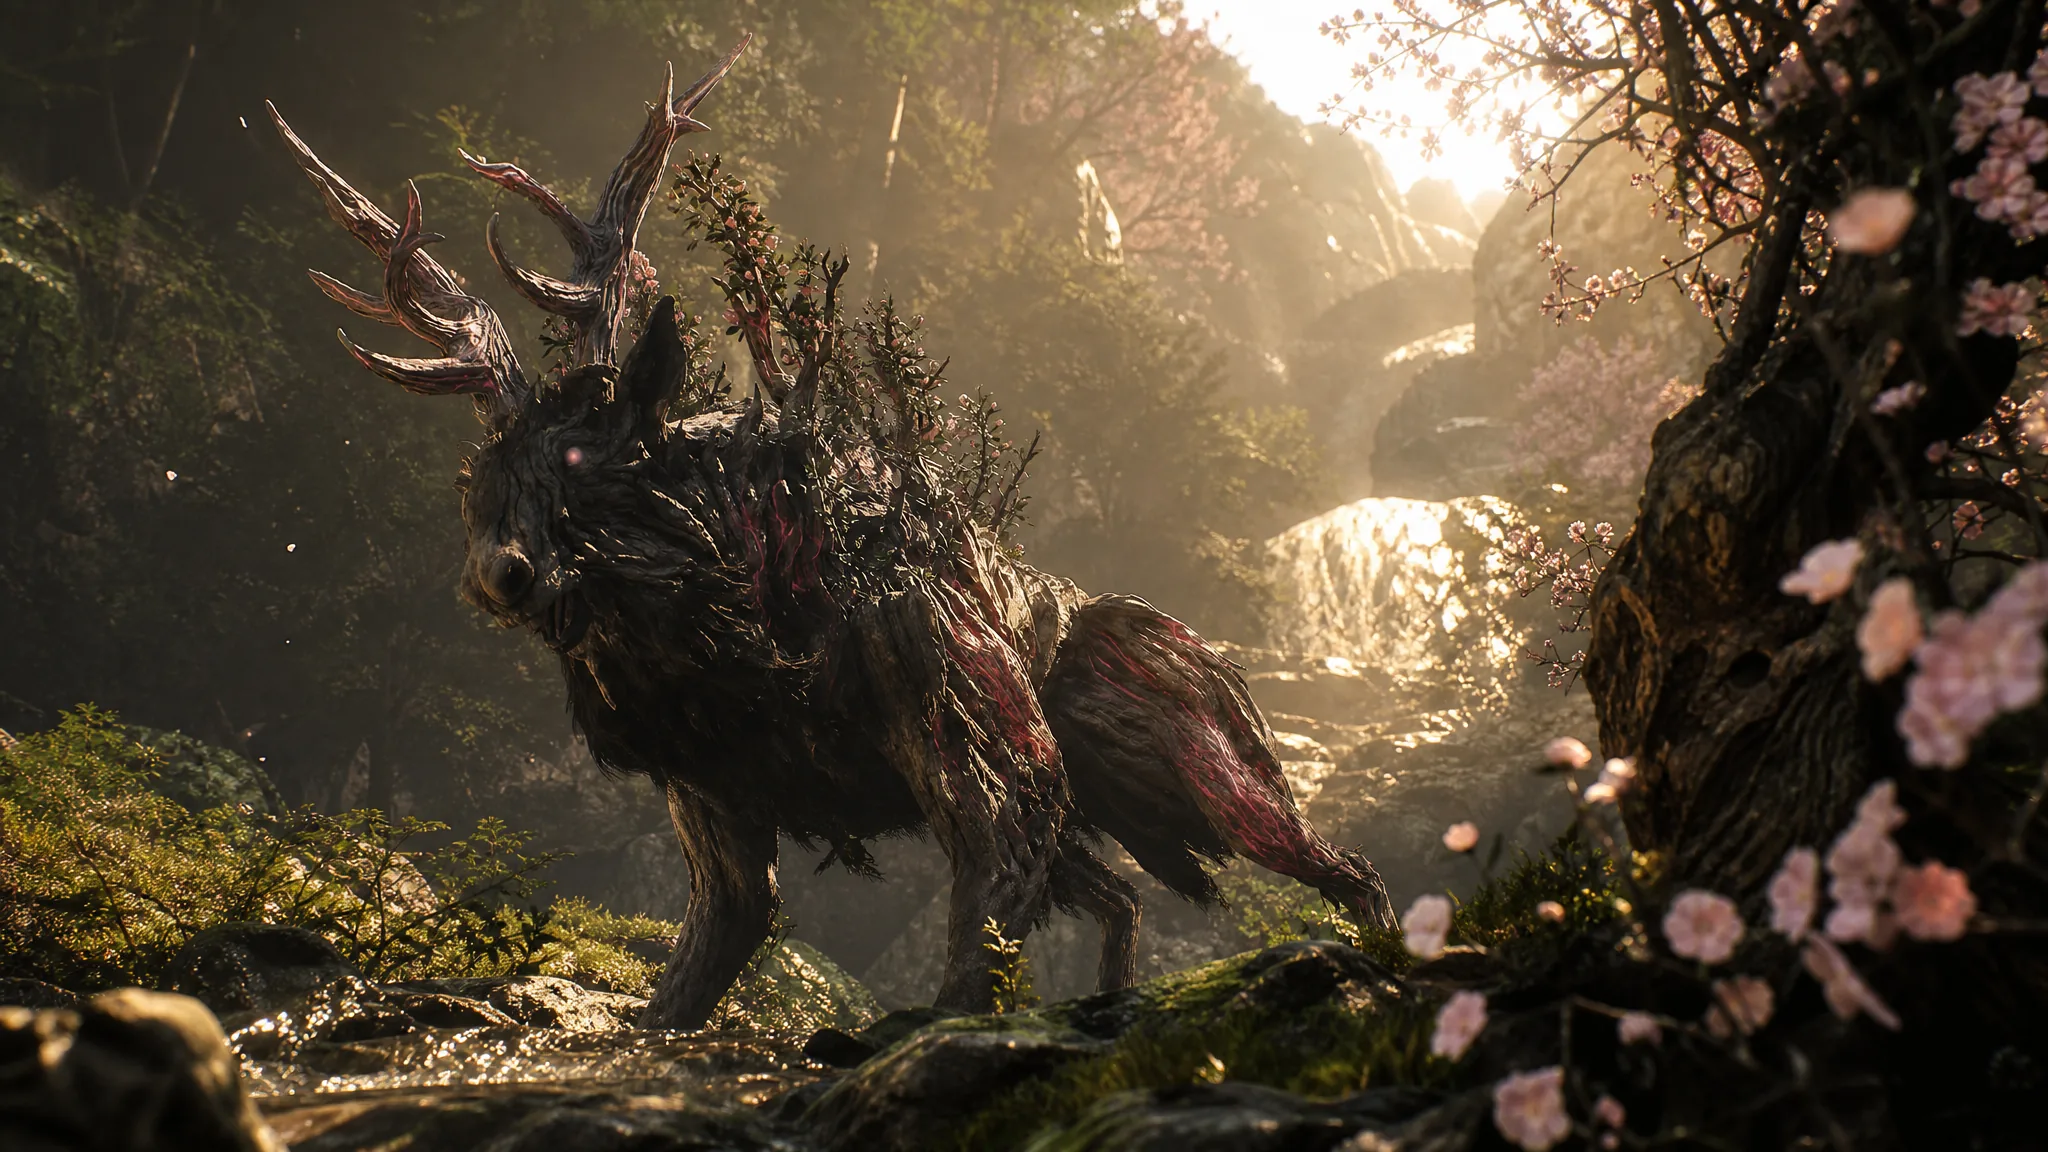
Rangifer is the first Nushi you fight in Beast of Reincarnation, a towering wooden stag whose antlers are draped in flowers and shrubbery. It hits harder than expected and carries a lot more health than a first boss usually does, so it works as an early skill check for the game’s parry system. Get its rhythm down and the fight becomes routine.
Quick answer: Stand near Rangifer’s front hooves, parry its antler swipes and head slams, dodge the unblockable stomps to the side, and strike its head during the recovery. It is weak to Fire in Chapters 1 and 2, so lead with Koo’s Higanbana Seeds and Fire-imbued attacks.
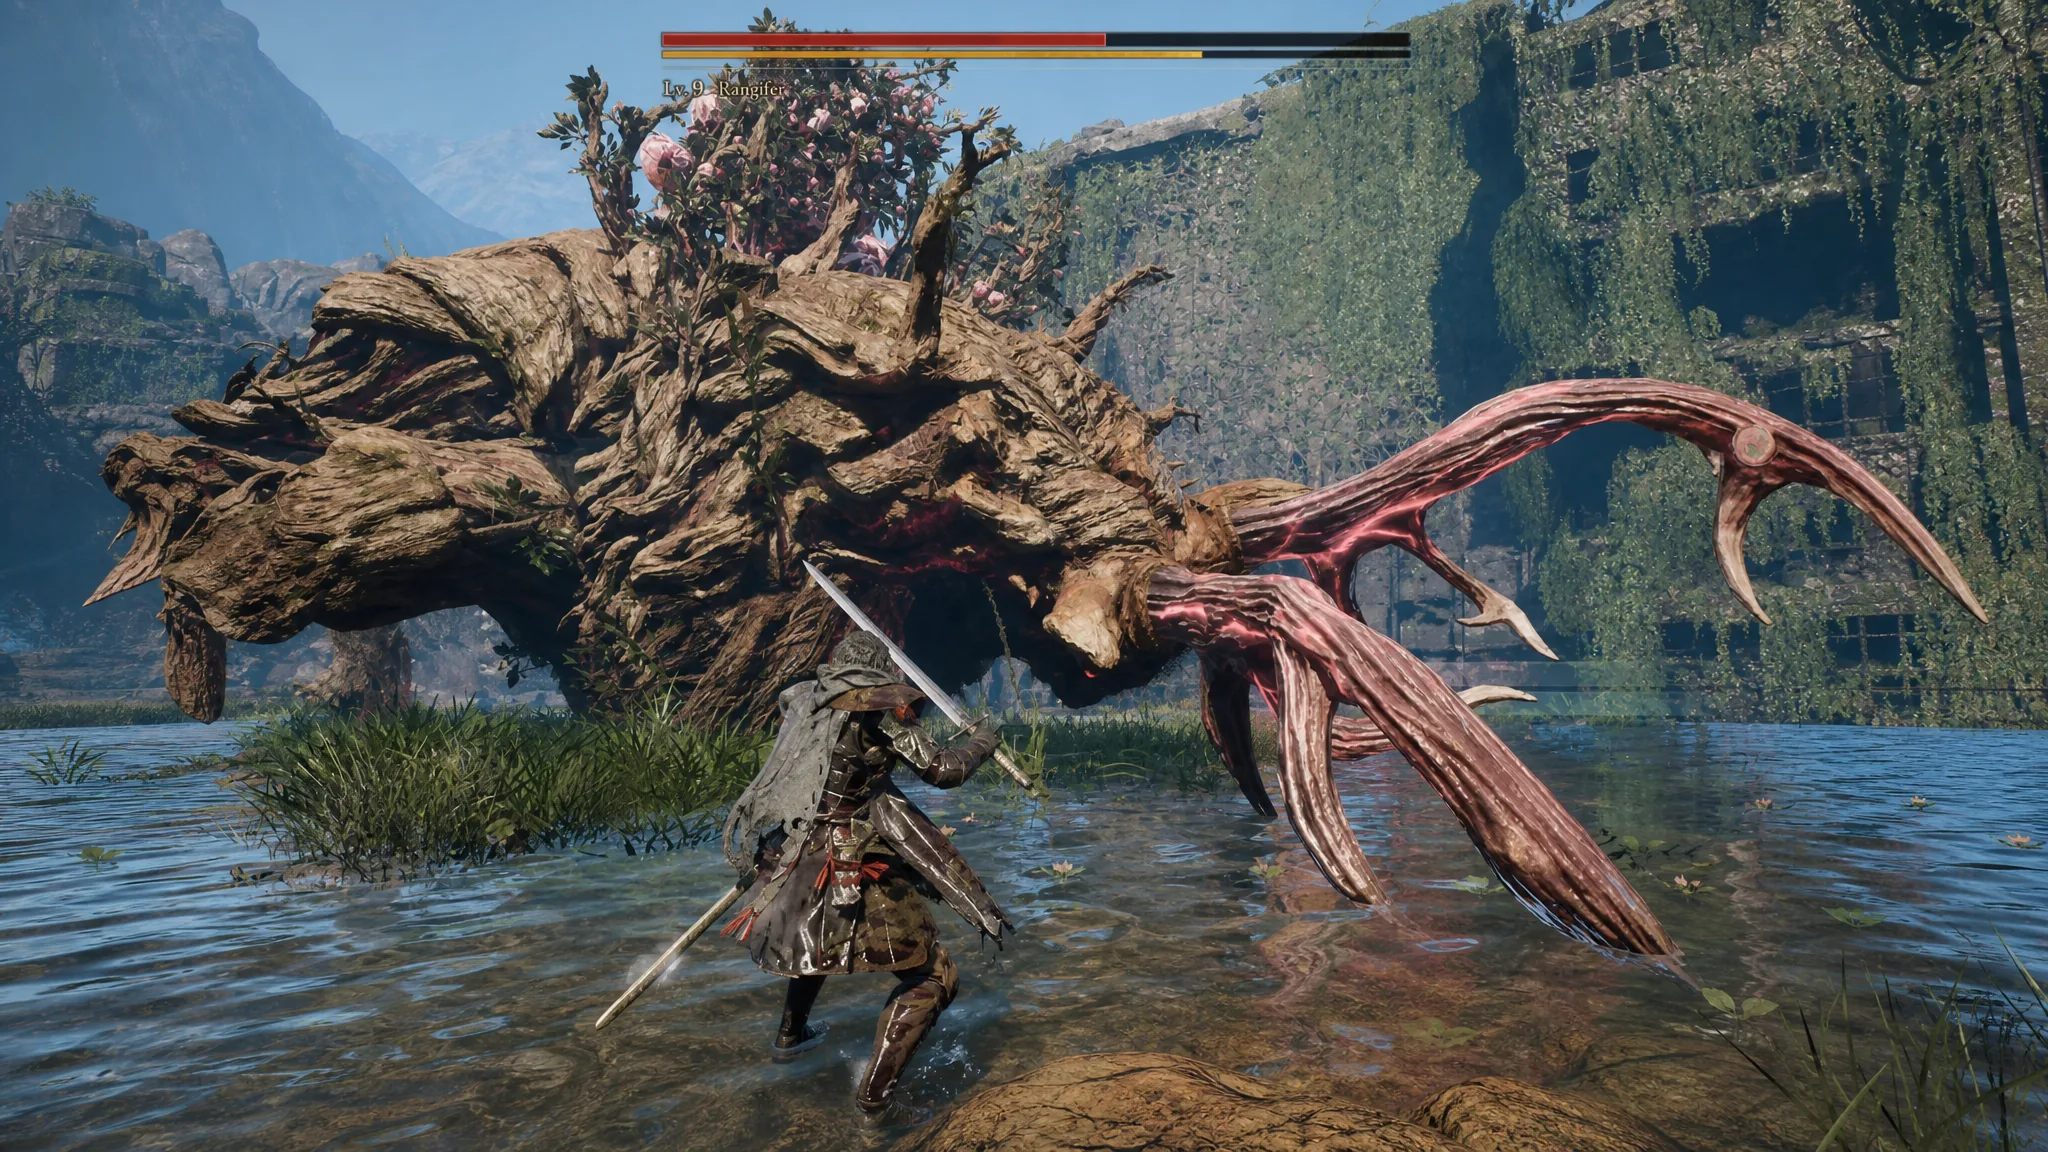
Rangifer location, level, and weakness
Rangifer waits in the Ogouchi Buffer Zone, the game’s opening region in Chapter 1. Follow the main objective markers until you are prompted to bring down the zone’s Nushi, then track the waypoint to a large water-filled ditch. Landing a single hit on the beast starts the fight. A campsite sits near the arena, so you can respawn and jump straight back in if you fall.
You confront Rangifer twice in Chapter 1. The first meeting is a single-phase warm-up. The rematch in its lair is a stamina test with two full health bars.
| Detail | Info |
|---|---|
| Location | Ogouchi Buffer Zone, Chapter 1 |
| First fight level | Level 9 (one phase) |
| Second fight level | Level 12 (two phases, two health bars) |
| Weak spot | Its head, exposed after each attack |
| Elemental weakness | Fire (Chapters 1–2) |
| Chapter 5 rematch | Level 32, weak to Lightning instead of Fire |
Note: you can confirm a Nushi’s element by reading the symbol on the left side of its health bar. That is the fastest way to check which damage type to prioritize before you commit to a loadout.
Rangifer attacks and how to counter them
Rangifer’s moveset is short and readable. Every move except the stomp can be parried, and the boss goes still for a moment after finishing an attack. That pause is your cue to strike the head. Chasing longer combos gets you clipped, so take the opening and reset.
| Attack | How to respond |
|---|---|
| Antler / head swipes | Sweeps side to side, often in a two or three-hit chain about a second and a half apart. Parry each swing. Clean parries fill your FP for a Koo Bloom Art. |
| Head slam | Parry the downward hit, then punish the head while it hangs low. |
| Front leg stomp | Cannot be parried. Watch the leg lift and dodge sideways. A perfect dodge grants a counterattack slash. |
| Boulder / rock throw | Rangifer digs its antlers into the ground and flings a cluster of rocks. Run to the side out of its path or dodge backward repeatedly. |
| Lunge | Rears up and drops down, with red markers showing the landing zone. Dodge to either side or run clear. |
| Gap-closing rush | Charges to close distance fast. Do not sprint away — you cannot outrun it. Meet it with parry timing and settle back near the front hooves. |
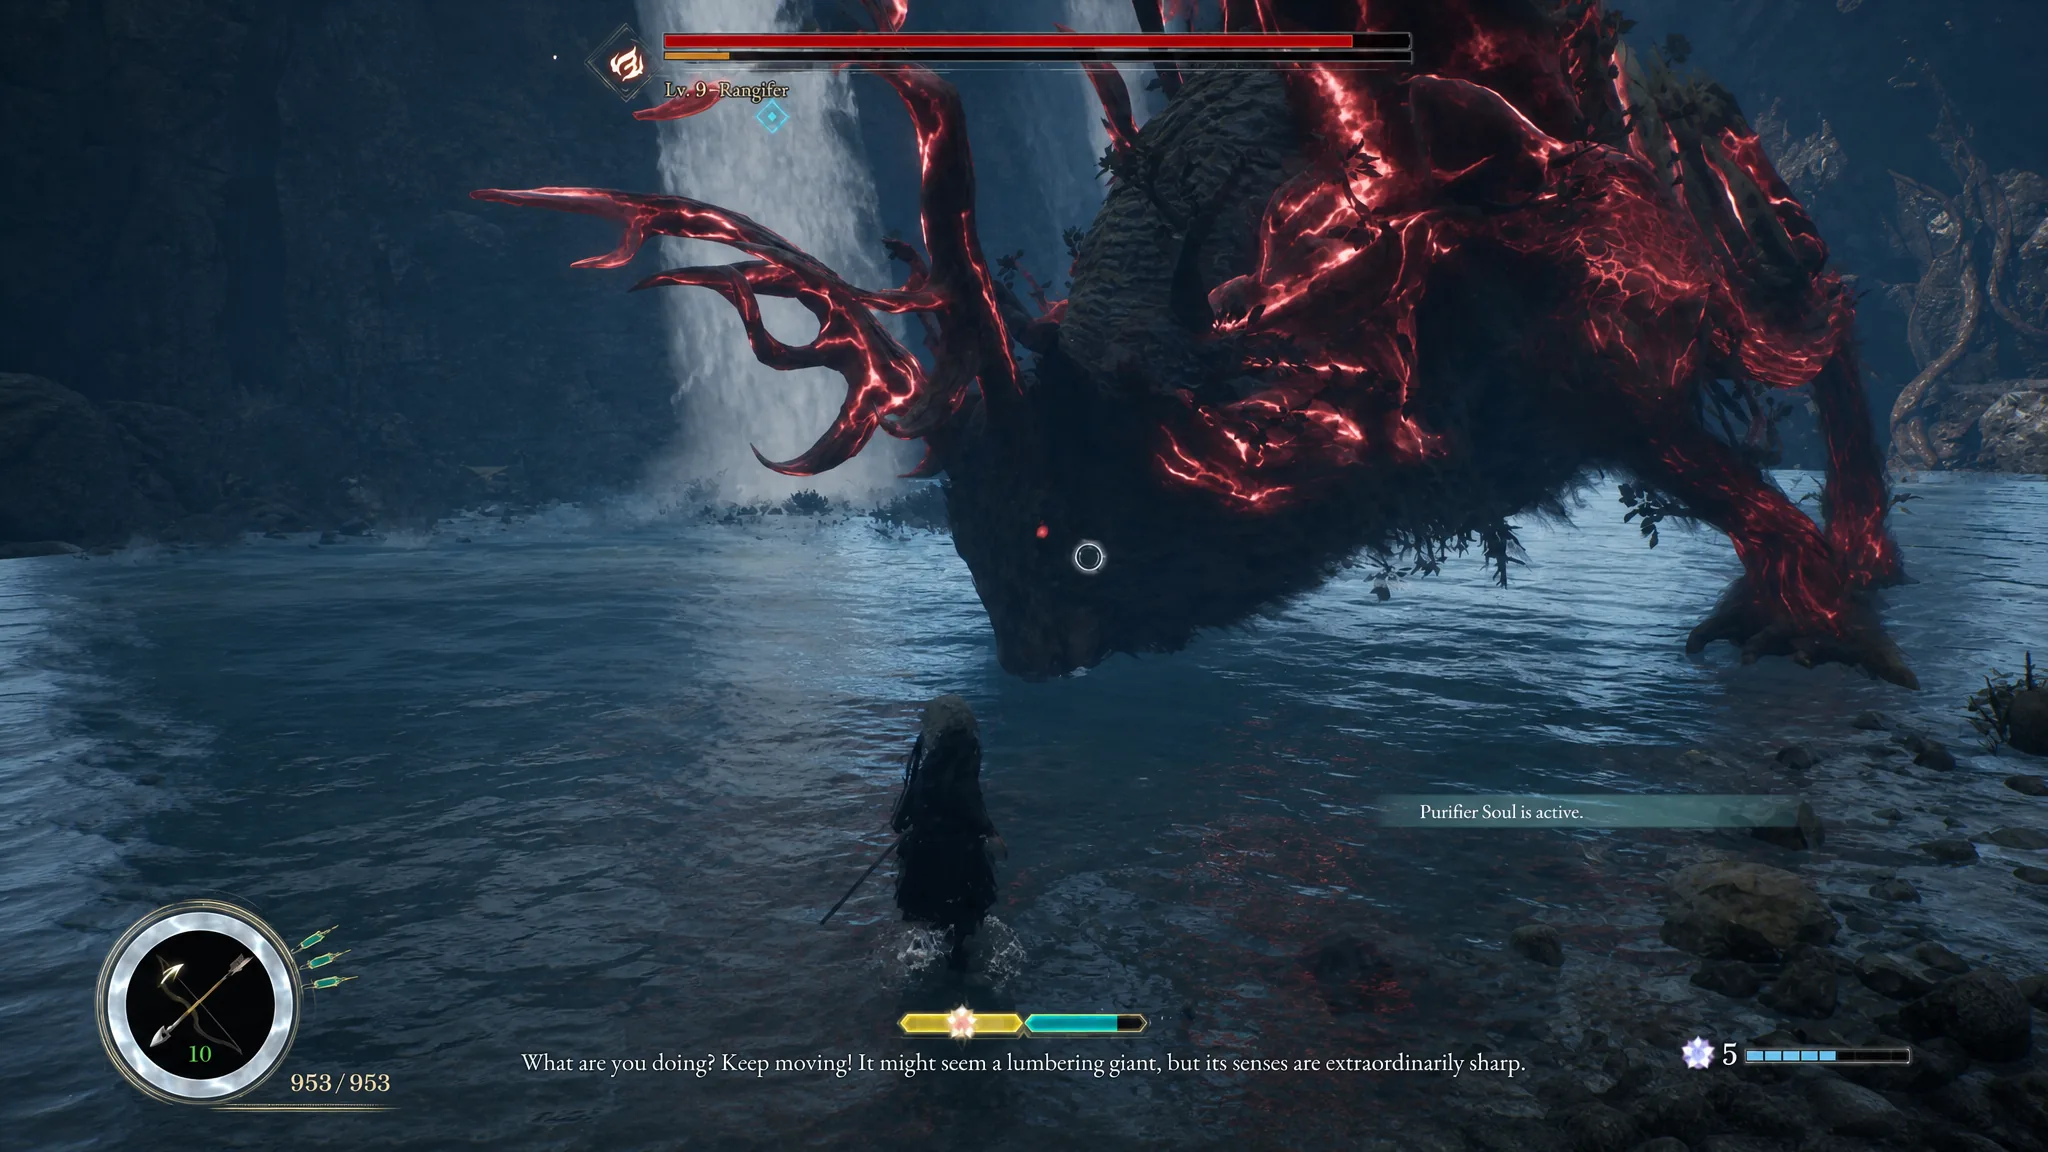
The fight loop for Level 9 Rangifer
The whole first encounter runs on one cycle. Deal ranged damage when the boss backs off, parry when it presses in, spend the resources those parries generate, then unload during the stagger. Repeat until its health is gone.
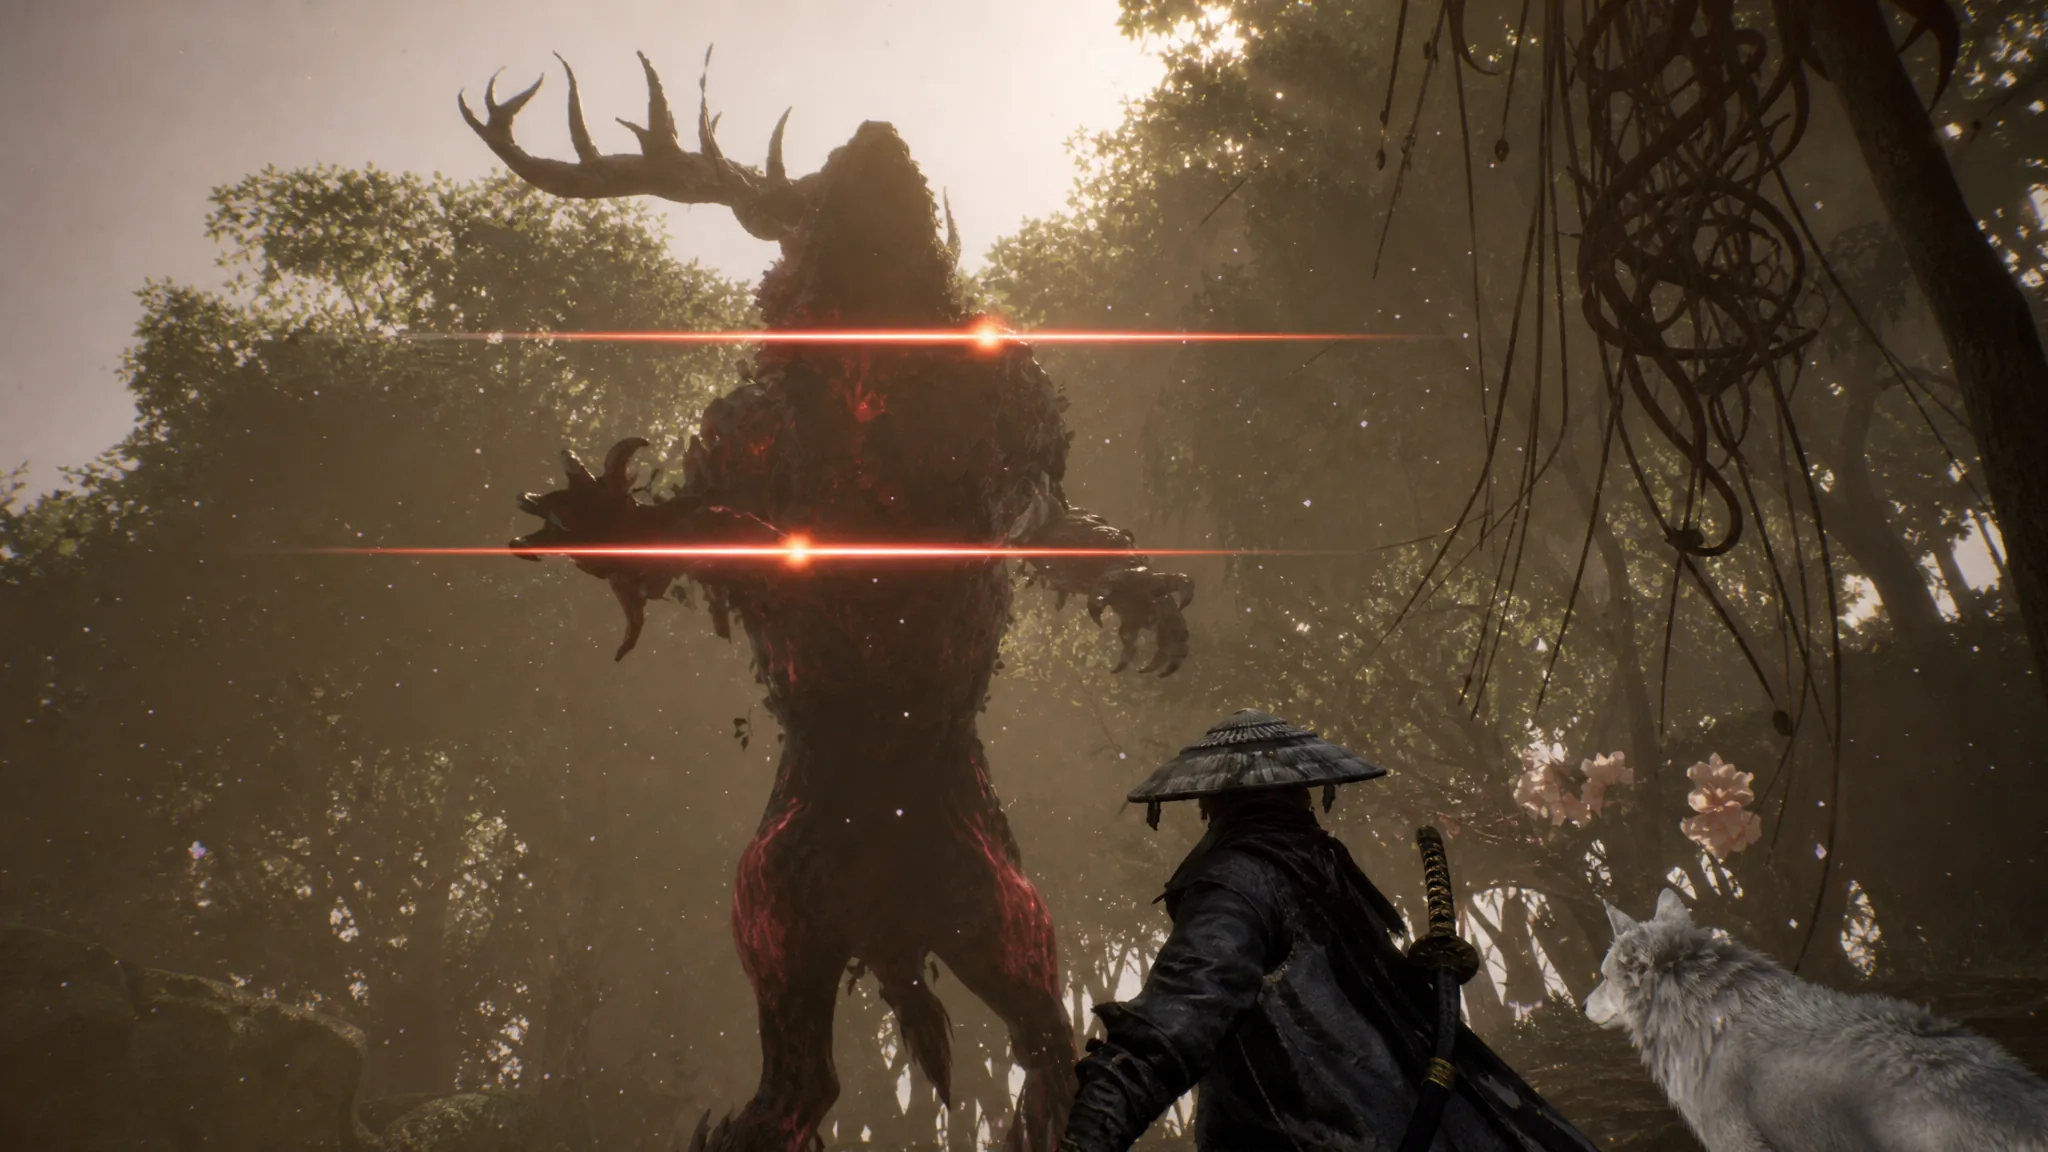
For elemental damage, lean into Fire. Koo’s Higanbana Seeds Bloom Art is available early and fills the stagger bar quickly against Rangifer. Midway through the fight the boss also summons trees from the ground — you can sling onto them with Emma’s hair for height, or even dive straight down onto the beast to start the fight from above.
Second encounter at Level 12
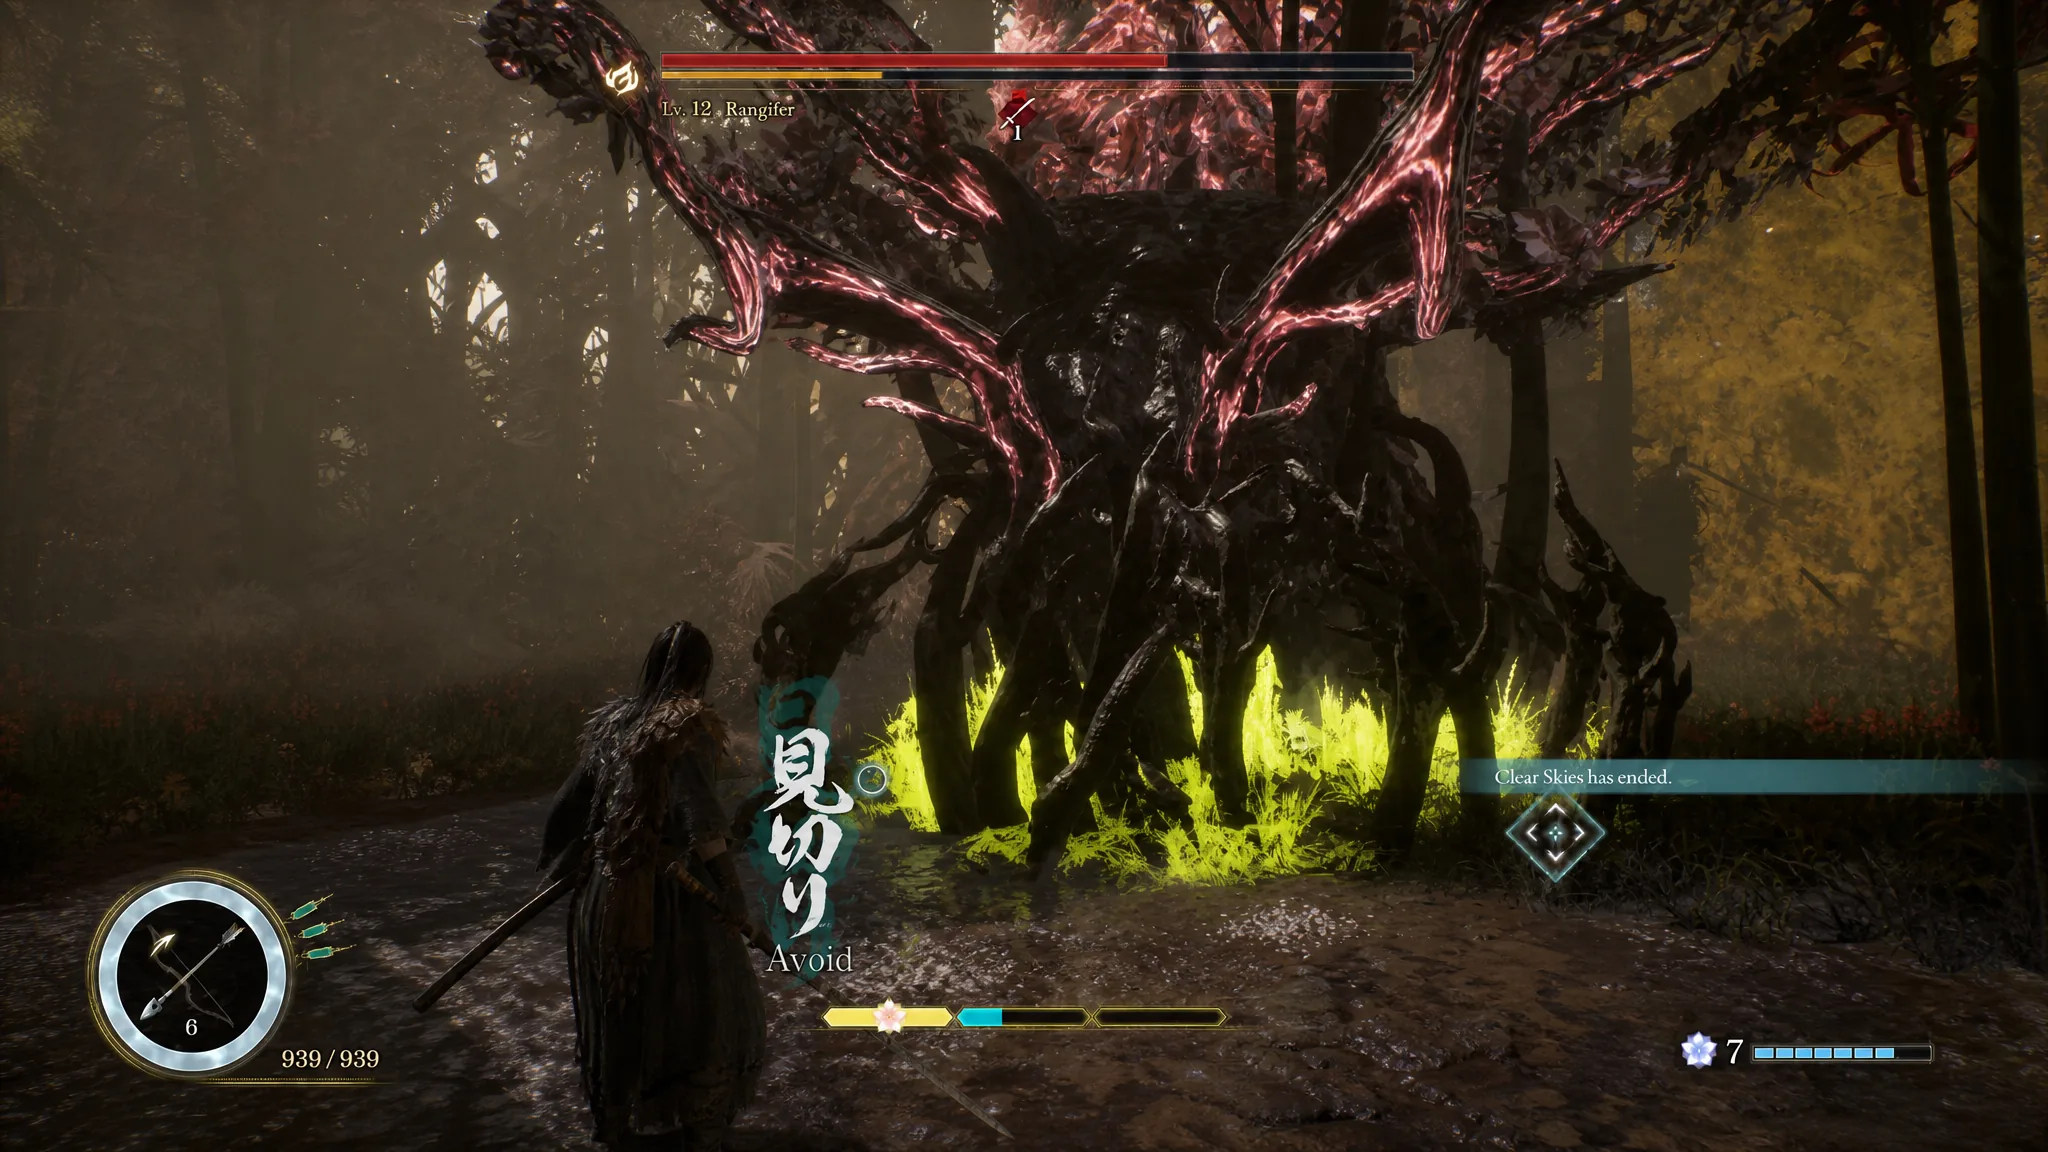
By the end of Chapter 1 you track Rangifer to its lair for a rematch at Level 12. The moveset is identical, so keep dodging the stomps, parrying the swipes, and targeting the head. The difference is length and pacing. This fight has two health bars, and its health fully restores when the second phase begins, so never relax until the boss is actually down.
In the second phase Rangifer becomes imbued with blight. It moves faster, hits harder, and can briefly enter an enraged state where its body glows pink and it strings together a stronger combo. It also gains two new ground attacks you must dodge rather than block.
- A straight line of trees that erupt from the ground in front of it — sidestep out of the row.
- A spread of trees summoned after a head slam — watch for the red glow marking where they sprout and dodge clear.
Both hit hard enough to matter, so treat the glowing floor as your warning. Rangifer can also flash blight during earlier phases as a preview of that faster tempo. Use those moments to practice the new timing, and don’t worry about a few deaths while you adjust.
Rangifer rewards
Each version of the fight hands over a different unlock. The Level 9 Rangifer drops Rangiferine Memories, a large piece of amber that bestows the Nushi Skill: Sakura Storm — a four-hit-then-skill combo that clears groups of enemies at close and long range. The Level 12 lair fight rewards the Sakura Javelin Bloom Art and Blade Art: Sakura.
| Fight | Reward |
|---|---|
| Level 9 Rangifer | Rangiferine Memories (unlocks Nushi Skill: Sakura Storm) |
| Level 12 Rangifer | Sakura Javelin Bloom Art and Blade Art: Sakura |
One last thing to keep in mind for later. Rangifer returns in Chapter 5 at Level 32 with the same two-phase structure and the same moves, but this time it drops its Fire weakness and becomes weak to Lightning instead. Swap Koo’s elemental attacks to match when you reach that rematch, and the same parry-and-punish rhythm carries you through.