Willan Barbatos is the demon who guards the Fallen Dragon’s heart at the bottom of Mordria Temple, and he is the target of the main quest “Where There’s a Will, There’s a Way”. You face him twice back to back. The first fight is in the sanctum and cannot be won; the second, inside the demons’ realm, is where he actually dies.
Quick answer: Focus on the figure with a glowing purple heart in his chest. Prioritize attacks during his chant and whenever blue tethers appear, as hitting him interrupts the siphoning. He escapes to end the first encounter; the second concludes when his health bar is empty.
Reaching Willan Barbatos at the bottom of Mordria Temple
His lair lies beneath all of Mordria Temple. To reach it, pass the gate opened with the Temple Key, fight through the ruined courtyard, then clear the treasure rooms on floor B1F. Collect everything there before proceeding: the final items before the boss are 32,000 G in a stone chest and a Norgan Portcrystal in another chest.
Cross the rock bridge through the arch at the far end of the treasure rooms. A cutscene plays before the screen displays “You encountered Willan Barbatos.” and then “Defeat Willan Barbatos, the demon with the heart.” He appears as a tall, hooded figure floating in ragged dark robes, with a staff and a purple glow in his chest.
He is a different enemy from the weaker “Barbatos” met elsewhere in the temple.
Fight 1: Surviving the sanctum
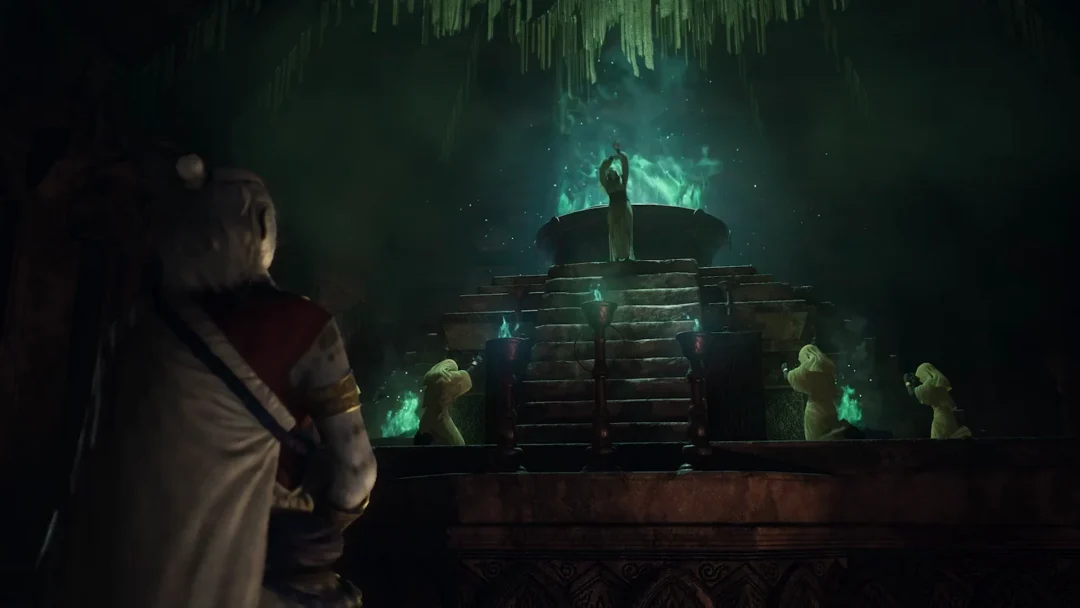
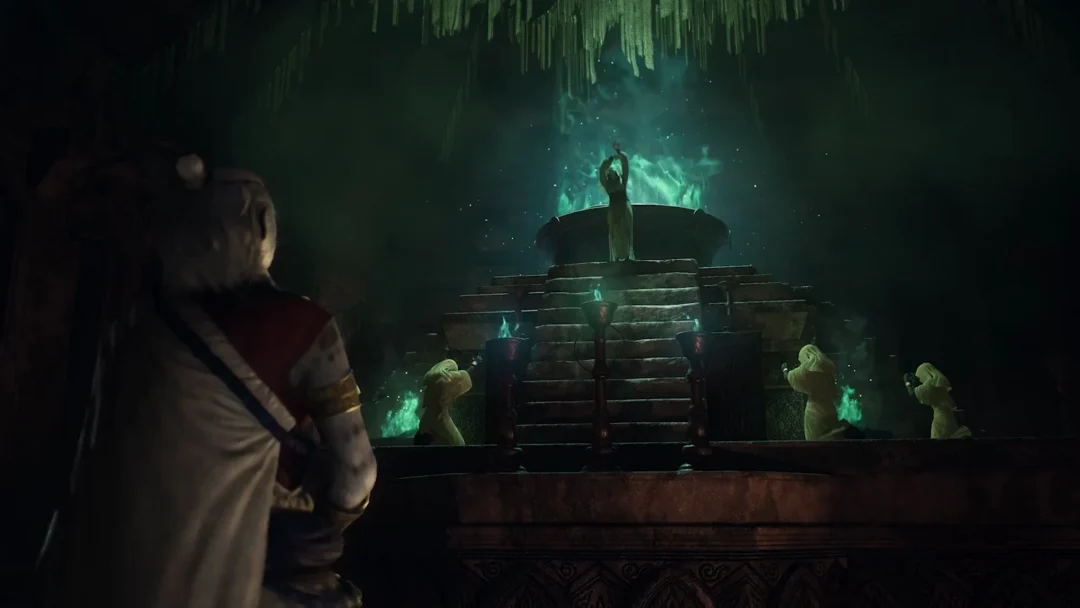
The sanctum is a shadowy stone hall dusted with snow and lined with huge square pillars. The first encounter lasts around two minutes and cannot be completed as a kill, regardless of your performance. When his bar runs out, a cutscene begins: he ascends into a vortex in the wall, then vanishes. He drops nothing. Your goal here is to survive, not defeat him.
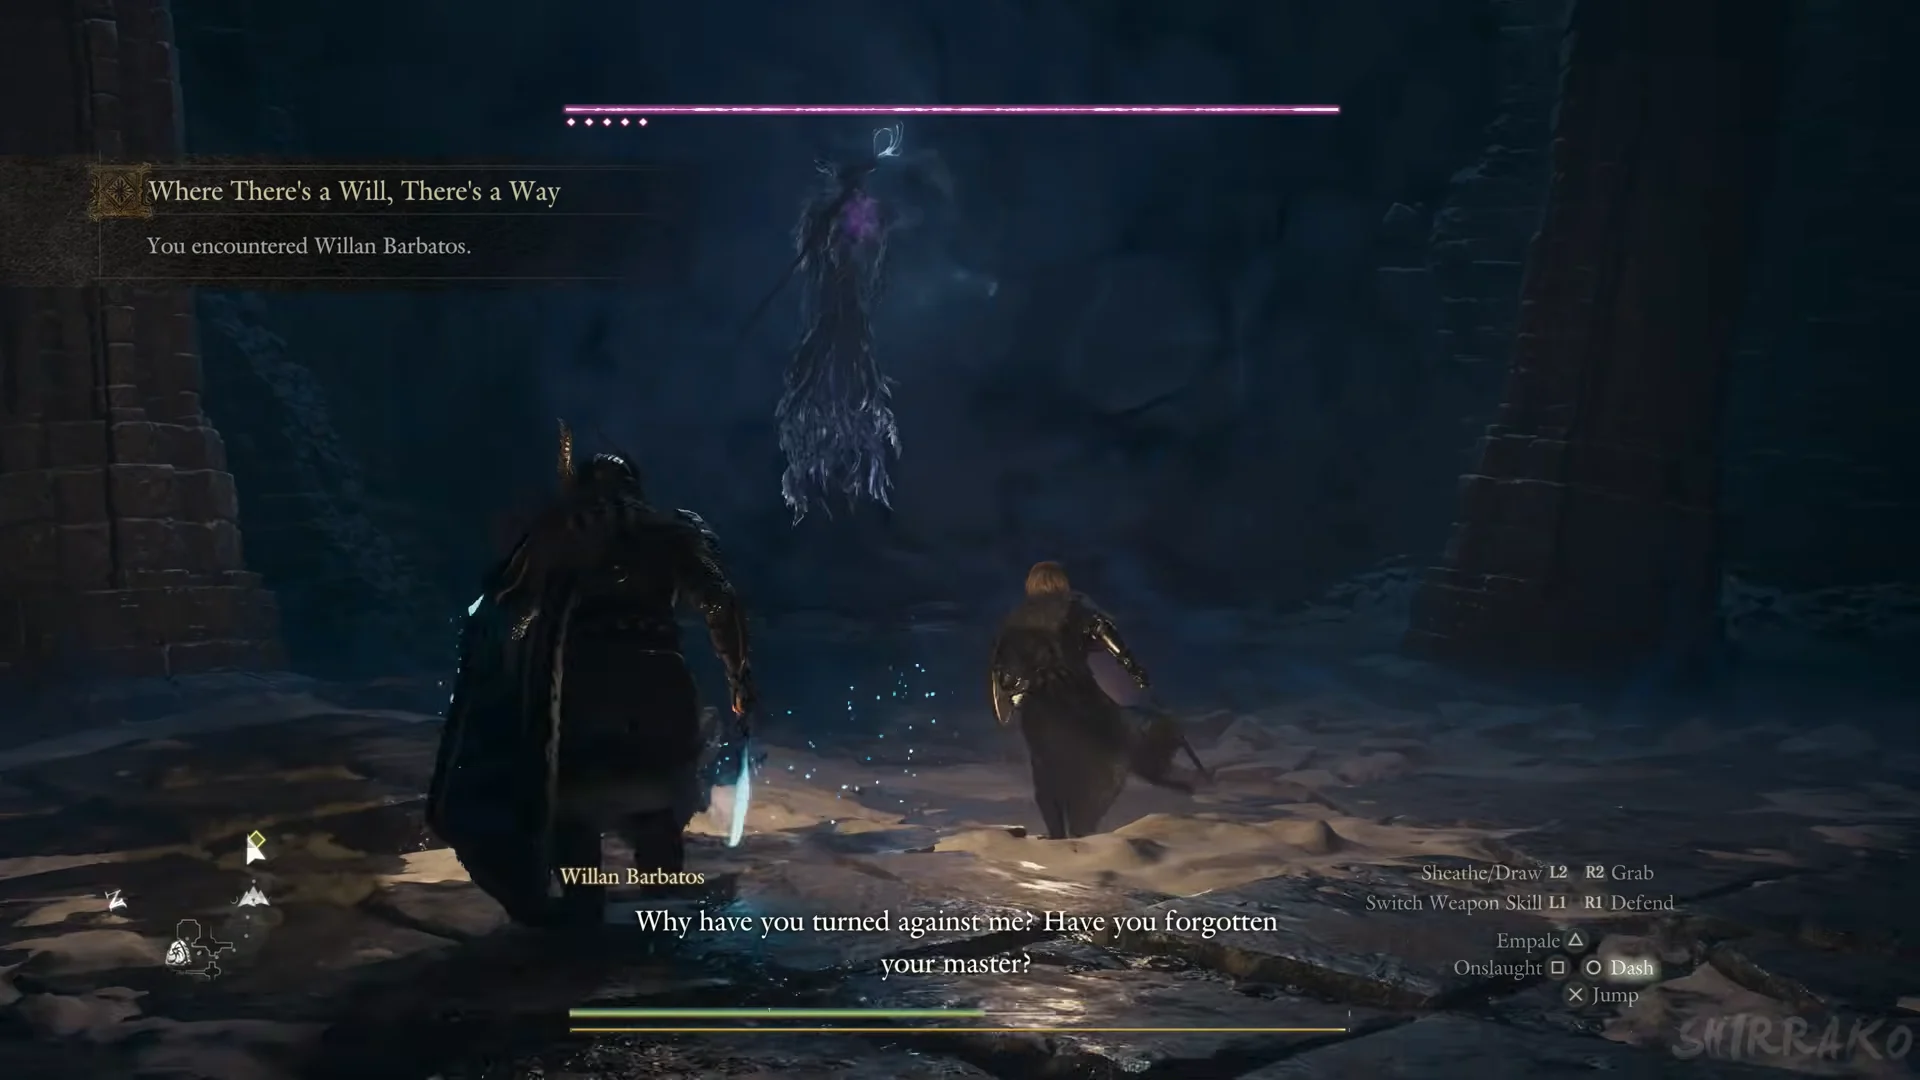
He stays airborne beyond your reach, instantly changes position, sends lightning across the floor, launches volleys of seeking spirit bolts, and summons tall, swirling pillars of dark blue energy. Your pawns will fall again and again. Reach a downed pawn, take cover behind a pillar, and use “Revive (Hold)” from safety.
If you’re using a sword-and-shield Fighter, wait for him to drift down near a pillar. Move beneath him and strike with jumping slashes and Cloudfall Strike. Keep dealing damage until his bar is empty and a cutscene begins. The objectives then display “Willan Barbatos fled.” and “Speak with Eir and use the Godsbane to proceed.”
The Godsbane choice: preparing before you follow him
Use the lull after his escape to prepare; nothing progresses until you speak with Eir. Heal, bring every pawn back, and organize your items, since crossing over immediately starts the next fight. Make sure you have Wakestones stocked before you go.
Eir says the portal opens into the demons’ realm and that your Godsbane can activate it. Speak to her with “Hail (Hold to Talk)” to bring up two choices: “Plunge in the Godsbane blade” or “Do nothing”. Select “Plunge in the Godsbane blade”; a cutscene opens the portal and carries both you and Eir through to the next battle.
Fight 2: The demons’ realm, the real battle
The second arena is a level, dark expanse of flooded ground beneath a black sky, strewn with bodies and without cover. The objective is “Defeat Willan Barbatos.” His bar has reset to full, and the encounter takes about seven minutes. The distractions are constant, but your task is straightforward: identify the genuine figure and keep attacking.
Pick the figure with the purple heart
Several hooded phantoms accompany his descent, drifting across the arena as they launch ice shards and spectral streams. Don’t get caught up fighting the group: the real target is marked by the bright purple heart in its chest. Defeating a phantom may leave an item, such as a Tiger Eye, but those copies draw attention away from your actual target.
Break the life-drain tethers fast
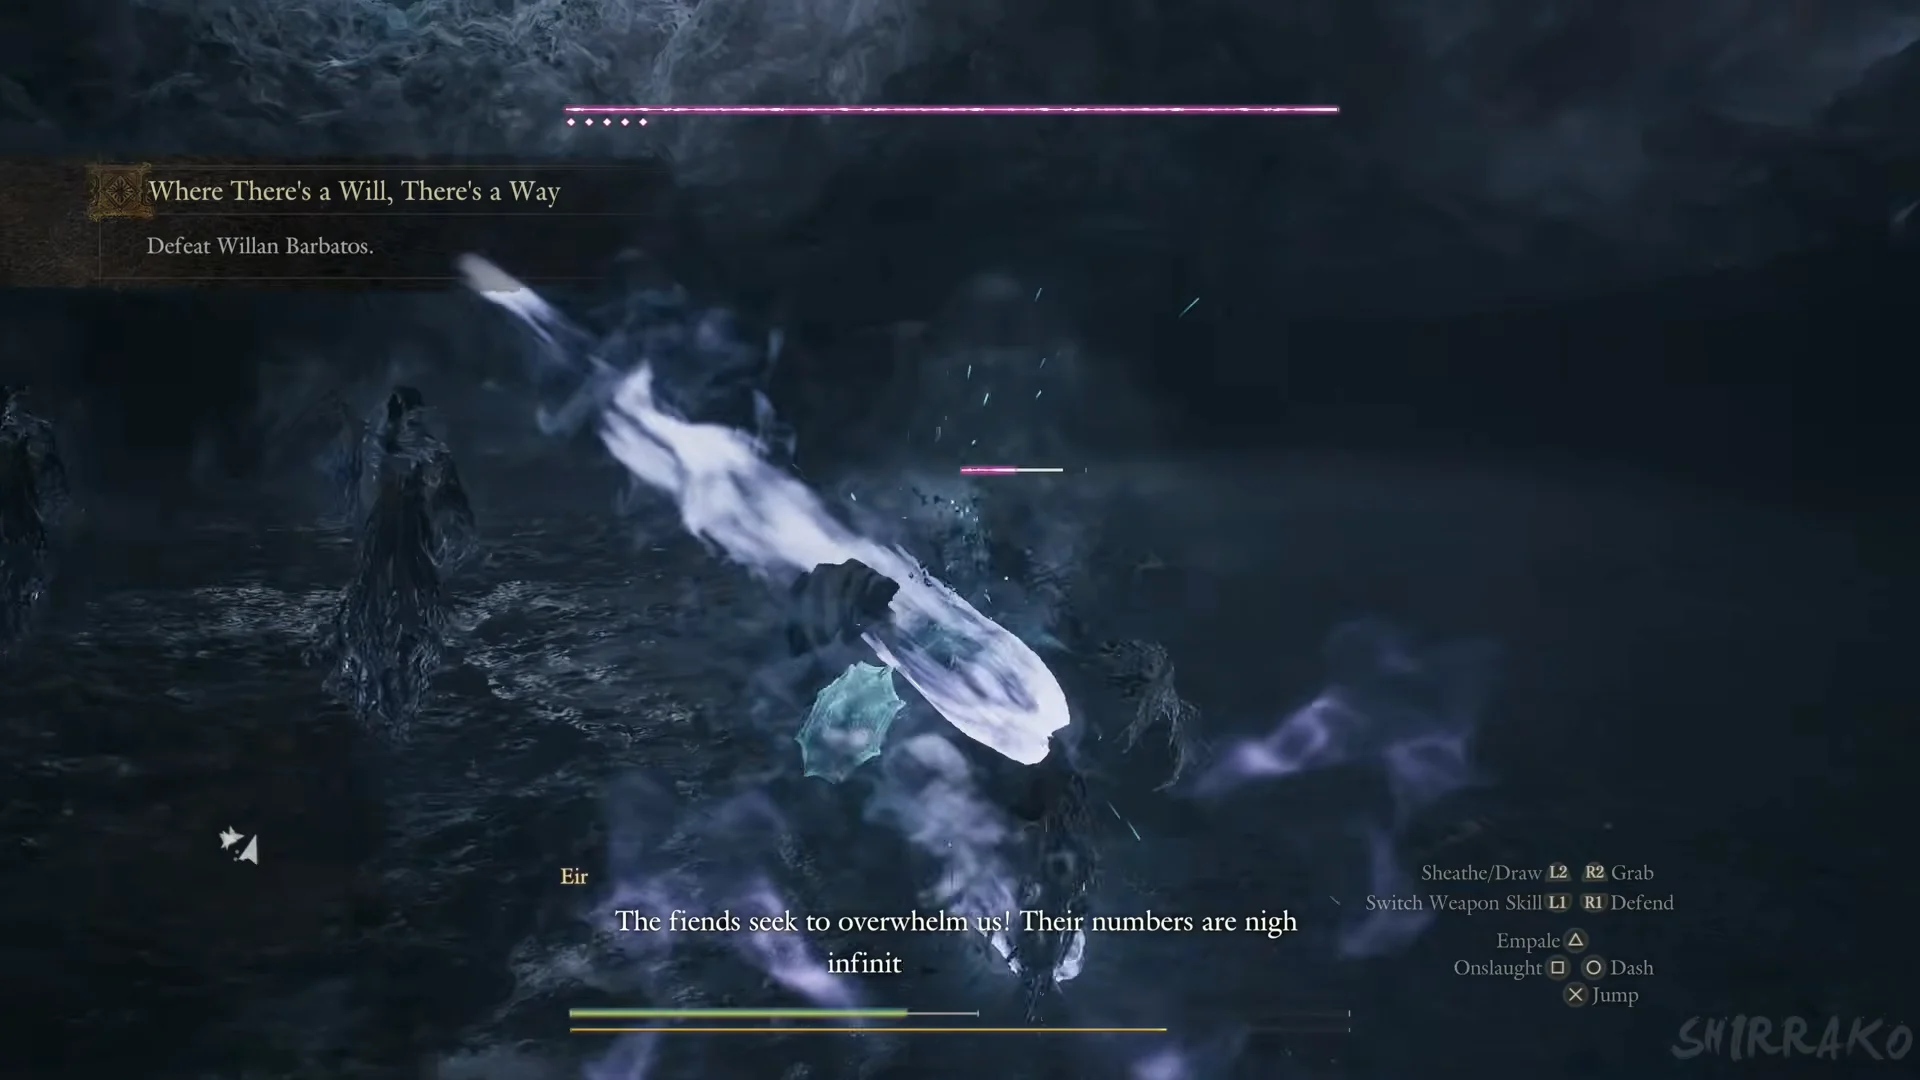
Pale blue-white lines connect him to each party member, draining your health as his bar refills. Your pawns warn you as soon as this starts. Make stopping the recovery your priority: keep landing hits until the drain ends. He uses this attack repeatedly during the encounter.
Punish his incants, dodge the rest
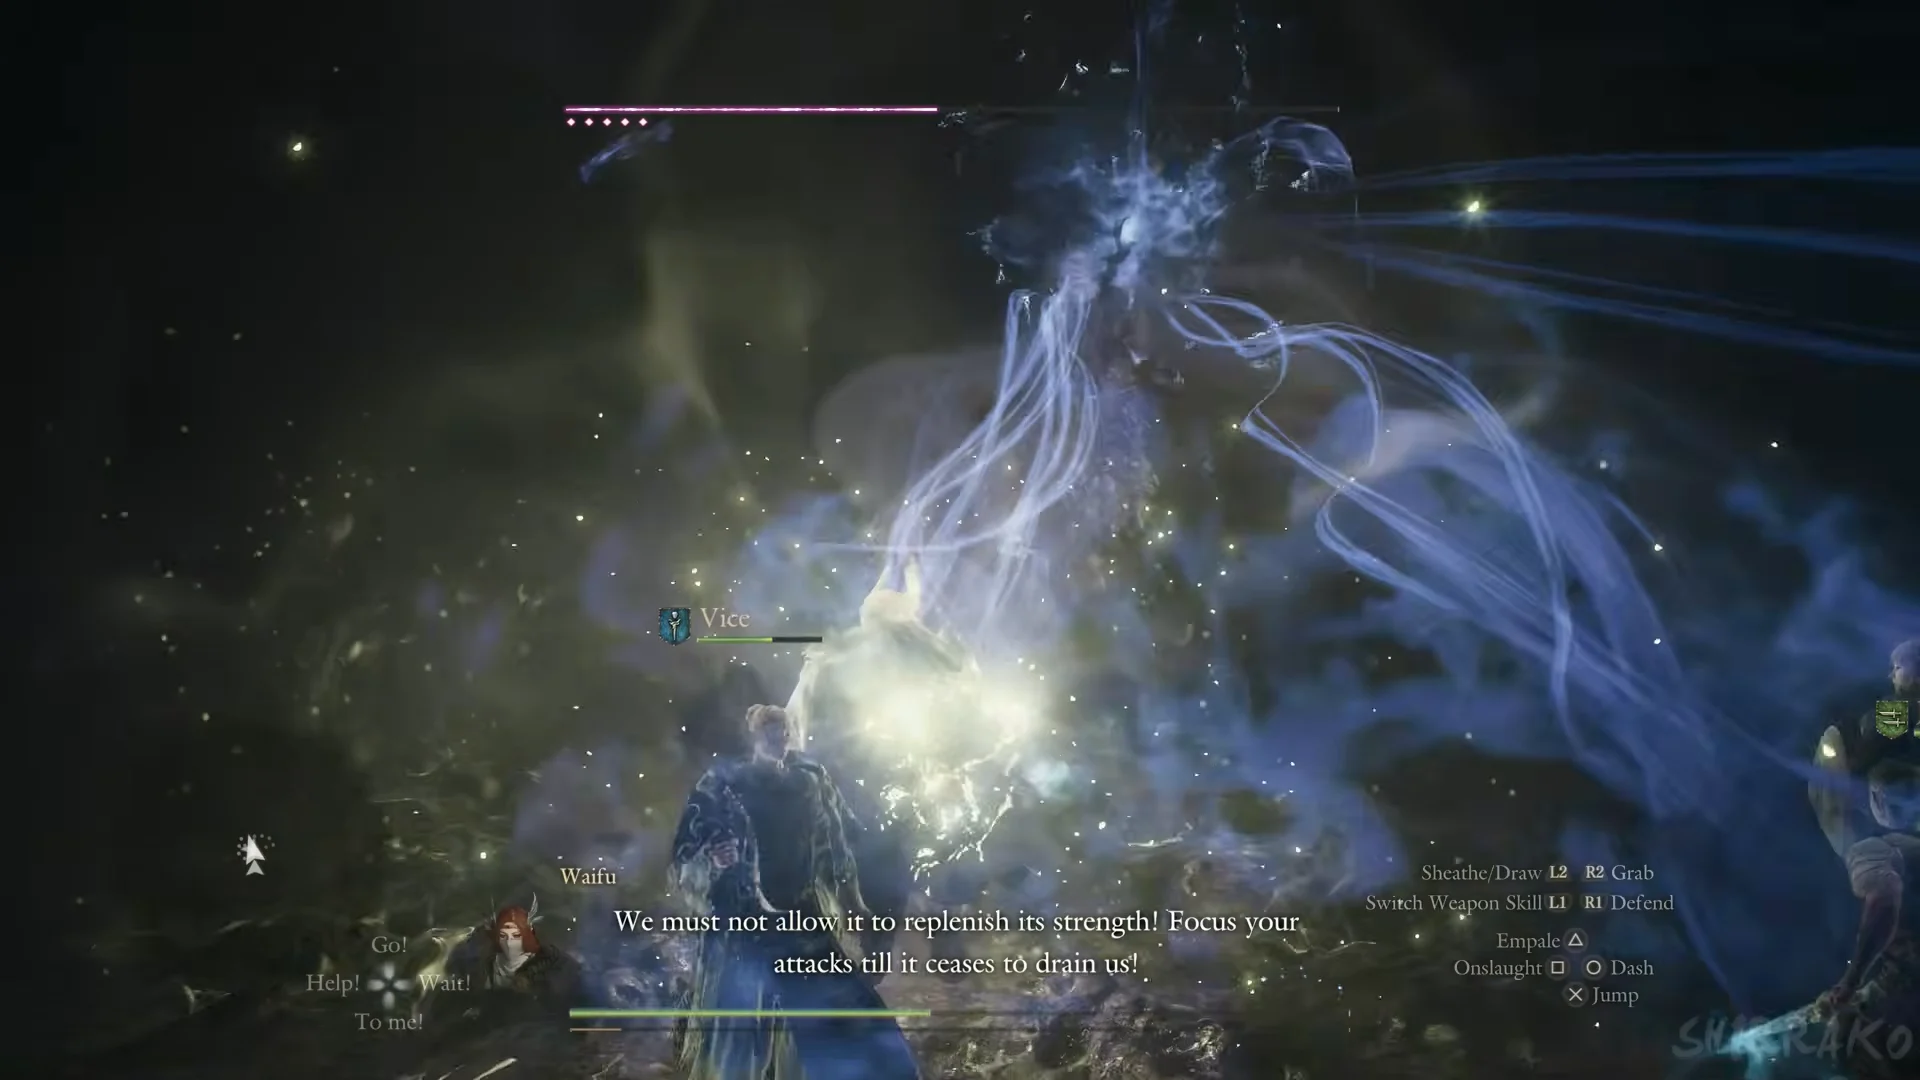
His chant leaves him exposed, and your pawns will call for everyone to attack. Lightning from a pawn can stagger him. He can also unleash a broad purple-lightning burst around himself, send ground-level waves of blue spirits sweeping outward, and fire ice volleys. Dodge these attacks, then close in again whenever he casts.
The lesser demon at two dots left
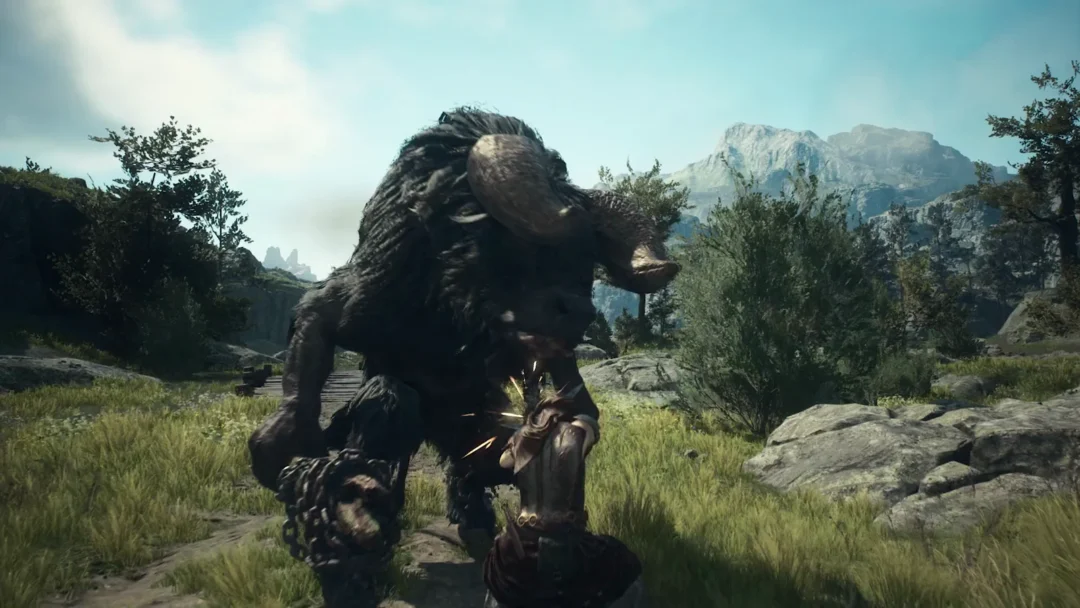
When his health bar is down to two dots, he calls in reinforcements. A fire-wreathed lesser demon rises from the bones, appearing as a big, horned beast that charges, jumps, and crashes down. Your pawns recognize it and point out that its magic comes from its horns, making them the target. Ice works well against it; Fire is resisted, and Sleep, Caught Fire, and Tarred have no effect.
This is the riskiest part of the battle: the lesser demon attacks up close while copies fire from a distance and the drain remains a threat. You can win without killing the lesser demon; Barbatos’s bar can reach zero while it is still alive.
The best chance to deal heavy damage comes when a pawn seizes him and pulls him down. When your mage has a healing circle or ward active, stay within it, and revive fallen pawns between his volleys.
Expect deaths during this encounter. If the Arisen goes down, you’ll see the prompt “Use Wakestone?” with Yes / No choices. Select Yes to revive where you fell; keeping Wakestones in reserve is what makes that possible.
Willan Barbatos damage values and immunities
His health is 276,000 in each encounter, including on Hard Mode. On screen, it appears as a narrow purple bar with five small dots beneath its left side. The markers disappear individually as his health drops. Physical attacks deal their full value against him, while all elements receive a slight reduction, so Fighter weapon attacks lose no damage.
| Damage type | Multiplier |
|---|---|
| Slash | 1.0 |
| Strike | 1.0 |
| Fire | 0.8 |
| Ice | 0.8 |
| Holy | 0.8 |
| Lightning | 0.8 |
No body part takes more than normal damage. The glowing heart only tells you which figure is real; it is not a bonus-damage spot. He is immune to Blighted, Sleep, Caught Fire, Drenched, Tarred, Frostbite, Unconscious, Petrification and Silence, so spending items or spells on any of those is wasted.
You do not need a magick user. A sword-and-shield Fighter at around level 109, with three pawns and Eir, can win both encounters using jumping slashes and Cloudfall Strike from beneath him while the pawns cast.
Ring of Reversal from collected remnants
Collecting Sinister Scarthe during the battle may display “Effect determined by collected remnants.” followed by “Acquired Ring of Reversal”. Its description says the ring’s mysterious power strengthens the wearer’s spirit; it causes ongoing damage in battle, while enemy attacks restore health. The ring is obtained by collecting remnants during the fight, rather than from Barbatos’s body, and it is not a guaranteed drop.
Rewards and what comes next
When his bar empties under your jumping sword hits, he breaks apart. The kill award shown is +280,798 XP and +2,022 Dcp. A scene then shows the heart returning to the Fallen Dragon and something dark rising over the mountains, and you are left standing at a stone gateway under the banner “Abyss Ridge” with the line “The heart returned to the Fallen Dragon’s breast.”
The quest rewards on screen are +220,000 XP, 35,000 G, 3,000 RC, and Lv 4 spoils: an Ancient Helm, two Ancient Plastrons, and Ancient Greaves. The screen then confirms “Completed: Where There’s a Will, There’s a Way.”
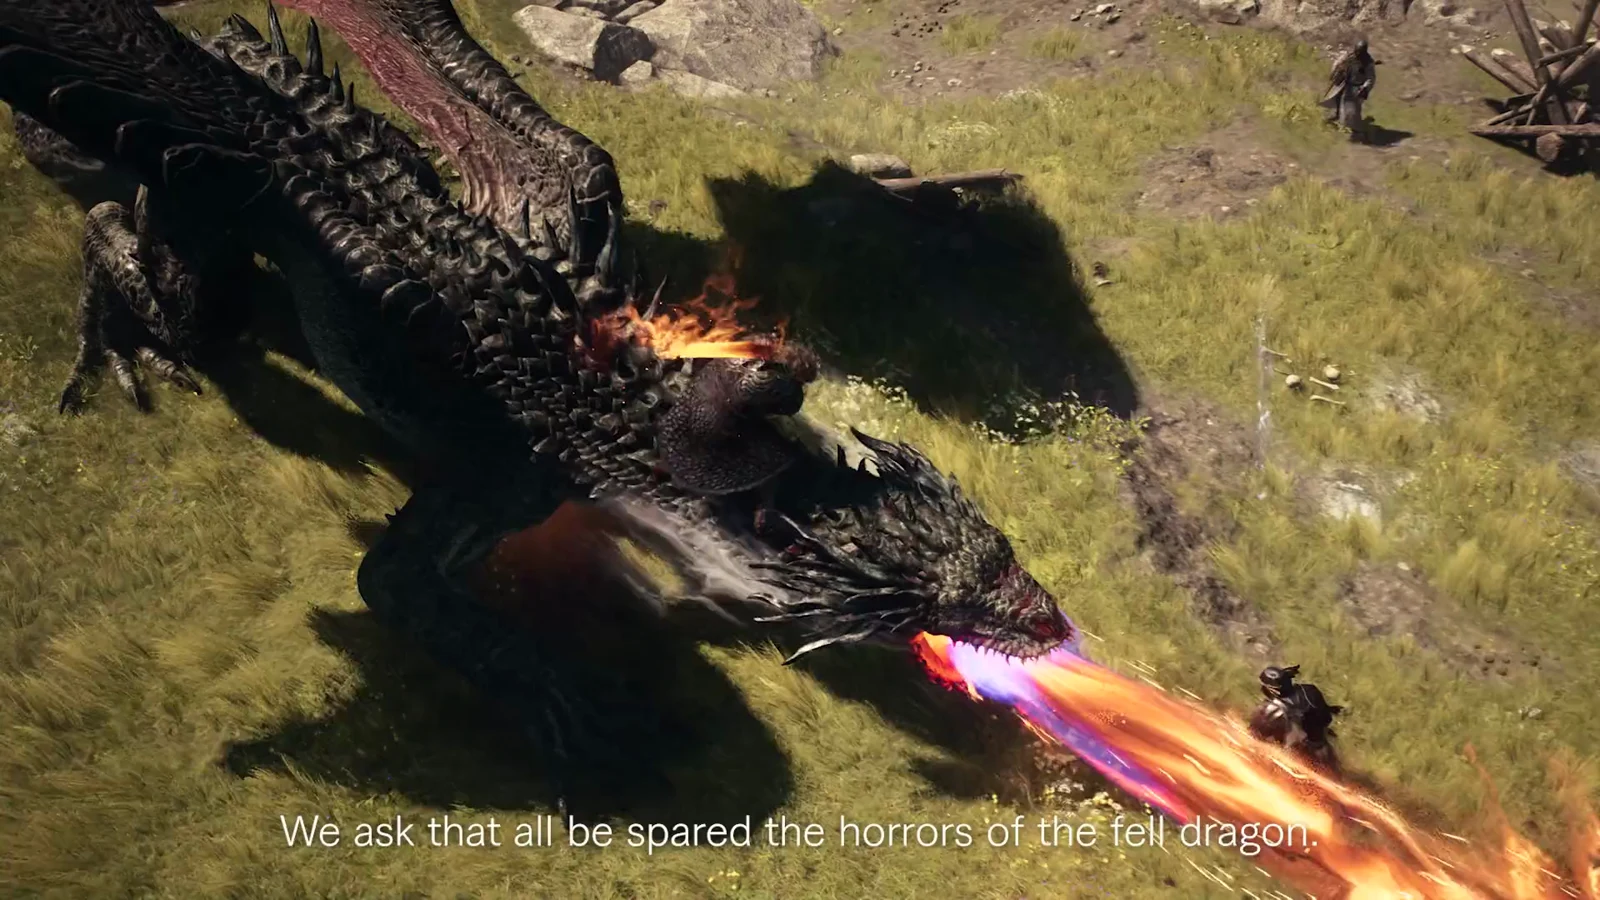
Eir points you to the elevator inside Mordria Temple, which begins the next quest, “Reunion”, and the fight against the Fallen Dragon itself. With the heart back in the dragon’s breast, that encounter is now possible.