Minecraft runs on a grid of 1×1 cubes, so a true curve does not exist in the game. You can still build convincing circles, domes, and spheres by placing square blocks in a stair-step pattern that reads as round from a distance. The bigger the shape, the smoother it looks.
Use a Minecraft circle generator for fast templates
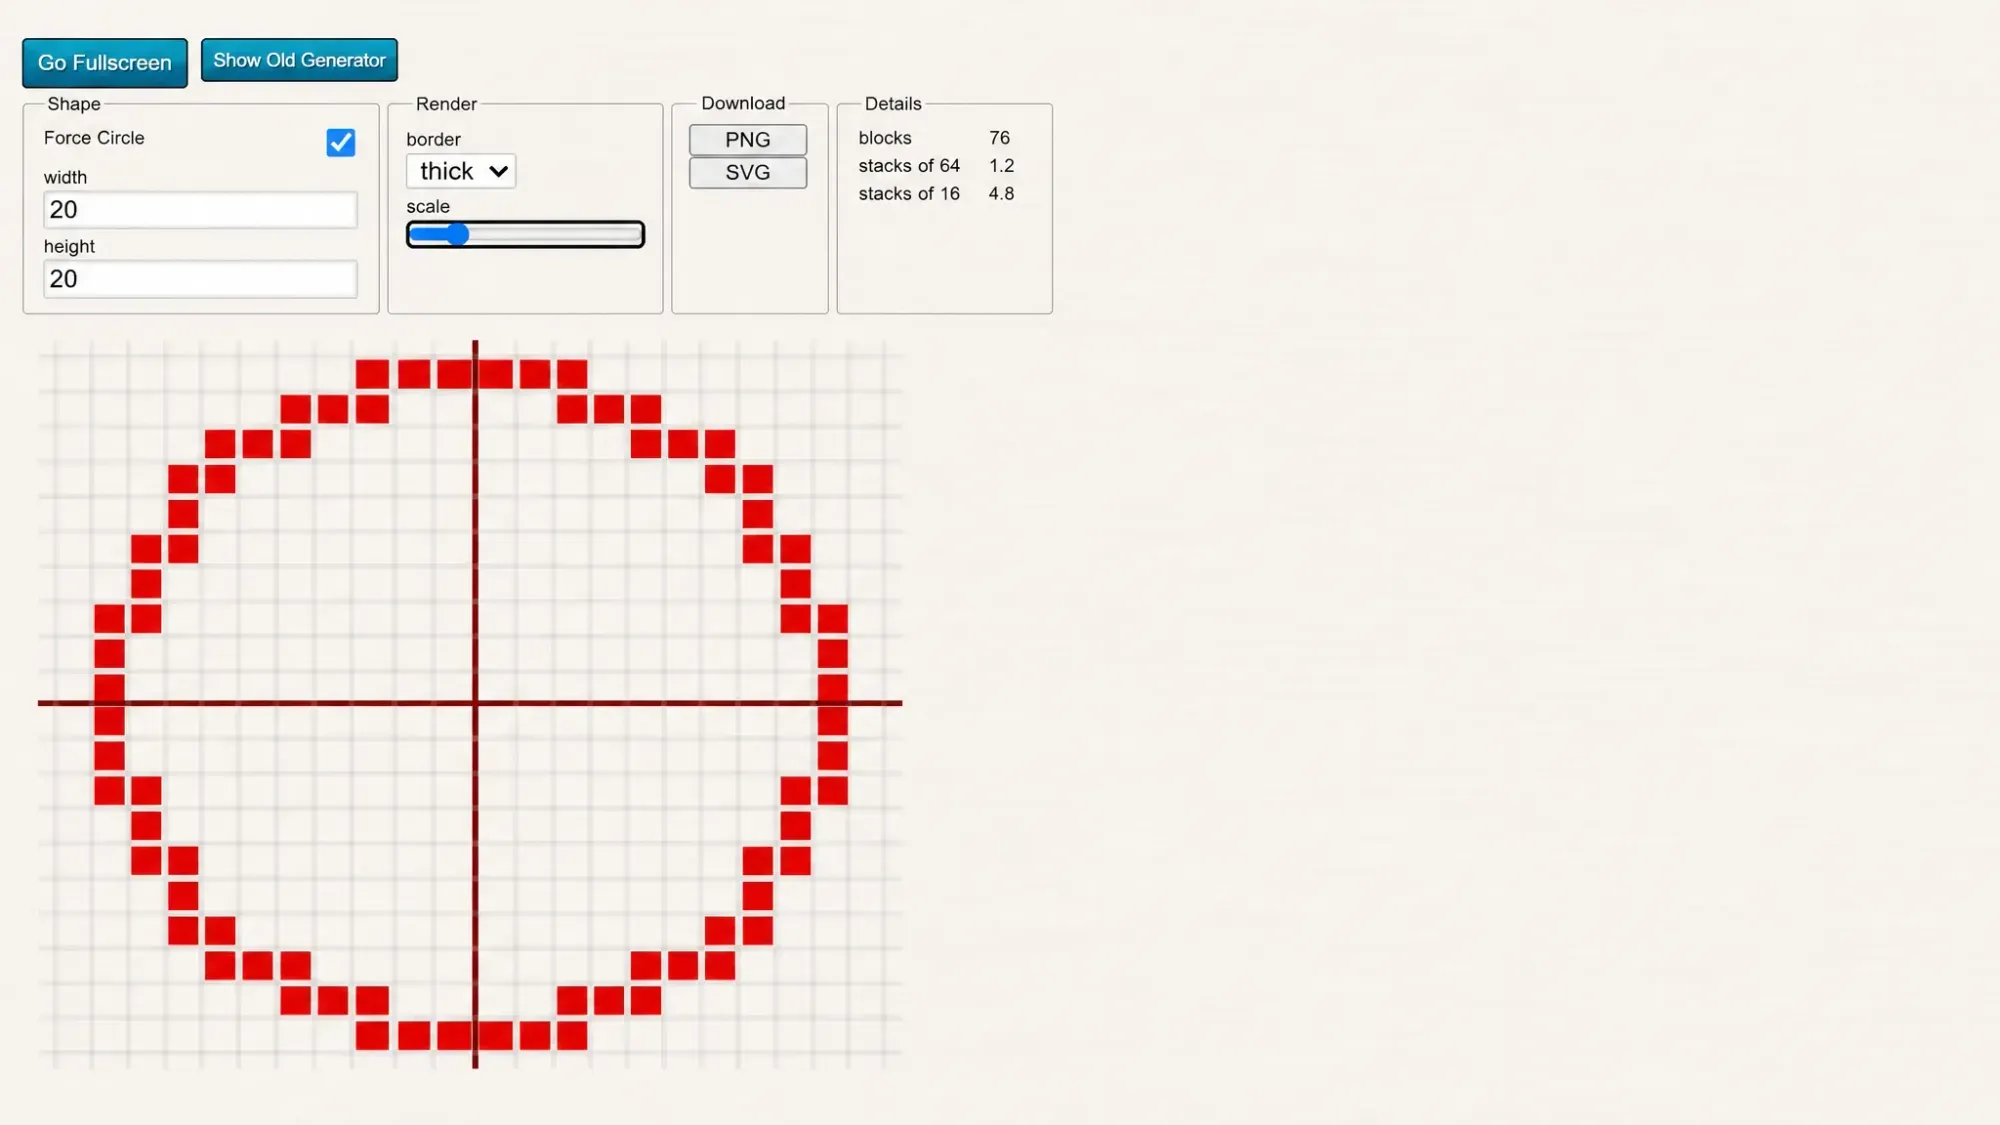
The quickest way to get an accurate layout is a circle generator. These tools turn any diameter into a block-by-block grid you can copy in-game, and they tell you exactly how many blocks each row needs.
Set the width or height, tick the option that forces a circle, then pick a thin or thick outline. The generator draws the pattern, and you count the cells to recreate it. Odd diameters such as 21 or 31 give you a single center block, which makes alignment easier.
Build a circle manually with the plus-sign method
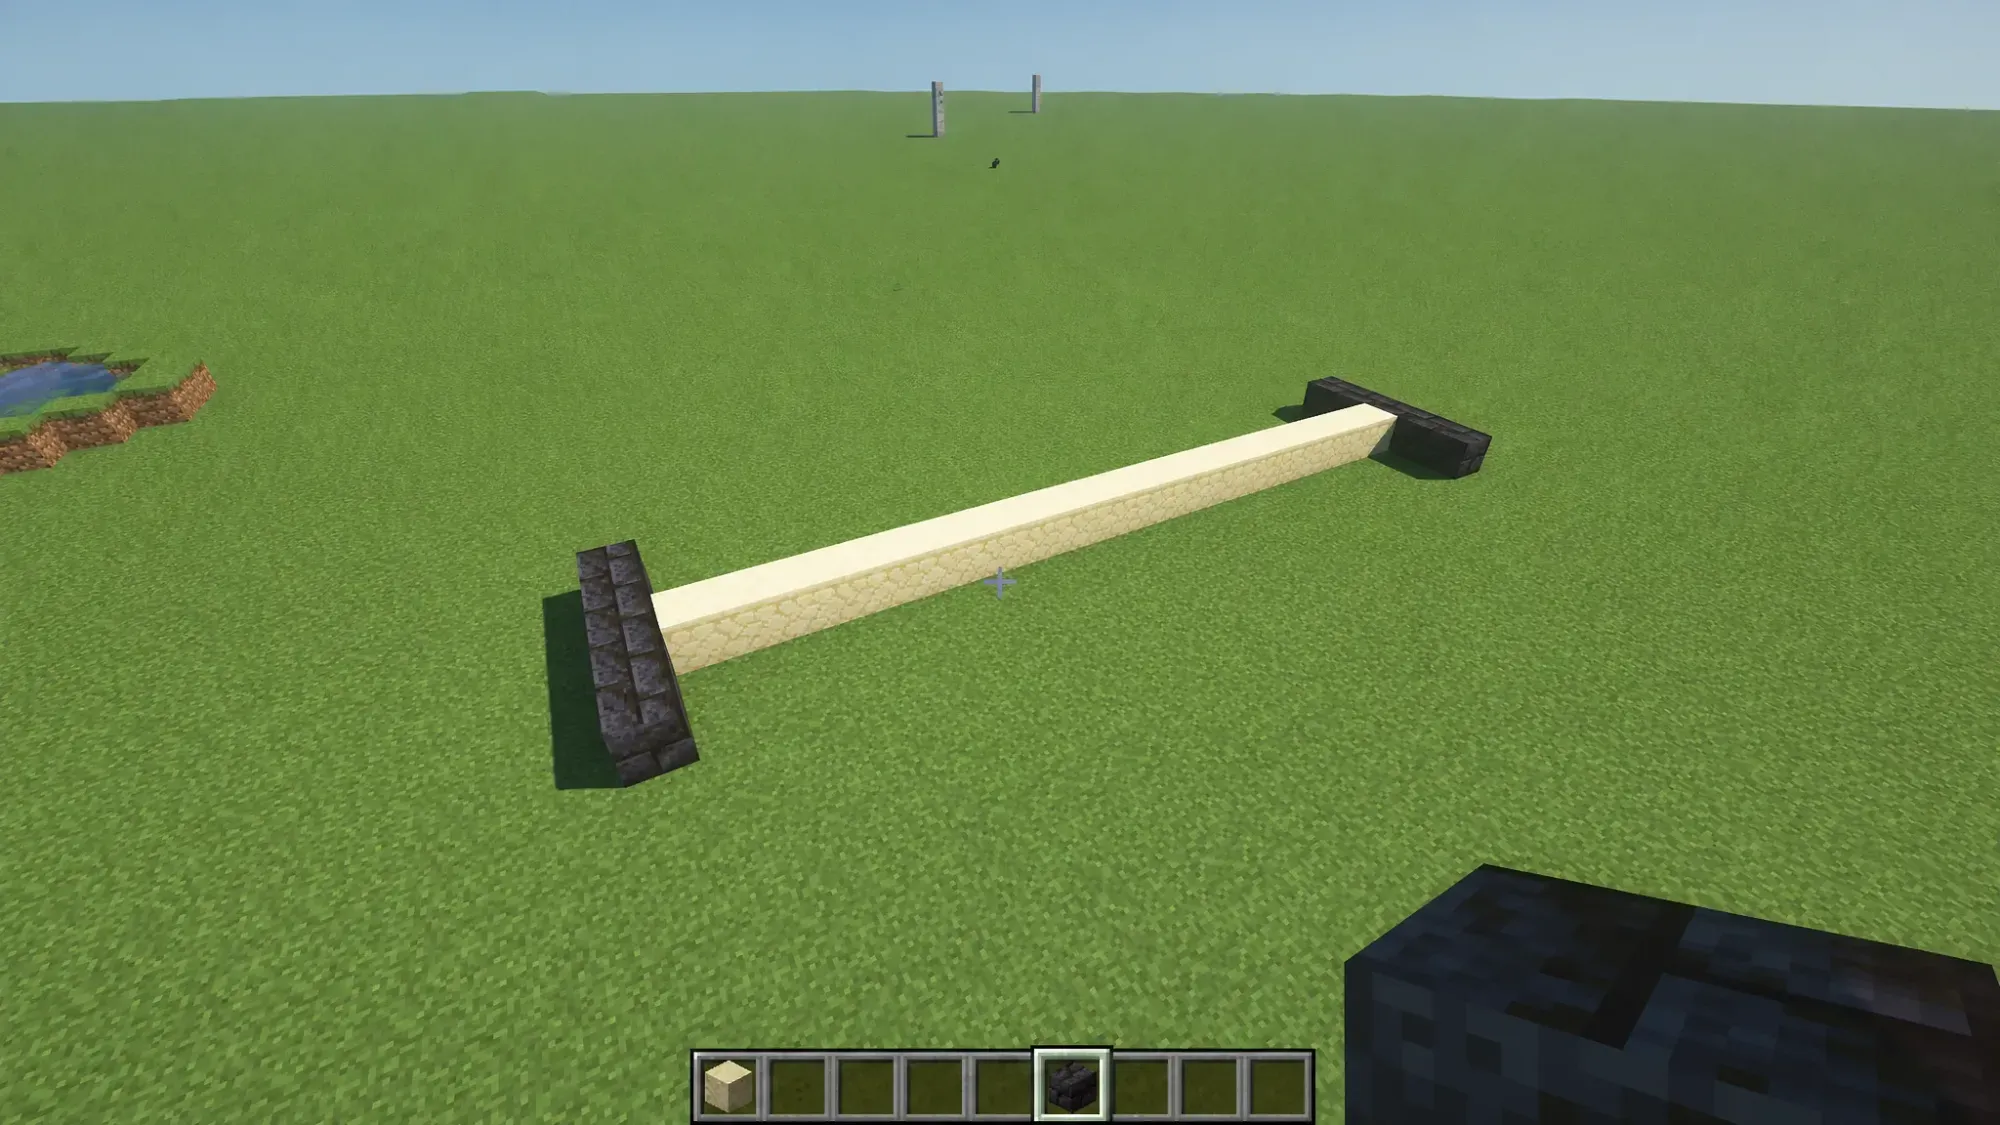
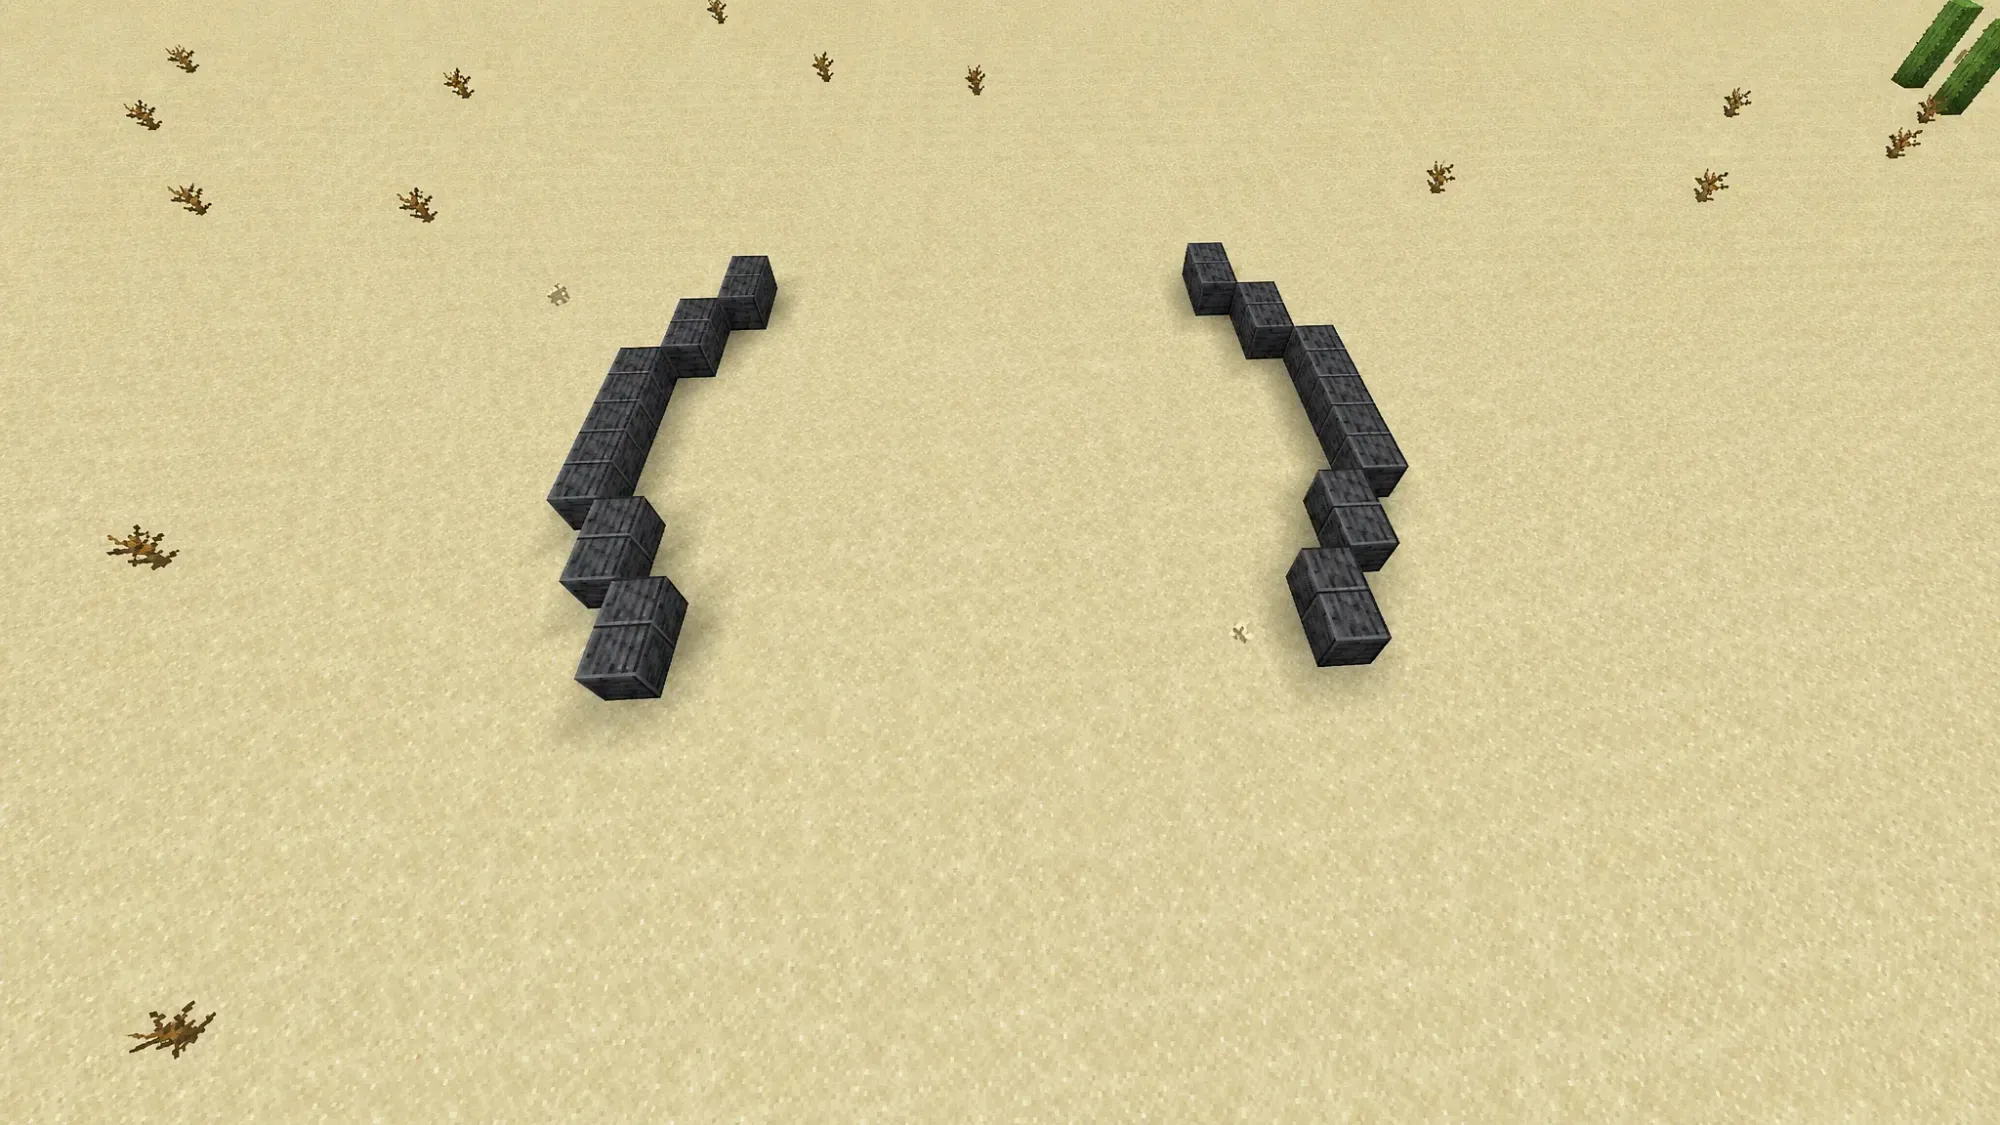
If you would rather work without a tool, the principle is simple. You make four equal straight edges, then connect them with matching diagonal rows on each side. Every side must stay the same distance from the center, so count outward and then perpendicular to keep both halves even.
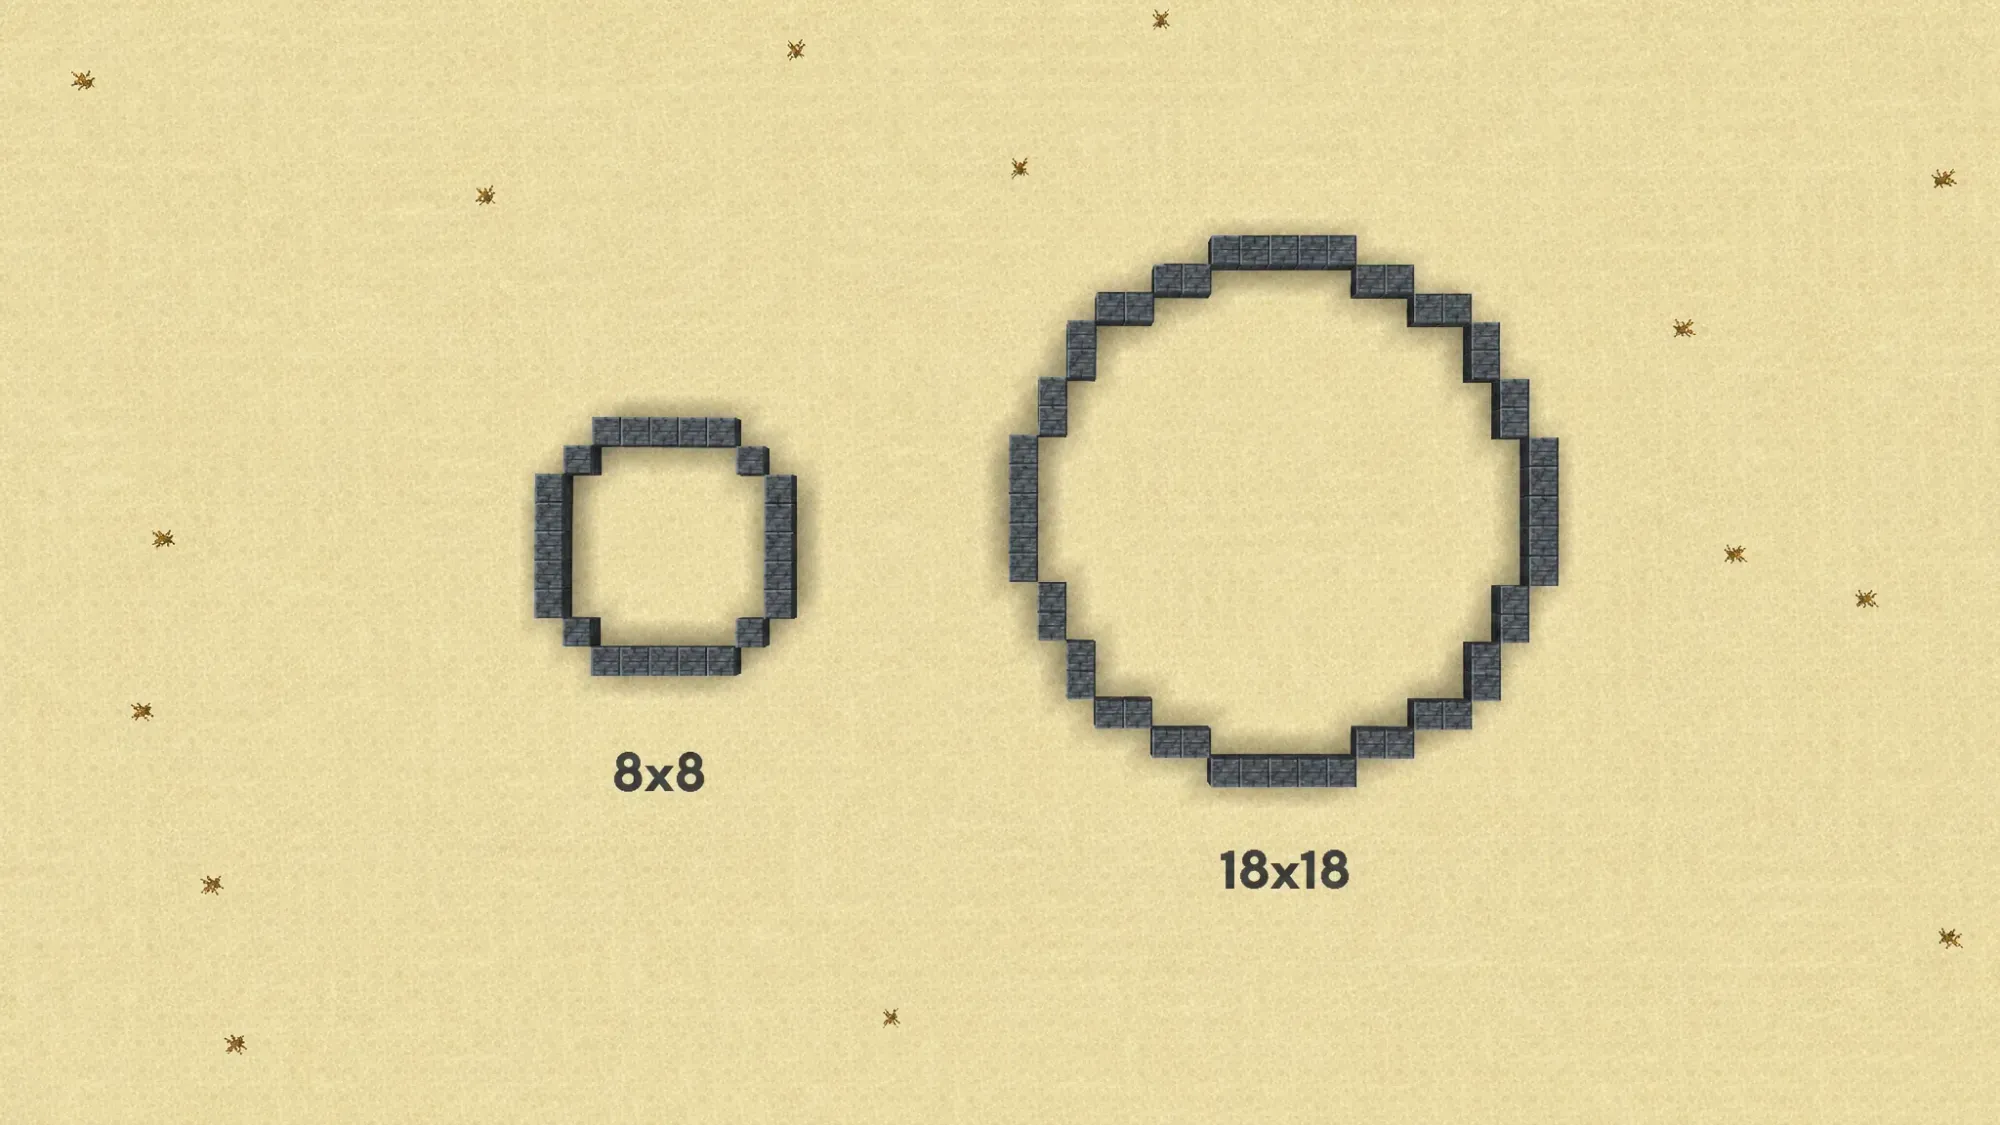
For reference, an 8×8 circle uses about 24 blocks with a single block on each diagonal. An 18×18 circle uses around 52 blocks. On any circle larger than 18×18, the four main edges stay 5 blocks long, and only the diagonal sections grow.
| Circle size | Diagonal pattern |
|---|---|
| 8 × 8 | One block on each diagonal |
| 12 × 12 | Two blocks vertical, then two blocks horizontal |
| 18 × 18 | Two vertical, two more vertical, two horizontal, two more horizontal, stepping up the x-axis |
Steps to make an 18×18 circle in Minecraft
Switch to Creative mode for easy testing, or carry at least the 52 blocks the outline needs in Survival.
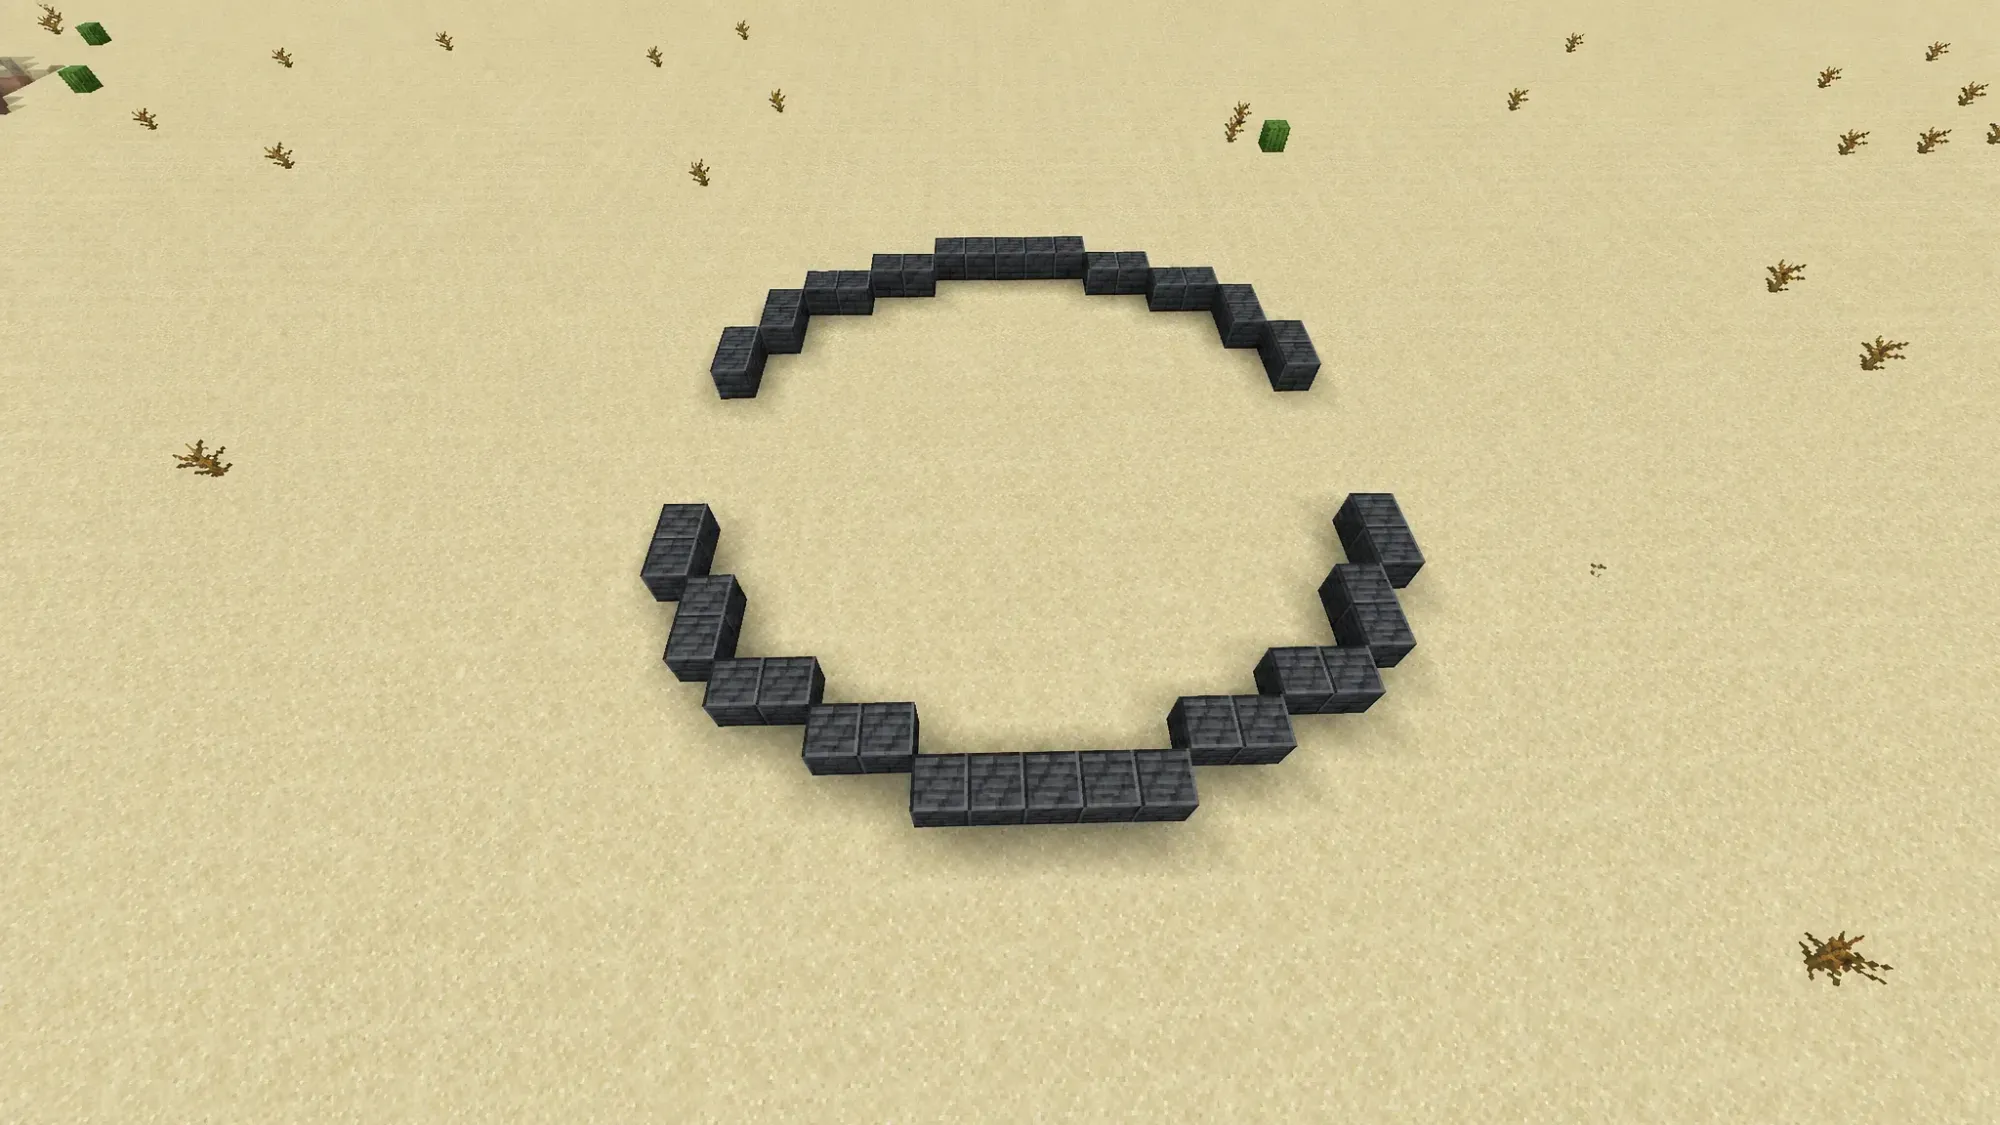
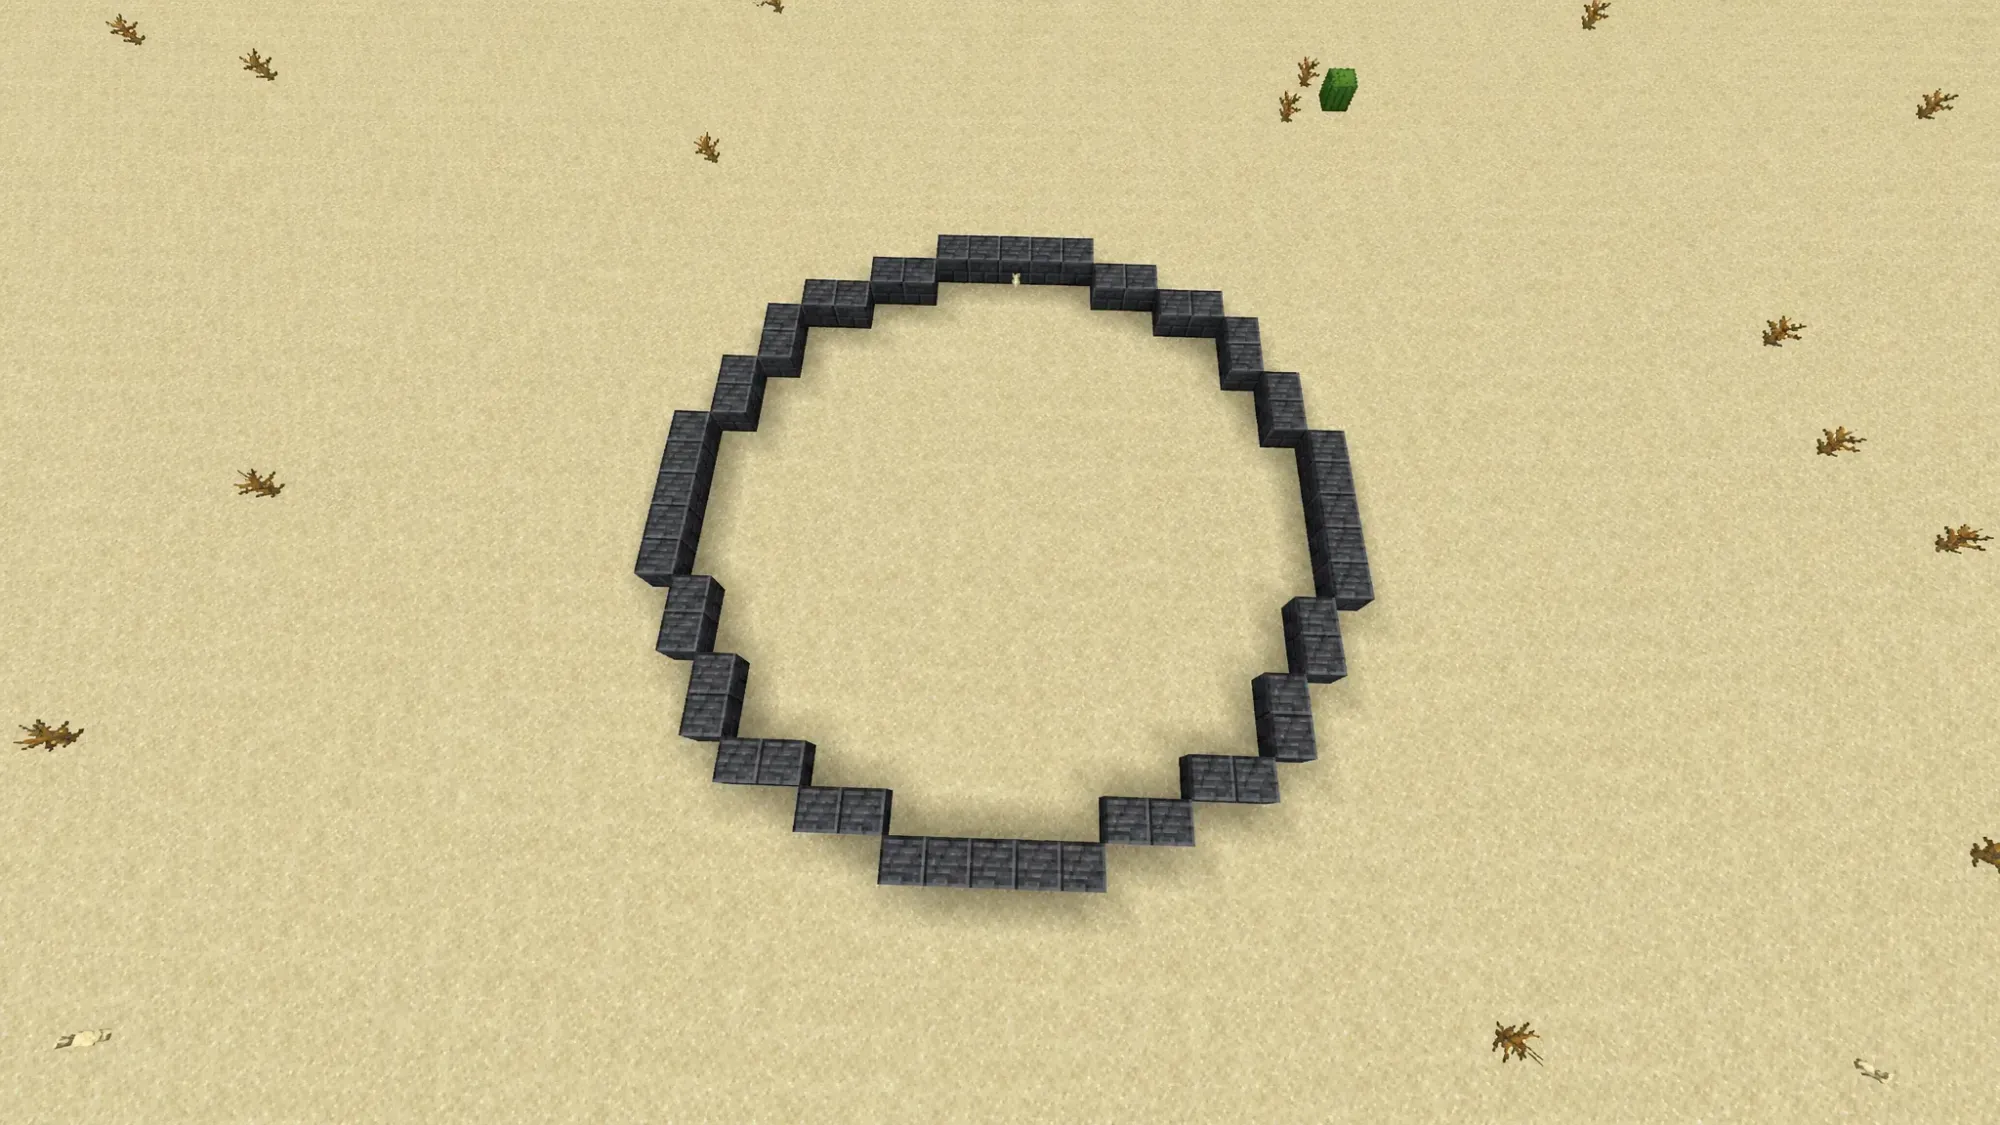
Once the outline closes evenly, you have a finished circle. Leave the middle open for a ring, or fill it in to make a solid platform.
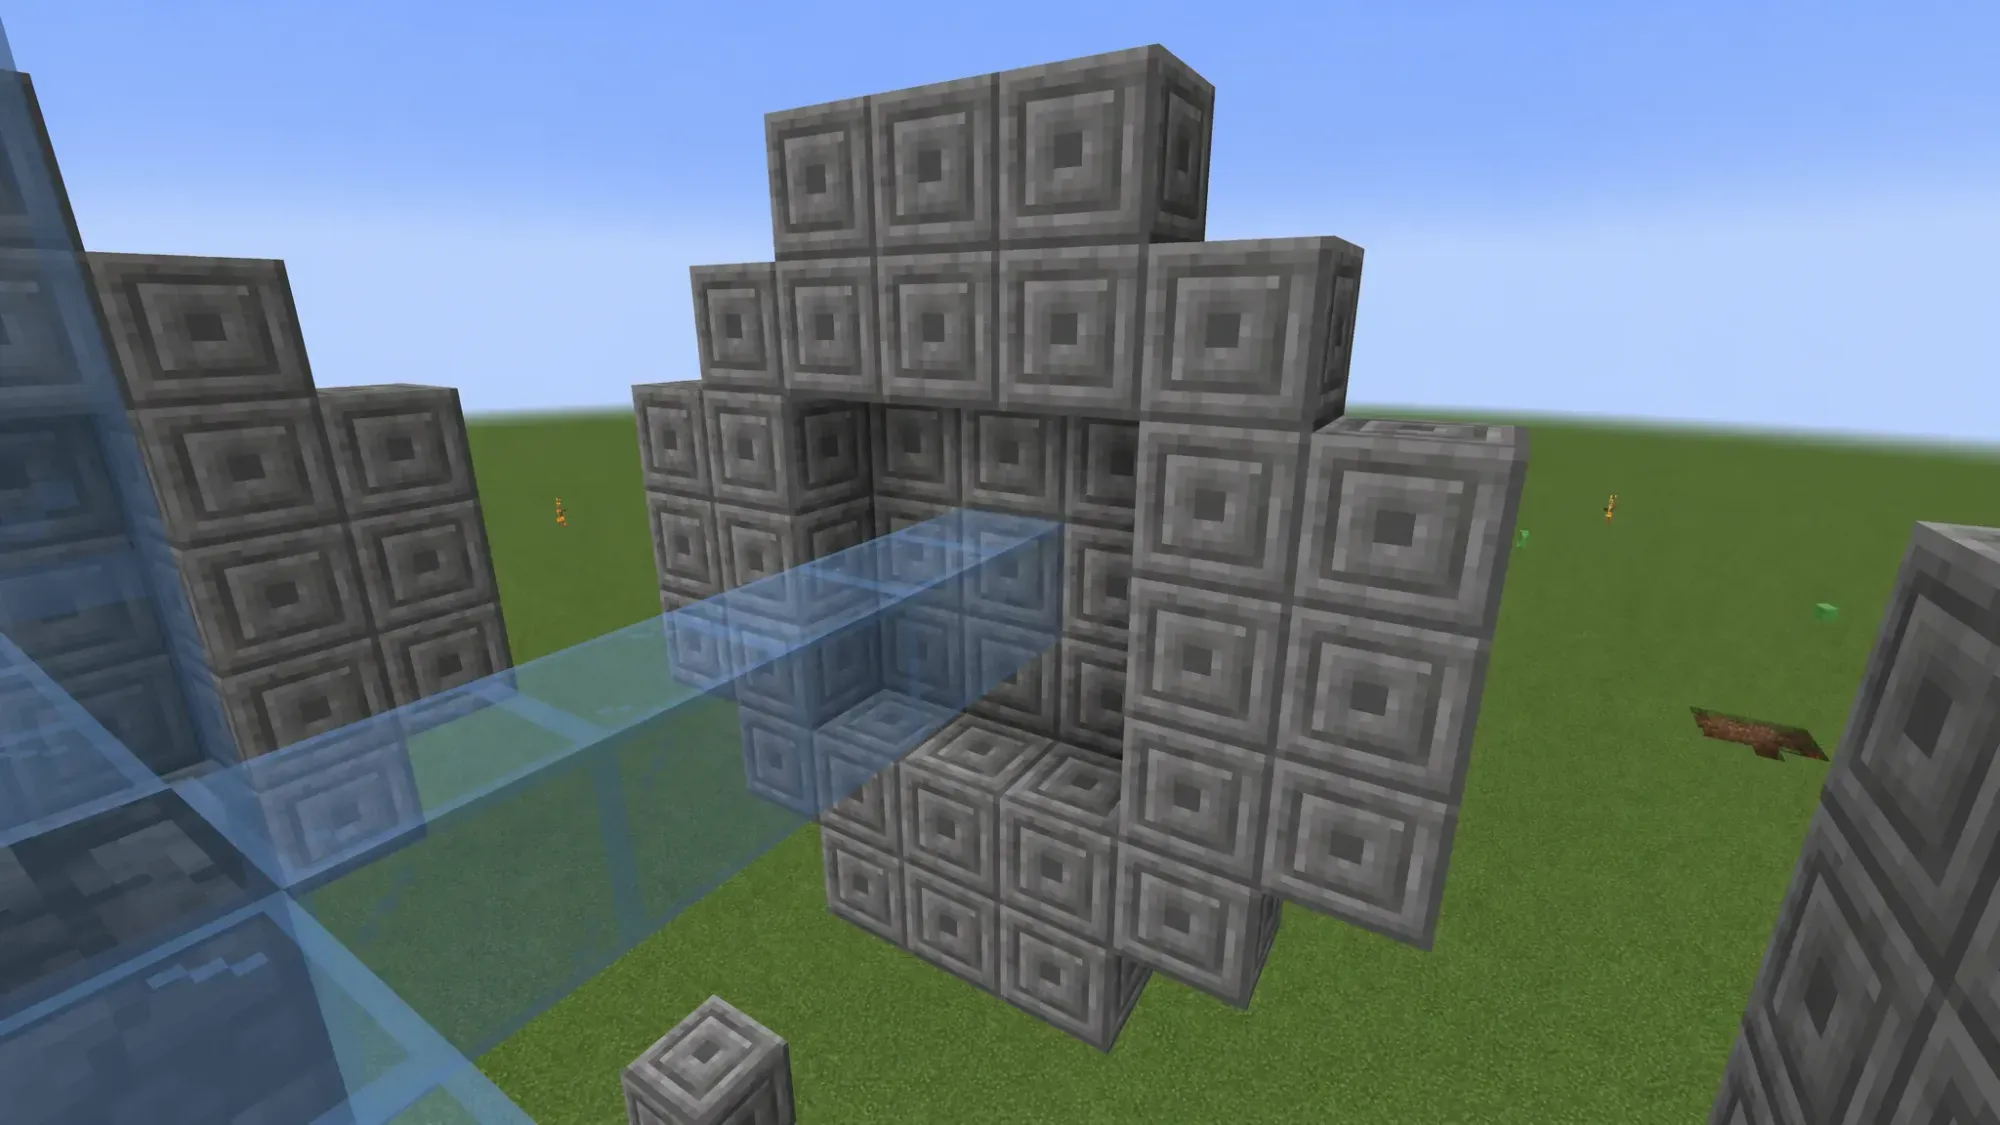
Build a sphere manually by stacking circles
A sphere is a stack of circles that grow toward the middle and shrink at the top and bottom. The technique below produces a 13×13 sphere, and you can scale the same pattern up for larger builds.

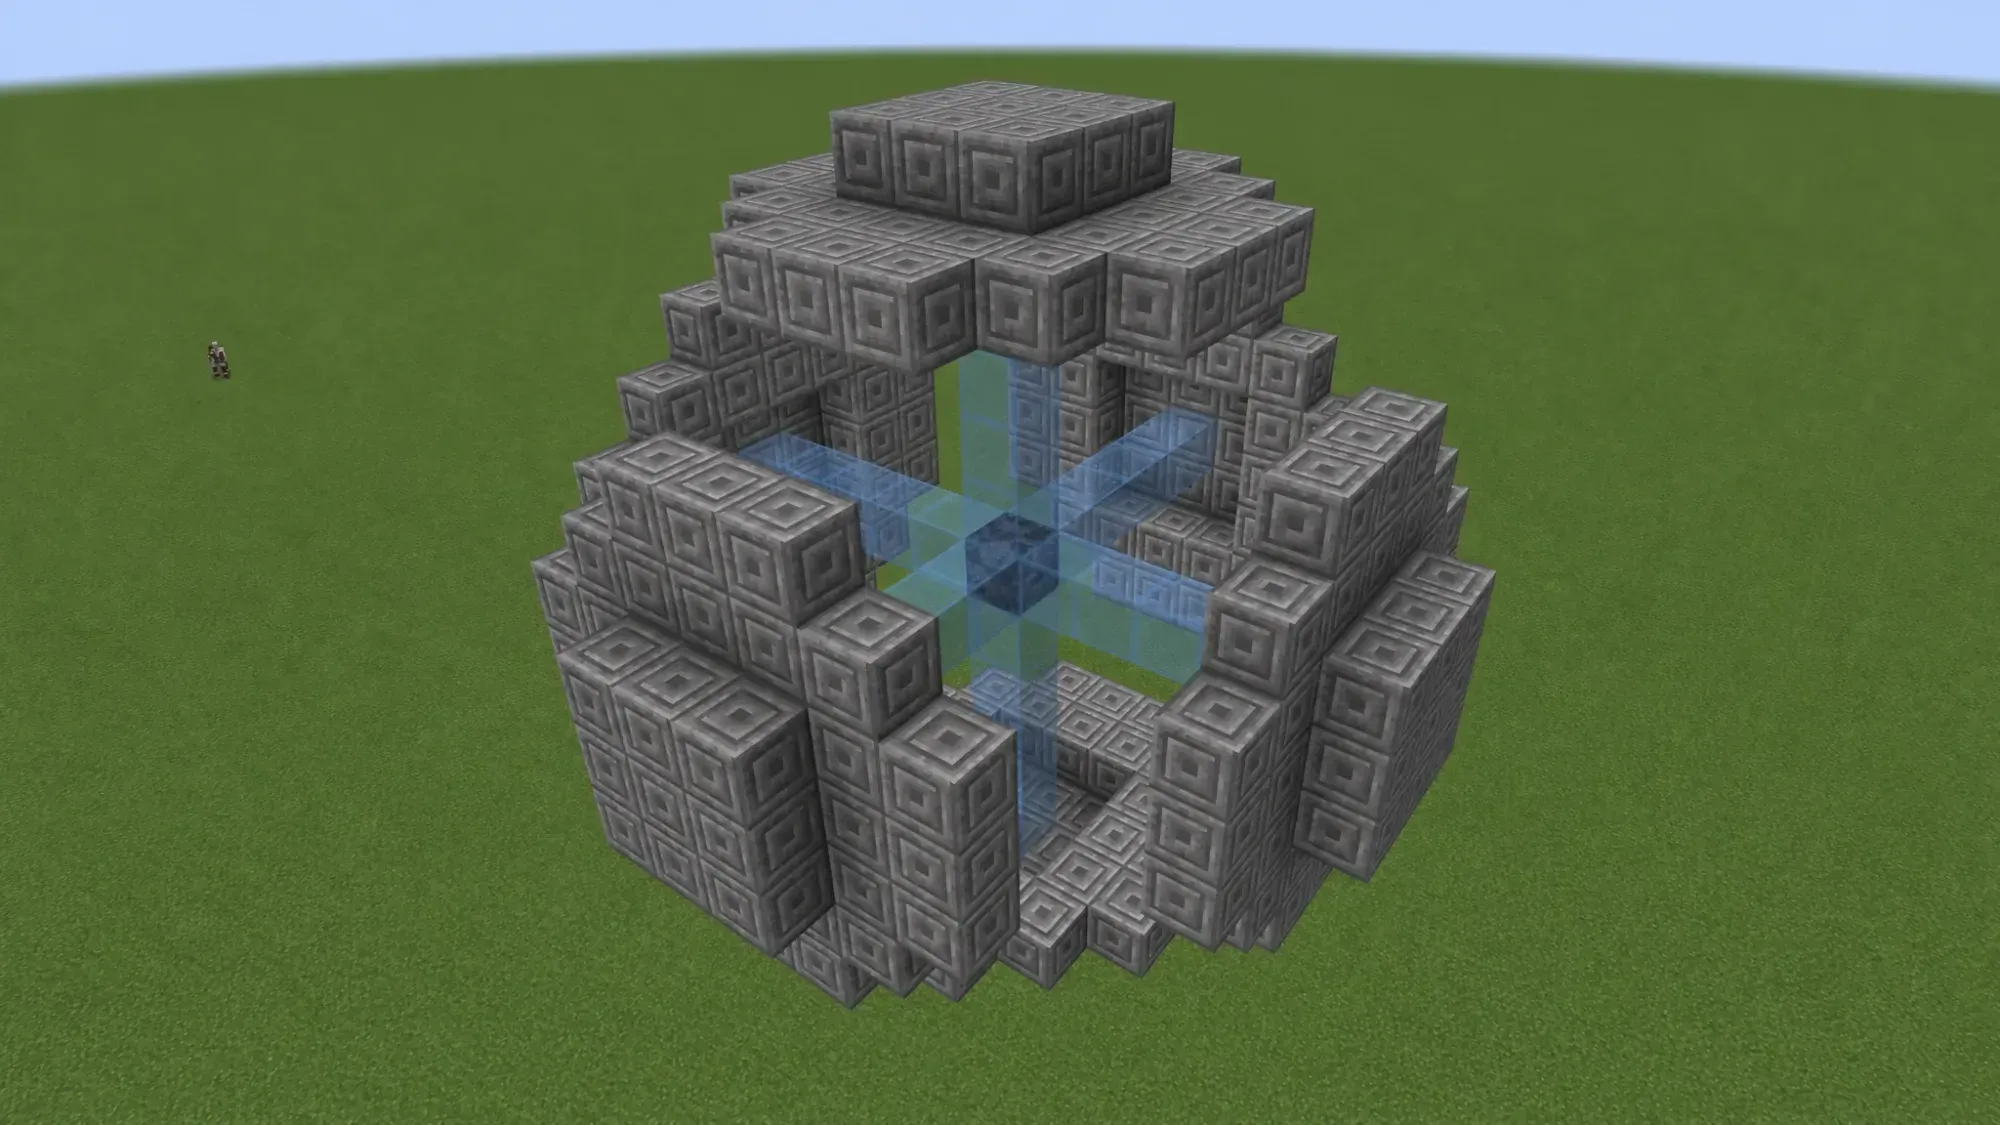
When every gap is filled with the same curve on all sides, the sphere is complete. If you mixed block types while building, you can swap them out afterward for a single material to get a cleaner round look. Practice in Creative mode before attempting this in Survival.
Make circles and spheres with WorldEdit commands
The WorldEdit map editor builds round shapes instantly with chat commands, and it works with any block in the game. Stand in a large open area, optionally fly to the height you want, then press / or t to open chat.
To create a solid sphere, type the command in the format //sphere block_name number_of_blocks. For example, an iron ore sphere with a radius of 11 blocks uses //sphere iron_ore 11. A solid sphere fills completely, so you will need to dig out the inside.
| Command | Result |
|---|---|
//sphere [pattern] [radius] | Solid filled sphere |
//sphere -h [pattern] [radius] | Hollow sphere (shell only) |
//hsphere [pattern] [radius] | Hollow sphere alternative |
For a hollow version, add -h after the word sphere, so an iron ore shell becomes //sphere -h iron_ore 11. The result is a sphere you can stand inside without mining out the center.
Whether you place every block by hand or let WorldEdit do the math, the same logic applies. Round shapes in Minecraft are an illusion built from squares, and the larger you go, the more convincing the curve becomes. Start with a small circle, get comfortable with the diagonal stepping, then move up to full spheres and domes.