
Default spelling and grammar underlines in Microsoft Word—typically red for spelling and green or blue for grammar—can be difficult to distinguish or distracting, especially for users with color vision deficiencies or those working with multilingual documents. Adjusting these underline colors is not possible through Word’s standard settings, but you can achieve this by editing the Windows Registry. This approach gives you control over the exact colors used, allowing for better document review and reduced eye strain.
Change Underline Colors Using the Windows Registry
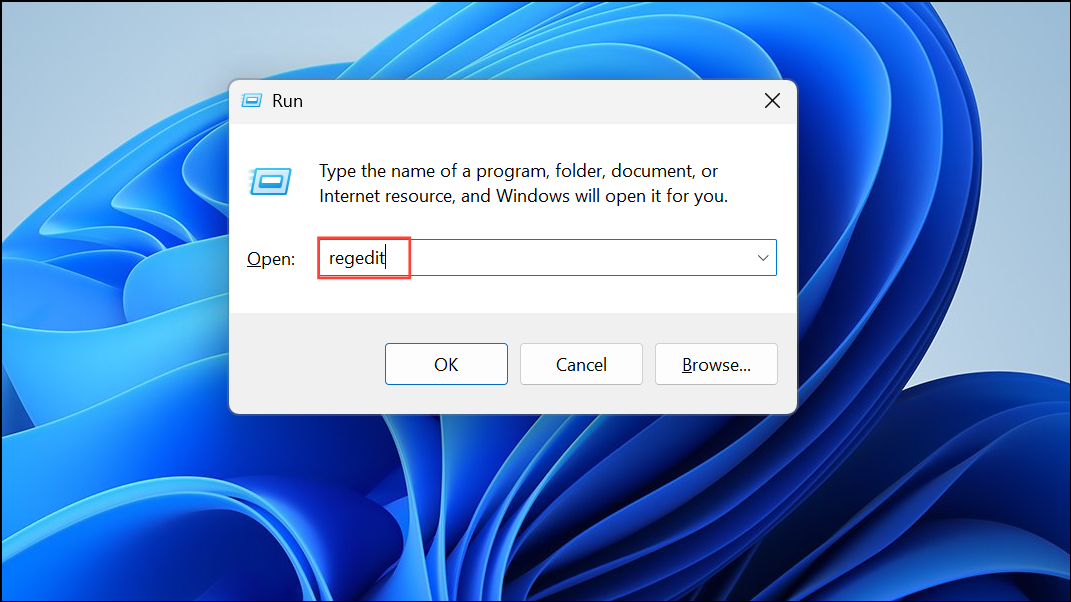
Step 1: Open the Windows Registry Editor. Press Windows Key + R to open the Run dialog, type regedit, and press Enter. If prompted, allow the application to make changes to your device.
Step 2: Navigate to the following registry path:
HKEY_CURRENT_USER\Software\Microsoft\Shared Tools\Proofing Tools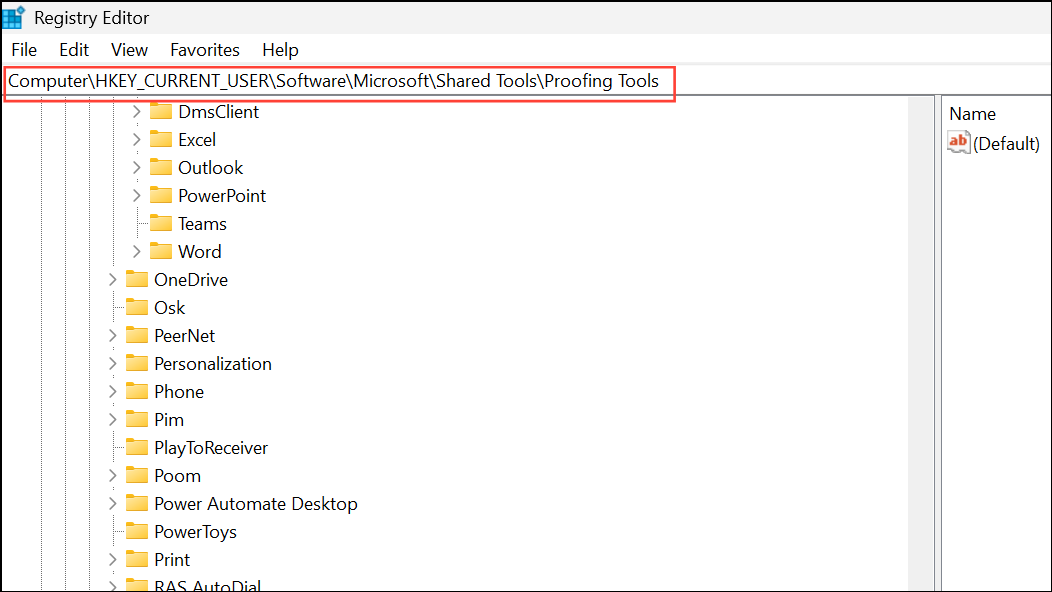
This location contains settings related to Word’s proofing tools, including underline colors.
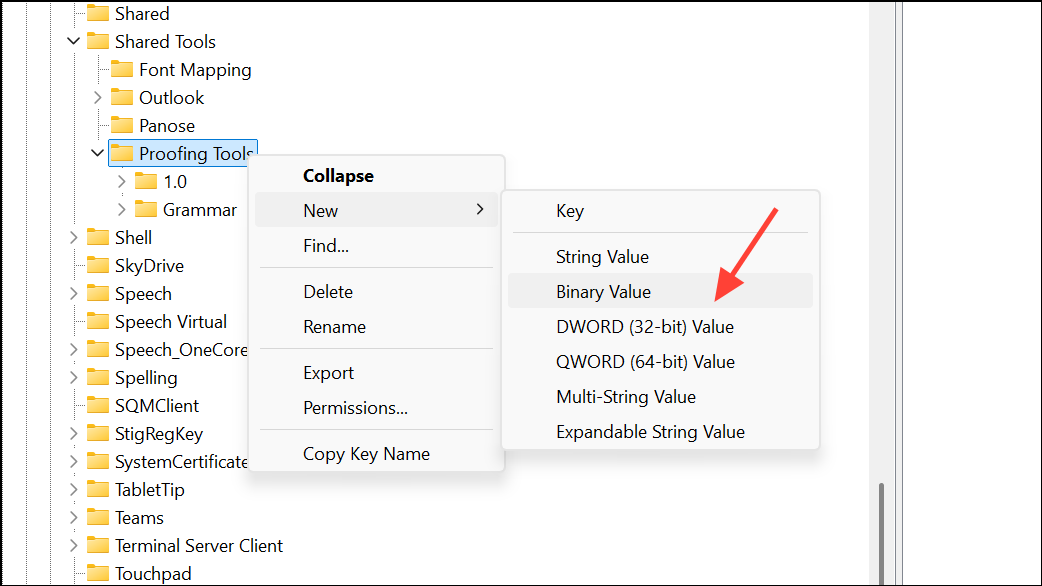
Step 3: Check for existing color entries. In the right pane, look for entries like SpellingWavyUnderlineColor, GrammarWavyUnderlineColor, ContextualSpellingWavyUnderlineColor, or SmartTagUnderlineColor. If the entry for the underline you want to change does not exist, you will need to create it.
Step 4: Create a new DWORD value if needed. Right-click in the right pane, select New > DWORD (32-bit) Value, and name it according to the underline type (for example, SpellingWavyUnderlineColor for spelling errors).
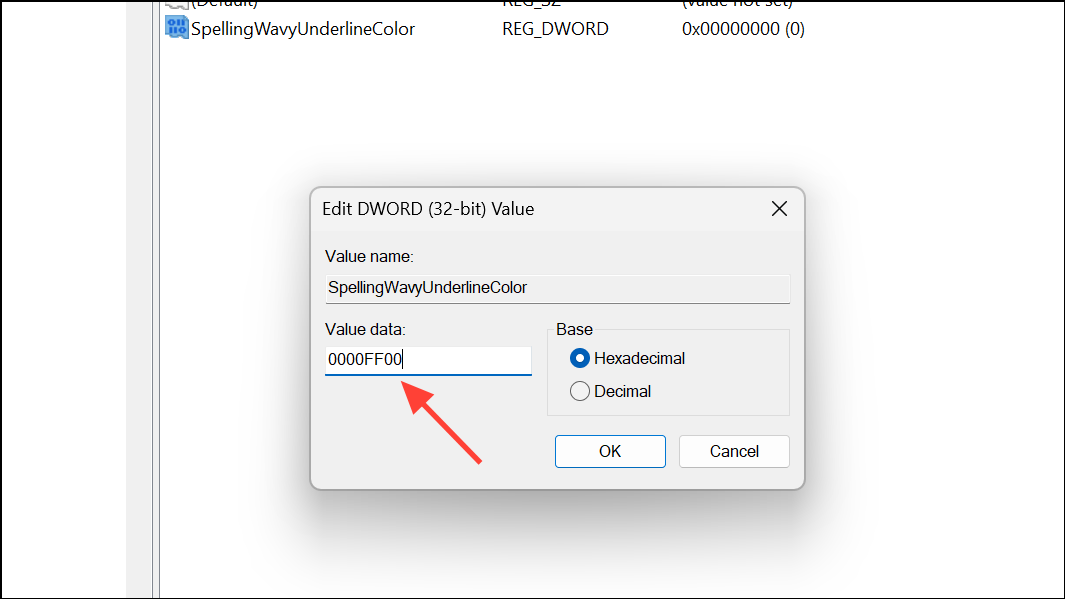
Step 5: Assign a color value. Double-click the entry you want to modify. In the dialog box, select Hexadecimal and enter the eight-digit hexadecimal value for your desired color. For example, 00FF0000 for red, 0000FF00 for green, or 000000FF for blue. A reference table for common colors is provided below.
- White:
00FFFFFF - Black:
00000000 - Red:
00FF0000 - Green:
0000FF00 - Blue:
000000FF - Yellow:
00FFFF00 - Light Gray:
00BFBFBF
Refer to a full RGB-to-hexadecimal conversion chart if you want a custom color.
Step 6: Repeat the process for other underline types as needed. Use the corresponding registry entry for grammar, contextual spelling, or smart tag underlines.
Step 7: Close the Registry Editor and restart your computer. The changes will take effect after a reboot. Open Word and check that the new underline colors appear as expected.
Adjust Windows Display Settings for High Contrast
For users who need broader visual adjustments, Windows offers high contrast display modes that affect all applications, including Word. This can make underlines and other on-screen elements easier to distinguish without editing the registry.
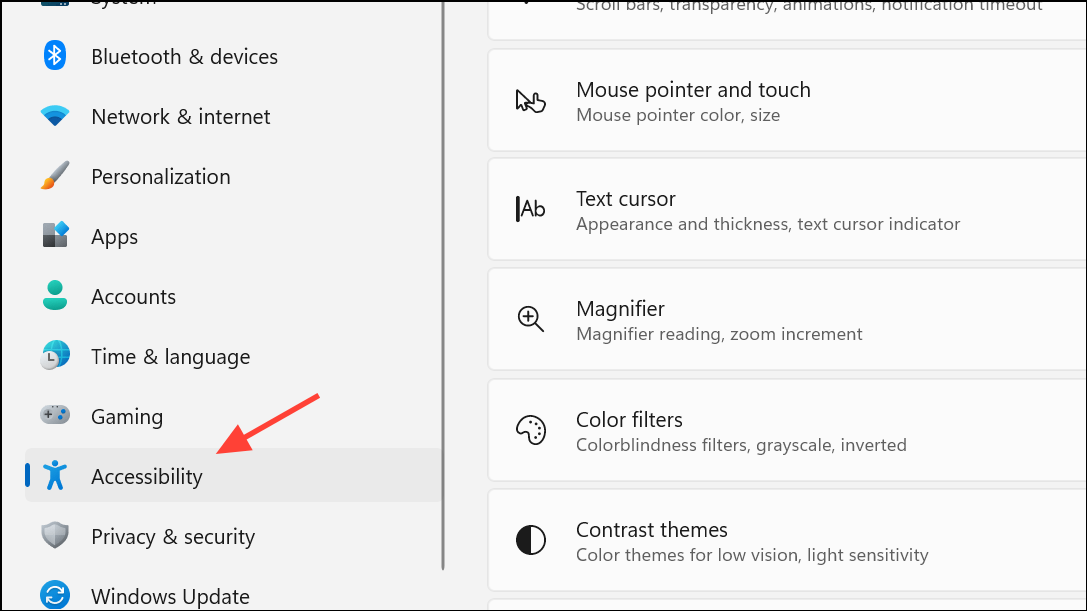
Step 1: Open the Windows Settings app. Press Windows Key + I and navigate to Accessibility (or Ease of Access in older versions).
Step 2: Select Contrast themes from the left menu. Choose a high contrast theme that meets your needs, or customize the colors for text, background, hyperlinks, and selected elements.
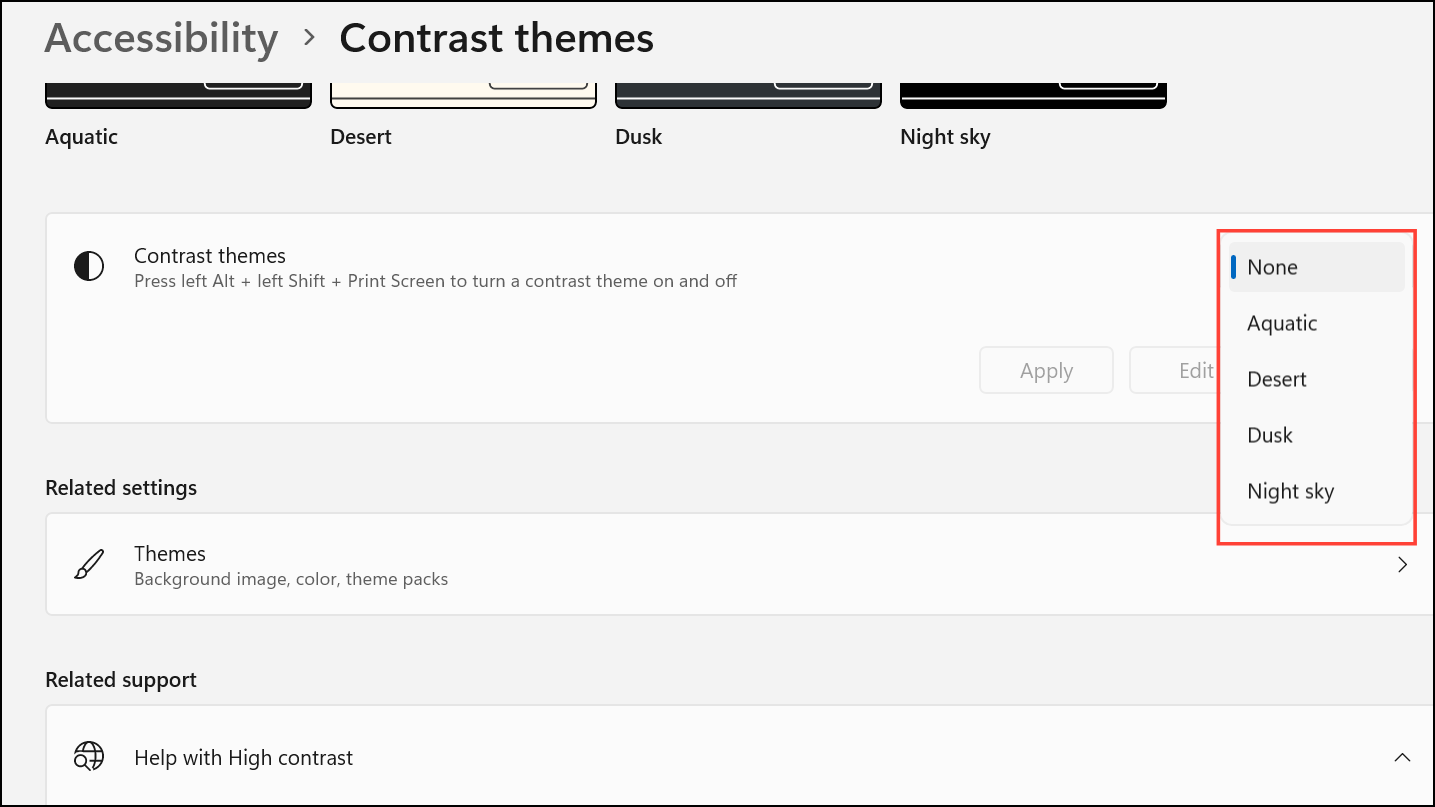
Step 3: Apply your chosen theme. All programs, including Word, will now use these color settings, which may make proofing marks more visible or visually distinct.
This method is especially useful for those with color vision deficiencies or anyone who finds the default underline colors difficult to see.
Limitations in Word Online and macOS Versions
Word Online and Word for Mac do not currently provide an option to change spelling or grammar underline colors. The underline colors are set by the application and cannot be changed through user settings or registry edits. In Word Online, spelling and grammar underlines may appear similar to hyperlink underlines, which can cause confusion. As a workaround, you can change hyperlink colors in some cases, but there is no direct way to adjust proofing underline colors. Feedback can be submitted via the built-in Help > Feedback option to request this feature from Microsoft.
Troubleshooting and Additional Tips
If changes to the registry do not take effect, double-check that the hexadecimal color values are correct and that you have restarted your computer. Sometimes, adjusting the value slightly or removing duplicate entries can resolve persistent issues. If you frequently work with documents in multiple languages, consider applying correct language formatting to minimize unnecessary underlining, or use Word’s “Check spelling errors in this document only” option under File > Options > Proofing for specific documents.
Keep in mind that registry-based changes apply only to your user profile and may revert after certain Office updates. If your settings reset, repeat the steps above to restore your preferred underline colors.
Changing the underline colors for spelling and grammar in Microsoft Word streamlines document review and reduces distractions, especially for users with specific visual needs. Regularly back up your registry and keep your Office installation up to date for best results.