
Microsoft Word offers the flexibility to change its display and editing languages, catering to users who prefer working in languages other than English or need to include special characters and accent marks from different languages. Adjusting these settings can enhance your productivity and make document creation more comfortable.
Changing the display and help languages
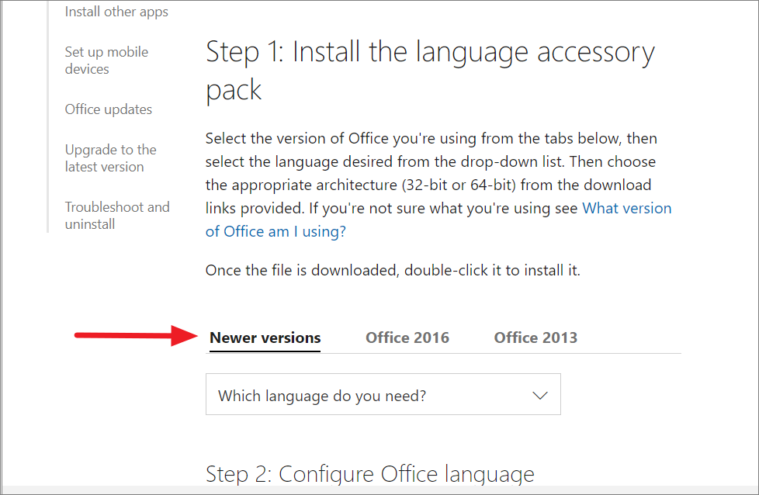
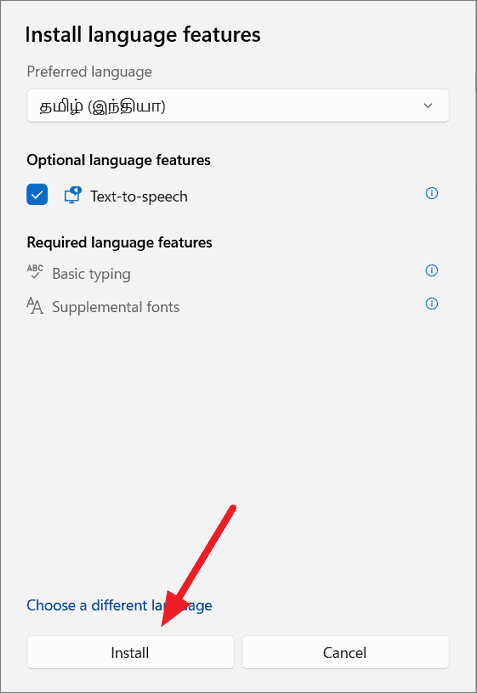
To modify the language of the Word interface, including menus, tabs, and help options, you need to install the desired language pack and set it as your preferred language. Here are two methods to do this:
Adding language packs via Word options
Language tab. Under the Office display language section, you’ll see a list of installed languages.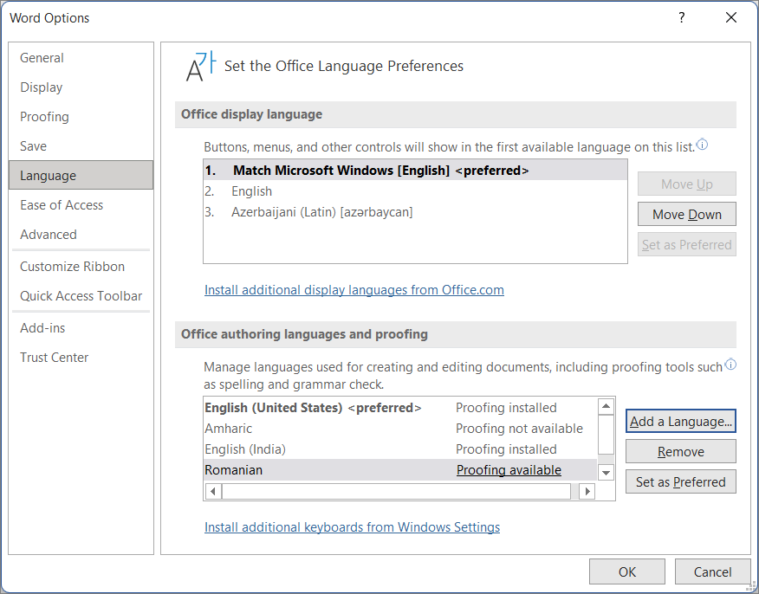
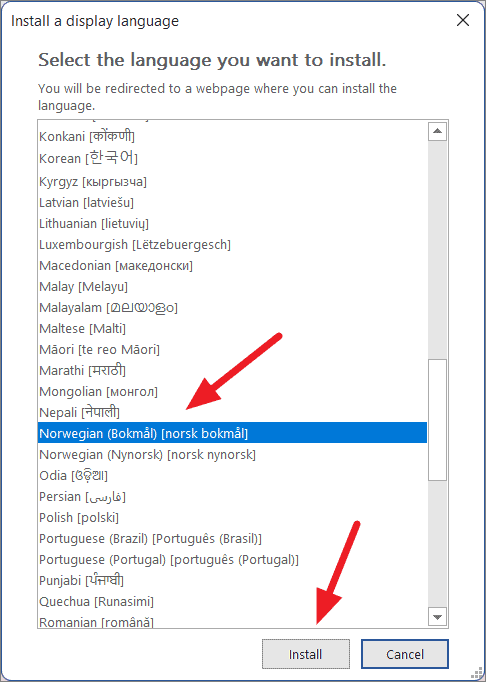
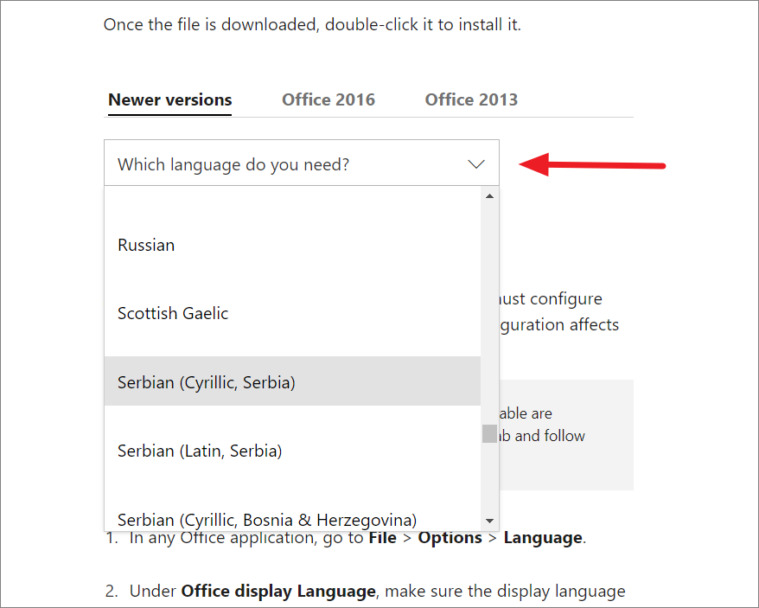
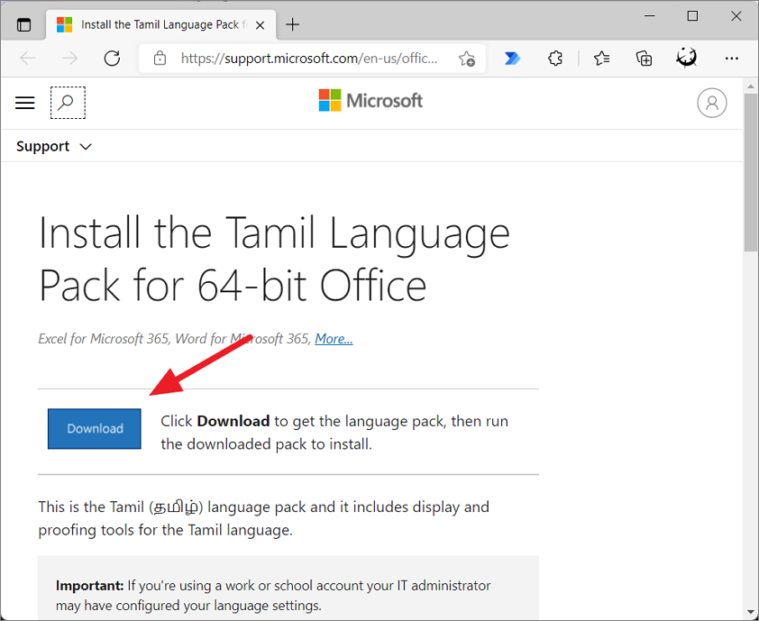
Download button to obtain the installer.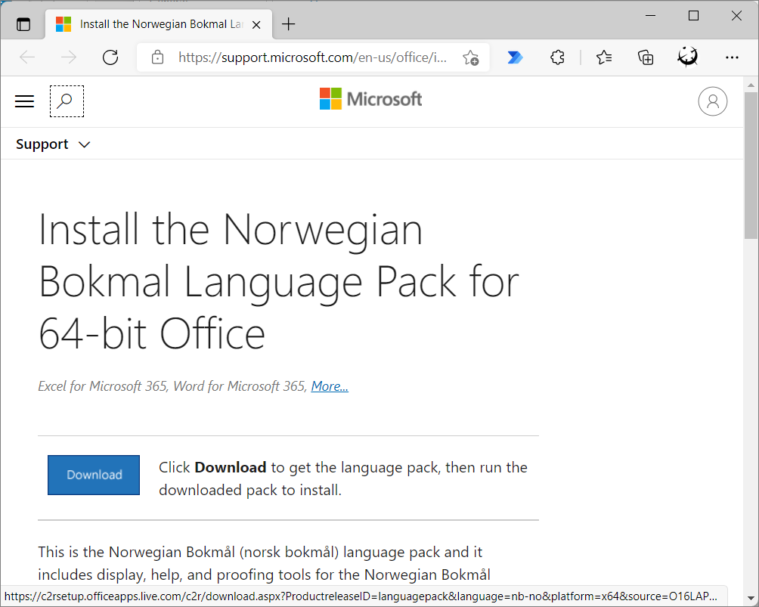

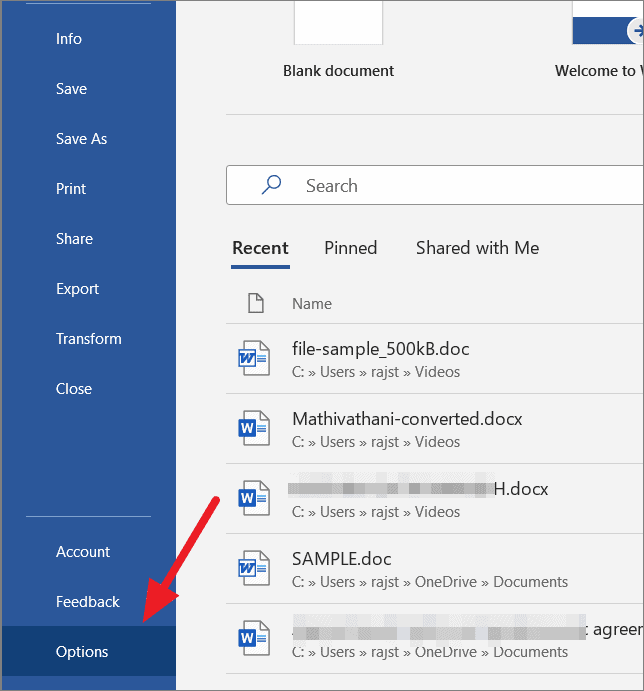
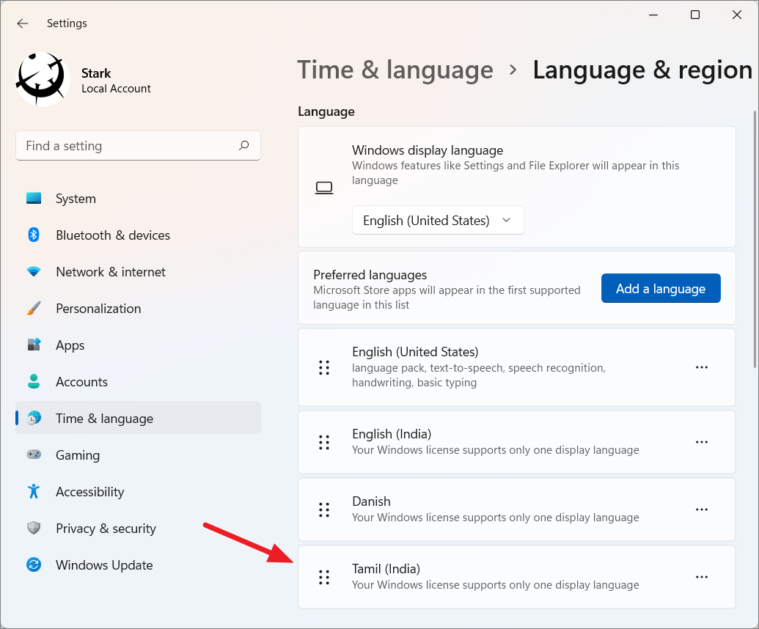
File > Options > Language. Under Office display language, select your newly installed language and click Set as Preferred (or Set as Default in older versions).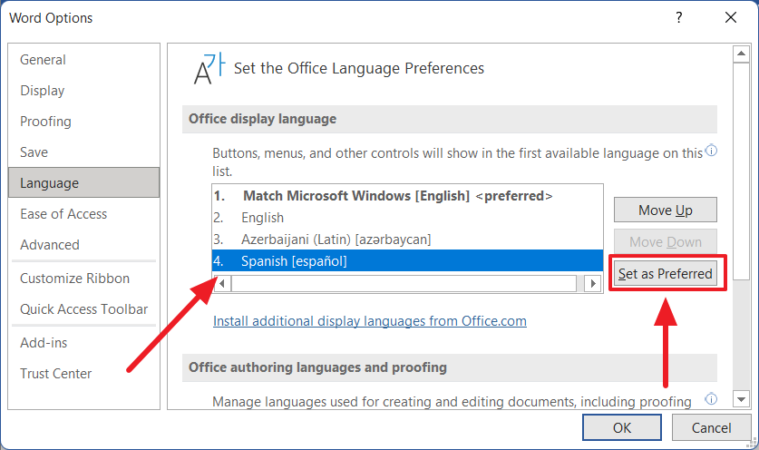

Your Microsoft Word interface will now display in the chosen language.
Adding language packs from the Office website
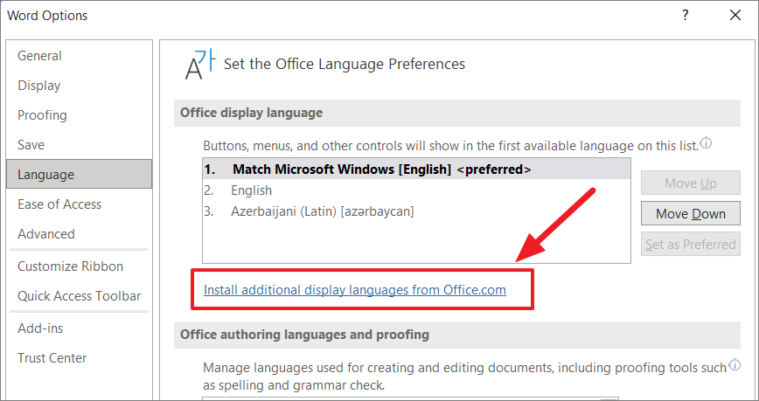
Alternatively, you can download language packs directly from the Microsoft Office website:
Download (32-bit) or Download (64-bit)).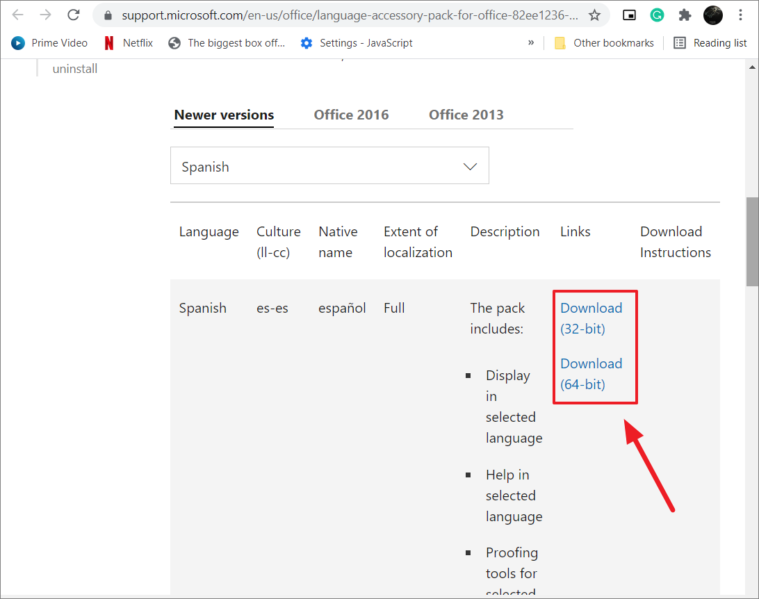
File > Options > Language. Under Office display language, select the new language and click Set as Preferred, then click OK.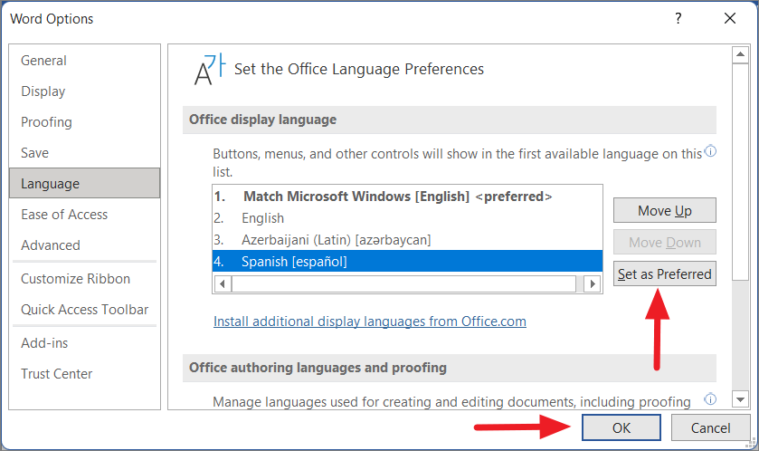
Restart Word to see the interface in the new language.
Changing the editing and proofing language
Adjusting the editing and proofing language allows you to write and check your documents in a different language. Follow these steps to change the editing language and install the necessary proofing tools:
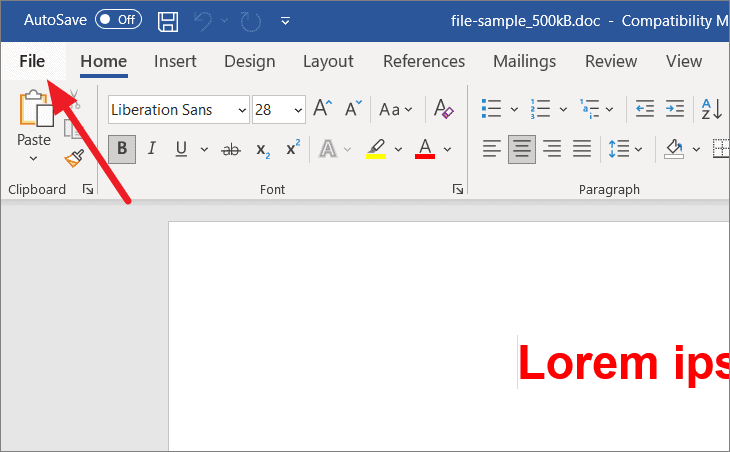
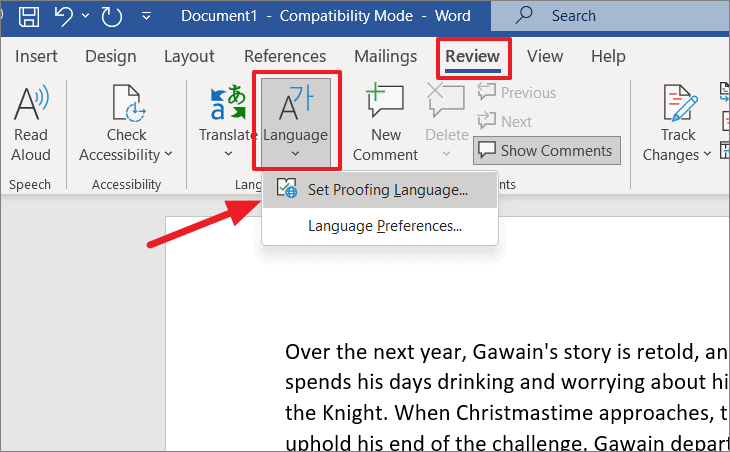
File tab, then select Options. Alternatively, go to the Review tab, click on Language, and choose Language Preferences.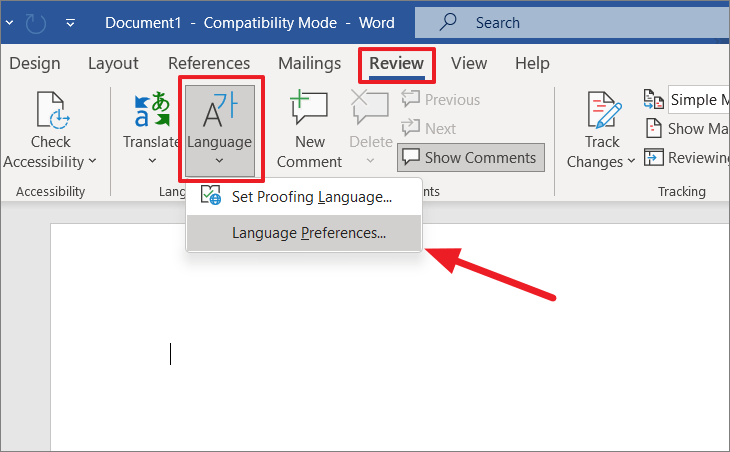
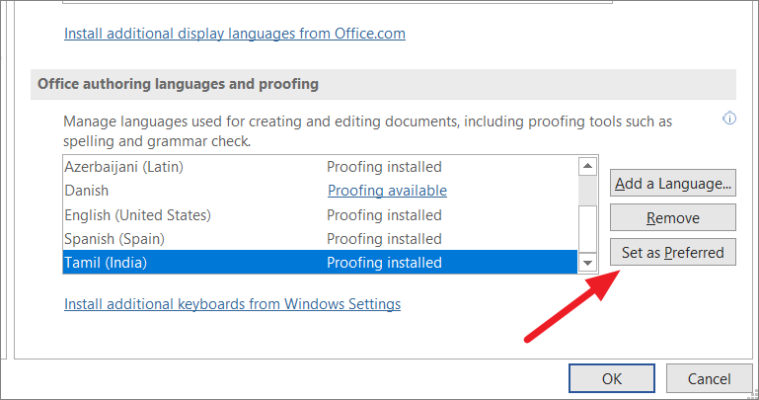
Language tab. Under the Office authoring languages and proofing section, you’ll see the list of installed languages for editing and proofing.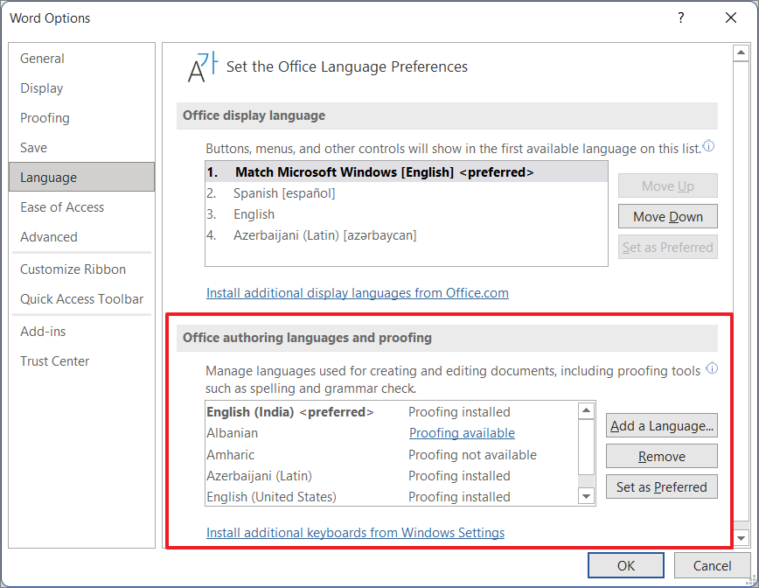
Set as Preferred (or Set as Default in older versions).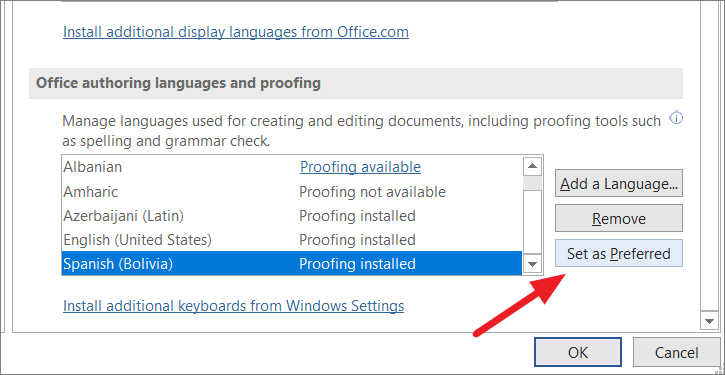
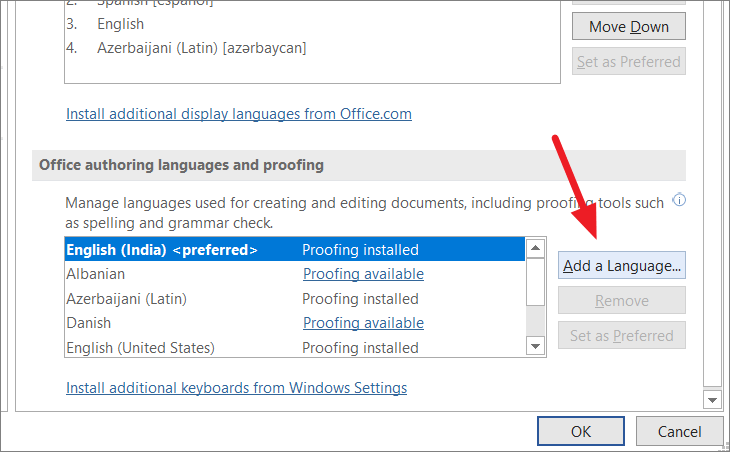
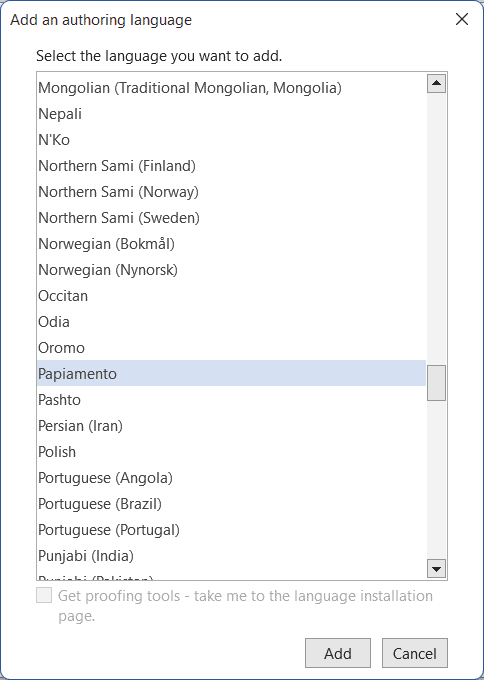
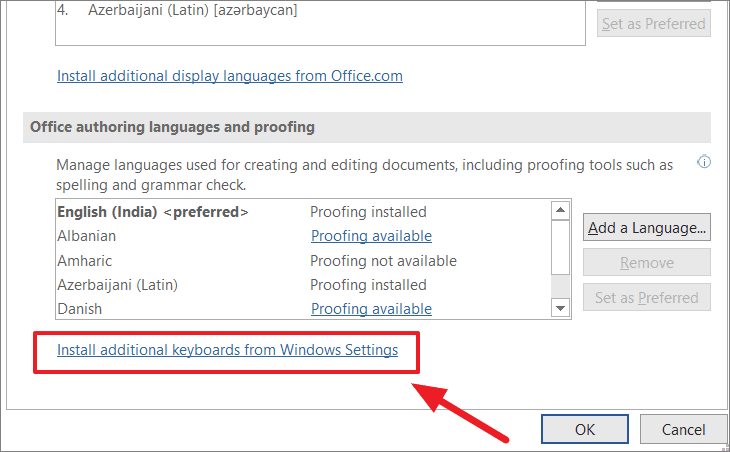
Add a language to install the new language pack on your system.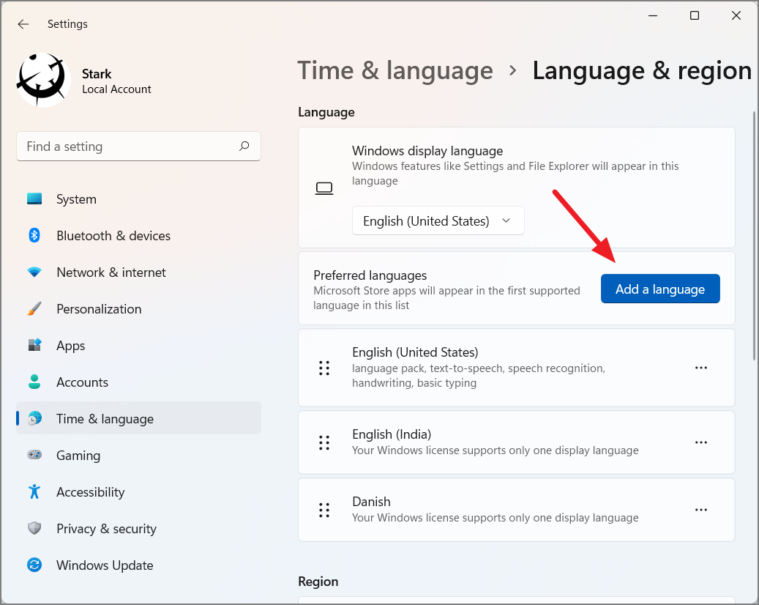
File > Options > Language. The new language should now be available under Office authoring languages and proofing. Select it and click Set as Preferred.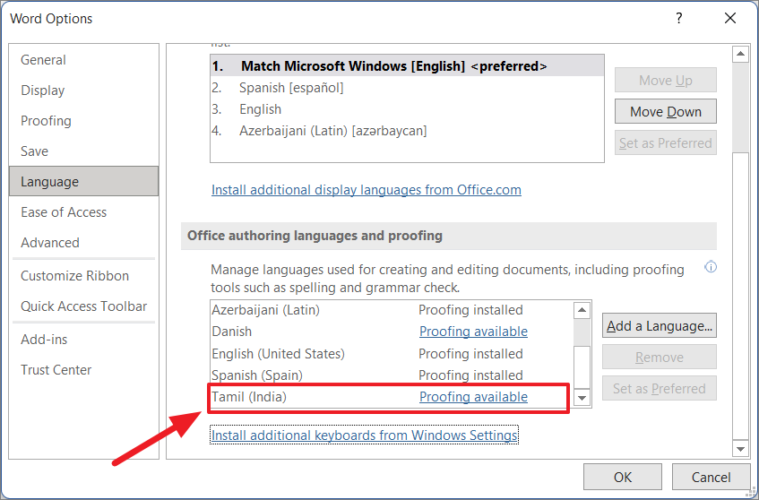
Word may prompt you to restart the application for the changes to take effect fully.
Switching between keyboard layouts
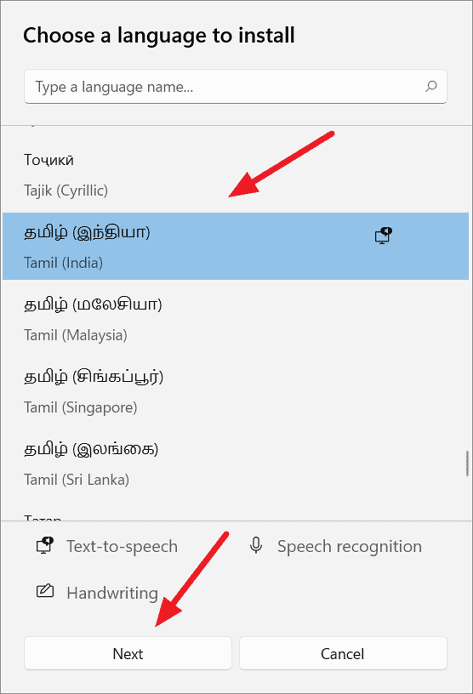
To type in the newly added language, you’ll need to switch your keyboard layout:
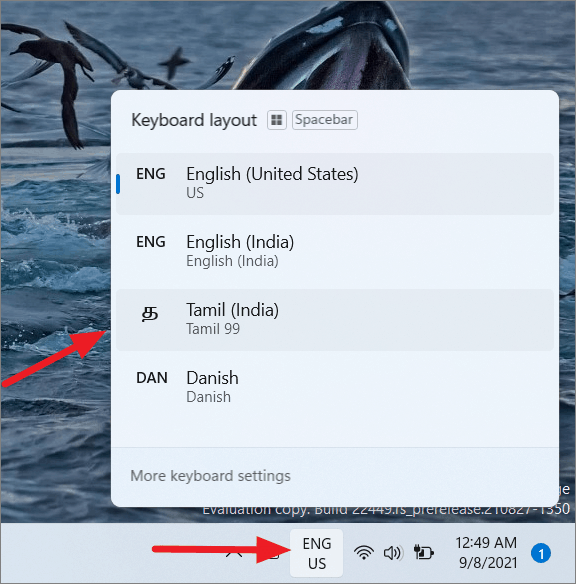
Your keyboard input will now correspond to the selected language, allowing you to type characters specific to that language.
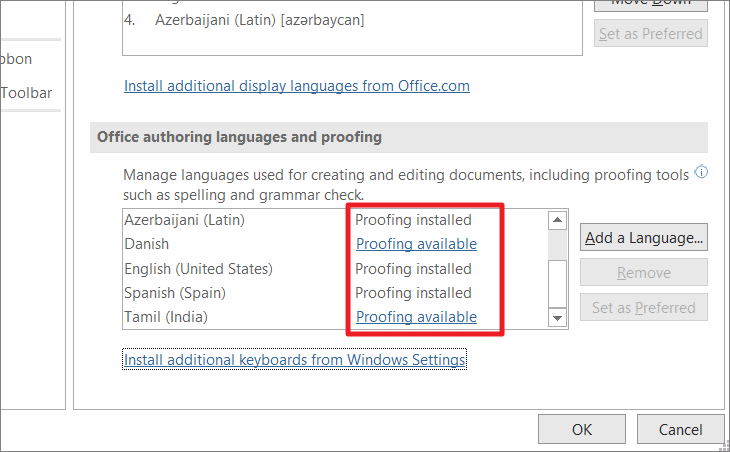
Proofreading in different languages
Microsoft Word enables you to proofread text in multiple languages within the same document:
OK. You can also set options to detect the language automatically or set it as default.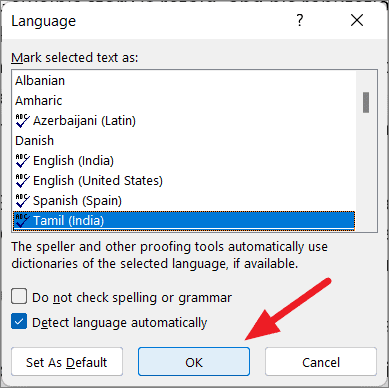
Word will now check the selected text using the spelling and grammar rules of the chosen language.
By customizing the display, editing, and proofing languages in Microsoft Word, you can create documents more efficiently and accommodate multilingual content with ease.