
Clubhouse is an amazing platform to make connections and learn from people from different walks of life. It is meant to be a safe platform where people can interact without the fear of being overwhelmed or sidelined. The users on Clubhouse are all very open and interactive.
Realted → Clubhouse Etiquette: Everything you need to know
Although it’s a great platform, many users complain of far too many notifications from the Clubhouse. You can easily change the notification settings on Clubhouse and customize them as per your preference.
Changing Notification Settings in Clubhouse app
In the Clubhouse app, tap on your profile picture (or your name initials) at the top-right corner of the screen.

Then, tap on the ‘Settings’ gear icon at the top-right corner to open the Clubhouse settings.

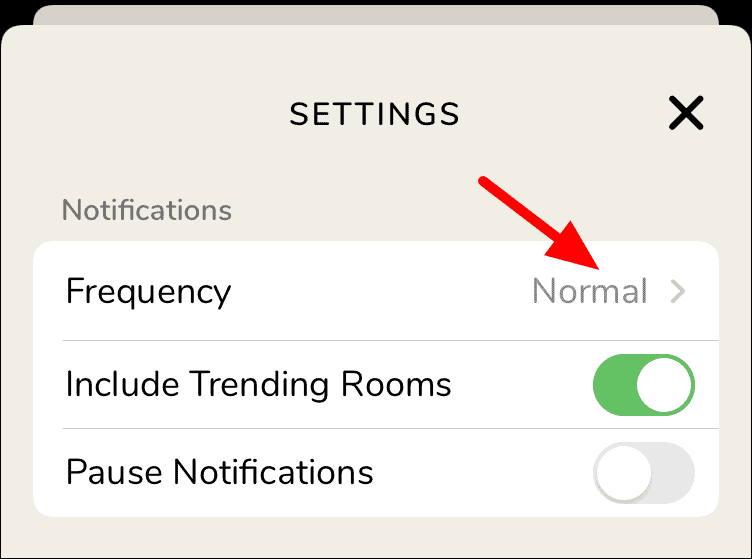
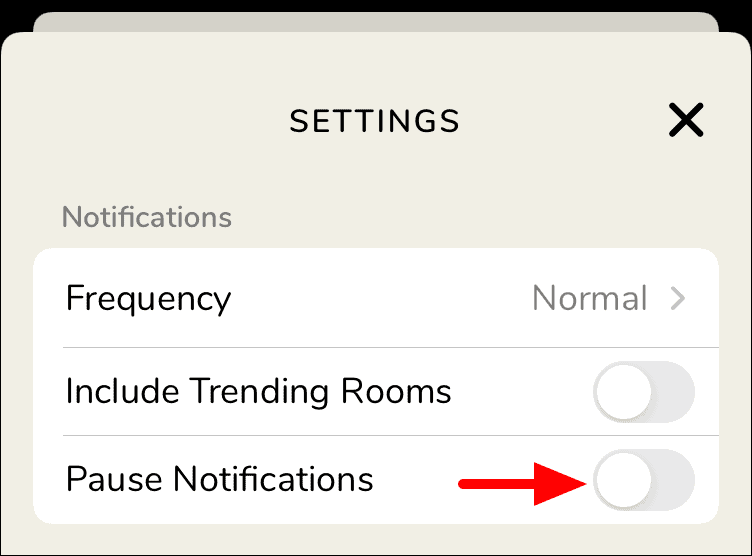
The first section in settings is ‘Notifications’. You will see three options in this section.
To change the ‘Frequency’ settings, tap on it.
Next, select the relevant option on the ‘Notification Frequency’ window. To select an option, simply tap on it.
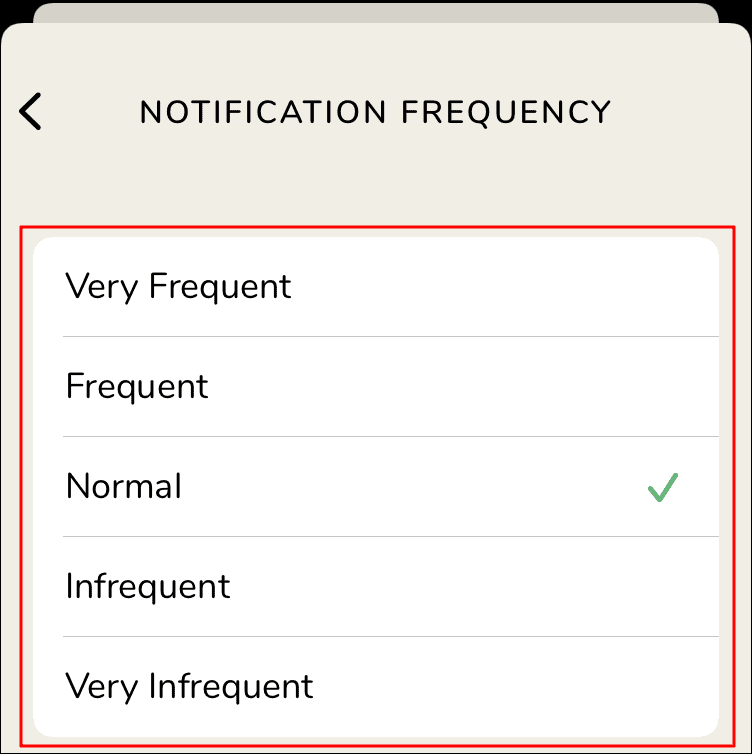
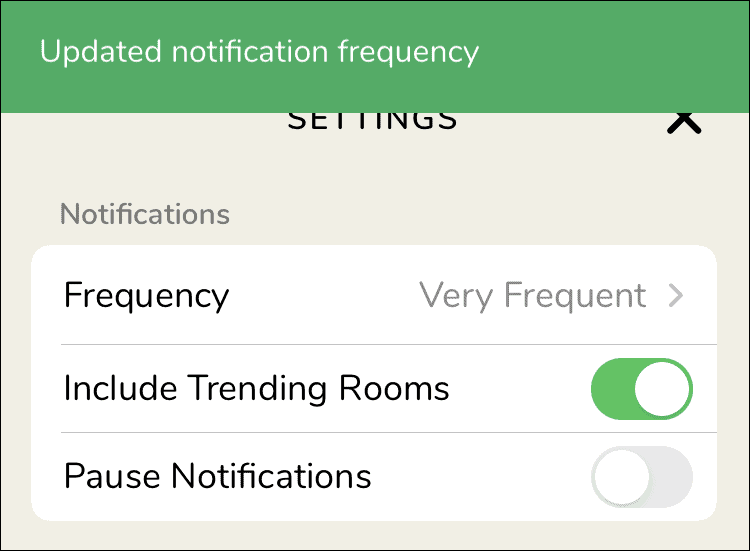
After you select an option, the window will close on its own and you will receive a notification on the top regarding the same.
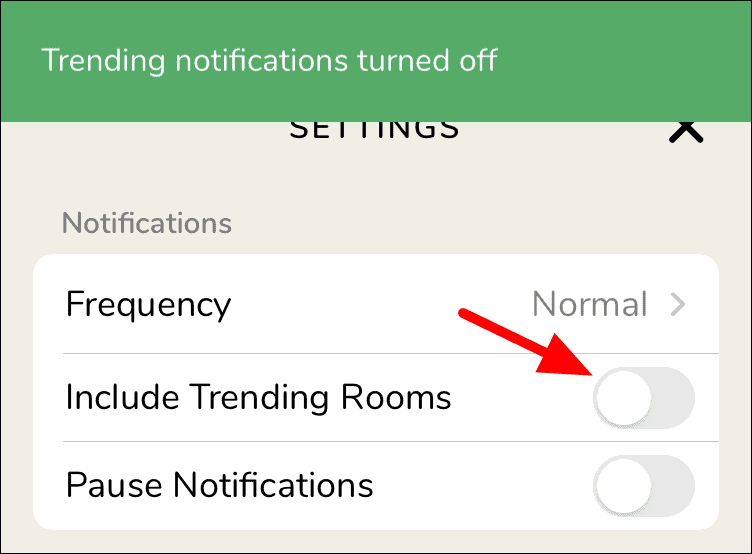
The next option in notification settings is to enable/disable ‘Include Trending Rooms’. It is enabled by default. To disable it, tap on the toggle right next to the option. Once the settings are applied, you will receive a notification at the top just like you received earlier.
The third option is to ‘Pause Notification’ and you can enable it by tapping on the toggle.
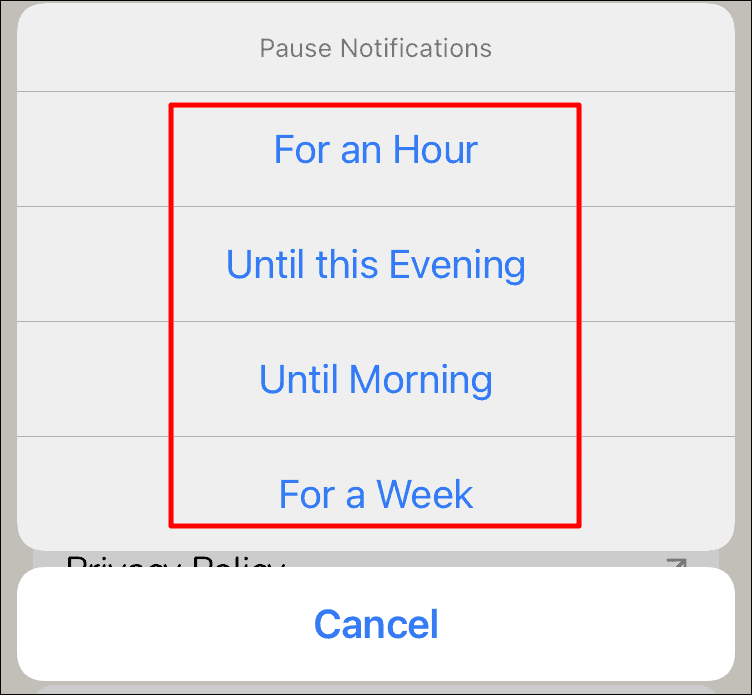
Once you tap on the toggle, a box will open with four options to chose from. You do not have the option to enter a custom period yet. Tap on the option you want to select and then it will be applied automatically.
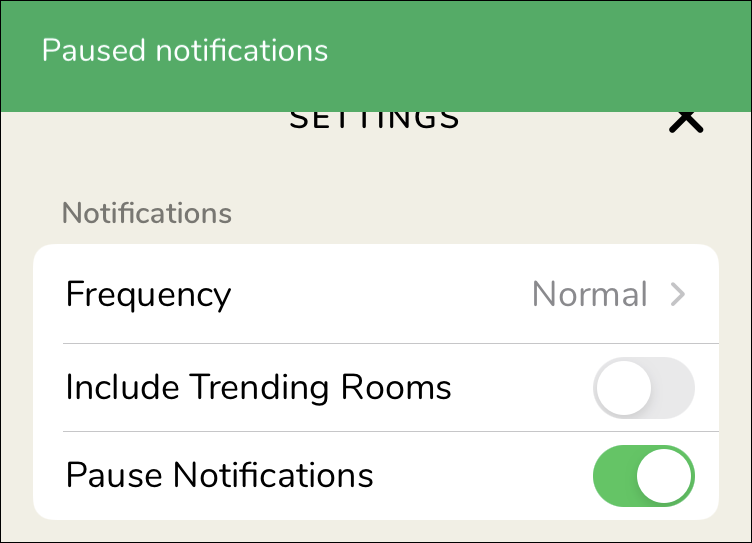
You will now receive a notification at the top for the same.
After reading this article, you can now easily change the notification settings as per your preference.


