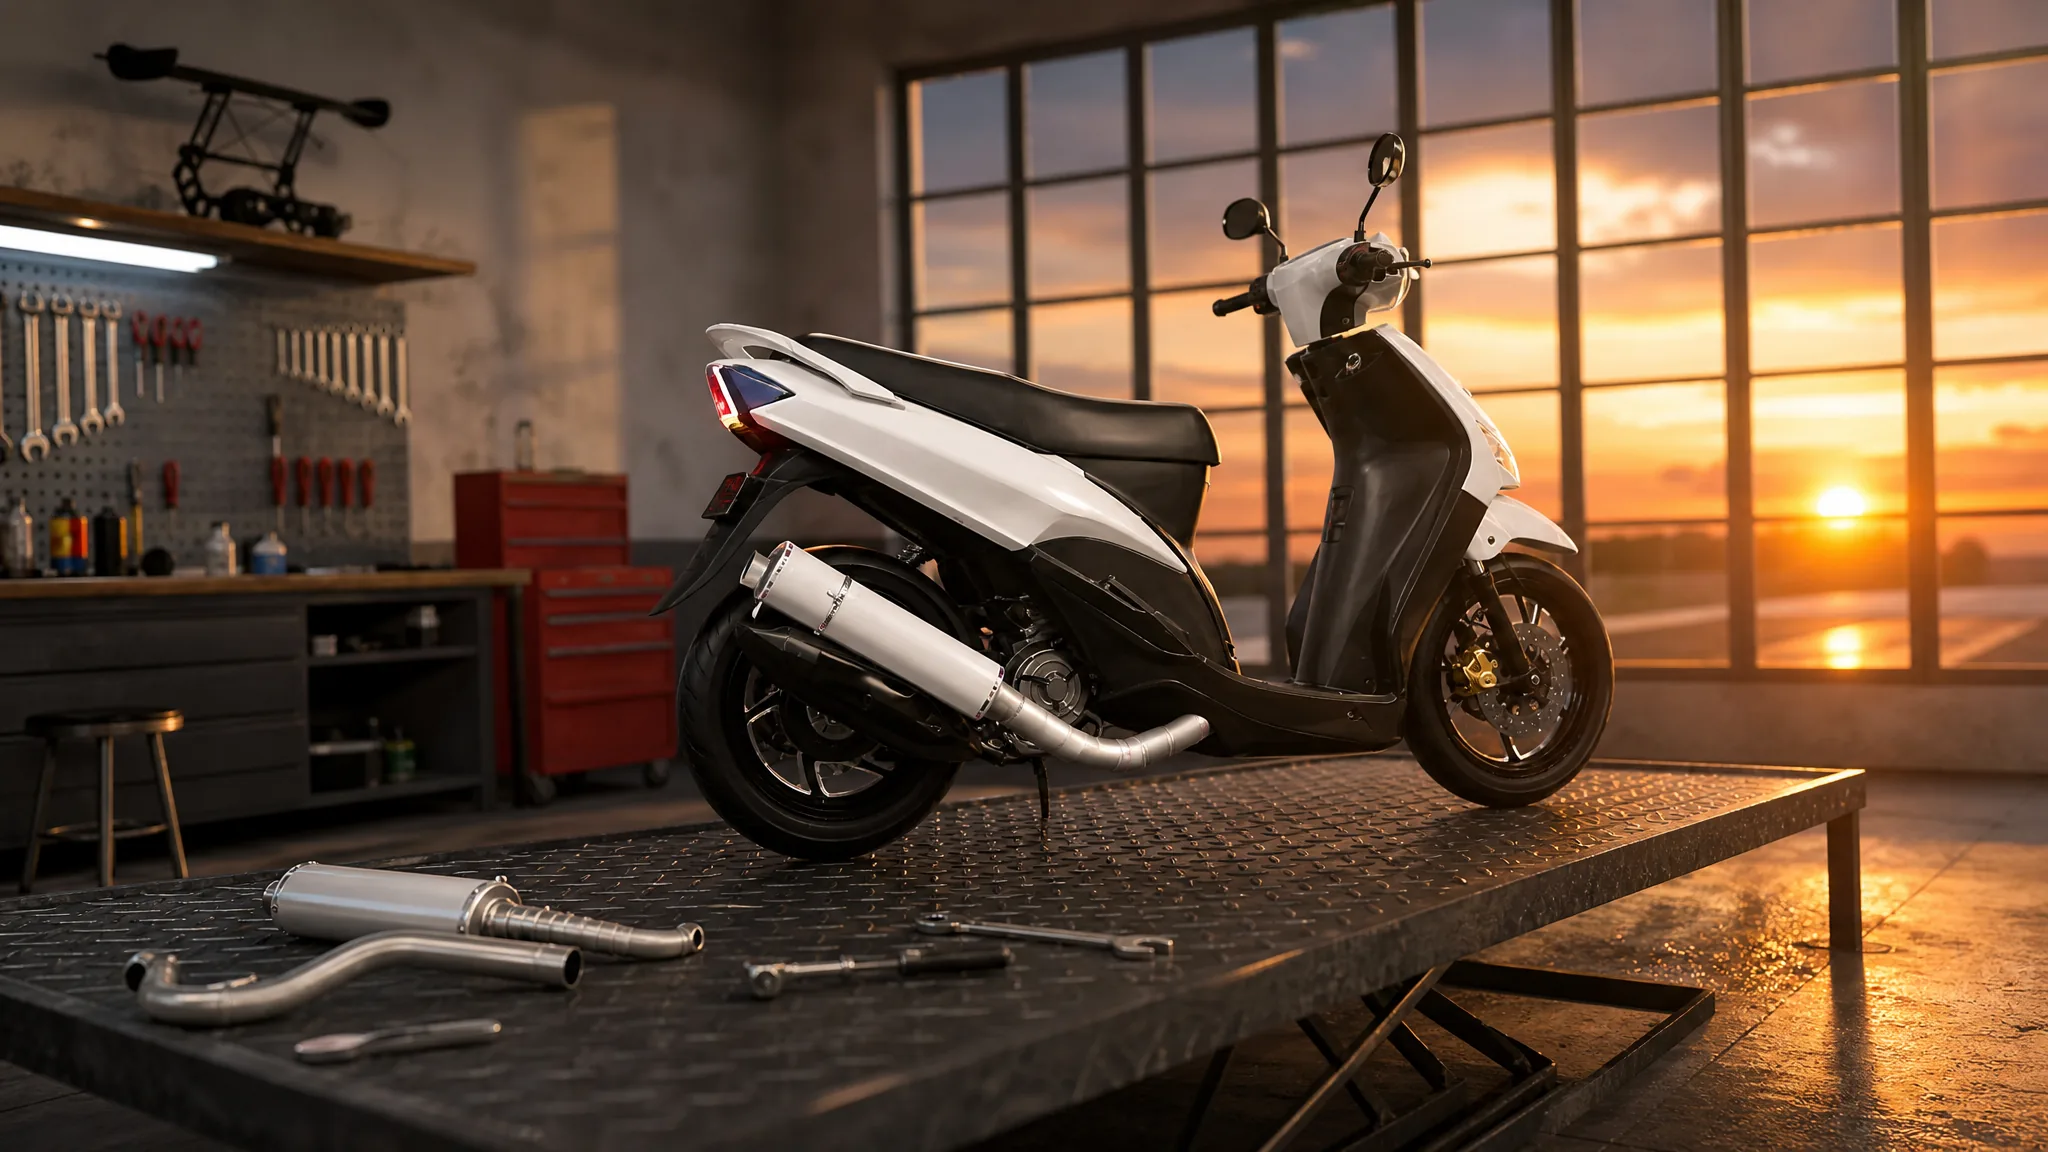
Swapping the exhaust pipe on your motorcycle in Drag Drive Simulator is handled entirely through the in-game modification garage. You buy the pipe first, then equip it on the specific vehicle you want to run it on. The change affects how the bike looks, how it sounds, and in many cases how it launches and holds top speed.
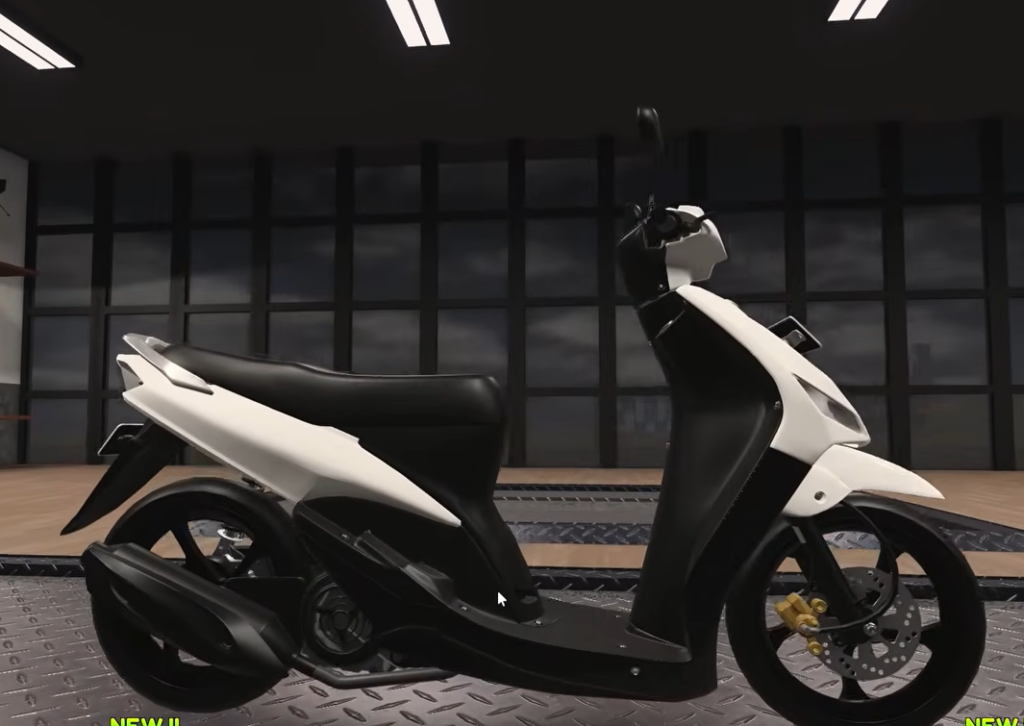
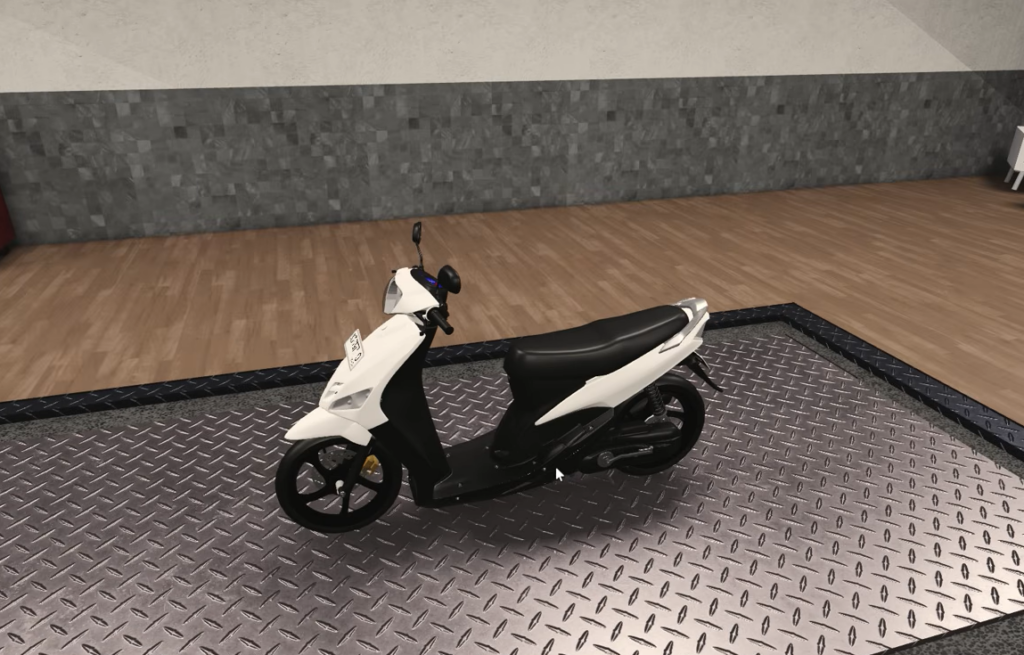
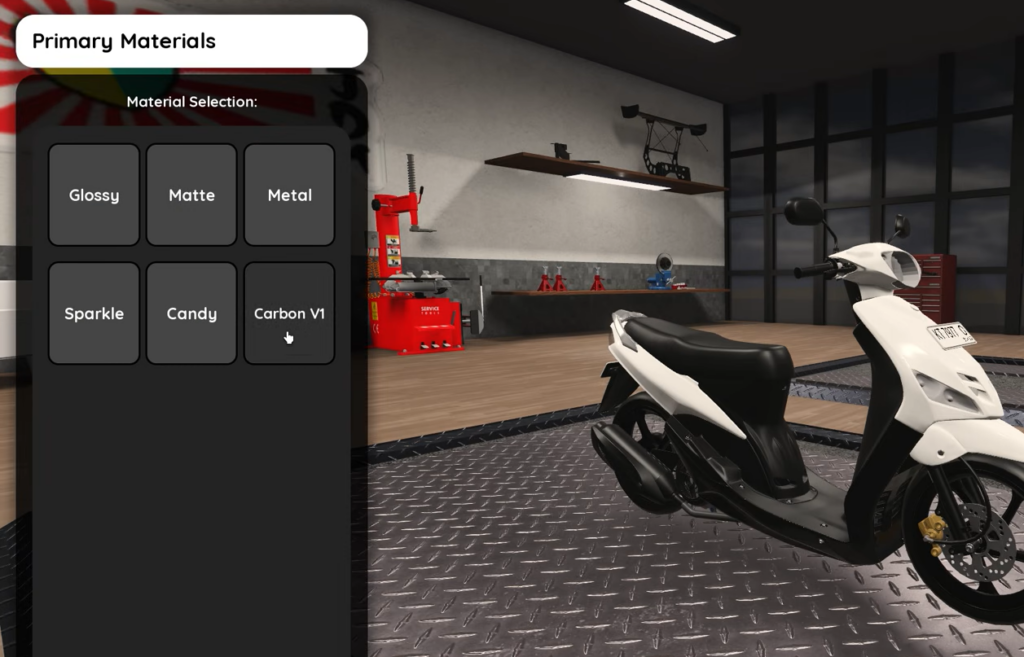
Quick answer: Purchase a pipe with RP, ride your vehicle into the building marked MODIFICATION, step onto the START MODIFICATION pad, select your vehicle, open the exhaust/parts section, choose the pipe, and press CONFIRM. The new pipe appears on the model on the platform once it applies.
What you need before changing a pipe
Two things have to be true before a pipe will show up in the customization menu. First, you must own the pipe, which means buying it with in-game currency (Rp). Second, the pipe has to be compatible with the vehicle you plan to equip it on, since some special or limited bikes only accept specific exhaust models.
| Requirement | Detail |
|---|---|
| Currency | Enough RP (Rp) to cover the pipe you want to buy |
| Purchase point | The pipe shop or customization garage on the map |
| Vehicle | The exact bike you want to modify must be spawned and selectable |
| Compatibility | Some limited or special bikes support only certain pipes |
Buy and equip the exhaust pipe
How to confirm the pipe is equipped
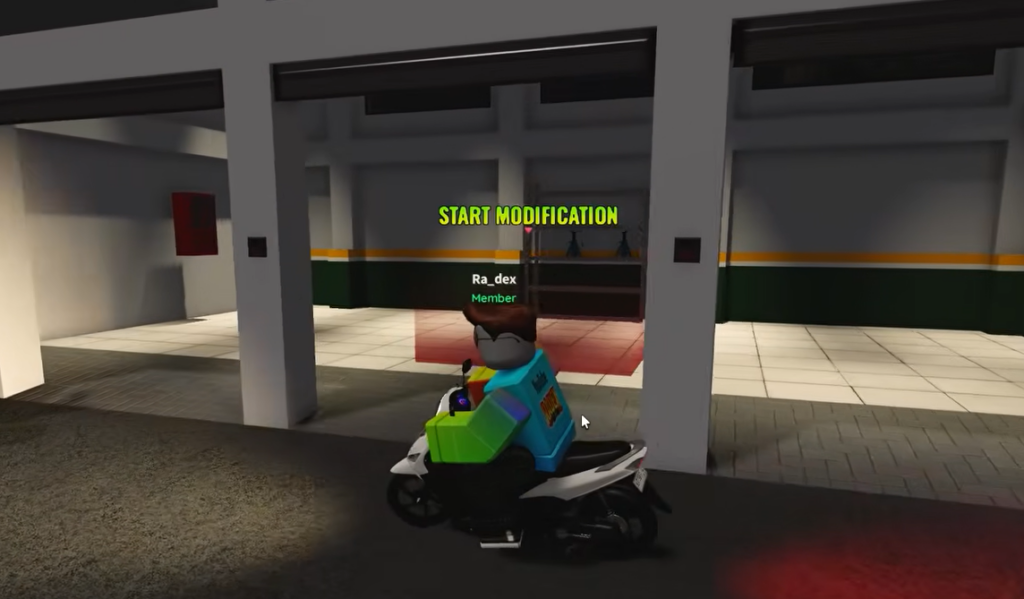
You know the swap worked when the exhaust on the vehicle model changes on the customization platform, and the camera shows the new pipe fitted to the bike. Once you leave the garage and ride, the engine note should also change, usually to a deeper, more aggressive tone. If the pipe influences your stats, you may notice differences in launch response, acceleration, and top speed.
Pipe not showing up? Common fixes
If the pipe you bought does not appear in the menu, the problem is almost always one of a few things. Work through them in order before assuming the part is broken.
| Problem | What to check |
|---|---|
| Pipe missing from menu | Confirm the purchase actually went through and that you had enough RP |
| Part won’t equip | Server lag or delay; respawn the vehicle, reopen the customization menu, or rejoin |
| Pipe not selectable | The bike may be a limited or special model that only accepts specific exhausts |
A failed transaction is the most frequent reason a pipe never shows. Re-check your RP balance and buy the pipe again before troubleshooting anything else. If the game is running slow, giving the server a moment and reloading the menu usually resolves an unequipped part.